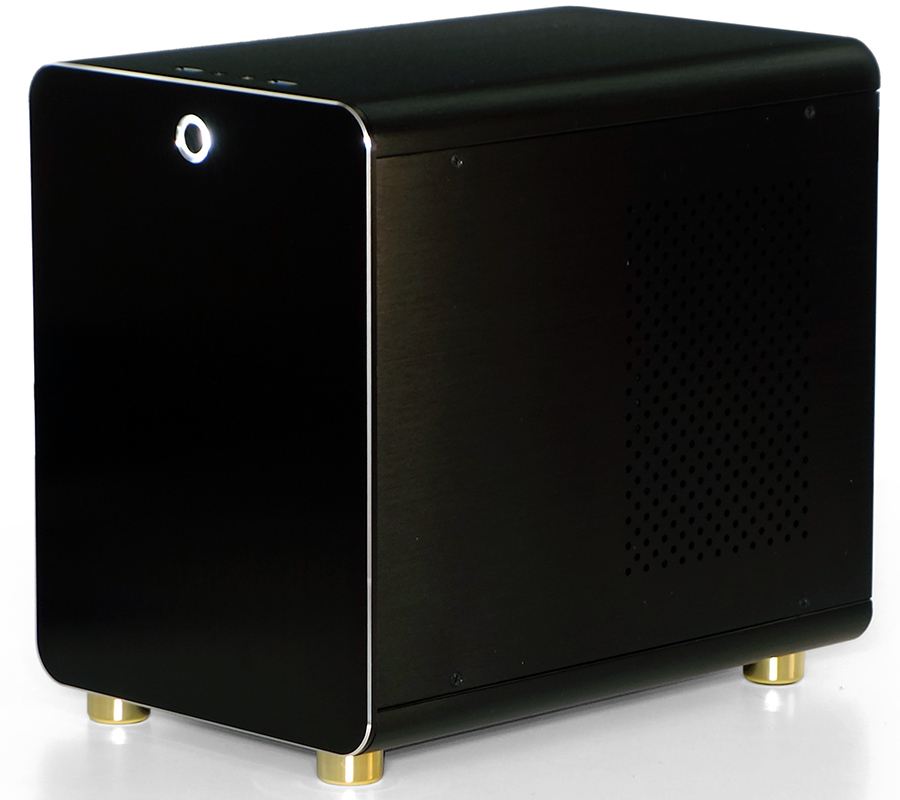
System Builder Marathon Q2 2015: $1600 Mini Performance PC
We’ve seen how far I can push a six-core Haswell-E in our full-sized performance build, but can the same performance level fit into a mini cube?
Hardware Installation
Putting all of these components inside the DIYPC HTPC Cube was probably just a little trickier than rocking a rhyme that’s right on time, but I’ll leave the later to Joe, Jay and Darryl (see boss, I told you I could relate to a younger generation of builders). The first problem would be getting a CPU cooler that wasn’t designed for this motherboard to fit this motherboard.
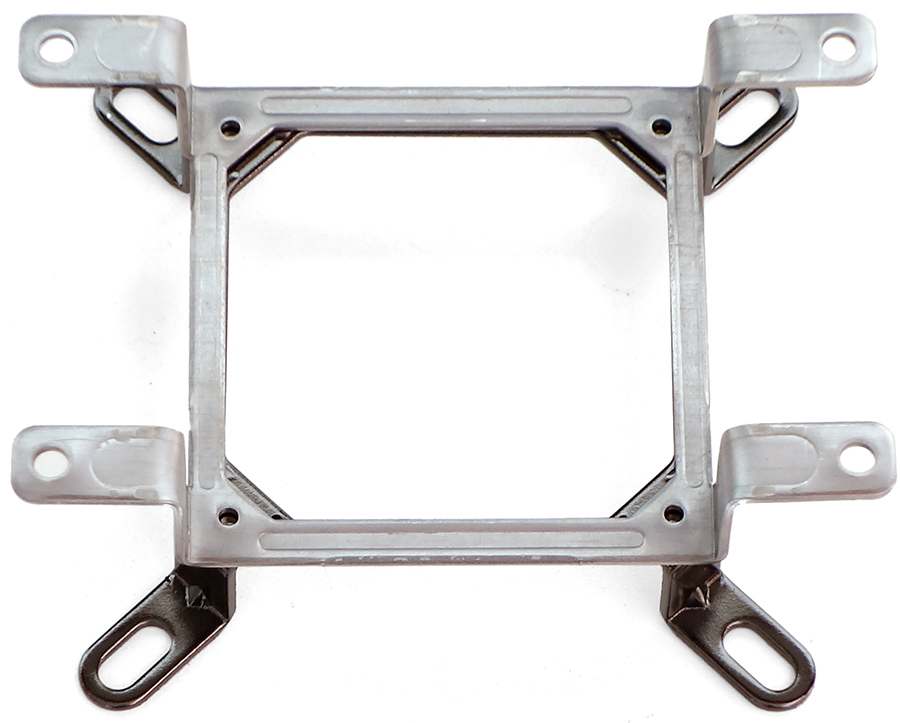
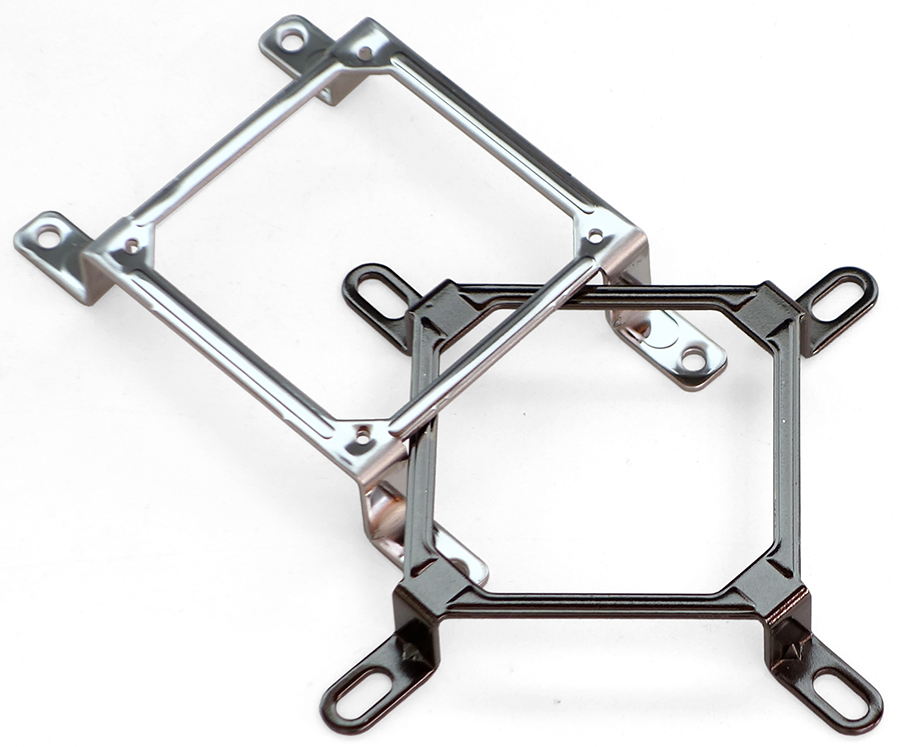
The opening of Corsair’s bracket is nearly identical at the sides to the Cooler Master compatible bracket included with the motherboard, but the corners of the new bracket are slightly more-recessed. Corsair’s bracket is designed to push upon metal loading points at the corners of the pump, but I’m fairly certain the flatter ASRock bracket will suffice.
Unfortunately, ASRock’s bracket is 3mm too tall for the Corsair pump. Holes in ASRock’s bracket also don’t align with the loading points of the Corsair pump, so any screws used as spacer there would probably put too much pressure on the outer edge of the pump’s shell.
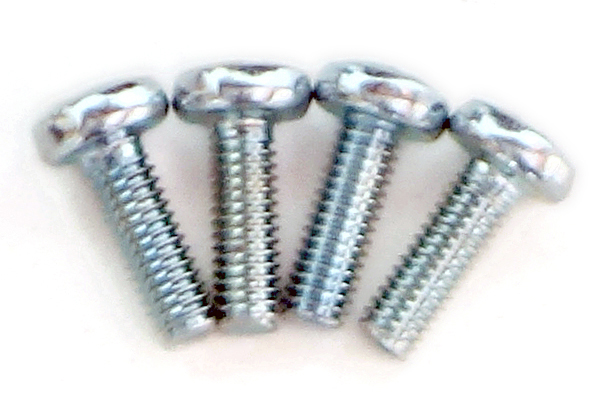
An S-bend in the tabs of ASRock’s bracket could have allowed it to work with Corsair’s standoffs, but that would require skills that some builders may not have. Hoping to make this repeatable by everyone, I ditched Corsair’s standoffs and bought a set of M4 x12mm coarse-thread (0.70mm pitch) screws at the local hardware store. Even at 100 times the bulk price, these four screws cost less than a dollar.
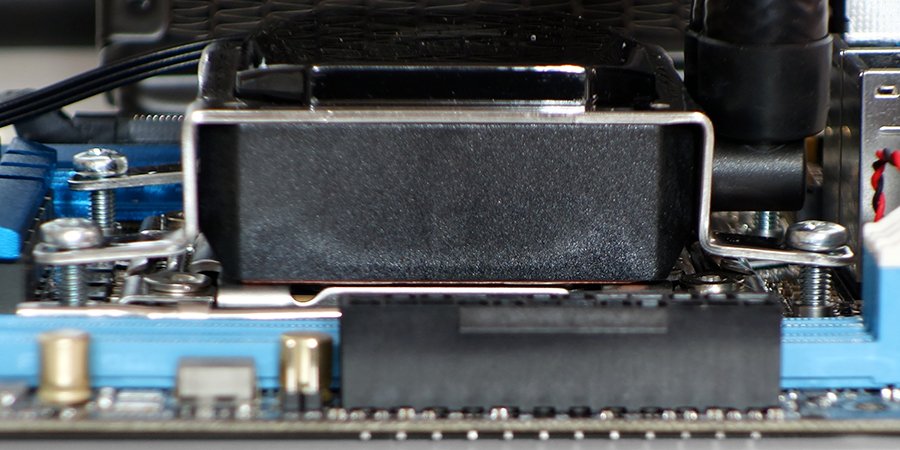
Getting rid of the Corsair standoffs because they’re too tall means losing the “stop point” for tightening the screws. I could have made 7mm-tall spacers from a piece of tubing, but instead decided to go “by feel”. The shown amount of bend should provide adequate pressure between the cooler’s water block and CPU’s heat spreader, but there is a “trick” for those who can’t feel as much: Go slowly so you don’t punch a hole in the motherboard, and if you make gentle contact with the board, back off at least one full turn.
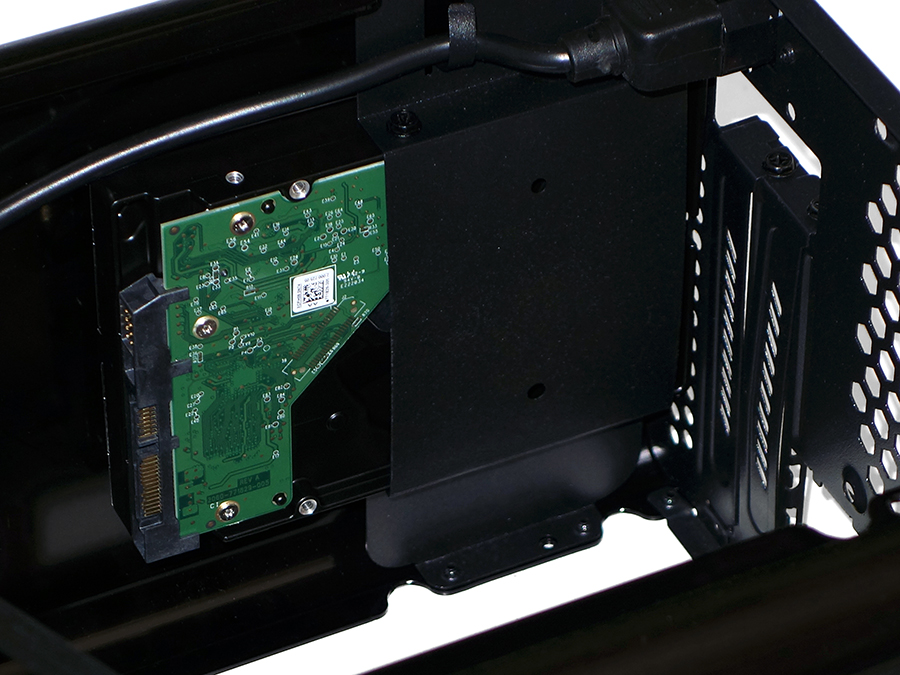
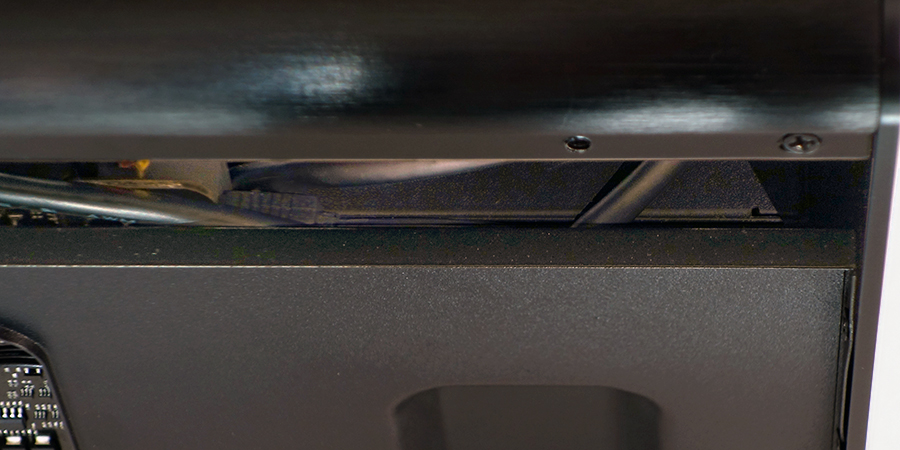
The hard drive fits into a manufacturer-installed tray, inside the case’s top panel. Notches on the edge of the top panel provide side access for drive screws.
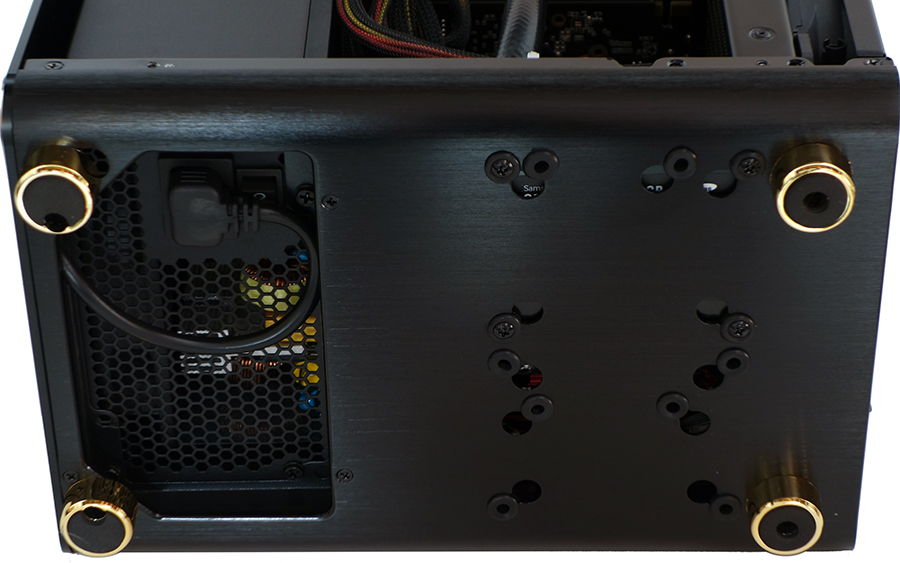
The SSD fits onto one of two bottom mounts. DIYPC doesn’t include shoulder screws, so builders are forced to use their best judgement concerning how far they should crush the included rubber grommets.
Get Tom's Hardware's best news and in-depth reviews, straight to your inbox.
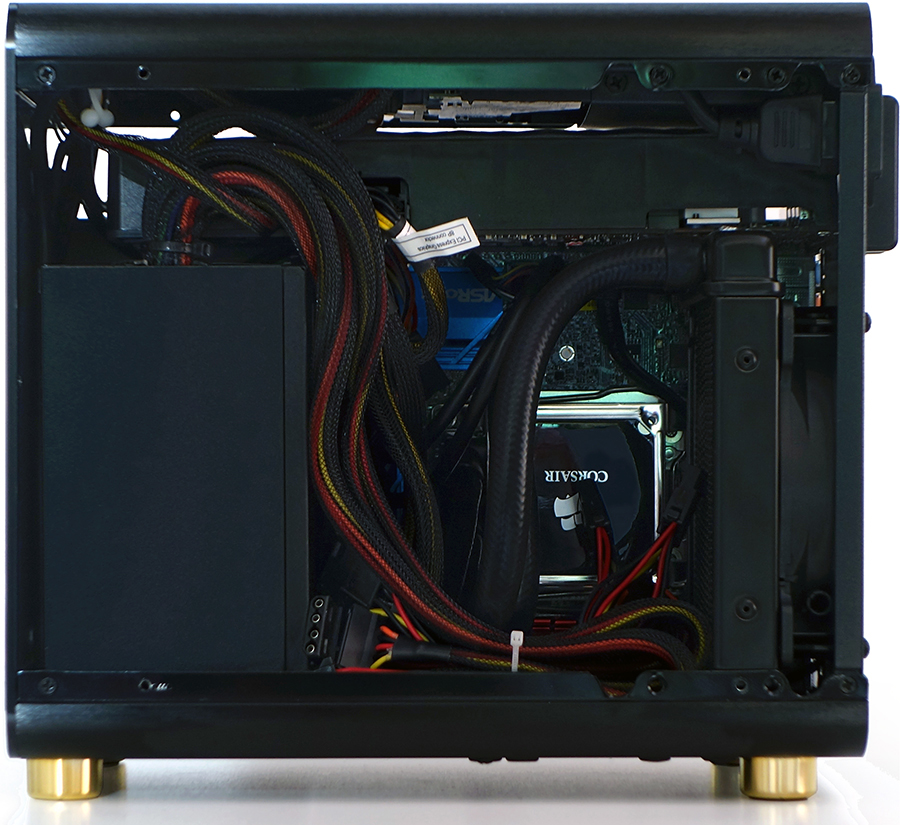
The power supply fits in the “wrong way”, with its intake hole facing the front panel. That’s due to a cable space issue on its other end. DIYPC provides around ¼” inch of space between the front panel and power supply to make this functional, if less than ideal.
The power cable’s relief section was also trimmed to stop it from pushing against the power supply’s external switch. This can be done with a knife, unless you’re clumsy, wherein you should hand the knife to your dexterous friend.
If you think the cables appear to be shoved into the case, that’s because they are. If you think the power supply is facing the wrong way, that’s because it’s the only way it would fit with the standard-length GTX 970 in place (shorter cards weren’t available yet at or near its price). If on the other hand you think this means the CPU, GPU or power supply will overheat, you’re mistaken. The space between the front panel and power supply inlet did keep the unit from getting hot enough to stink under extended full load, and the radiator fan (attached as a rear-panel intake) is powerful enough to feed both the graphics card and power supply. You’ll see those temperatures in the test!
ASRocks’ cable kit presented another small problem, in that it contained one straight cable and one right-angle cable. I found a place to connect the right-angle end two photos above, right next to the USB 3.0 header. Meanwhile, the case leaves enough space between the motherboard tray and power supply to install a straight cable in the two-port connector’s bottom row.
After spending a full day on this build, I was relieved when I finally turned it on and found that the power LED was connected at the right polarity.
-
UltimateDeep Baby PC able to out-overclock the Papa PC, gosh, this shouldn't be happening but it did anyway!Reply -
RazberyBandit Tricky tricky tricky tricky!Reply
Relate to a younger generation? A reader would have to be at least 35-years old (and into Hip-Hop) to have gotten that reference...
You Be Illin' =) -
Crashman Reply
I'm just fighting for your right to party. No need to take this on all by yourself, any more.16145478 said:Tricky tricky tricky tricky!
Relate to a younger generation? A reader would have to be at least 35-years old (and into Hip-Hop) to have gotten that reference...
You Be Illin' =)
-
Aspiring techie Sweet. The mini itx form factor doesn't limit performance at this price level. I guess you learn something new every day :)Reply -
daveys93 "High-resolution performance might have been better still had that machine contained a pair of R9 290X cards rather than a pair of GTX 270s."Reply
Typo? I think you mean 970s. -
atheus Again you sacrifice cooling performance to pick up an optical drive. Are you being paid off by big optic...oil?Reply
Admit it, you just chose that motherboard because it lets you plug this bad boy in:
-
Nythious It's about time people start realizing that smaller cases restrict the impact of ambient temperatures because the total air volume is recycled faster than larger cases.Reply
