Experiment: Build a (Profitable) Ethereum Mining Rig From Spare Parts
Crypto-Mining PC Build: Using An Old Rabbit Cage For An Open-Air Chassis
Picking The Right Cards
With the hash rate, power draw, and heat output numbers in hand, I went through the list to select the best mining GPUs. The R9 Fury was the obvious first choice for the rig with its high hash rate, reasonable power draw, and low temperature.
If I were to rely entirely on the data, I'd feature the GTX 1070 and GTX 1080 in the build. However, those two cards belong to current machines, and I don’t want to risk burning them out with crypto mining. Modern graphics cards are built to handle taxing workloads, but unlike enterprise-class hardware, consumer-grade graphics cards aren't engineered to operate at full capacity 24/7. With the 10-series cards out of the running, the RX 480 was the next best option for power-efficient mining. I don’t like the idea of dumping 80° of excess heat into my house, though, so I put that card aside.
That left me with the R9 380, R9 380X, R9 390, and two R9 390x cards. The R9 390Xs offer the highest mining output of the bunch, but due to their power draw, I wouldn’t be able to add any more cards to the miner unless I added a second power supply. Also, both R9 390Xs together would produce an unreasonable amount of heat. Ultimately, I decided to try the R9 380, R9 380X, R9 390, and R9 Fury.
Risers For The Graphics Cards
When you’re setting up a multi-card crypto-miner, you don’t want place the cards side by side like you would in a 4-way SLI or Crossfire setup. Mining systems usually run at full power 24/7, so you’ll want to give them as much breathing room as you can. Ideally, your cards should have at least two slots of space between them, but the more space they have, naturally the cooler they operate.
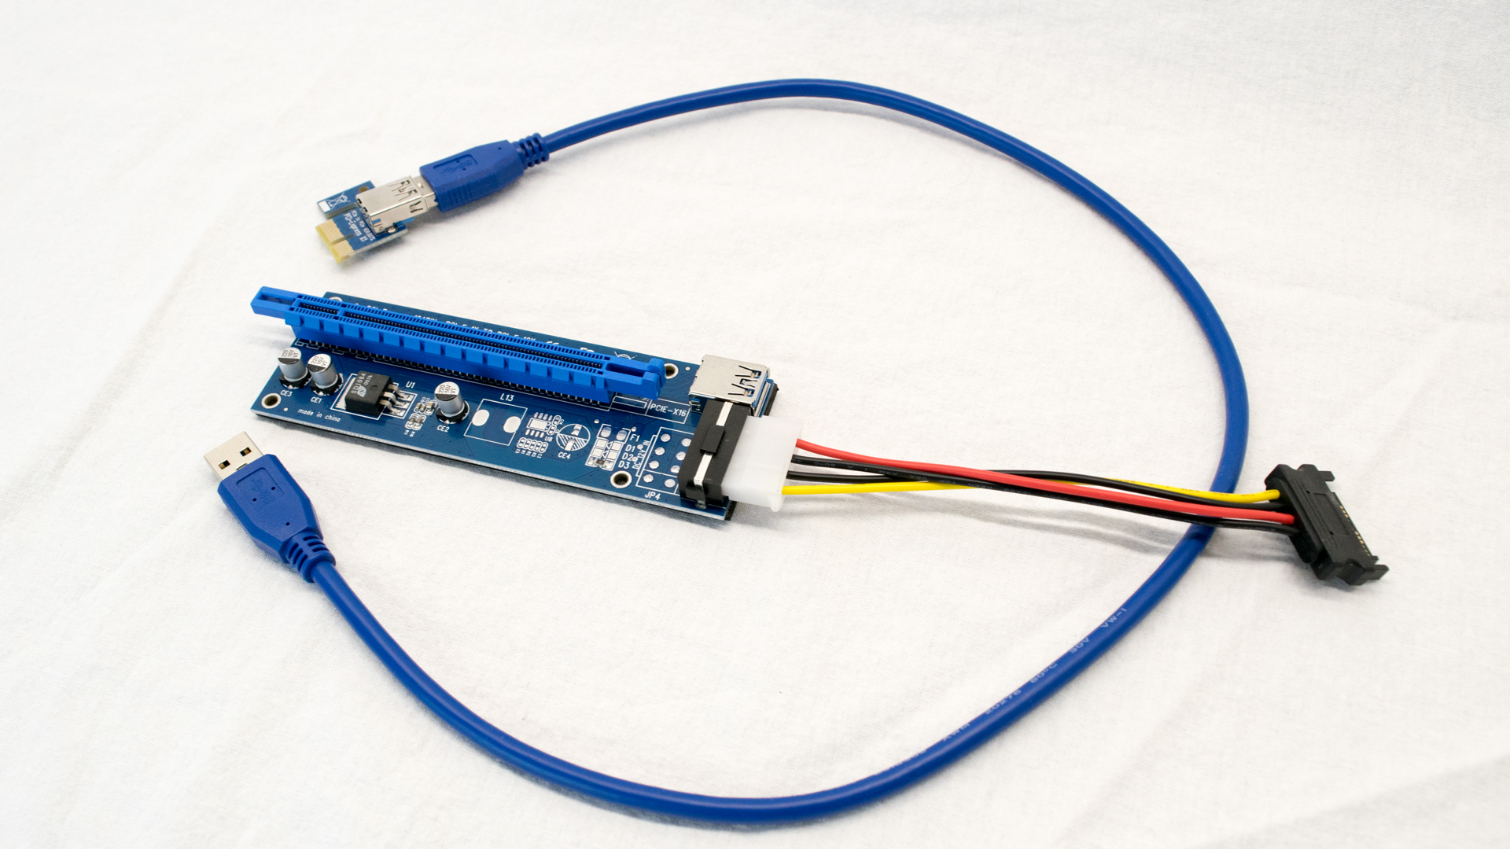
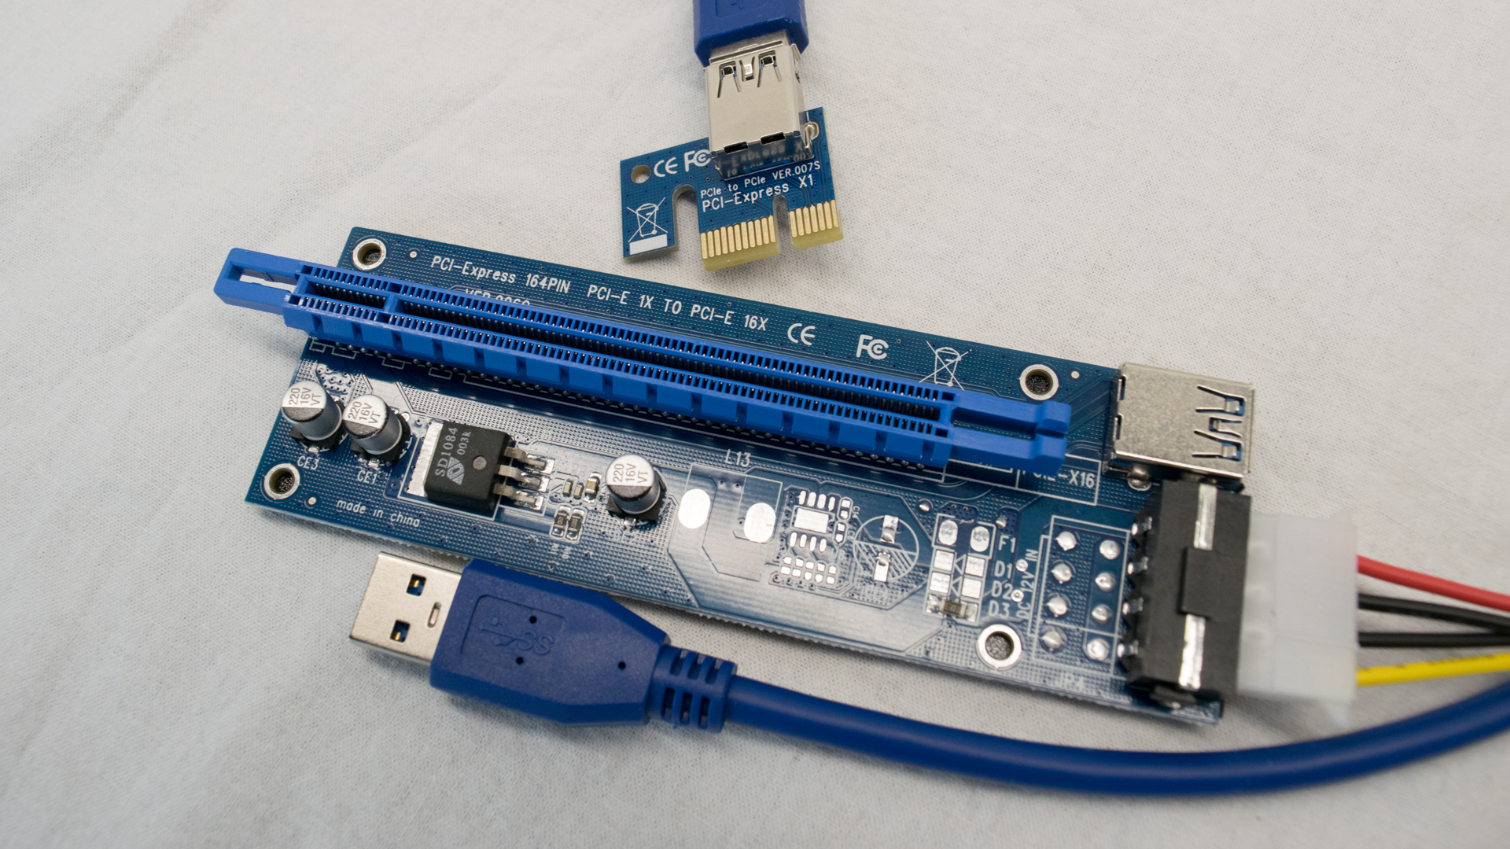
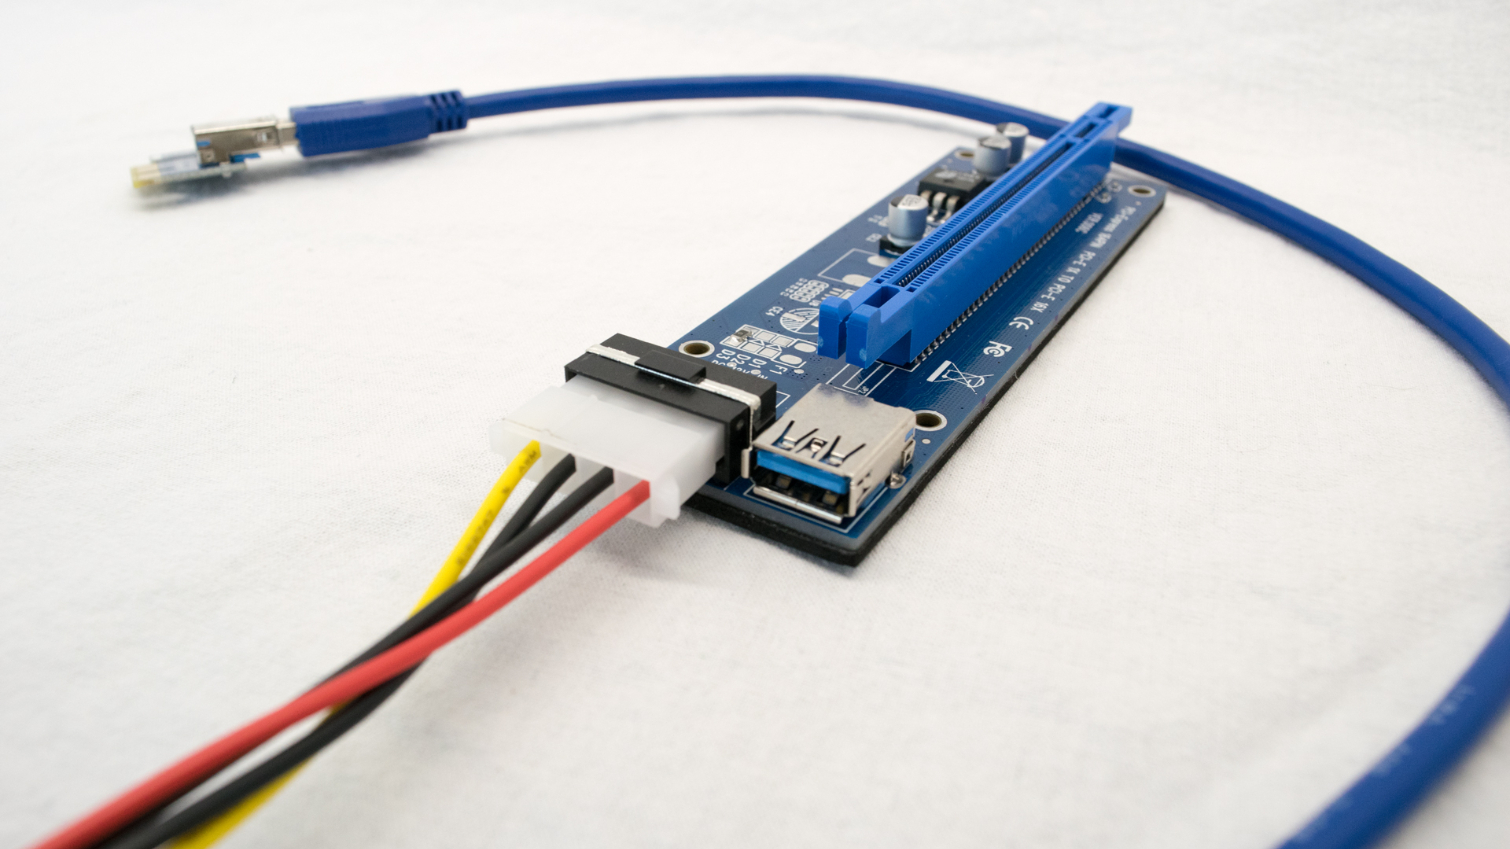
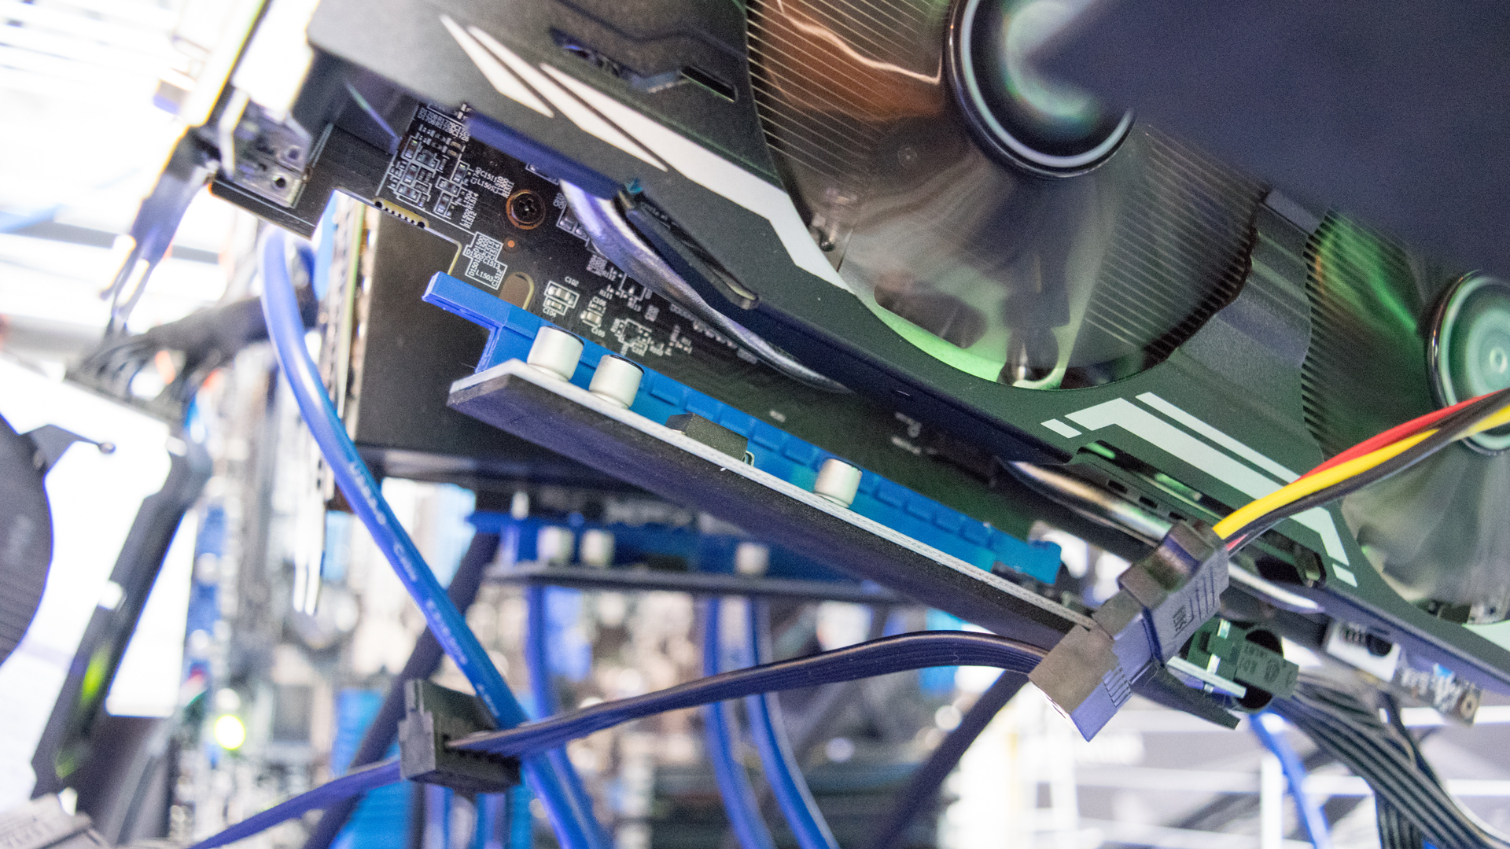
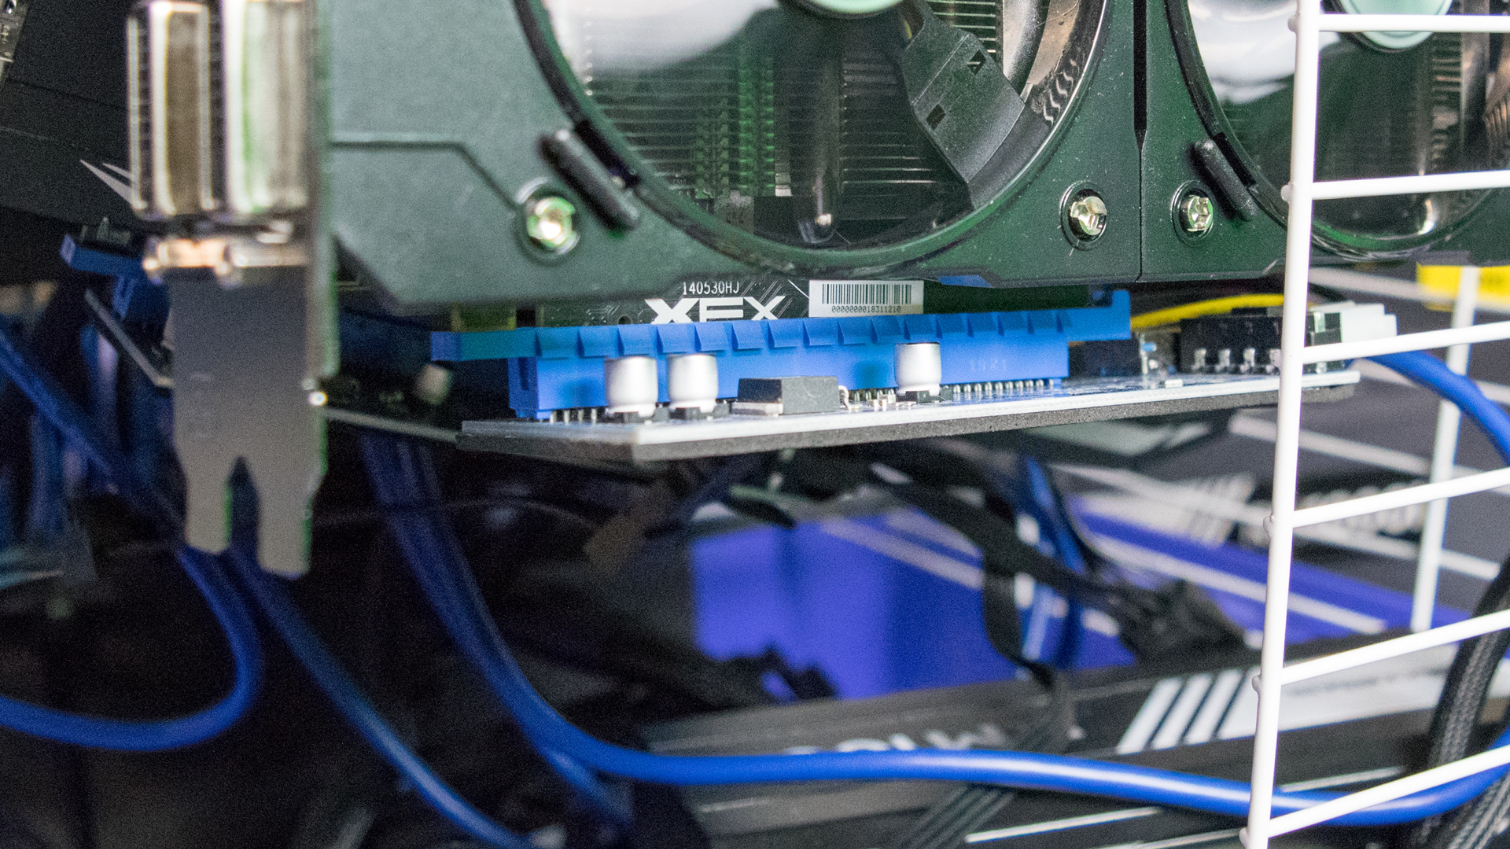
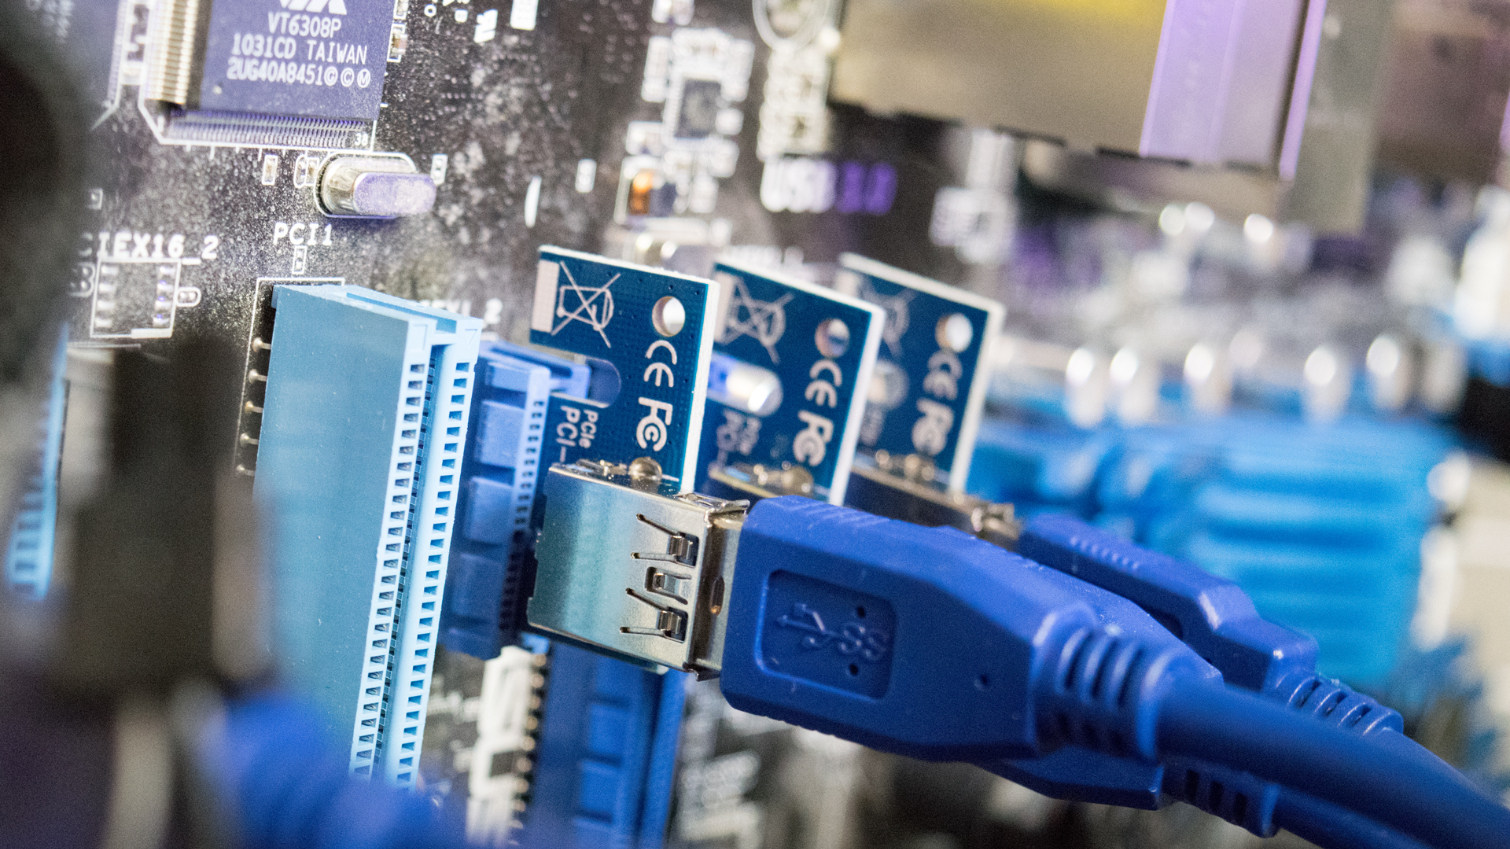
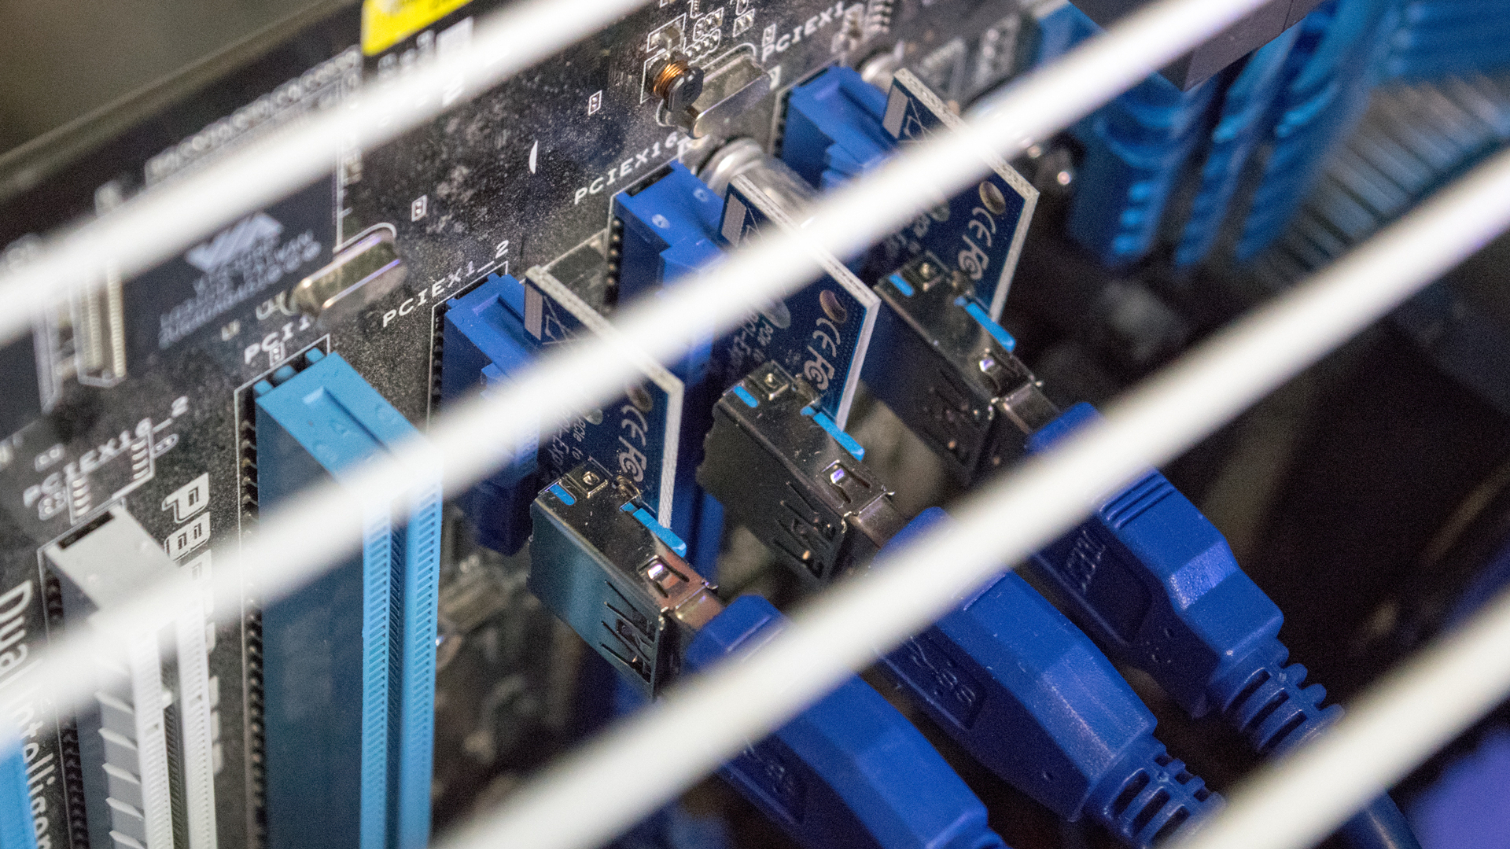
To space out your graphics cards, and to populate the x1 slots with full-length cards, you must purchase PCI-e x1-to-x16 riser cards. The riser cards feature a full-length PCI-e slot for your graphics card, a molex or SATA port to power the board, and a USB 3.0 port. The riser cards also include an x1 PCI-e card with a USB 3.0 port on it and a USB cable to bridge the two components.
You can use the riser cards in any PCI-e slot, including full-length x16 slots. Your display should work even with your graphics card on a riser cable.
A Unique Improvised Chassis
I originally planned to clear off one of my storage shelves to make room for the mining rig, but I have a cat, and leaving the hardware exposed would be a problem. My second option is probably much better, anyway: I grabbed an old rabbit cage that wasn’t in use (editor: are you running a farm?). The cage doesn’t keep any of the hot air in, but it keeps my curious kitty out. The cage also keeps the graphics cards separated from each other and maximizes airflow between the cards.
Get Tom's Hardware's best news and in-depth reviews, straight to your inbox.
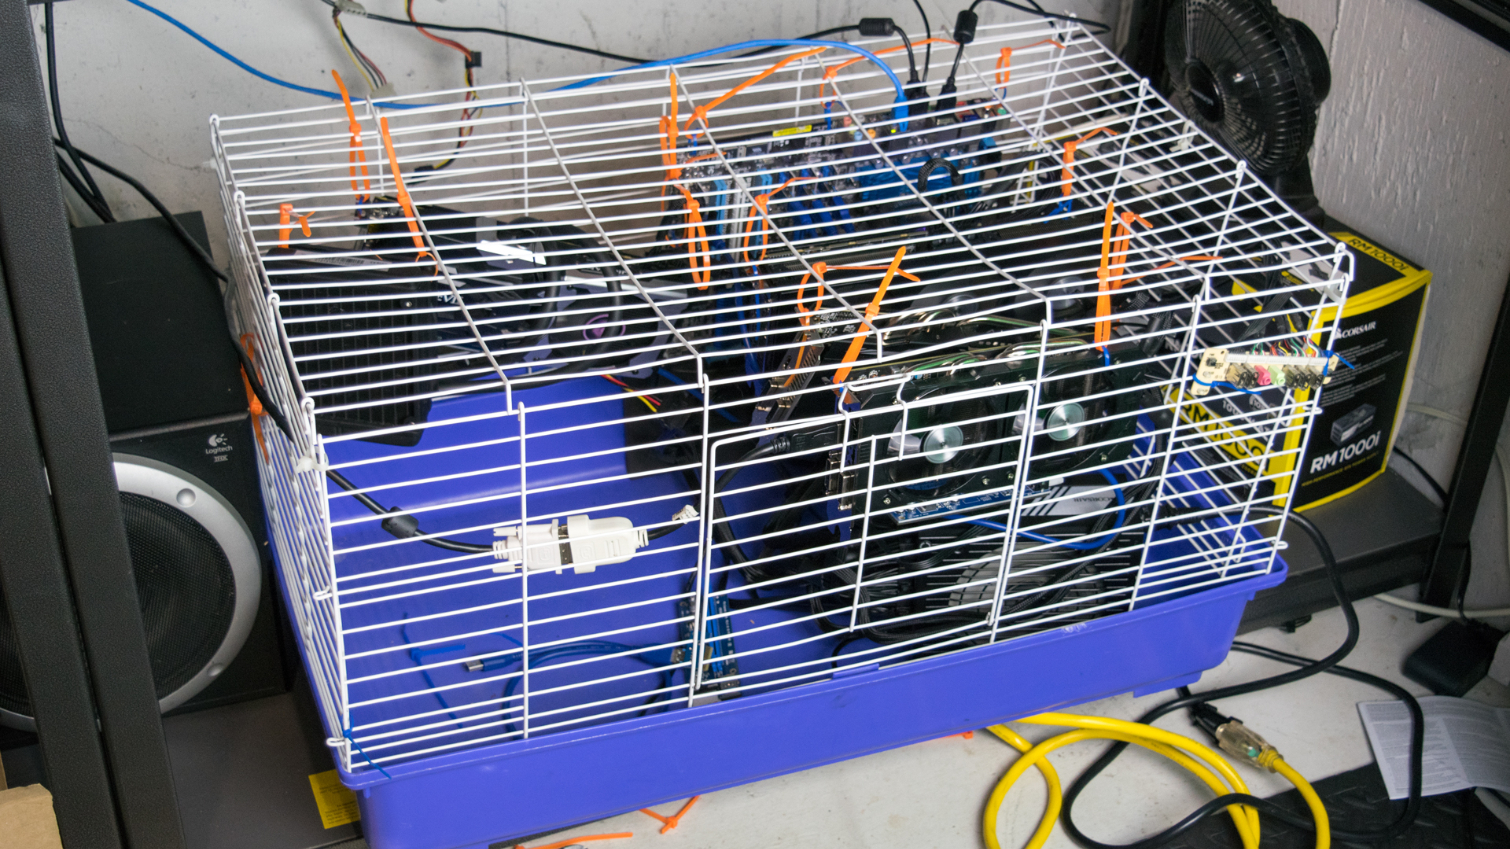
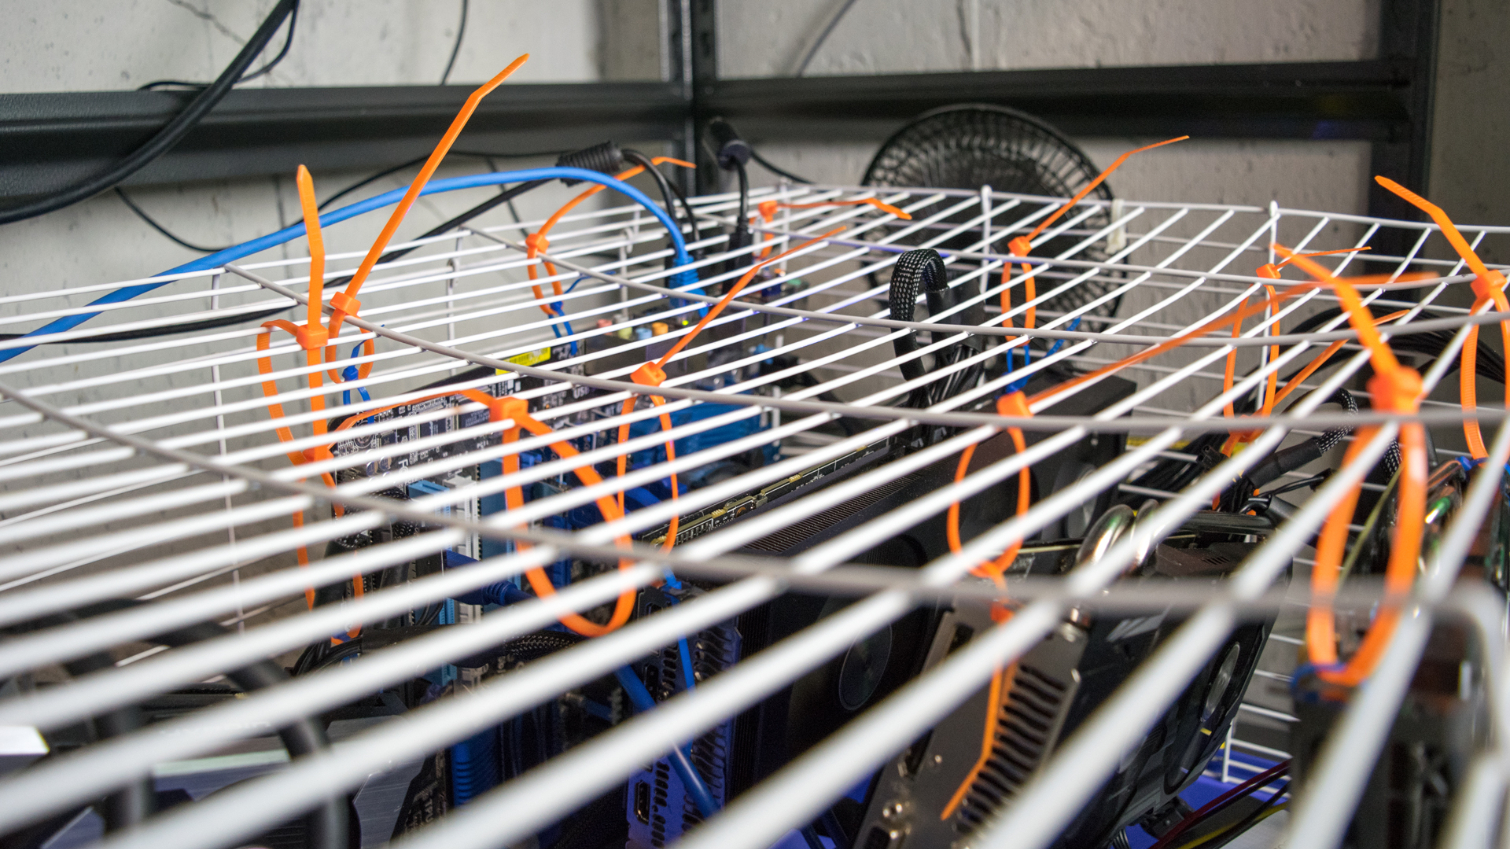
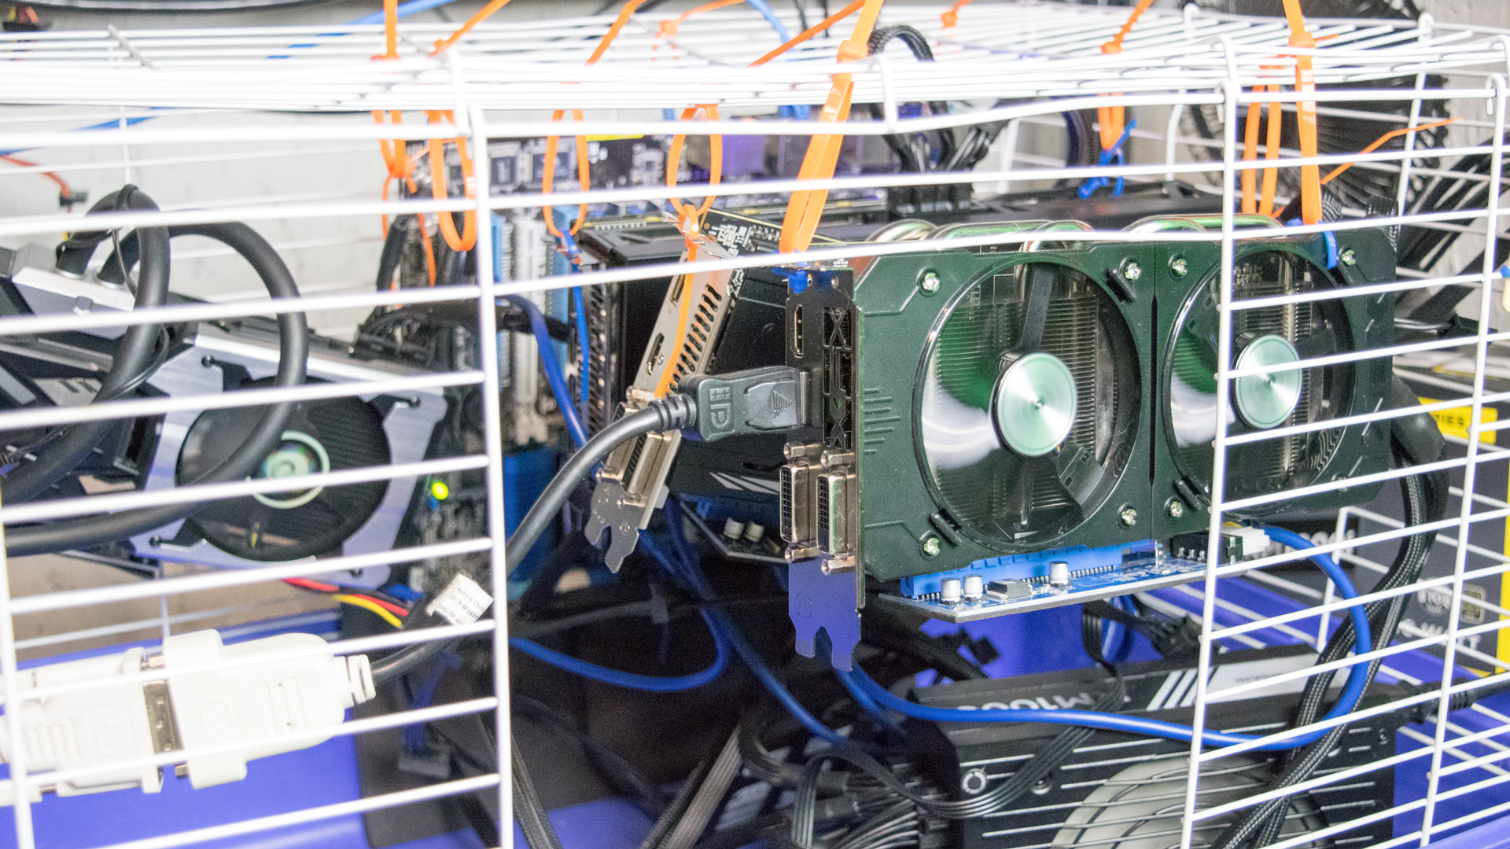
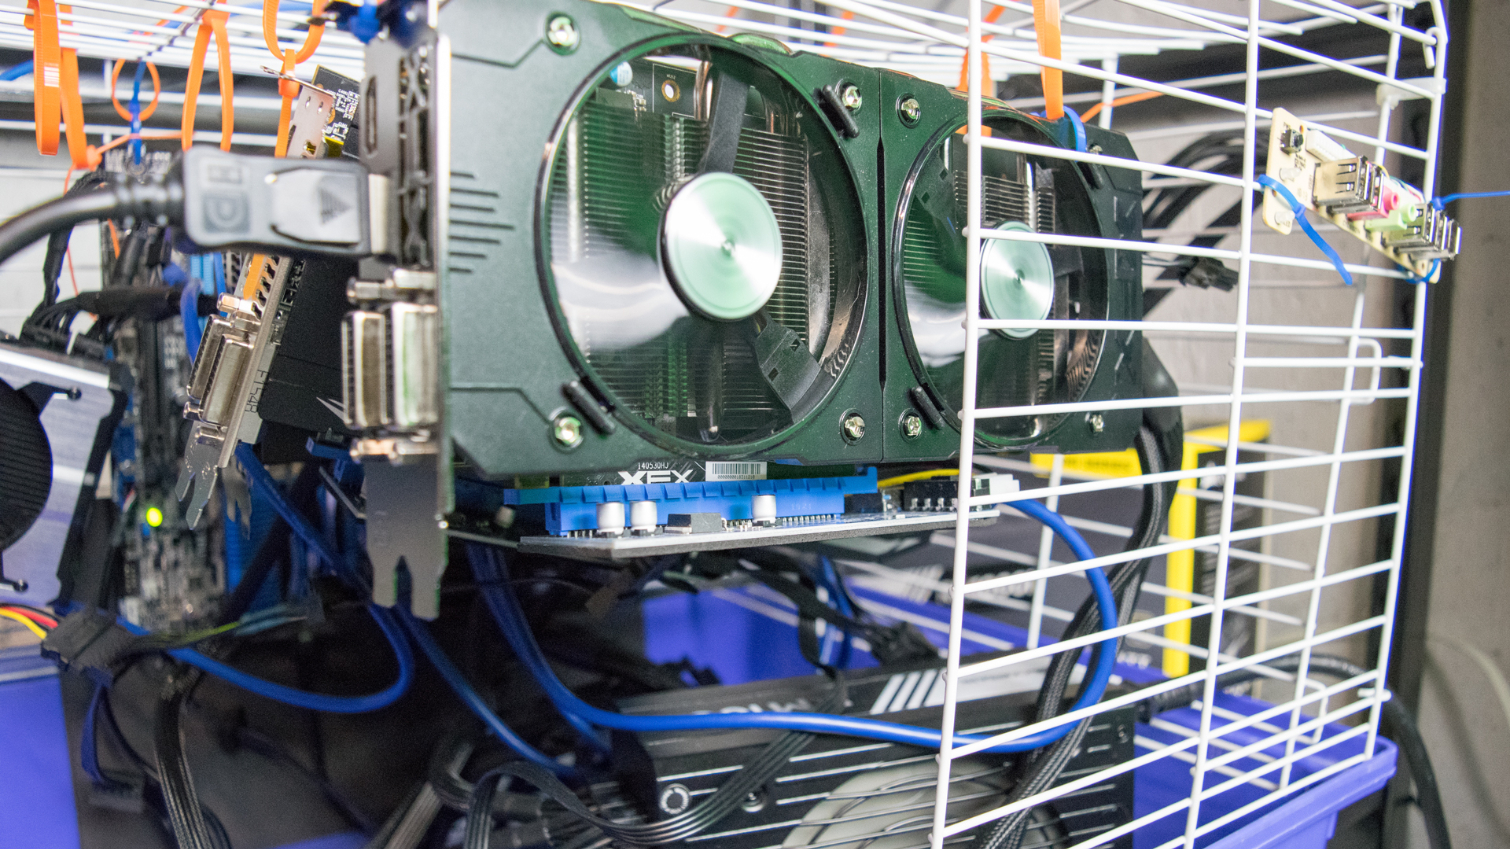
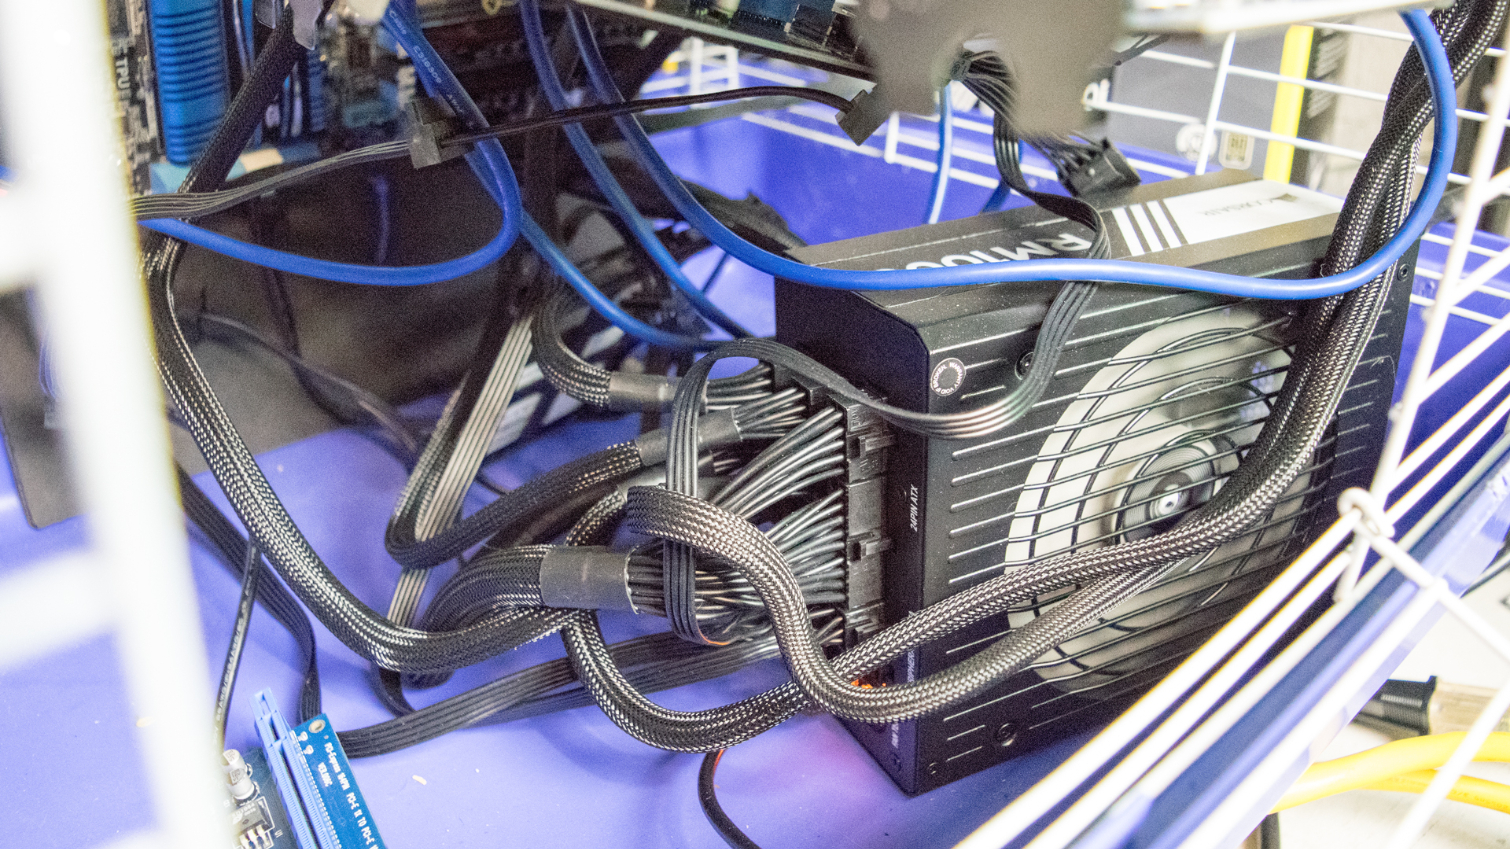
I used zip ties to hang the hardware inside the cage. I looped zip ties through the motherboard mounting holes and hung if from the top. To ensure the motherboard wouldn’t touch the cage and cause a short, I slipped a piece of foam poster board behind the motherboard. To make it easy to access the USB ports and the NIC, I hung the board with the I/O ports aligned vertically. I placed the power supply on the floor of the cage with the power switch and port for the power cable facing the grill.
Next came the GPUs. One by one, I hung the cards up in the cage. I attempted to place the cards so that they had plenty of breathing room, and so that I could reach the power cables to do maintenance or swap out the cards. In an open rack, or a shelving system, swapping cards would be simple. Maintenance is likely the biggest downside to the makeshift rabbit cage mining system. I had to sacrifice ease of access for proper air circulation.
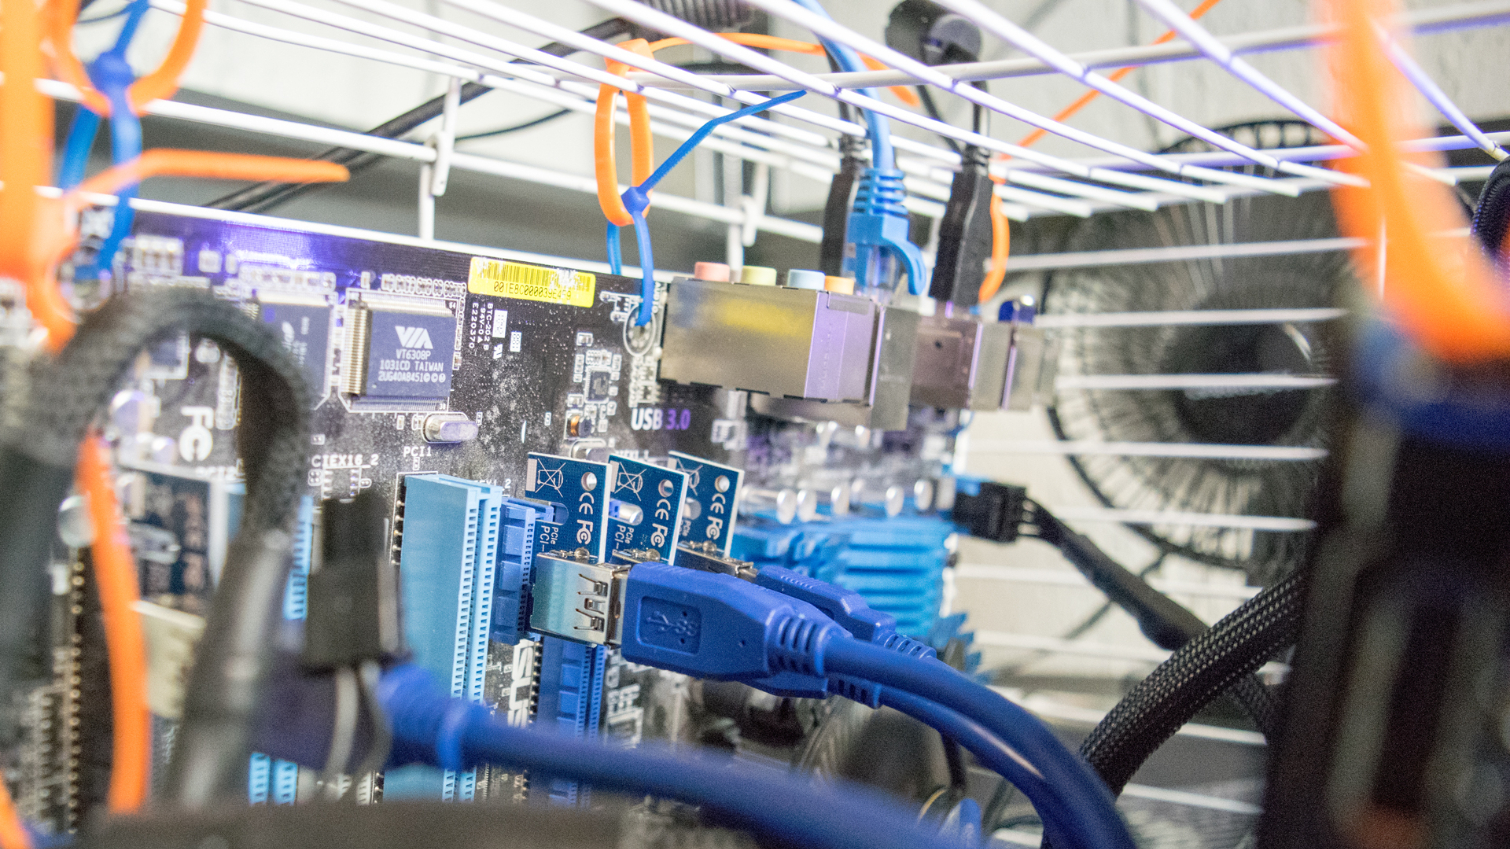


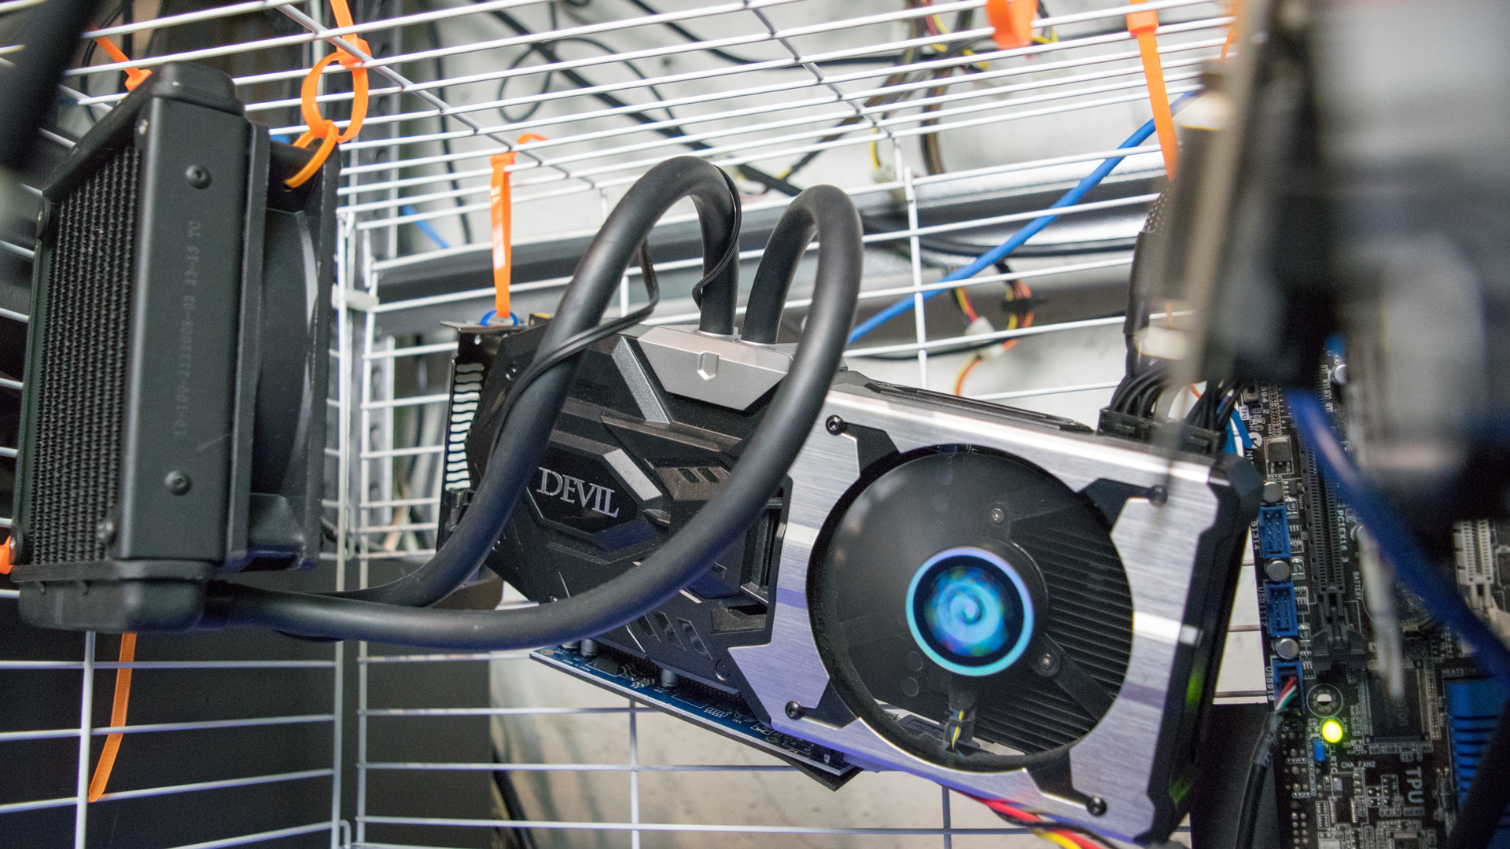

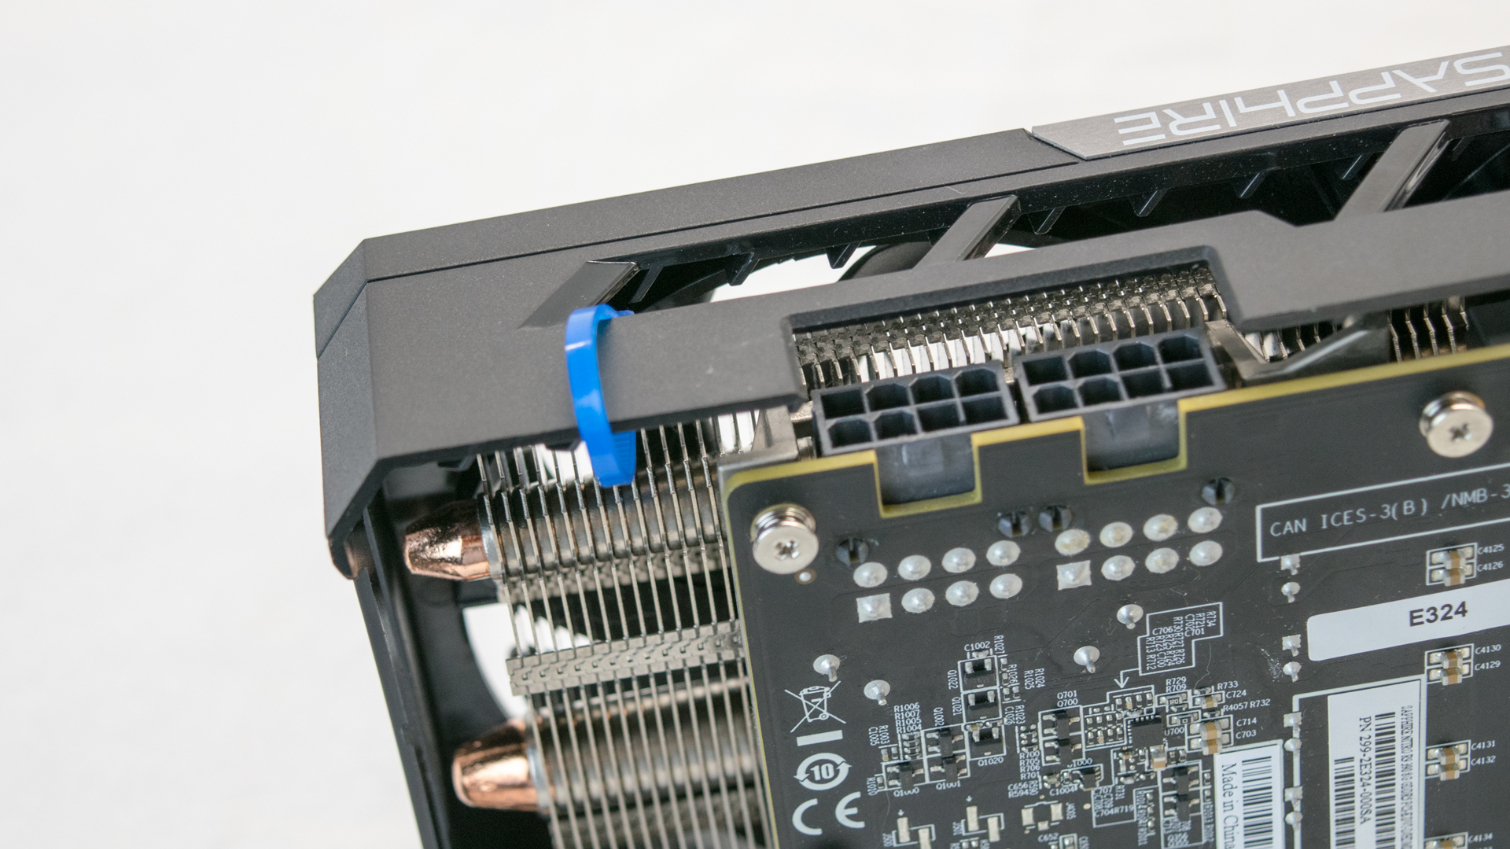
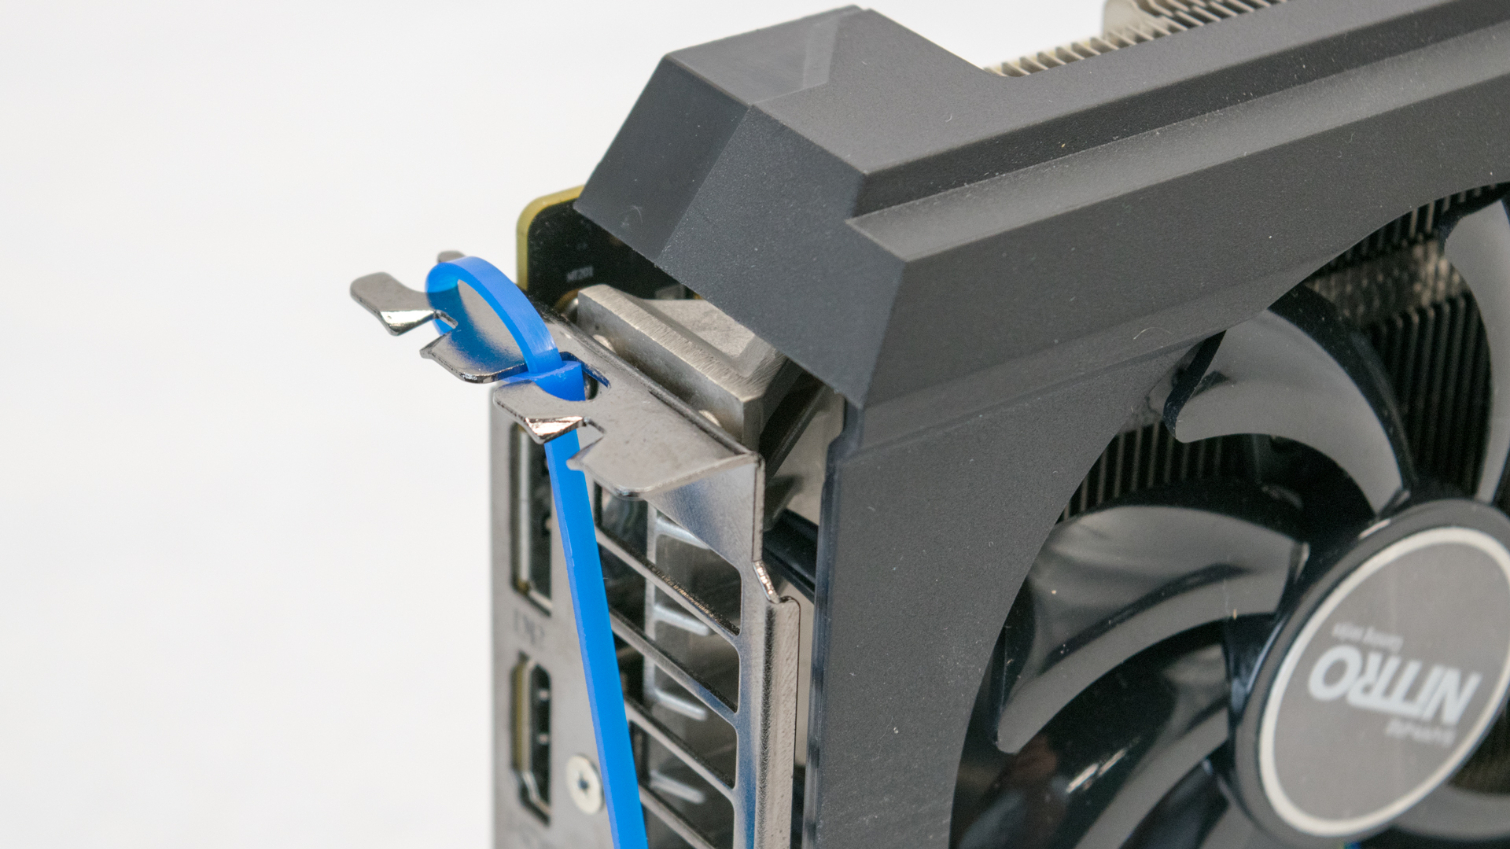
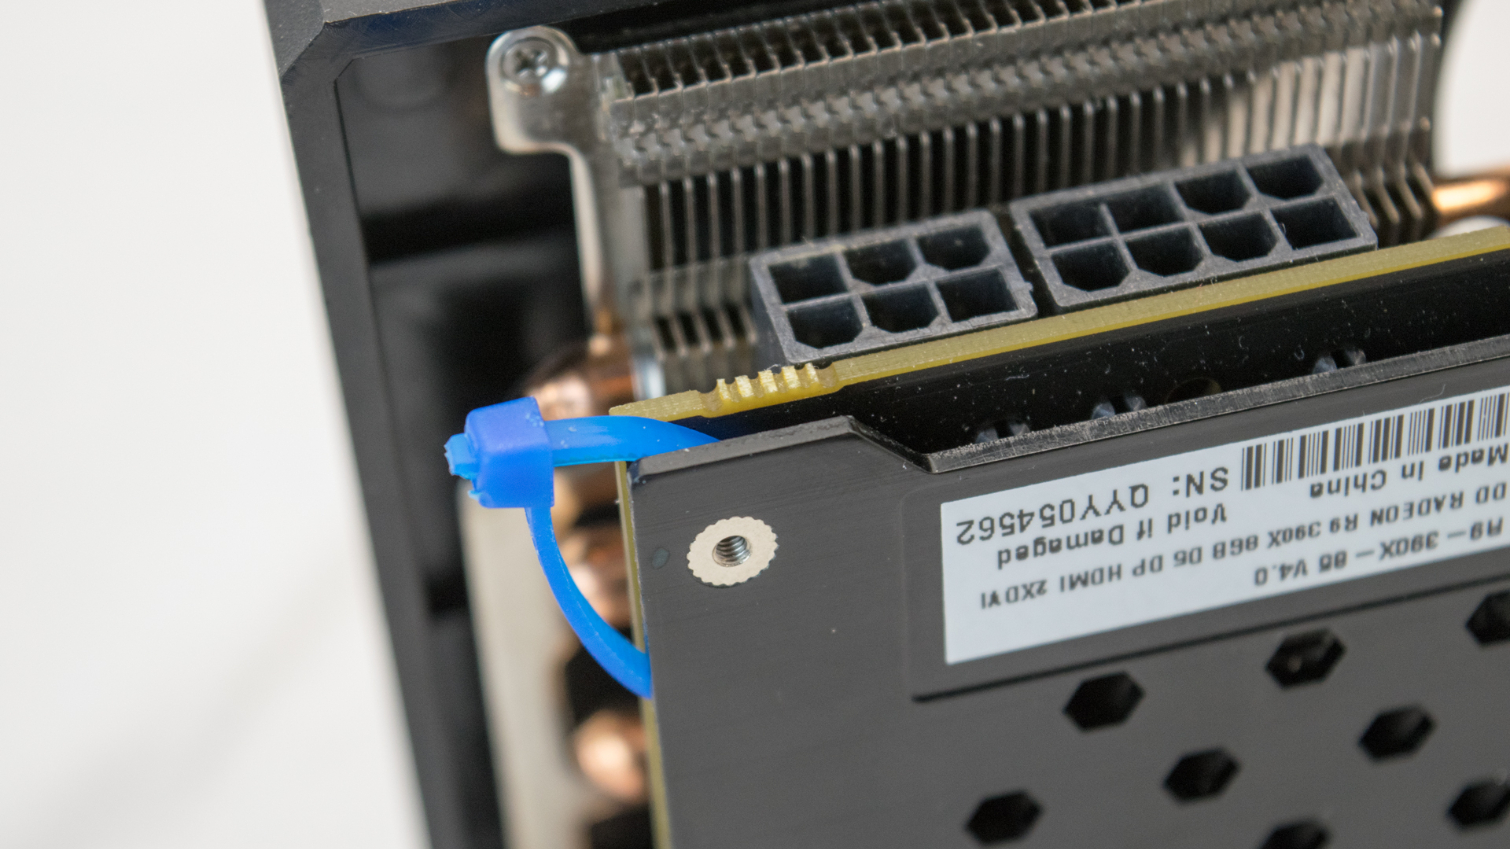
One by one, I carefully zip-tied the graphics cards into the cage. I started with the Fury because I’m confident it’s staying in the miner. Then I added the R9 390, 380x, and 380. With each card, access into the cage became a little bit tighter, and a little more difficult.
I waited until the cards were hung before plugging in the power, and that proved a bad idea. The space was too tight for me to reach the second card, so I ended up cutting the ties so that I could plug the power cables in.
Mistakes Were Made
Every time I plugged in a card, I fired up the system to make sure Windows Device Manager could see the hardware, and to make sure the power supply had enough headroom to support more cards. While fishing my way through the mess of cables to plug in the R9 380x, I somehow pulled the x1 card connected to the R9 390 out of the motherboard. Naturally, I plugged it back in. And that’s when it happened: out of the corner of my eye I saw an LED go out—I forgot to turn off the power supply before connecting the card.
I feared I had blown my new power supply, or maybe the motherboard. Worst case scenario: it all just went up in smoke. Miraculously, it didn’t cause any permanent damage to the primary components. With the riser seated in the correct slot, the system booted properly and Windows detected all three cards.
Something Went Wrong
I wasn’t entirely confident in the system at this point, so I decided to leave the rig running with three cards overnight. The miner was pushing roughly 67 MH/s when I went to bed, but it was only giving me around 40 MH/s in the morning. Overnight, the R9 390 stopped responding to the computer. Windows Device Manager could no longer see it. I tested the card in another system and it seemed to work fine, but it doesn’t work through the riser card anymore. To avoid risk, I swapped the riser board out, and I retired the Sapphire Nitro R9 390 from the rig.
MORE: The Ethereum Effect: Graphics Card Price Watch
MORE: Best Graphics Cards
MORE: Best PC Builds
Current page: Crypto-Mining PC Build: Using An Old Rabbit Cage For An Open-Air Chassis
Prev Page Mining For Crypto Currency: Why Power Draw Is As Important As Hash Rate Next Page A Profitable Ethereum-Mining Rig Depends On Your Electricity CostsKevin Carbotte is a contributing writer for Tom's Hardware who primarily covers VR and AR hardware. He has been writing for us for more than four years.
-
bloodroses Next, add a Solar Panel/battery setup so you can get off the power grid. It will save you even more money.Reply -
shrapnel_indie Interesting read. Unfortunately for me, I don't have the luxury of hanging to test products (for free, especially)... then again I don't have anything to test, beyond what I grab for my own use. I've got old hardware, but only one GPU with more than a Gig of RAM and I need that for my everyday driver.Reply -
TJ Hooker ReplyBelieve it or not, the Power Color RX 480, which is otherwise a very efficient mining card, dumps more heat into the room than any other GPU in this roundup. After a little more than 10 minutes of mining, the card reaches nearly 80°C.
That's not how it works...
There is not a direct relationship between GPU temperature and heat output (it also depends on the cooling solution). There is a direct relationship between power draw and heat output (they're equal). R9 390(X) are going to heat up your room significantly more than a 480. -
doktorv If you live in a hot region and use air conditioning, you actually consume more than double the listed electricity because the heat being produced in the computer has to be subsequently removed by the air conditioning, which is not 100% efficient. Texas might seem to be attractive for mining because the electricity is cheap, but if you do the full energy calculation you'll realize it's only worthwhile in the winter.Reply -
Blake_24 If you would plan to run this for a longer time, you should try to lower the clock speed on the GPU core to lower power consumption and increase the memory clock speed to increase hash rate. Since Ethereum is not very dependent on the core clock and basically only the memory clock it would make performance better while also increase the profit marginReply -
AnimeMania Could you write an article about how the cryptocurrencies get the money to pay to their miners. What they do with all the computations your graphic cards are making and if every time they increase the difficulty of mining a coin, does the additional calculations produce something of value or just create busy work. How safe is it allow somebody you don't know to have unlimited, unmonitored access to you computer.Reply -
TJ Hooker Reply
Yes, you need additional power to remove the heat via AC, but it's not double. An AC unit does not take 1 W to remove 1W of heat.20064386 said:If you live in a hot region and use air conditioning, you actually consume more than double the listed electricity because the heat being produced in the computer has to be subsequently removed by the air conditioning, which is not 100% efficient. -
JoeMomma Thanks. I needed that.Reply
Now if only they could rig a hamster wheel to a generator to help pay the electric bill.