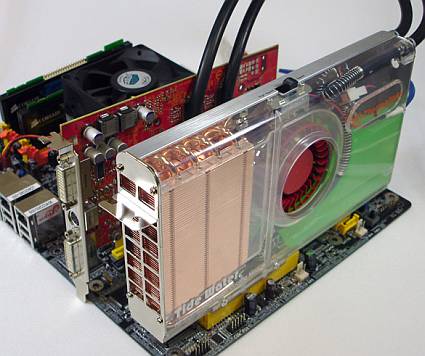
Thermaltake Tide Water Tackles GPU Heat
Mounting Tide Water On Your Graphics Card
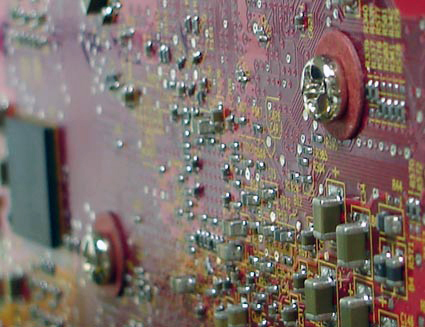
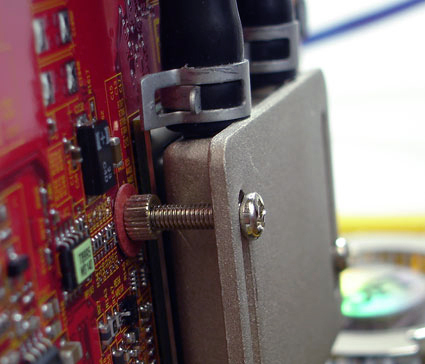
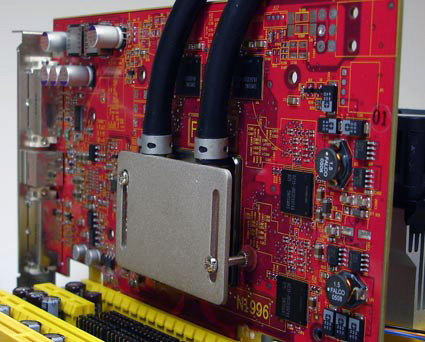
The mounting mechanism for the waterblock consists of two bolts and a threaded nut for each side. The nut is thin and only will take a few threads from each bolt, so the whole process is tricky - the bolts can fall out if they are not tightened.
To install the Tide Water you need to insert the two short bolts through the rubber washers from the back of the video card, and then attach the nut on the front.
Then, hold the waterblock up in position, and screw the two longer bolts though the guides into the nut.
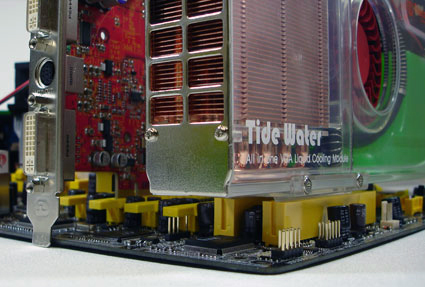
Place the Tide Water in the two PCI slots you want to use.
Now you need to connect power to the unit by attaching a 4-pin Molex connector. The Tide Water was designed with a built in power tap, so you can connect it between your power supply and one of your existing drives. This saves you from needing to buy a "Y" cable.
Get Tom's Hardware's best news and in-depth reviews, straight to your inbox.
Current page: Mounting Tide Water On Your Graphics Card
Prev Page Test Graphics Card: MSI Radeon X800XL Next Page Test Setup
Patrick Schmid was the editor-in-chief for Tom's Hardware from 2005 to 2006. He wrote numerous articles on a wide range of hardware topics, including storage, CPUs, and system builds.
