Touch-Screen HTPC: Three Premium Cases Compared
Thermaltake DH 202 (VJ80051)
Our February review included Thermaltake’s DH102. This time, we're taking a look at the newer DH 202, which features an integrated card reader. If you try to locate HTPC cases on Thermaltake’s Web site, look under desktop cases, as there is no dedicated HTPC category.
Outside and Noise
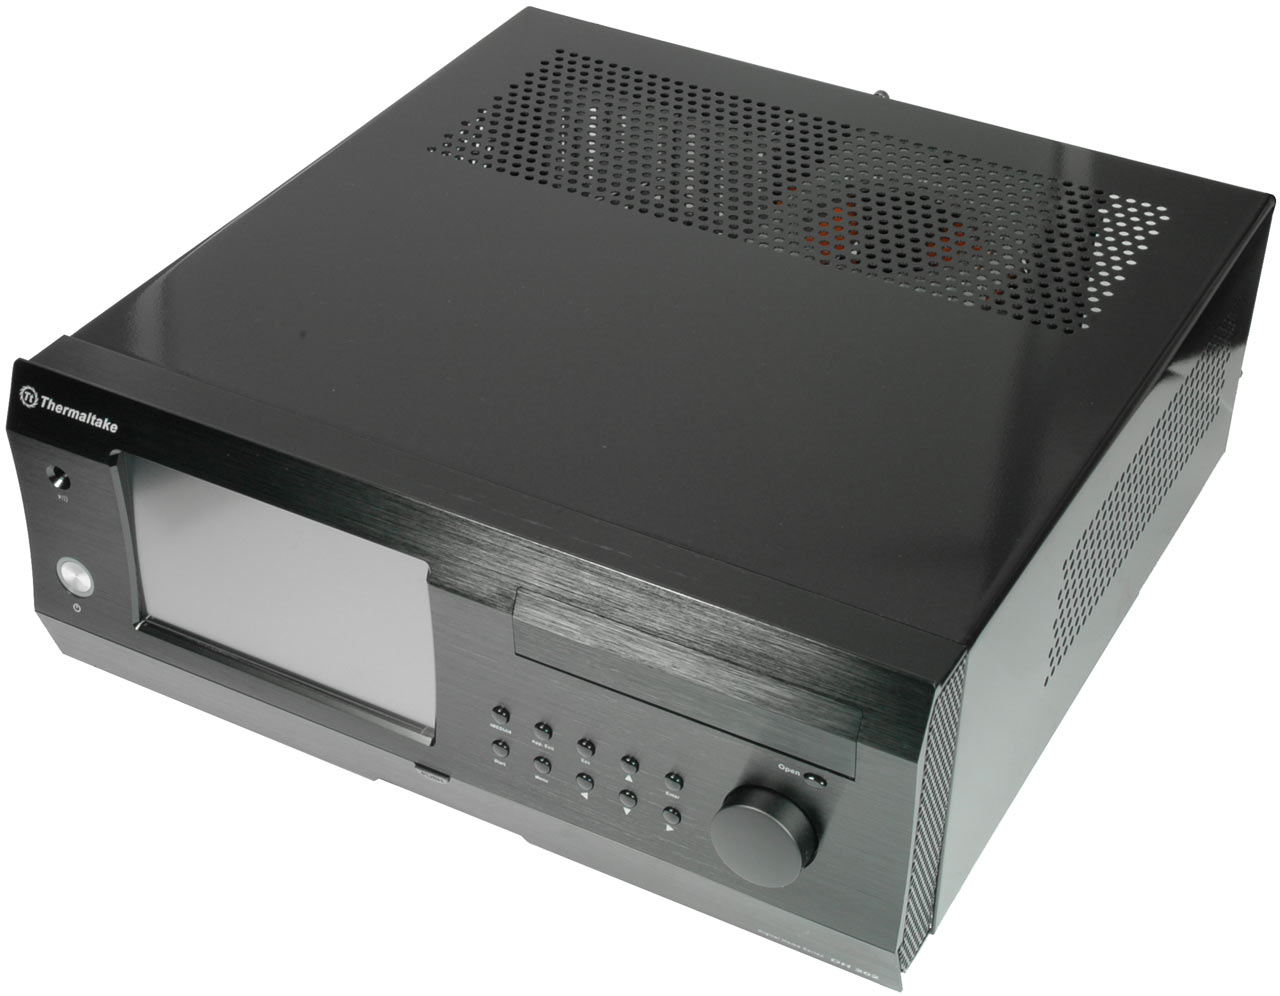
Thermaltake’s DH 202 has the smallest dimensions, but the difference isn’t significant except in depth. With the somewhat more compact frame, it’s possible to position the DH 202 above home stereo devices that are even less deep than this one. Being larger, the Moneual and Zalman most likely need to be placed at the bottom of your home theater device stack.
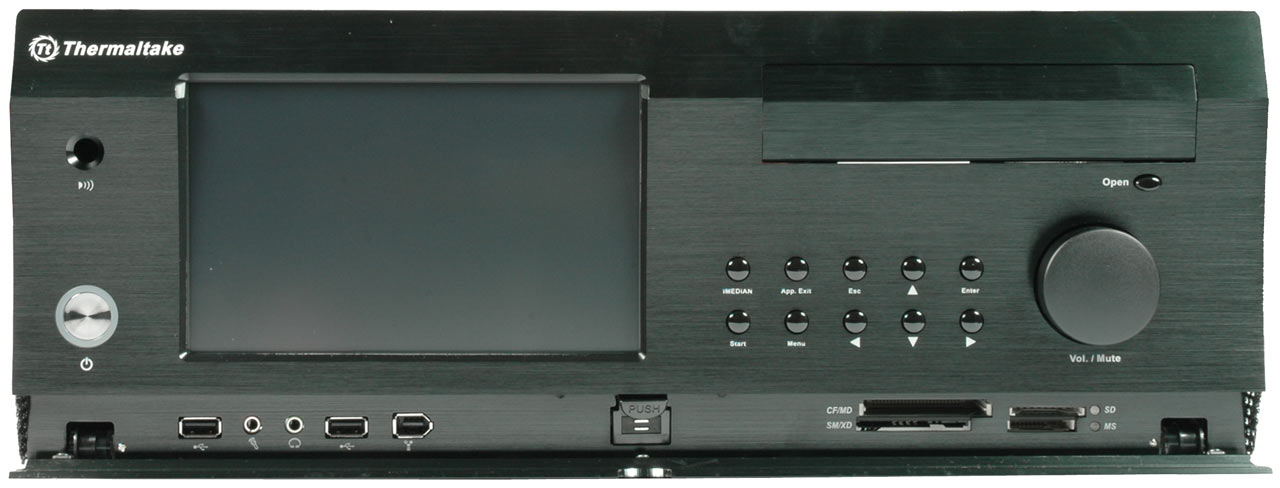
Thermaltake’s front panel looks much more like an expensive stereo device, although the DH102 wasn’t particularly bad itself. The all-black appearance simply looks more appealing to us, but this is of course largely subjective. The I/O panel includes the usual set of audio jacks, 1394a FireWire, and two USB ports, but it also has a multi-card reader. All components were designed and positioned in a space-saving manner, which helps to maintain the small dimensions. We found that the top cover was a bit hard to close, as it took us a while to insert and tighten the three thumb screws.
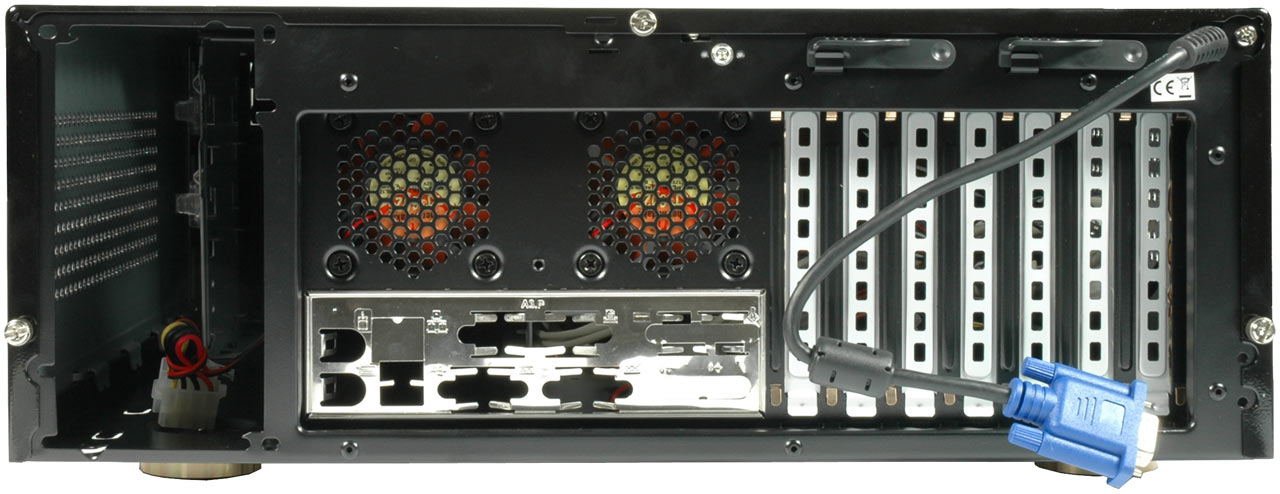
Our noise measurement resulted in 42 dB(A), which is a bit more than what we found with the two competitors. The reason can be found in the 120mm front fan. Once we disabled it, we the results were 4 dB lower. Note that the two 60mm rear fans were still running during the second measurement. The latter are listed as optional on the Thermaltake site, but they were installed on our test sample. All side parts come with ventilation openings.
Inside
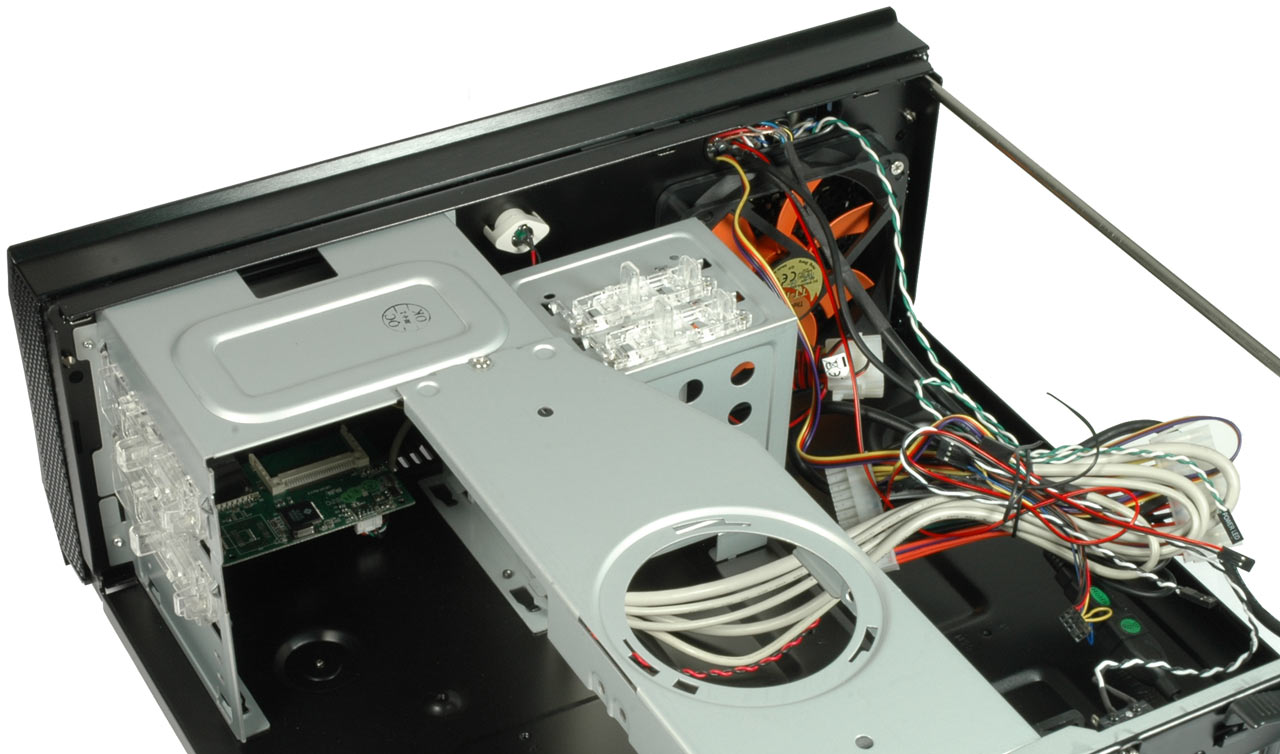
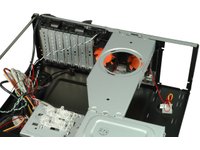
Thermaltake’s interior is more compact than Moneual’s. There is one 5.25” drive bay for your optical drive and two internal 3.5” drive bays. Two drives can be installed into the front cage while the third has to be mounted into the top cage, which is also designed as a bridge element. You must remove the bridge in order to install the motherboard easily. Fortunately, the removal process is fairly simple.
Get Tom's Hardware's best news and in-depth reviews, straight to your inbox.
Current page: Thermaltake DH 202 (VJ80051)
Prev Page Moneual MonCaso 972 Next Page Zalman HD160XT Plus