ViewSonic VP2771 Professional Monitor Review
Why you can trust Tom's Hardware
OSD Setup & Calibration
We expect professional monitors to have large OSDs. But the VP2771 has a myriad of options that don’t always interact in a predictable manner. The user manual doesn’t provide much insight, merely providing a menu tree listing without giving details about specific functions. We managed to unravel the mysteries, so we’ll go over the important points now.
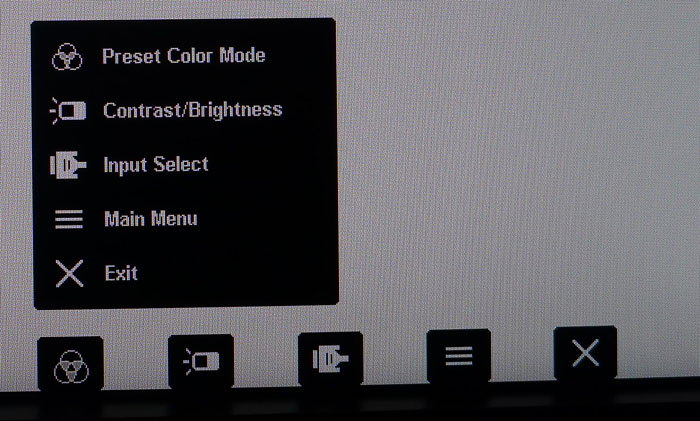
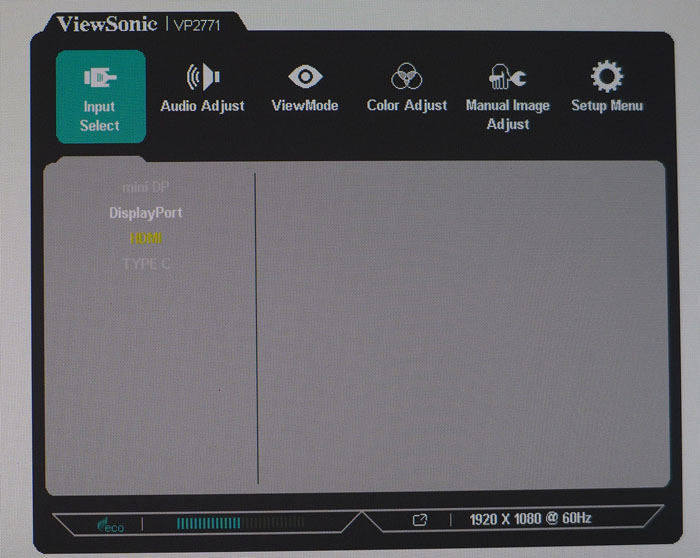
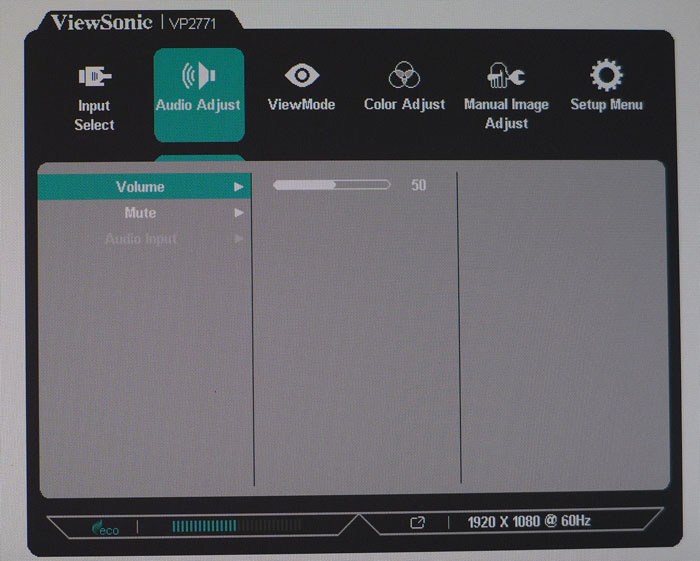
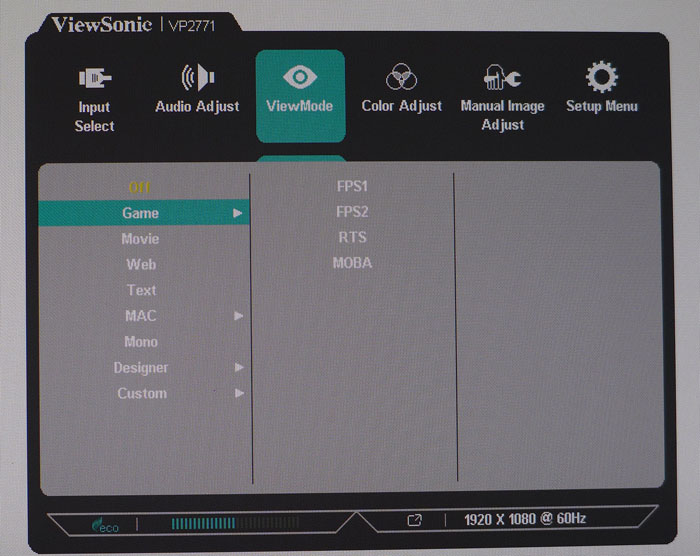
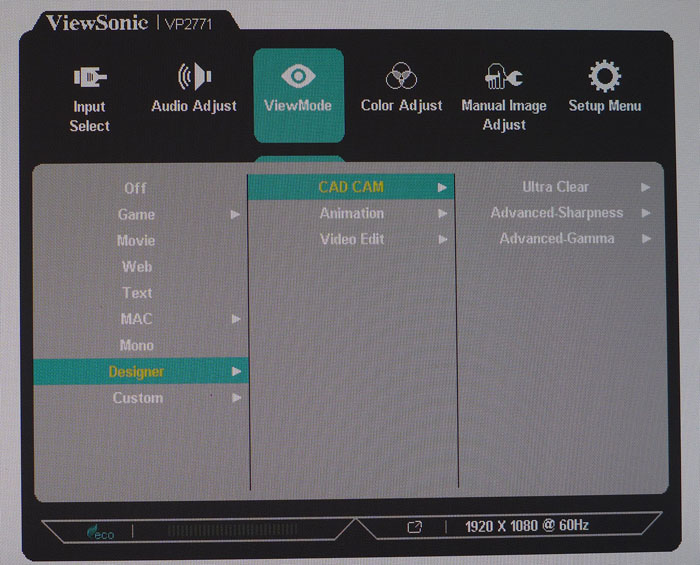
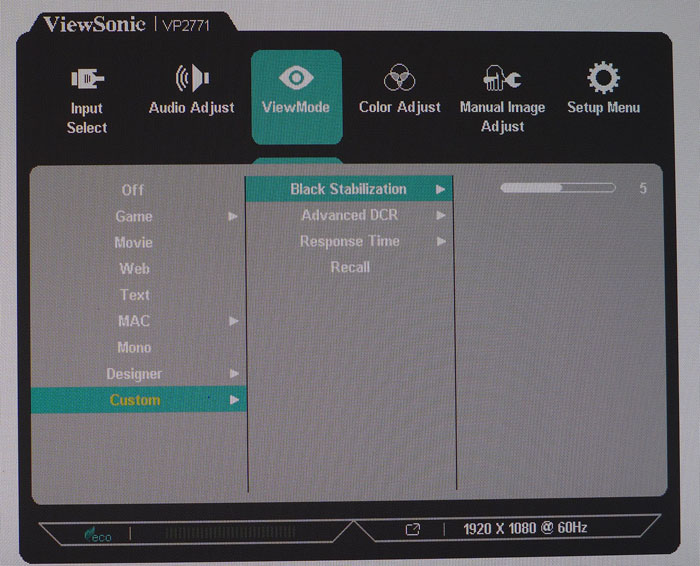
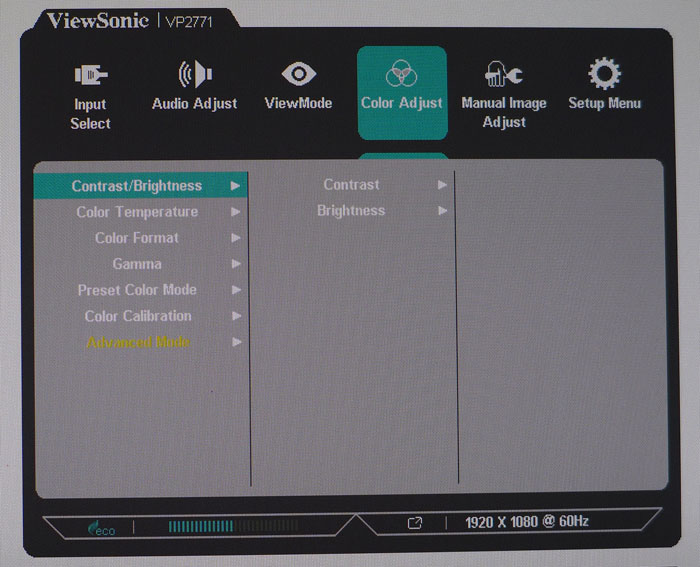
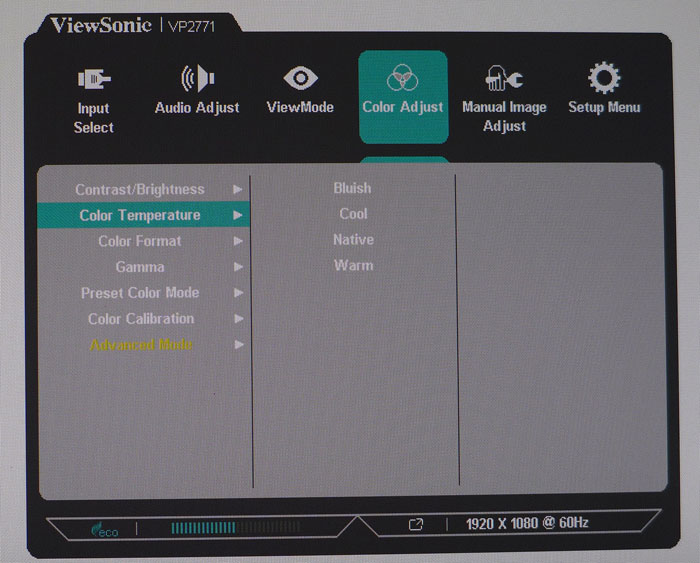
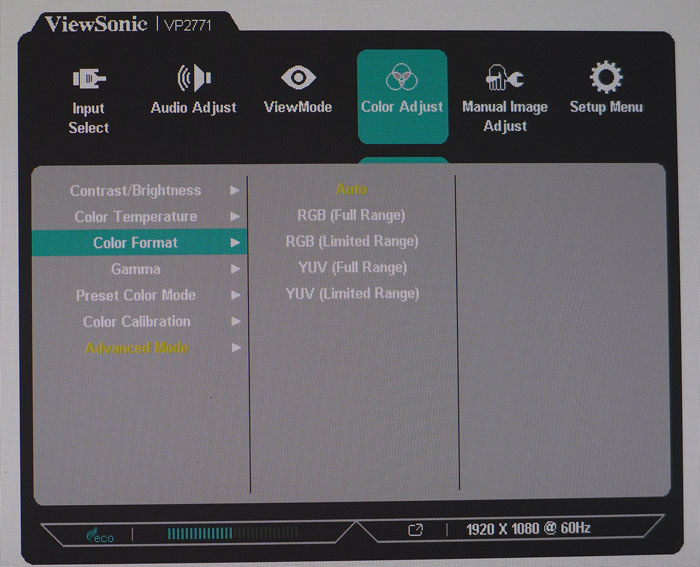
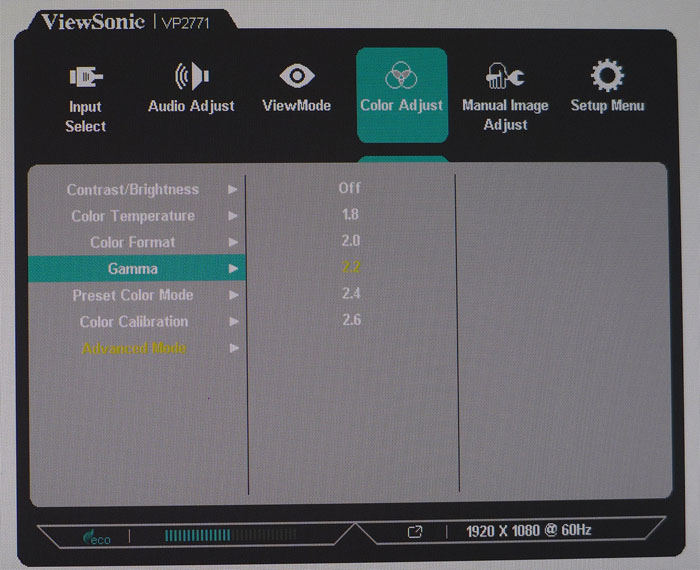
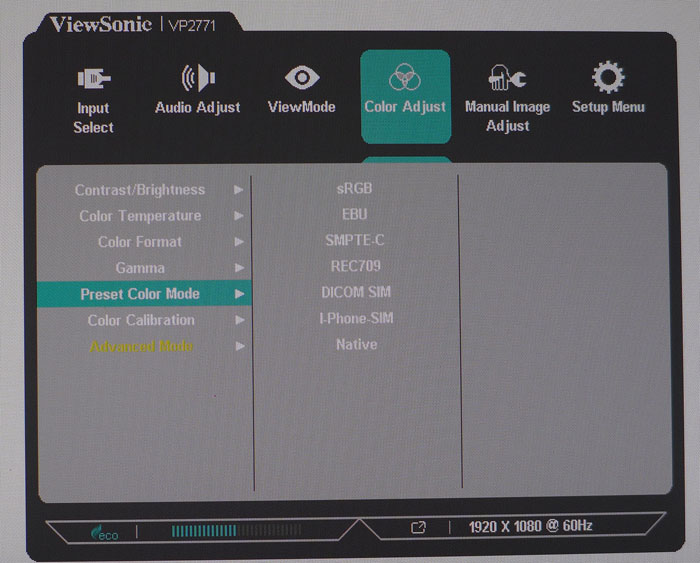
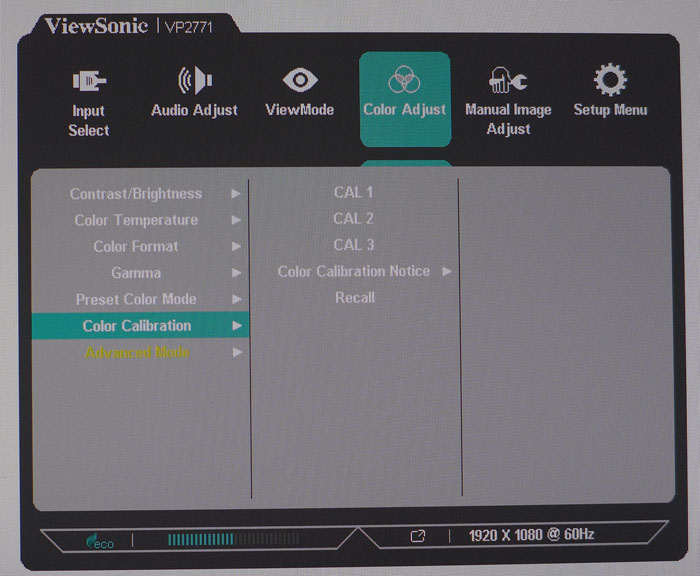
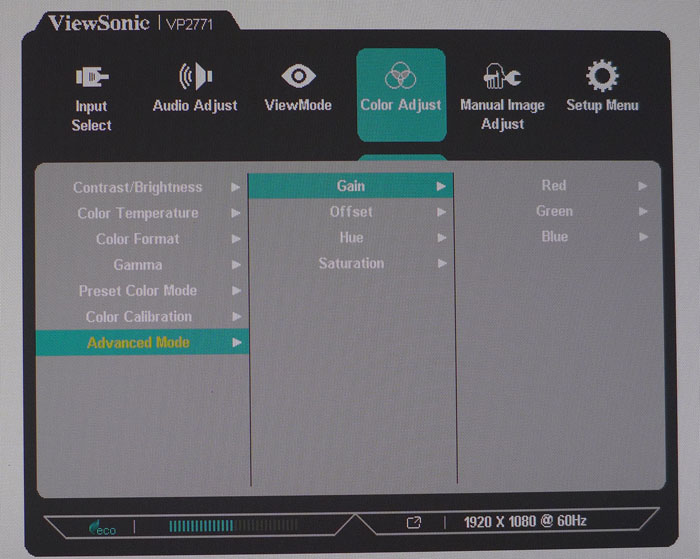
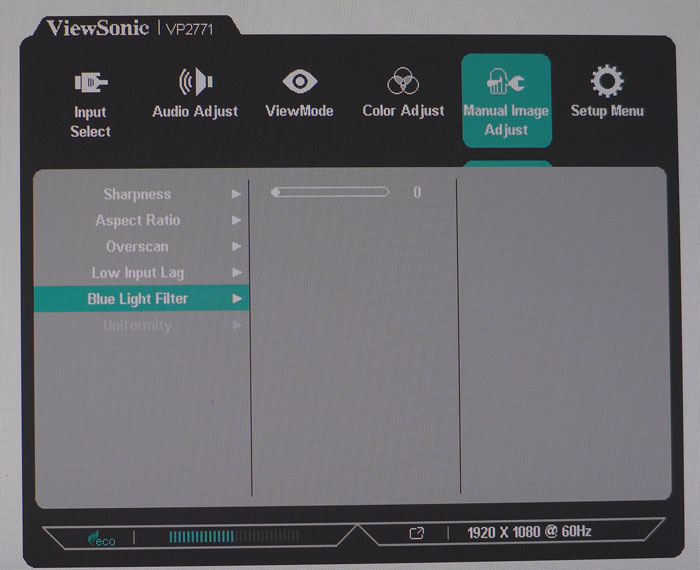
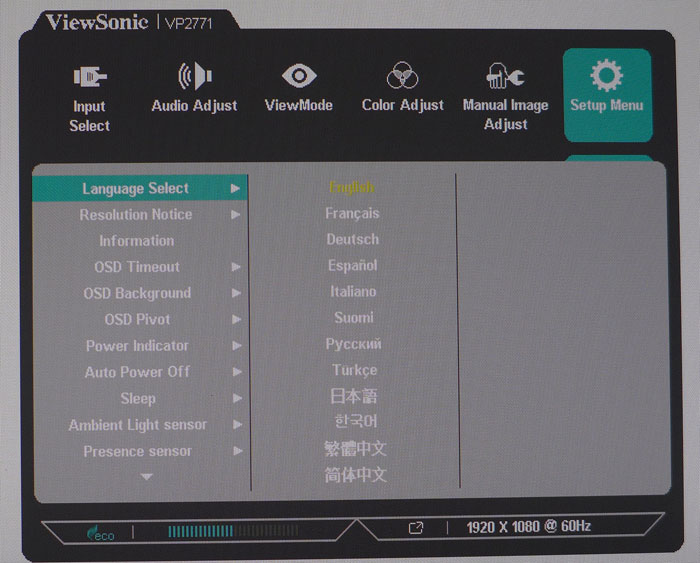
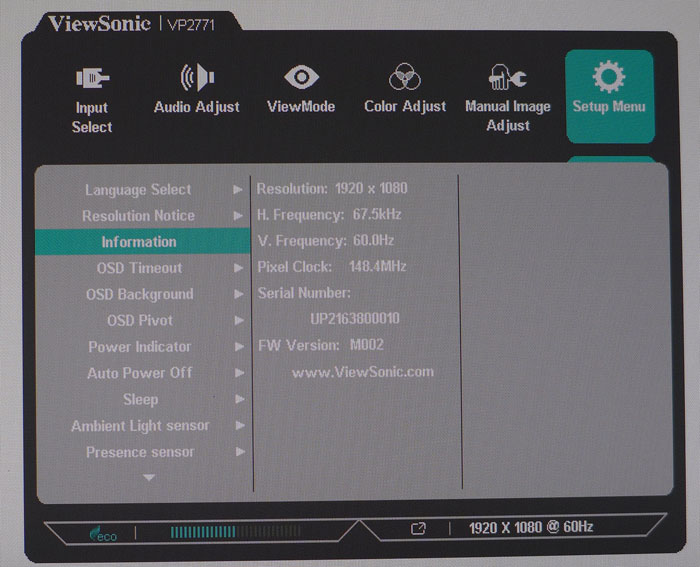
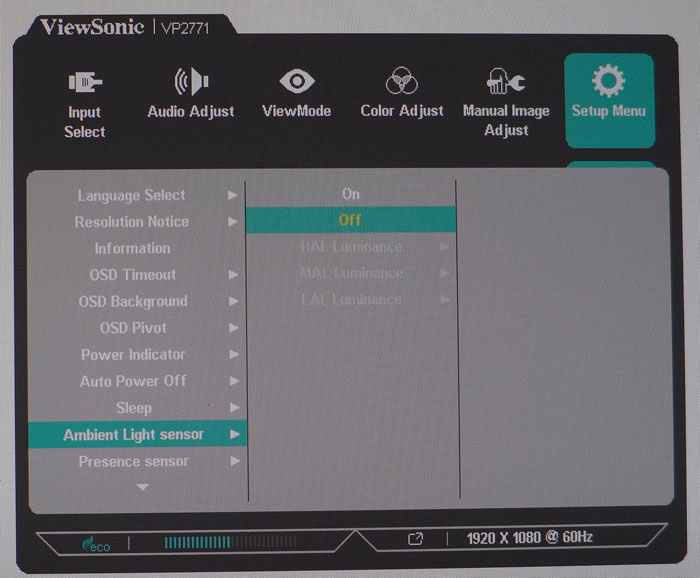
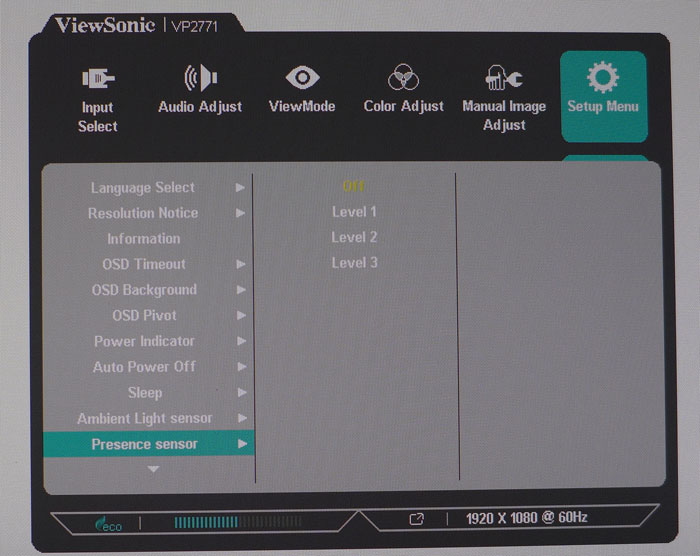
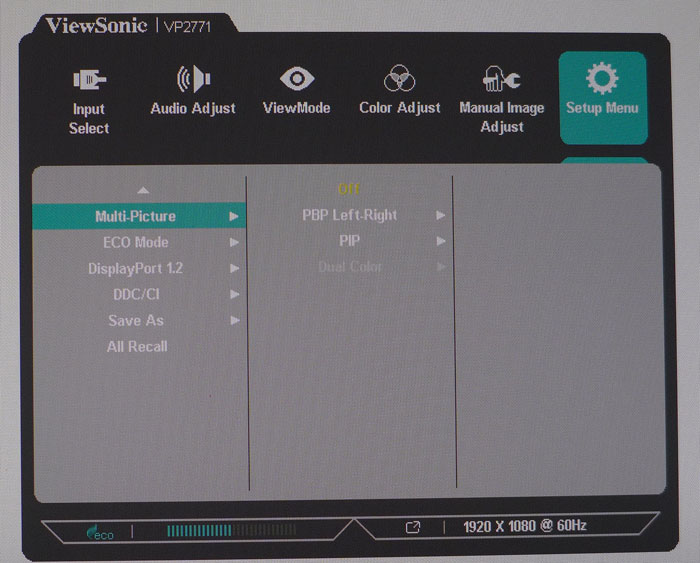
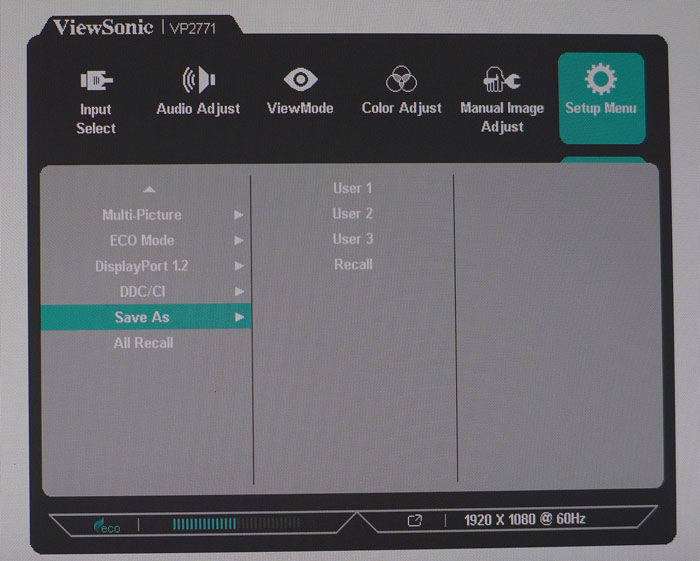
Pressing any control key brings up a small, quick menu that allows changes to Preset Color Mode, luminance, and input source. Press Main Menu to reveal the full OSD.
First up is the input selector, followed by the Audio Adjust controls, which change volume for the headphone output. Or you can mute the sound entirely and change its source. All the inputs support an audio stream.
ViewMode should not be confused with the preset color modes. They are completely different things. For most tasks, this option should be turned off. The different settings alter various image parameters and provide access to things like dynamic contrast, black level control, and sharpness. Don’t be fooled by the Ultra Clear slider found in some modes. It’s a sharpness control that only serves to increase resolution-robbing edge enhancement. Our advice: leave this off and stick with the color presets.
Color Adjust is where the real magic happens. After Contrast/Brightness, you’ll find four color temp presets. You might wonder where the user white balance is, so keep reading, it’s there. Color Format refers to level thresholds for either RGB or YUV signal types. Auto works fine for DisplayPort, but if you use HDMI, choose Full Range to avoid clipping.
Gamma includes five presets. Turning it off resets it to approximately 2.2. Preset Color Mode is where you can select one of the four factory-calibrated modes; plus, you get DICOM-SIM and iPhone. Native is the default mode and comes pretty close to sRGB. Color Calibration is used with the Colorbration kit and contains three memories. You can also set an interval of up to 3000 hours as a reminder to re-calibrate.
If you want to perform a manual calibration, as we did, choose Advanced Mode. There you’ll get gain and offset sliders for white balance plus hue and saturation controls for all six colors. That method produced the best accuracy for us, though an auto-cal with Colorbration can provide similar results.
Get Tom's Hardware's best news and in-depth reviews, straight to your inbox.
Manual Image Adjust has that sharpness control again. Leave it alone for the best image. Here you can also change the aspect ratio, introduce overscan, change the overdrive setting, engage the blue light filter (100 steps), or turn on the uniformity compensation. That option is only available in one of the preset color modes. You can’t use it in Advanced. We’ll detail its effect on contrast on the next page and show you how it alters screen uniformity on page five.
The final Setup Menu has all remaining options like language, on-screen messages, OSD options, power LED brightness, power off and sleep timers, and control of the bezel-mounted light and presence sensors. They can be used to alter the image based on environmental factors. Presence has three sensitivity levels and can power the VP2771 down when the user leaves the desk.
Here you'll also find a PBP/PIP option for up to two sources. Eco mode will restrict brightness to save power. DisplayPort 1.2 needs to be turned on if you want to take advantage of the MST feature. And you can save all OSD settings to one of three memories. The final All Recall options returns the VP2771 to its factory defaults. Take care with that one; it doesn’t have an “Are you sure?” dialog.
Calibration
You have three main choices when calibrating the VP2771. For the factory-certified modes, just go to Color Preset Modes and choose your preferred color gamut. Some restrict brightness and gray out other settings, but they are reasonably accurate. The second option is to create your own configuration with Colorbration. The kit includes a sensor and software that automates the process. More on that below. The third path is to perform your own manual adjustments. For that, you’ll need to engage the Advanced Mode to gain access to all image settings. To give it a try, replicate our settings from the following table.
| ViewSonic VP2771 Calibration Settings | |
|---|---|
| View Mode | Off |
| Gain | Red 100, Green 100, Blue 94 |
| Hue | Magenta 53 |
| Contrast | 70 |
| Gamma | 2.2 |
| Brightness 200cd/m2 | 49 |
| Brightness 120cd/m2 | 23 |
| Brightness 100cd/m2 | 17 |
| Brightness 80cd/m2 | 11 |
| Brightness 50cd/m2 | 1 |
Colorbration
Our VP2771 sample shipped with an optional Colorbration kit consisting of an i1 Display Pro sensor and X-rite software tailored for ViewSonic. It’s an auto-cal package designed to perform all adjustments hands off, then save the results to one of three internal memories.
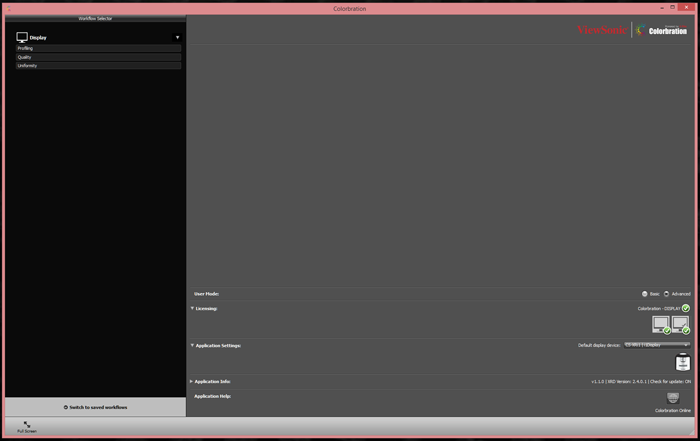
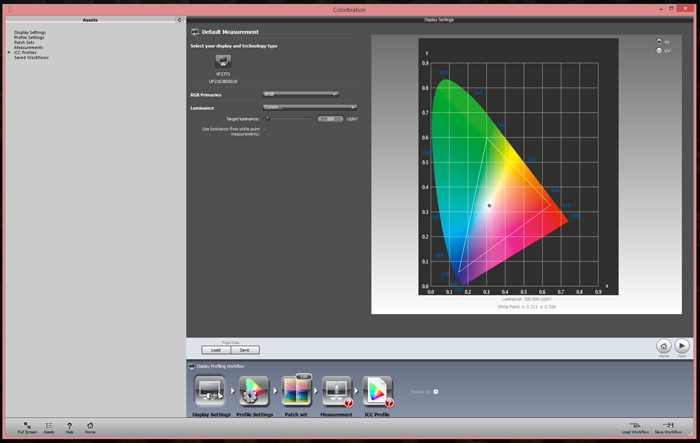
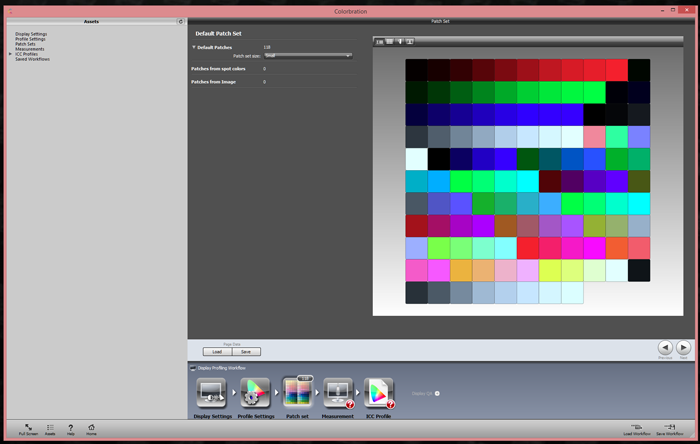
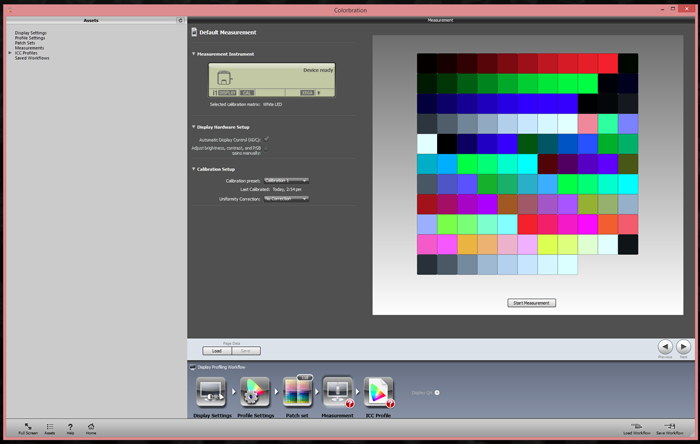
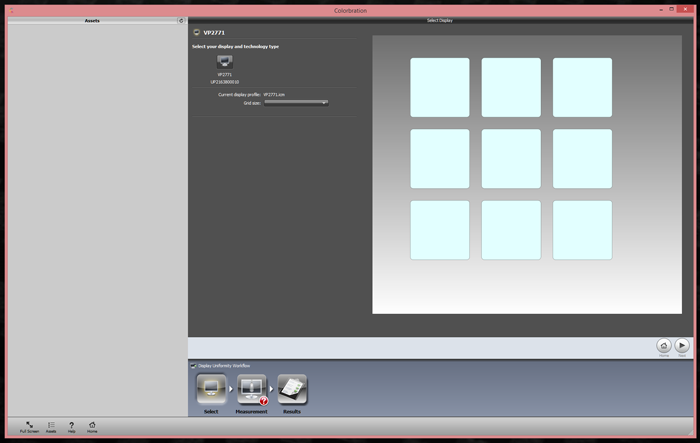
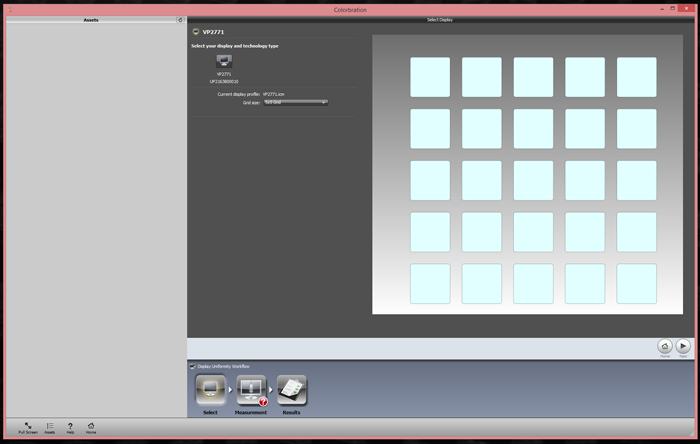
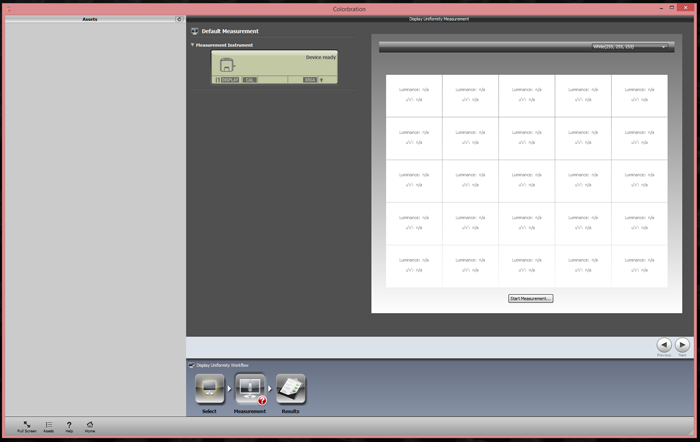
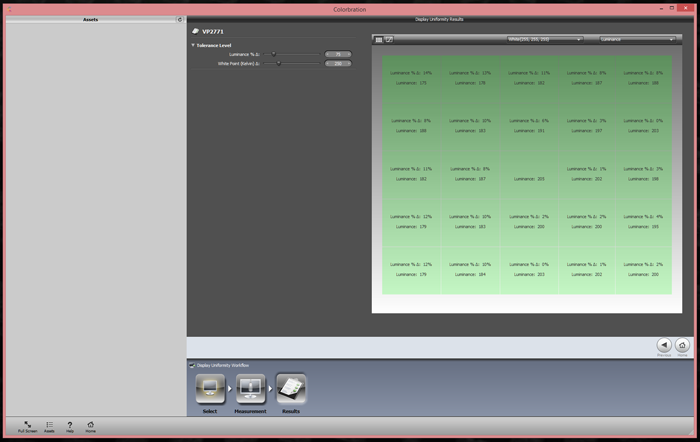
We’ve seen the same app included with some Dell and Samsung monitors, so it was instantly familiar. Basically, you choose a gamut, white point, and luminance level, then let it go. There is no gamma option, which we think is a misstep. Most applications are fine with 2.2 power, but some video material is mastered to the newer BT.1886 standard. There’s a silver lining there, however. Our tests found the Rec.709 preset conformed to that latter spec pretty well. We’ll show that to you on page four.
When setting up the calibration, you can specify the number of measurements. More patches mean greater precision and a longer completion time. We went for the Small option, which is 118 measurements and takes about 20 minutes. Once you’ve verified communication with the sensor and monitor, just hang the probe on the screen and press start. When finished, you’ll get a report with color, gamma, and white point info, and the monitor will be set to your chosen output level.
You can also measure screen uniformity but not change it. There are 3x3 and 5x5 tests, and like the color adjustment, the results are displayed when done. We’ll tell you right now, there’s no need to worry about the VP2771’s uniformity. It’s exemplary in its native state; as in one of the best monitors we’ve measured in that regard.
MORE: Best Gaming Monitors
MORE: Best Professional Monitors
MORE: How We Test Monitors
MORE: How To Choose A Monitor
MORE: All Monitor Content
Current page: OSD Setup & Calibration
Prev Page Features & Specifications Next Page Brightness & Contrast
Christian Eberle is a Contributing Editor for Tom's Hardware US. He's a veteran reviewer of A/V equipment, specializing in monitors. Christian began his obsession with tech when he built his first PC in 1991, a 286 running DOS 3.0 at a blazing 12MHz. In 2006, he undertook training from the Imaging Science Foundation in video calibration and testing and thus started a passion for precise imaging that persists to this day. He is also a professional musician with a degree from the New England Conservatory as a classical bassoonist which he used to good effect as a performer with the West Point Army Band from 1987 to 2013. He enjoys watching movies and listening to high-end audio in his custom-built home theater and can be seen riding trails near his home on a race-ready ICE VTX recumbent trike. Christian enjoys the endless summer in Florida where he lives with his wife and Chihuahua and plays with orchestras around the state.
-
milkod2001 Enjoying my $300 Qnix 1440p monitor for last 3years. Now i see the same specs monitor maybe slightly better colours out of the box for $499... NO Quantum Dot, tech, NO HDR, No Qsync/Free Sync2 nothing. NO sale for me, sorry.Reply