Windows XP a Goner? First Aid for your Windows PC
Creating The ISO File
Once all plug-ins have been integrated and set up, the Next button takes you to the next step in the process.
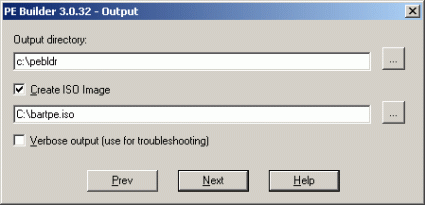
First, enter the directory to group the files (top entry field). After that, if desired, an ISO file can be automatically created. The bottom entry field is for the file name.
CAUTION! If the whole DVD is used, 10 GB of temporary disk space is required.
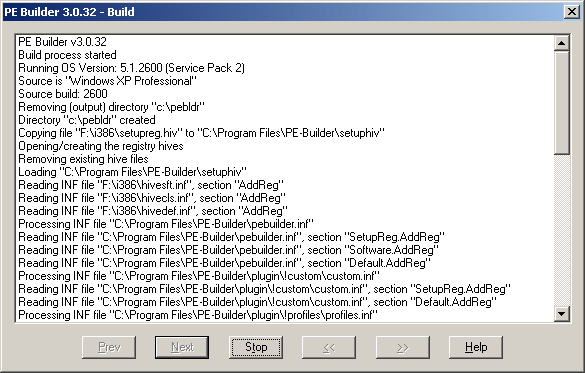
Another click on Next starts the build process; depending on file sizes, this may take some time.
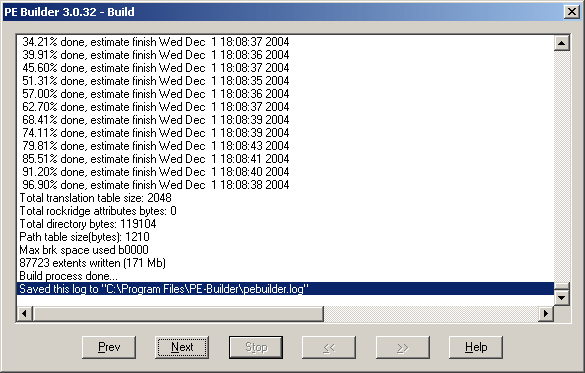
Once completed, you should check whether the ISO file has actually been created. If it looks like the following screenshot, everything's gone according to plan:
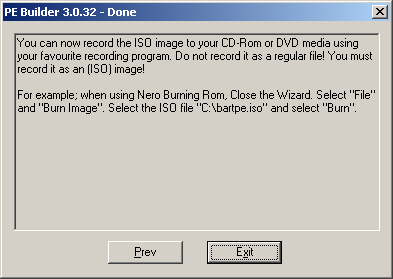
The last click on Next merely tells you how the image should be burned.
Get Tom's Hardware's best news and in-depth reviews, straight to your inbox.
Current page: Creating The ISO File
Prev Page Plug-In Setup: Tiny Hexer Hex Editor Next Page Burning The CD Or DVD-
vladtepes Many times booting from xp cd , choosing the repair R option and using chkdsk /r solves the problemReply -
number13 there is program called winconsole.exe, make a bootable disk from your XP install disk that does all the necessary thing that you need a boot disk to do, great for saving data when you can't get the repair disk to do what you needReply -
System (XP SP3 Home Edition) repeatedly failed while trying to boot (blue screen momentarily displayed then it would loop and try to reboot again; I captured blue screen with a camera but it didn't help). Tried to boot from MS XP Home Edition SP2 install disk (note earlier SP version) and was able to go into repair section. Most options didn't work ... but ran CHKDSK and found one or more errors which evidently repaired them. I ran CHKDSK a second time and there were no detected errors. Rebooted the PC and it worked! Thanks!Reply


