Extracting The Boot Loader
The WindowsXP version you just created can be used without problem for installing on a local computer or via the network. If you need to create a bootable CD, however, a few additional steps are required.
Begin by extracting the start image from the original WindowsXP CD with the Isobuster program.
Article continues belowThis can be downloaded for free from smart-projects .
After it is downloaded and installed, the Isobuster program is launched. In the combo box, select the CD drive where the WindowsXP CD is located. The CD's content structure appears on the left-hand side of the program window. Here, you must choose Bootable CD .
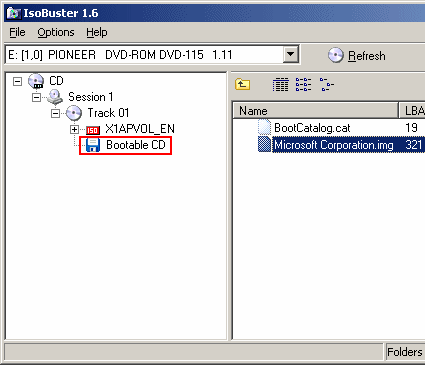
Choosing the "Bootable CD" item
The file Microsoft Corporation.img can now be seen on the right side. After the file is right-clicked and the Extract Microsoft Corporation.img menu item is selected, the boot loader can be saved.
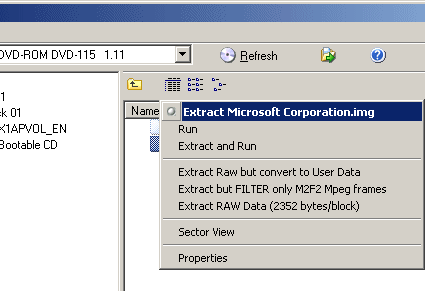
Backing up the boot loader
Save the boot loader to the C:\WIN_CD folder.
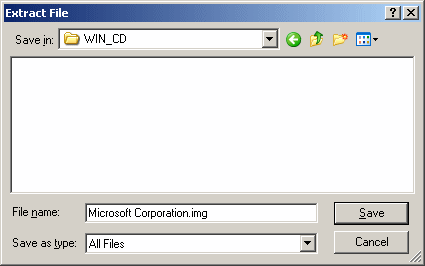
Backing up the complete boot image