Homegrown Mod Manifesto: How To Build A UV PC
Planning & Preparation Make The Job Go Faster, Continued
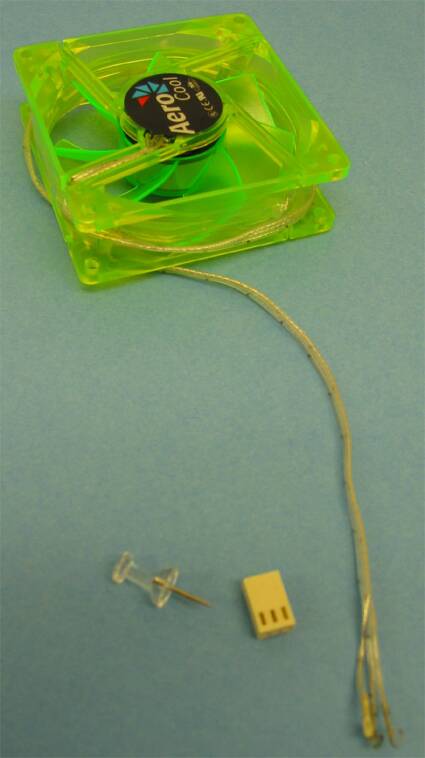
The rear fan in the back of the case was visible, so we went ahead and sleeved that one. In order to sleeve the three pin can cable, you must first remove the three-pin connector. A good way to do this is to gently use a pushpin or thumb tack to push down each of the connection pins through the opening in the connector and gently coax them out. Be careful, as you can damage the connector if you don't take your time; and be very gentle with these pins. Removing the three-pin connector is required to get the UV reactive sleeve over the fan cable and the heat shrink tubing on the ends over the UV reactive sleeving.
All it took was a push pin and a little work and we were able to remove the three pin connector from the cable. Pay attention to the coding of the pins and the order in which they go back into the connector, or the fan will not work at all.
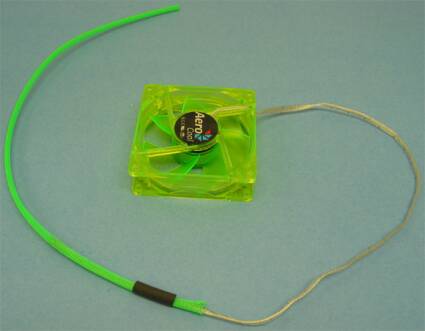
After we have removed the connector, we then cut a section of the UV reactive sleeving to fit over the cable and two pieces of shrink tubing to hold it in place. Next, we slide the cable through the tubing and then the shrink tubing down to the end; just prior to putting the cable back you can then slide the other piece of shrink tubing over the sleeve.
Here we are sleeving the fan cable. The entire process is pretty easy overall, but to achieve the best results without making a mistake, you must take your time and mark the pins so that you reconnect them properly to the cable.
Get Tom's Hardware's best news and in-depth reviews, straight to your inbox.
Current page: Planning & Preparation Make The Job Go Faster, Continued
Prev Page Planning & Preparation Make The Job Go Faster Next Page Planning & Preparation Make The Job Go Faster, Continued
