Network Interface Configuration
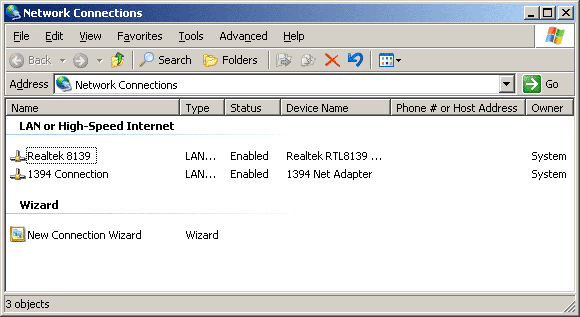
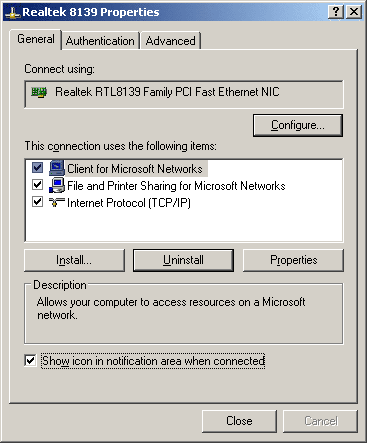
Under [Properties], after making a right-click on the desired network connection, you can get into the configuration menu. Windows likes to install the QoS service (quality of service), or alternatively network load compensation. However, in small networks, this really doesn't make sense. You should, however, select the option at the bottom of the dialog box so that the connection icon is always visible in the taskbar.
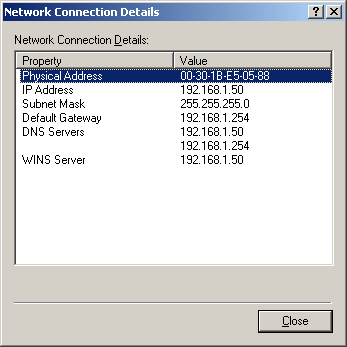
A right-click on this connection icon gives you a detailed overview of all the relevant interface data, among other things.
Since we are installing a server system here, it should of course always be reachable at the correct IP address. This is less important in a local network because you can also reach the computer by its name since the DNS service resolves names. However, as soon as services are to be reachable from the Internet (VPN, terminal services, FTP...) an IP address must be given for the router.
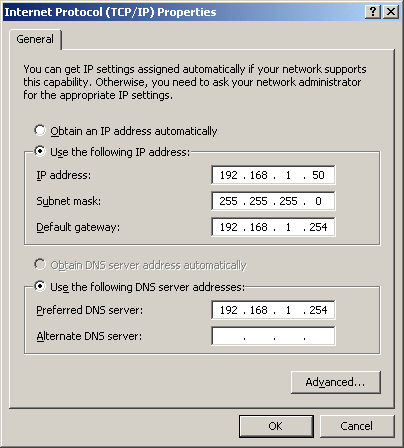
We give the IP address of our DSL router here as a gateway, because the server itself should ultimately also be given access to the Internet. At this time, we also enter the router as the DNS server.
