Best Cura Plugins: Improve Your 3D Printing
Important Cura Plugins You Need for Optimal 3D Printing
Cura is a popular and free 3D slicing software compatible with most of the best 3D printers. The basic version of the software has all the features you need to slice 3D models, but if you would like to add more capabilities beyond its standard tools, you need to install the various available plugins.
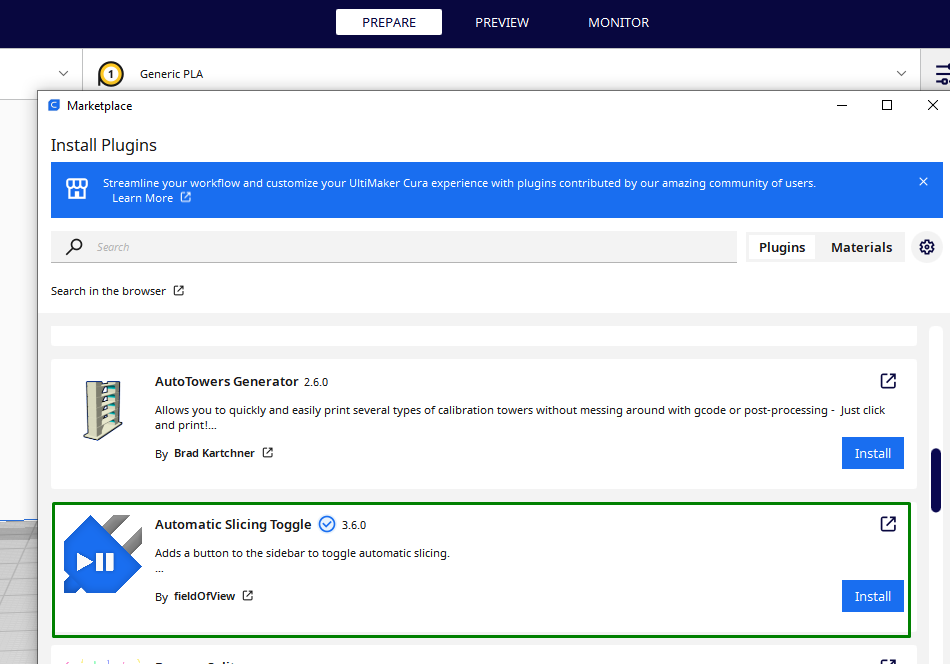
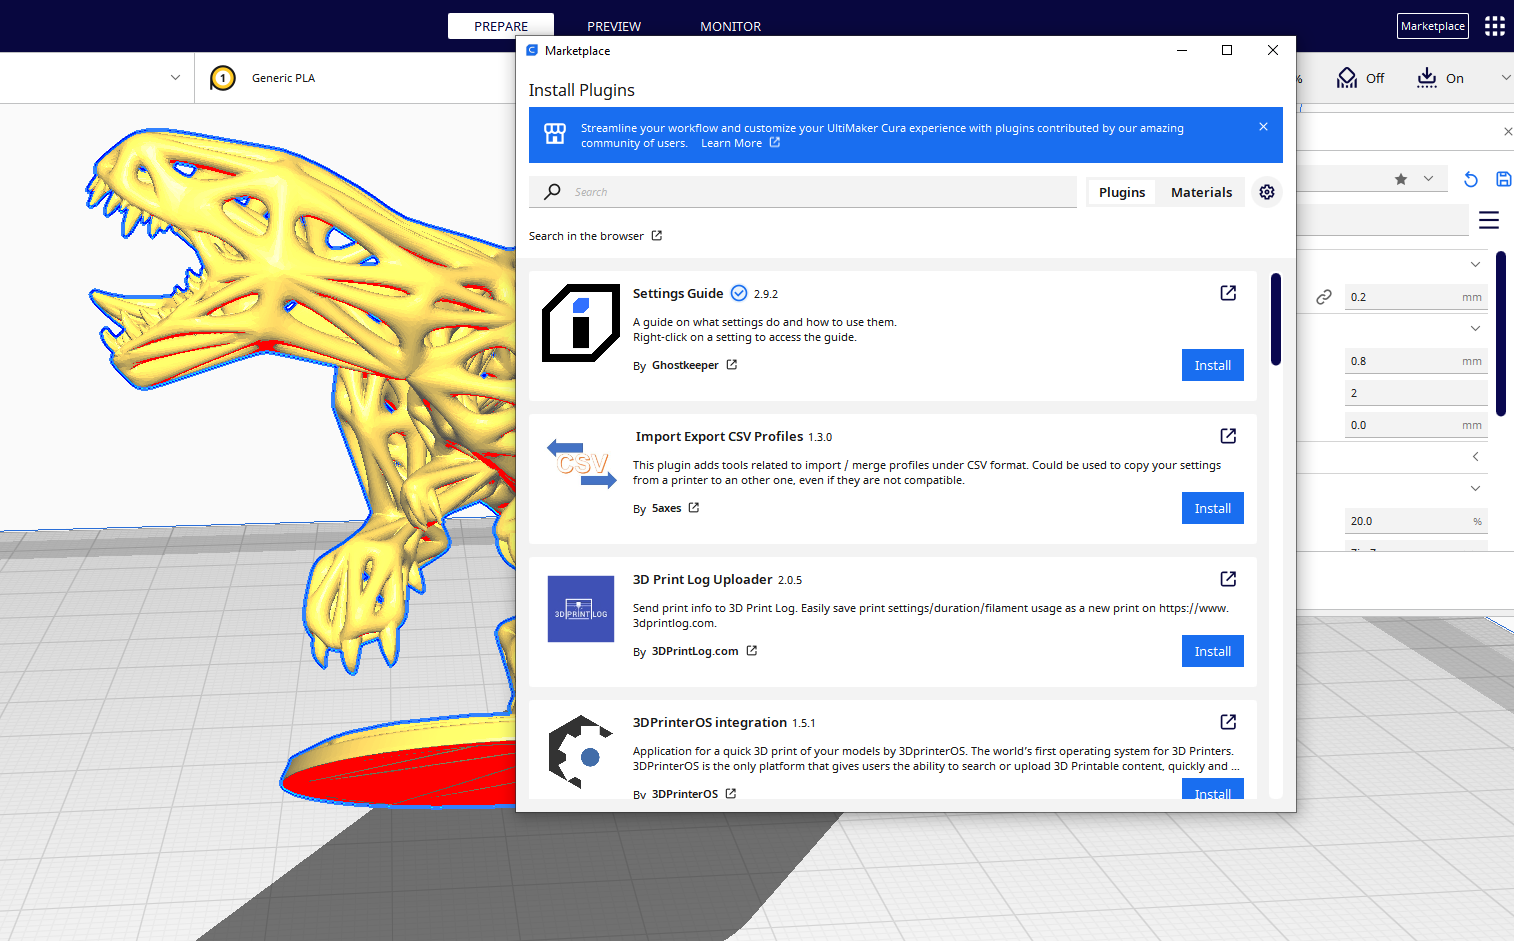
Each plugin serves a specific purpose and solves a particular problem when preparing 3D models for 3D printing. The plugins also play a great role in streamlining the 3D printing workflow by customizing the software. You can find them by clicking on the Marketplaces button in the workspace's top right section. You can then search your plugins from there or scroll the slide bar on the right. When you find it, click install and when you restart Cura, you will see it. Below are some of the cura plugins that you can download and install.
1. 3D Printer Calibration
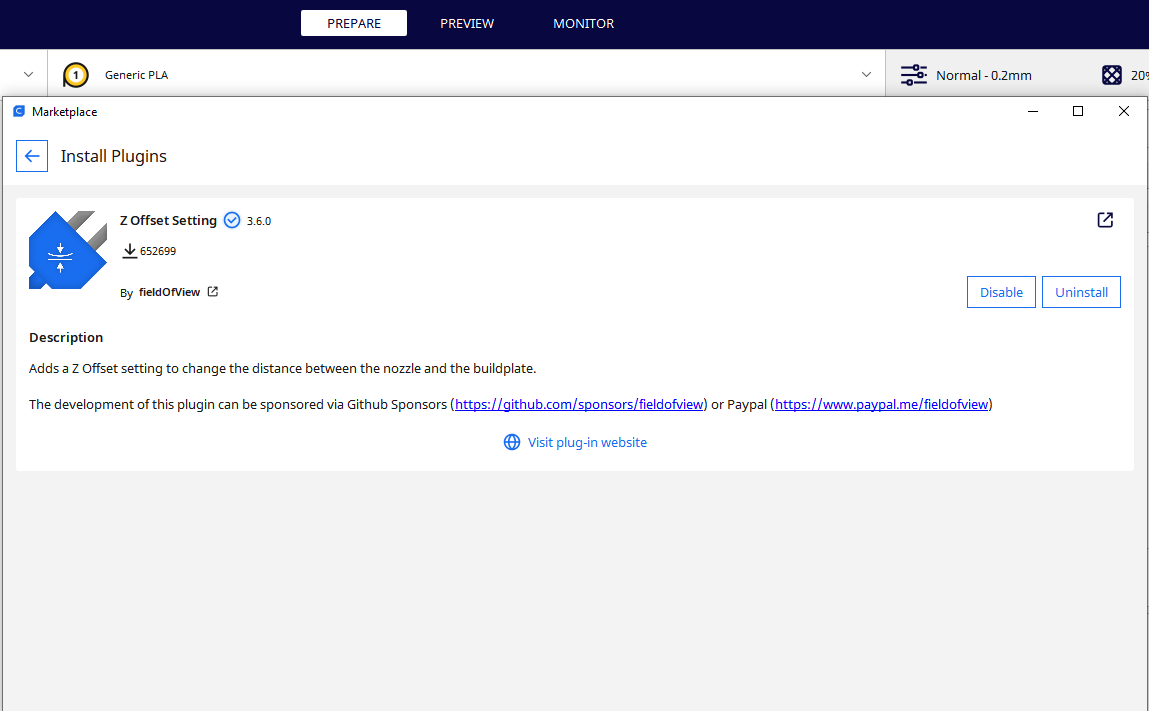
Cura has various plugins for ensuring that your 3D printer operates with precision and accuracy in order to achieve optimal results. One of the plugins in this category is the Z Offset setting.
Aldo Hoeben designed it and he goes by the nickname fieldOfView. This plugin helps ensure that the distance between the nozzle and the print bed is correct to help achieve proper adhesion and accurate layer deposition.
This prevents problems like elephant foot in 3D prints, under and over-extrusion, and ensures the first layer adheres properly to the bed surface. It also plays a significant role in compensating for different materials. After installing and restarting the software, you should be able to see it in your settings section. Adding a positive value will increase the distance between the nozzle and the bed, and a negative value will decrease it.
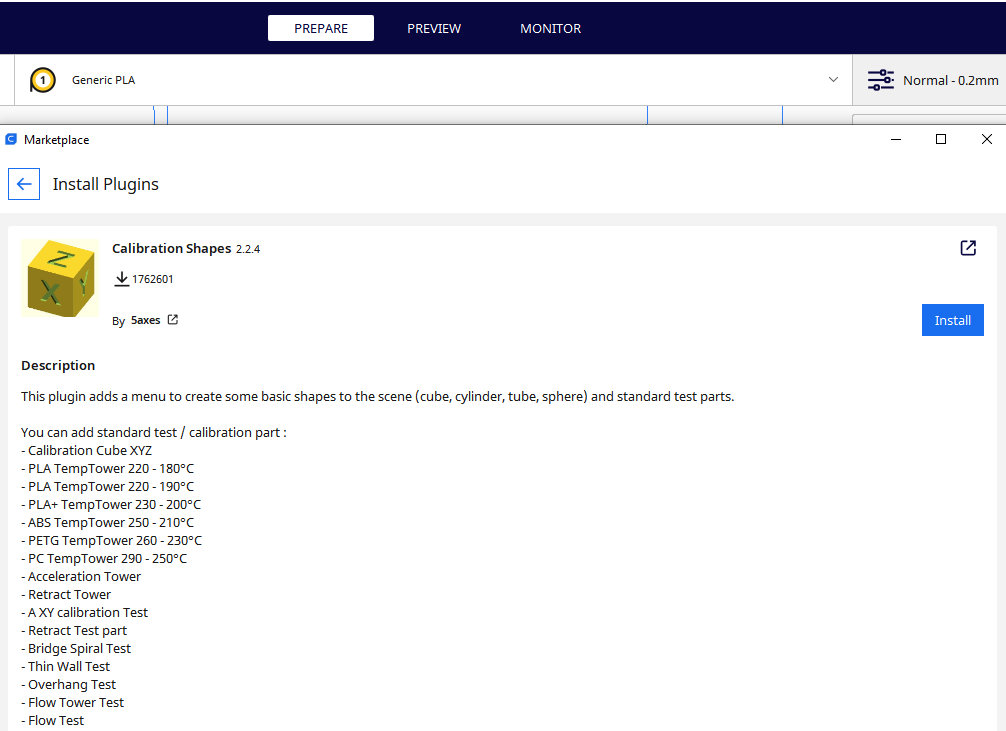
In addition to the Z Offset, there are also the calibration shapes developed by 5axes.
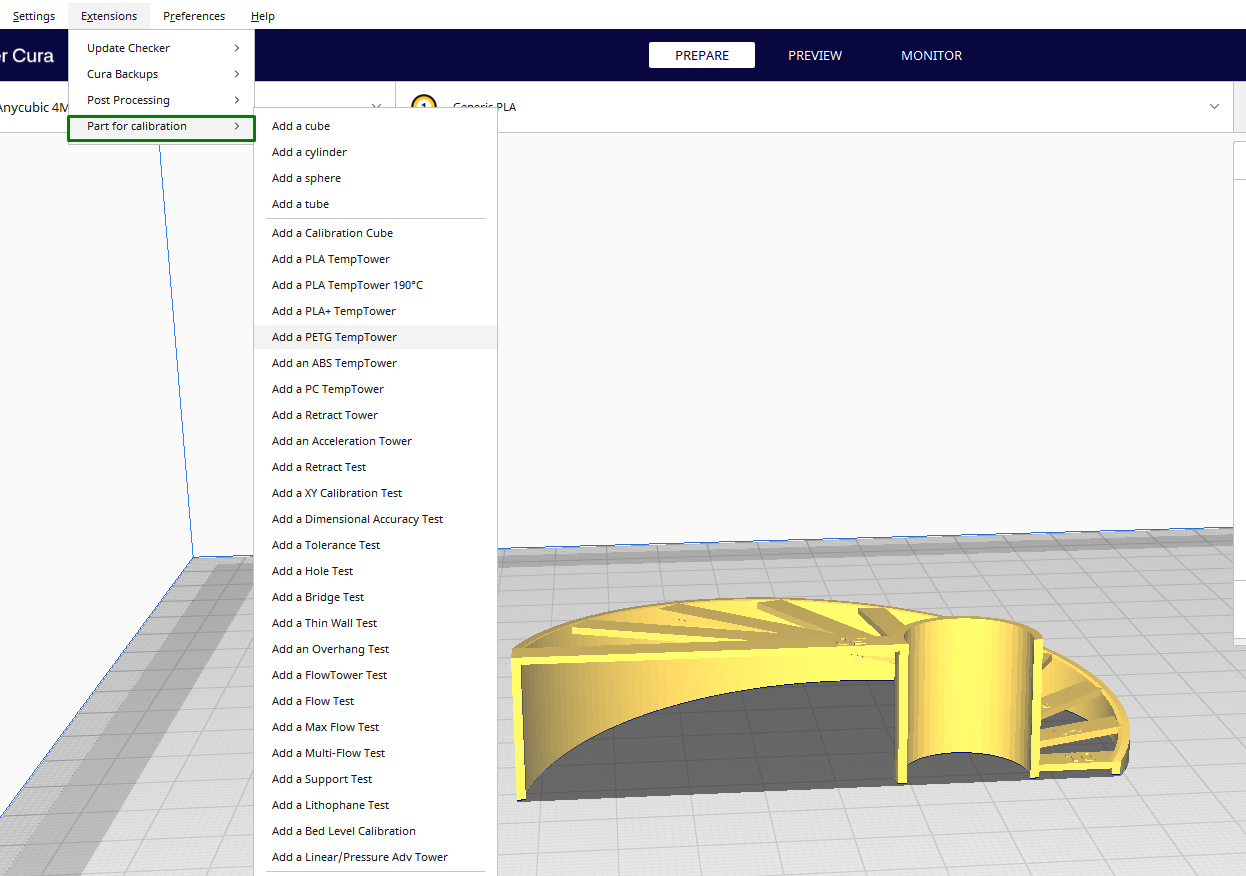
The calibration shapes plugin provides a set of standard 3D models for testing your 3D printer, like a calibration cube, retract tower, overhang test, bed level calibration test, and many others. Once you install it and restart Cura, you will find the option on Extensions > Part for calibration. When you select any shape, it will be displayed on the workspace.
Get Tom's Hardware's best news and in-depth reviews, straight to your inbox.
These shapes help access the performance and capabilities of your 3D printer and they address various aspects like dimensional accuracy, layer adhesion, temperature, and even bridging capabilities. You can also identify imperfections in your prints and make necessary adjustments to ensure that you achieve precise results. In addition to calibration shapes, you can install Autotowers Generator which allows you to print several calibration towers without adjusting various settings. Brad Kartchner designed it.
2. Print Orientation and Customization
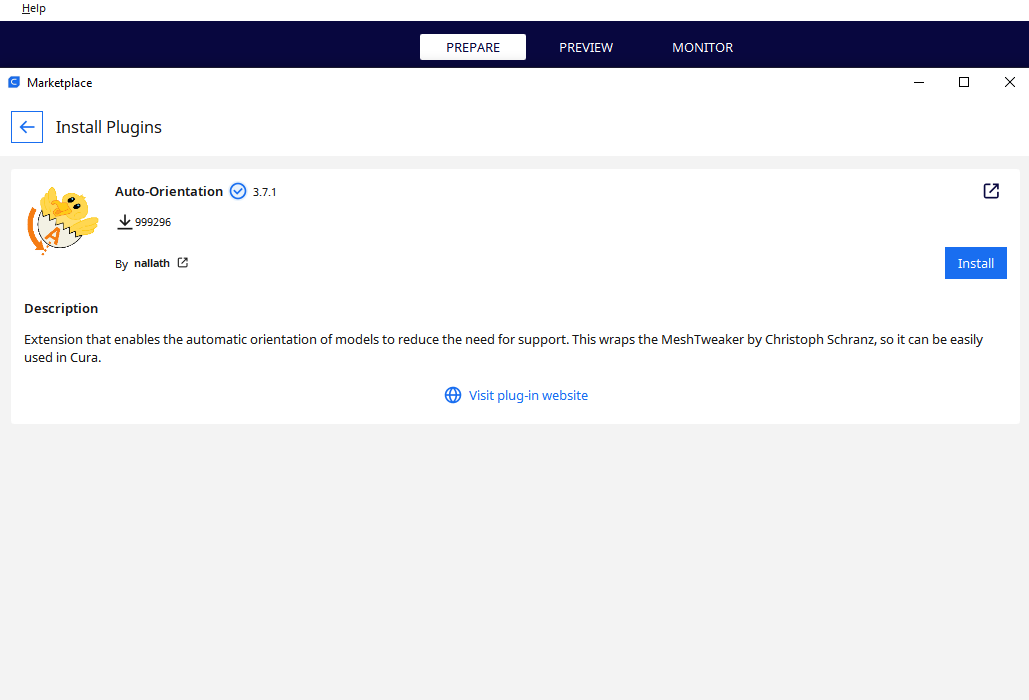
The Auto-Orientation strategically positions your 3D model within the build plate to minimize the need for 3D printing supports.
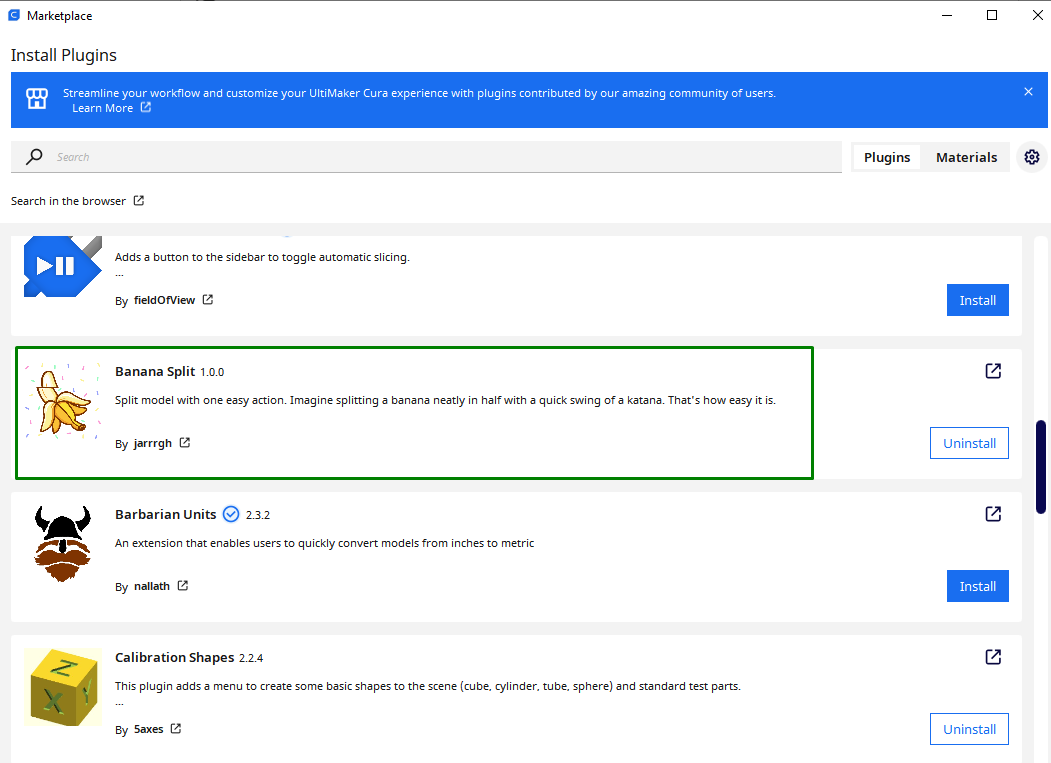
It does this by analyzing the design's geometry and suggesting the preferred orientation. Nallath designed it. There are also other plugins for customizing 3D models, like Banana Split, which allows users to split 3D models easily.
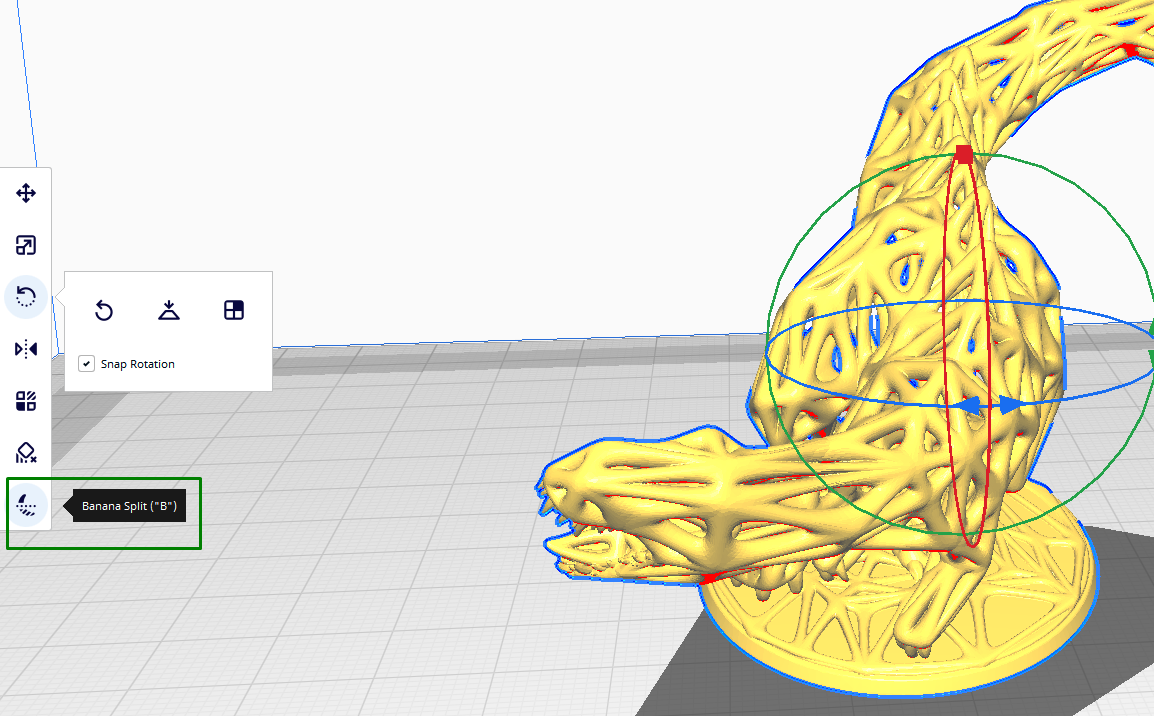
To use this plugin after installation, you will first import the 3D model that you would like to split, and then you will see the tool appearing on the left bottom section of the interface.
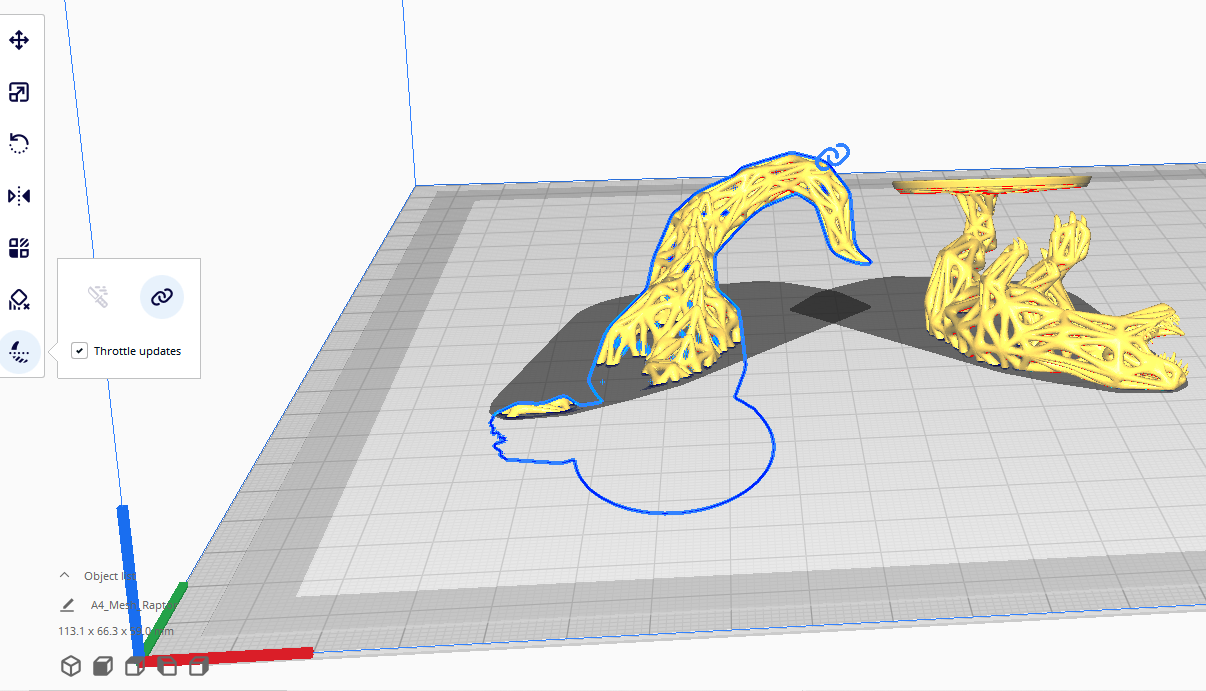
Position the object so that half of it goes beyond the build plate, then click on the split tool and you will be able to see the part that was beyond the build plate appearing on top.
It’s as simple as that. You can continue to split them based on your requirements. There is also Mesh Tools which adds several tools for analyzing and manipulating meshes.
Trying to fix errors in the meshes manually can take a lot of time, but with this plugin, you can easily inspect and fix issues without using an STL editor. For example, you can know if your file is watertight, or you can also fix model normals. Rotating the object to an upright position and applying scale adjustments to the mesh coordinates is easier with this plugin. It helps avoid potential inconsistencies that occur due to manipulations like incorrect axis scaling.
3. Supports Plugins
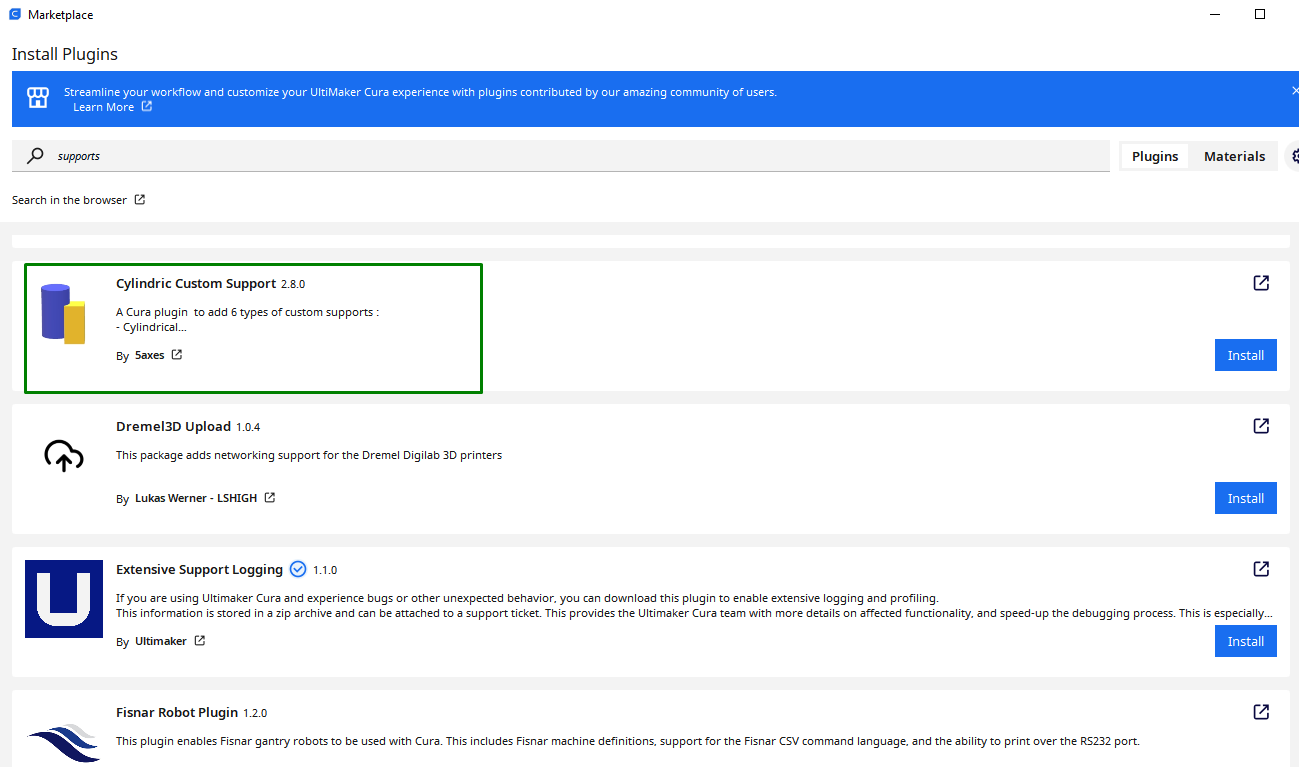
Cura support plugins ensure the successful printing of designs with overhangs and complex geometries. Sometimes, when the slicer auto-generates support materials, it can add more than necessary, making post-processing 3D prints difficult. Cylindric Custom Supports created by 5axes offers a solution by allowing users to add supports in specific areas of the model manually, saving material and reducing printing time.
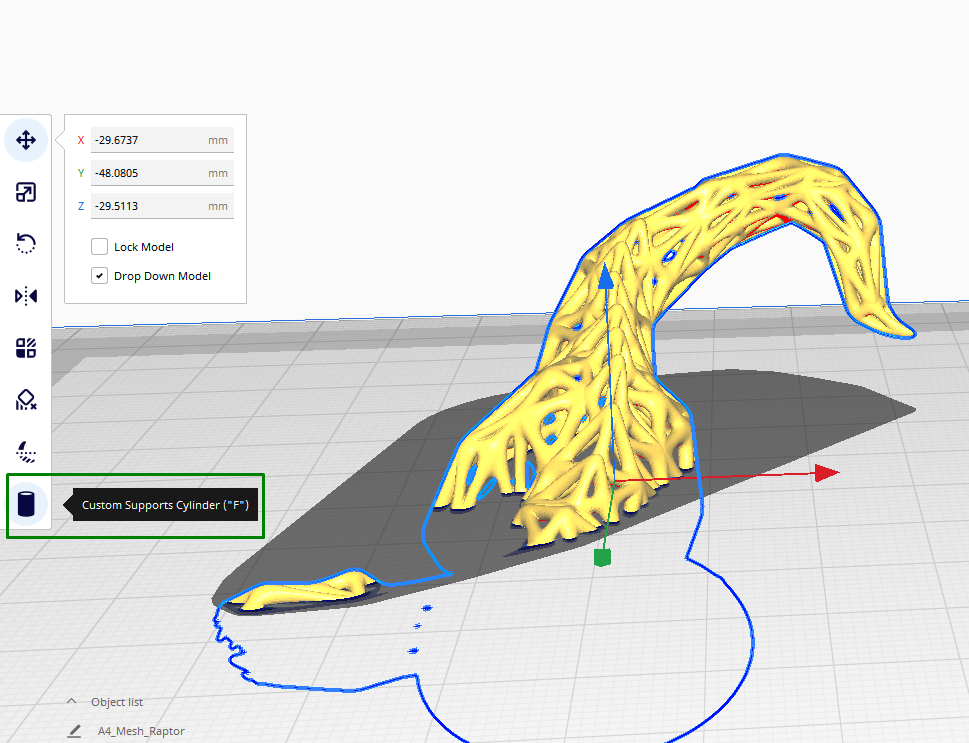
You have complete control of the support structures and you can adjust parameters like density and pattern type to tailor them to your specific requirements. Once you install it, you can see it on the bottom left section of the workspace.
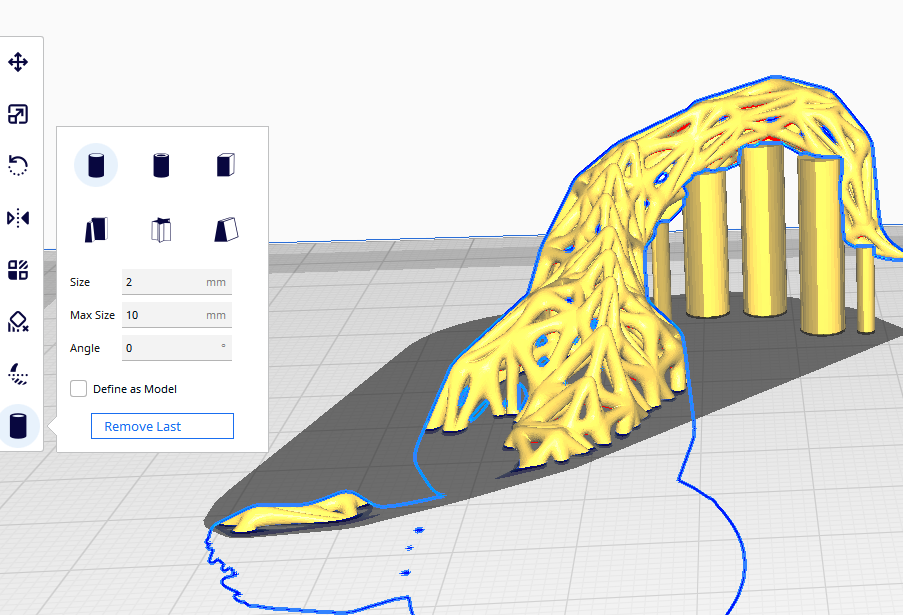
When you click it, you will see several options in the menu, including cylindrical, cube, abutment, freeform, tube, and custom supports. When you choose cylindrical, for example, and go to the areas you would like the supports to appear and start placing them manually, you will see them appearing on the design.
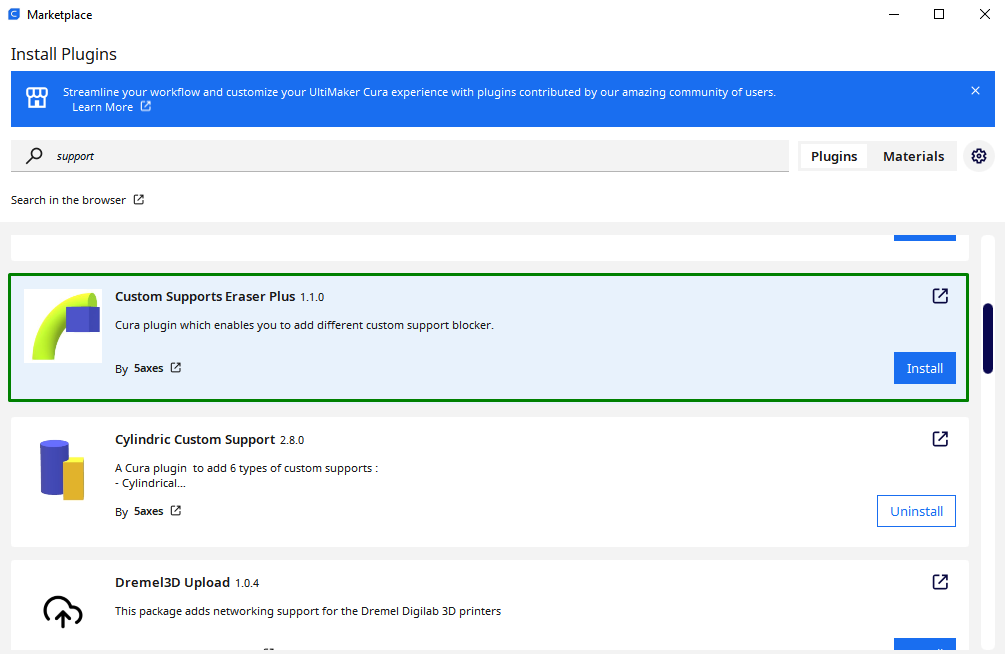
If it takes you much time to add the supports manually, you can choose to generate them automatically and then install Custom Supports Eraser Plus plugin which helps to remove unnecessary supports.
It does this by adding a transparent block in the areas where you don’t want the supports to appear. You can also customize the size and shape of the blocker or eraser according to your preferences.
4. Material Management
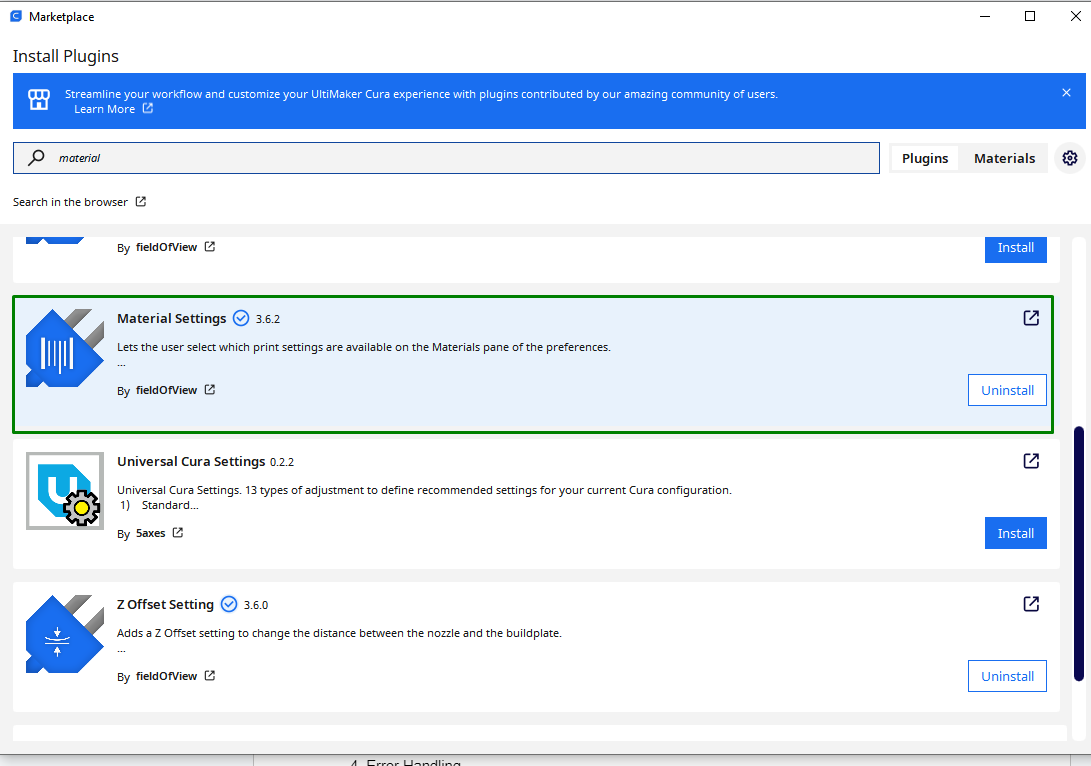
Cura comes with various plugins for managing and optimizing your 3D printer materials. One of the plugins in this category is the Material Settings plugin created by Aldo Hoeben.
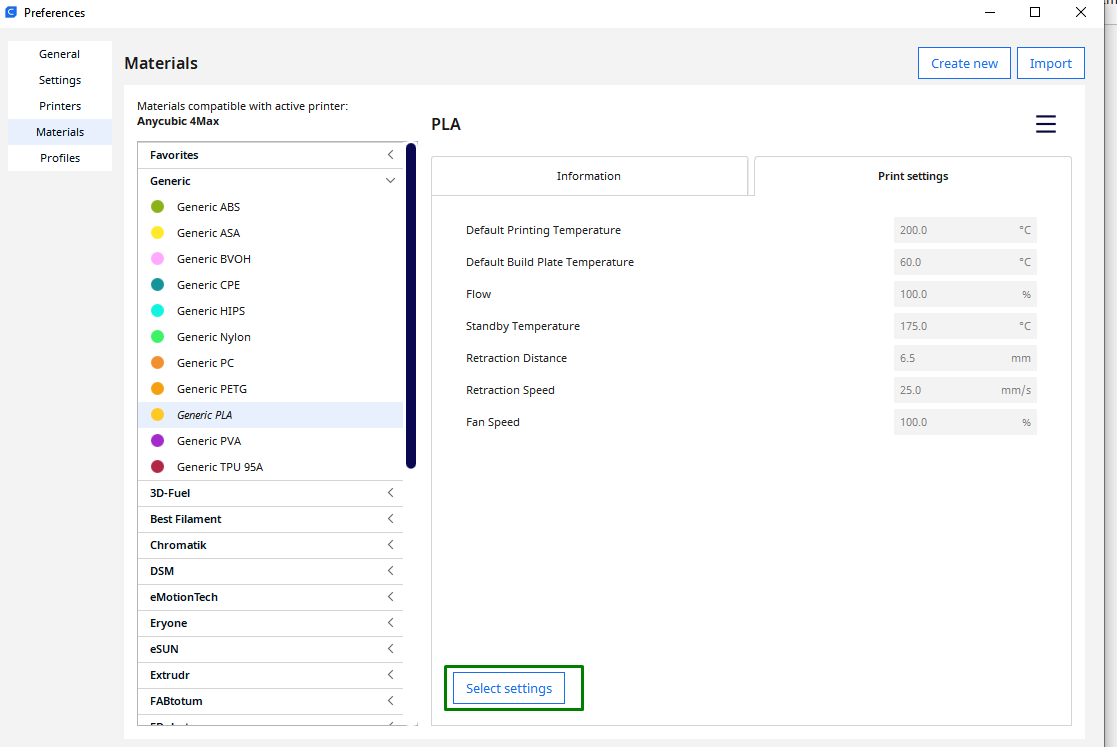
It allows users to expand the available print settings of the materials in the materials option of the preferences section. To customize the settings, go to Preferences > Configure Cura > Materials and click the Select Settings button.
You can then set up your material profile based on your requirements. Cura also has Material Cost Tools, which help estimate the cost of material that will be used in the printing process, as well as spool weight.
Knowing these essential details allows you to make informed decisions on whether you can afford to print the object and it also helps in planning. Knowing the weight of the filament spool used for a particular project allows you to gauge the cost and know if the spool you have will finish the job.
5. Setting Customization Plugins
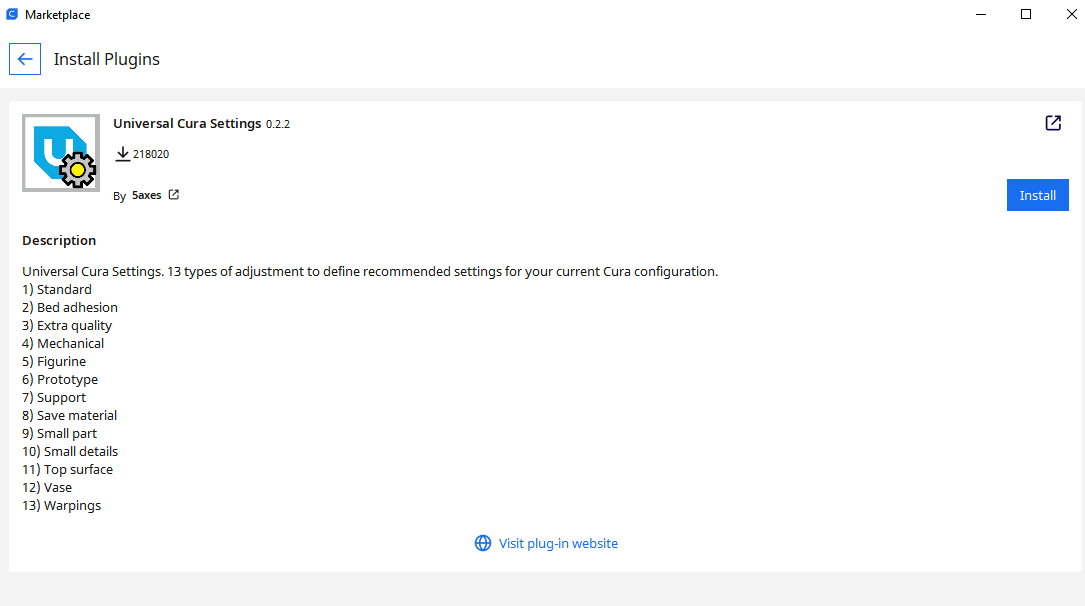
There are several setting plugins available for customizing the software. Universal Cura Settings is one of them.
You can use it to adjust the current Cura configuration settings, and it helps avoid the need to change print settings for each print. You can fine-tune the settings based on your specific requirements for different prints, and there is also an option to import and export custom print settings.
There is also the Setting Visibility Set Creator plugin in Cura which allows you to create and store the custom visibility set. Aldo Hoeben created it.
If you want the printer settings to be displayed on the sidebar, install the Printer Settings plugin.
6. Searching and Importing 3D Models
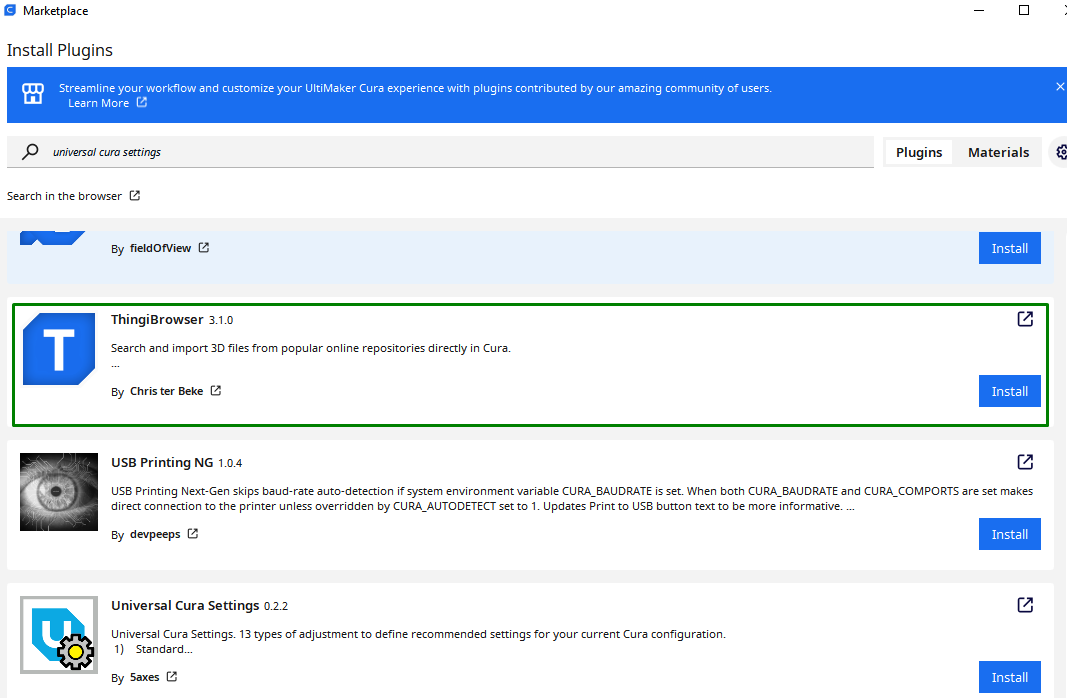
The ThingiBrowser plugin created by Chris ter Beke (the former software architect at Ultimaker) allows you to search and import 3D models from popular websites like Thingiverse and Myminifactory directly to Cura without going to the web browser.
You can also search 3D models using their full web URL.
7. Connectivity and Management
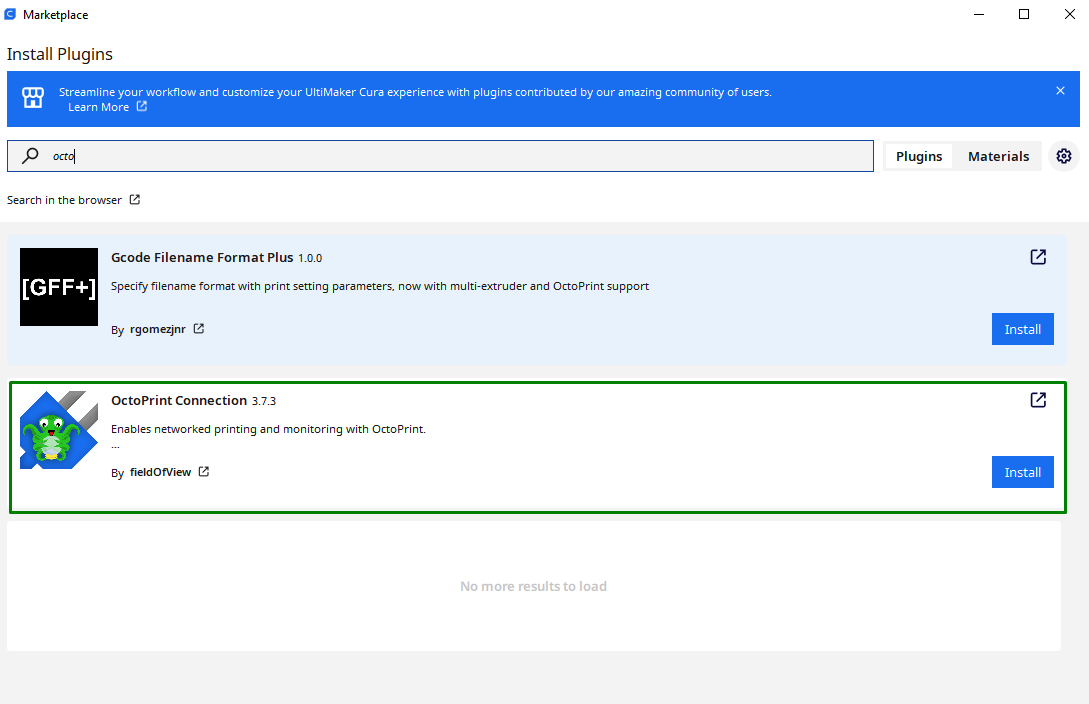
Cura has an OctoPrint Connection plugin that establishes a connection between Cura slicer and OctoPrint.
OctoPrint allows you to control and monitor your 3D printer anywhere and anytime remotely. You can start, pause, or cancel your prints without needing to be close to the 3D printer. You can also receive live updates on the progress of your prints and even monitor other important aspects like temperatures. This allows you to respond quickly to any issue during the printing process.
More 3D Printing Tutorials
👉 5 Ways Fix Z Banding in 3D Printing
👉 How to Use FreeCAD for 3D Printing
👉 How to Convert OBJ Files to STL Files for 3D Printing
👉 How to Use PrusaSlicer: A Beginners Guide
Sammy Ekaran is a freelancer writer for Tom's Hardware. He specializes in writing about 3D printing tutorials and guides. You can find more of his work on various publications, including Makeuseof, All3dp, and 3Dsourced.
