Tom's Hardware Verdict
Creality’s K1C offers what we expected from the original K1 when it was launched in 2023. This improved model fixes issues with the tool head and makes the AI camera a standard feature.
Pros
- +
Core XY
- +
Impressive speed
- +
Enclosed
- +
Klipper
- +
Less expensive than competition
Cons
- -
Terrible filament path
- -
Requires glue stick
Why you can trust Tom's Hardware Our expert reviewers spend hours testing and comparing products and services so you can choose the best for you. Find out more about how we test.
The K1C feels like a placeholder from a company that wants to constantly impress customers with shiny new products. Clearly, Creality wanted to show off its improvements to the K1’s design, but weren’t ready to announce the K2 – a name we now know was being reserved for a four-color 3D printer.
The C in K1C stands for Carbon, which is a bit of a red herring. You don’t need to redesign an entire printer to tackle abrasive carbon filled materials; all you need is a durable nozzle, which can be purchased for a few dollars on Amazon.
Don’t get me wrong, the K1C is a superior printer, and the new steel tipped “Unicorn” nozzle is definitely an improvement. But all this could have waited until the color module was ready for retail.
One of the other improvements to the K1C is an all-metal extruder, an AI assisted camera that comes standard, a cabin filter and an improved leveling system. It retails for $559 and is currently on sale for $531. It’s the same size and speed as the K1, making it one of the best 3D printers you can buy.
Specifications: Creality K1C
| Build Volume | 220 x 220 x 250 mm (8.6 x 8.6 x 9.84 in) |
| Material | PLA/PETG/TPU/ABS (up to 300 degrees) |
| Extruder Type | Direct drive |
| Nozzle | .4mm (Unicorn) |
| Build Platform | Coated steel flex plate, heated |
| Bed Leveling | Automatic |
| Filament Runout Sensor | Yes |
| Connectivity | LAN, Creality Cloud, USB Flash Disk |
| Interface | 4.3 inch Color touch screen |
| Machine Footprint | 355 x 355 x 482 mm (14 x14 x 19 in) |
| Machine Weight | 12.4 KG (27.3 lbs) |
Creality K1C: Included in the Box

The Creality K1C comes with everything you need to get your printer set up. You get tools to maintain the printer, side cutters, a plastic scraper, and a USB stick. There’s also a sample spool of white Creality Hyper PLA to start your printing journey.
You also get a PDF copy of the manual, a copy of Creality Slicer and sample models in both pre-sliced .gcode and .stl format. There’s also a very helpful video to help you operate your machine.
Design of the Creality K1C

The Creality K1C is a modern looking, fully-enclosed Core XY printer. It’s nearly identical to the previous K1 with most of the improvements taking place inside the machine.
Its build plate is 220 x 220 mm with 250 mm build height, a size typical of Creality’s Ender 3 line of bed slingers. The build plate is a smooth PEI coated sheet that requires glue stick – annoying, but it works.
The K1C has a similar “top hat” plastic lid, a carbon filter in the cabin, and an AI assisted camera. It does not have Lidar, which is still reserved for the K1Max. It ships with a limited version of Klipper modded by Creality, but those interested in going full vanilla Klipper can easily “root” the firmware, as Creality has left the door open.
The biggest change on the K1C is the tri-metal nozzle, which Creality has dubbed a “unicorn” style. This is a long, one piece nozzle made from copper, with a titanium alloy heat break and a steel tip. It's similar to the method pioneered by E3D’s Revo and likewise prevents leaks that can result from loose nozzles. The nozzle is proprietary, but they are easily available at Creality’s store and on Amazon.
Clearly, Creality has been listening to user feedback, as they provided a printable solution to the annoying rear mounted spool holder. Two printable mounts are included on the printer’s USB stick, with a bag of screws and directions on how to attach it. I printed both and found the larger one – which mounts at a lower point – to work best. When mounted higher, the strain on the filament runout sensor is too much and causes the spool to twist.

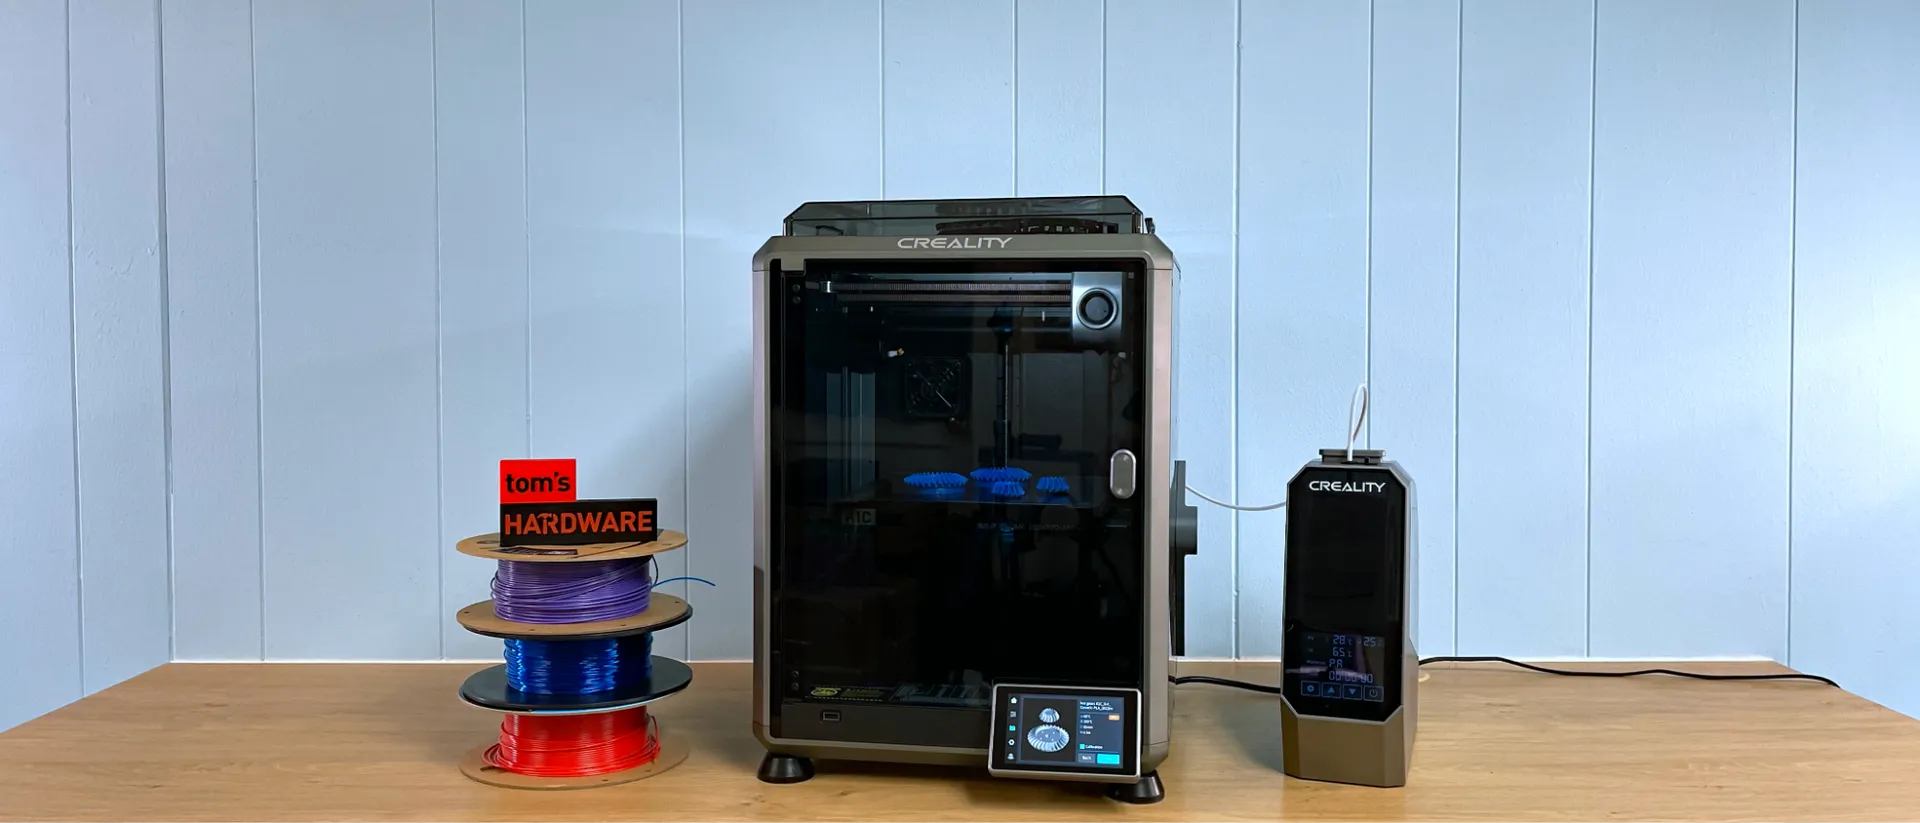
The best spool holder might be the K1C’s matching filament drier, the Creality Space Pi, which is an optional purchase costing $85. We were sent one for review along with the printer and found it worked well. The drier is helpful when printing hygroscopic material like Nylon, but can be left off when printing more stable material like PLA.

Like the K1, this machine has excellent cooling and an enclosure that makes printing ABS and ASA very easy. Bed leveling has been improved by adding a rubber brush to the build plate to make sure the nozzle is totally clean before probing the bed.
It has the same motion system as the K1 and K1 Max, which appears very solid, and is made of ordinary polished metal, so there’s little fear of these wearing out. Rubber feet are included, which help dampen vibrations, though it still jiggles like crazy on some fast prints.
It has the same screen and easy to use menu system as the other K1 printers, with helpful thumbnails supplied by Creality Slicer. Because it’s running Klipper, the K1C remembers everything it has printed until you clear out the memory, which makes it great for running recurring parts.
There are three ways you can send files to the K1C. It can take files from a USB stick, through WiFi over your home or office LAN and also through the Creality Cloud. I’m not a big fan of the Cloud – it’s overly busy and gamified for my tastes – so it’s good to have options.
The K1C also comes with a preinstalled camera for monitoring your prints and taking timelapse videos.
Assembling the Creality K1C

The Creality K1C is 98% assembled and only needs to be unboxed and unpacked. You’ll need to remove all the packing foam, unscrew three screws holding the build plate on, plug in the touch screen, screw on the filament holder and pop a filter on the back of the machine.
Leveling the Creality K1C

The Creality K1C has a fully auto leveling program that includes input shaping with the help of built-in sensors. Just push the button and the machine does the rest. It will also recheck the level before each print, but you can turn that feature off during slicing if you’re comfortable skipping the step.
Loading Filament on the Creality K1C
Loading filament is a little awkward with the back-mounted spool holder. The side mounted spool holder makes it easier, but you’ll need to print it first. The K1C has a reverse Bowden, which is a tube that guides the filament from the run out sensor at the back corner of the machine, across the top and into the extruder.
Most filament can be pushed right up to the gears, where the printer is able to grab it. For TPU, you’ll need to pop the Bowden tube off the extruder and gently hand feed it the last few centimeters.
Tap the control screen and select Extrude/Retract from the Control menu. Tap Extrude and then the machine will automatically warm up and then pull the filament through the hotend.
Reverse the process to remove the filament.
Preparing Files / Software for Creality K1C

Creality included a copy of Creality Print, a custom program that integrates file retrieval from the Creality Cloud, with slicer and file delivery. Using the Cloud is completely optional, as you can drag and drop stl files from your hard drive into the slicer and transfer files with LAN or a USB stick.
The program is easy-to-use with lots of presets for filaments. It’s arranged a little differently than Cura or PrusaSlicer, but all the same functions are there. The “device tab” is a simplified Klipper screen where you can see your printer’s file storage, temperatures, motion system and camera.
The device tab can also be accessed by entering your printer’s IP address. This also allows you to drag and drop files from other slicers directly to your printer. There are no built-in profiles for Cura or PrusaSlicer at this time, though they are easy enough to make using an Ender 3 as the base.
Printing on the Creality K1C
The Creality K1C comes with a sample roll of Hyper PLA, Creality’s high-speed filament, which promises high strength and smooth prints while running at speeds up to 600 mm/s. If you want more colors and materials like silks and multicolor filaments, you should check out our guide to the best filaments for 3D printing for suggestions.
I ran a Benchy using “speed benchy” rules: .25 layer height, 2 walls, 3 top & bottom layers, 10% infill. I also turned off combing and z hop, and let her rip using the default speed of 300 mm/s. I used Inland’s gray PLA – an every day filament that is brutally honest in photos.
The Benchy is a bit stringy, but the layers are fairly even, the curves are nice and there’s no ringing. This Benchy printed in an eye-popping 13 minutes and 53 secs, currently the fastest Speed Benchy I’ve printed, allowing this to top our list of the fastest 3D printers. An Ender 3 S1 running at its top speed of 100mm/s would take 55 minutes to print this using similar settings.

Creality sent a spool of high speed carbon fiber PLA for testing, so I used it to make a side mounted spool holder that I found on the USB stick. One of Carbon Fiber’s benefits is masking layer lines and this print is not only strong but especially smooth. It printed quickly in 52 minutes and 36 seconds, using Creality default settings and a .2mm layer height.

To test out PETG, I printed a seat for an RC car in ProtoPasta Empire Strikes Black PETG. The seat printed amazing with smooth layers. It only took an hour and 14 minutes, with a .2 mm layer line and Creality Slicer’s default PETG settings.

The new extruder handled TPU without any problems at all. I was able to print this silly Fart Accordion using Creality Slicer’s default TPU settings, which slow down the printer by adjusting the volumetric flow to 3.5mm/s cubed. This is printed in Matterhackers Translucent Blue Build Series TPU in an hour and 12 minutes with a .2mm layer height.

I ran more parts for the RC car in both Nylon and ABS, and the printer was able to print this material well without any warping. I only used a healthy amount of glue stick on the build plate, which you’re supposed to do anyway for this style of bed surface. These were printed using Inland ABS with a .2 layer height and Creality Print’s default ABS settings. The entire plate of parts printed in 2 hours and 47 minutes.

Bottom Line
The Creality K1C is an excellent printer for makers who want a fast, fully-enclosed Core XY 3D printer in a single color. The recent announcement of the four color K2 lineup might give you pause, especially if you can wait a few more months. We have not reviewed the K2 yet, but we feel it's unlikely that the K1 can be upgraded to the new color system.
Though this printer is an unnecessary addition to the Creality line up, it is a very good machine and I would still recommend purchasing it over the earlier K1 if you’re in the market for a speedy, single color, open source printer with an enclosure.
Retailing for $531, the K1C is priced $100 more than its predecessor, but also has more features. If you can’t wait for a machine that can also do four colors, then check out the Bambu Lab P1S, which is $949 when bundled with a 4 color AMS. If you want a bigger single color printer Core XY, check out the K1 Max, which has similar features but a 300x300mm build plate. It’s currently on sale for $719.
MORE: Best 3D Printers
MORE: Best Budget 3D Printers
MORE: Best Resin 3D Printers
