Tom's Hardware Verdict
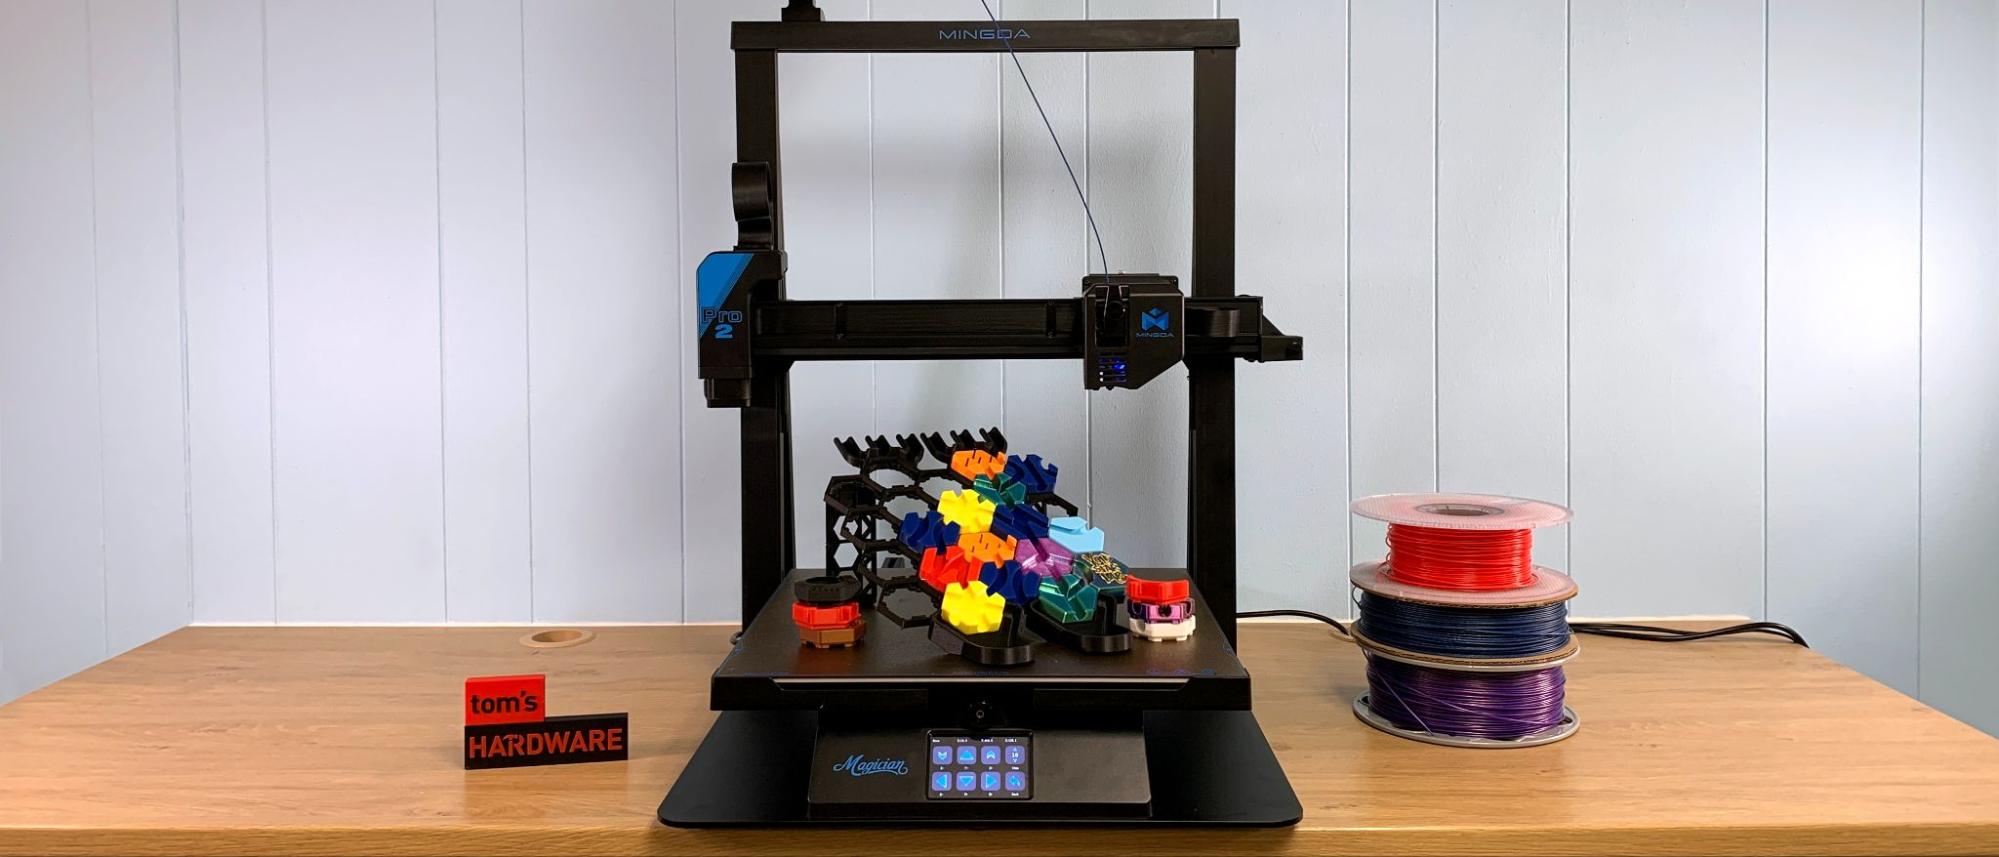
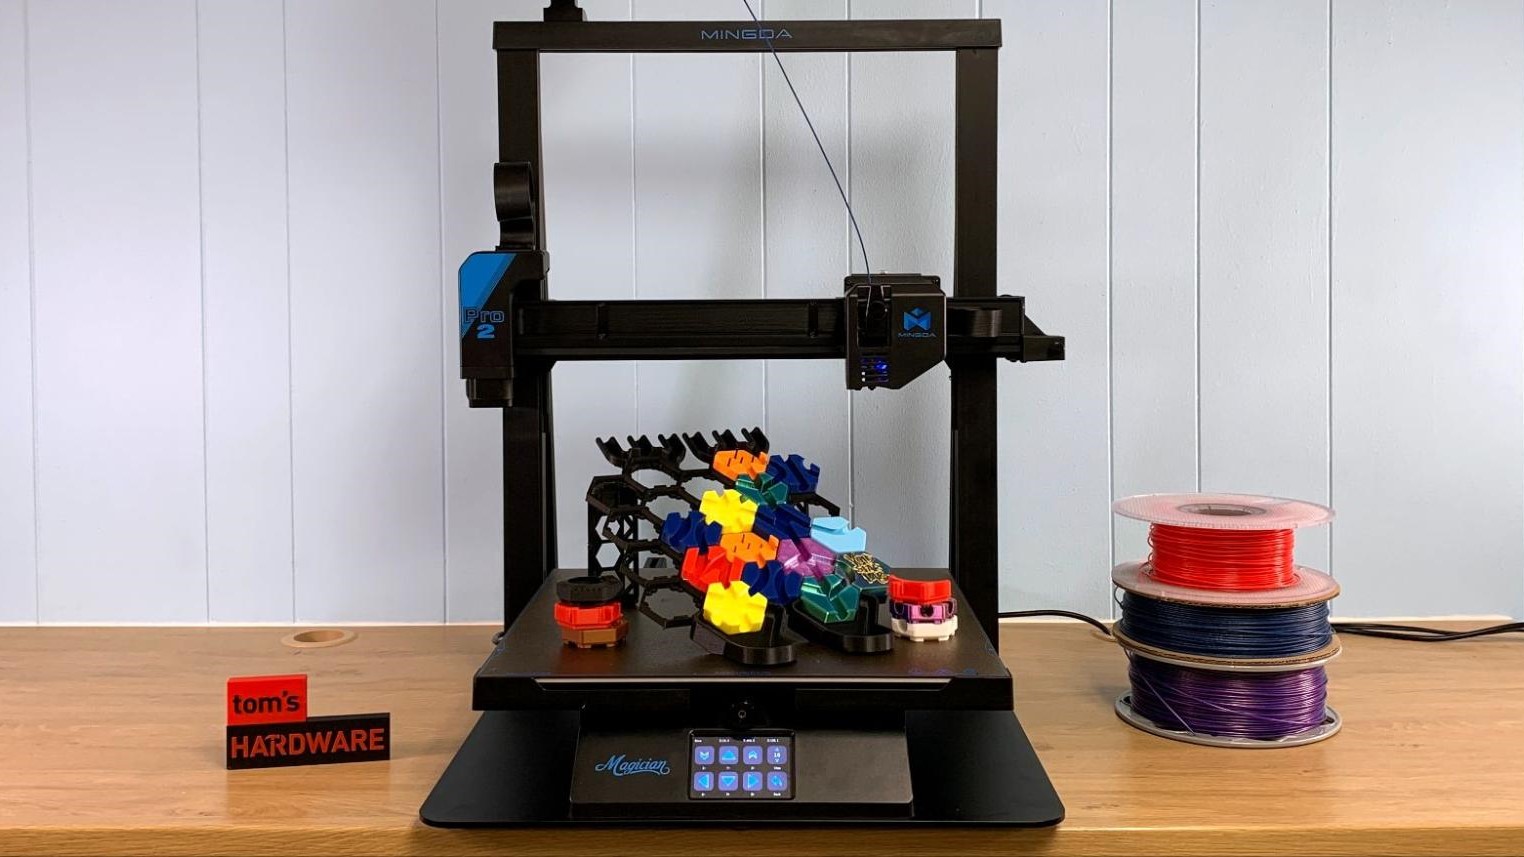
Mingda’s Magician Pro2 is an easy-to-use, thankfully quiet, large format 3D printer with quality prints.
Pros
- +
Quiet operation
- +
Auto bed leveling
- +
Direct drive
- +
Flex Plate
- +
Easy assembly
Cons
- -
Slow
Why you can trust Tom's Hardware
If you need a massive printer that’s also quiet, the Magician Pro2 might do the trick – as long as you don’t mind taking your time. Mingda didn’t get the message that 2023 was the year of speed, so their newest line of printers have nice upgrades over previous models, but with last year’s speed.
After reviewing this year’s fastest 3D printers, one thing really shines for the Magician Pro2: it’s quiet. By sticking with tried and true Marlin firmware, the Pro2 doesn’t need massive cooling and is easily the quietest printer in my workshop right now. This means the Magician Pro2 can easily work near your desk, your TV or even a classroom.
This printer is basically a beefed up Magician X2, with twice the build volume. You will need a sizable table to handle this hefty a machine, which needs an extra deep 30 inches for the Y axis. It also weighs a whopping 32 pounds, easily twice what an average sized printer weighs.
It’s a very solid printer, with a belt-synced dual Z axis and stabilizing rods on the backside to offer support without getting in the way. Like the X2, this year’s Magician has improved the bed surface by swapping the annoying glass plate for a flexible PEI coated sheet.
Specifications: Mingda Magician Pro2
| Build Volume | 400 x 400 x 400 mm (15.7 × 15.7 × 15.7 inches) |
| Material | PLA/PETG/TPU (up to 260 degrees) |
| Extruder Type | Direct Drive |
| Nozzle | .4mm V6 |
| Build Platform | PEI Spring Steel, heated |
| Bed Leveling | Automatic touch sensor |
| Filament Runout Sensor | Yes |
| Connectivity | SD card, USB stick, USB-C |
| Interface | Color LED touch screen |
| Machine Footprint | 650 x 586 x 675 mm (25.5 x 23.0 x 26.5 inches) |
| Machine Weight | 14.5 kg (32 lbs) |
Mingda Magician Pro2: Included in the box
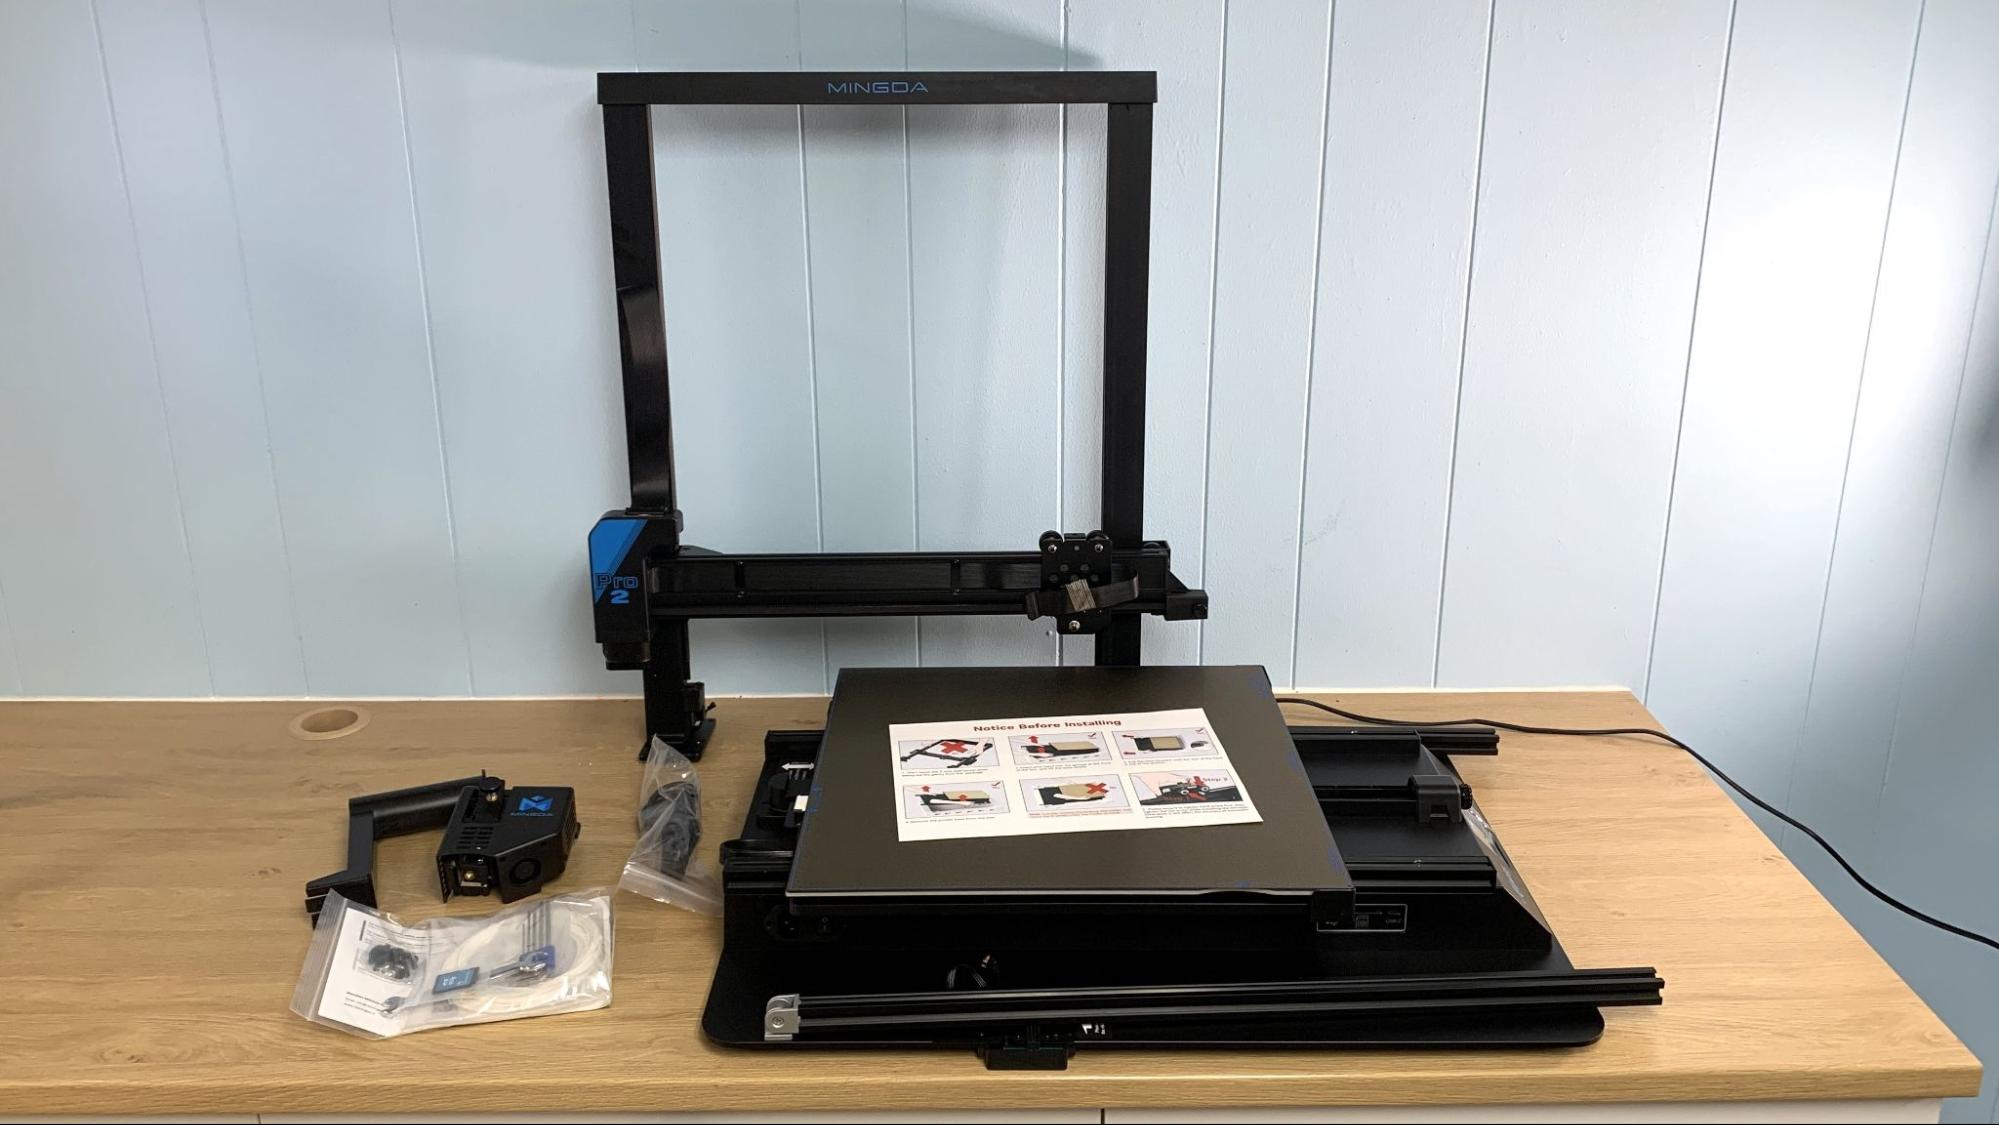
The Magician Pro2 comes with tools for assembling the printer and a few extras like a spare nozzle, an extra piece of Teflon tube, and a full sized SD card. A small sample of white PLA is included for your first test print.
The SD card has a PDF copy of the manual, a copy of Cura 4.13 and pre-sliced .gcode test files.
The printer does not come with a scraper to remove prints or snips to cut filament, but these are easily found at your local hardware store. This is my favorite scraper if you’re looking for something extra nice.
Get Tom's Hardware's best news and in-depth reviews, straight to your inbox.
Design of the Mingda Magician Pro2
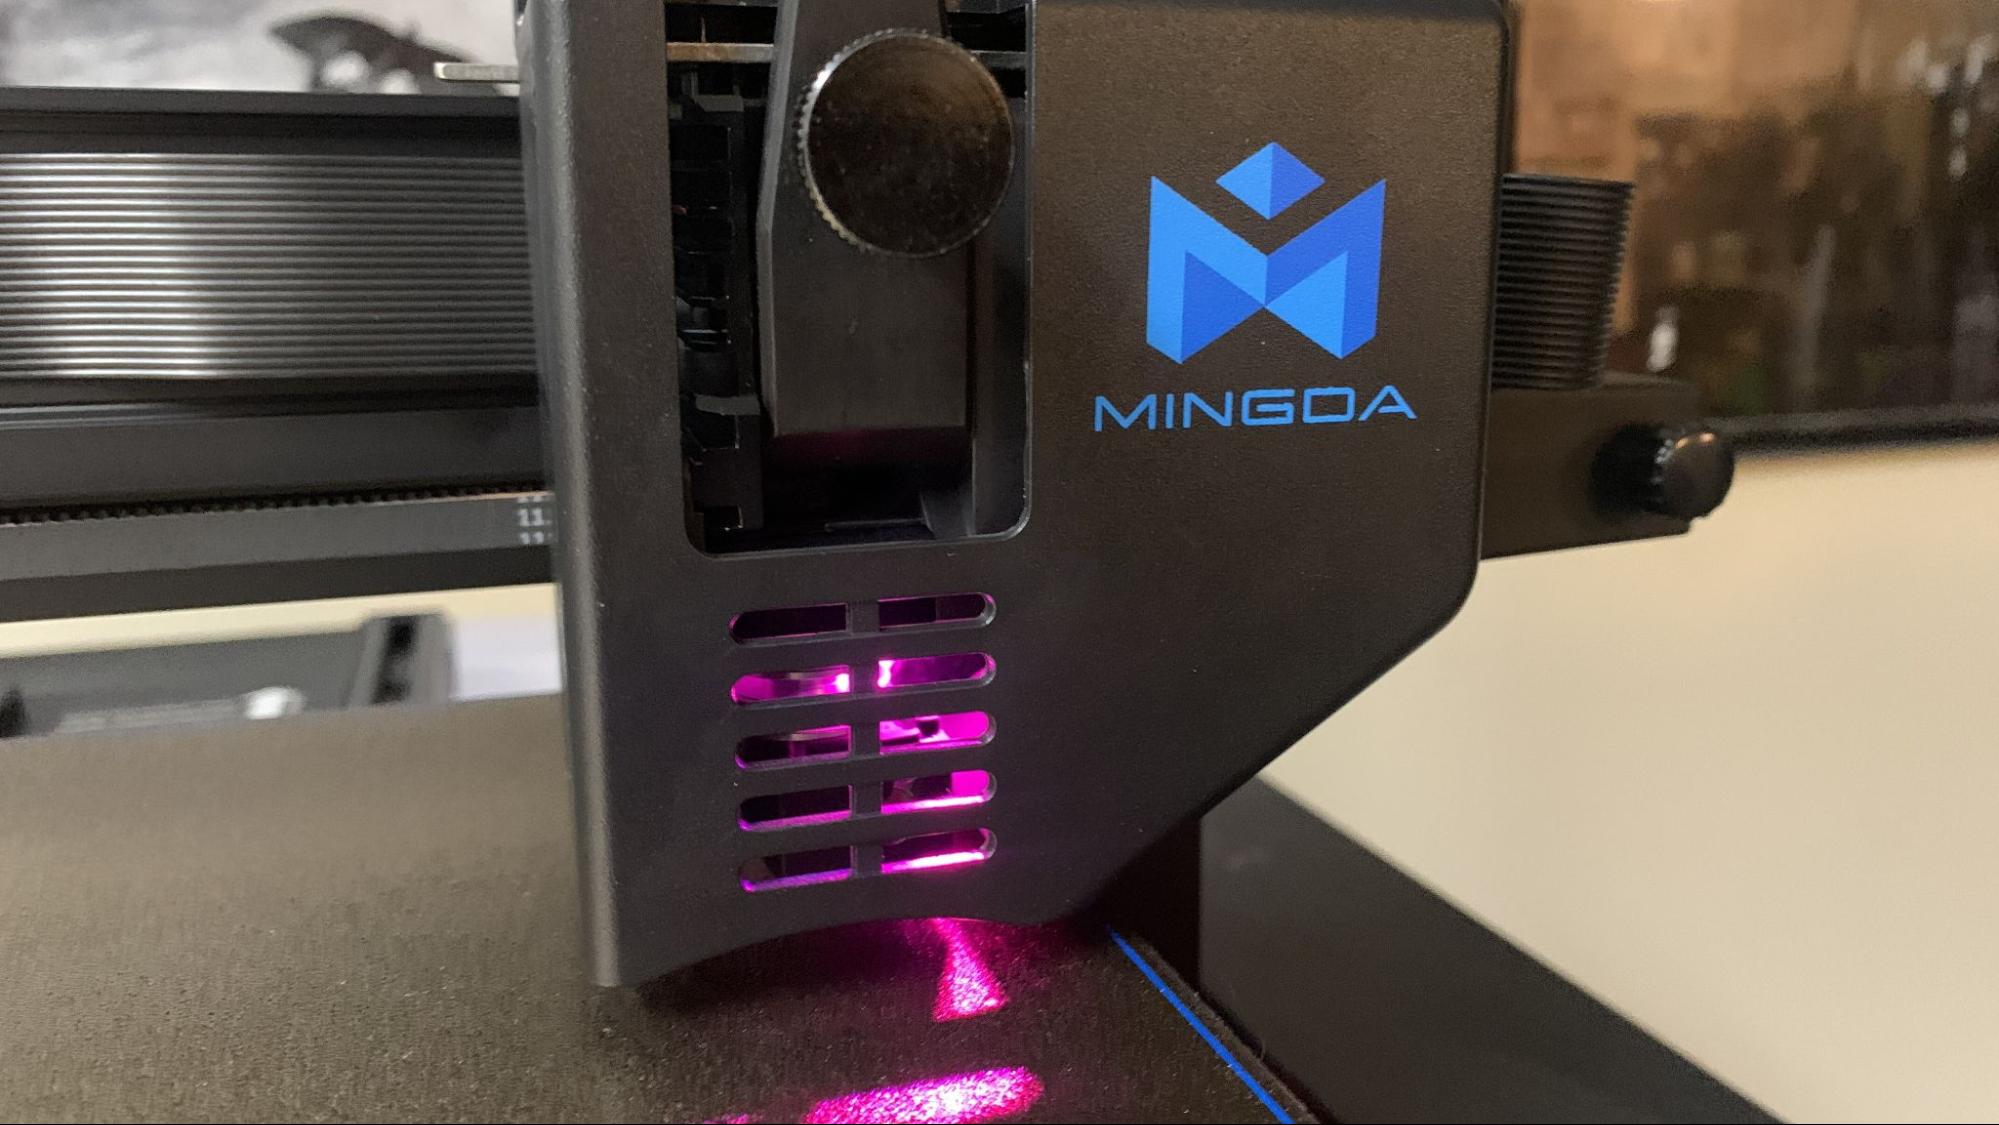
Mingda kept the styling of the Magician Pro2 the same as the smaller Magician X2, with the same temperature sensitive lighting in the hotend. It perches on a giant slab of steel and is oddly missing a tool drawer, though there’s plenty of room under the build plate for stashing odds and ends.
The Magician Pro2 has stabilizer bars attached from the back of the baseplate to the top of the gantry to hold it steady. It also has dual Z rods that are synced with a belt at the top. The Y axis is extra wide, giving it a steady foundation.
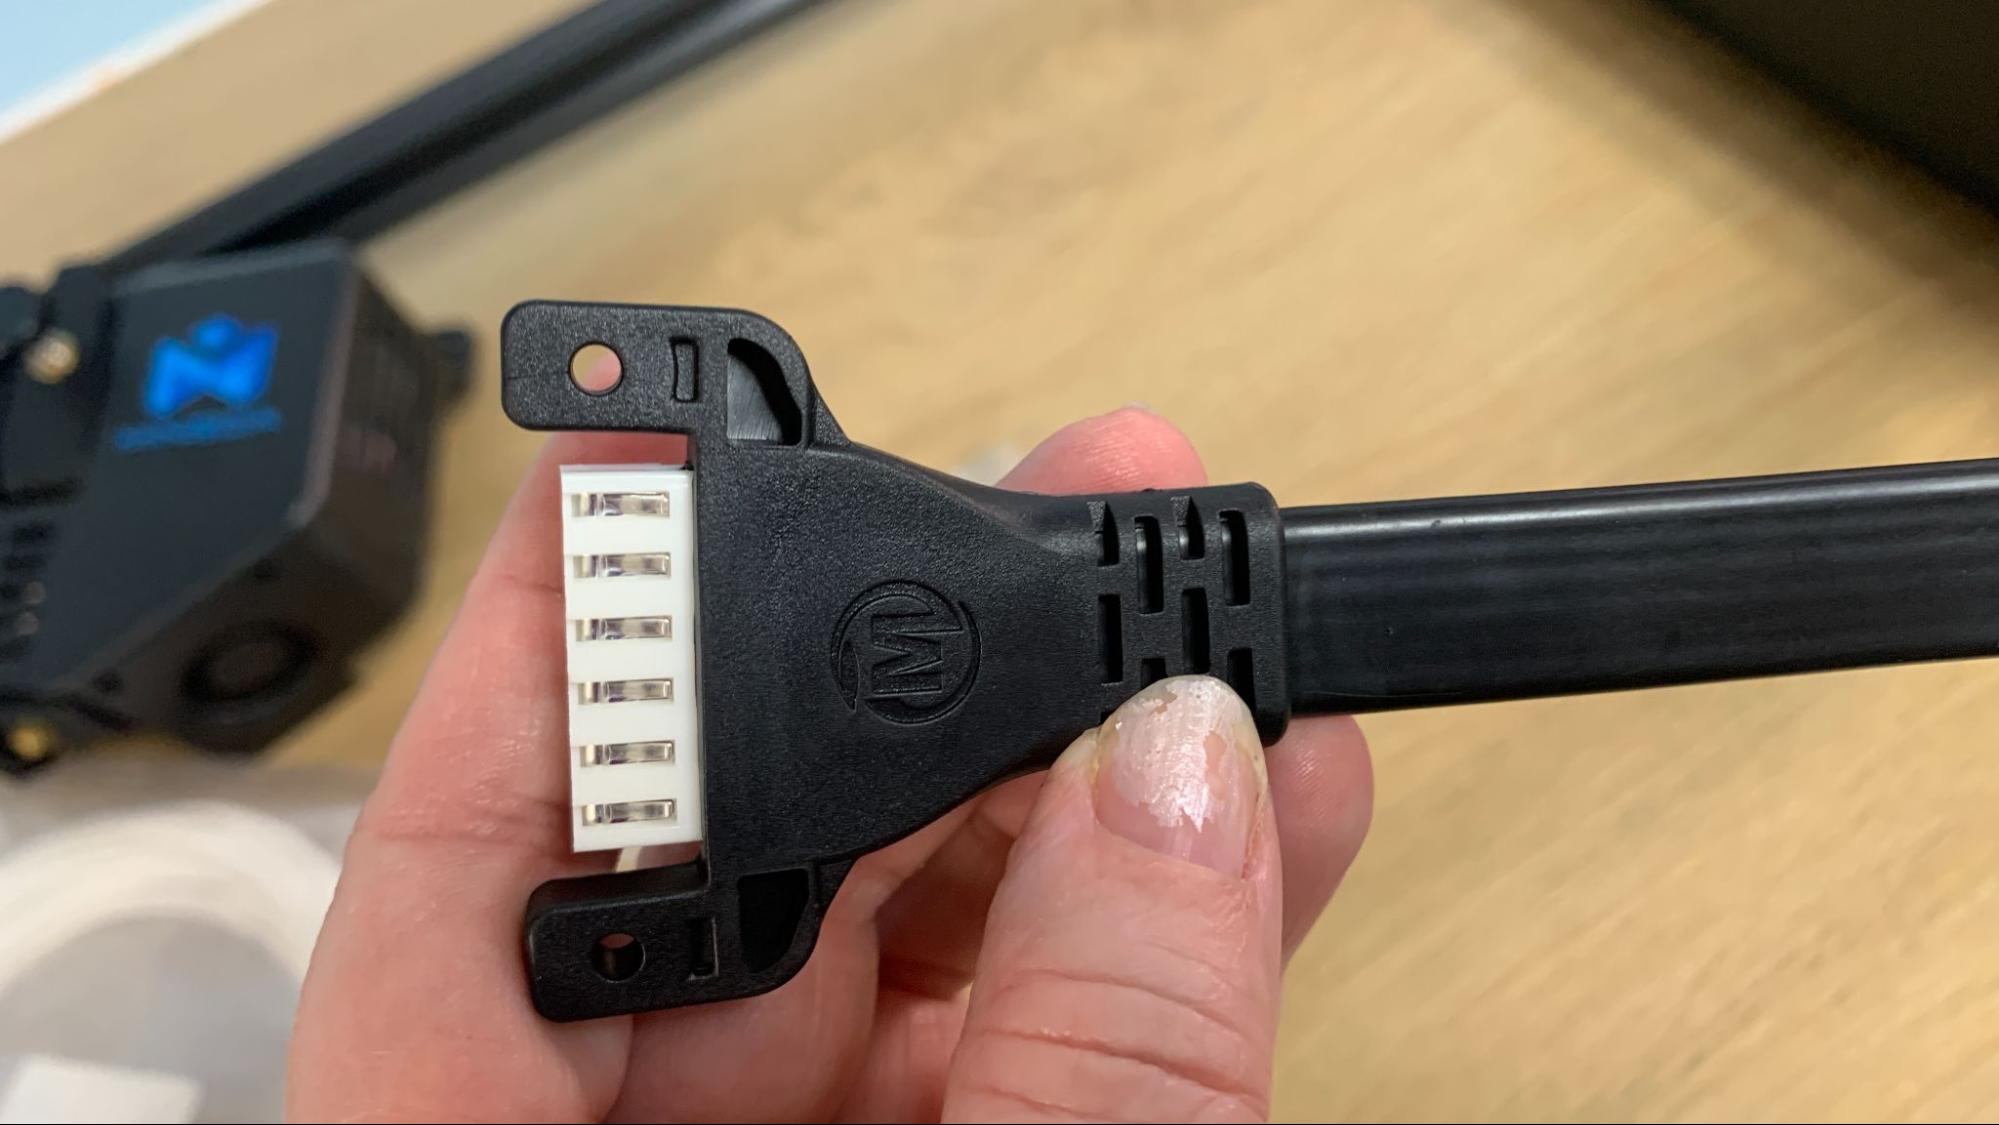
Cable management is quite tidy. The Magician Pro2 uses slim ribbon wires and tidy plastic wrapped cords from the base to the X gantry. I was really happy to find slots for both a full sized SD card and a USB stick – no fumbling around for microSD cards with this big boy. You will need to push the bed back to find the ports, as they are under the bed.
You can tell this machine didn’t get a big overhaul from last year, as the build plate doesn’t have guides to hold the PEI sheet in place. With such a huge sheet, you need to use some care as the magnet tries to snatch it from your fingers before you get it properly square.
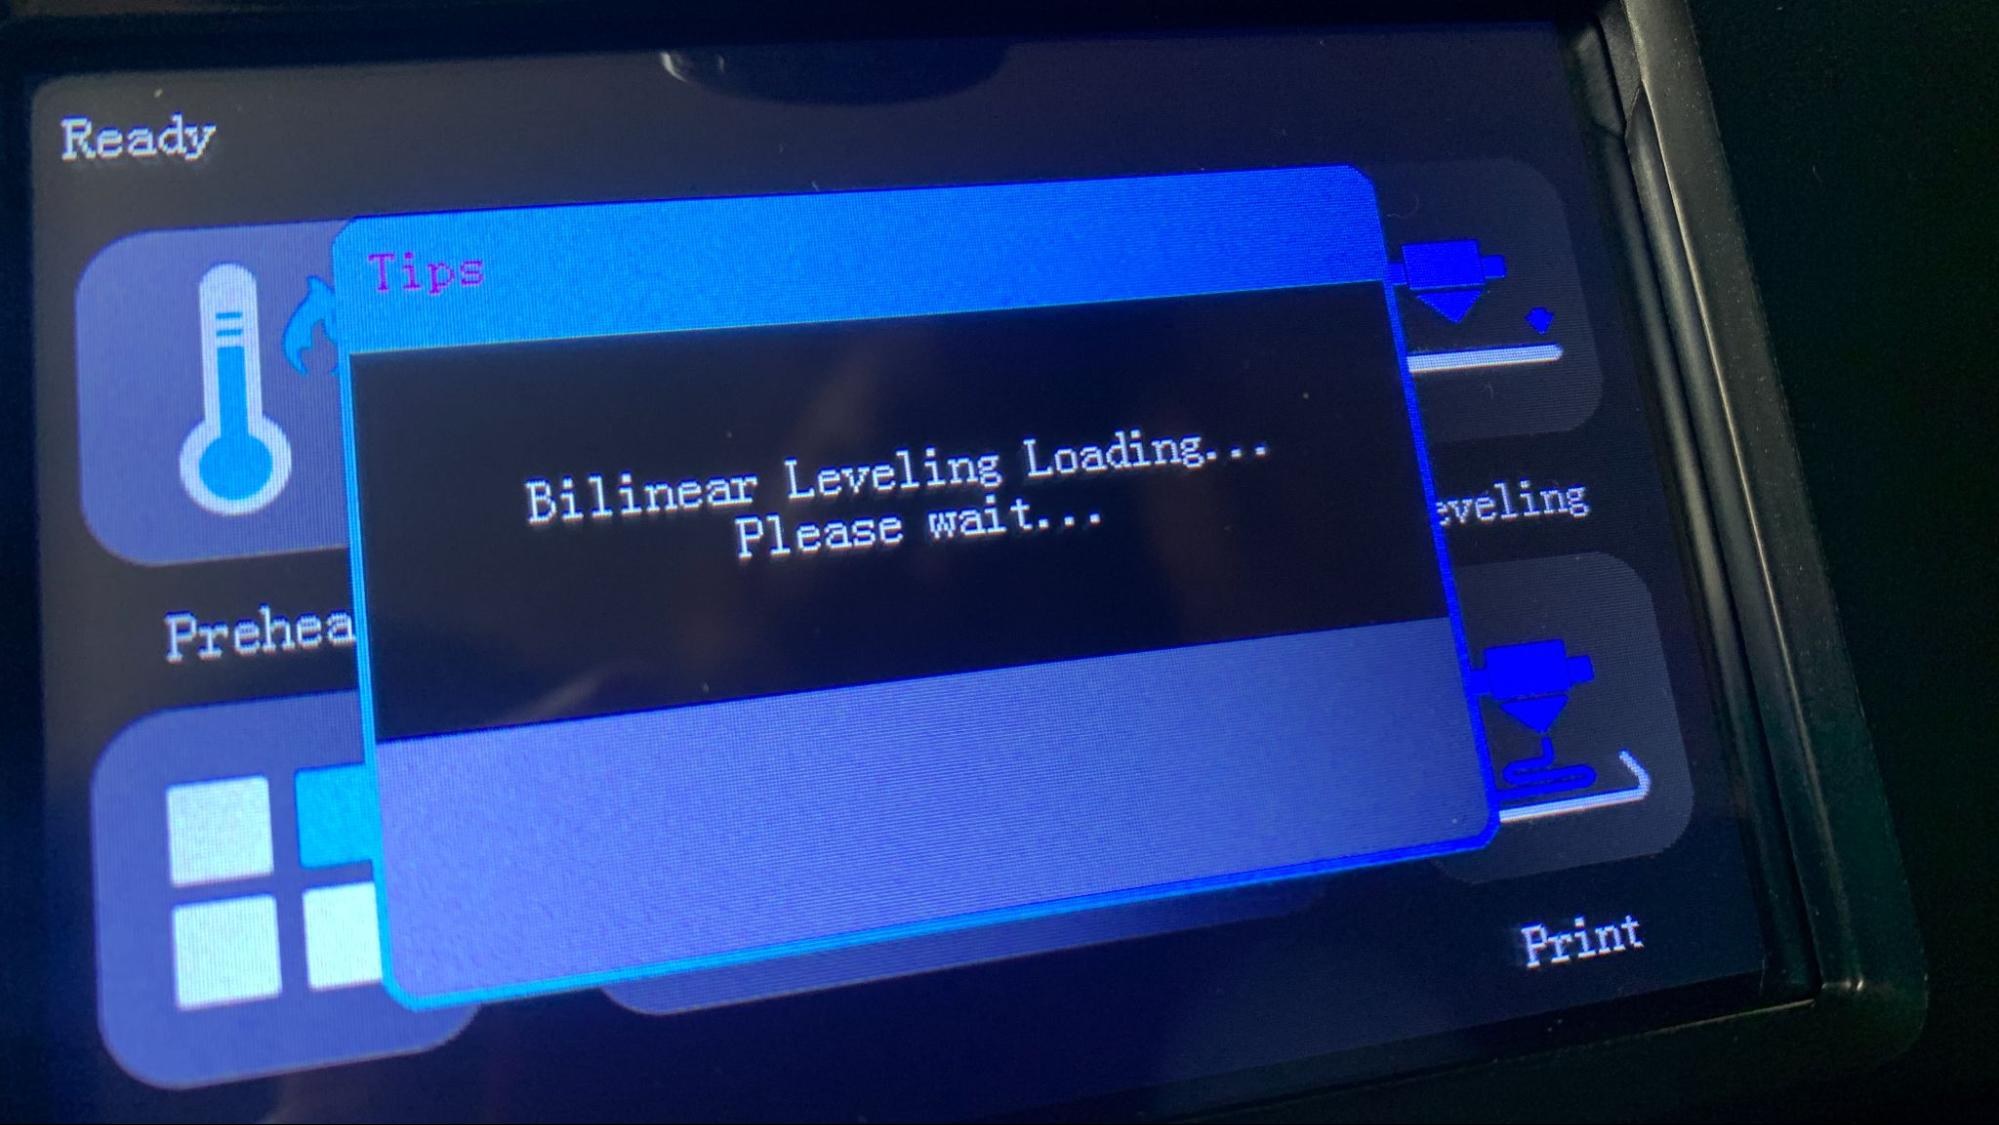
The auto leveling system physically taps the bed at 36 points, and I never needed to adjust the Z height for PLA. PETG requires a bit less squish, so I did use baby steps to compensate for materials as needed.
Assembling the Mingda Magician Pro2
The Magician Pro2 is super easy to put together and comes out of the box about 90% pre-assembled. The gantry slides on a groove on the baseplate and is held in place with six bolts – three on each side. The stabilizer rods are pre-attached on one end with a swivel, so they only need to be swung up and screwed into place at the top.
Electrical connections are easy to sort out, with most plugs being an inch or two from their connection point.
Once everything is connected, it’s a good idea to check your bolts, wheels and belts for excessive wiggle. If you find any loose wheels, these can be easily tightened with the provided wrench on the eccentric nuts.
Normally, the final step when assembling any 3D printer is to flip the power supply switch. The Magician Pro2 has done away with this step and there’s no switch to flip – it's already set for US power.
Leveling the Mingda Magician Pro2
The Magician Pro2 has an auto leveling system where the nozzle physically touches the glass plate. The printer automatically warms up before leveling, removing any worry that the plate could expand or warp going from cold to hot.
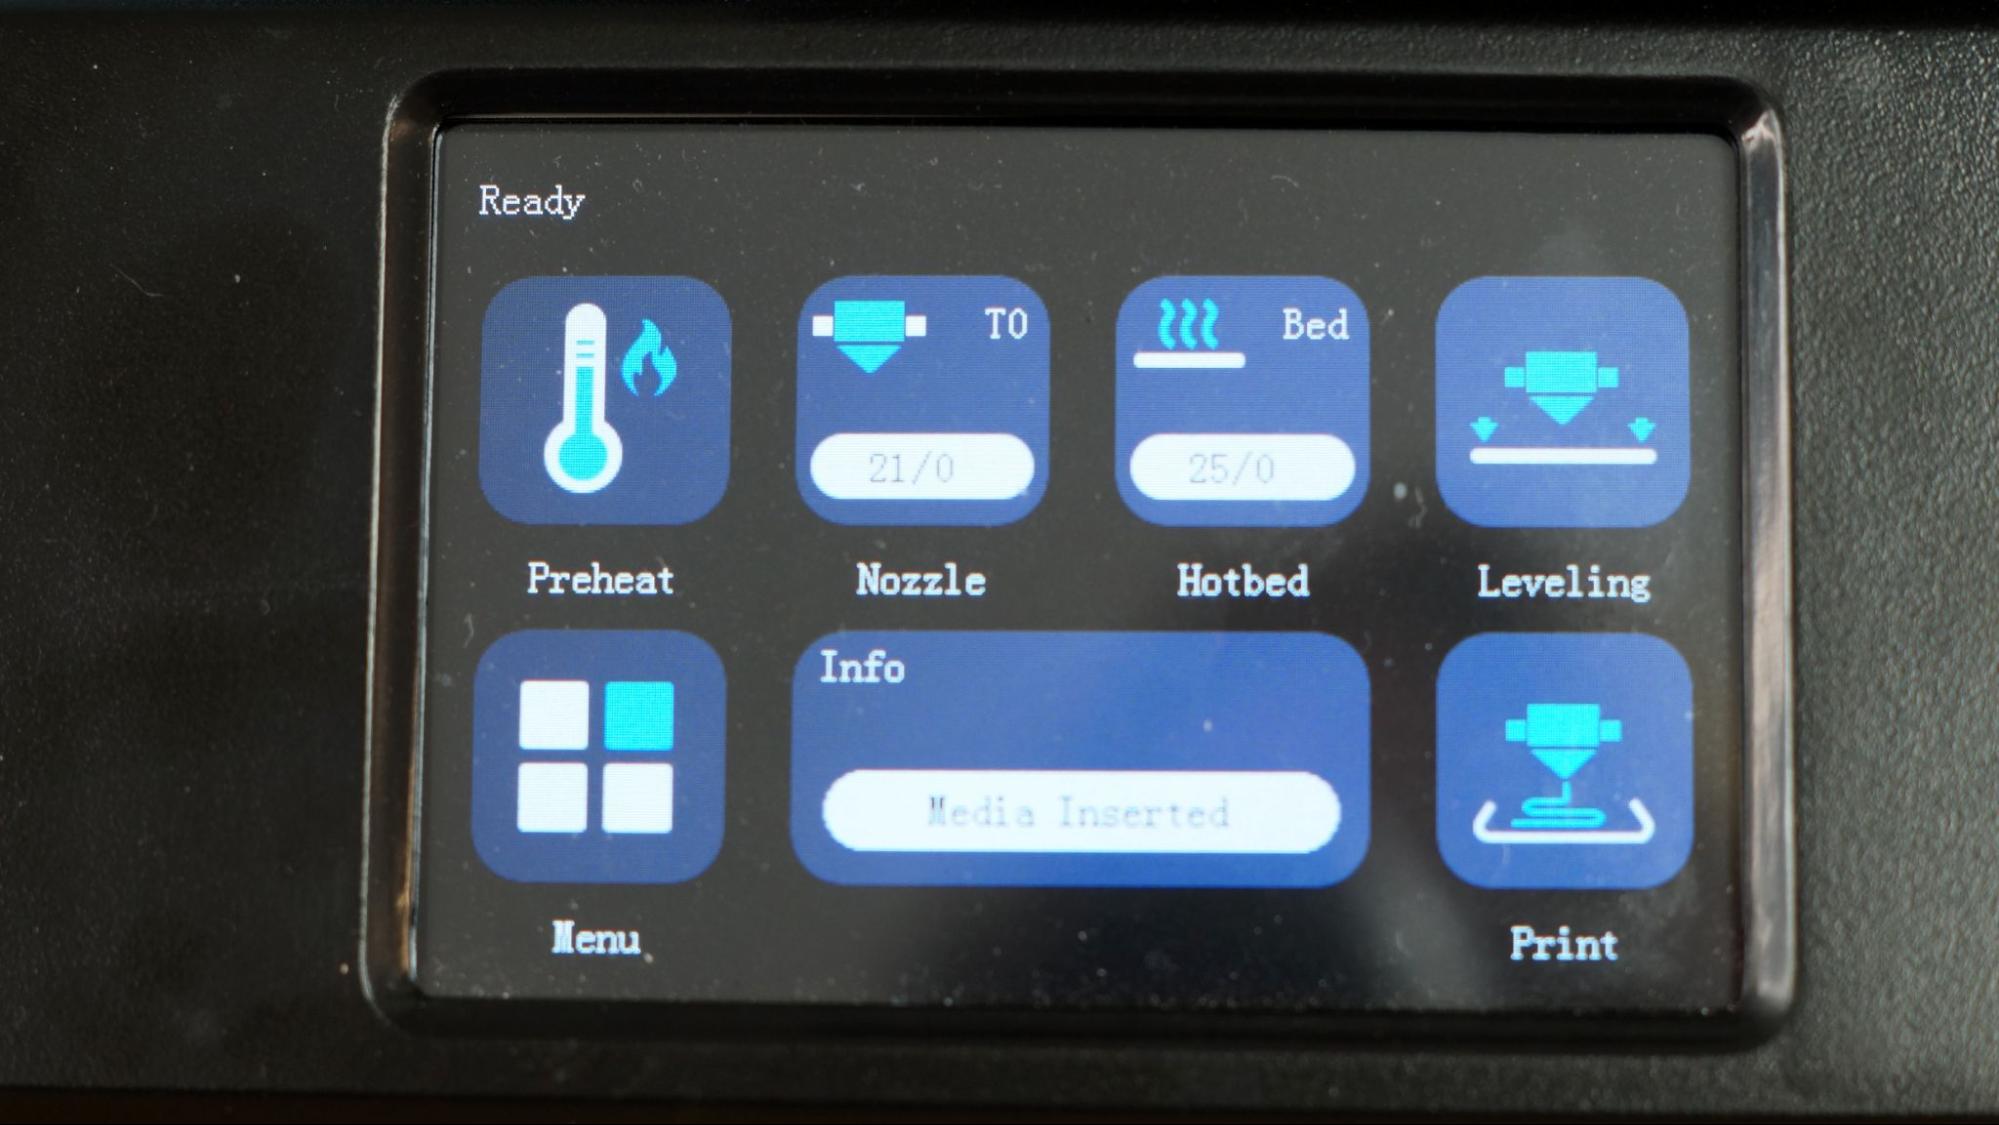
To level the printer, select Level from the main menu. After the printer warms up, it will tap 36 points around the bed. I didn’t need to adjust the Z height after leveling, but there is a command if you need to tweak the settings.
Loading Filament on the Mingda Magician Pro2
Loading this direct drive is very straightforward. Select preheat, then tap the type of filament you’re using. The Magician Pro2 heats quickly, so you won’t be left waiting long. Insert the filament into the top loading hole on the drive. Next, tap the load button on the screen. Keep the speed set at normal and increase the amount advanced to 10mm.
Preparing Files / Software for Mingda Magician Pro2
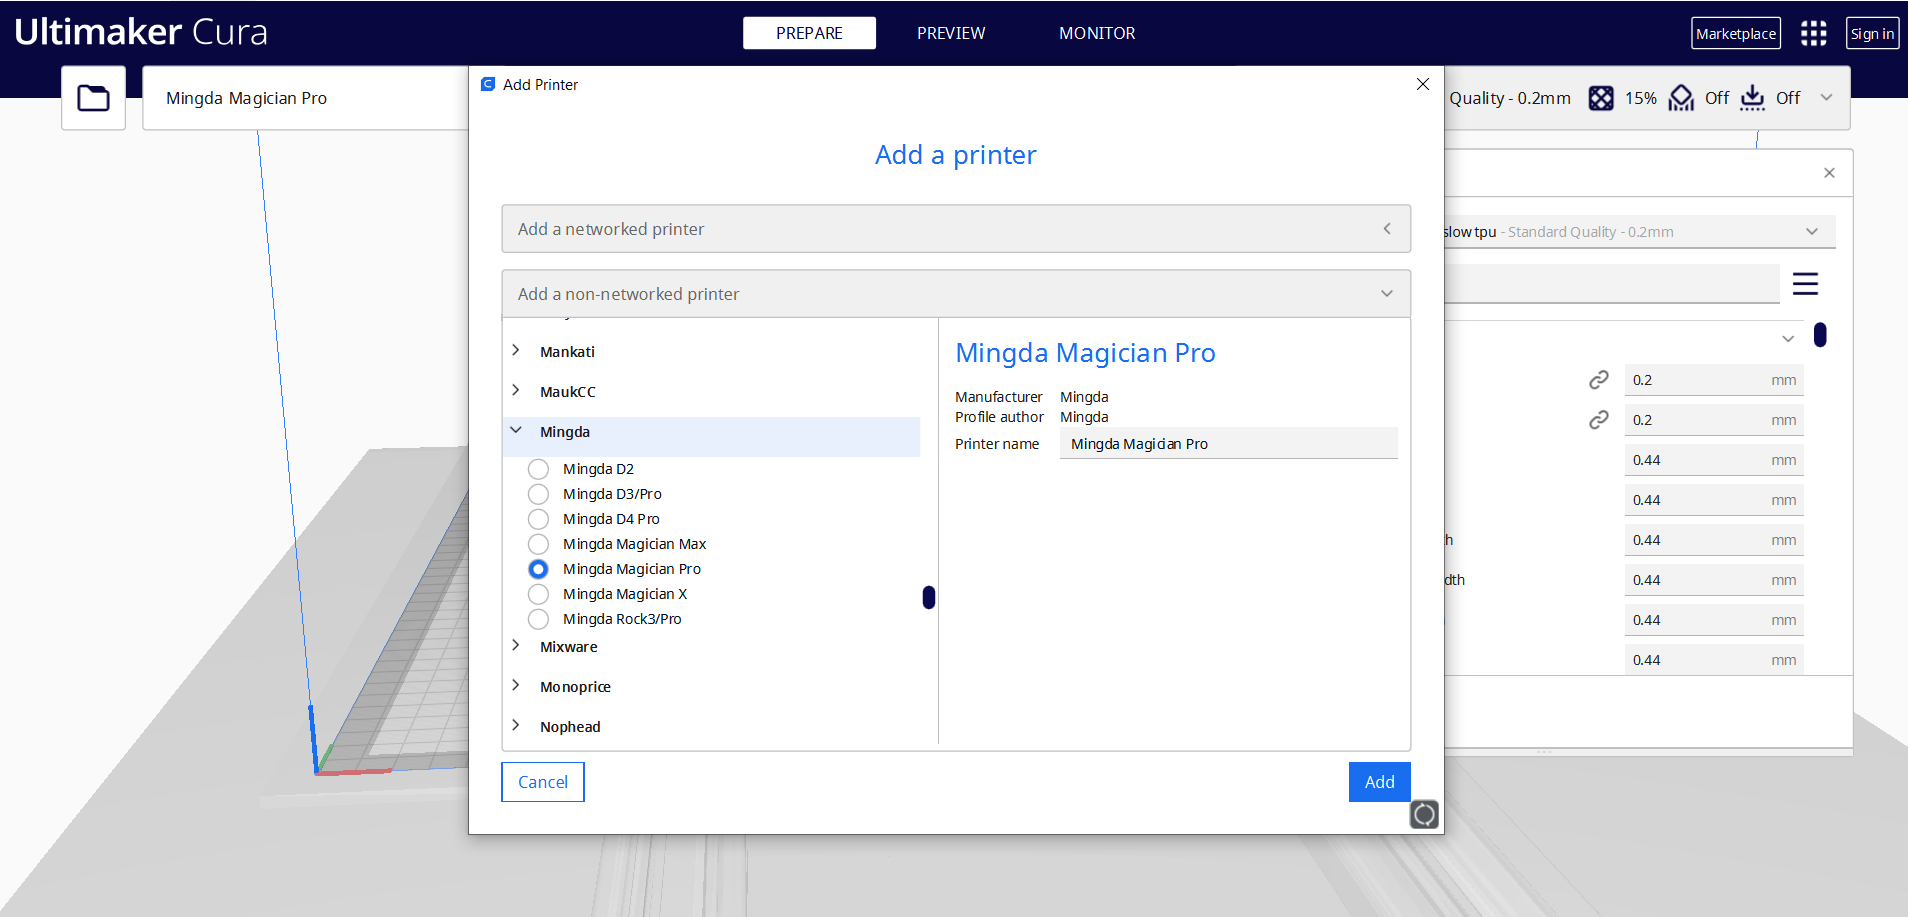
The Magician Pro2 comes with a copy of Cura 4.13.1. However there are no new profiles for the Pro2. You can download the latest version of Cura for free and select the profile for Minda Magician Pro. There is nothing you need to update; the machine uses the same settings.
Printing on the Mingda Magician Pro2
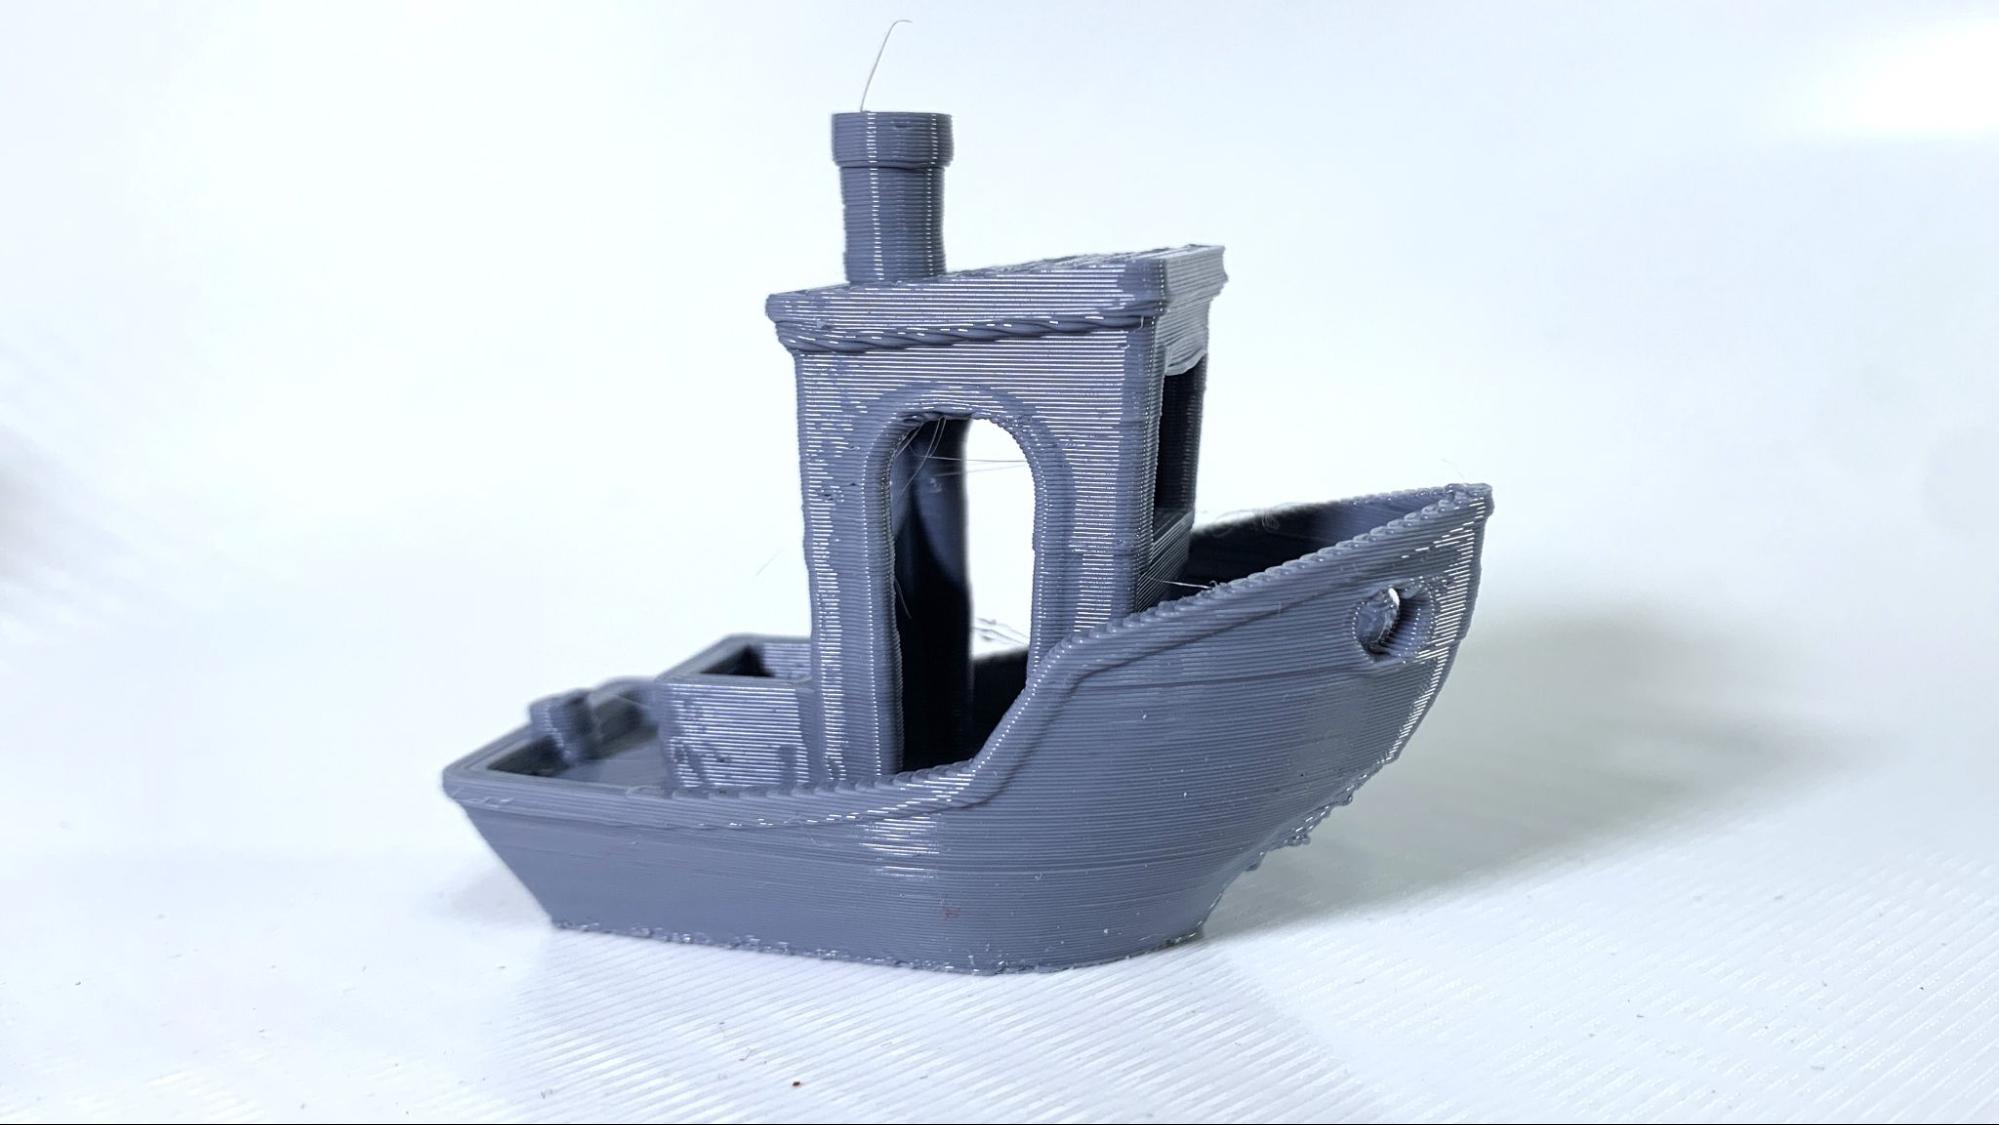
I’ve grown tired of tiny filament samples, and the sample test print looks suspiciously like last year’s weird angel statue, so I skipped all that and went straight into my Benchy test using “speed benchy” rules: .25 layer height, 2 walls, 3 top & bottom layers, 10% infill. I also turned off combing and z hop, and let her rip using a punishing speed of 300 mm/s – and trusting the firmware to slow the machine if that was too much speed.
I used Inland’s gray PLA – an every day filament that is brutally honest in photos using Inland Gray PLA. All the printers we review at Tom’s Hardware are running the same speed test, even if we know the machine is not going to be fast. The Magician Pro2 produced a very solid Benchy with mostly even walls and a crumpled bow from a lack of cooling when pressed to move fast. It took 41 minutes and 3 seconds, which puts it near the bottom of our 3D printer speed hierarchy and about on par with the Creality Ender 3 V3 SE which we also tested with a 300 mm/s setting. That’s still 18 minutes better than the unaccelerated Sovol SV06, which took 59 minutes
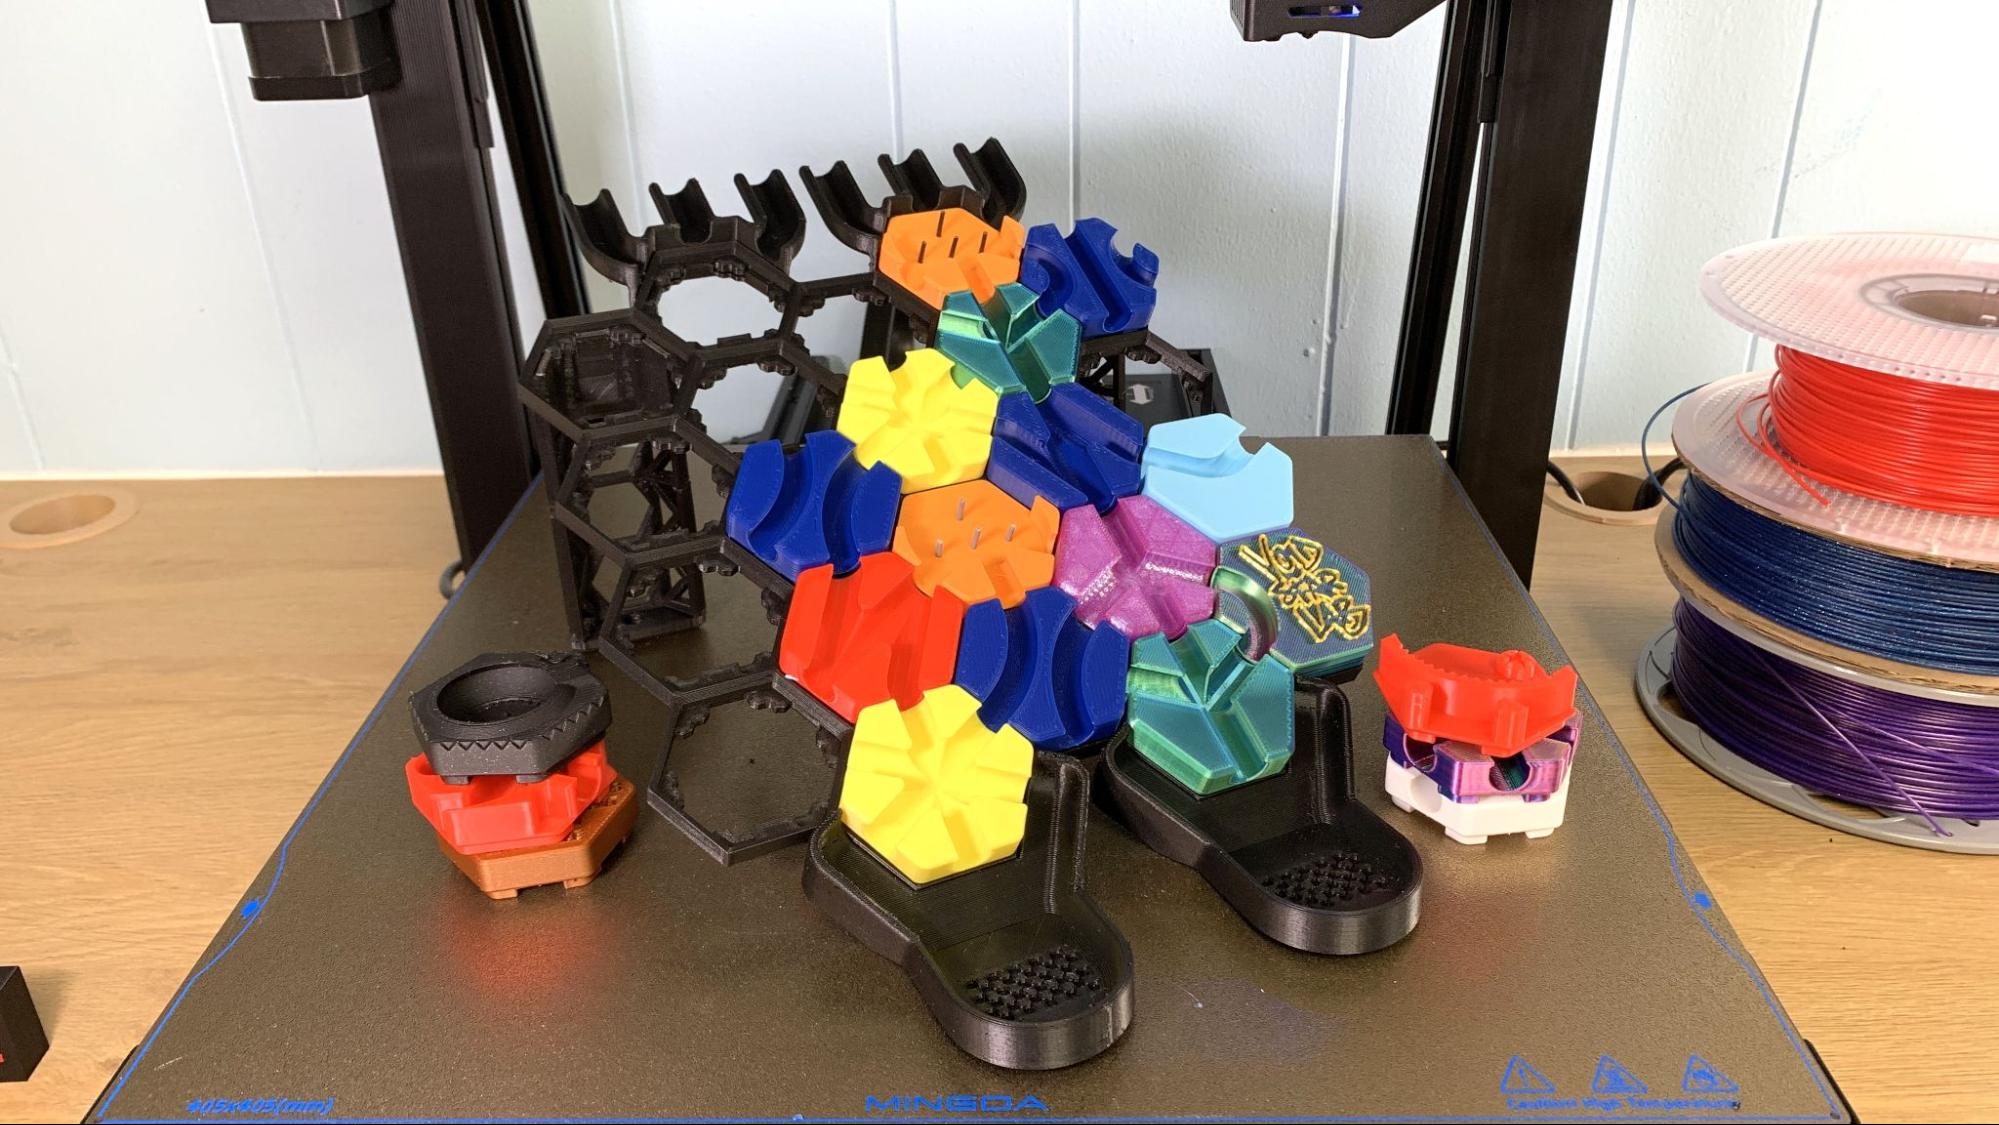
I wanted to make something fairly large, so I printed parts for Zack Freedman’s Hextraction game. The 3D printed game consists of a grid propped up on legs with lots of tiles placed on the grid by the players. The tiles form a maze for steel balls to roll through, and you win the game when you get a ball all the way through the maze.
The game is designed to fit on an “average” printer and thus is cut in many parts. I was able to fuse a few parts of the grid together in Tinkercad and use the Pro2’s larger bed size to avoid a lot of gluing. All the board pieces fit on the Pro2’s bed and was printed at a .2 layer height and 60mm/s print speed, taking 17 hours and 25 minutes to print in Inland Black PLA+ (see our list of the best filaments for 3D printing).
The tiles were printed in assorted PLA colors, averaging 35 minutes per tile using a .28 layer height at 65 mm/s speed. One tile with Zack’s logo involved a color swap.
The game system and links to rules are available for free download at Thangs.com.
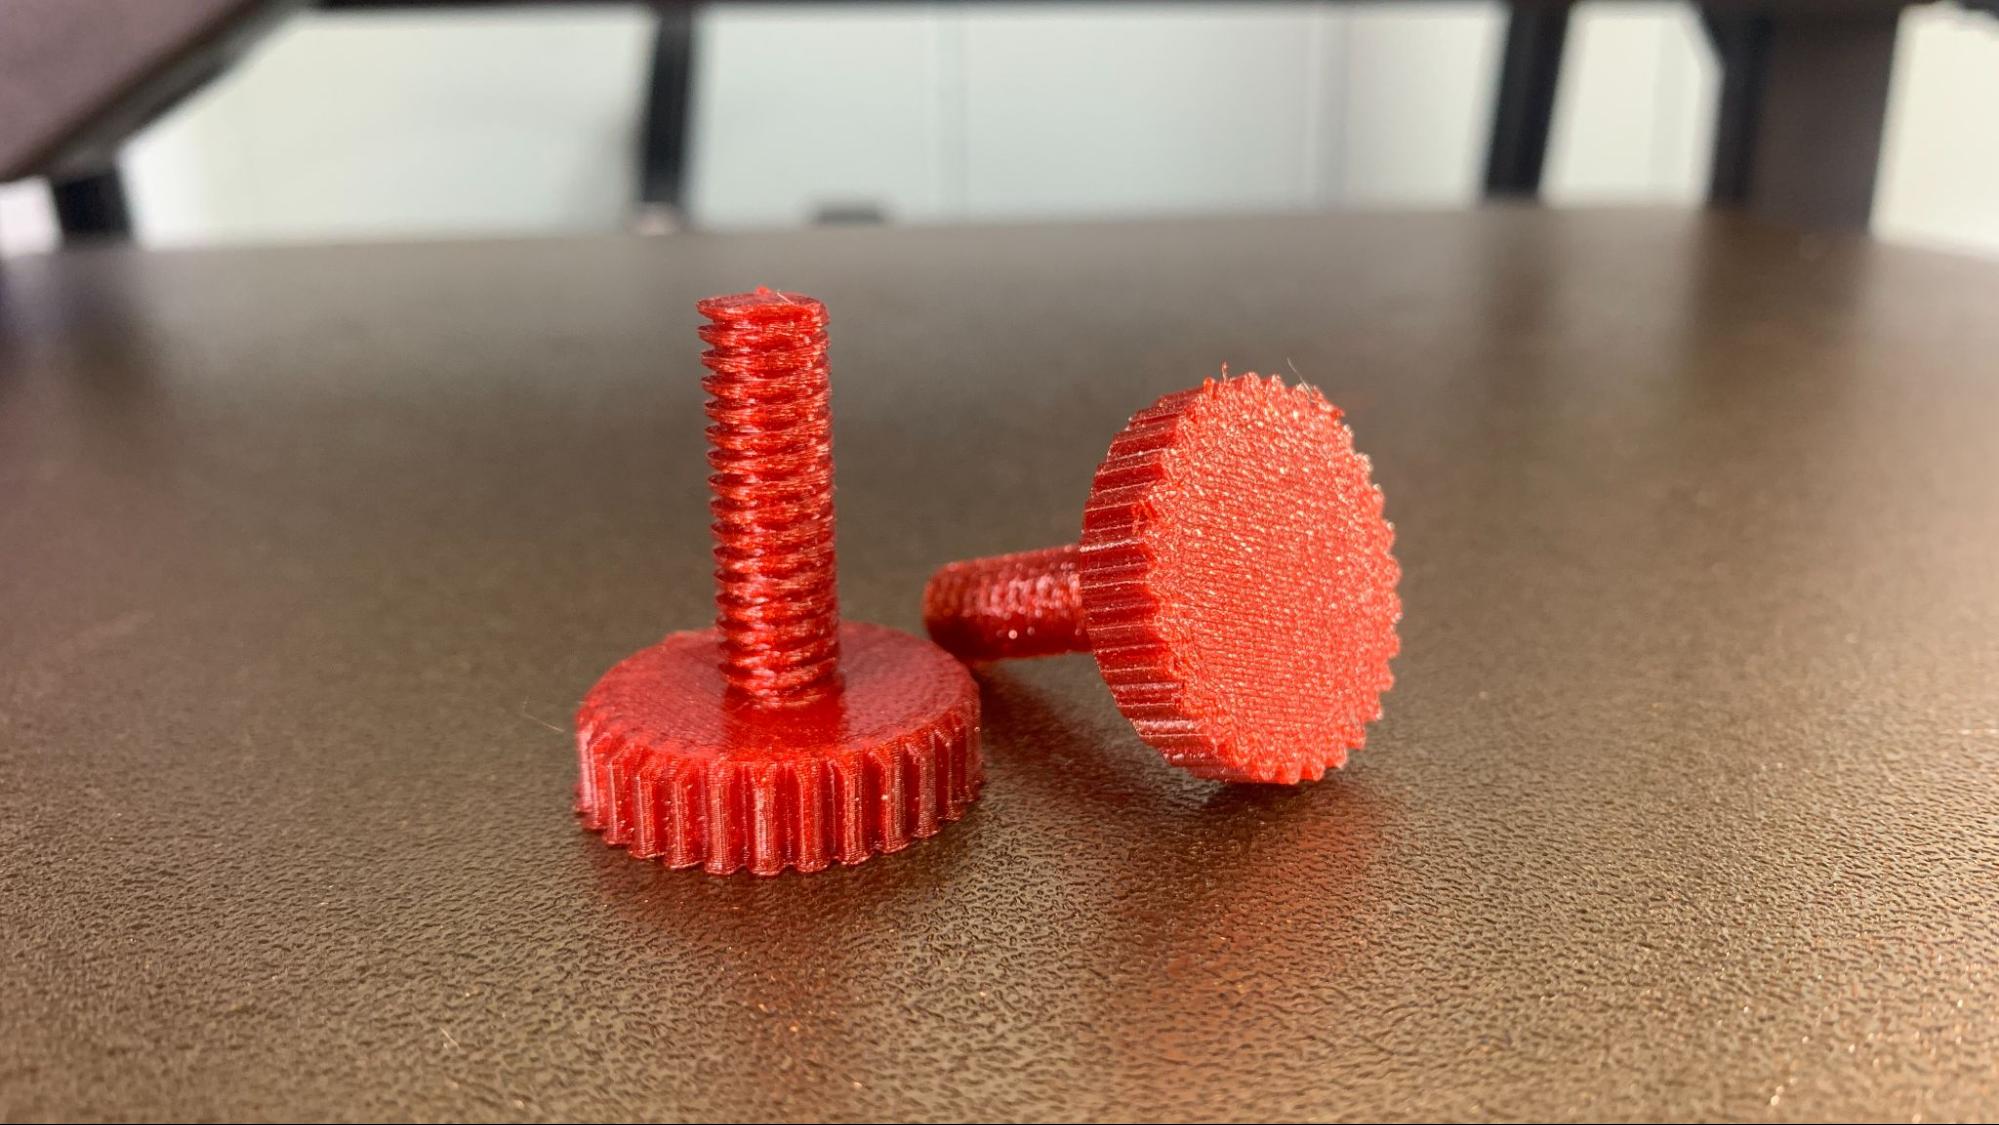
The Magician Pro 2 handled PETG very well. Here you can see a pair of leveling feet/screws printed in Prusament Carmine Red Transparent PETG, using a .16 layer height at 50 mm/s. It took 32 minutes to print each screw.
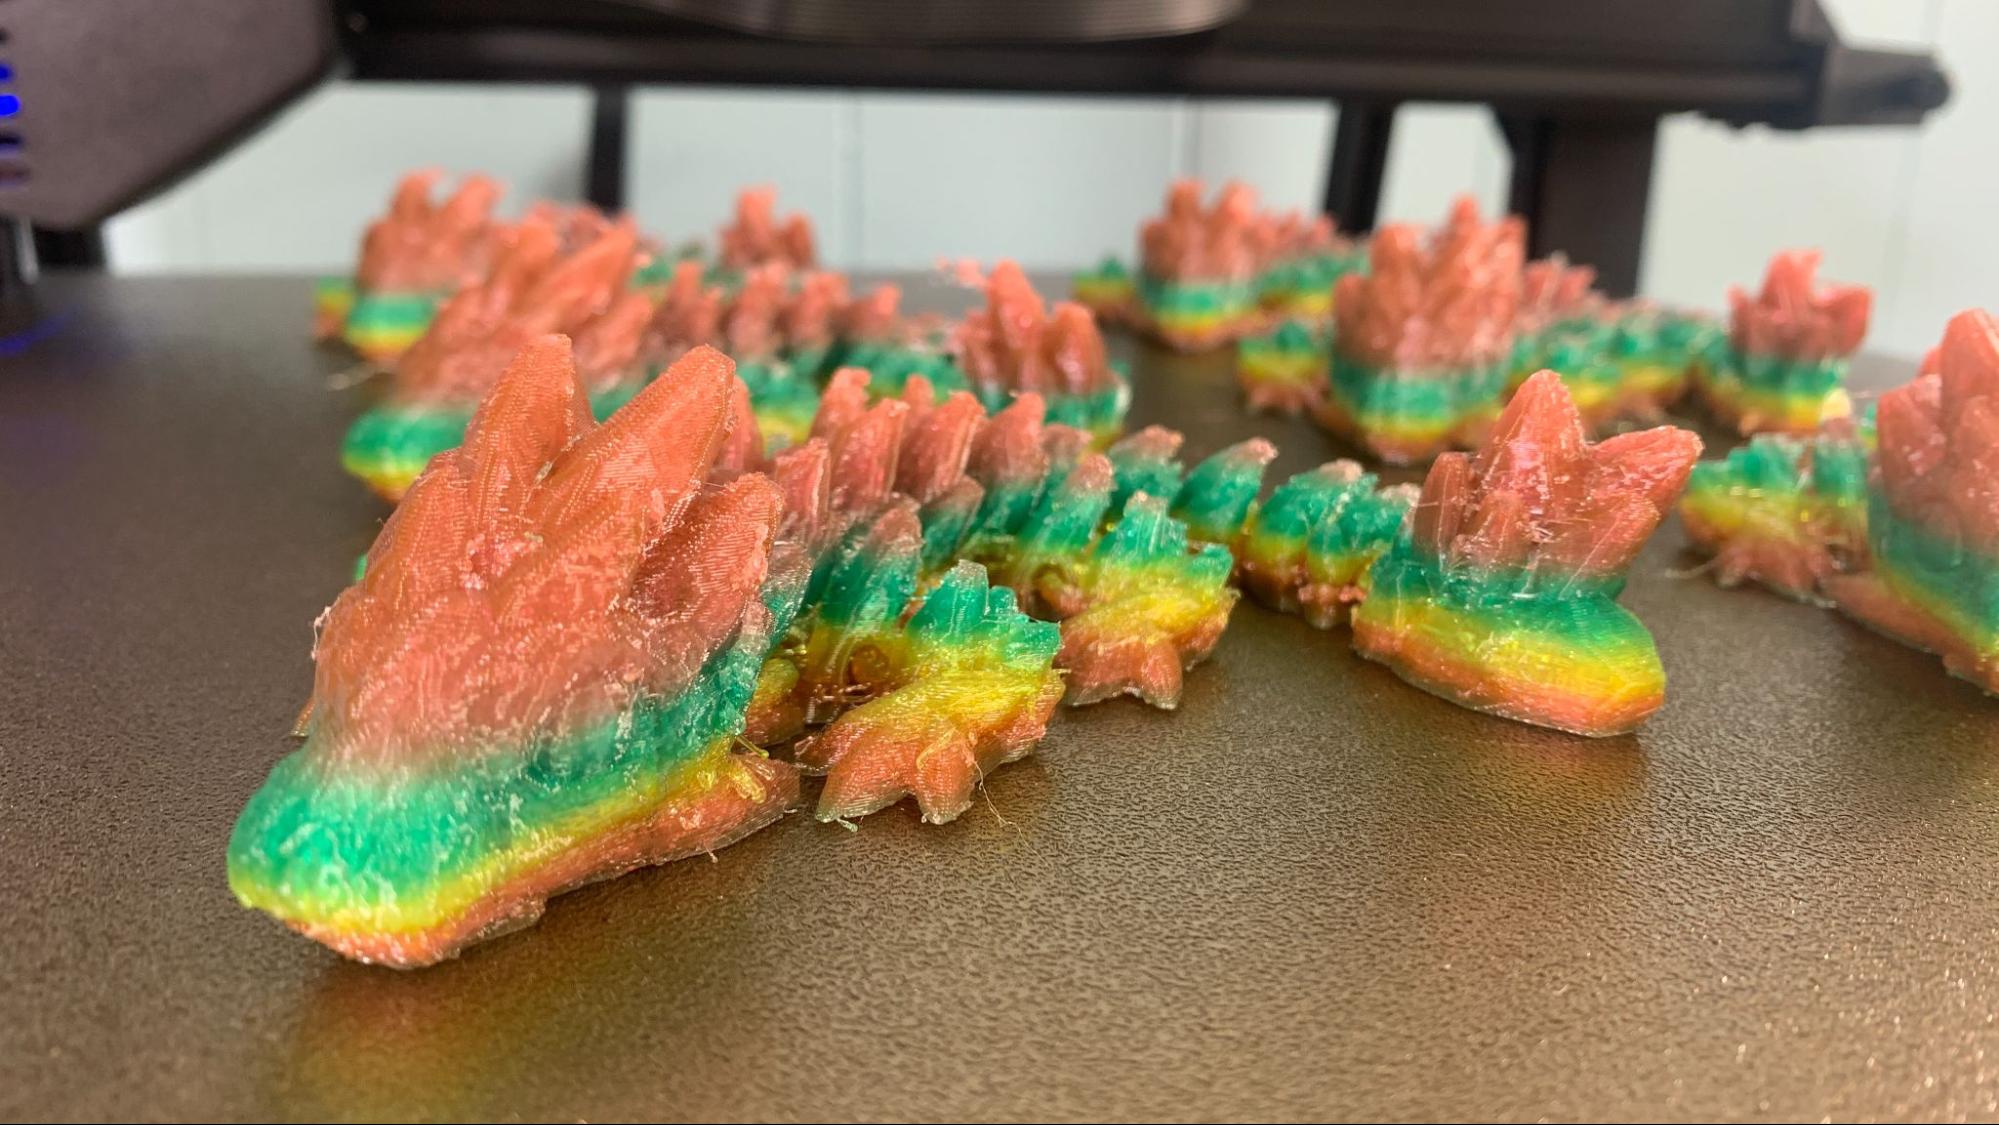
For TPU, I attempted to print half a dozen Cinderwing dragon babies at once, hoping that by filling the plate with dragons I’d get the most colors from a spool of rainbow filament. They were a little stringy, which could be cleaned up, but the joints fused together, making them more rubber chicken than flexi dragon.
This could no doubt be adjusted with further tuning. Though the dragons weren’t as clean as I hoped for, they peeled right off the PEI sheet. With Inland rainbow TPU, this took an excruciating 48 hours and 7 minutes to print at a .2 layer height at 50 mm/s.
Bottom Line
Retailing at $679, The Mingda Magician Pro2 is a very large 3D printer with good quality while running standard filaments that’s easy to set up and simple to use. It’s a little disappointing that Mingda didn’t improve the speed of this machine – especially as they were showcasing new Magicians with Klipper at Formnext while I was testing the Pro2.
The Pro2 is much quieter than other large format machines released in 2023, and that ticks a box for a number of people. This printer would be perfect for a classroom or office setting where the roar of fans is unwanted.
The new flex plate is a welcome addition to the Magician Pro2 and the light up hotend is a whimsical touch. It’s great for beginners who need a machine that just works and have no desire to tinker with upgrades. It’s not quite one of the best 3D printers, but it is worth a look if you want reliability with a generous build plate.
If you’re interested in a very fast large printer, check out the Creality K1 Max which has a 300 x 300 mm build plate and can be found on sale for around $700. Our current favorite large format is the Elegoo Neptune 3 Max which has a 420 x 420 build plate and a bargain price of $379.
MORE: Best 3D Printers
MORE: Best Budget 3D Printers
MORE: Best Resin 3D Printers

Denise Bertacchi is a Contributing Writer for Tom’s Hardware US, covering 3D printing. Denise has been crafting with PCs since she discovered Print Shop had clip art on her Apple IIe. She loves reviewing 3D printers because she can mix all her passions: printing, photography, and writing.
