A Home-Grown Water Cooler for 115 Dollars
Test Run - Filling And Checking The Seal On The Cooling Circuit
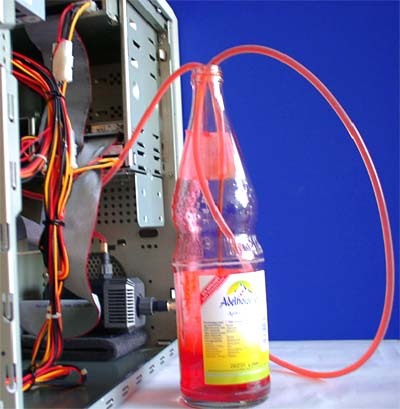
It's all set up now, we're ready to roll - it's time to feed water into our cooling system. First, though, we have to fill a container with water and attach it to the inlet of the cooling system. There's nothing simpler than using normal tap water for this, as long as it isn't too hard. If your water is too hard, this can eventually produce furring in the cooling system. In order to make our cooler look more appealing, we dyed the water red with ink. This also makes it much easier to determine the flow rate. It is absolutely essential to ensure that your system is watertight before installing it in your PC. Any subsequent leakage while running the PC would cause a short, and thus ruin a lot of components.
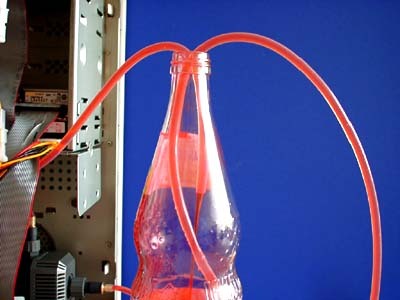
Once all the component groups of the water cooler have been installed, you can feed liquid (water) into the system.
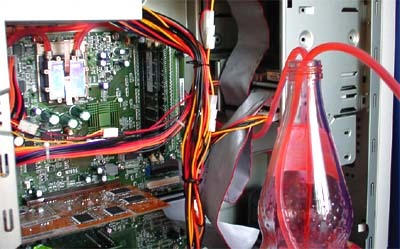
A water bottle acts as a cistern.
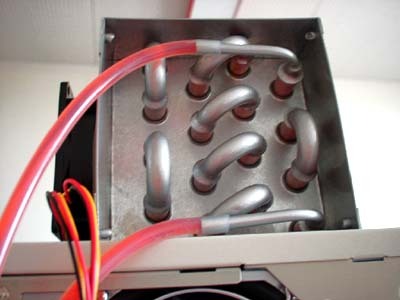
The pump draws water through the radiator.
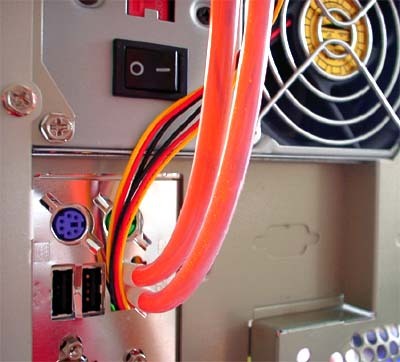
The hoses are taped to protect them from being damaged by the sharp edges of the opening.
The water cooler has been installed in our PC system and filled with liquid.
In order to ensure that the cooling system is perfectly watertight, the cooling circuit should be set up outside the PC system and allowed to run for a minimum of 12 hours.
Get Tom's Hardware's best news and in-depth reviews, straight to your inbox.
Current page: Test Run - Filling And Checking The Seal On The Cooling Circuit
Prev Page Setting Up The Hoses And Wires Next Page Bleeding The Cooling Circuit-
This would be a wonderful article, if we knew where the parts could be purchased, where can we get that radiator, pump.... Saying $115.00 withour this information could be a complete hoax.Reply
-
setudas To check more update news about water coolers and more on please check my website below-Reply
http://distilledwaters.info/water-coolers-for-home/
