How To Add Front - Mounted Ports To Your Case
Installing Front-Mounted Ports With The EN-006-TM1, Continued
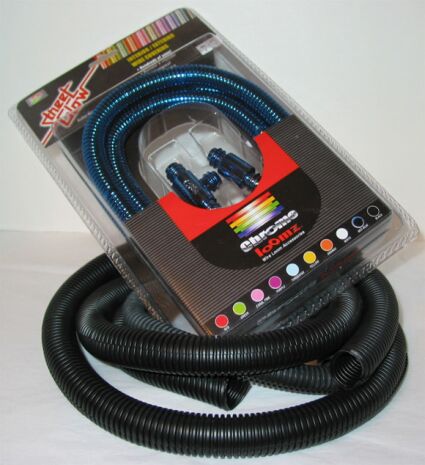
Wire looms come in all shapes and sizes. The fancy Chrome Loomz from Street Glow were suggested by the folks at http://www.directron.com who have been selling these wire looms for some time. These new Chrome Loomz really dress up the look of your case through your side window. We didn't happen to have the Chrome Loomz in the 5/8" size that we needed for the cables on the EN-006-TM1, so we had to make a trip to the hardware store to pick up some 5/8" black wire looms in the electrical aisle.
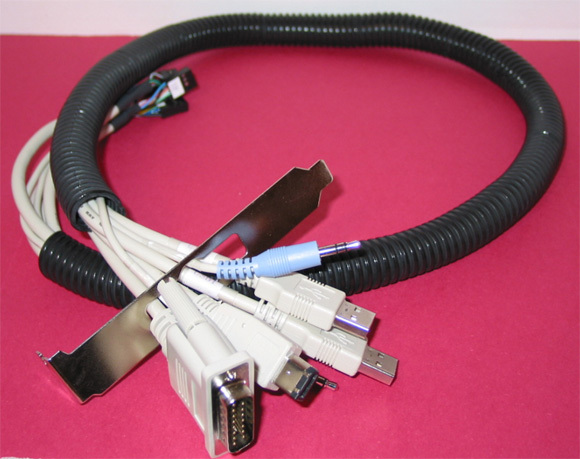
As you can see in the picture below, once the wire loom is placed over the cables coming out of the EN-006-TM1, the organization looks a lot better and the cables are easier to manage, and perhaps a little easier to install in the PC.
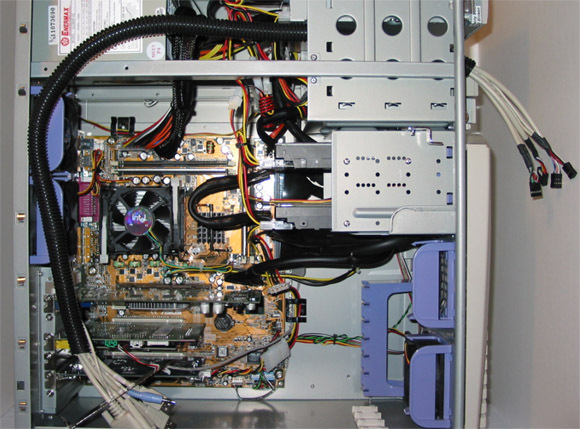
Next, you'll want to place the cables in their proposed location(s) within the case. Notice that we have the cables for the EN-006-TM1 hanging out of the front 5.25" bay where we are going to install it. Doing this will help you figure out the path you want to take to move the cables through the PC and out the back of the case. In our case, we wanted to take advantage of the space above the rear fans, as well as the cross member that runs across the center of the case. This was a good guide, as well as a nice way to tuck the cables contained in the wire loom out of the way. After you are finished plotting out path through the case, you will want to remove the wire loom from the cables.
Get Tom's Hardware's best news and in-depth reviews, straight to your inbox.
Current page: Installing Front-Mounted Ports With The EN-006-TM1, Continued
Prev Page Installing Front-Mounted Ports With The EN-006-TM1 Next Page Installing Front-Mounted Ports With The EN-006-TM1, Continued

