How To Add Front - Mounted Ports To Your Case
Installing Front-Mounted Ports With The EN-006-TM1, Continued
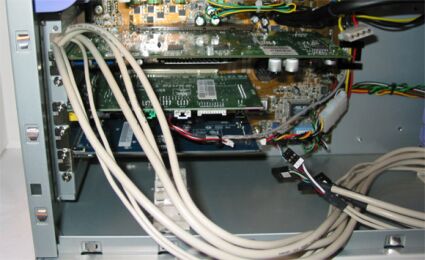
Now that you have your wire loom cut, and know how you are going to run the cables through your case, it is time to get down to business. Next, feed the cables through the open slot in the PC case, then feed the cables from the back with the connectors that connect to the EN-006-TM1 first, as demonstrated in the picture below.
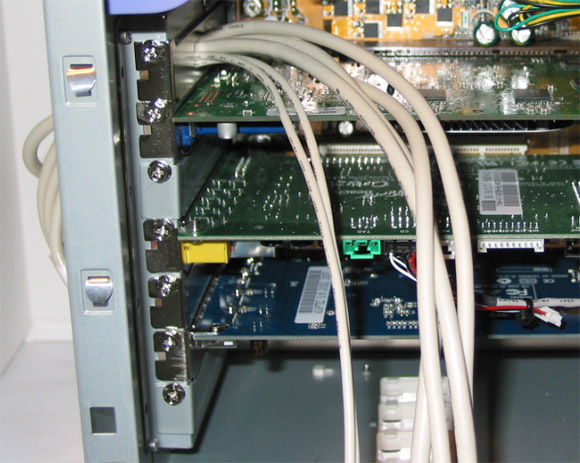
Once you have fed the cables into the inside of your PC, slide the cut out slot cover that is included with the EN-006-TM1 over the cables. You will want to be careful, as we found a few metal shavings on the slot cover, which we filed off first so as not to cut the cable jackets. Once you slide the slot cover all the way to the back of the PC, mount the slot cover to the PC. You will next want to connect to the ports on the back of the PC; we used a single wire tie to help hold the cables in position at this point. After we completed the installation, it was suggested that we could have picked up a rubber washer, which would have helped hold and better control the cables going through the hole in the slot cover.
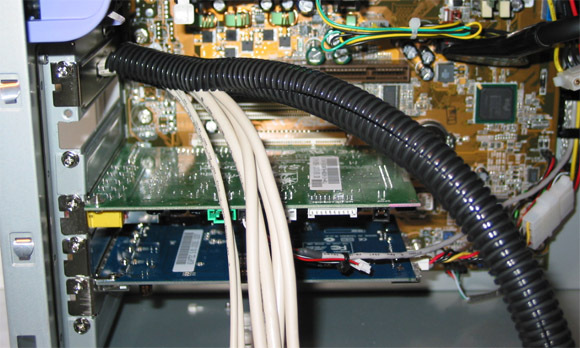
Now, we are ready to put the wire loom back over the top of the cables to hold them together. (We removed the video card that was in the AGP slot so that we had more space to work.) When putting the wire loom over the cables, it is best to slide the wire loom over the cables slowly, while at the same time trying to keep the cables that are going into the loom as straight as possible.
Get Tom's Hardware's best news and in-depth reviews, straight to your inbox.
Current page: Installing Front-Mounted Ports With The EN-006-TM1, Continued
Prev Page Installing Front-Mounted Ports With The EN-006-TM1, Continued Next Page Installing Front-Mounted Ports With The EN-006-TM1, Continued

