Tom's Hardware Verdict
The Hurakan makes exploring Klipper easy, but poor design gets in the way.
Pros
- +
Klipper firmware pre-installed
- +
Faster than average print times
- +
Simple Auto bed leveling
- +
Quiet operation
Cons
- -
Config file on a removable microSD card
- -
Unusable SD drive
- -
Slow start up
- -
Painted lines on build plate dissolved with isopropyl alcohol
- -
Difficult to load filament
Why you can trust Tom's Hardware
The Biqu Hurakan promises to make speedy 3D printing easy thanks to its built-in Klipper firmware, but its road has a few design potholes. Klipper is a fast and accurate firmware that takes more horsepower than Marlin, the firmware normally installed on printers. Before the Hurakan – and the FLSun V400 – the only way to get Klipper was to install it yourself on a Raspberry Pi, then tether it to your printer. Of course, Raspberry Pis are in short supply these days and installing Klipper requires a level of expertise many makers lack.
Retailing at $369, the Hurakan is an intriguing product. Biqu manufactures boards and other parts for 3D printers, so it's not surprising that Biqu was one of the first to develop a standalone system with enough computing power to run Klipper. Even without Klipper, the Hurakan is an attractive Ender clone with auto bed leveling and a flex plate for easy print removal.
Inspired by the similarly named Lamborghini, the Hurakan is certainly fast – it easily prints PLA at 150 mm/s – but not as fast as the AnkerMake M5’s top speed of 250 mm/s. But Klipper is about more than just speed. It also gives you access to advanced tuning for cleaner prints and a Mainsail interface for remote access. The printer is ridiculously quiet and energy conscious, with fans that turn off when not in use and a two-zone bed heater.
But the Hurakan also has a few problems that you won’t find on the best 3D printers. For one, the microSD card slot on the front contains the printer’s firmware and can cause system failure if it is removed while the machine is on. There’s also a full size SD card slot that seems unusable, and don’t get me started on how I cleaned the painted grid right off the build plate with common isopropyl alcohol.
Specifications: Biqu Hurakan
| Build Volume | 220 x 220 x 270 mm (8.6 x 8.6 x 10.6 inches) |
| Material | PLA/TPU/ABS (up to 260 degrees) |
| Extruder Type Bowden | Bowden |
| Nozzle .4mm MK8 | .4mm MK8 |
| Build Platform | PEI textured spring steel sheet, heated |
| Bed Leveling | Automatic with probe |
| Filament Runout Sensor | Yes |
| Connectivity | microSD card, USB Drive, Ethernet, WiFi |
| Interface | LED screen with knob, Mainsail |
| Machine Footprint | 480 x 470 x 482mm (18.9 x 18.5 x 19 inches) |
| Machine Weight | 8.2 KG (18 lbs) |
Biqu Hurakan: Included in the Box
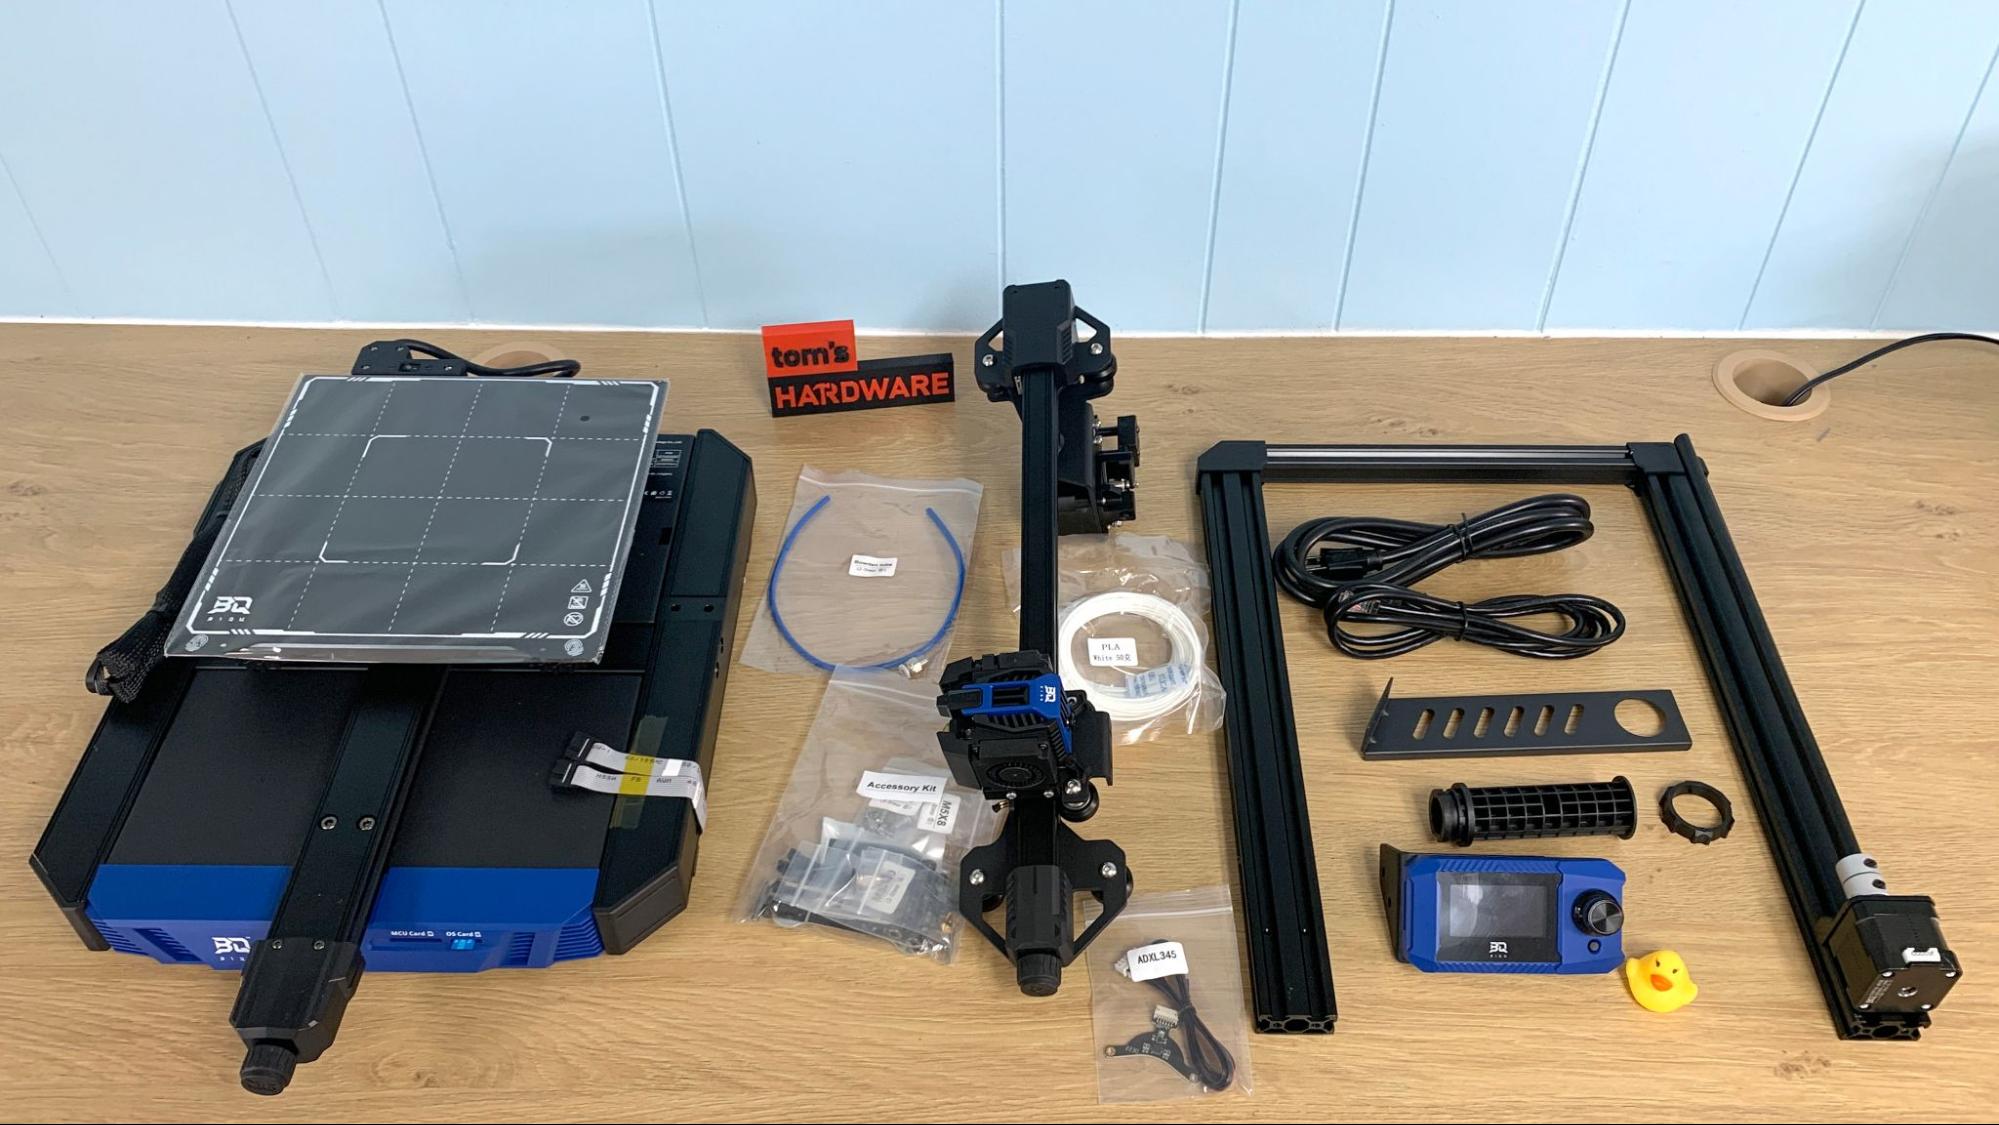
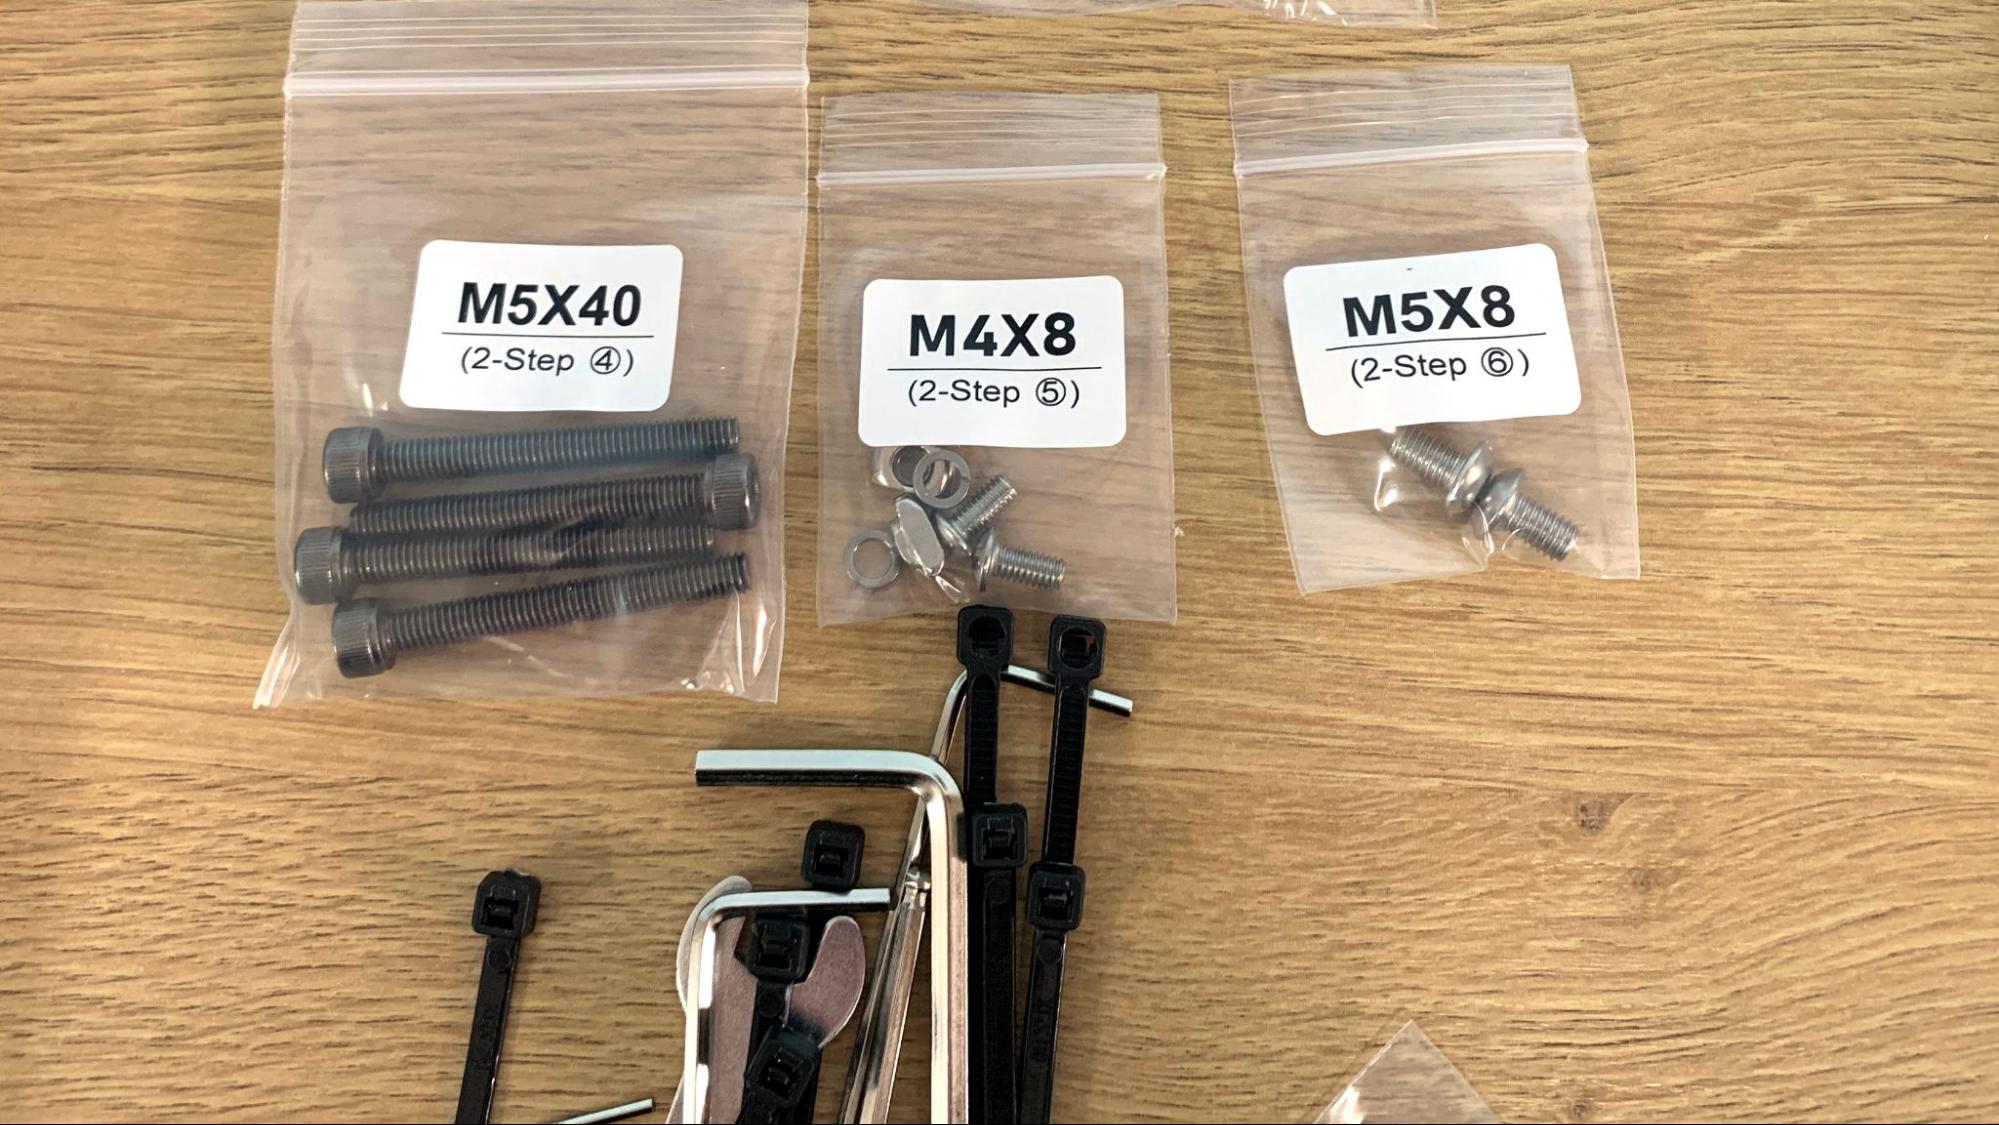
The Biqu Hurakan comes with everything you need to get your printer set up. You get tools to build and maintain the printer, a spare nozzle, and a microSD card with a USB adapter. There’s also a small sample of white PLA to print your first model and a small rubber duck, the Biqu mascot.
The microSD card contains test models to print, but more importantly, it has the printer’s config files and other data needed to run the printer. Do not lose or tamper with this card.
The printer comes with a paper getting started guide and instructions on how to get a more detailed PDF manual from Biqu’s website. No slicing software is included, but links are shared to Cura’s free download page.
Get Tom's Hardware's best news and in-depth reviews, straight to your inbox.
Our review model came with a ADXL 345 Accelerometer for fine tuning Klipper. This part is optional with a cost of $13.22.
Design of the Biqu Hurakan
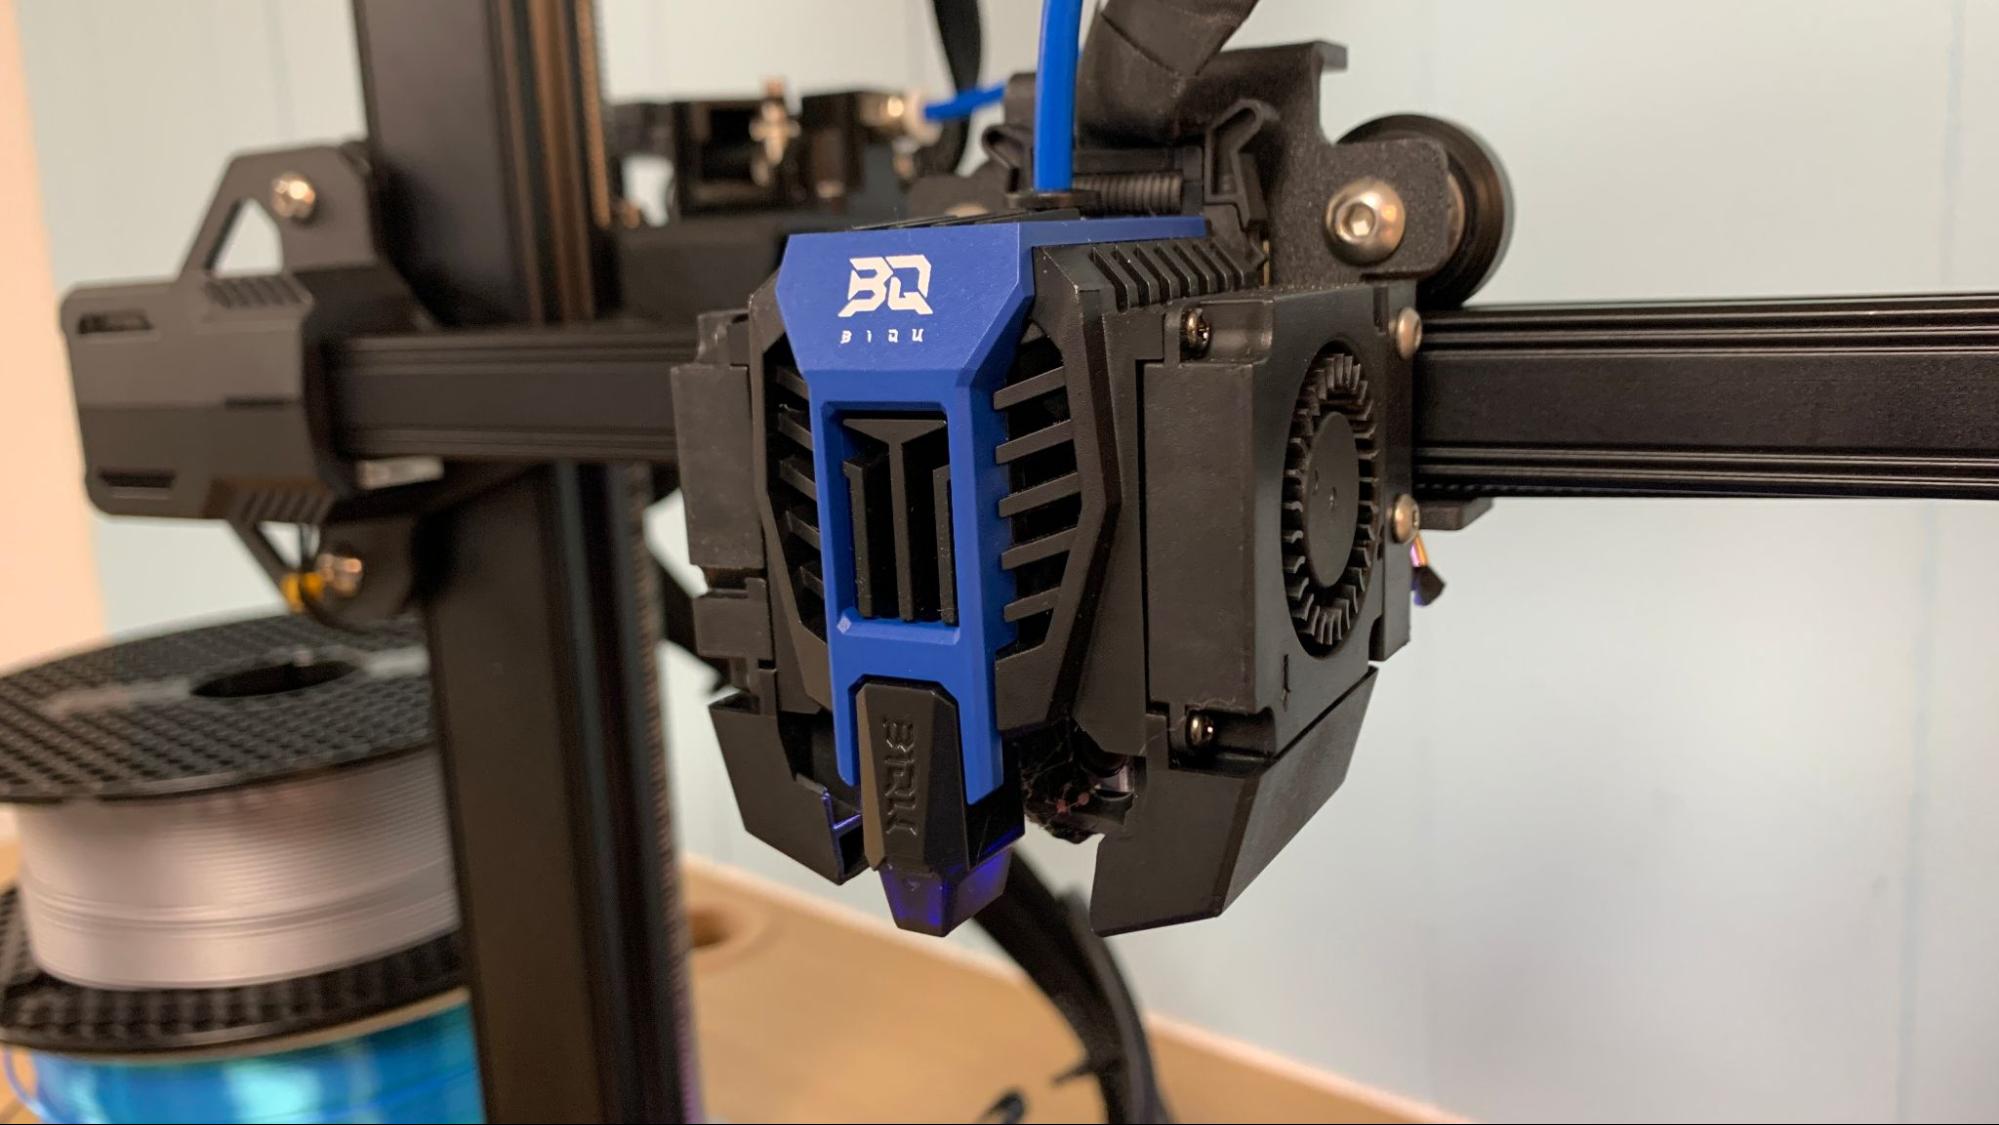
The Hurakan is a striking printer, with a bold blue case. The front grill is inspired by a sports car, with vents to cool the case. It has a single Z axis rod, a Bowden extruder with a filament runout sensor and a lightweight auto leveling system that works very well.
It has a standard PTFE lined hotend, so it’s limited to 260 degrees, quite enough for most filaments. There are two cooling fans on either side, which helps it cool filament at faster speeds. The toolhead also has an RGB light behind the nozzle for added flare. It’s not very useful for examining layers as they go down – the light is mostly blocked by the nozzle – but you can change the color to suit your mood.
The printer is one of the quietest machines I’ve tested with cooling fans that turn off when they are no longer needed. This makes the Hurakan completely silent between prints. Another energy saving feature is the heated bed with its two zones. One zone heats the center and another heats the outer edges. The zones are controlled with a switch at the back of the bed and obnoxious blinking lights will remind you which zone you have flipped on.
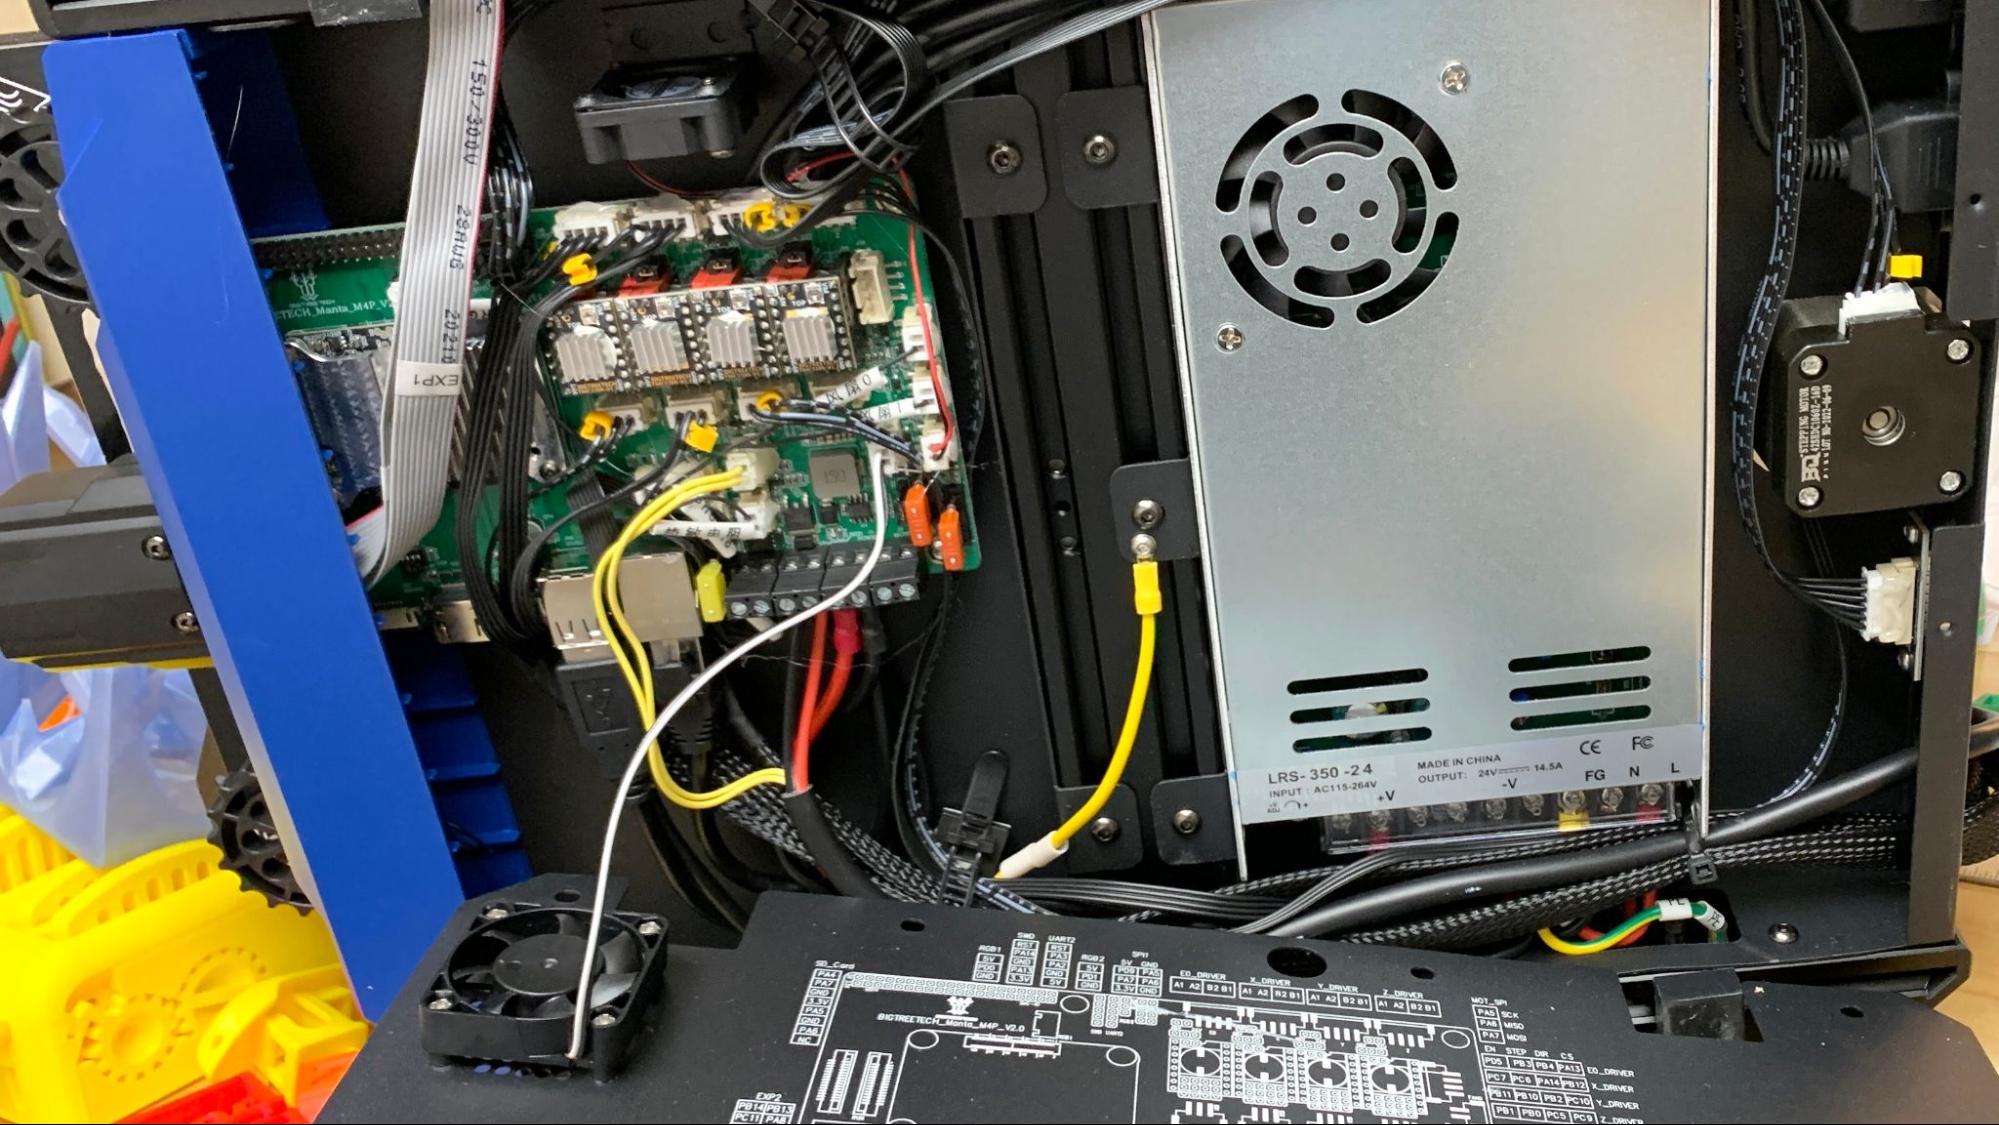
The pair of controller boards stands out: a BigTreeTech Manta M4P paired with a CB1. The CB1 has a quad-core Cortex-A53 with 1GB ram and built in WiFi – all to run Klipper.
One thing I don’t like about the board is where it’s mounted in the front of the case. This puts the card slots – both a full size SD card and a microSD – right in front where you expect to find them. Ordinary printers from Creality, Anycubic, Elegoo and everyone else put their input slots in front too. But with the Hurakan, the microSD is connected to the CB1 and contains the printer’s config file. If you remove it while the printer is turned on, you will crash the machine and may need to reinstall the firmware.
The full sized SD card connects to the Manta board and is only used to update the MCU. This information is nowhere to be found in the manual, which made me think the port was broken. If you are accustomed to any other 3D printer, it might take some effort to not touch the card slots. There’s no reason the board couldn’t have been mounted in the back to keep the card out of the way.
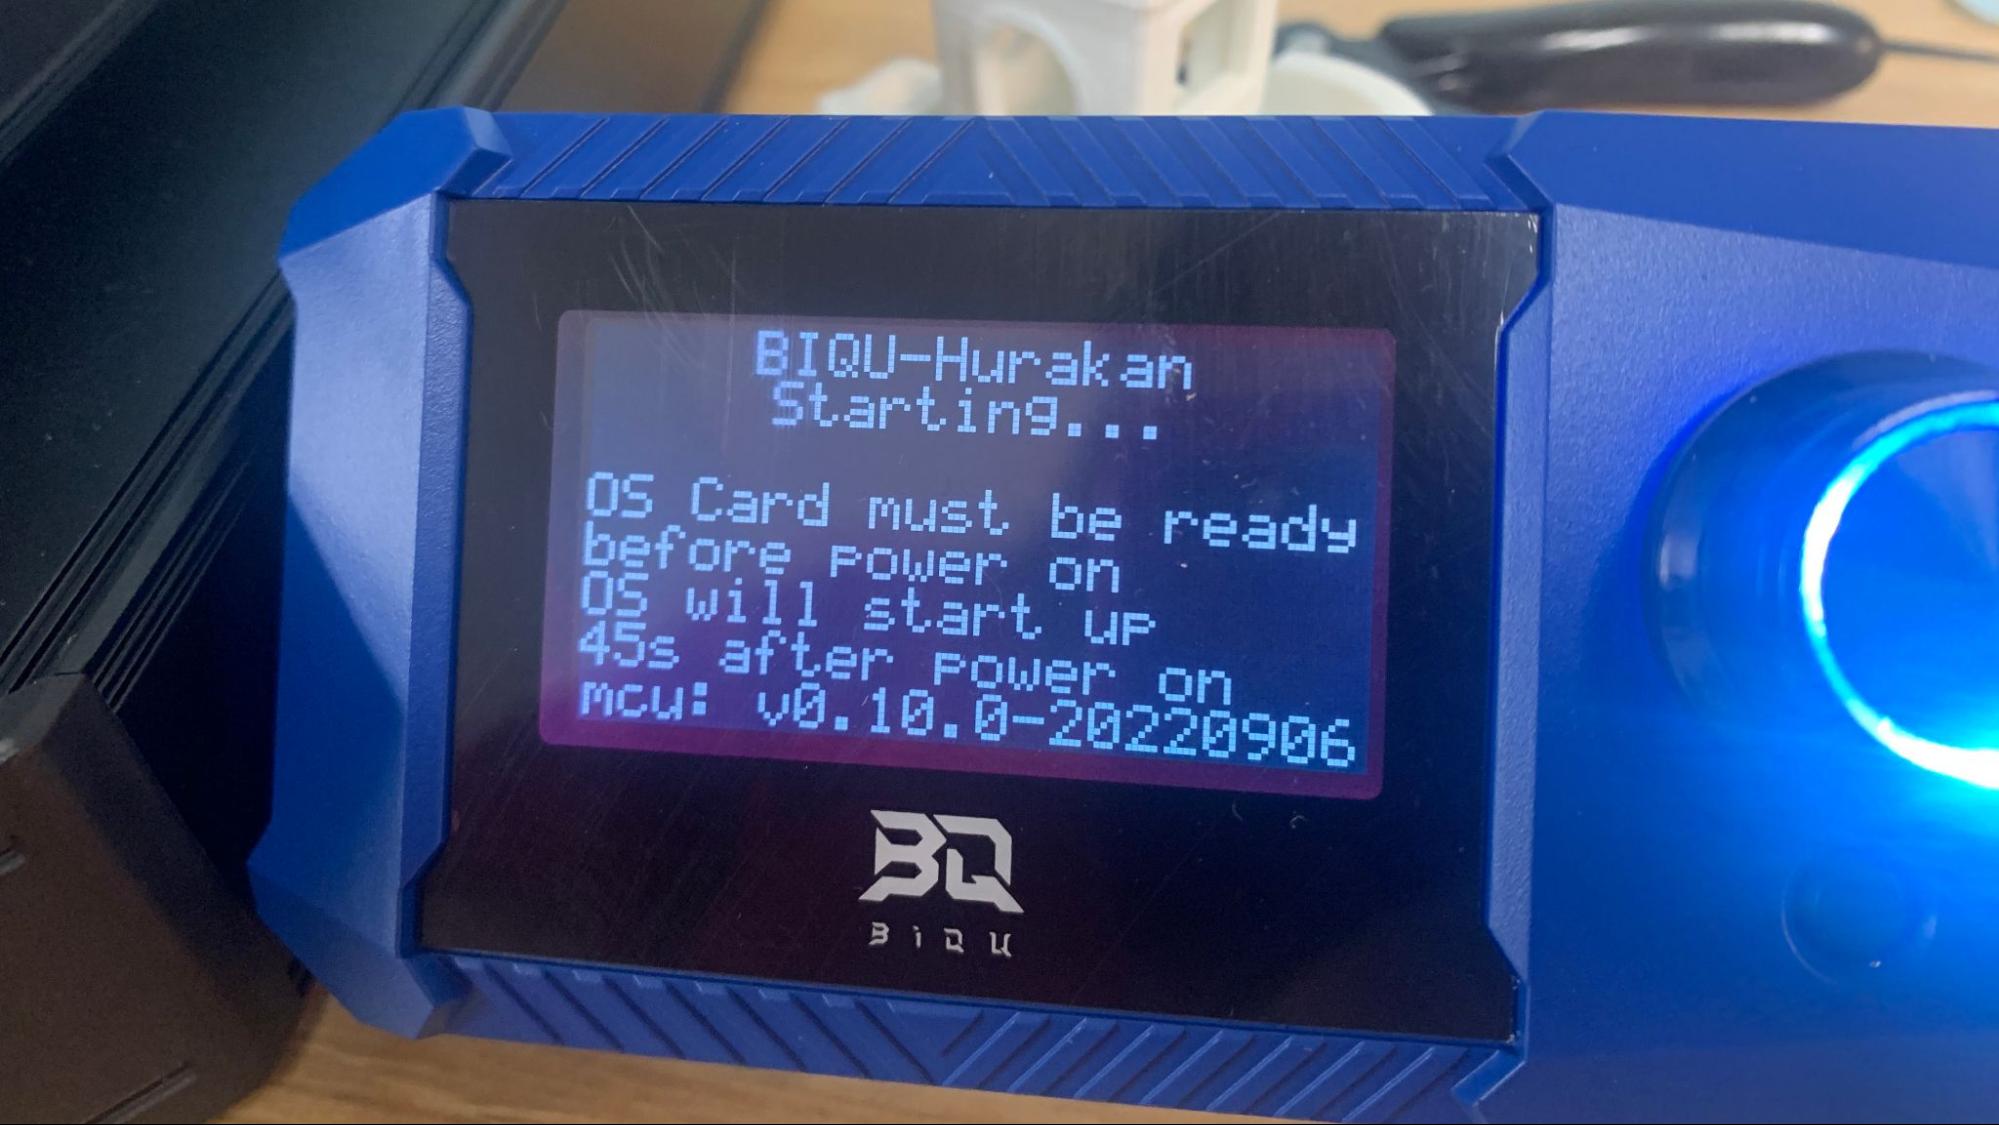
Another issue related to the microSD card is the 45 to 75 second wait time after turning on the printer. This may seem rather trivial, but the only safe way to take the card out of the machine is to do it while powered off. And you will take the card out to update the config file to get the WiFi set up, and again if you need to update the firmware. Because of this annoying delay, I highly recommend never using the microSD card to move files. Remote access is an absolute must for this printer.
There are two more ways to get files on the Hurakan, which is a USB drive or LAN connection. There are two USB ports located on the back of the machine – one for files, and an extra one to add a camera. This isn’t as convenient as WiFi or a front mounted port, but if the WiFi goes down, you still have a way to talk to the printer. The Ethernet port could come in handy if you want to hardwire your machine to your network.
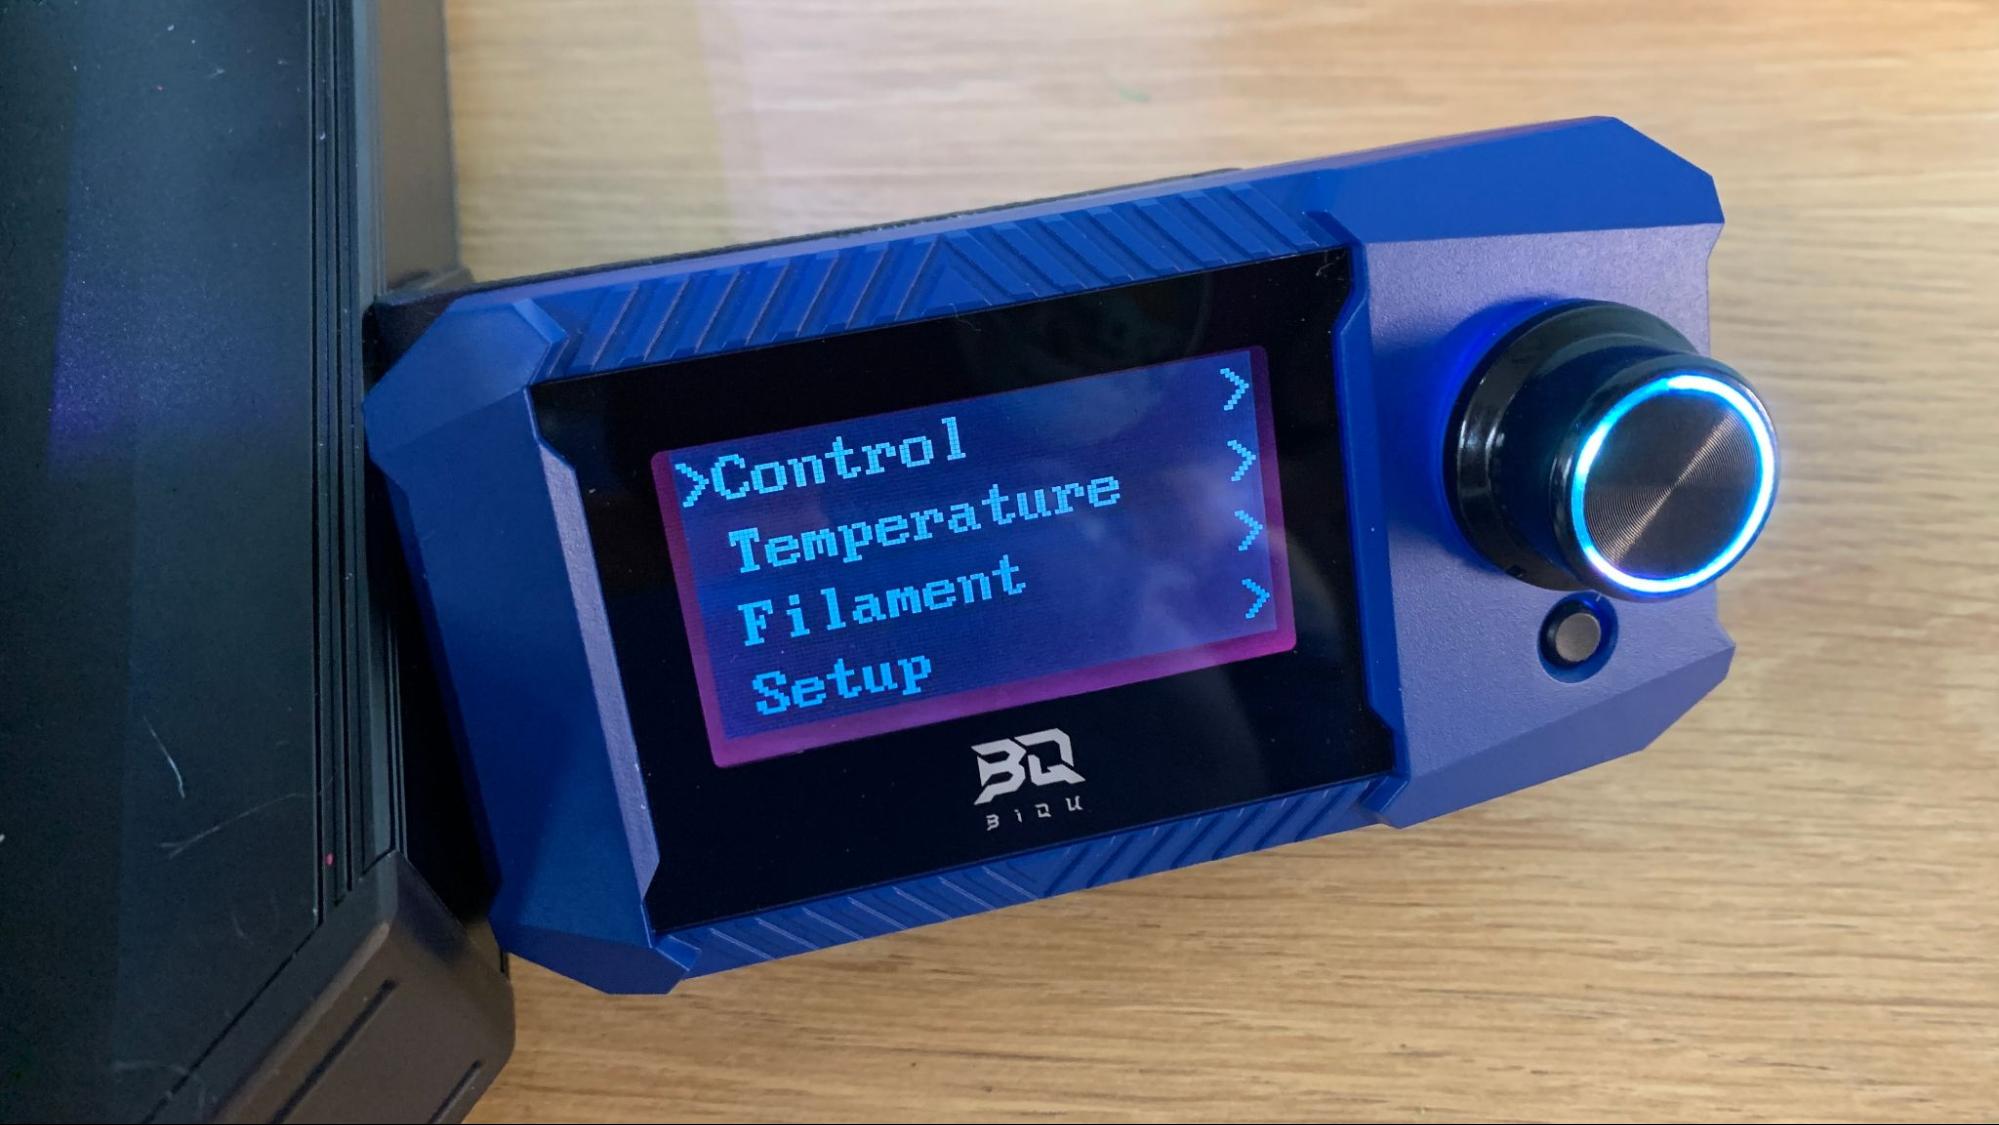
The printer has a small control screen with, shall we say, a quirky menu. It’s totally unlike anything I’ve seen on a printer running Marlin. This may simply be Klipper at work, but I had a difficult time navigating it. I would suggest you either ignore the control screen as much as possible and use the much simpler (and more informative) Mainsail interface. This requires commanding the printer remotely from your computer, or you can do what John Ivener of Tripod’s Garage did and install a Klipper screen directly onto the printer.
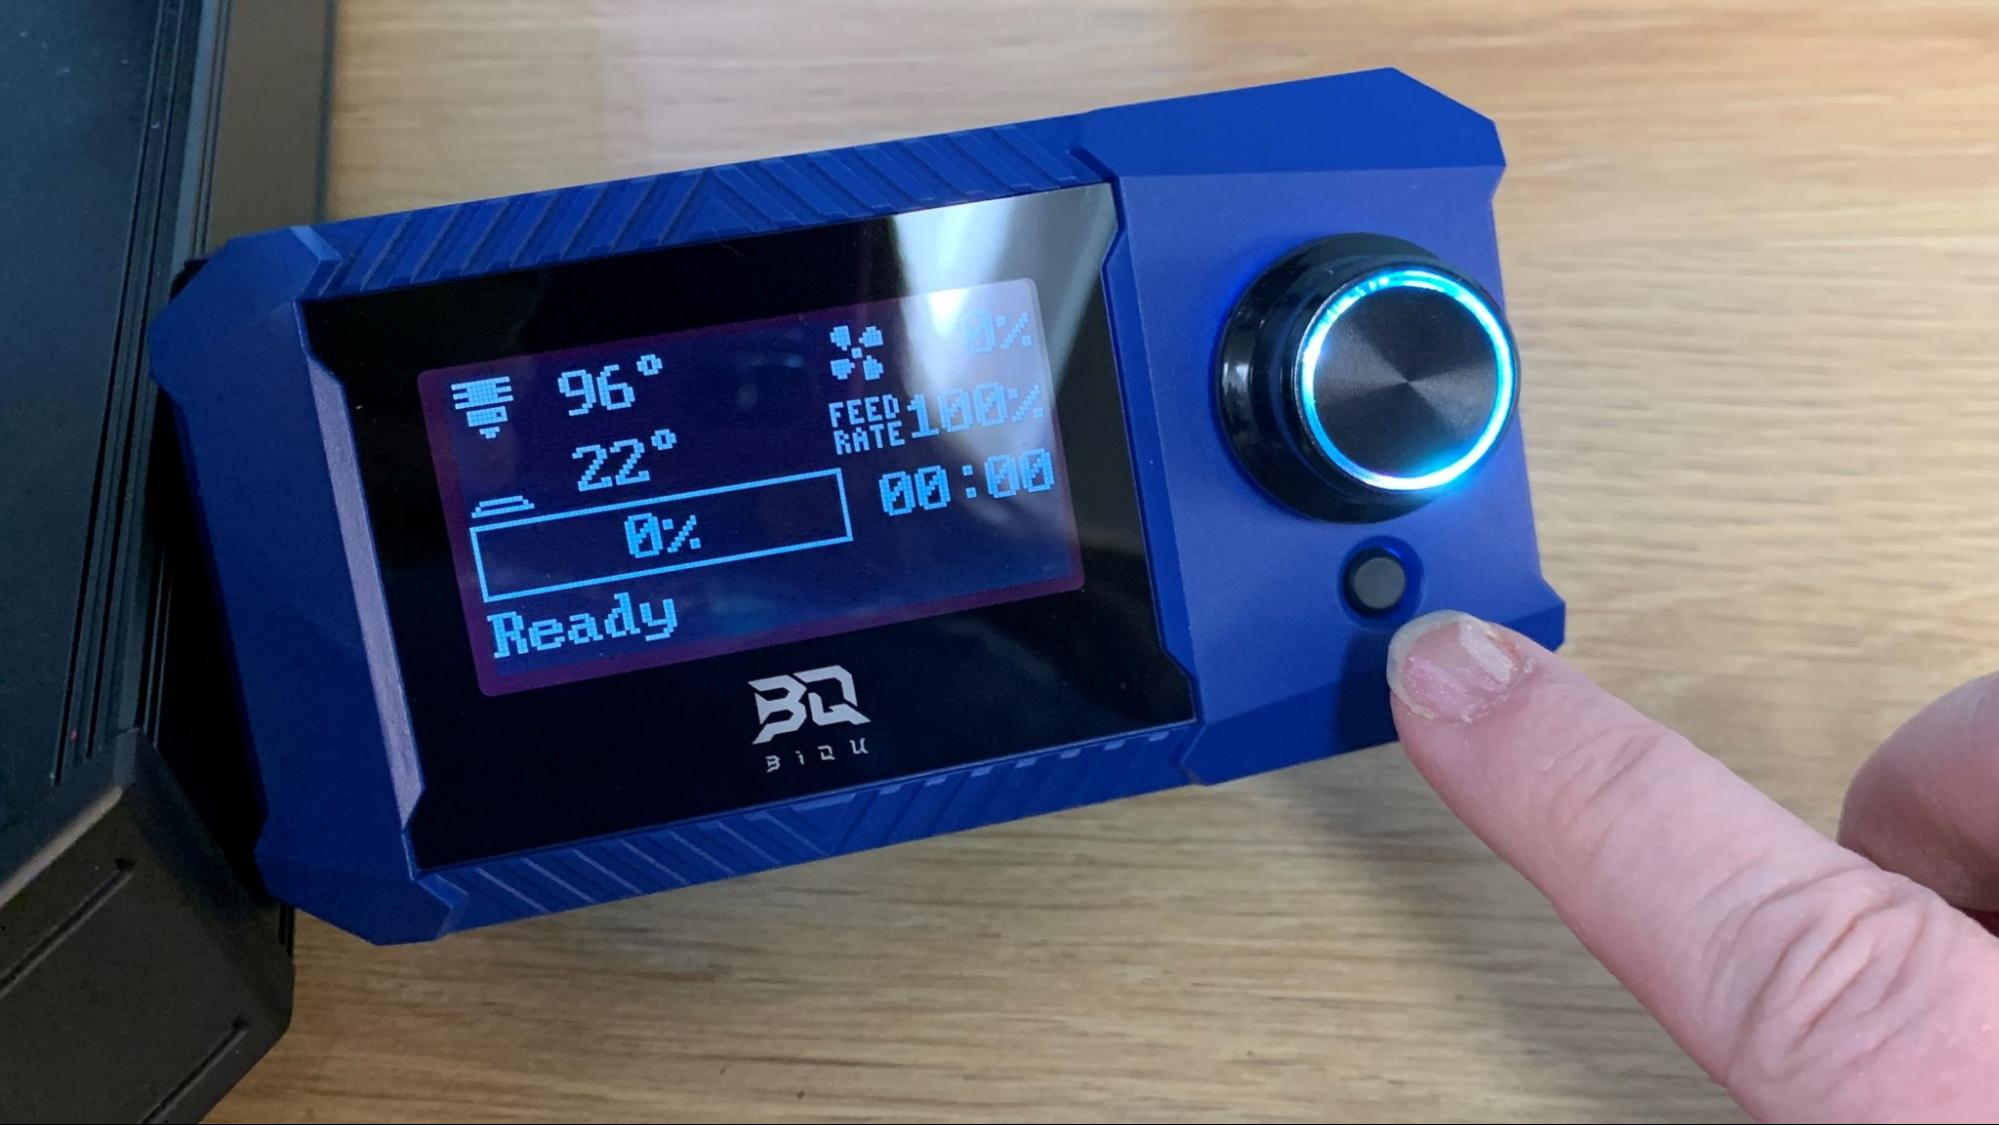
There’s a dangerous unmarked button underneath the control knob – this is a reset button. It’s mentioned in the manual, but if you’re like me and skim over the manual it’s easy to miss. Pushing this reboots the Hurakan, even if it is mid-print.
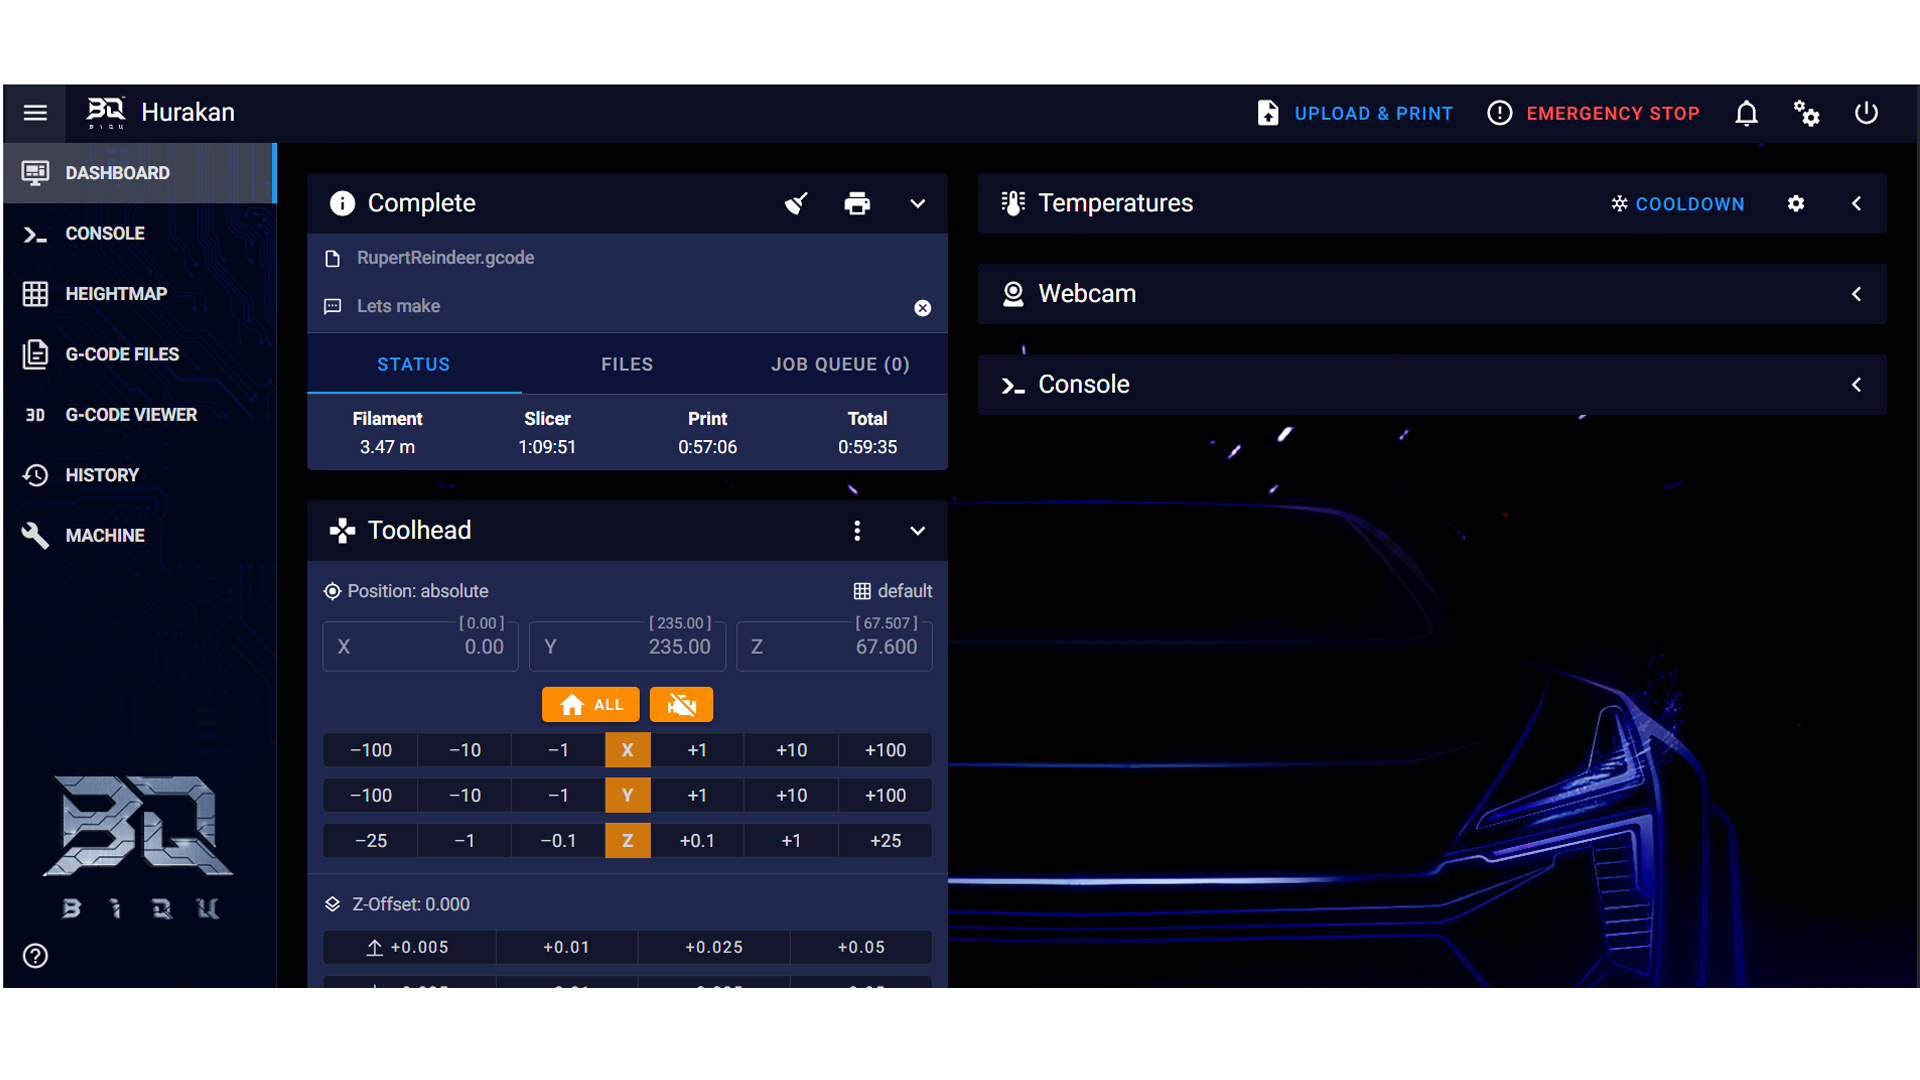
Once the printer is hooked up to your WiFi network, much of the trouble disappears – there’s no need to worry about microSD cards and most of the printer’s ordinary functions can be handled with the Mainsail interface.
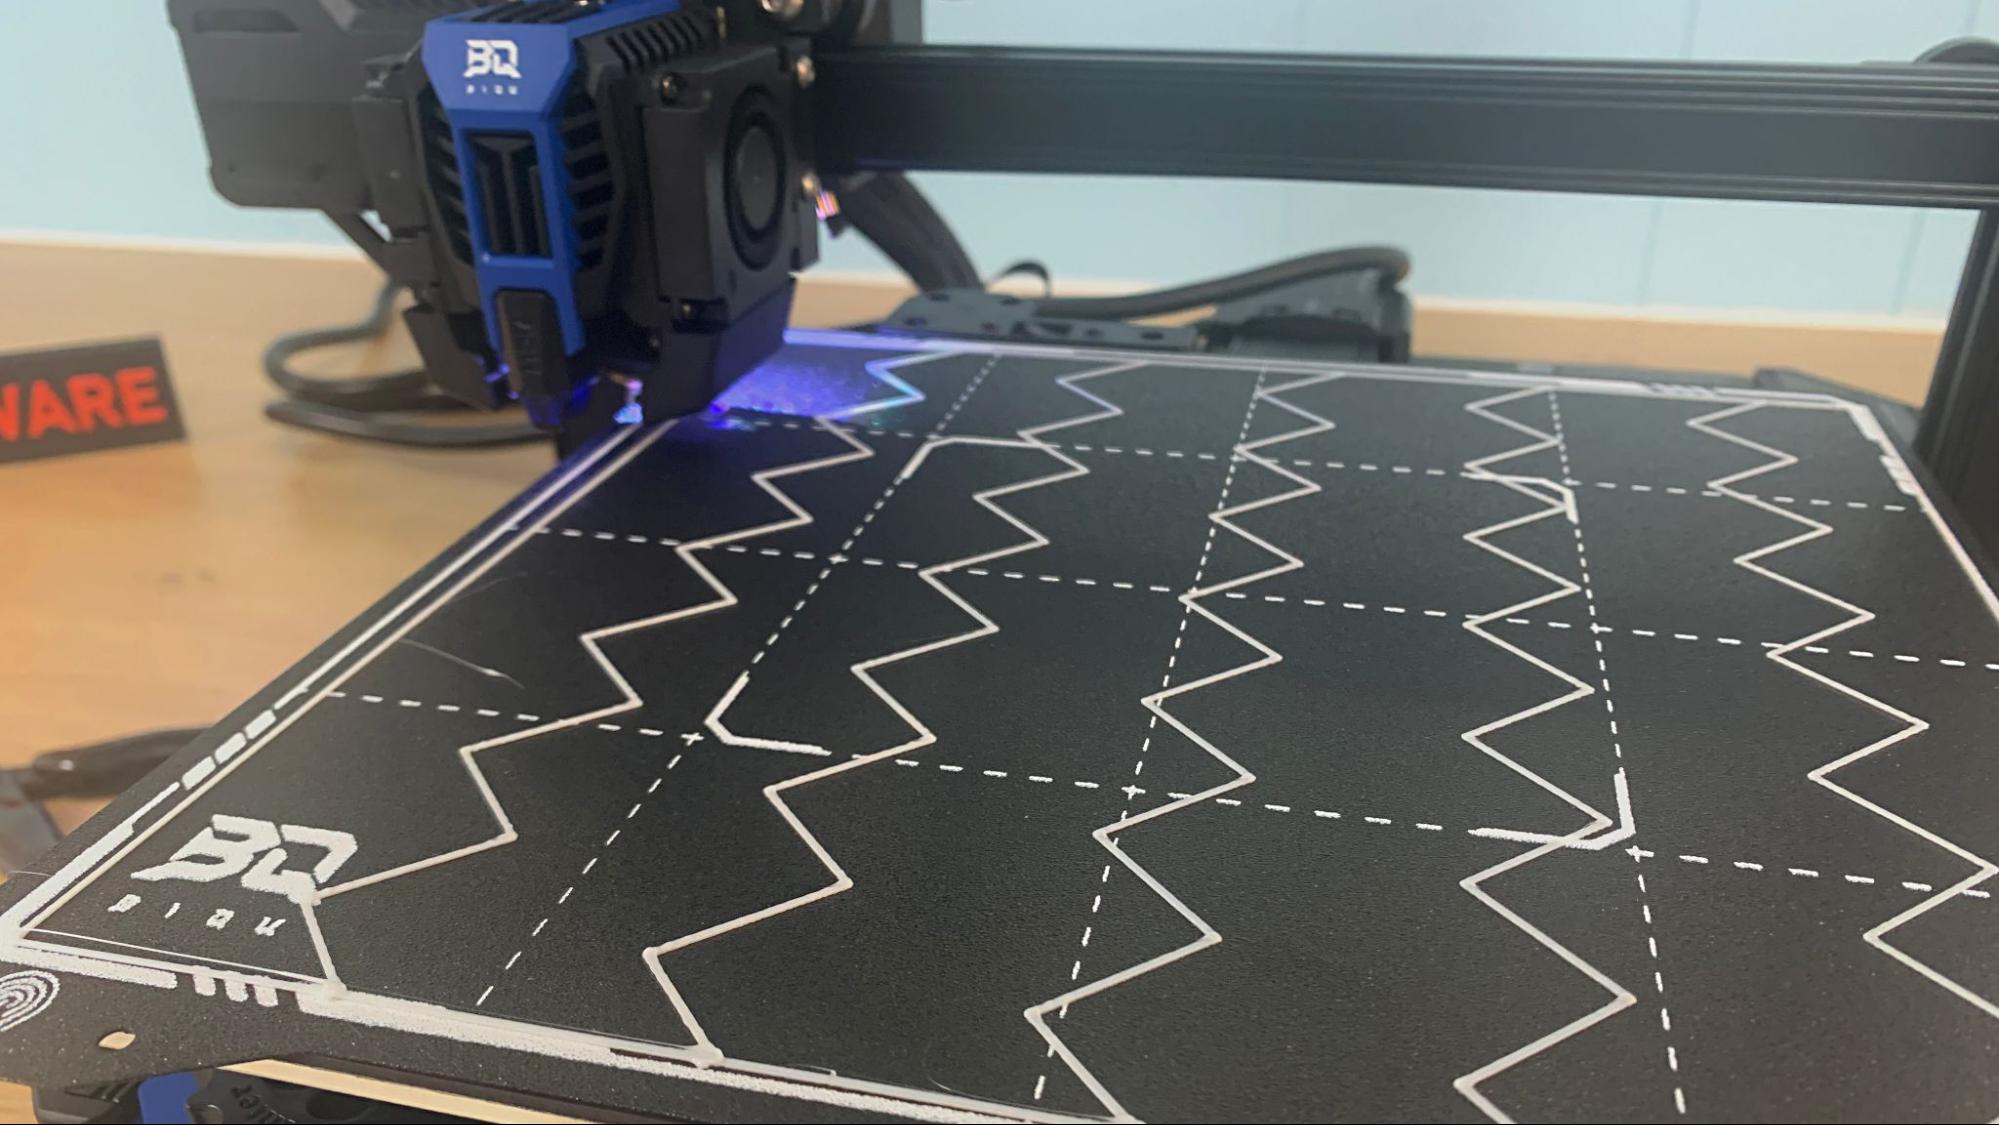
The Hurakan has a very good two-sided removable PEI coated metal flex plate. I had no trouble getting prints to stick or to pop off when finished. However, the surface has a painted grid which washed off when I cleaned it with isopropyl alcohol. The plate was still hot from testing PETG, but even so, the result was surprising.
Assembling the Biqu Hurakan
The Biqu Hurakan has a quirky assembly process as well. It’s mostly put together for you, but whoever designed the shipping box had some weird ideas on how to save space. The gantry and the X-axis module are separate – which is fine. But the Z rod is already attached to its stepper motor. So, to put it together, you have to first remove the Z rod and stepper motor then slide the gantry into the X-axis, then reattach the stepper motor and rod.
Obviously this is something you only have to do once, but it sets the tone that the Hurakan might be a little challenging.
Once the gantry is reassembled, you only need to screw it into the base with four bolts. The spool holder is mounted to the top and the LED screen is screwed into the side. Wiring is easy and well labeled.
Check the eccentric nuts under the bed and on the tool head to make sure nothing is wobbly. Then finally check the voltage switch – I needed to flip it to 115v.
Leveling the Biqu Hurakan
The Hurakan comes with auto bed leveling and manual adjustment knobs. To level (or tram) the bed the first time click Control → Home All → Manual Level → Clear Mesh. This clears the printer’s memory of any previous leveling and displays commands to move the tool head to each corner.
Slide a piece of paper under the nozzle at each corner until the nozzle just scrapes the paper. Go around the bed at least three times until each corner feels the same.
The directions say there’s no need to run the auto bed leveling program at this time because the printer always auto levels before printing. That’s fine. However, it also recommends setting the Z height while your print runs, which is a terrible idea because the Hurakan does NOT save the Z height when it is set from the Tune menu. This is no doubt a flaw in the Hurakan’s programming and hopefully will be fixed in a future update.
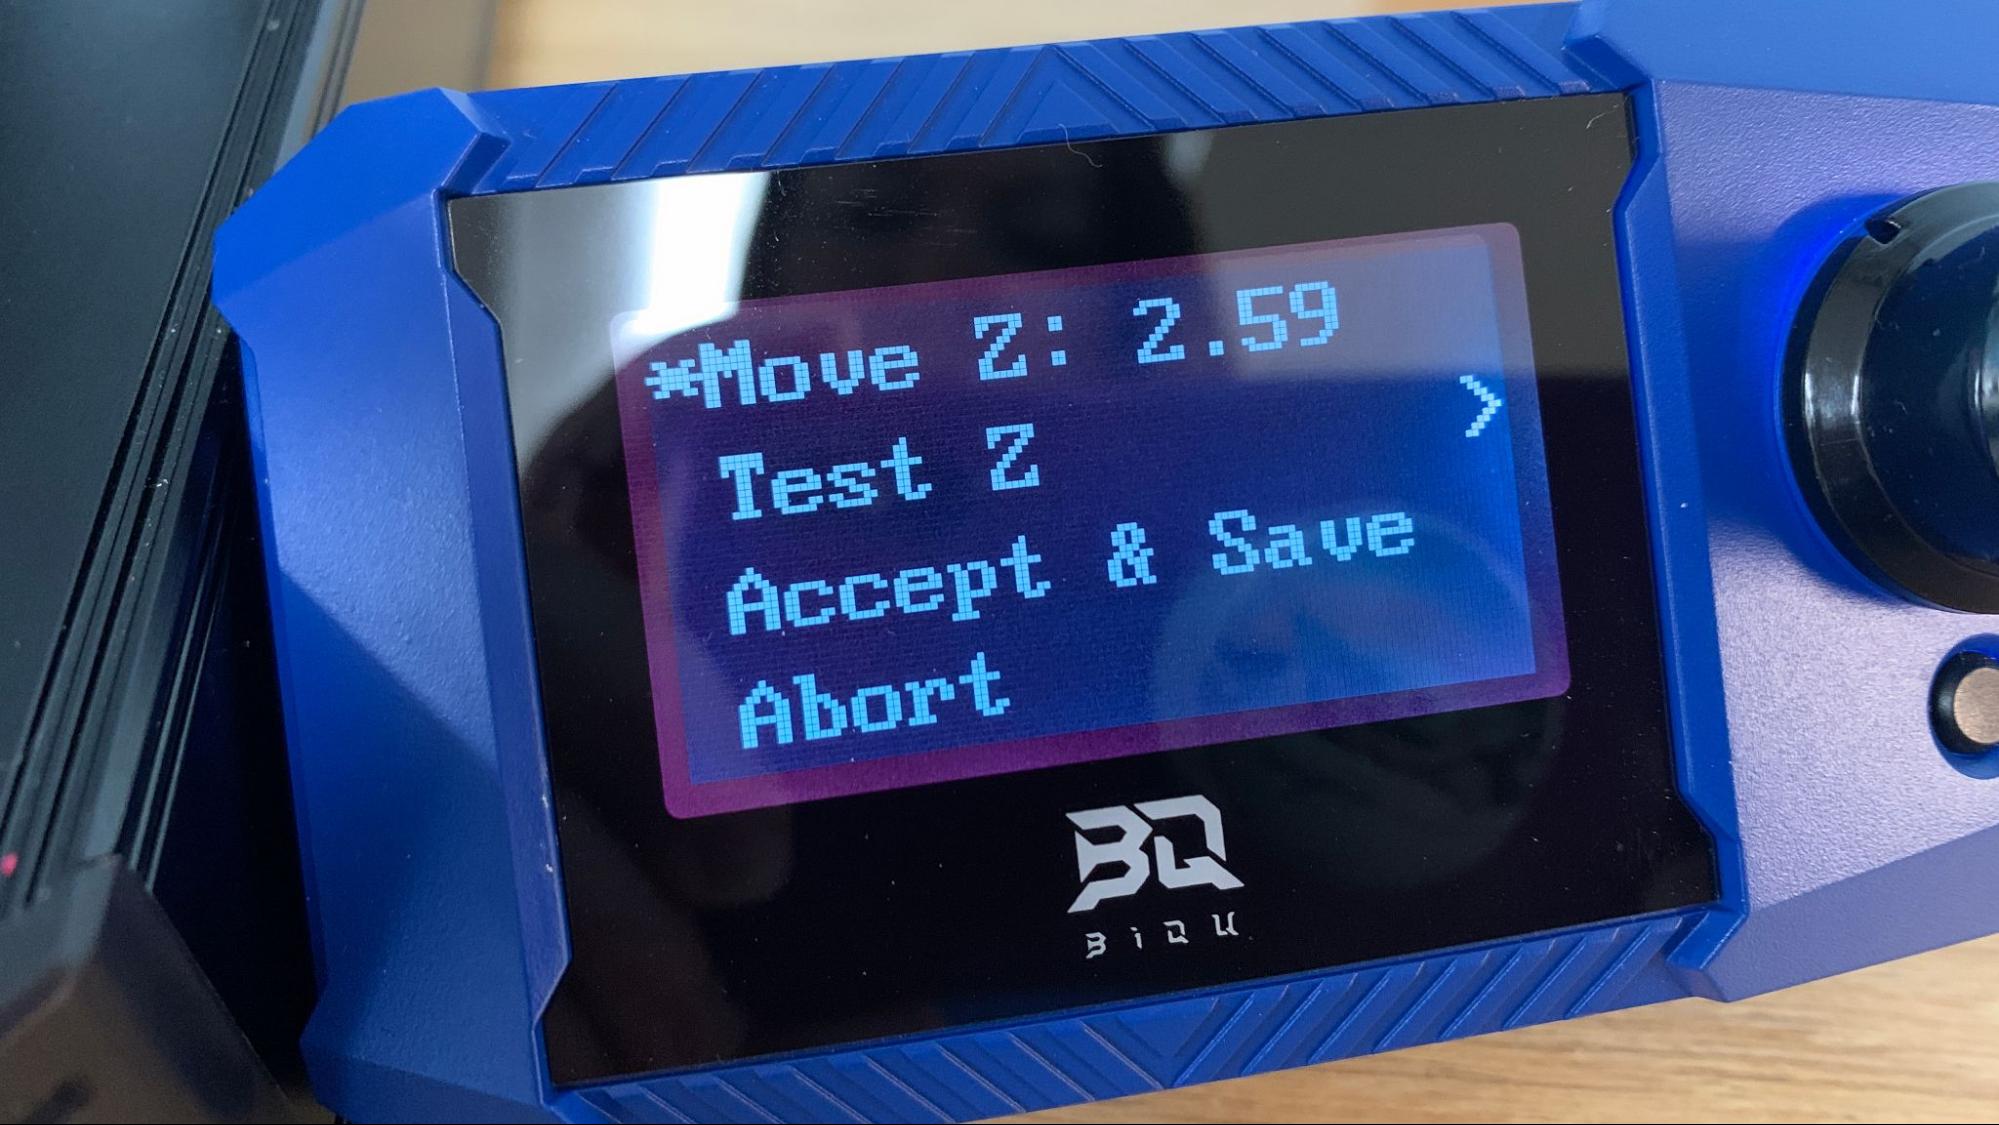
To set AND SAVE the Z height, enter the Setup Menu, then go to Calibration →SET Z. The Hurakan will home itself, then raise to a few millimeters over the bed. Place a piece of paper under the nozzle, then click the Move Z button to lower the hotend until it touches the bed. This moves the hotend in full millimeters, so go slow. Once they are touching, raise the nozzle back up one millimeter. Click Test Z for the option to move the nozzle up and down by fractions of a millimeter. Stop when you get the nozzle to just barely scrape the paper. Click Accept and Save – this will save the settings in the config file.
You can still tweak the Z height from the Tune menu while a print is running – but remember it will only last for that print.
Loading Filament on the Biqu Hurakan
The Hurakan is a Bowden style printer with the extruder located on the left side of the machine and a tube to carry the filament to the extruder.
To load filament, first warm up the hotend by selecting Temperature→Preheat PLA→Hotend. This will automatically get the hotend to 200 degrees Celsius. You also have the option to warm it for ABS and to warm up the print surface and hotend at the same time.
Insert the filament into the runout sensor and the extruder. Push the lever on the extruder to release the tension and manually push the filament until it stops at the hotend. Now go to the menu and select Filament to advance the filament through the hotend.
To unload or change colors, simply reverse the process.
WiFi and Mainsail for Biqu Hurakan
To get the most from the Hurakan you need to tap into Mainsail by accessing the printer remotely. Getting the Hurakan on your WiFi network is very much like connecting to a Raspberry Pi.
First, turn off the Hurakan and remove the microSD card. Put the card in your computer, using the provided adapter and a USB port if you don’t have a card reader. Open the files on the microSD and find one called system.cfg. Open it with Notepad.
Edit the file. Put your home or workshop WiFi ID between the quotes where it says WIFI_SSID=”biqu” and your WiFi password between the quotes where it says WIFI_PASSWD=”biqu.” Save and do not edit any other part of this file.
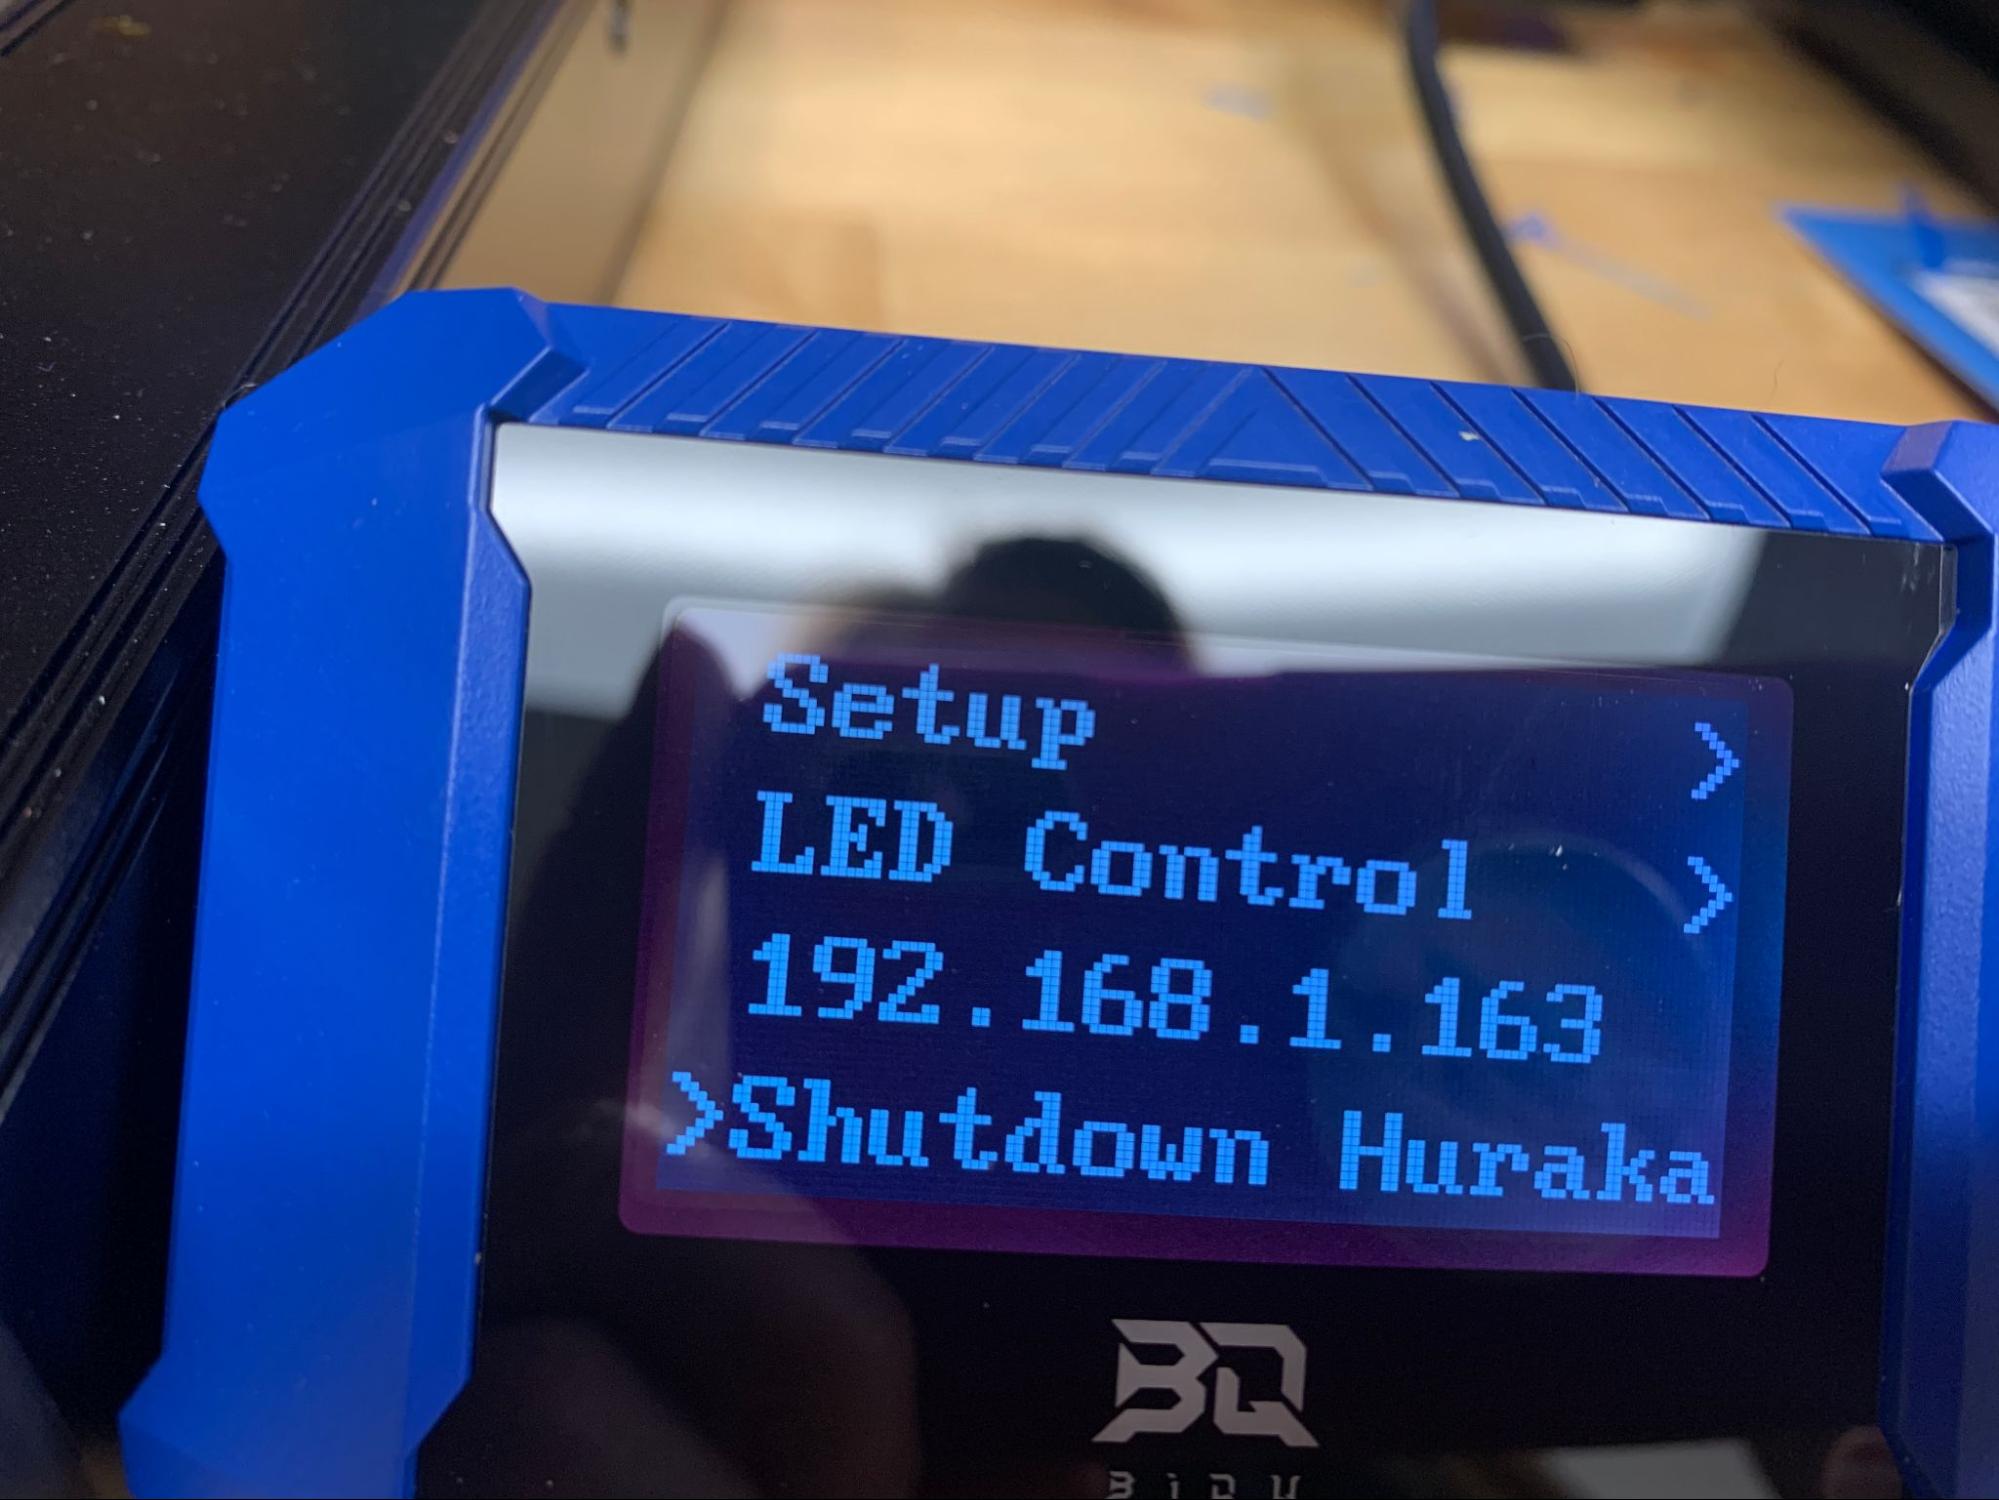
Put the microSD card back in the printer and turn it on. Wait for it to boot, then rotate the knob to the bottom of the first screen. Here it will display the printer’s IP address.
Enter this address in your browser and you will now see Klipper’s Mainsail interface.
Preparing Files / Software for Biqu Hurakan
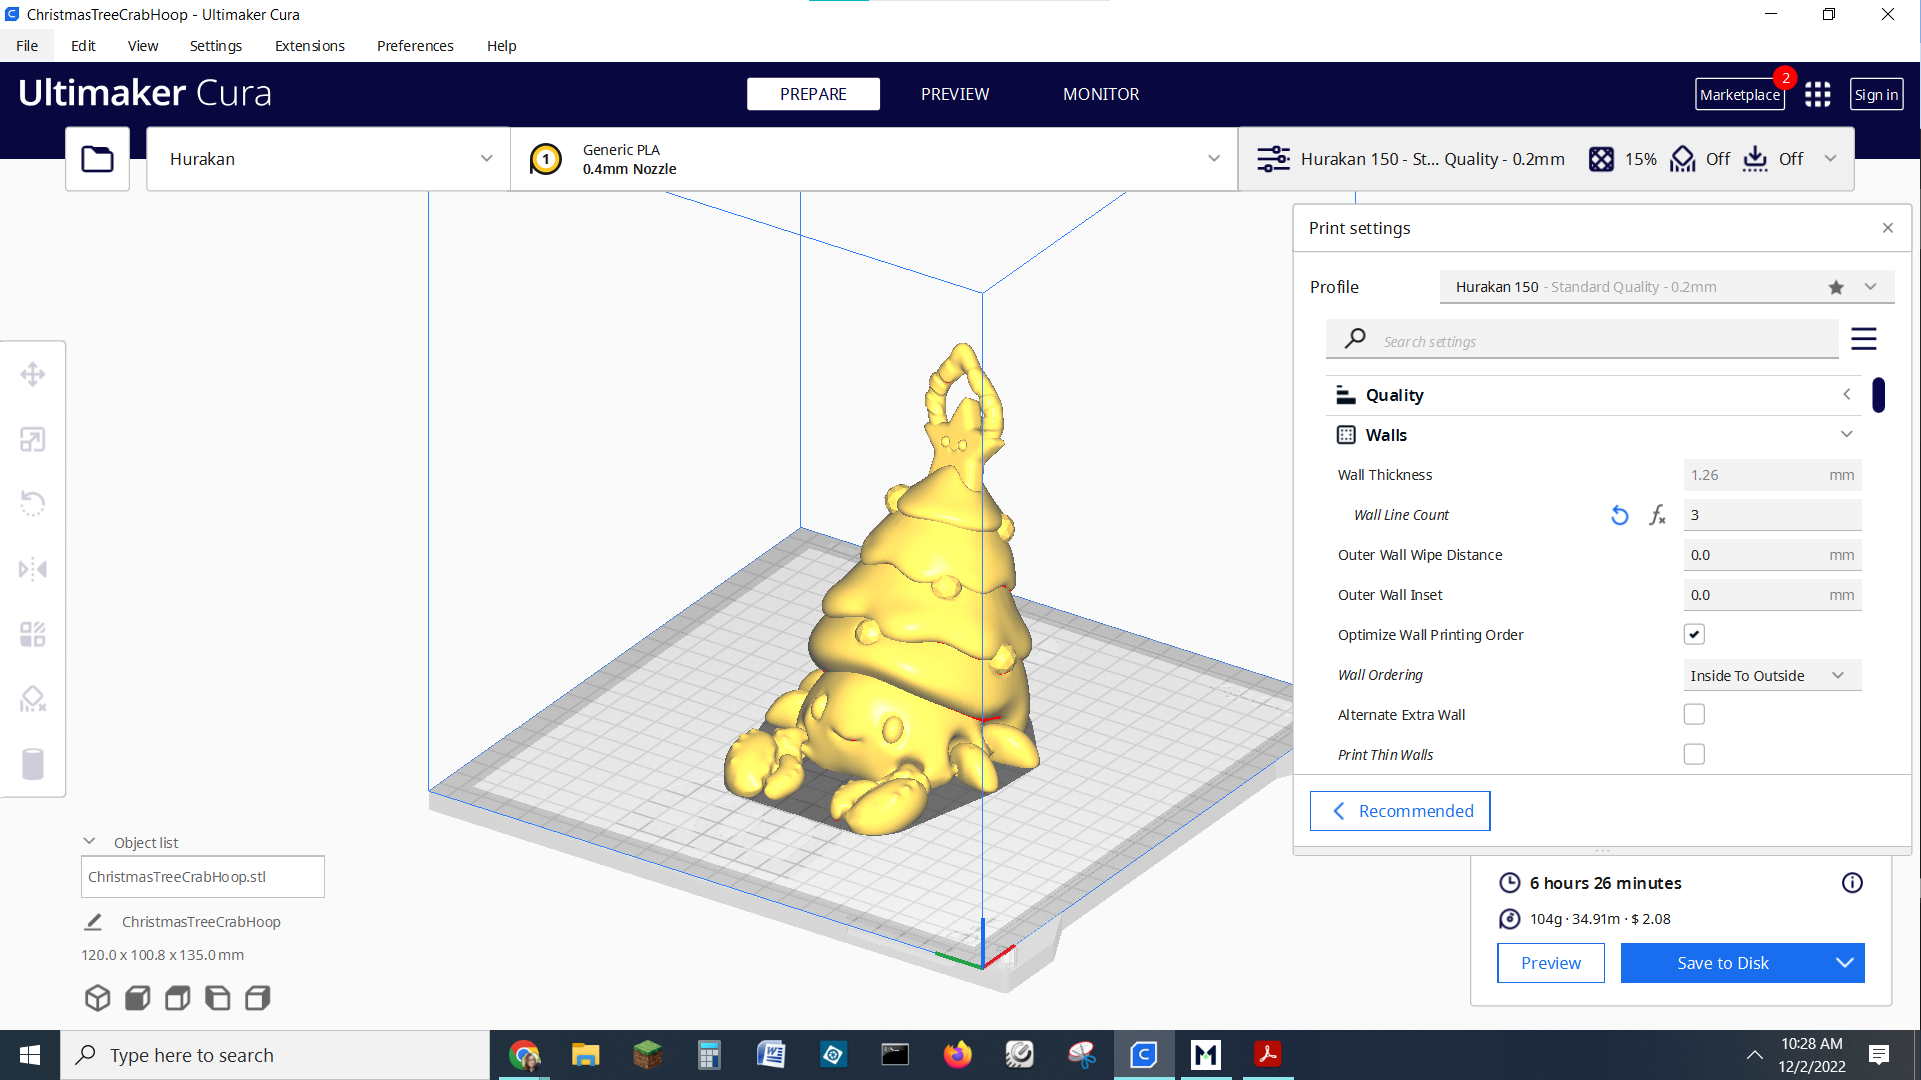
The Biqu Hurakan does not come with any software. Instead, the installation guide points you to UltiMaker’s website where you can download a free copy of Cura. The Hurakan doesn’t have a profile of its own, but you can easily modify a profile for the Biqu B1 by following the directions.
Printing on the Biqu Hurakan
First, we have to talk about Klipper. Klipper is an advanced firmware that allows your 3D printer to run faster while still maintaining quality. In order to achieve quality prints, your printer needs to be tuned. Pressure Advance – a Klipper setting that compensates for high speed cornering – has been preset by Biqu and seems to work well. Input shaping can be done manually, but really needs an accelerometer to nail the settings. Our test unit was sent with an accelerometer, which I used to tune the machine. It wasn’t until later that I discovered this part is considered an upgrade.
The Hurakan did not include any profiles for optimal printing. Biqu recommends printing at 60 mm/s, which seems ridiculously limiting for a Klipper printer, so I ran a few tests and found that after tuning for Input Shaping the Hurakan produces quality prints PLA at 150mm/s. I otherwise used Cura’s standard setting for slicing and allowed Klipper to do its magic.
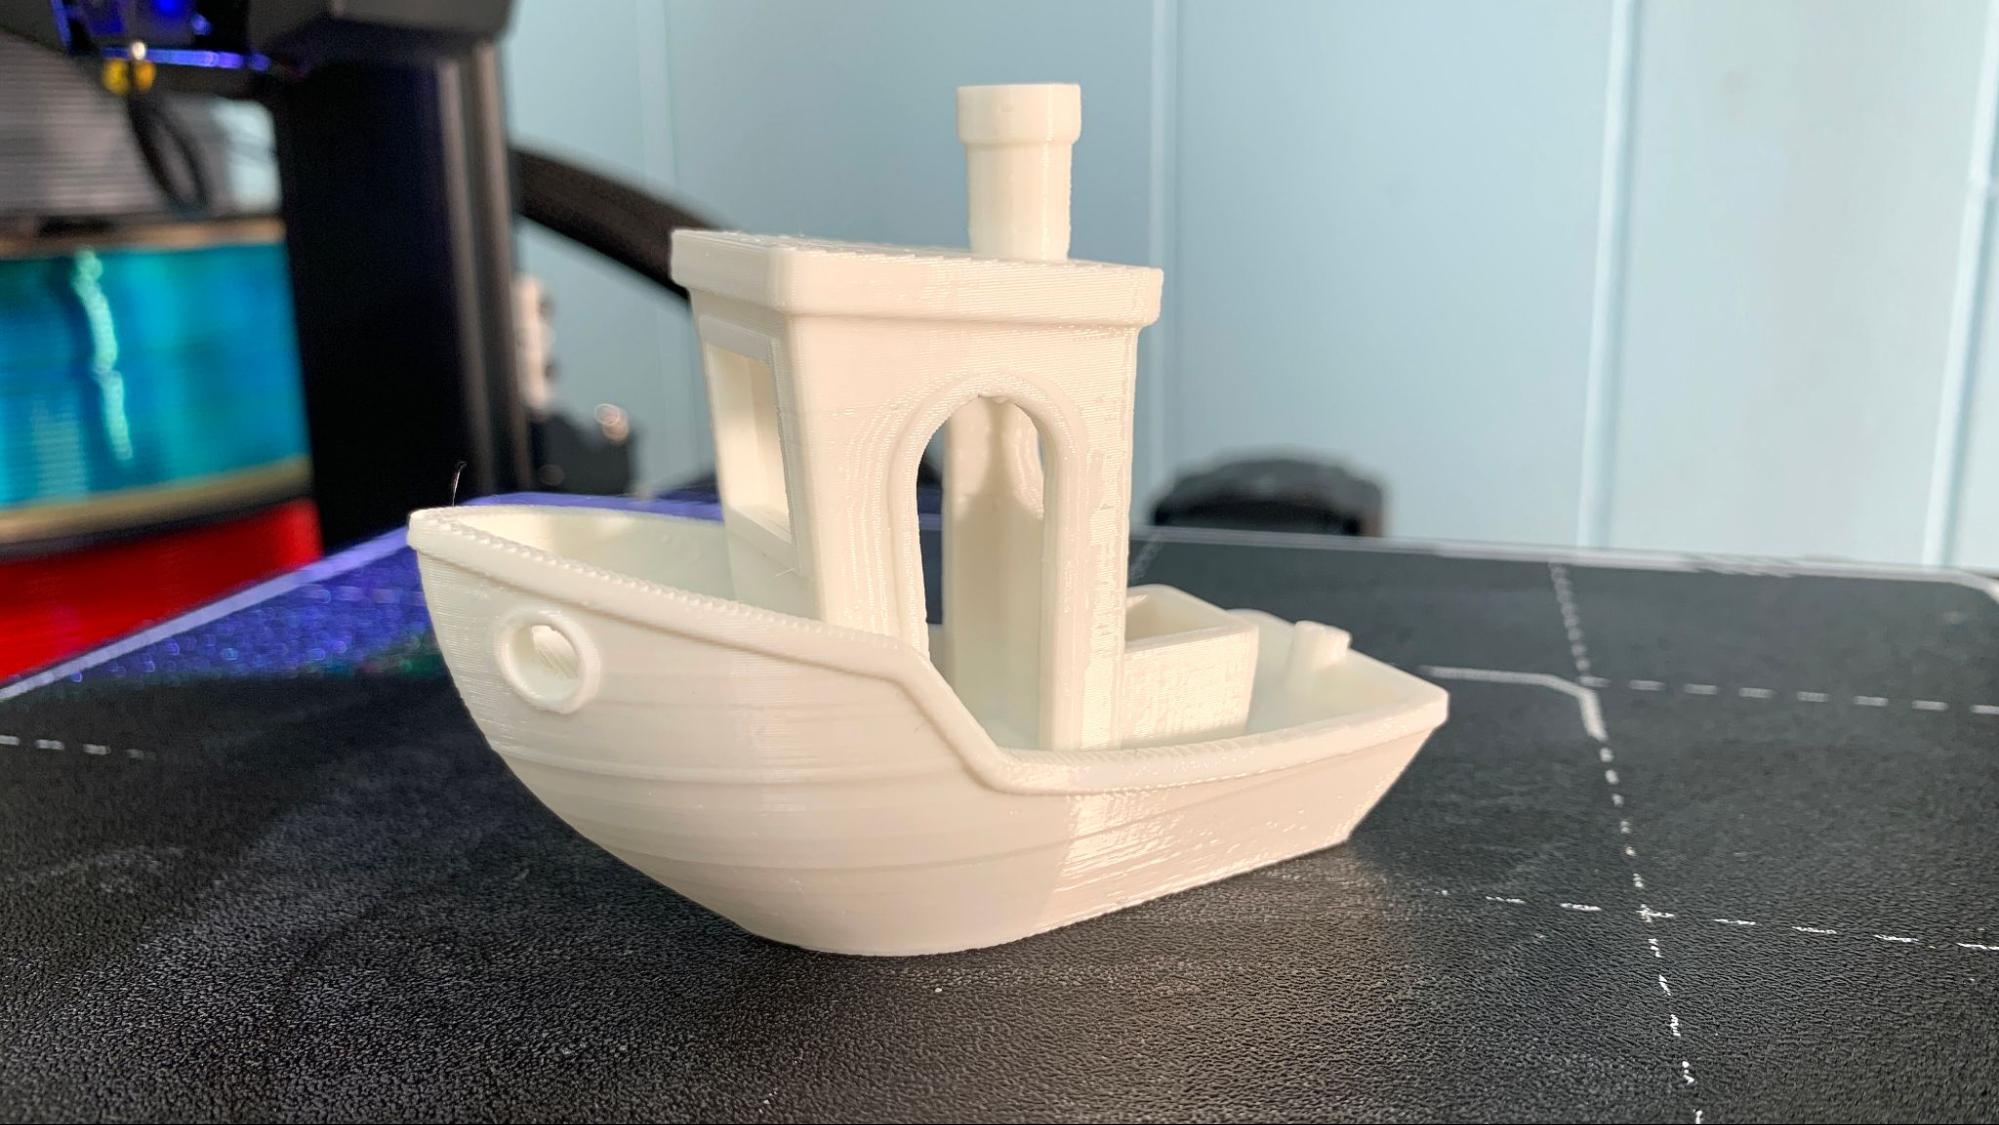
The Hurakan comes with a couple of test files and a strange oversized Benchy. I’m not sure why they included this print as it doesn’t show off the Hurakan’s best work. The sample PLA was only enough to print one test file, so you’ll definitely want to order a few rolls of filament right away. Check out our guide to the best filaments for 3D printing for examples of our favorite materials to add to your supply.
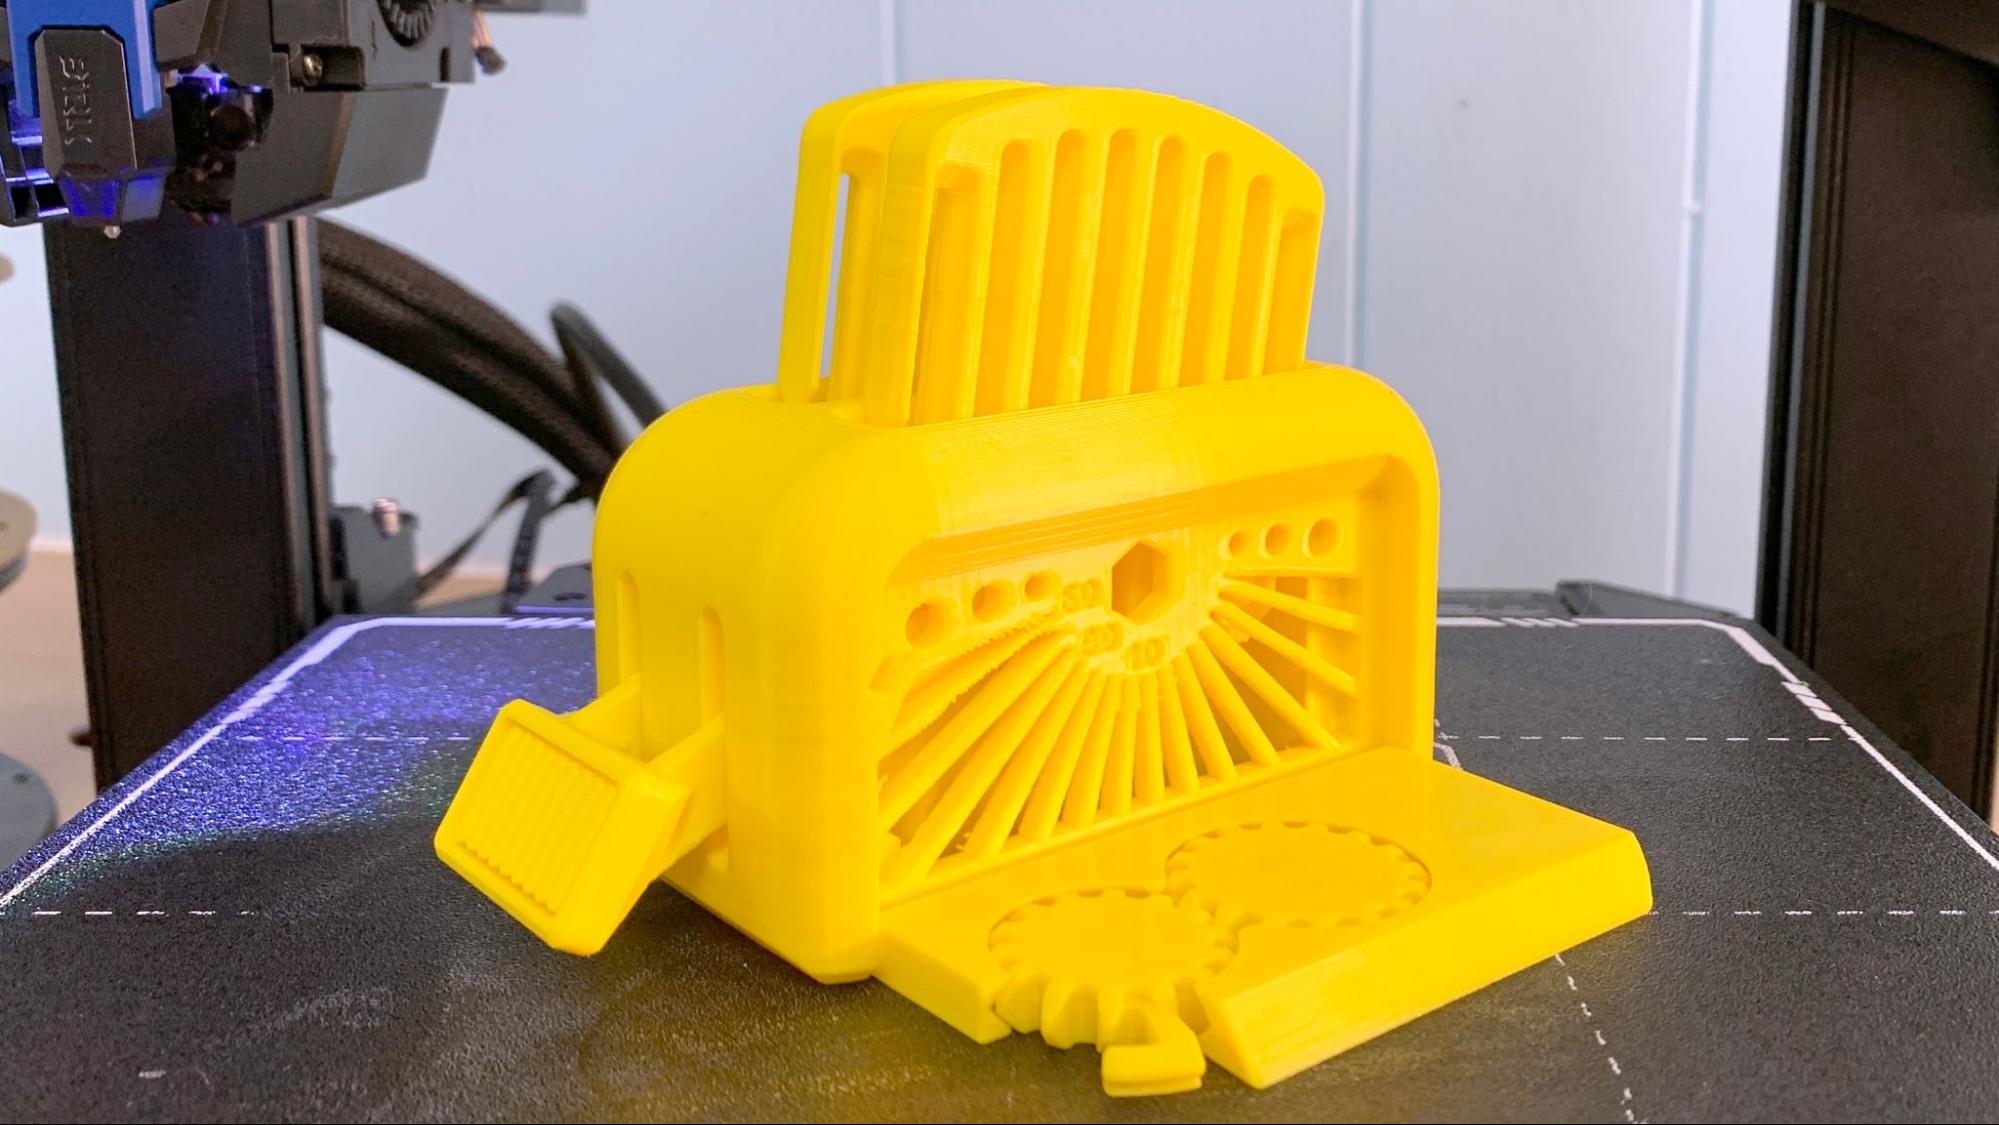
After calibrating the printer I ran a Clockspring Torture Toaster in Inland yellow PLA+. The print was remarkably clean with a few rough spots on the overhangs – but all the parts moved as they should. The print took 12 hours and 10 minutes at a .2 layer height and 150mm/s.
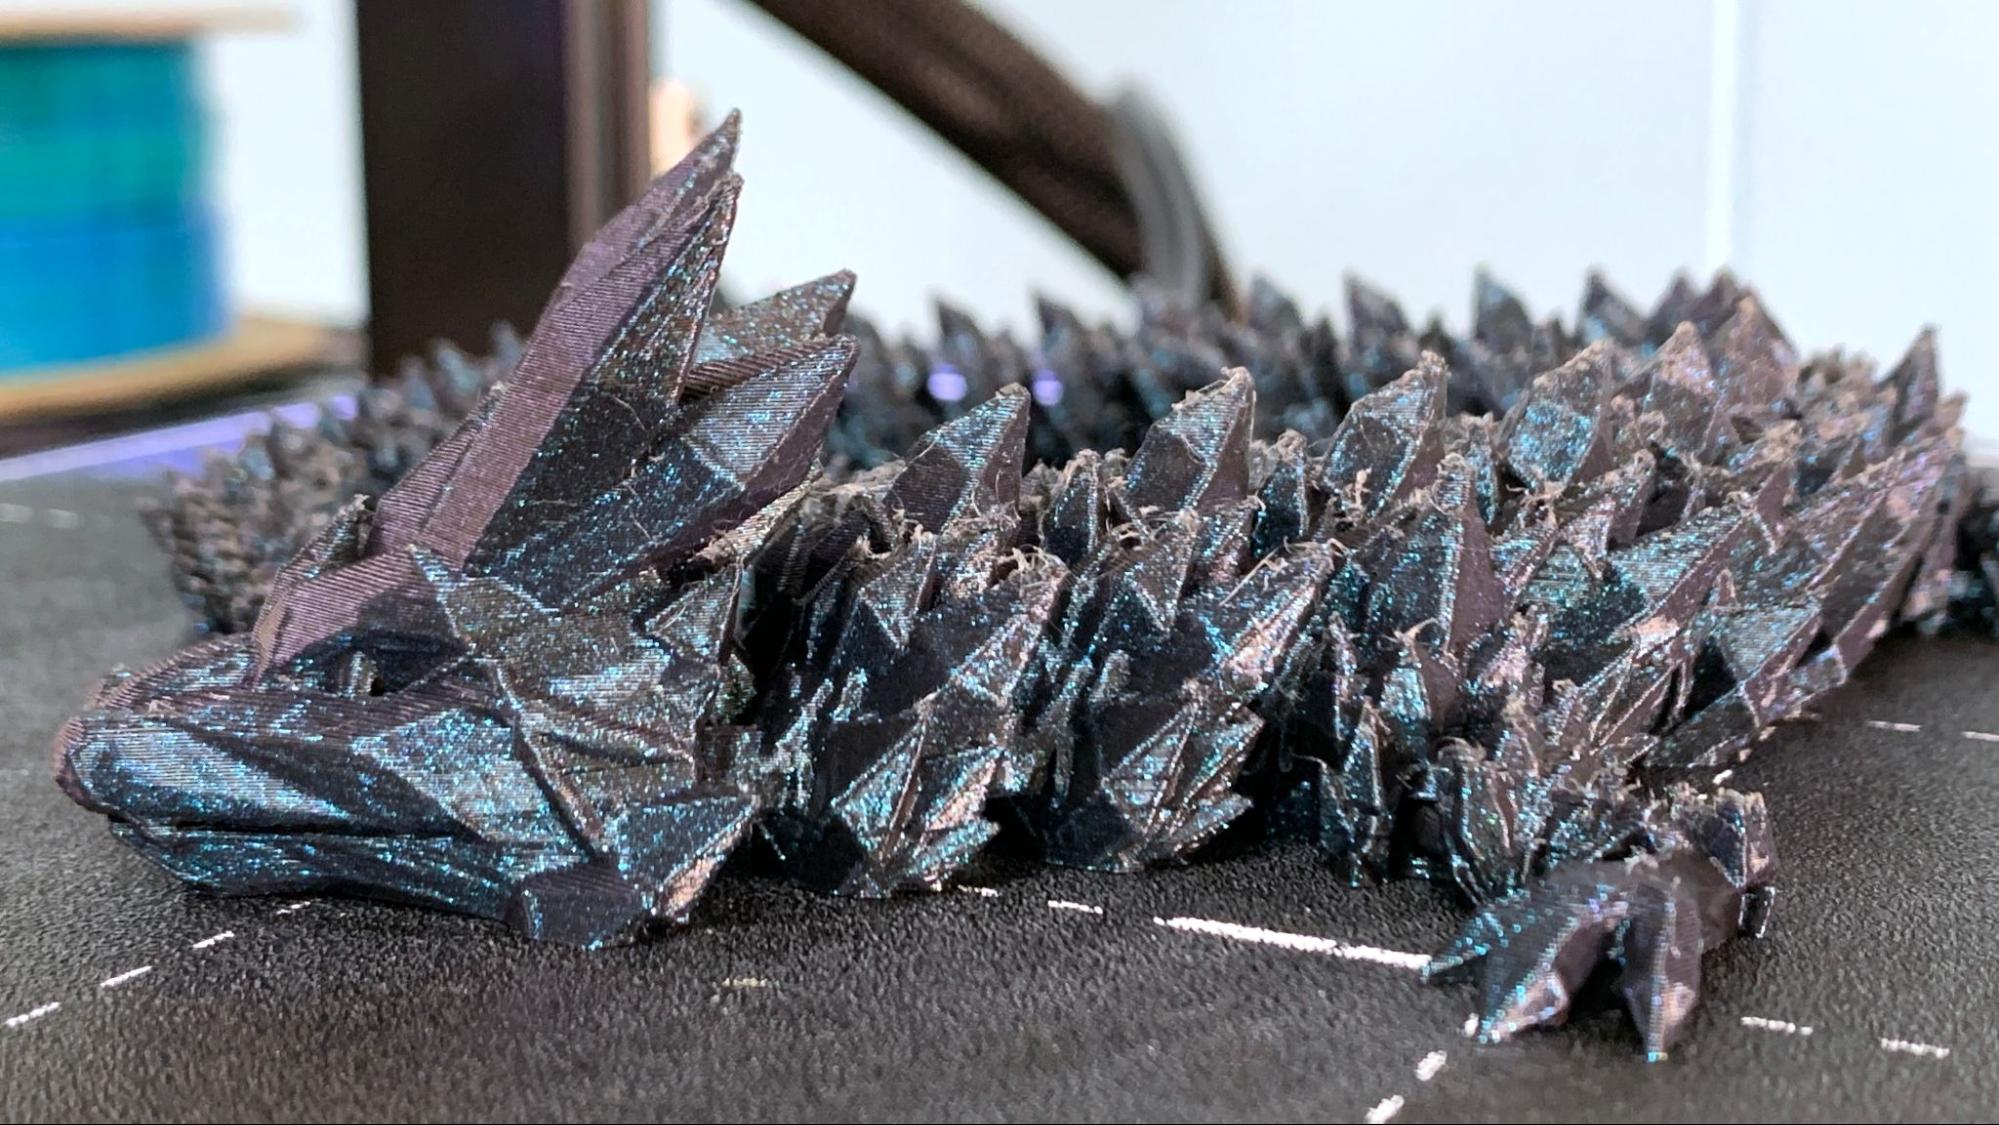
The Hurakan did a really nice job on Cinderwing3D’s Crystal Dragon, printed in Flashforge Mulitcolor Burnt Titanium PLA. This is a really cool iridescent filament that shifts between darkest purple and light blue with flecks of micro glitter. This dragon is 75% normal size, and only took 12 hours and 6 minutes to print at a .2 mm layer height and 150mm/s speed.
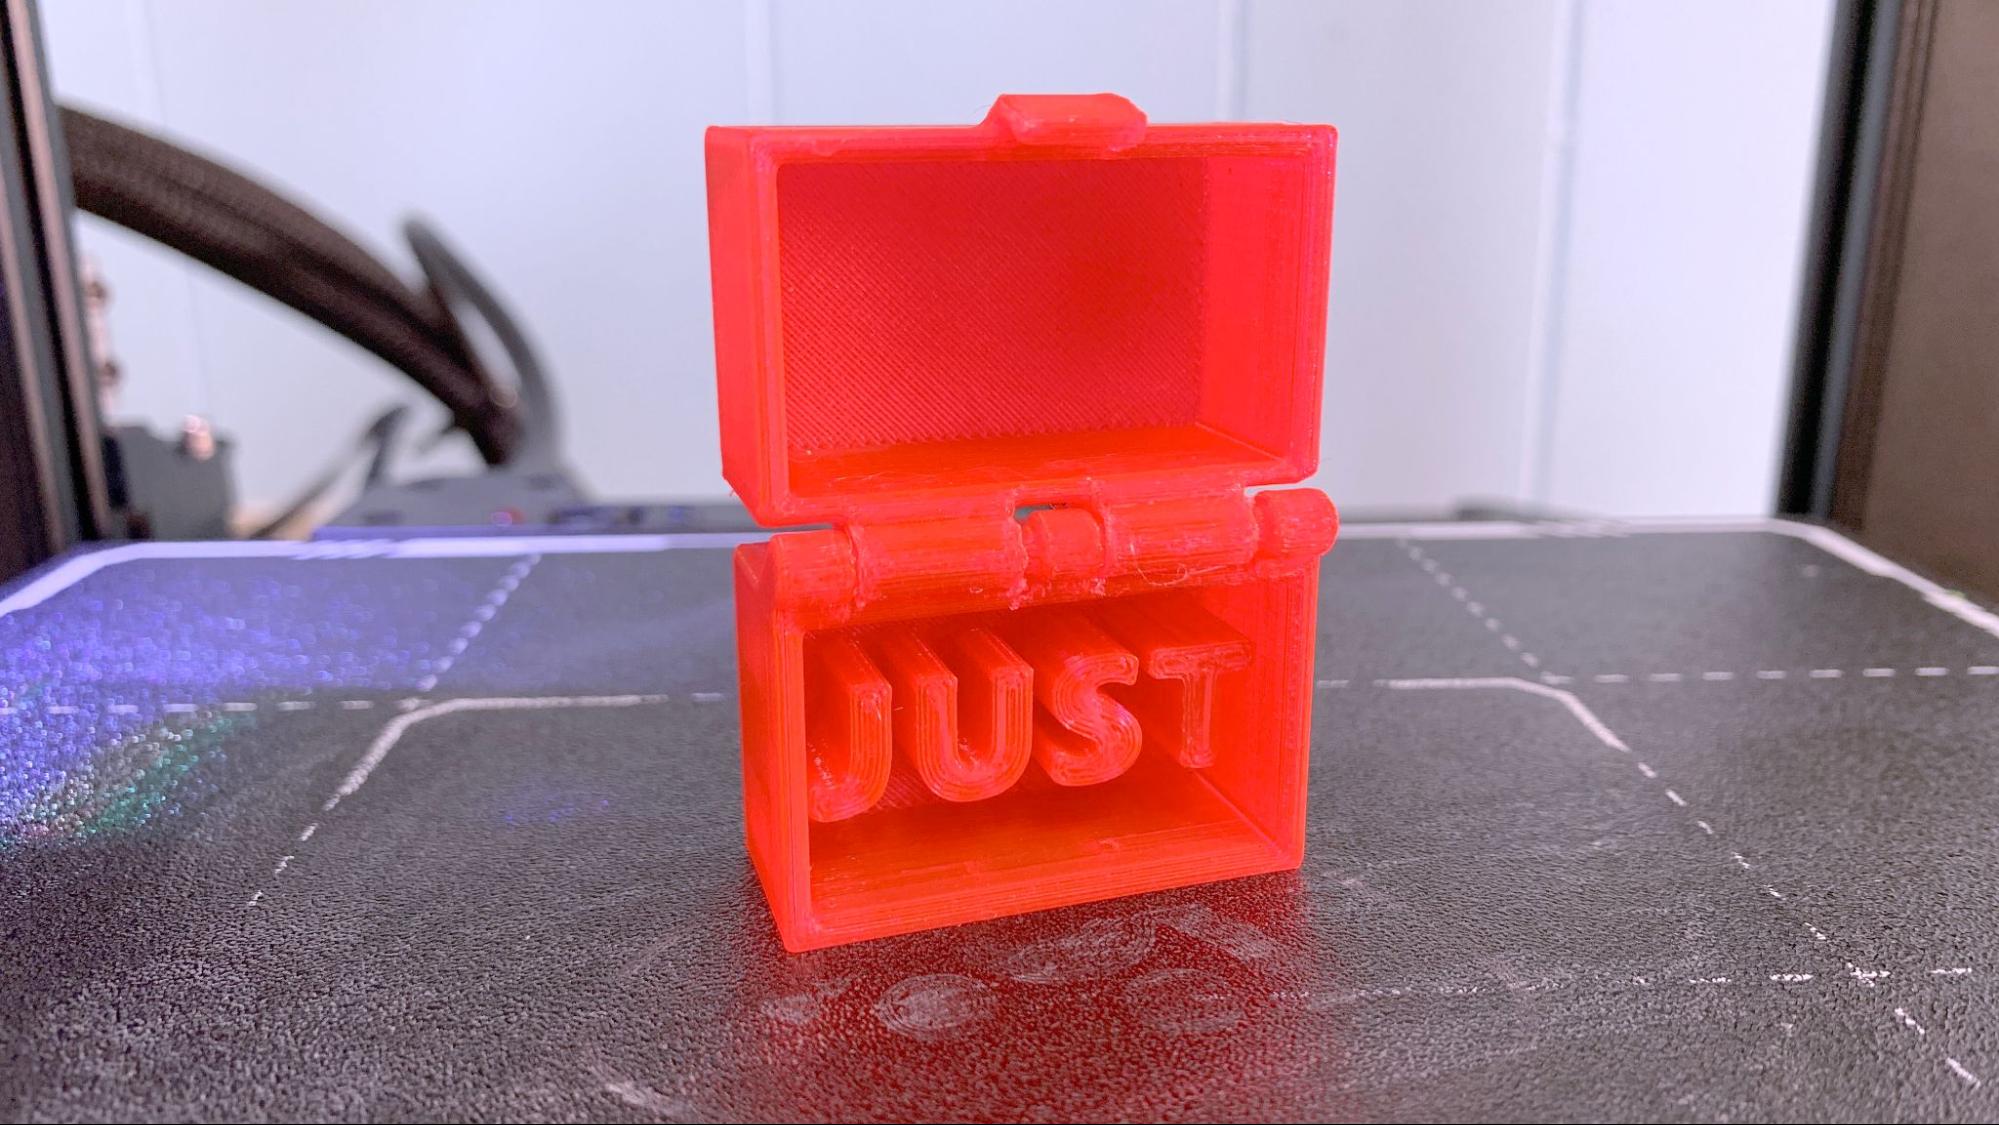
The Hurakan can’t print PETG at high speed, but when slowed down to 60 mm/s it runs perfectly. This little box of puns prints flat with a print in place hinge. There was no stringing at all. This is run in Keene Village Edge Glow Pink PETG with a .2 layer height and 60 mm/s, taking 1 hour and 35 minutes.
TPU doesn’t work in the Hurakan’s Bowden extruder. Even after I reduced the speed to 30 mm/s, the TPU filament shot right out the side of the extruder and refused to load.
Bottom Line
The Biqu Hurakan is a decent 3D printer for people who want to get into Klipper without the hassle of finding, installing and setting up a Raspberry Pi…and also want an Ender style machine. I can’t say that it makes Klipper truly “easy.” since it doesn’t come stock with an accelerometer to take advantage of Klipper’s #1 perk: Input Shaping. Input Shaping and Pressure Advance tuning allows for Klipper to run your printer at high speed while maintaining quality. If you want to learn about these features you’ll need to do your own research – and add that accelerometer to your shopping cart.
Retailing at $369, the Hurakan has many of the great features you would expect to see on a printer in this price range. It has a double-sided PEI coated flex plate, auto bed leveling and USB ports for adding a webcam for monitoring prints. The RGB light on the tool head is a fun touch, if not exactly functional.
Though it doesn’t make Klipper plug and play, it certainly cuts down on installation time. It’s also a stylish machine with a cleaner footprint and fewer cords than a Raspberry Pi strapped to an Ender 3. Still, I can only recommend this printer to makers with prior 3D printing experience who are ready to experiment with Klipper and can’t lay hands on a Raspberry Pi.
If you’re looking for a 3D printer that’s fast and no hassle, check out the AnkerMake M5, a fantastic premium printer with a blazing speed of 250 mm/s. If you want a printer that works great right out of the box – and saves you some cash – have a look at the Neptune 3 Pro, currently available for $230.
MORE: Best 3D Printers
MORE: Best Resin 3D Printers
MORE: Best Filaments for 3D Printing

Denise Bertacchi is a Contributing Writer for Tom’s Hardware US, covering 3D printing. Denise has been crafting with PCs since she discovered Print Shop had clip art on her Apple IIe. She loves reviewing 3D printers because she can mix all her passions: printing, photography, and writing.
