Cooler Master Cosmos SE Case Review
Cooler Master’s Cosmos gaming cases are well-known for their extravagant carrying handles. The Cosmos SE is the smallest member of this line-up, selling for as low as $150 online. It has room for lots of fans and three radiators, attracting enthusiasts.
Assembly And Installation
Power Supply Installation and Cable Routing
The power supply is decoupled from the bottom of the Cosmos SE by two rubber strips. It isn’t isolated from the back of the case, though. Fortunately, most of today's PSUs run quietly enough to make this unnecessary. As Cooler Master often likes to do with its cases, the frame that the PSU is screwed onto stands out from the back to provide some extra space. This way, PSUs up to 28 cm-long can be accommodated without removing the hard drive cages.
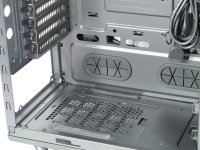
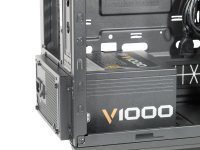
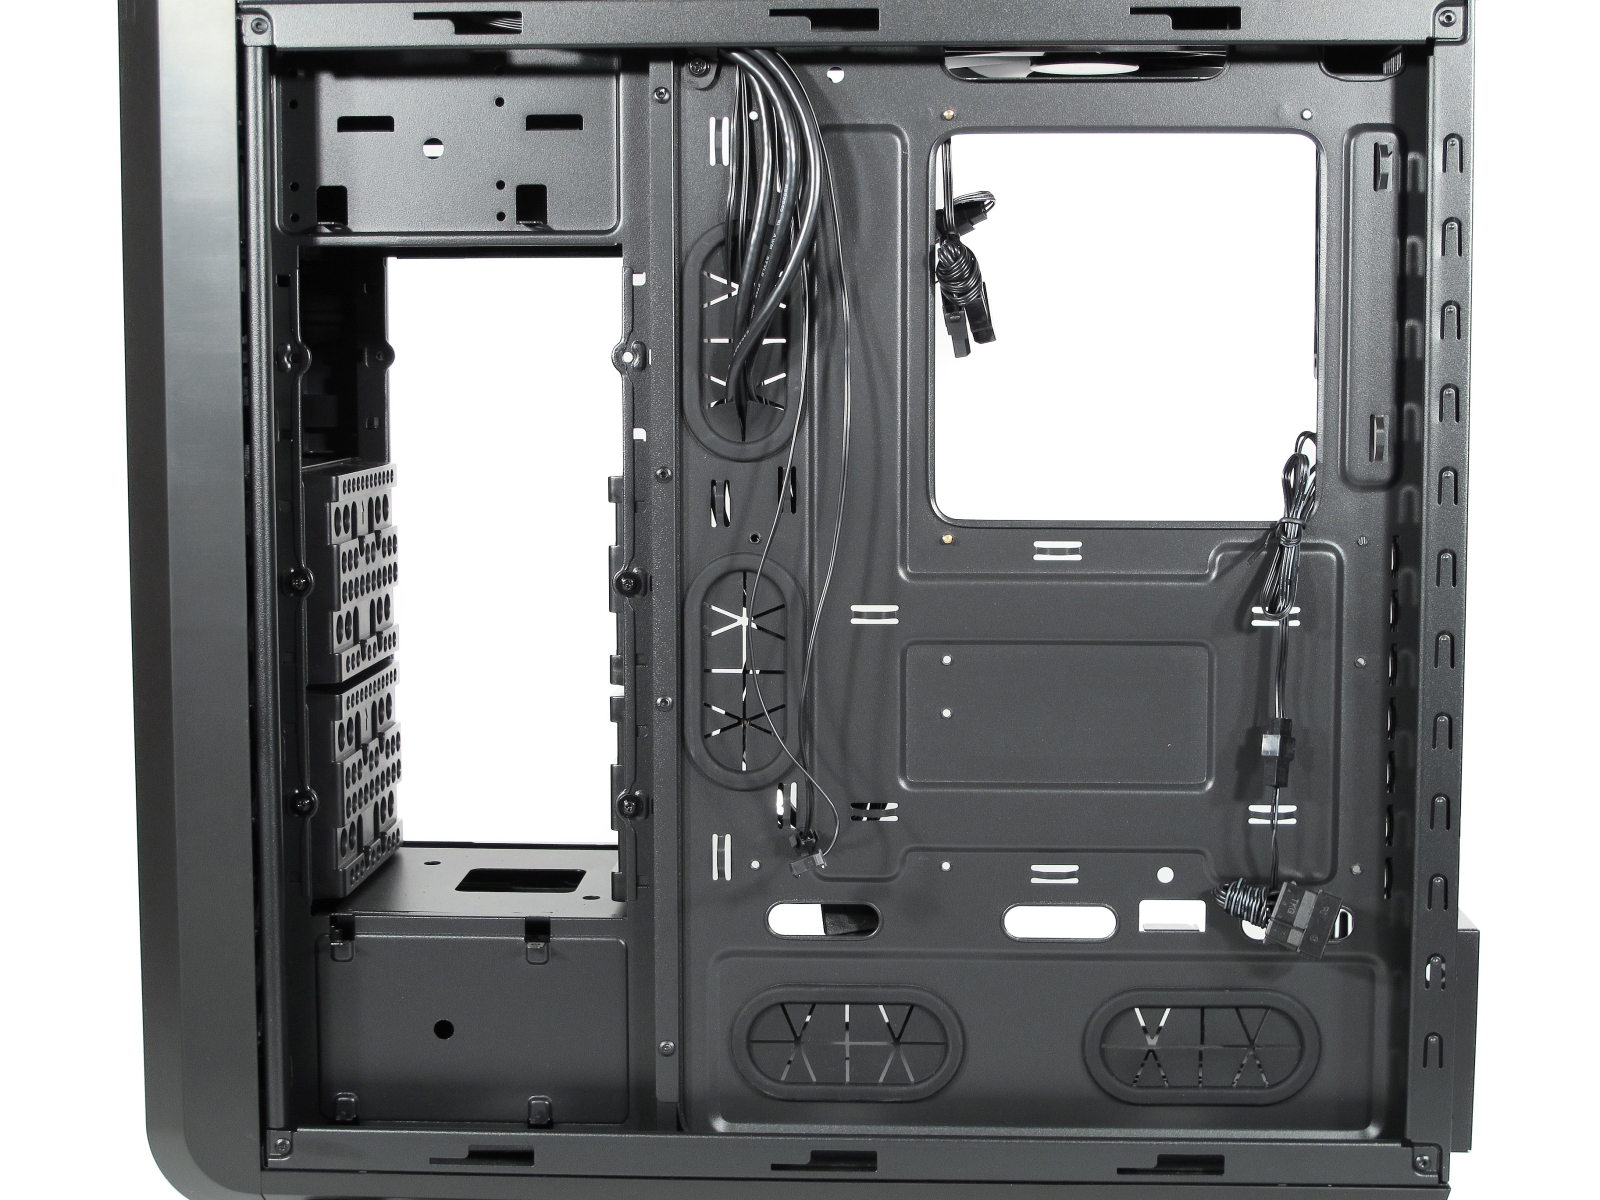
Cooler Master's Cosmos SE provides plenty of opportunities for cable routing, keeping the case nice and tidy. There are enough rubberized cable holes in the frame and cable loops on the back of the motherboard tray to hold the wiring in place. A generously-sized opening up top can be used for eight-pin EPS connectors or fan cables.
You'll want to fasten a majority of the cables out of sight to the back of the motherboard tray. There are 3.4 cm worth of space for them there due to the pushed-out side wall.
Optical Drives and Hard Drives
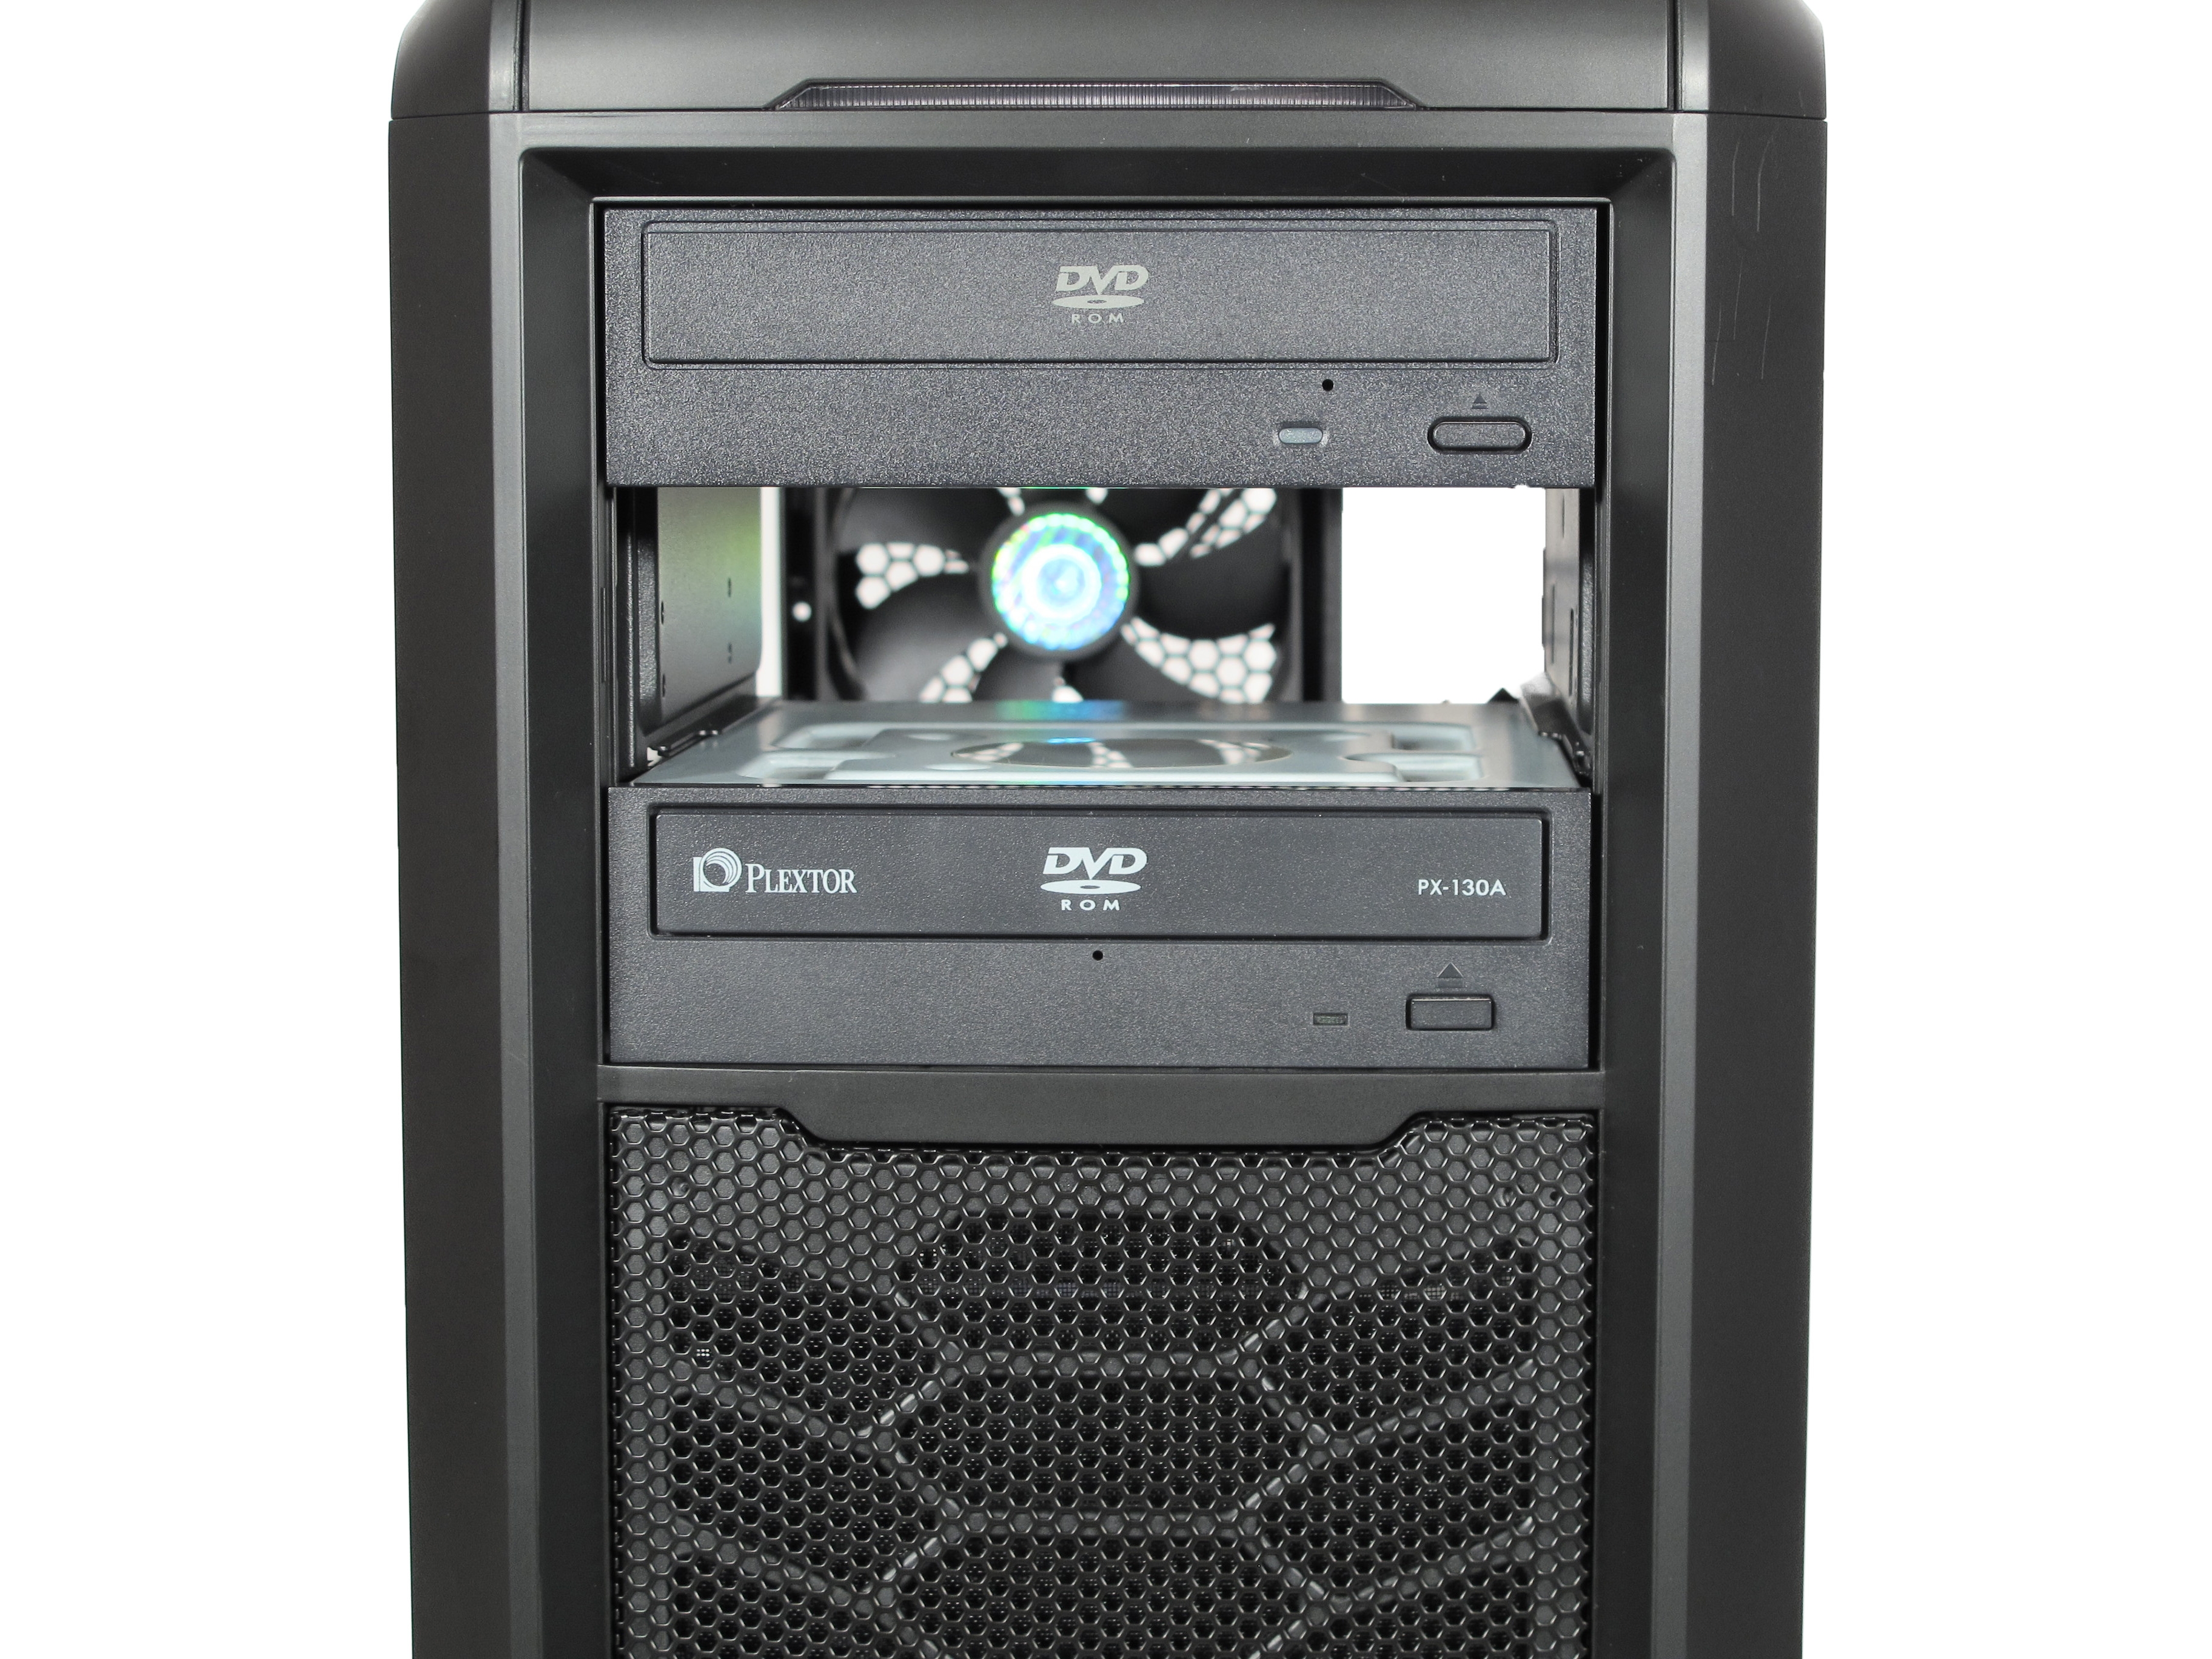
The Cosmos SE offers space for three 5.25-inch drives, even though only the top two bays are usable in the stock configuration. The two side retention elements of the hard drive cage need to be reinstalled at a 90-degree angle to use the third one, which results in the loss of two 3.5-inch drive bays and the space for the top-front fan.
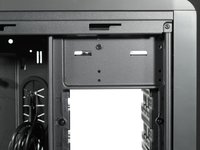
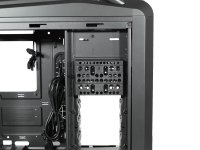
Without the front fan, all but the bottommost drive bays can be converted to the 5.25-inch format by simply and effectively refastening some screws. The space gained by removing the appropriate drive bay can be used to accommodate longer graphics cards.
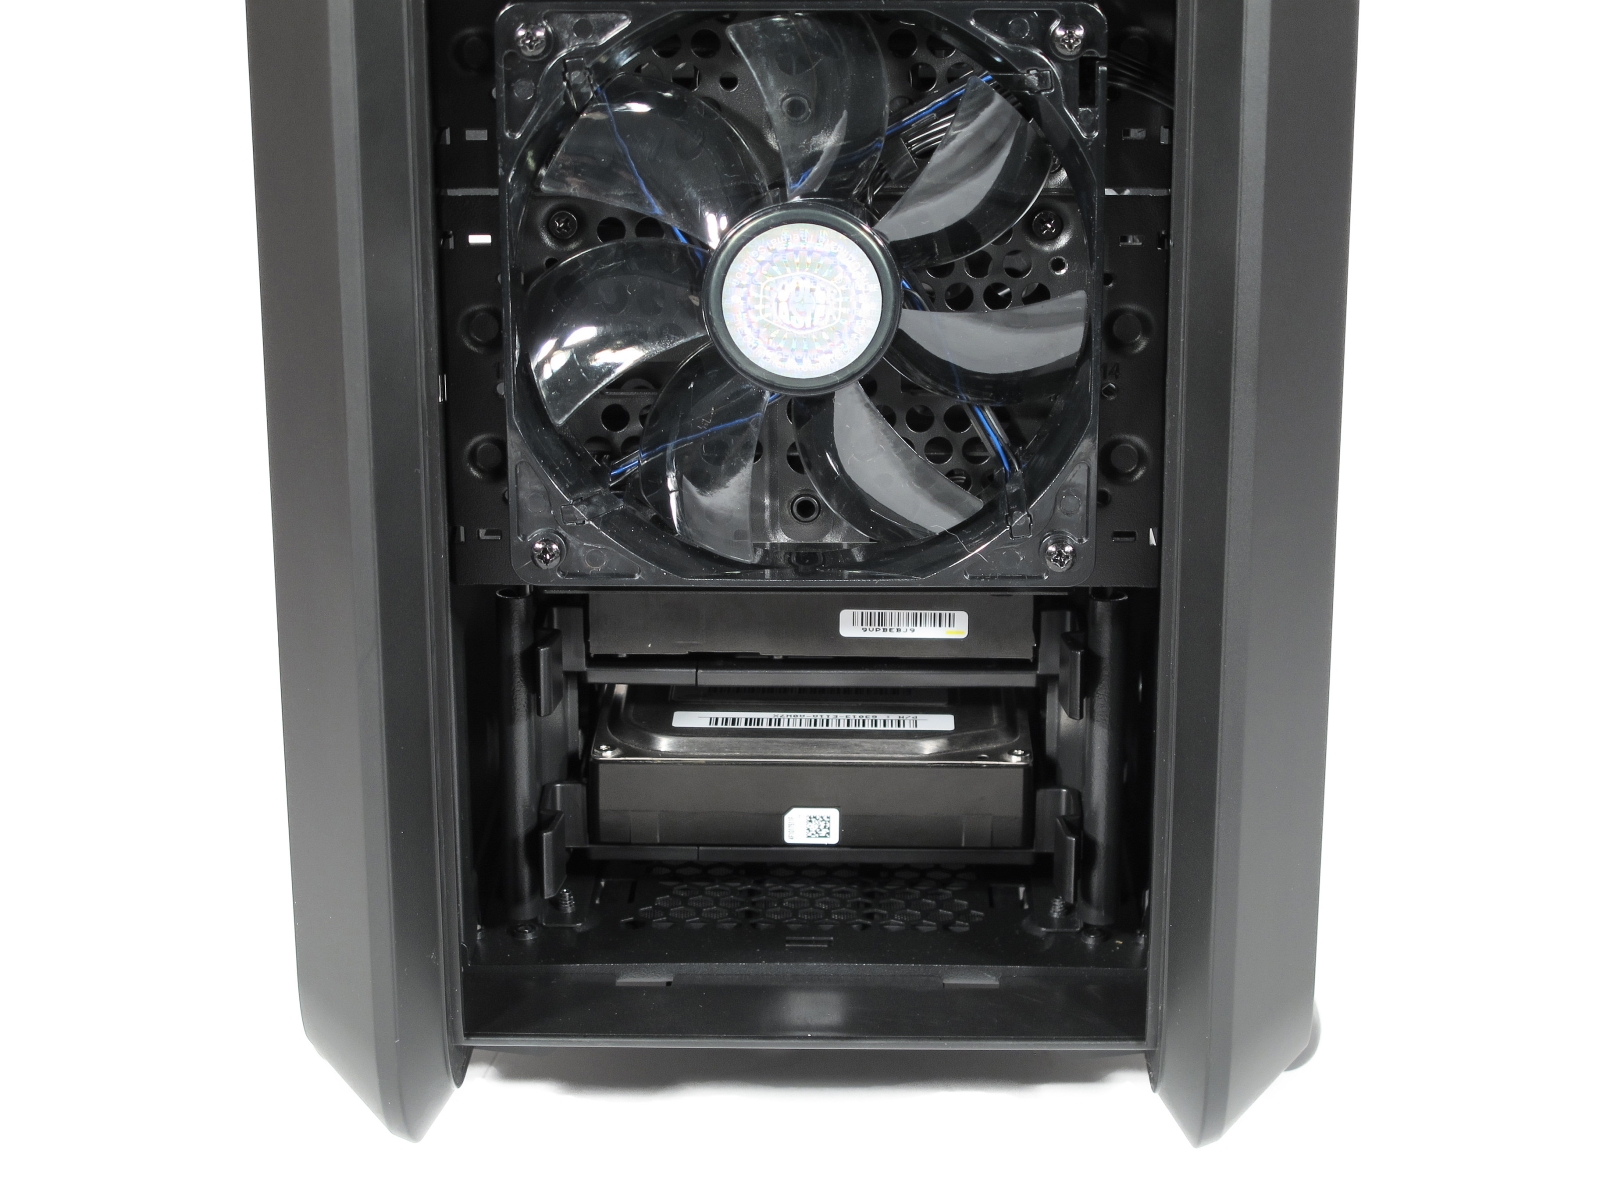
Up to 12 drives in the 3.5-inch format can be installed using tool-less sledges that are pulled out to the side of the case. They feature basic decoupling and hold the hard drive with four metal pins instead of screws.
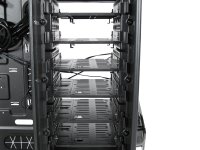
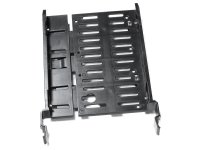
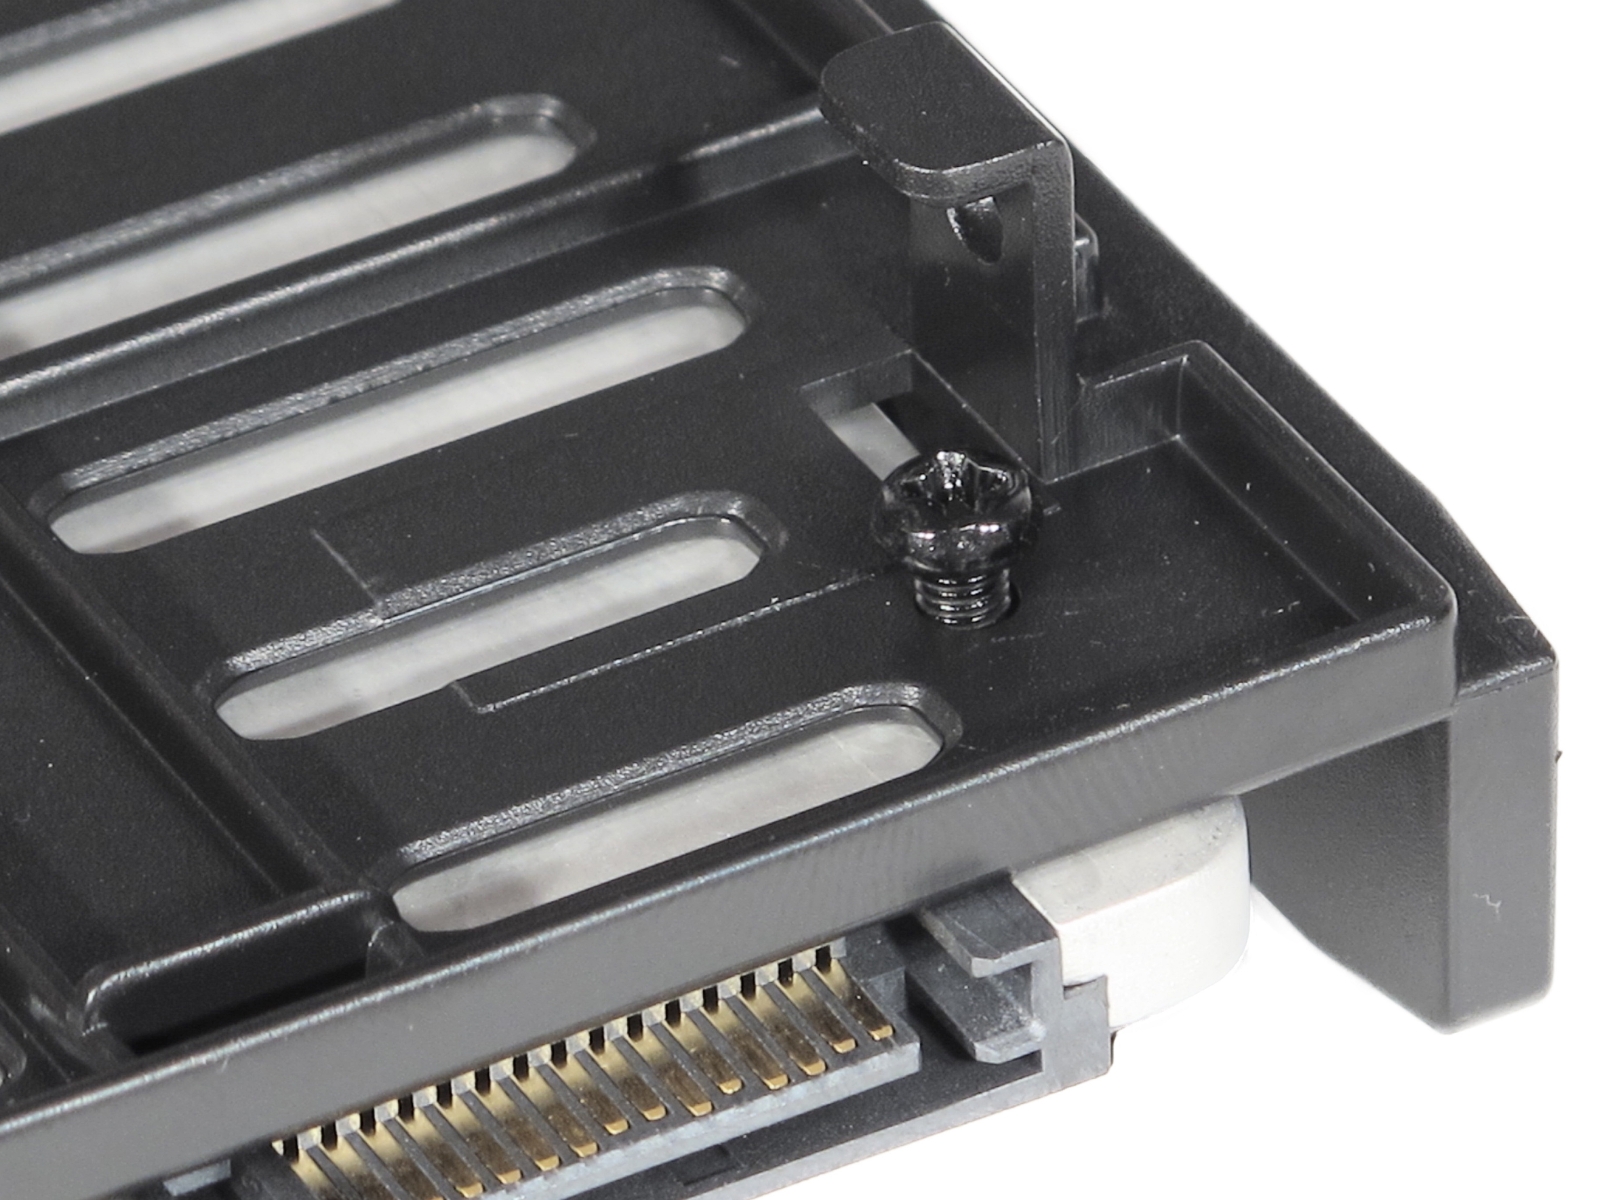
Alternatively, each sledge can be used to accommodate a 2.5-inch drive on the top and the bottom. The bottom one sits so tightly that it could have done without screws.
Get Tom's Hardware's best news and in-depth reviews, straight to your inbox.
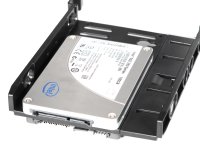
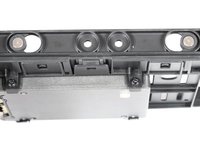
The two bottom bays are turned by 90 degrees from the factory, which means that the drives installed in them can be removed without opening the case. You simply have to remove the front dust filter and pull them out the front. We’re not sure why Cooler Master opted to forgo the obvious hot-swapping option, especially in a $170 case.
We did encounter a problem installing SSDs, and let Cooler Master know leading into our review. The company reacted quickly to our assertion though, and promised to fix it immediately. As proof, we were given internal documents that we can’t show here. The problem shouldn’t manifest starting with the next batch out of Cooler Master's factory. In case you already ended up with one of the older models, the company's support is promising to mail out the correct parts quickly.
Originally, Cooler Master provided only M3x8 screws for the SSD installation. Using them, some (but not all) SSDs could be screwed on via the bottom, and barely any of them could be screwed on to the sides. The M3x5 screws needed for broader compatibility should be included moving forward.
Motherboard, Graphics Card, and CPU Cooler
The motherboard spacers have to be screwed in using an included tool. The opening in the motherboard tray, which is perfect for servicing the CPU cooler's backplate, is, as usual for Cooler Master, generously-sized. Even if the installation holes on your platform are off to one side, as in the image below, they're still easy enough to access.
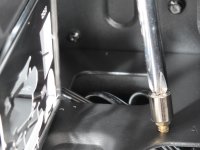
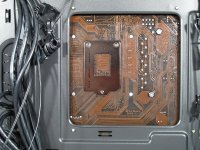
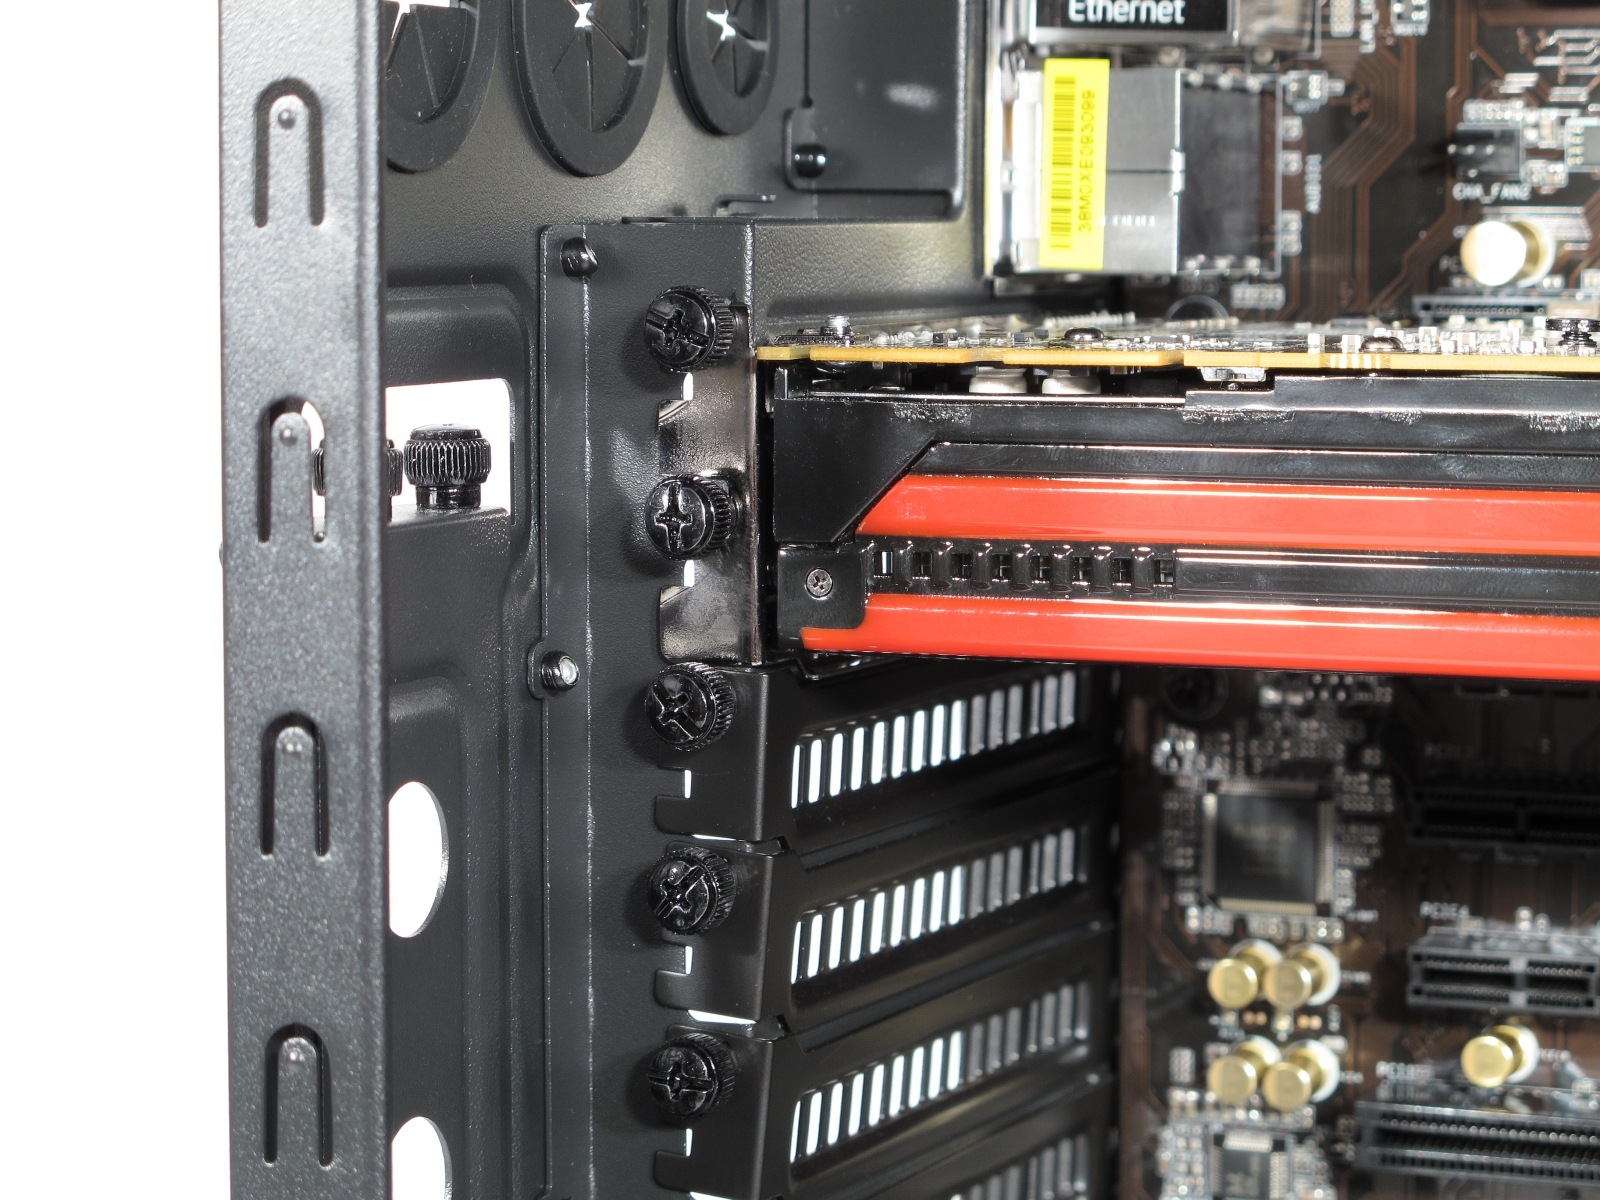
The Cosmos SE accommodates CPU coolers up to 17.5 cm-tall and graphics cards up to 27.6 cm-long. That last stat increases to 39.5 cm if the drive bays behind the graphics card are removed. We actually measured almost 40 cm-long in this configuration.
Current page: Assembly And Installation
Prev Page Cooling And Dust Protection Next Page Benchmark System And Conditions-
VVV850 Why put "carrying handles" on a 10KG (when empty) case? IMHO they are useless and add to the total weight and from my experience, when you have finished assembling your new PC you add approximately 5KG to the weight of the case. 15Kgs with carrying handles...Reply -
SessouXFX The handles, more or less adds to the look, and strangely enough, some guys take theirs to a Lan party. I once read a review where some guy complained about not having a way to carry his Corsair 800D around to Lan parties,and complained about the case feet breaking off. So there's some numbskulls out there that can't seem to figure it out for themselves...The way I see it, in the case you need to move your case around, at least you have them. You may not want to move it around all the time, but it's better to have them and not need them, than to need them and find your back thrown out of whack because of lifting it without them.Reply -
blackmagnum $170 gaming god of a case. Nothing can beat it at this price. If only it would come in pink... for Valentine's...Reply -
cypeq ReplyWhy put "carrying handles" on a 10KG (when empty) case? IMHO they are useless and add to the total weight and from my experience, when you have finished assembling your new PC you add approximately 5KG to the weight of the case. 15Kgs with carrying handles...
No one is forcing you to get this one with carry handles... CM and others provide you with plenty of choice. I for one would prefer to have them on quality case. Even if I have to move it only few times a year ( I have CM Storm Scout ).I say bless that handle it's so much easier to pick up and move around, and I have one hand free to open doors grab cables whatever. I is just very convenient.
P.S. 15 kg one handed should not be a problem for you, bro do you even lift ? ;-D -
pf12351 I am actually quite glad this review is out, I bought this just last week. I got all my components in!Reply -
ubercake I never really got the point of putting front fans in a case whose airflow is immediately blocked by HDD bays or mounts turned sideways (even those not occupied due to design). I understand turning the mounts saves space in the depth direction, but completely blocks the intake's airflow. This is why I think it is key for any advanced case to be designed to allow you to remove the HDD bays that aren't in use. Why even bother with fans whose output has to pass through a bunch of obstacles? This renders the intake of airflow virtually ineffective.Reply -
GoliathPtXs This case needs a REV.2 with that 3rd optical issue solved. waiting for it. either that or the new fantastic corsair graphite 760T...decisions... decisions...Reply -
Au_equus "The screw holes for the radiator could have been a bit more toward the side of the case to avoid collisions between tall CPU coolers and thick radiators (or radiators with fans on both sides)."Reply
Is it not the idea of using radiators is to avoid using tall CPU coolers? The biggest concern for watercooling in regards to the top radiator mount is clearing the tall memory heatsinks that some memory manufacturers use.
