Tom's Hardware Verdict
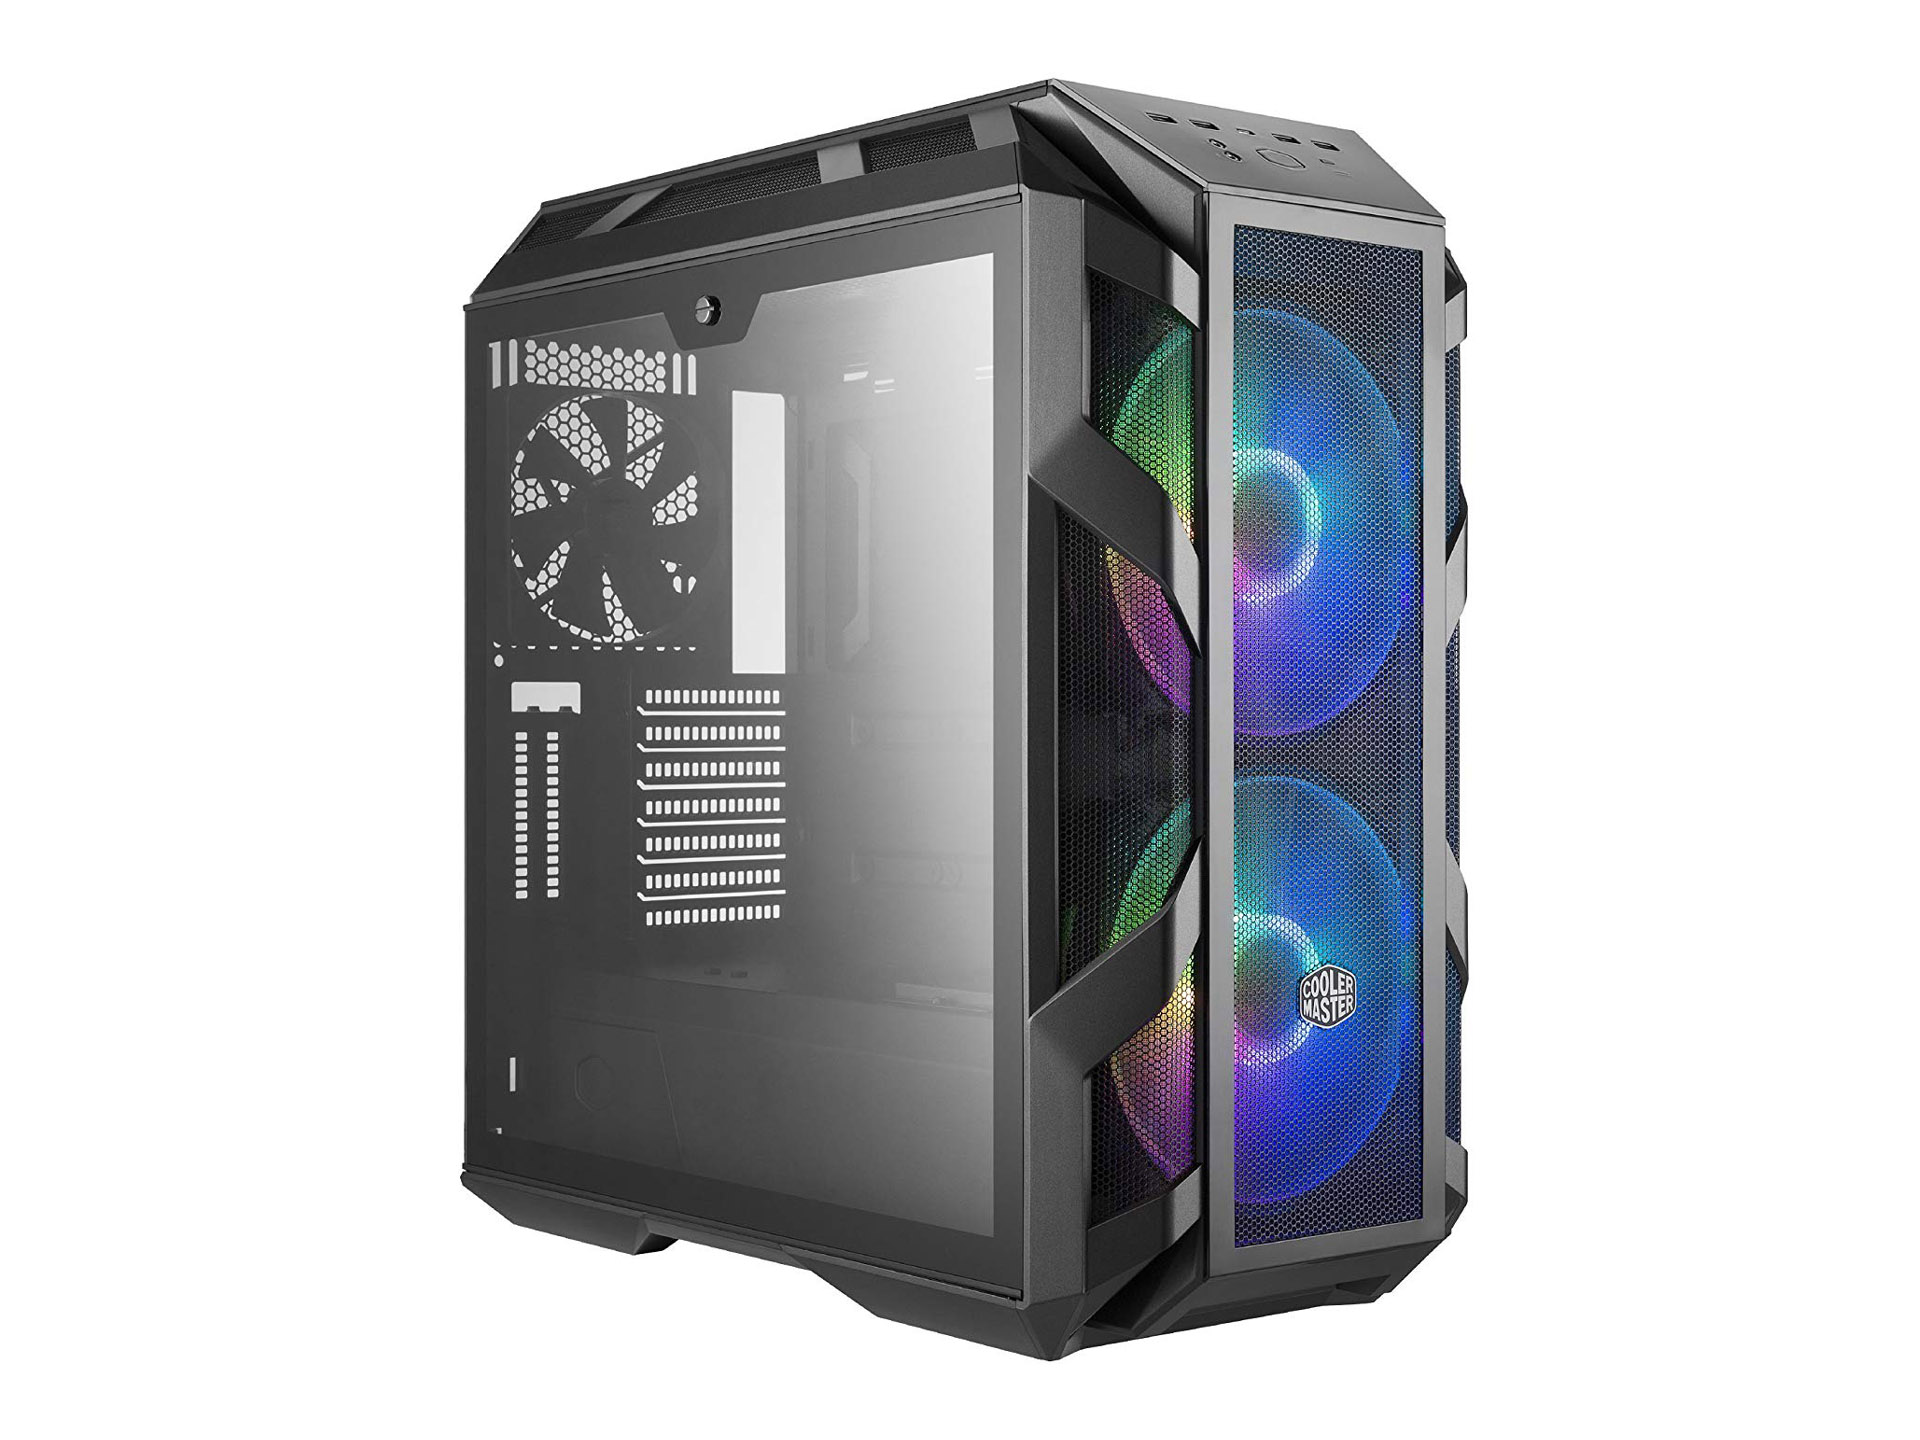
The Cooler Master MasterCase H500M is a great-looking chassis with just about everything a gamer/enthusiast could want.
Pros
- +
Good thermal and acoustic performance
- +
RGB controller included
- +
Lighting features do not require motherboard support
- +
USB 3.1 Type-C using Gen2 motherboard header
- +
200mm intake fans
Cons
- -
Requires two USB 3.0 headers or a 20-pin splitter cable for all four front panel USB 3.0 ports
- -
Not ARGB to RGB compatible
- -
Price
Why you can trust Tom's Hardware
Features & Specifications
Packed with premium features and top notch thermal and acoustic performance, there are a number of reasons to choose the Cooler Master MasterCase H500M. Its ability to accommodate a wide variety of system builds makes it easy to recommend to just about anyone, if they have the money.
With so many companies vying for your hard earned money, it seems like there isn't a brand out there that doesn't have a premium chassis packed with all the bells and whistles, including tempered glass panels, addressable RGB lighting, USB Type-C ports and water cooling options galore. One such company competing for your attention is Cooler Master with the latest entry in its MasterCase line of chassis.
At first glance, the MasterCase H500M ($199) looks very similar to the MasterCase H500P. But upon further inspection you will notice subtle design differences that set this chassis apart from Cooler Master's other mid-tower offerings. It's obvious that this design is aimed at gamers who want over-the-top looks and enthusiasts who want to showcase their system builds.
Specifications
| Type | Mid-Tower ATX |
| Motherboard Support | Mini-ITX, Micro-ATX, ATX (E-ATX support up to 12 x 10.7 inches) |
| Dimensions (HxWxD) | 21.5 x 9.8 x 21.4 inches (546 x 248 x 544mm) |
| Space Above Motherboard | 1.5 + 1.5 inches (76.2mm) |
| Card Length | 16.2 inches (412mm) |
| CPU Cooler Height | 7.5 inches (190mm) |
| Power Supply Format | Standard ATX PS2-Style PSU |
| Weight | 31.1 lbs (14.1kg) |
| External Bays | ✗ |
| Internal Bays | 2x 3.5 inches6x 2.6 inches |
| Card Slots | 7 + 2 vertical |
| Ports/Jacks | 4x USB 3.01x USB Type-C (Gen 2), audio/mic jacks, RGB switch |
| Other | Tempered-glass side panels, included RGB / fan controller |
| Front Fans | 2x 200mm ARGB fans |
| Rear Fans | 1x 140mm |
| Top Fans | ✗ |
| Bottom Fans | ✗ |
| Side Fans | ✗ |
| Dampening | ✗ |
| Warranty | One year, limited |
Exterior
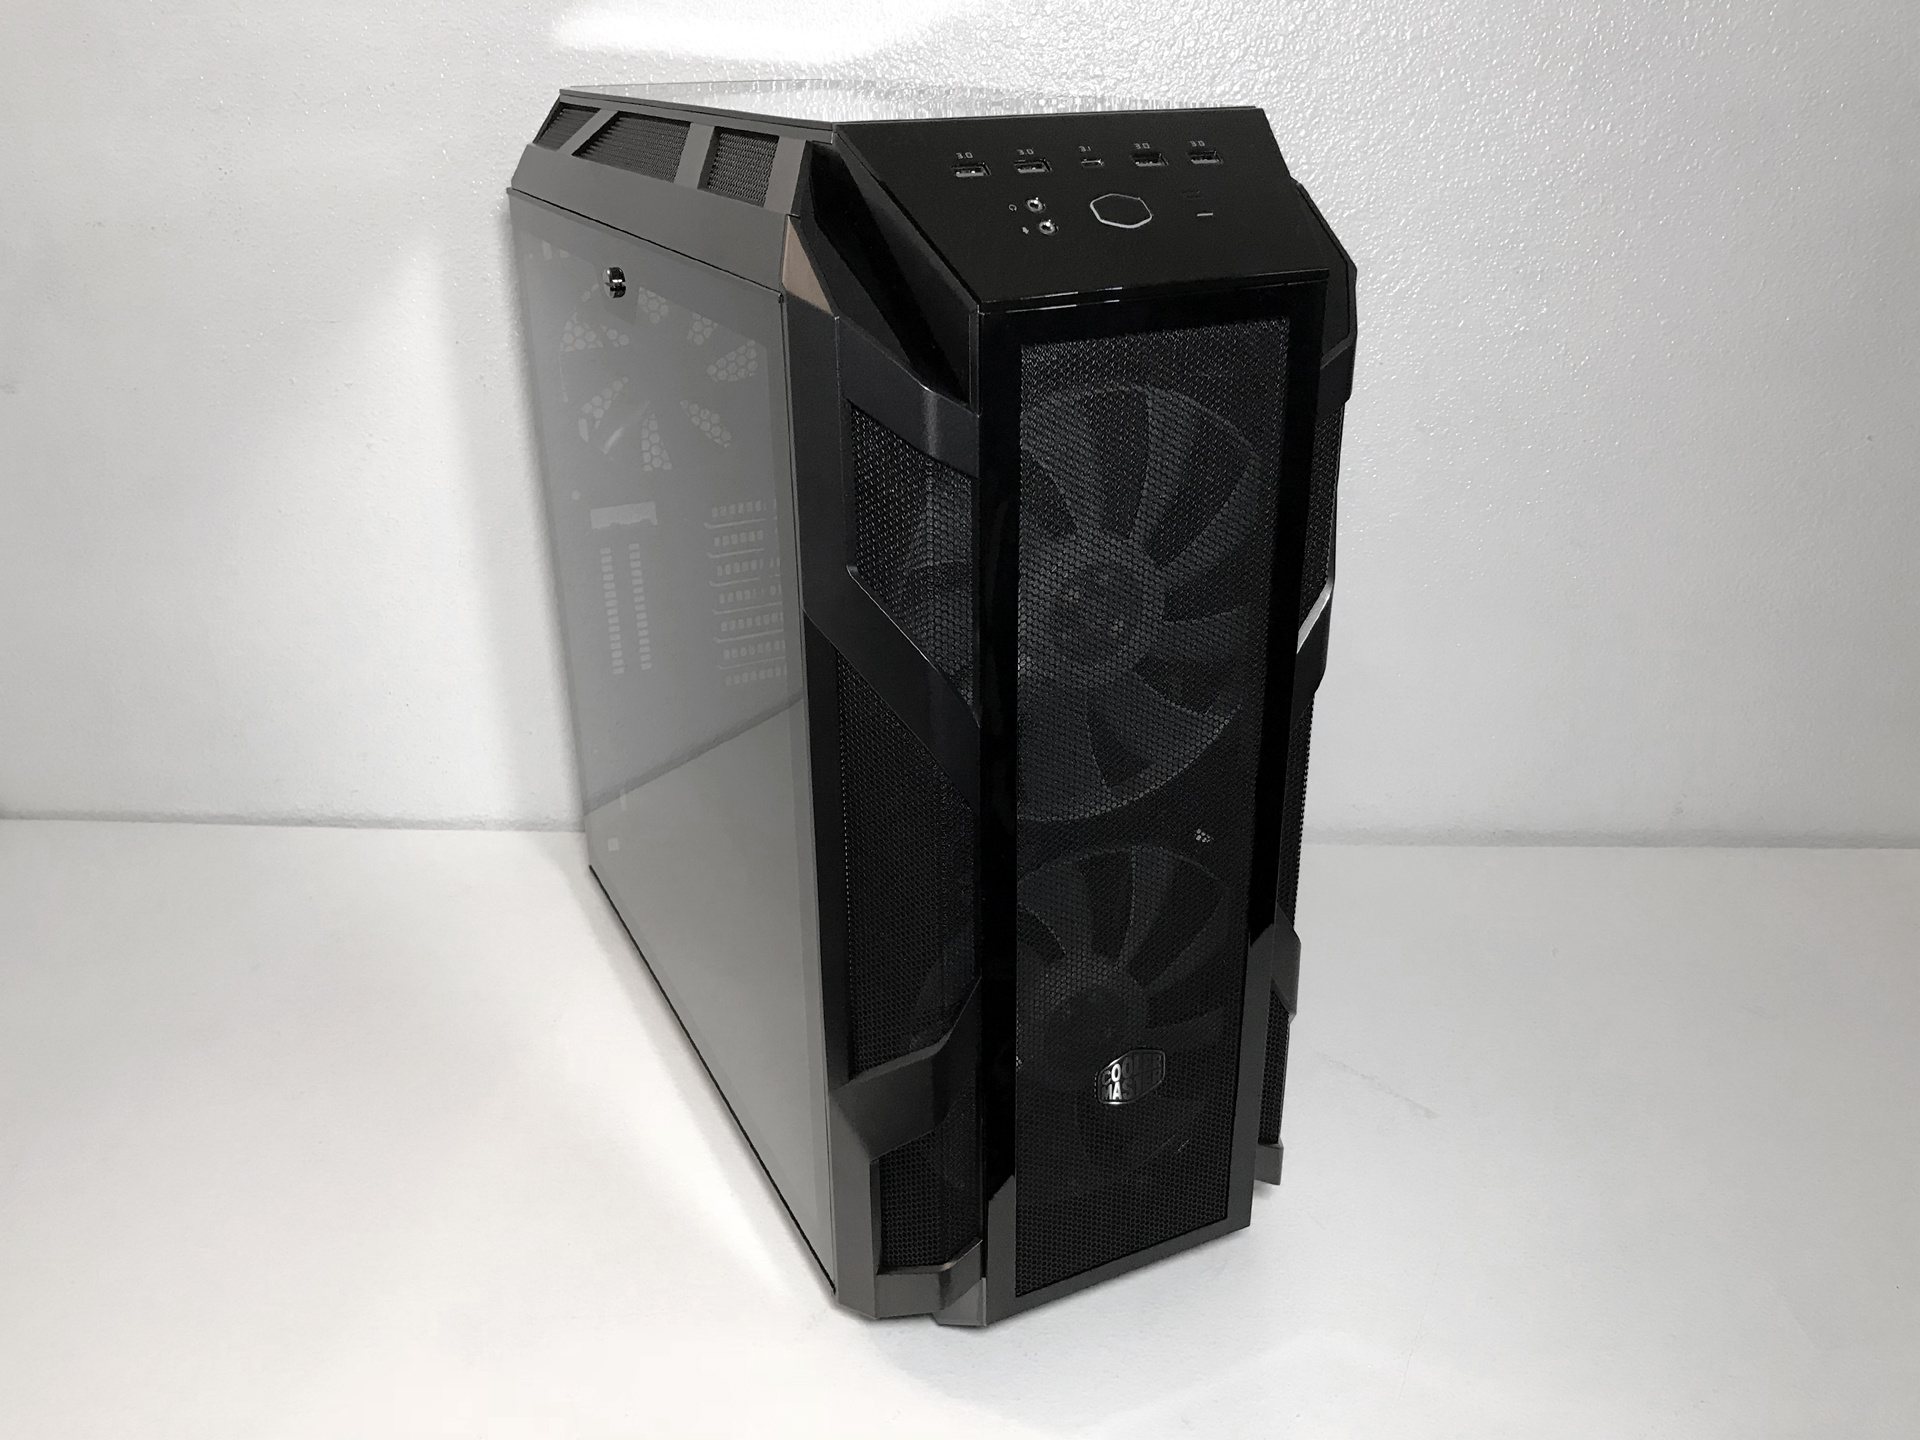
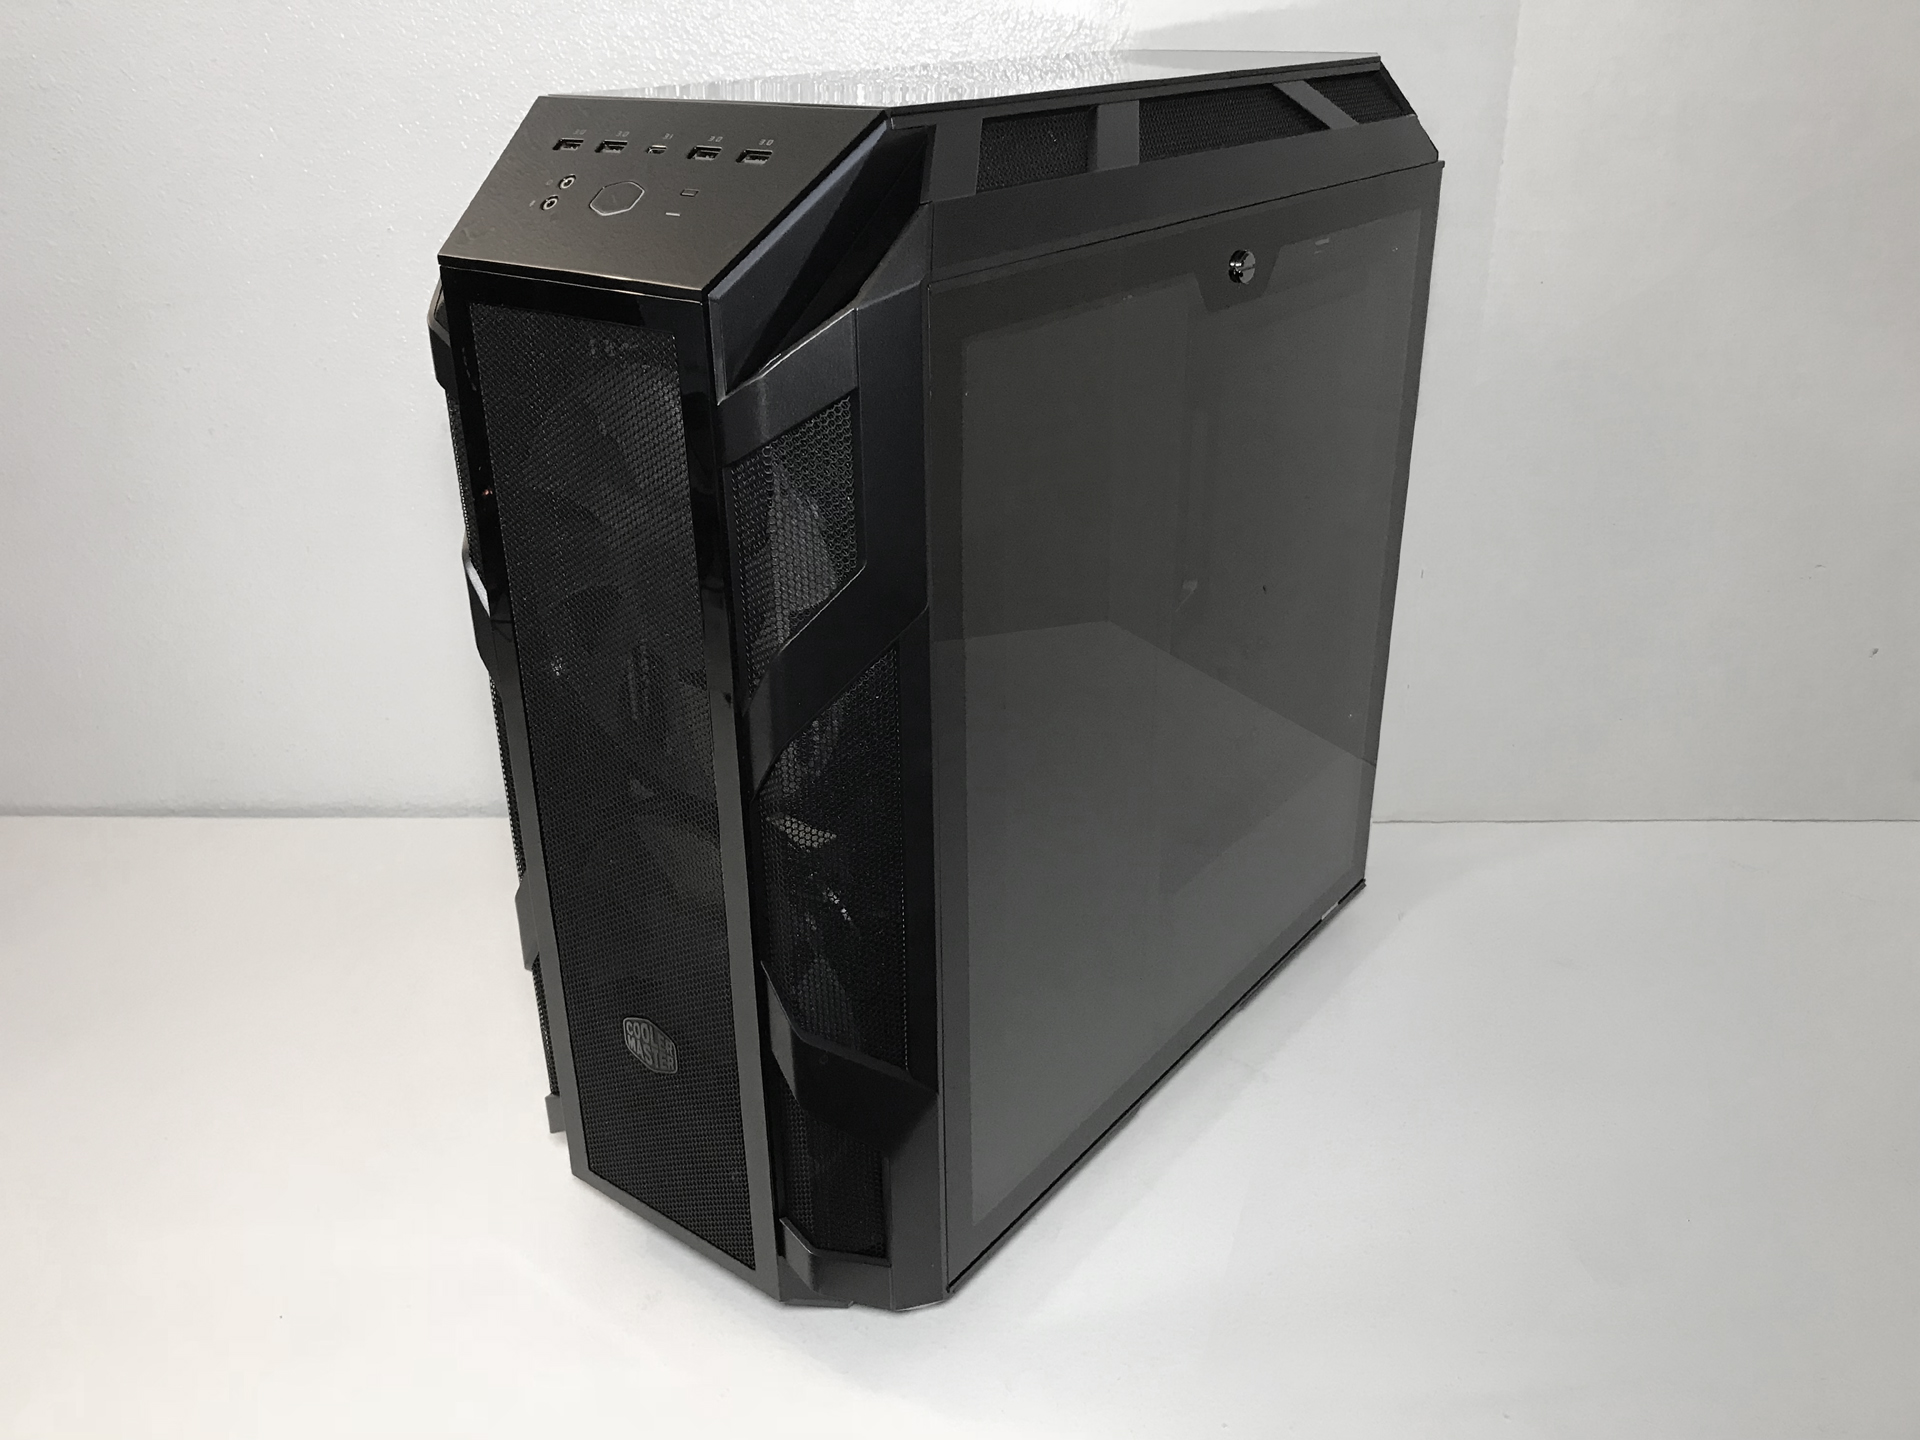
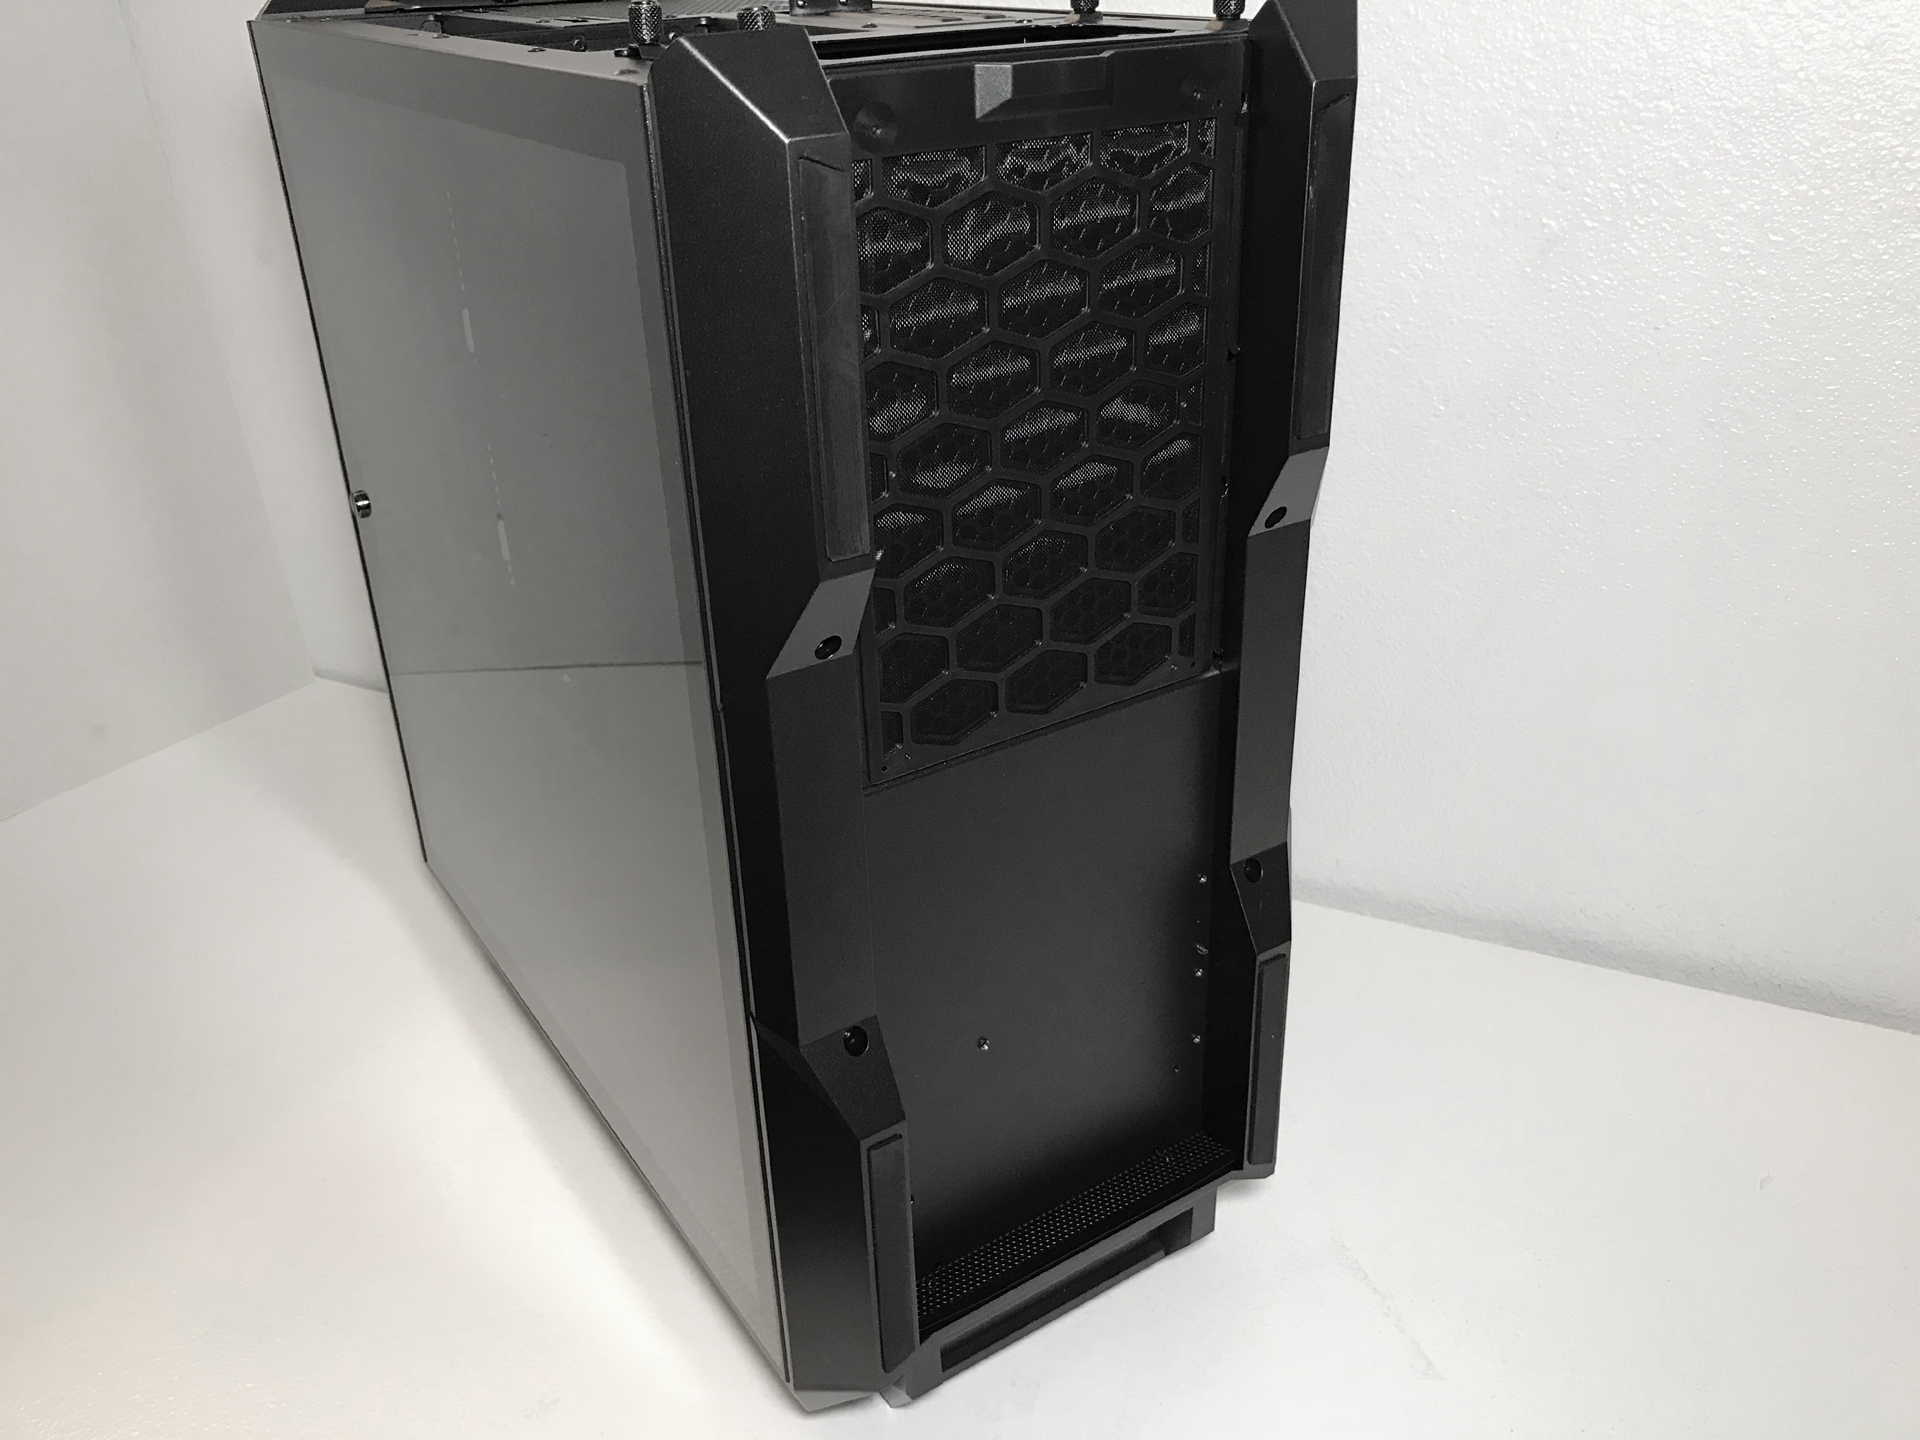
This chassis is made of steel and plastic and is painted black (inside and out). It measures 546 x 248 x 544mm (LxWxH) and weighs just over 31lbs. A slightly modified version of the industrial crossbar design featured on the MasterCase H500 and H500P, the design is visually similar to Cougar’s Panzer line of cases.
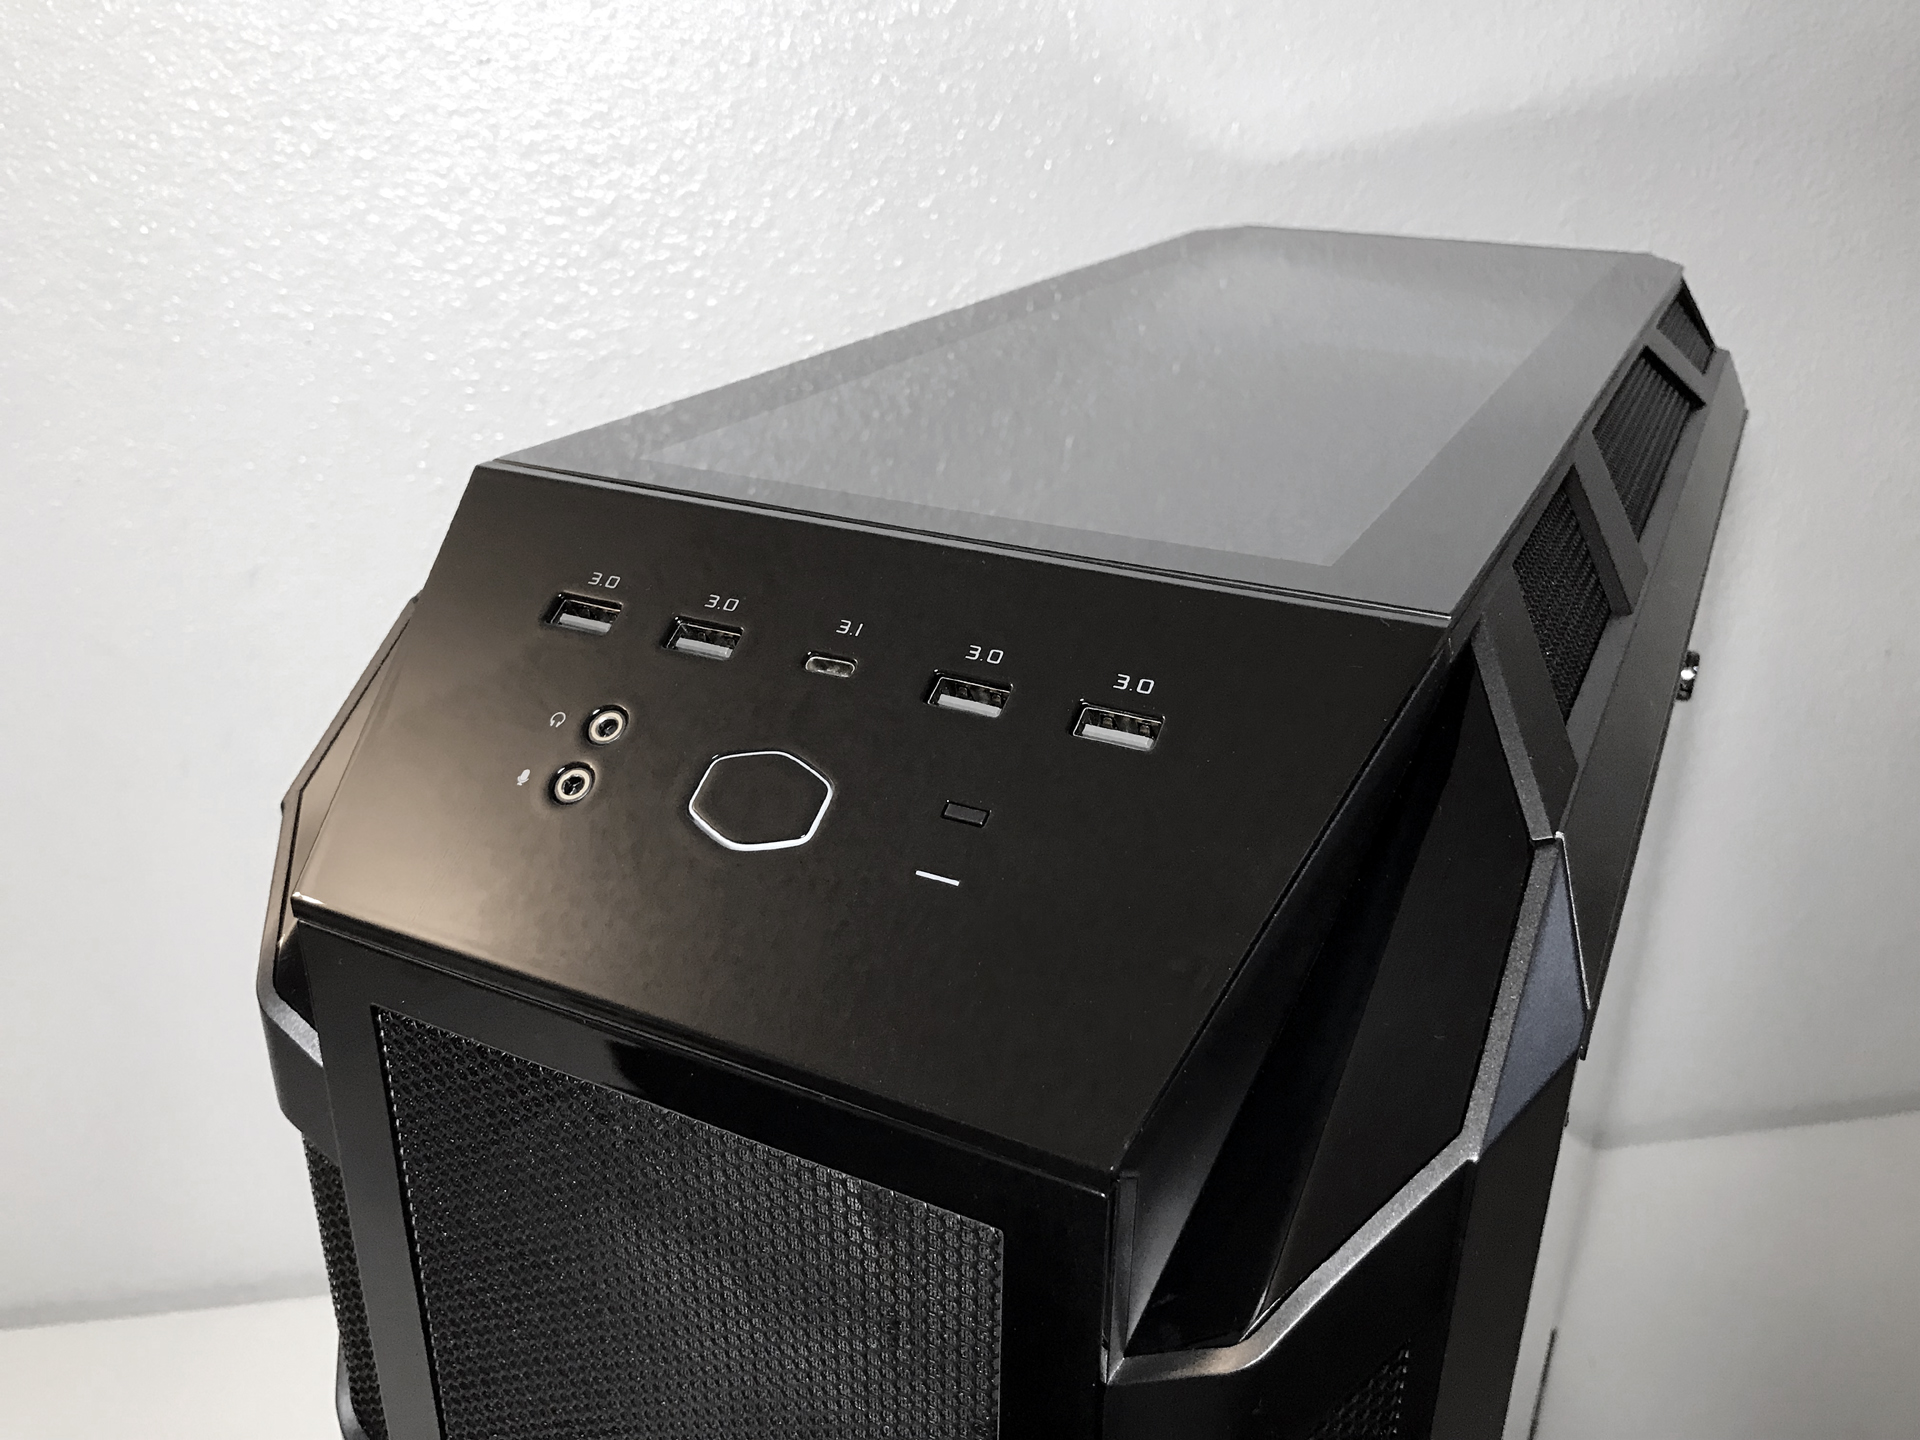
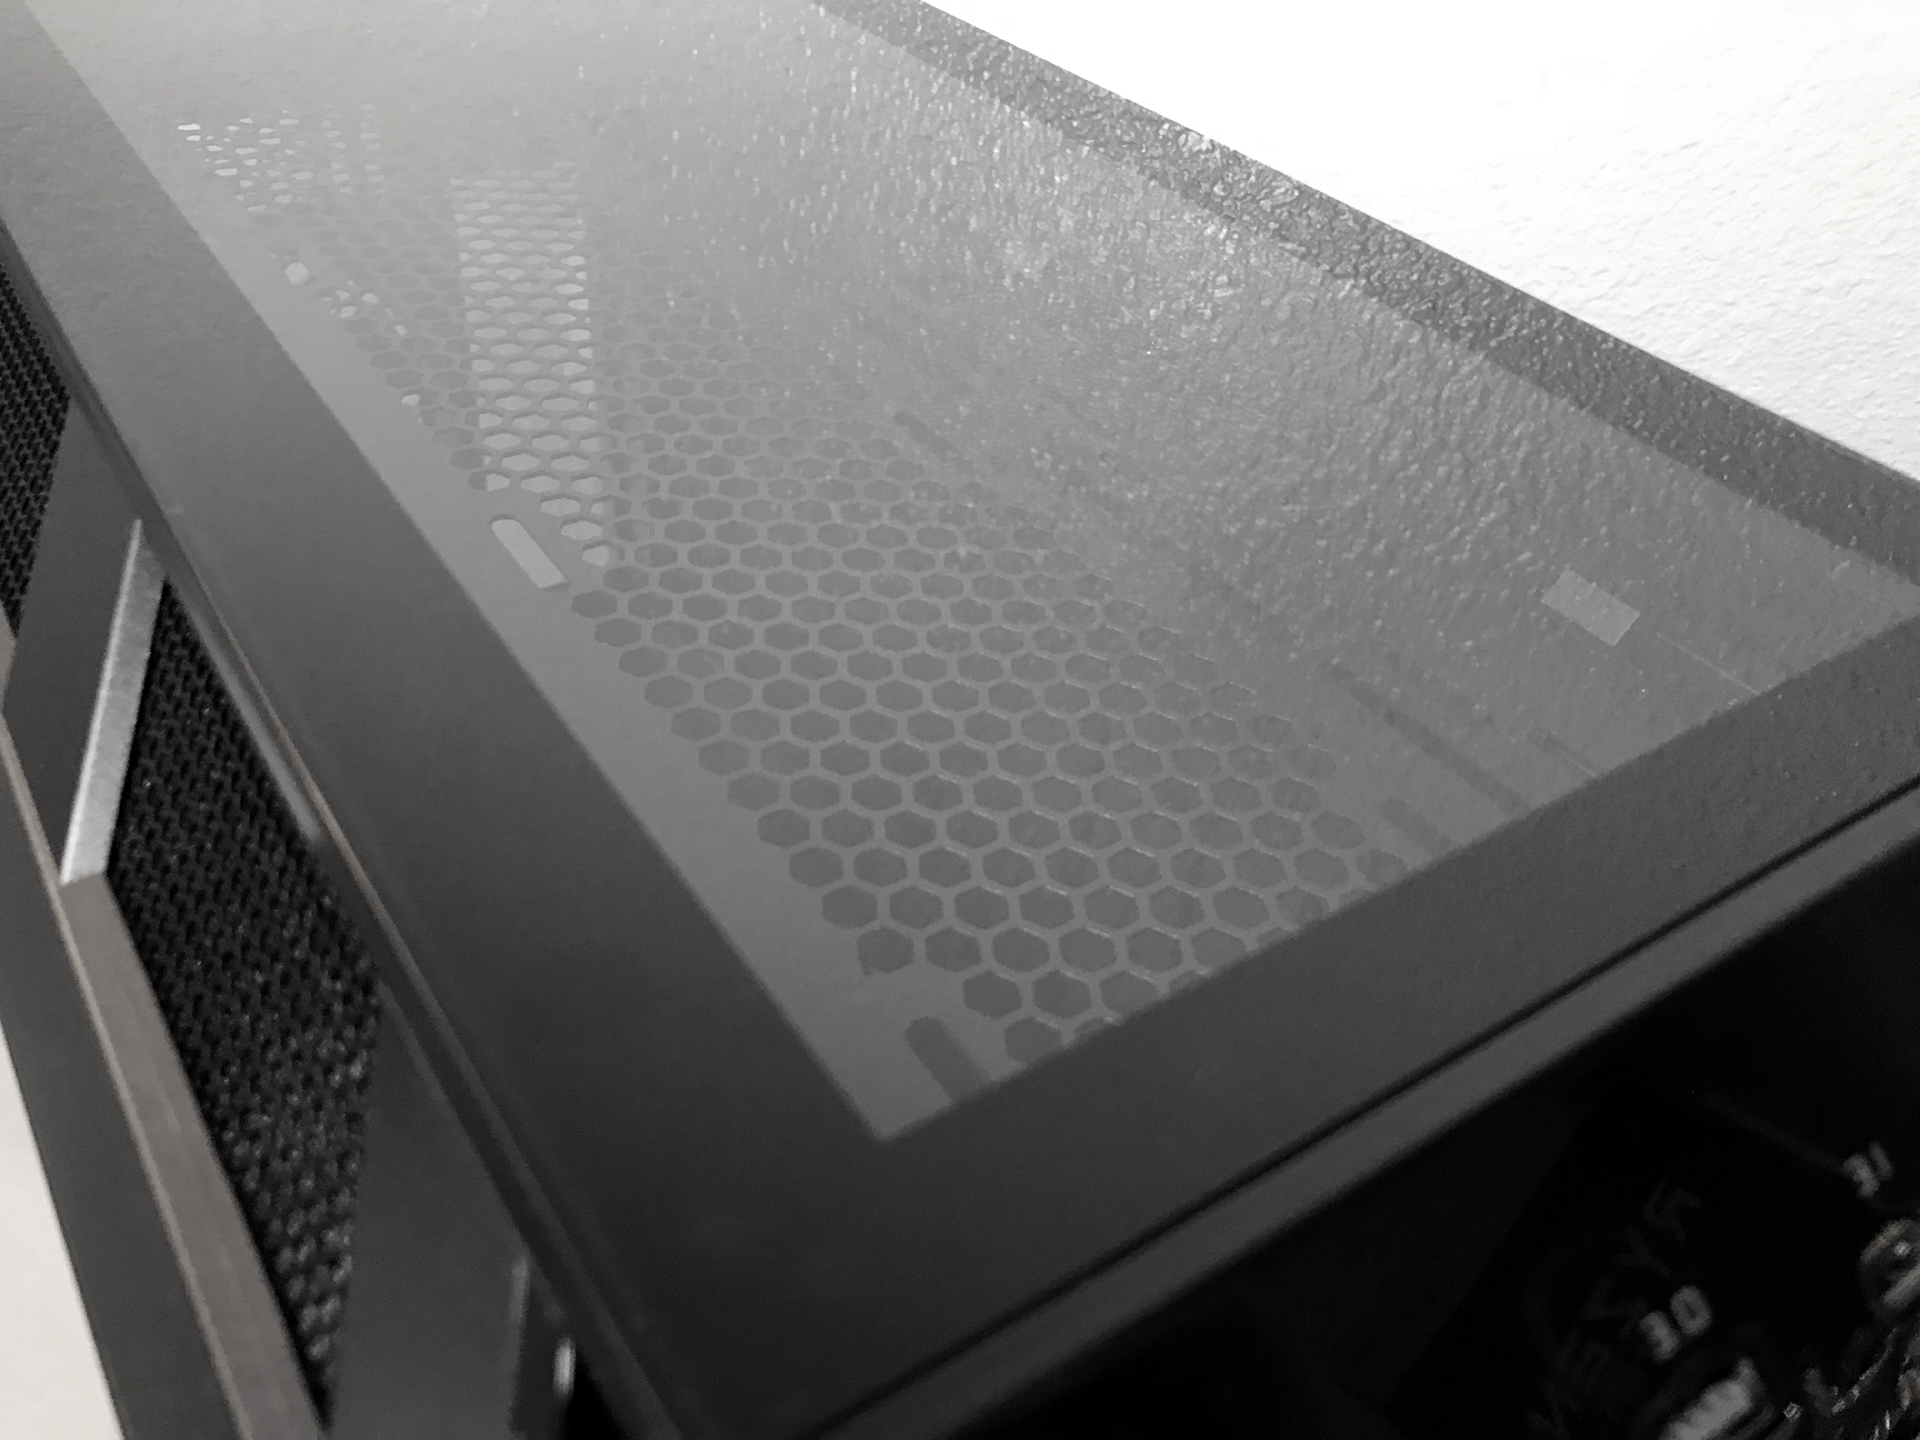
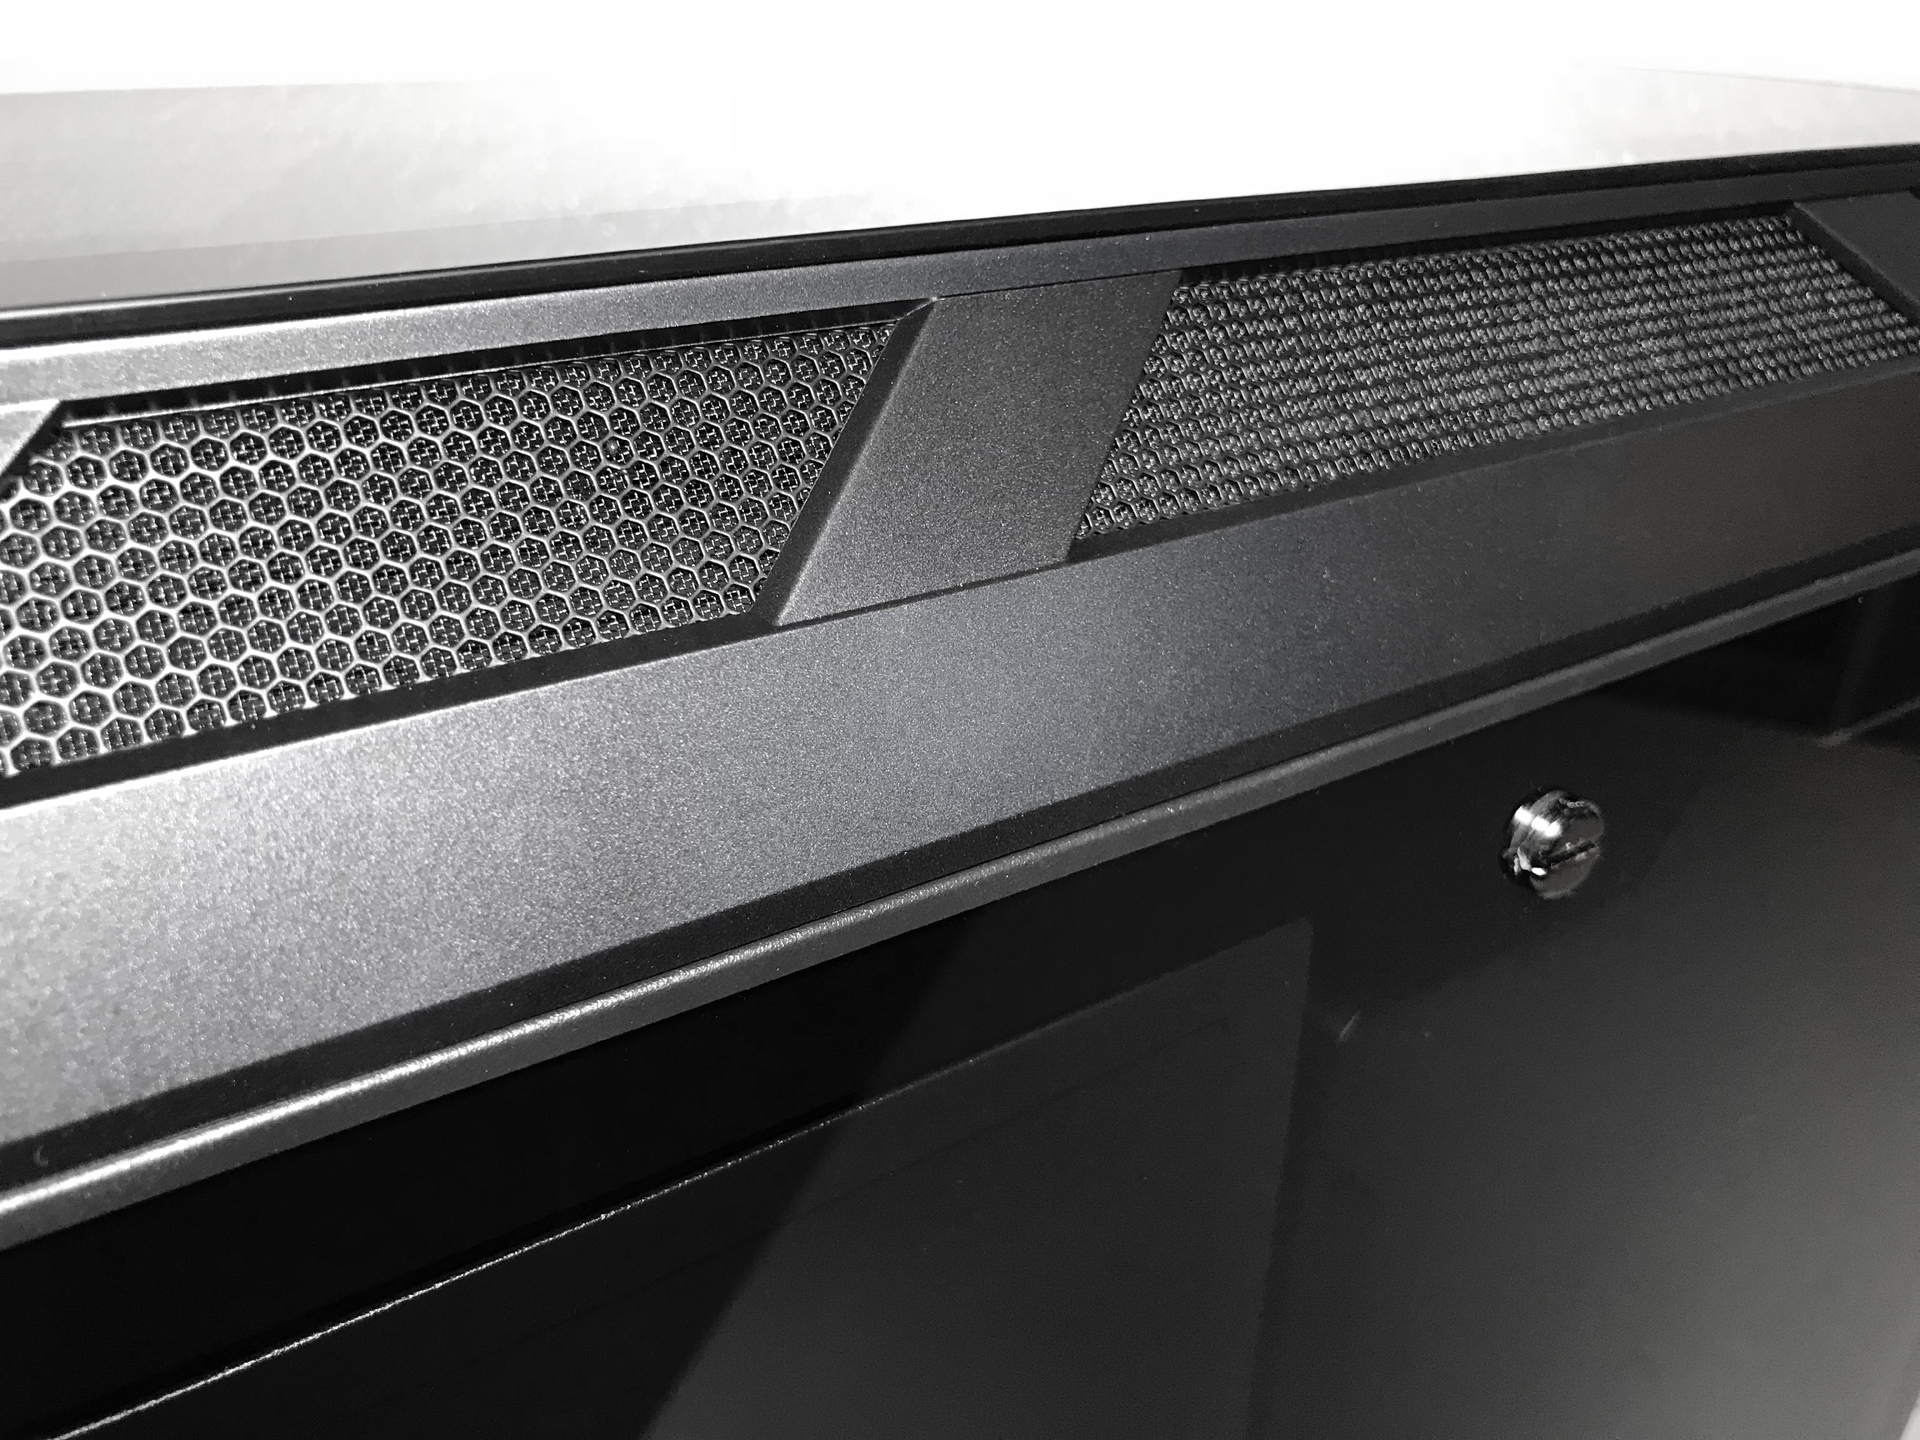
The top panel is made up of a large, slightly tinted tempered glass panel. Directly under this panel is an area with mounting locations for three 120mm or 140mm fans, or two 200mm fans.
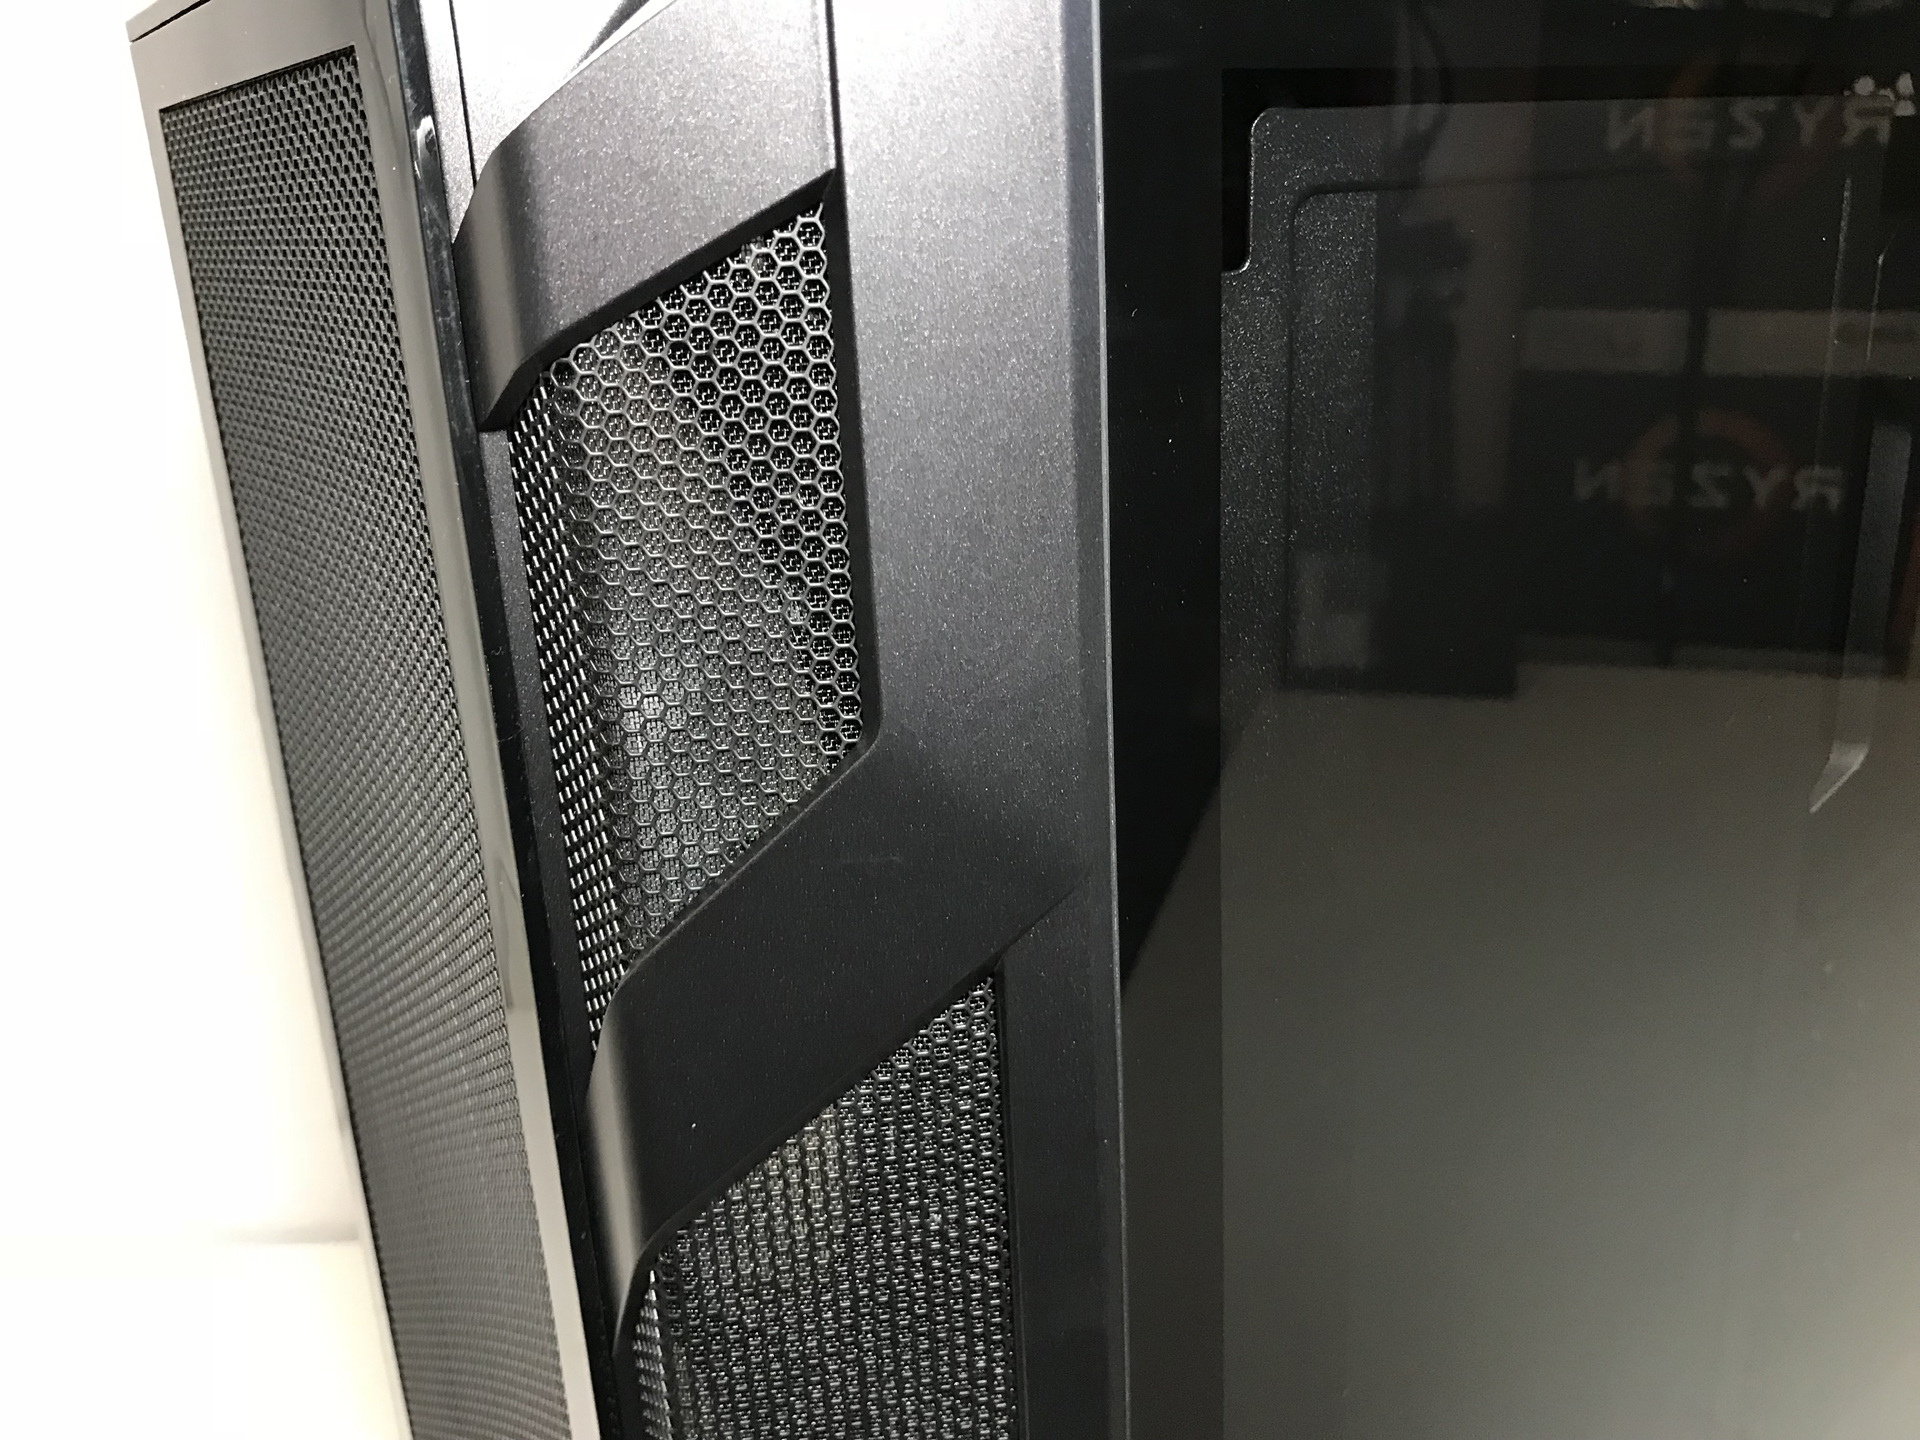
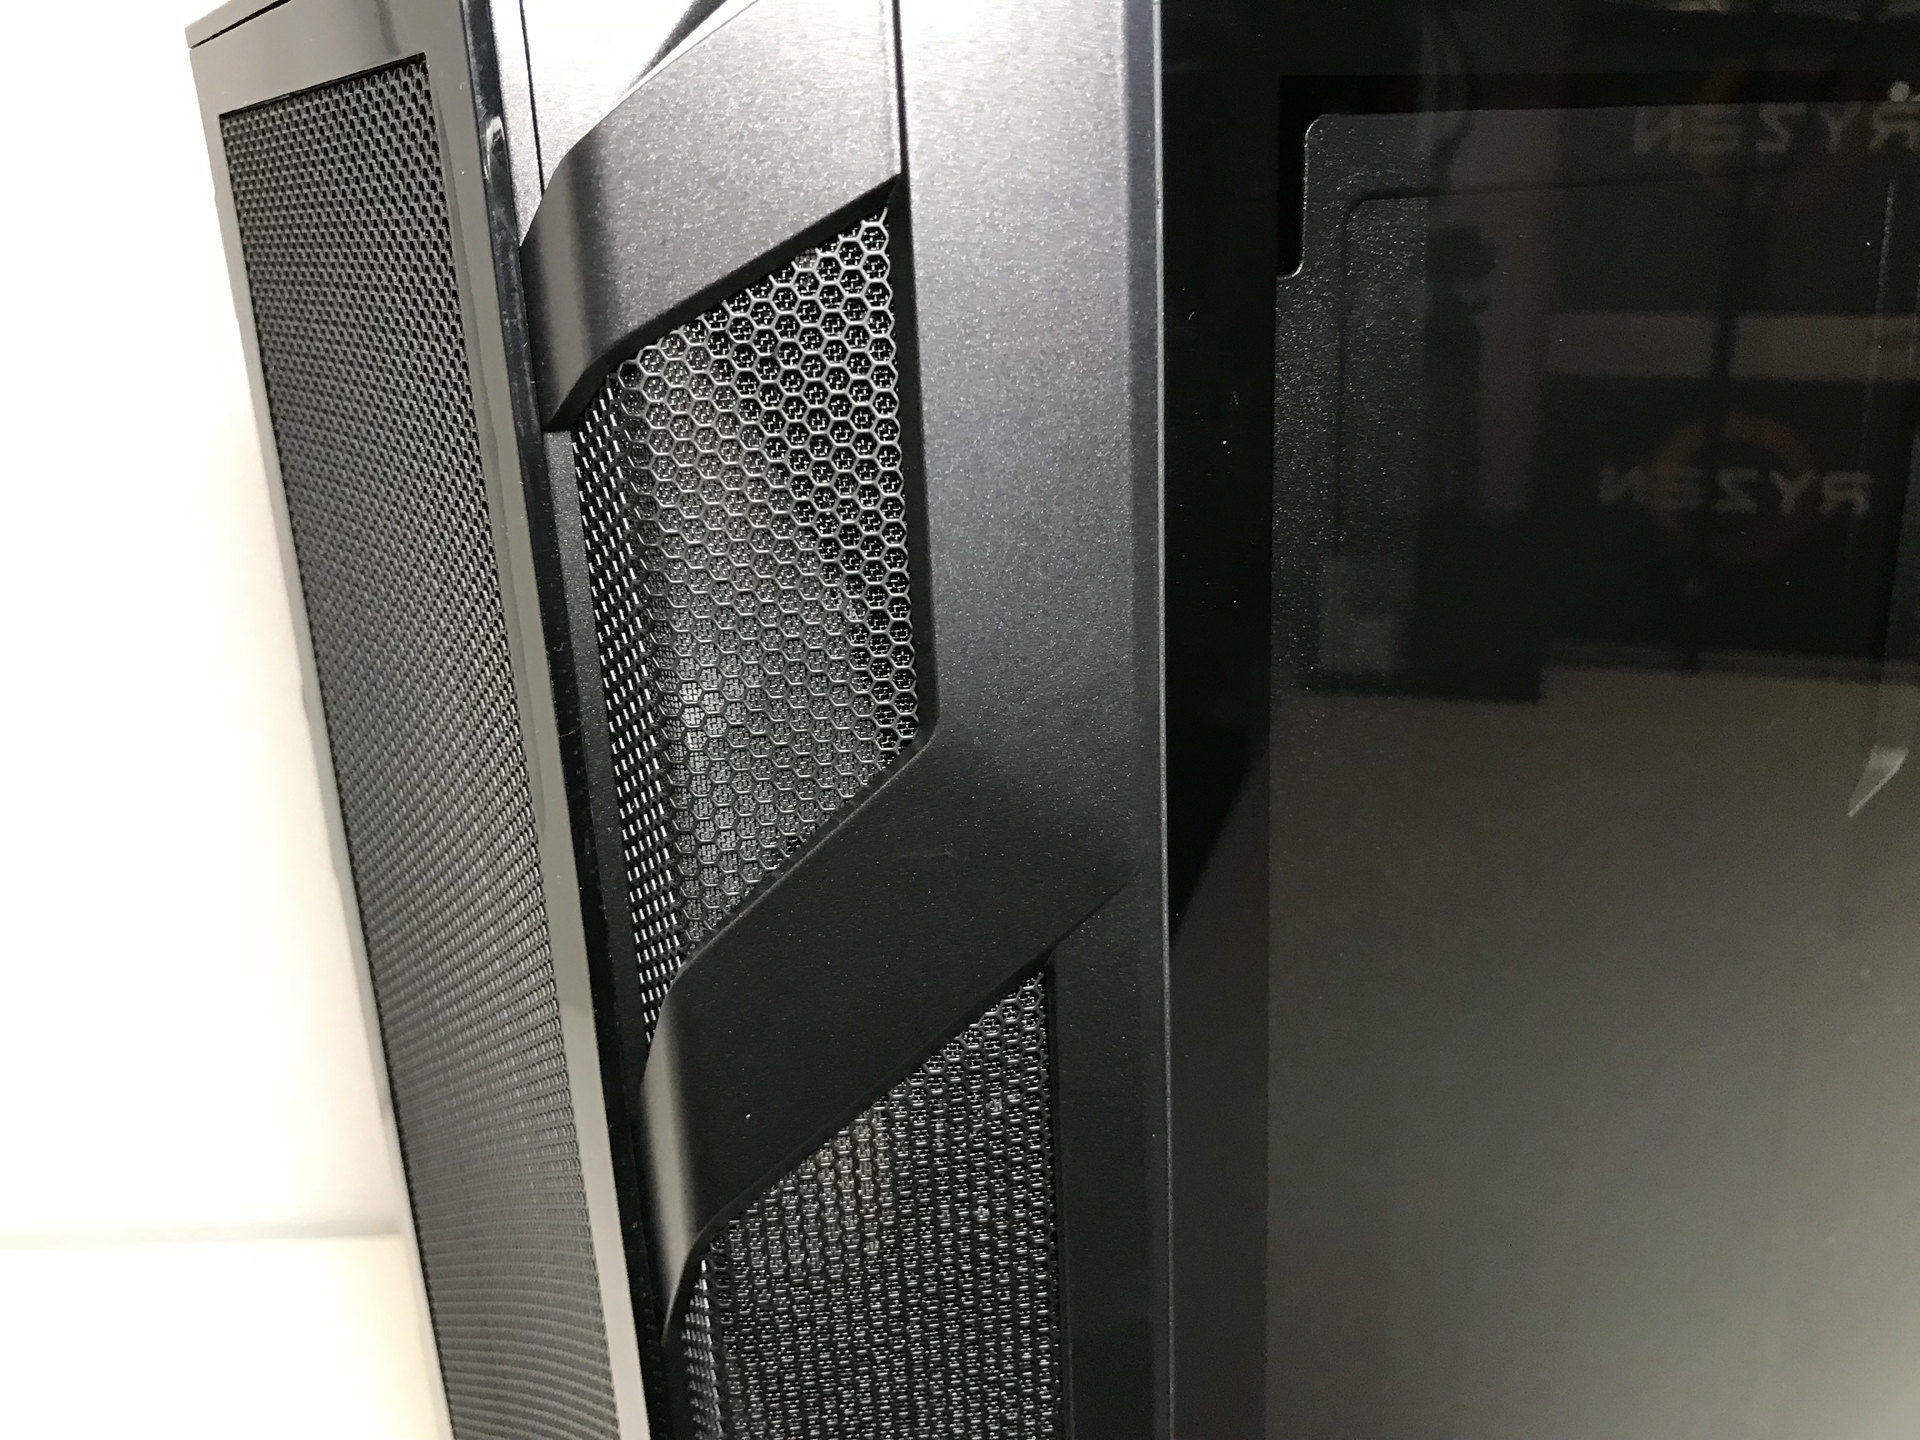
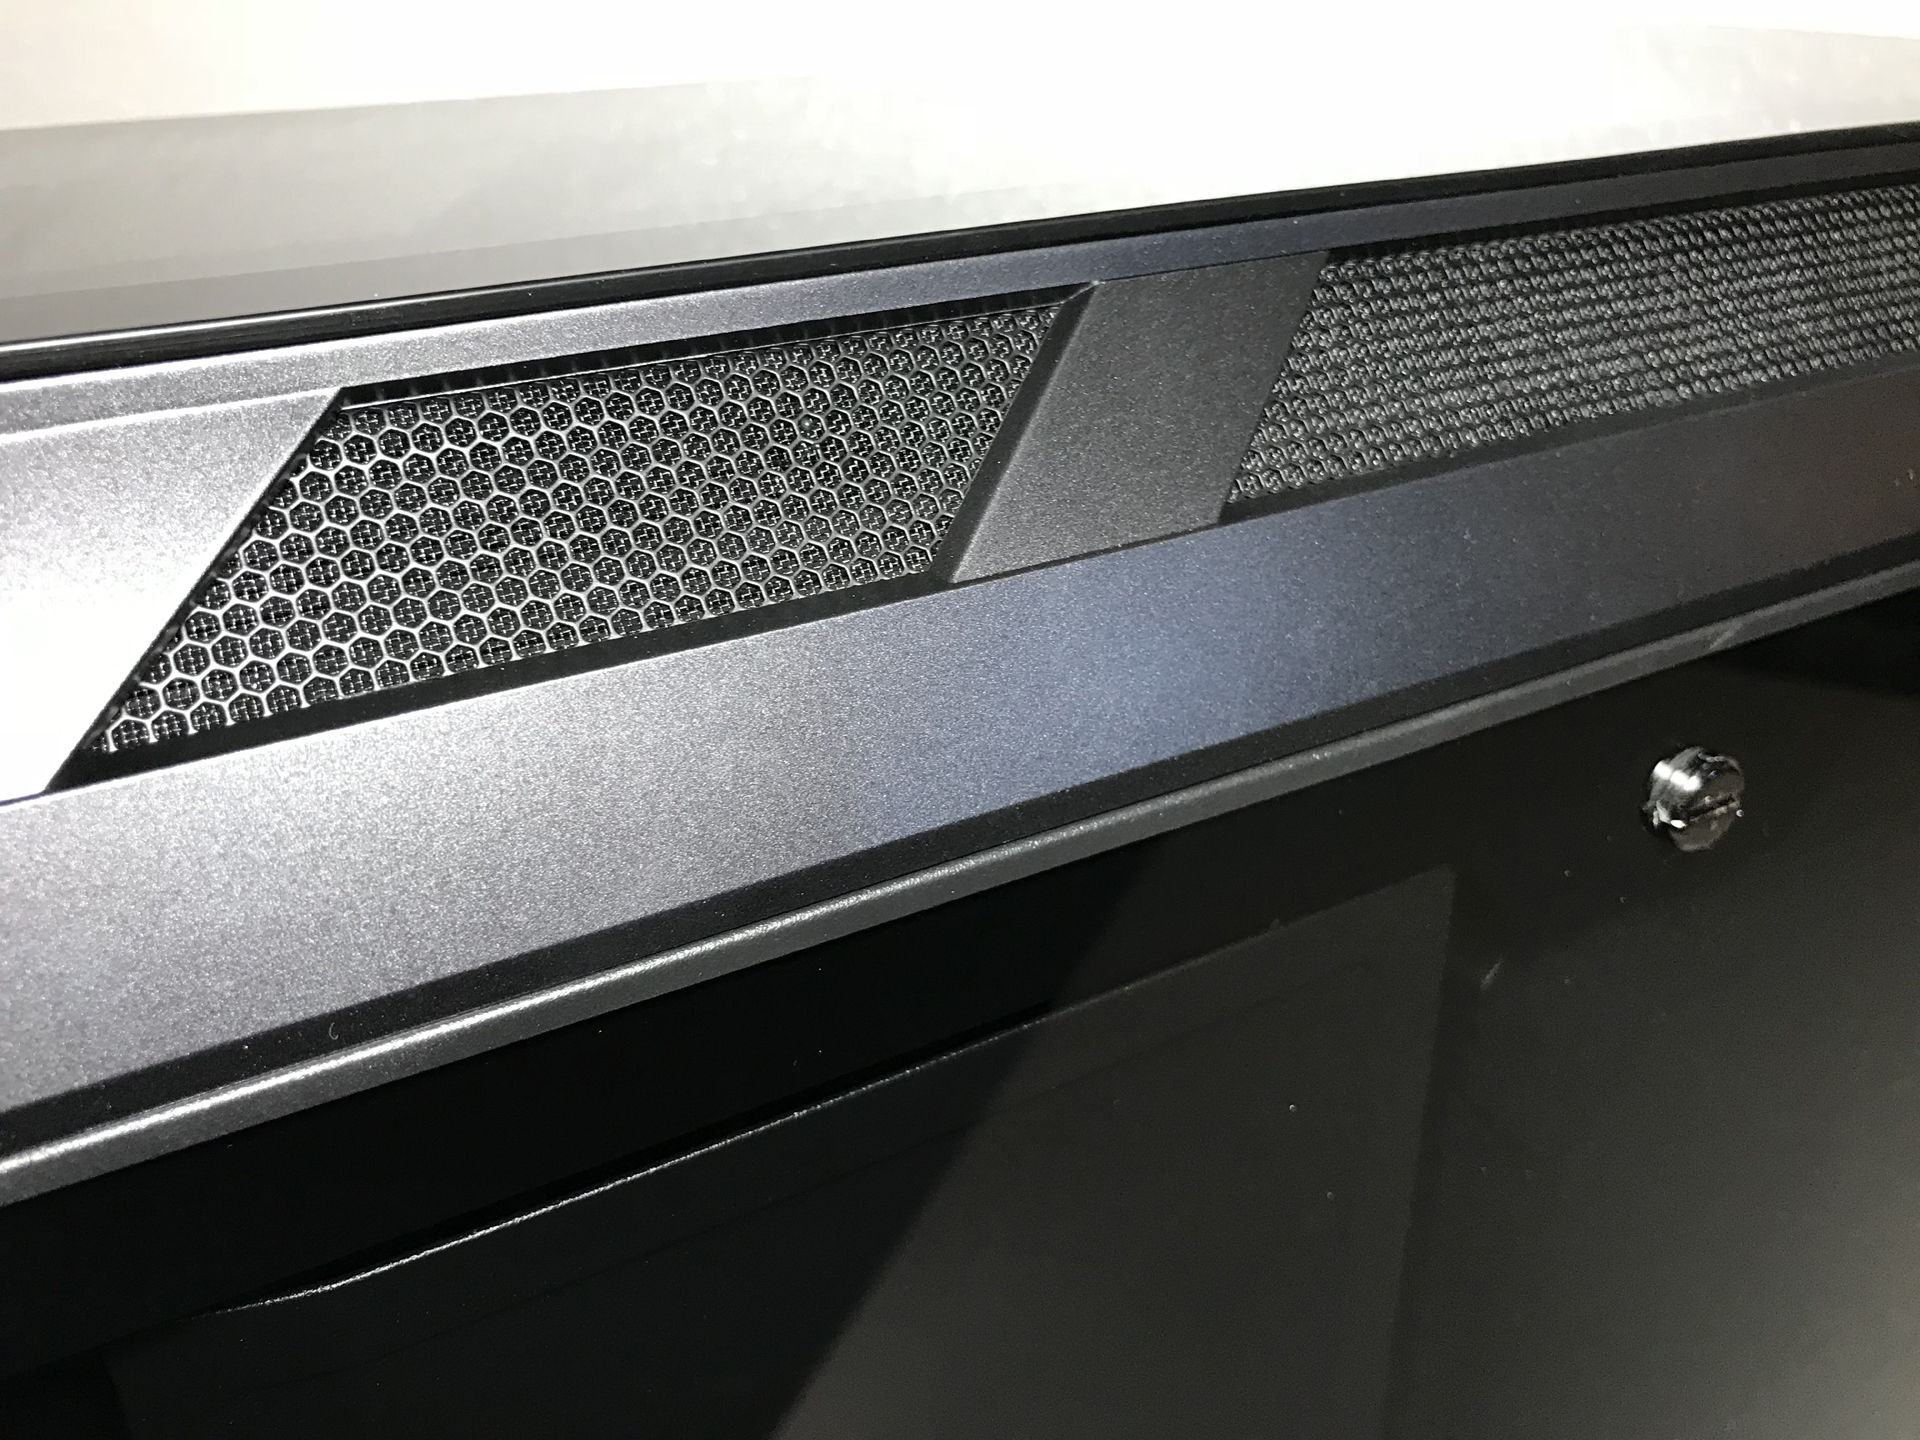
The revamped structured bar design features large ventilation holes running along both sides of the front and top panels with dual-layer black metal mesh (a coarse perforated metal, backed by fine metal screening material) embedded in the frame. These air-intake vents provide a path for fresh air to be drawn into the chassis.
The area between the top panel and the front panel is slanted at a 45° angle. This area is home to four USB 3.0 and one USB 3.1 Type-C ports, headphone and microphone jacks, a hard drive activity LED and a reset and power button. The reset button can also be used to manually control RGB lighting functions. Note that if you plan on utilizing all four USB 3.0 ports, you will need a motherboard with dual 3.0 headers or a 20-pin splitter cable.
Get Tom's Hardware's best news and in-depth reviews, straight to your inbox.
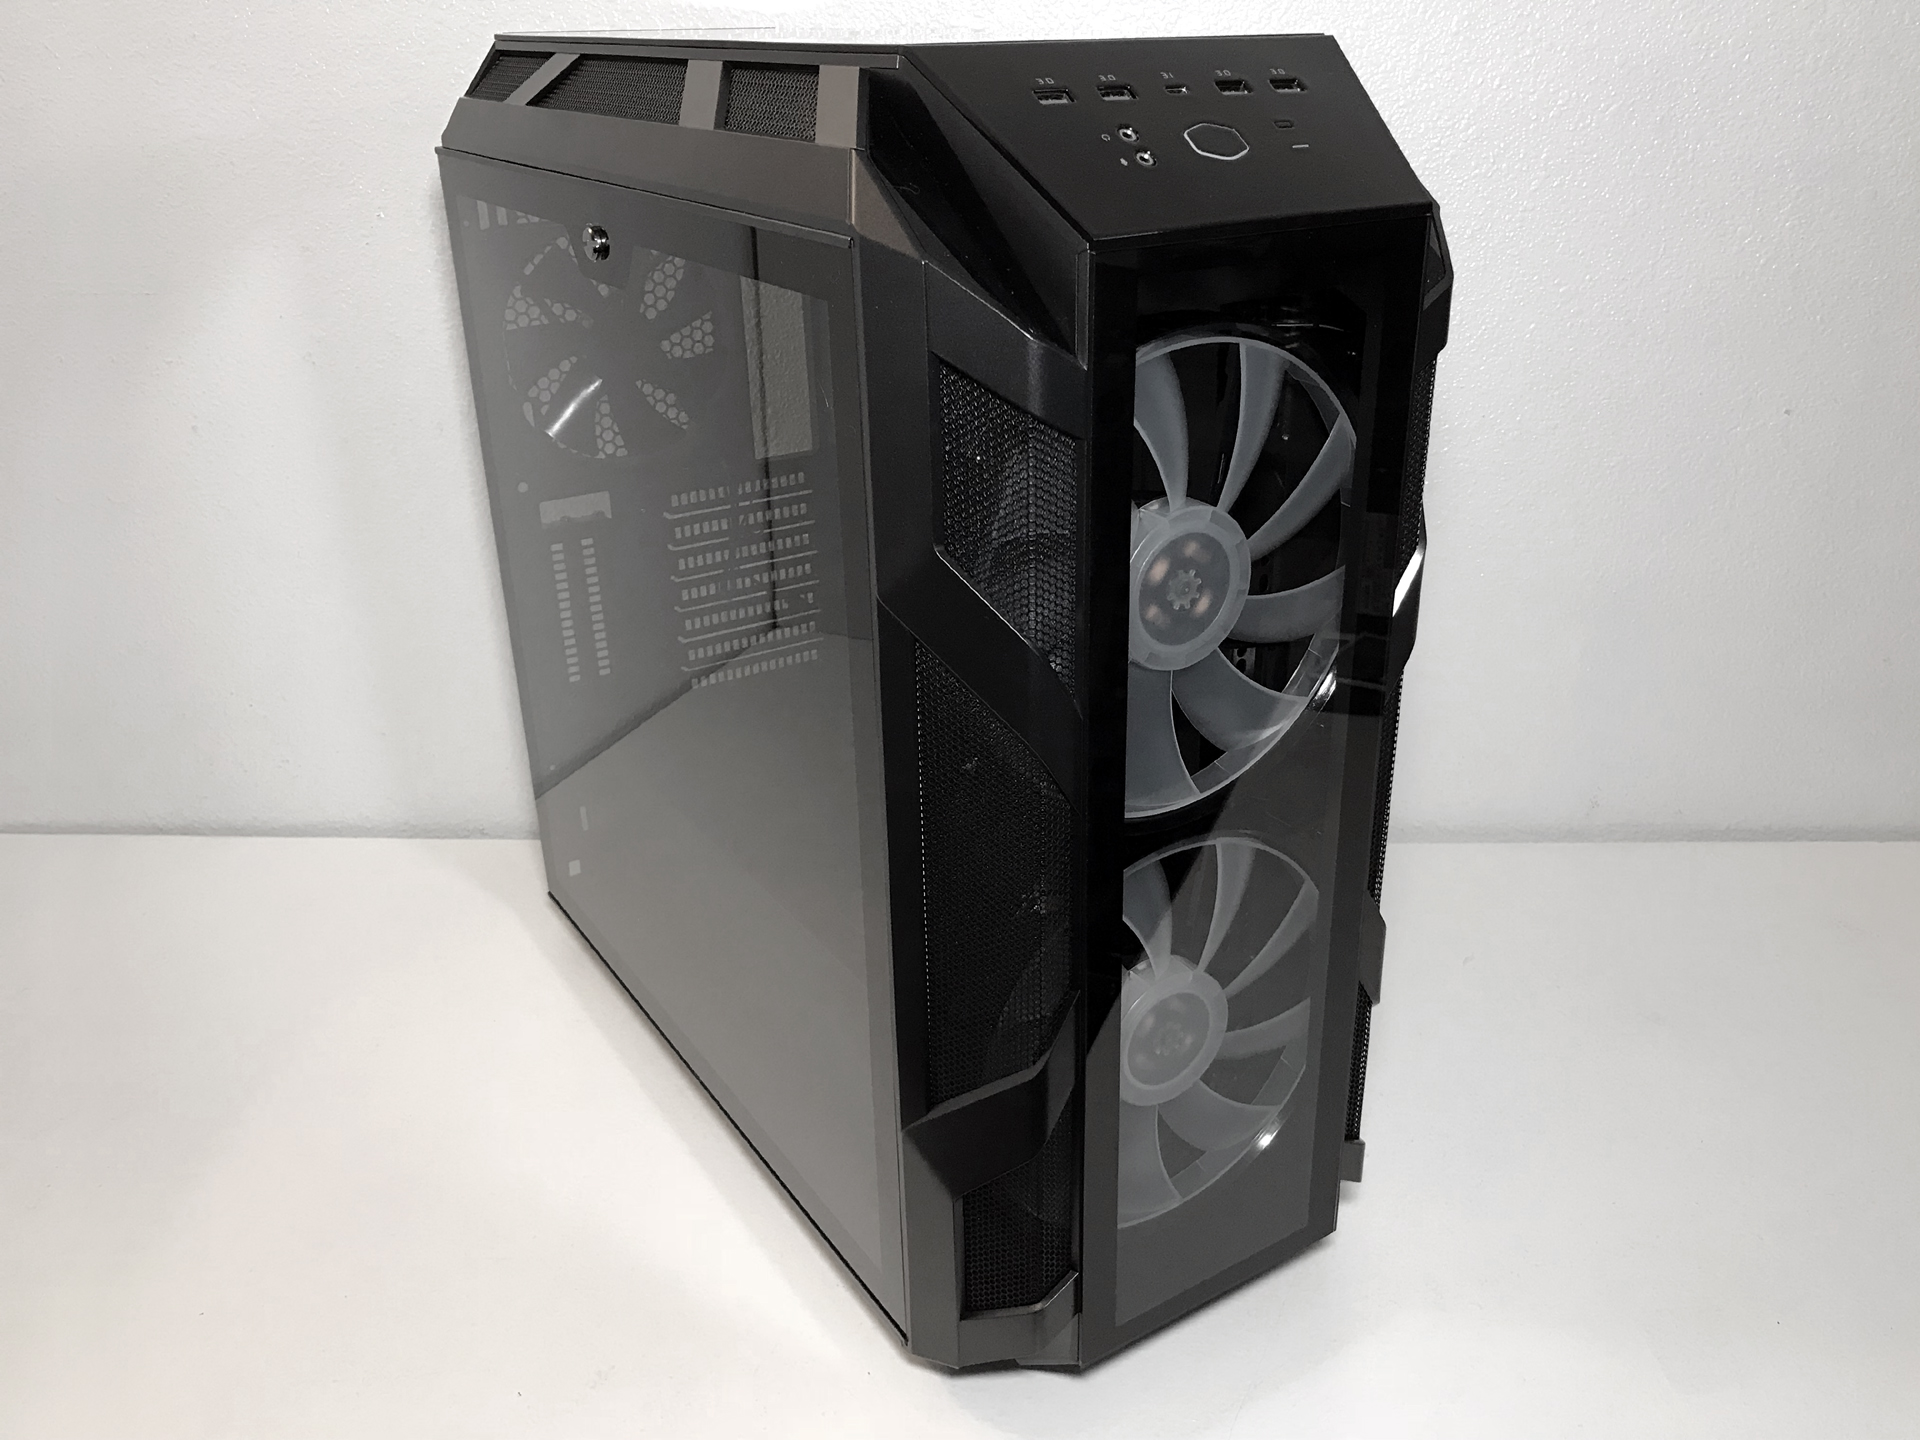
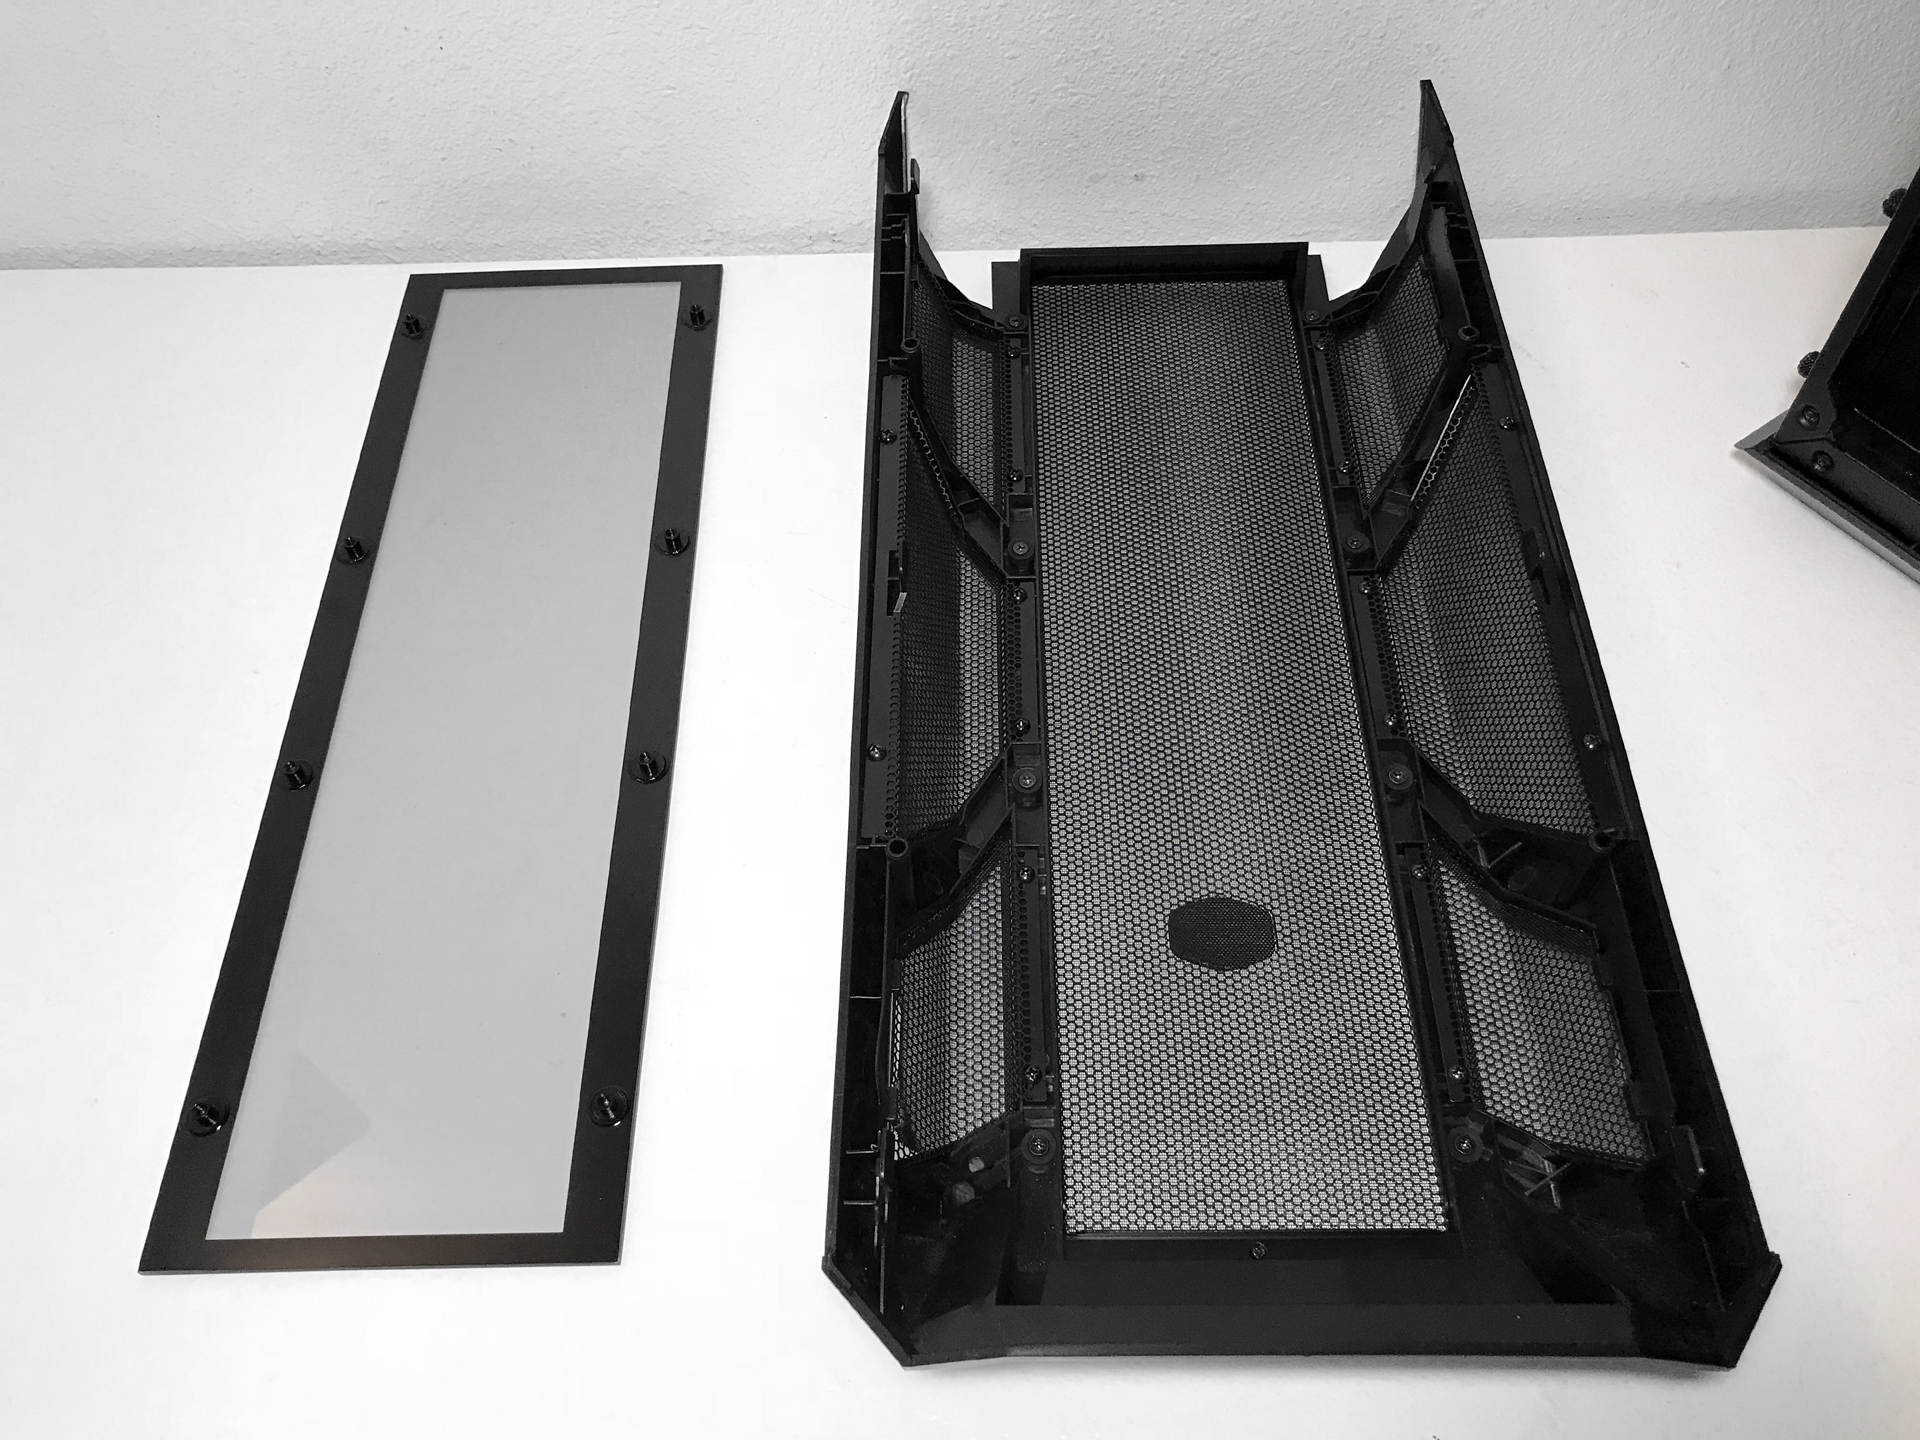
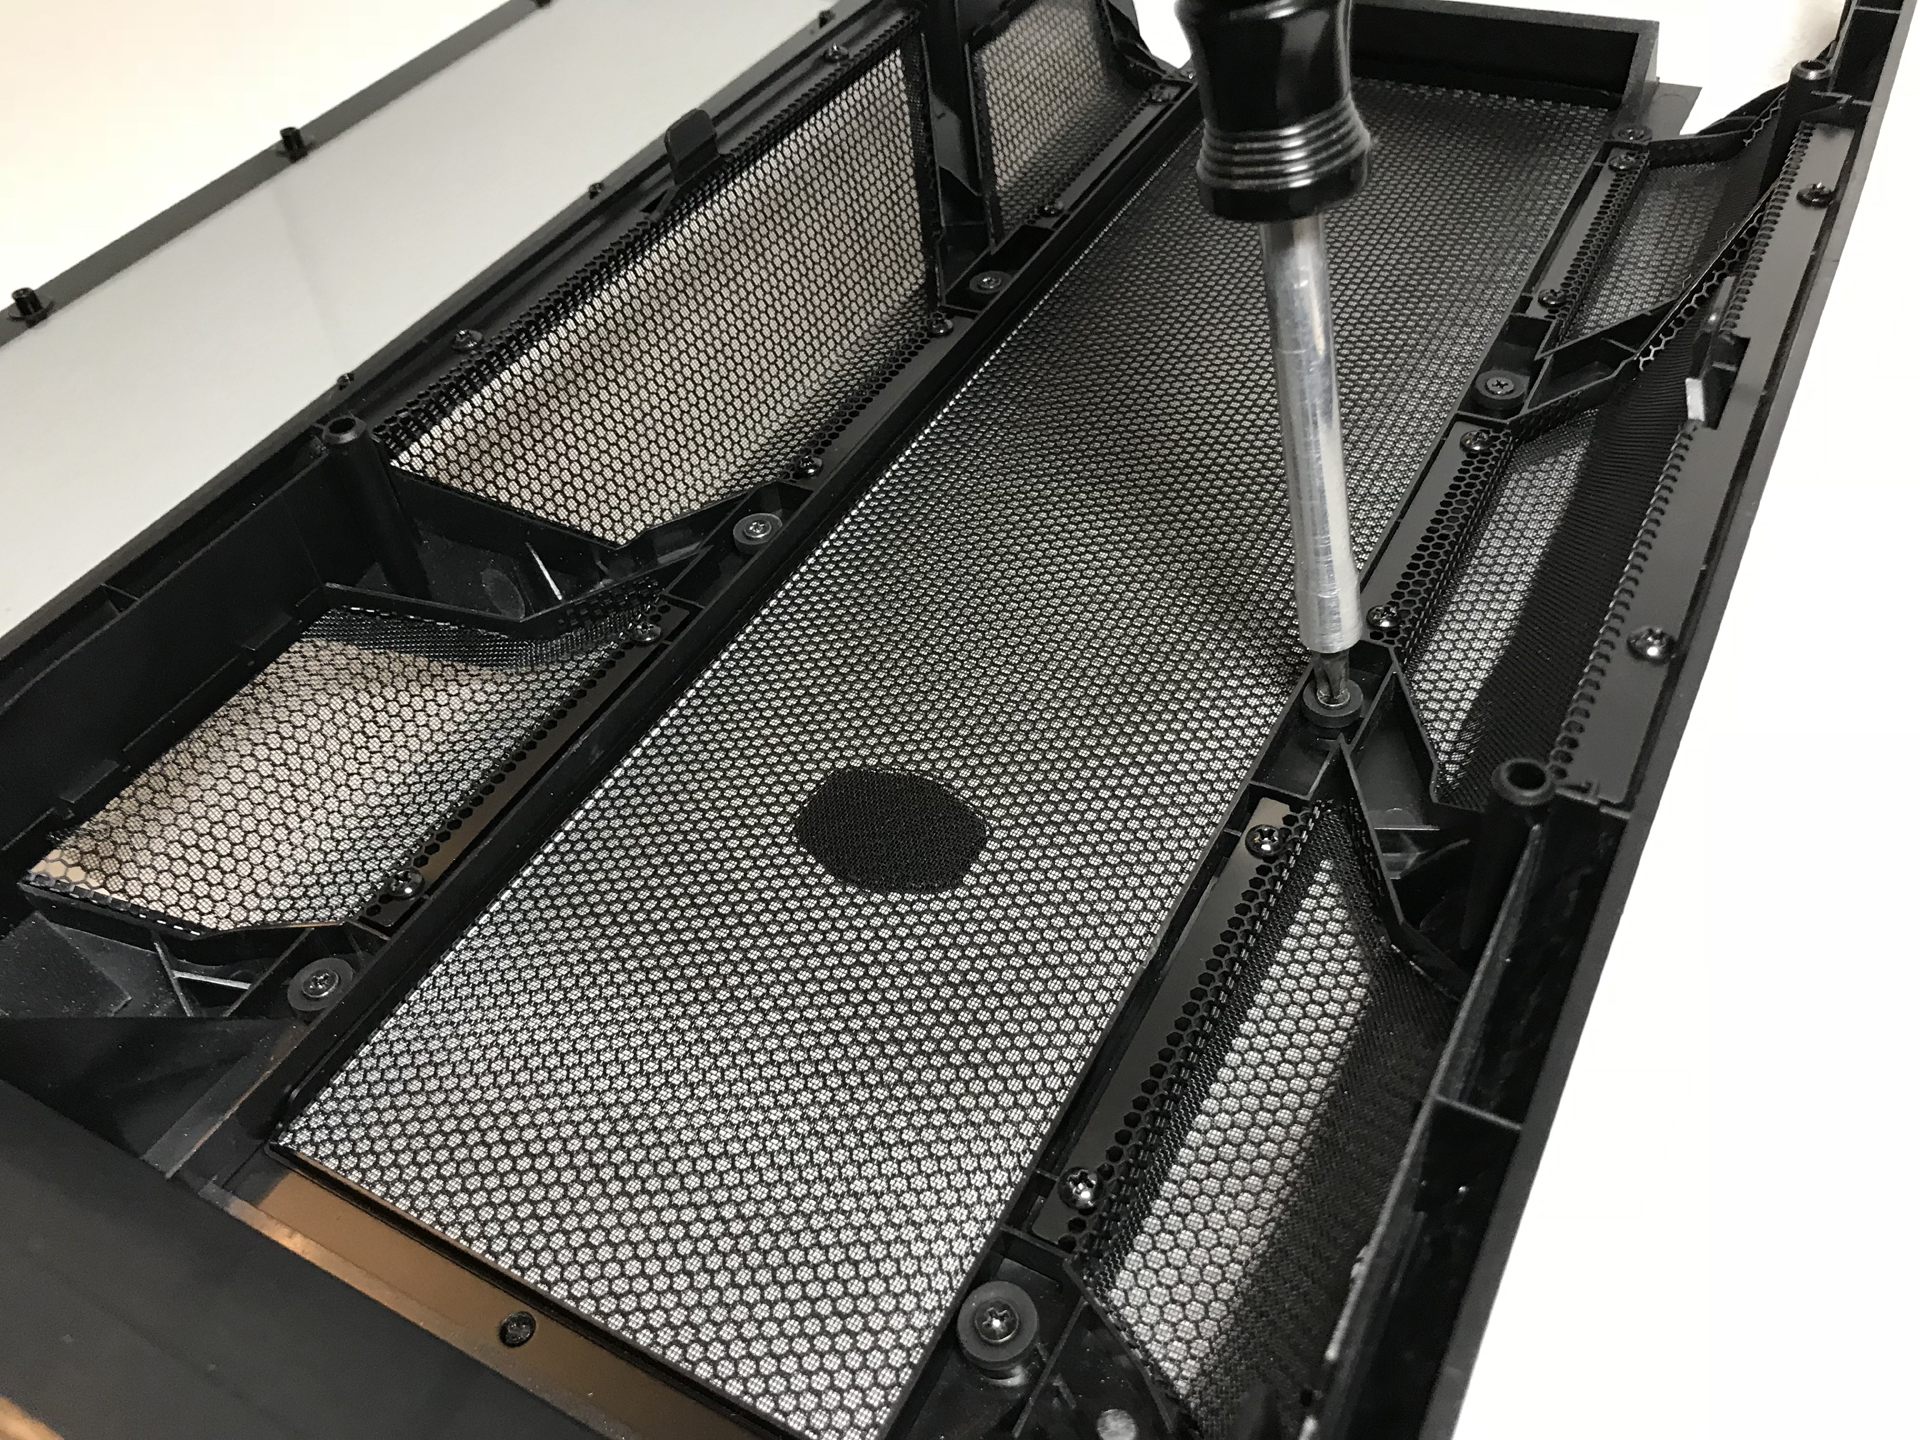
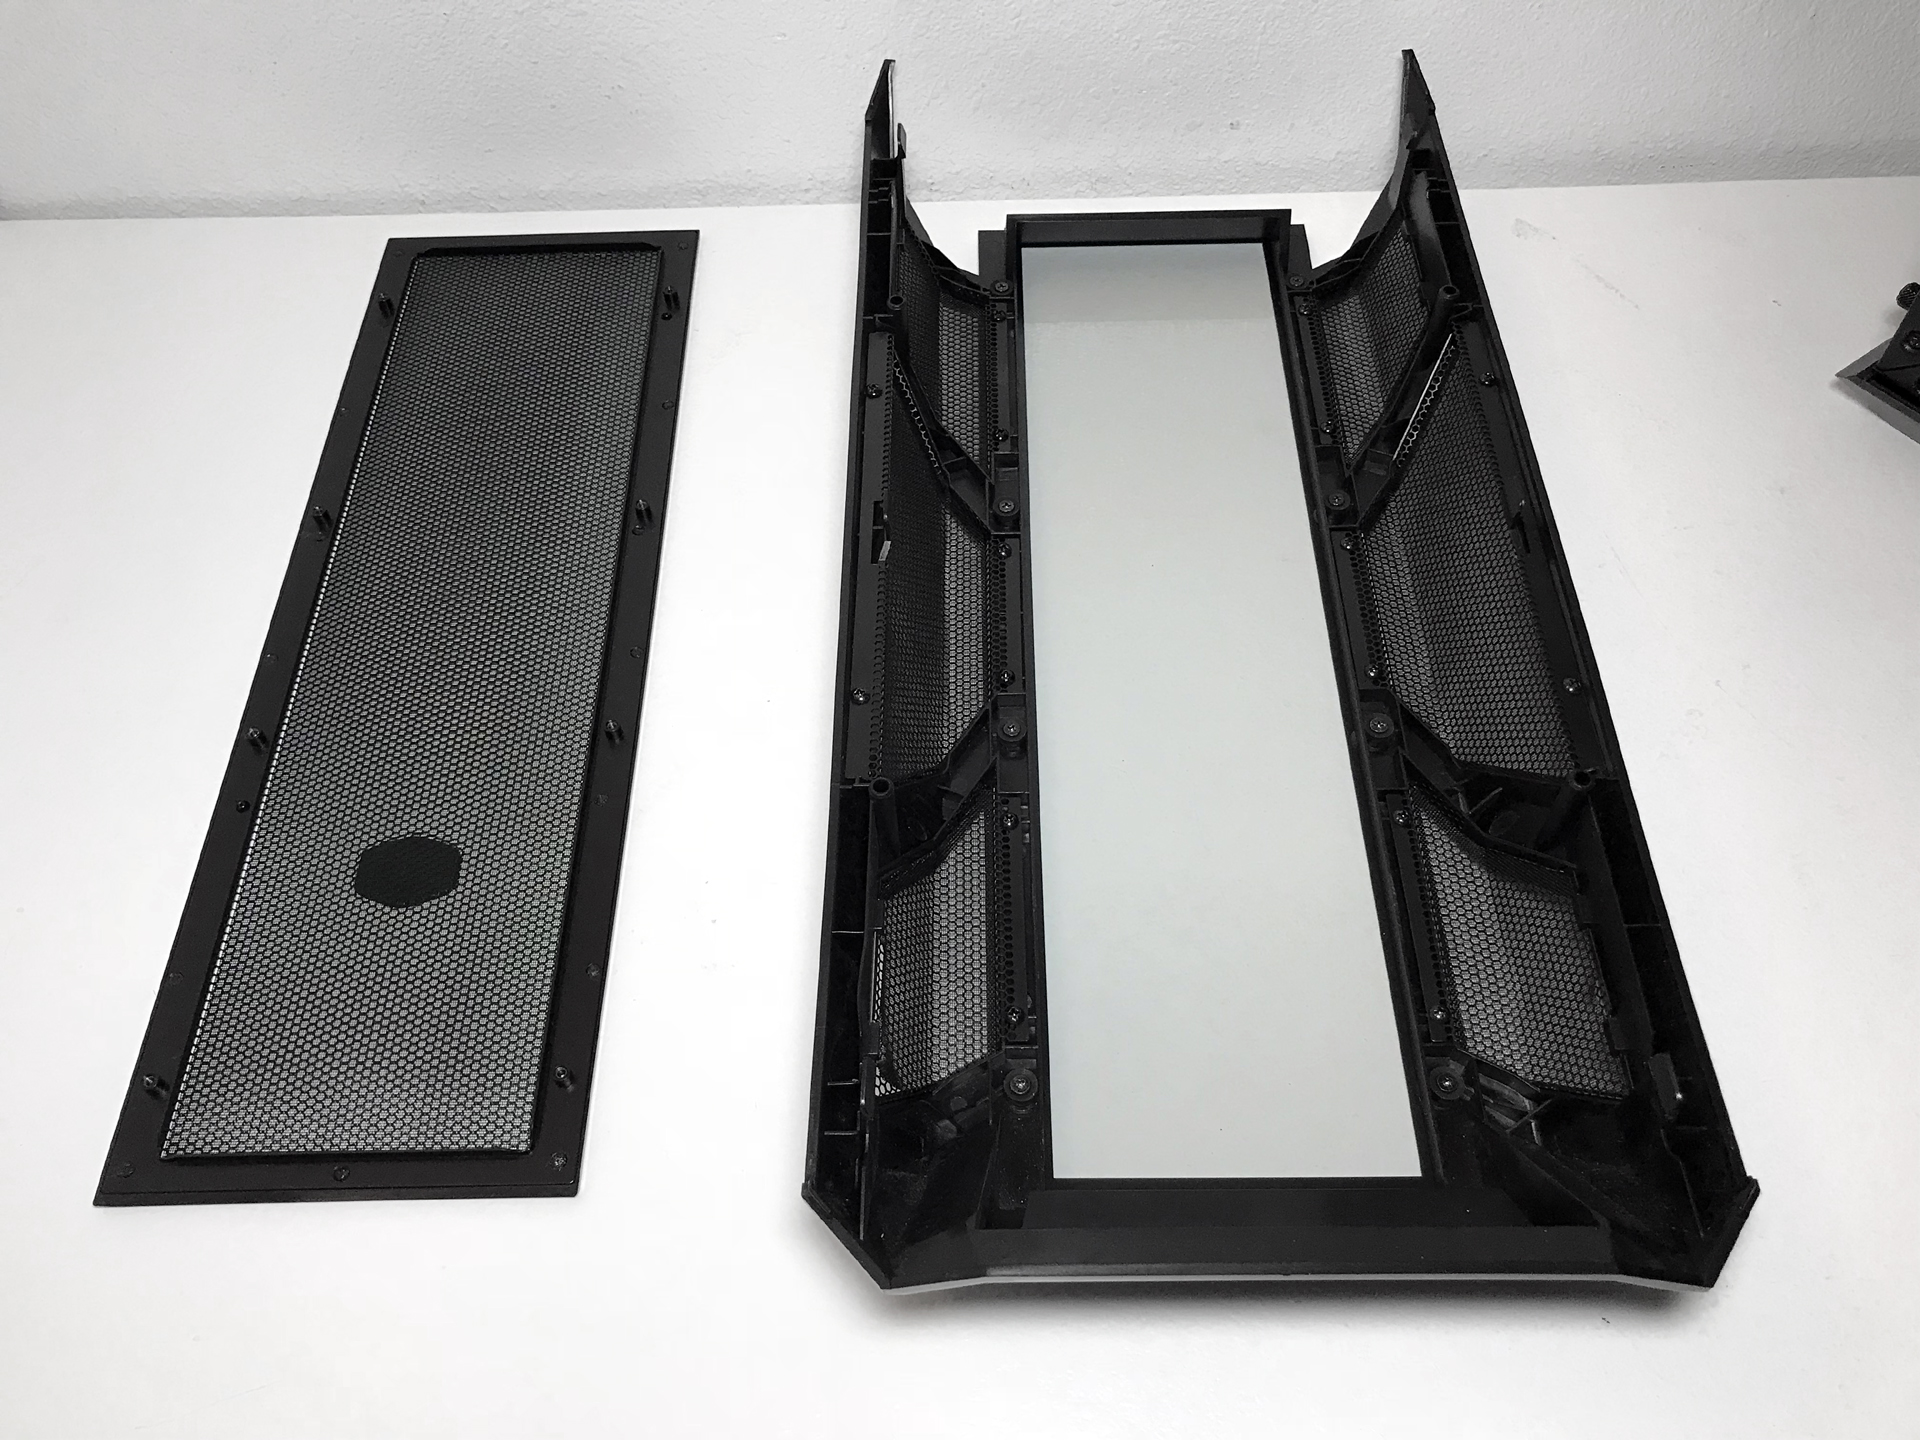
In its default configuration the front fascia ships with a center panel made of the same dual-layer black metal mesh material embedded in the front and top panels. Cooler Master includes an optional tempered glass front panel for this chassis as well. Changing the center insert requires the removal of eight Phillips head screws and is a rather straightforward process. We conducted separate thermal and audio tests with each panel installed (page three).
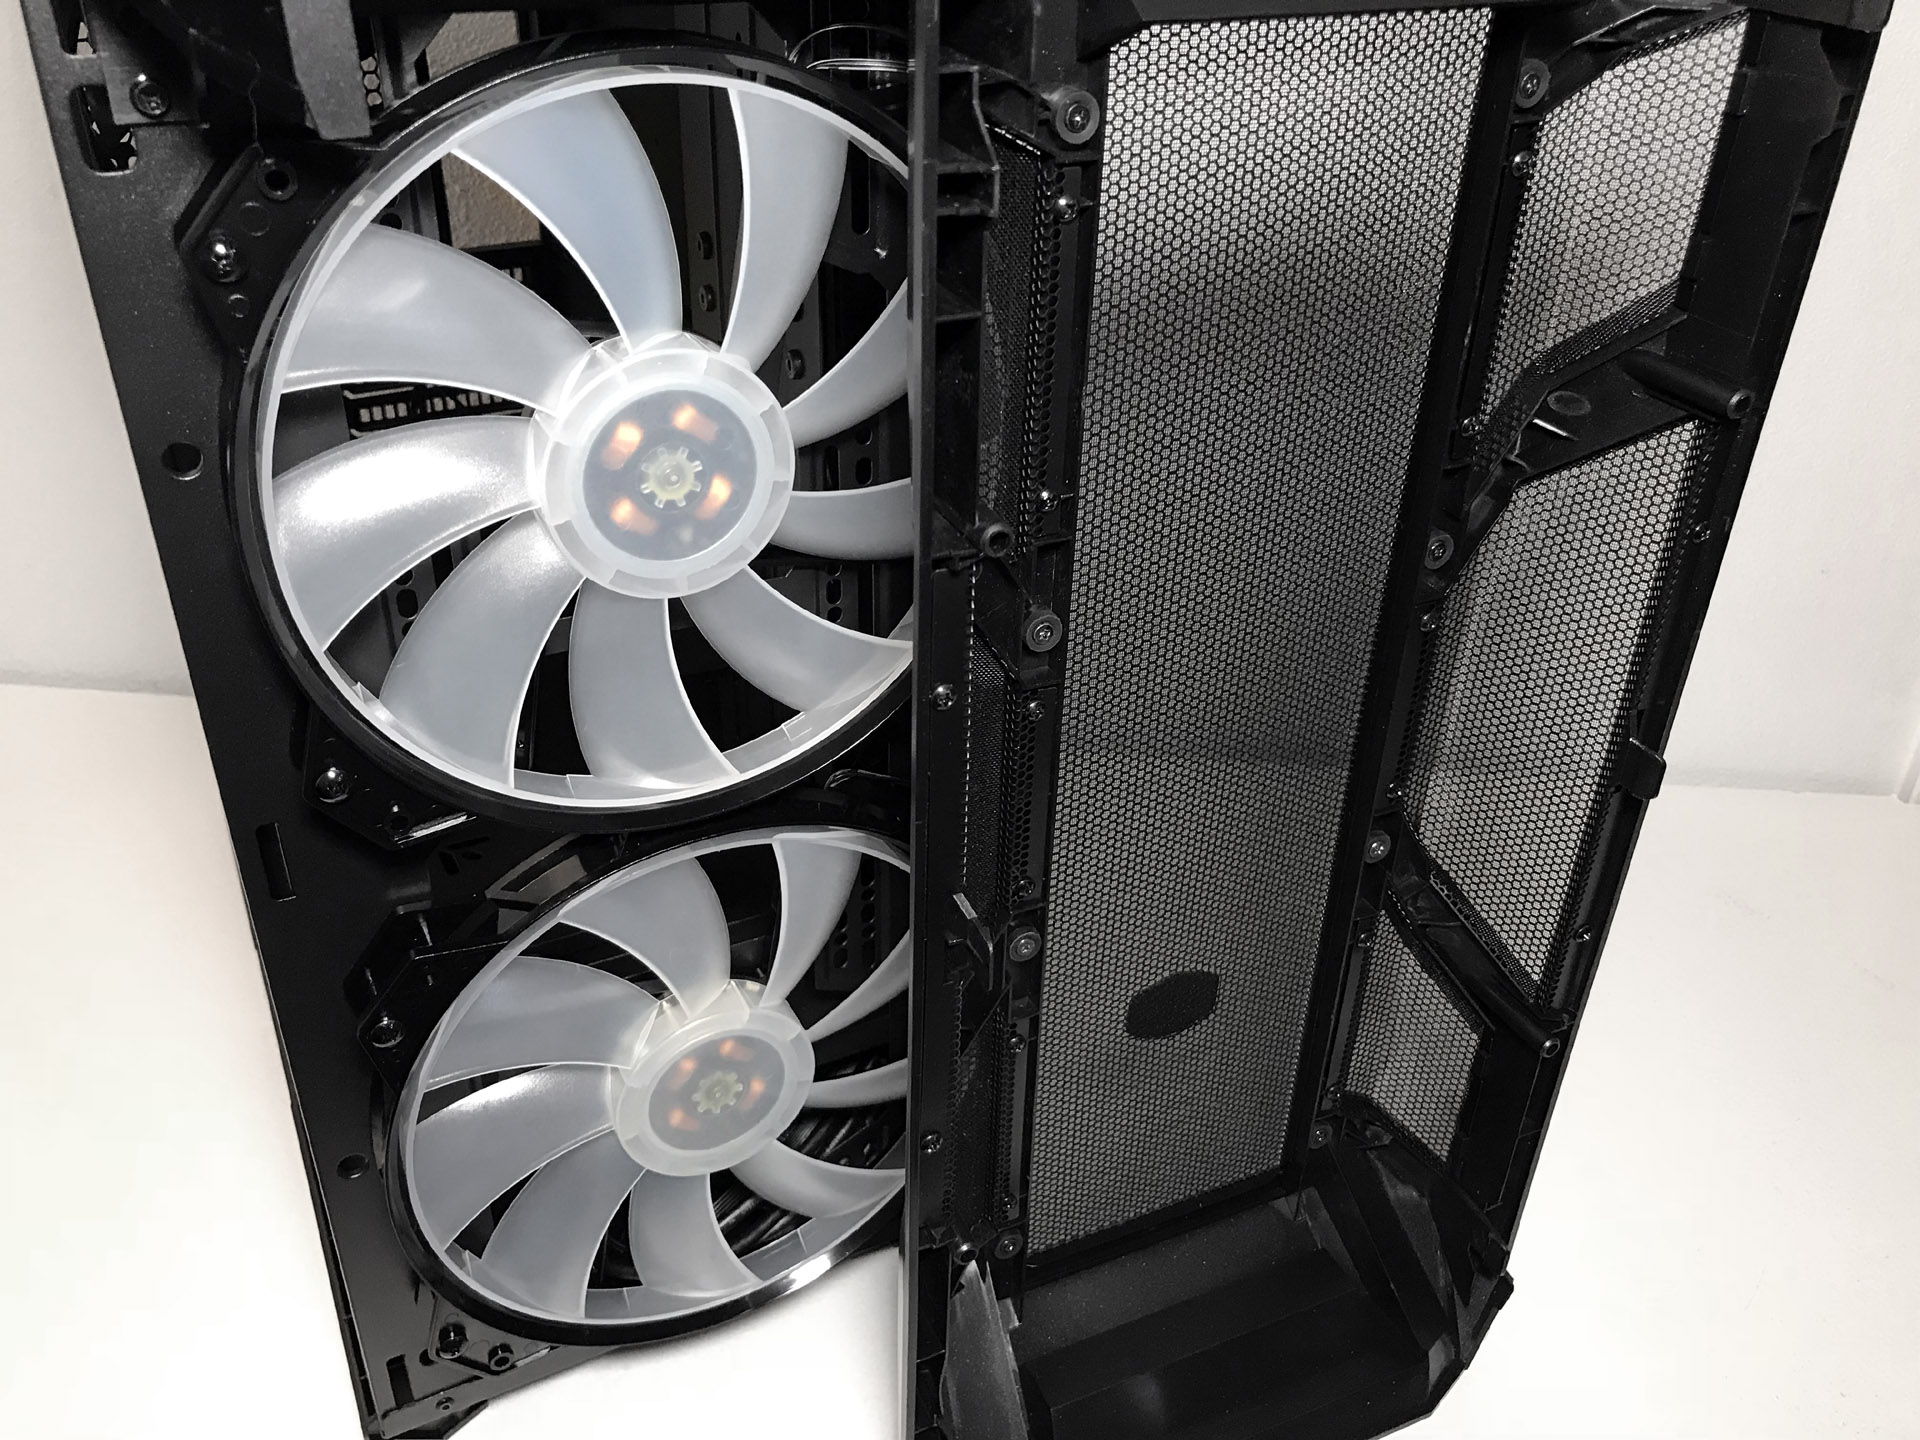
Behind the mesh front panel you'll find two large 200mm RGB-lit fans. The design of the front panel requires removal of both tempered glass side panels to gain access to six clips (three on each side) holding the front in place.
The full-coverage tinted tempered glass side panels are held in place by a slotted-head cam latch mechanism in the middle of the upper edge. Turning the latch clockwise releases the panel from the frame. A metal edge along the panel's base does a great job holding the panel in place, helping to prevent the glass against accidental drops.
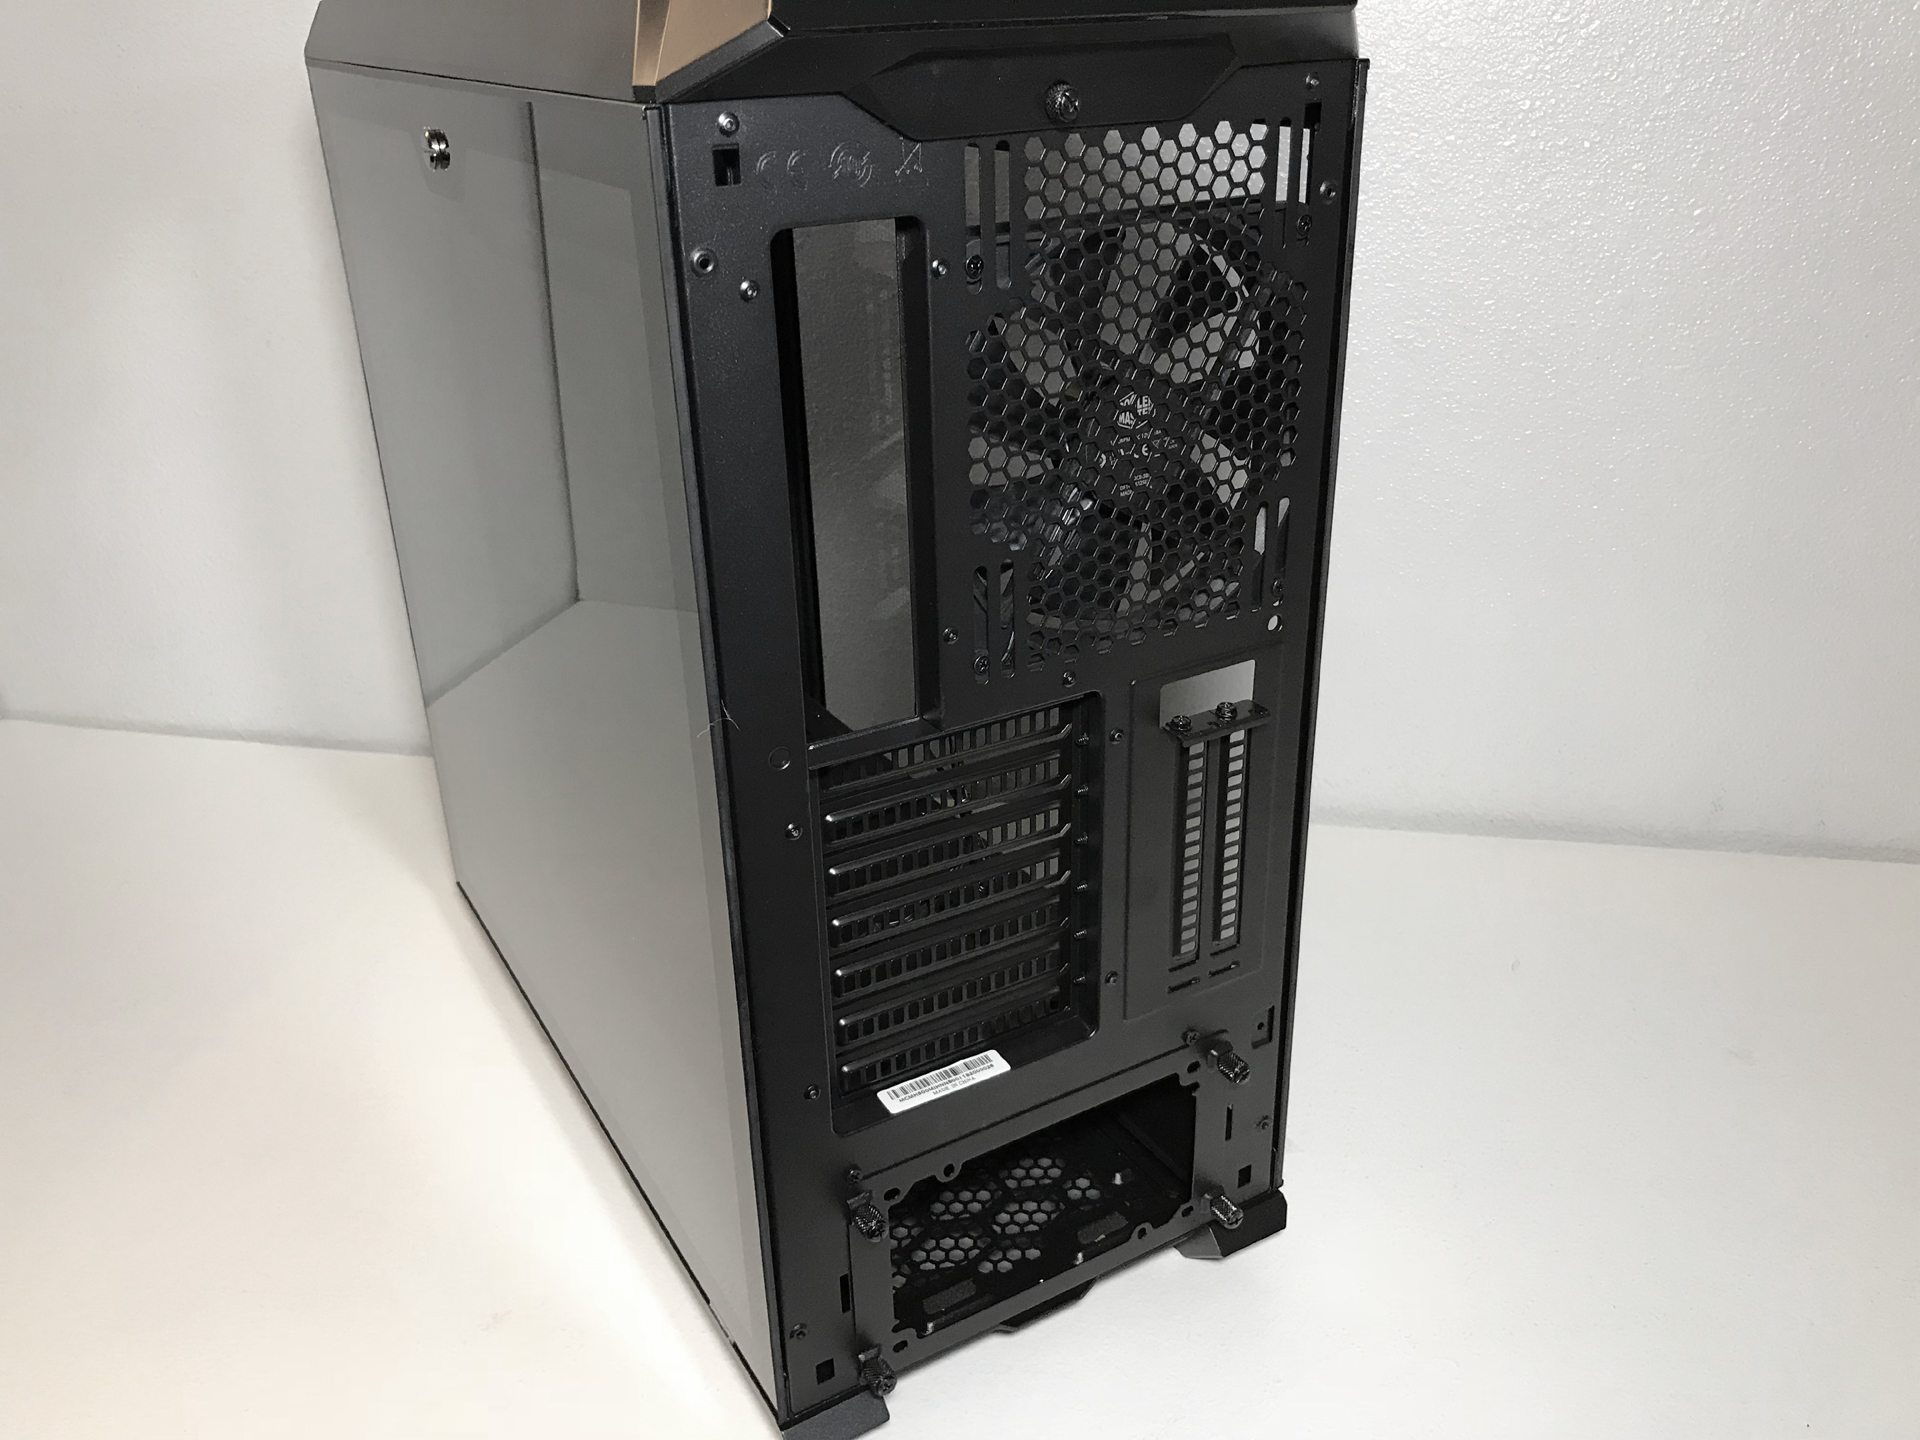
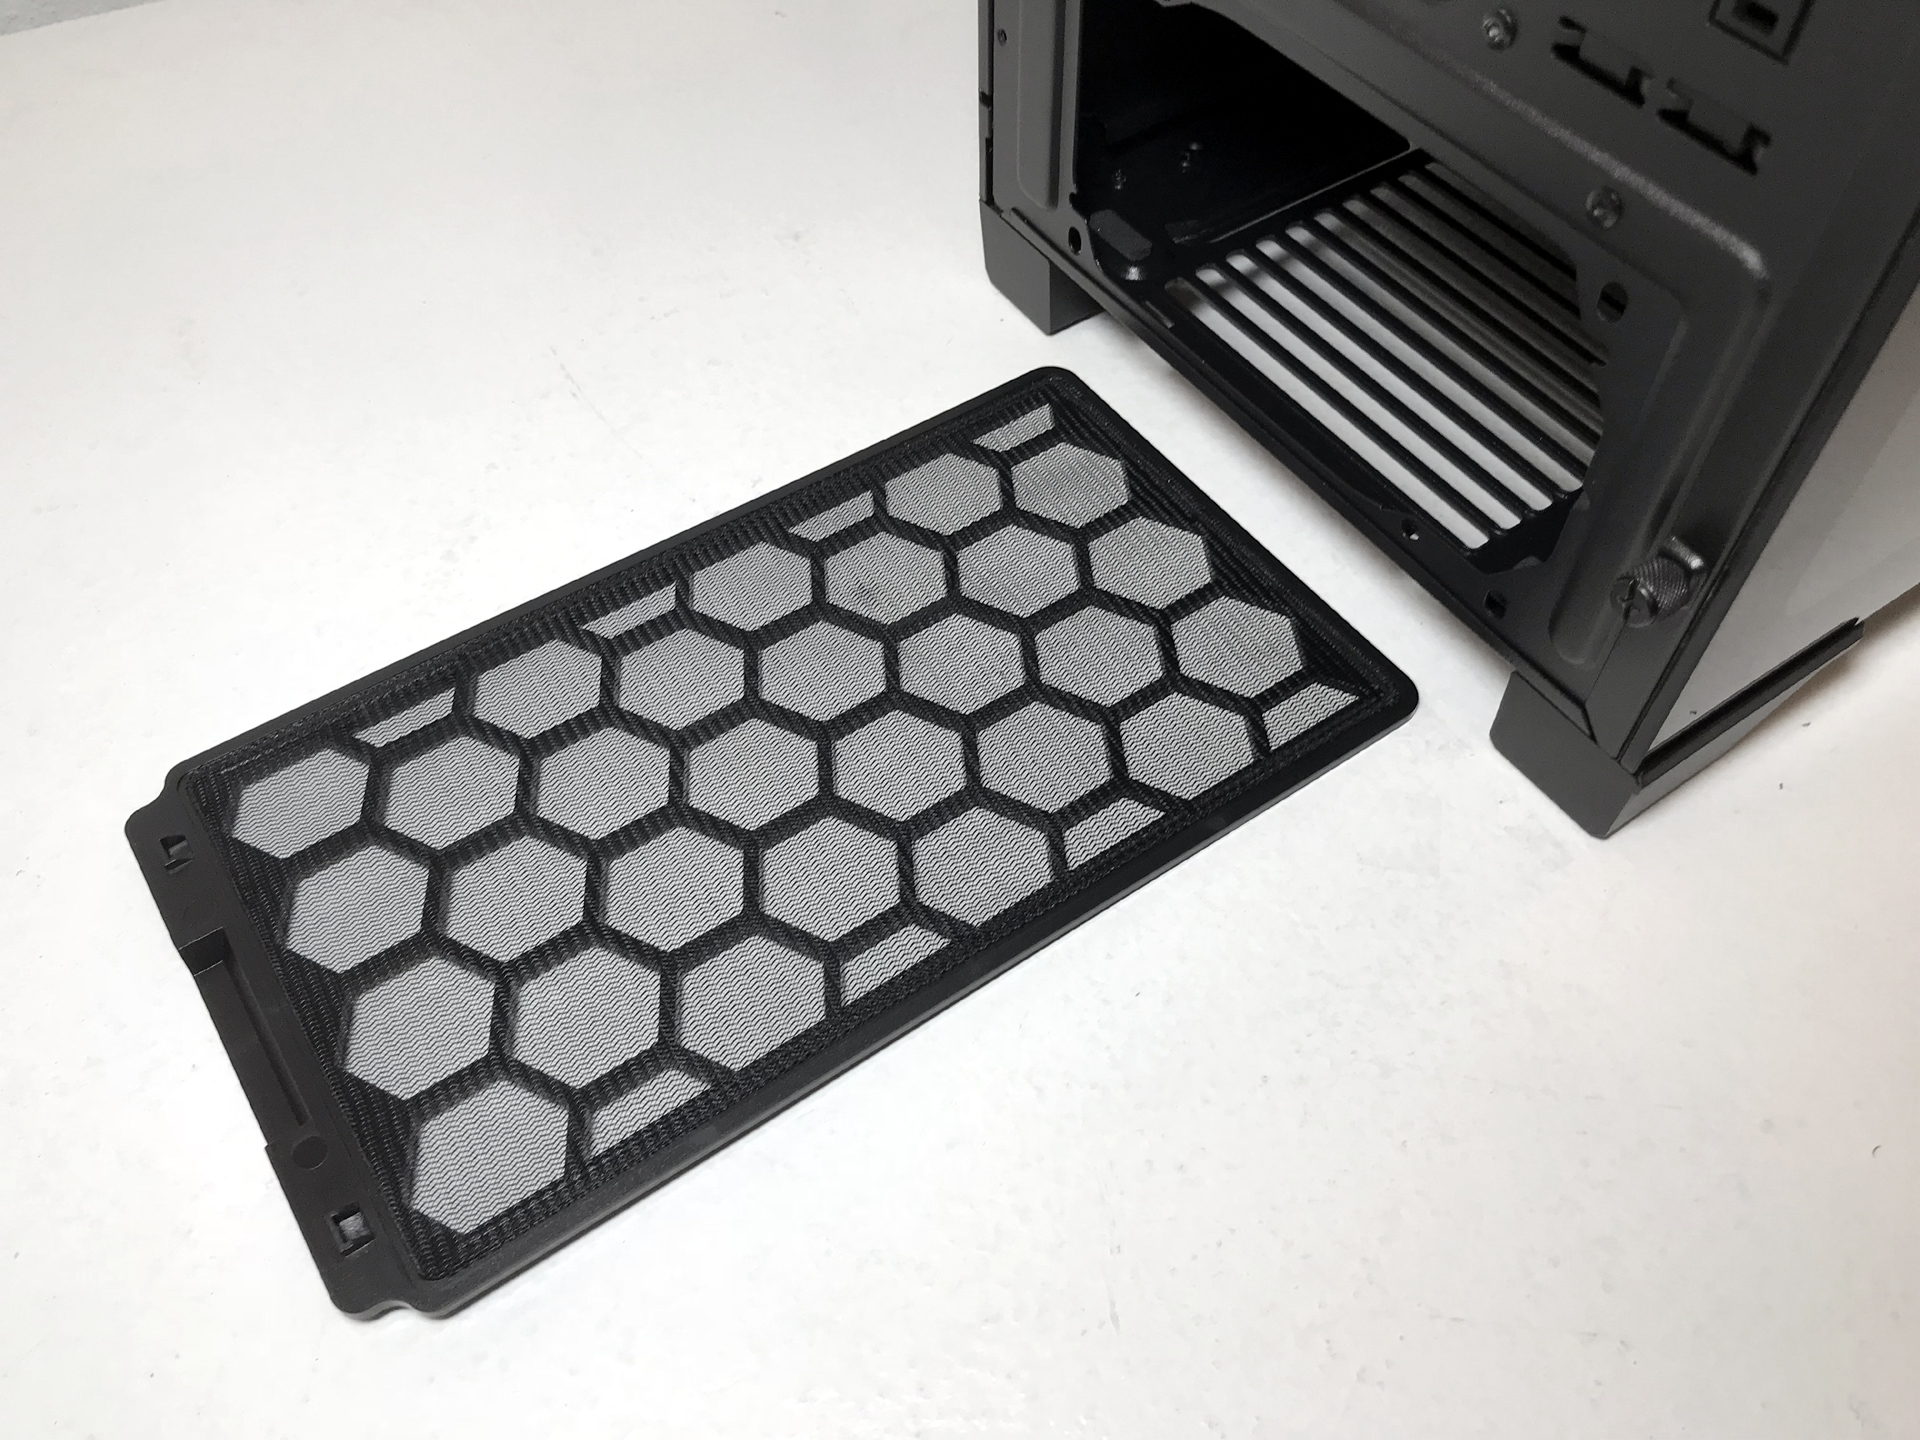
In the rear of the chassis, you'll find seven standard expansion-card slots (plus two vertical ones for video-card mounting), an opening for a bottom-mounted PSU and an exhaust-fan mounting location that supports both 120mm and 140mm fans. The exhaust-fan mounting location is equipped with slotted screw holes that allow you adjust the position of the fan to fine-tune airflow or make room for system components. There is a large plastic mesh filter covering the power-supply fan opening that is removable from the rear. The four large rectangle, rubber-coated feet keep the case just over .5 inches off the ground.
The fan-filtration system on the H500M is basic, but effective. The dual-layer black mesh we mentioned earlier filter the fan-mounting locations in the front and top of the chassis. Cleaning and maintenance is best done with the entire panel removed. A large, removable nylon filter covers the opening for the power-supply fan; you remove this filter from the case's rear. This, of course, requires moving your entire system to gain access.
MORE:Best Cases
MORE:All Case Content
Steven Lynch is a contributor for Tom’s Hardware, primarily covering case reviews and news.
-
mlee 2500 This grabbed my attention because it's good to see LARGE fans supplanting the trend of many smaller fans. Large fans can move more air at a lower rotational speed, which means they are MUCH quieter, and the sound they *do* make tends to be lower frequency and therefore less audible or annoying.Reply
One of the quietest workstations chassis I ever used was an old Sun Microsystems U20 case with a single 192mm exhaust fan in back. That 192mm fan drew it's air from a front panel which was so air permeable that it didn't even NEED or have front intake fans at all.
I've wondered ever since why this wasn't more common or standard.
-
thrakazog Naming every case they make "H500xxx" should make it really easy to choose the right case............ .................. ...............Reply -
Phaaze88 Really nice case, but I'd like to see a full tower version that can fit 2 200mm fans in front. Then I'd finally replace my Phantom 820...Reply -
pawinda In your pictures, you show a Corsair liquid cooler but your test config doesn't list it. Did you obtain the temperature readings with only the normal case air flow at stock configuration? I've avoided the 7900x because of your excellent paper on its thermal problems because of TIM vs STIM. But the readings in this review for thermal performance of the case with the 7900x are causing me to reconsider this CPU which would greatly help to resolve my PCIe lane requirements. Any further info on test config greatly appreciated.Reply -
razorwindmo46 Only half of a case review? Most reviews consist of the whole part, not just the outside.Reply -
Crashman Reply
You might need to look at page 2?21332771 said:Only half of a case review? Most reviews consist of the whole part, not just the outside.
-
stevenlynch @PAWINDA / BTMEDIC04 Testing for fitment issues / hardware compatibility, we test each chassis with a number of different motherboards, coolers, PSUs, GPUs. If a company includes a feature like a GPU bracket, we use a card long enough to test it. When companies claims E-ATX support we check that as well etc. etc. and so on.Reply
When it comes to Thermal / Acoustic performance, we use the exact same set of hardware on every case to make sure our results are as consistant as possible.
Thanks for the questions, I hope that helps! -
pawinda I would really like to know if a liquid cooler was used during the thermal testing or are the pictures of it simply to illustrate installation options. Thanks.Reply
