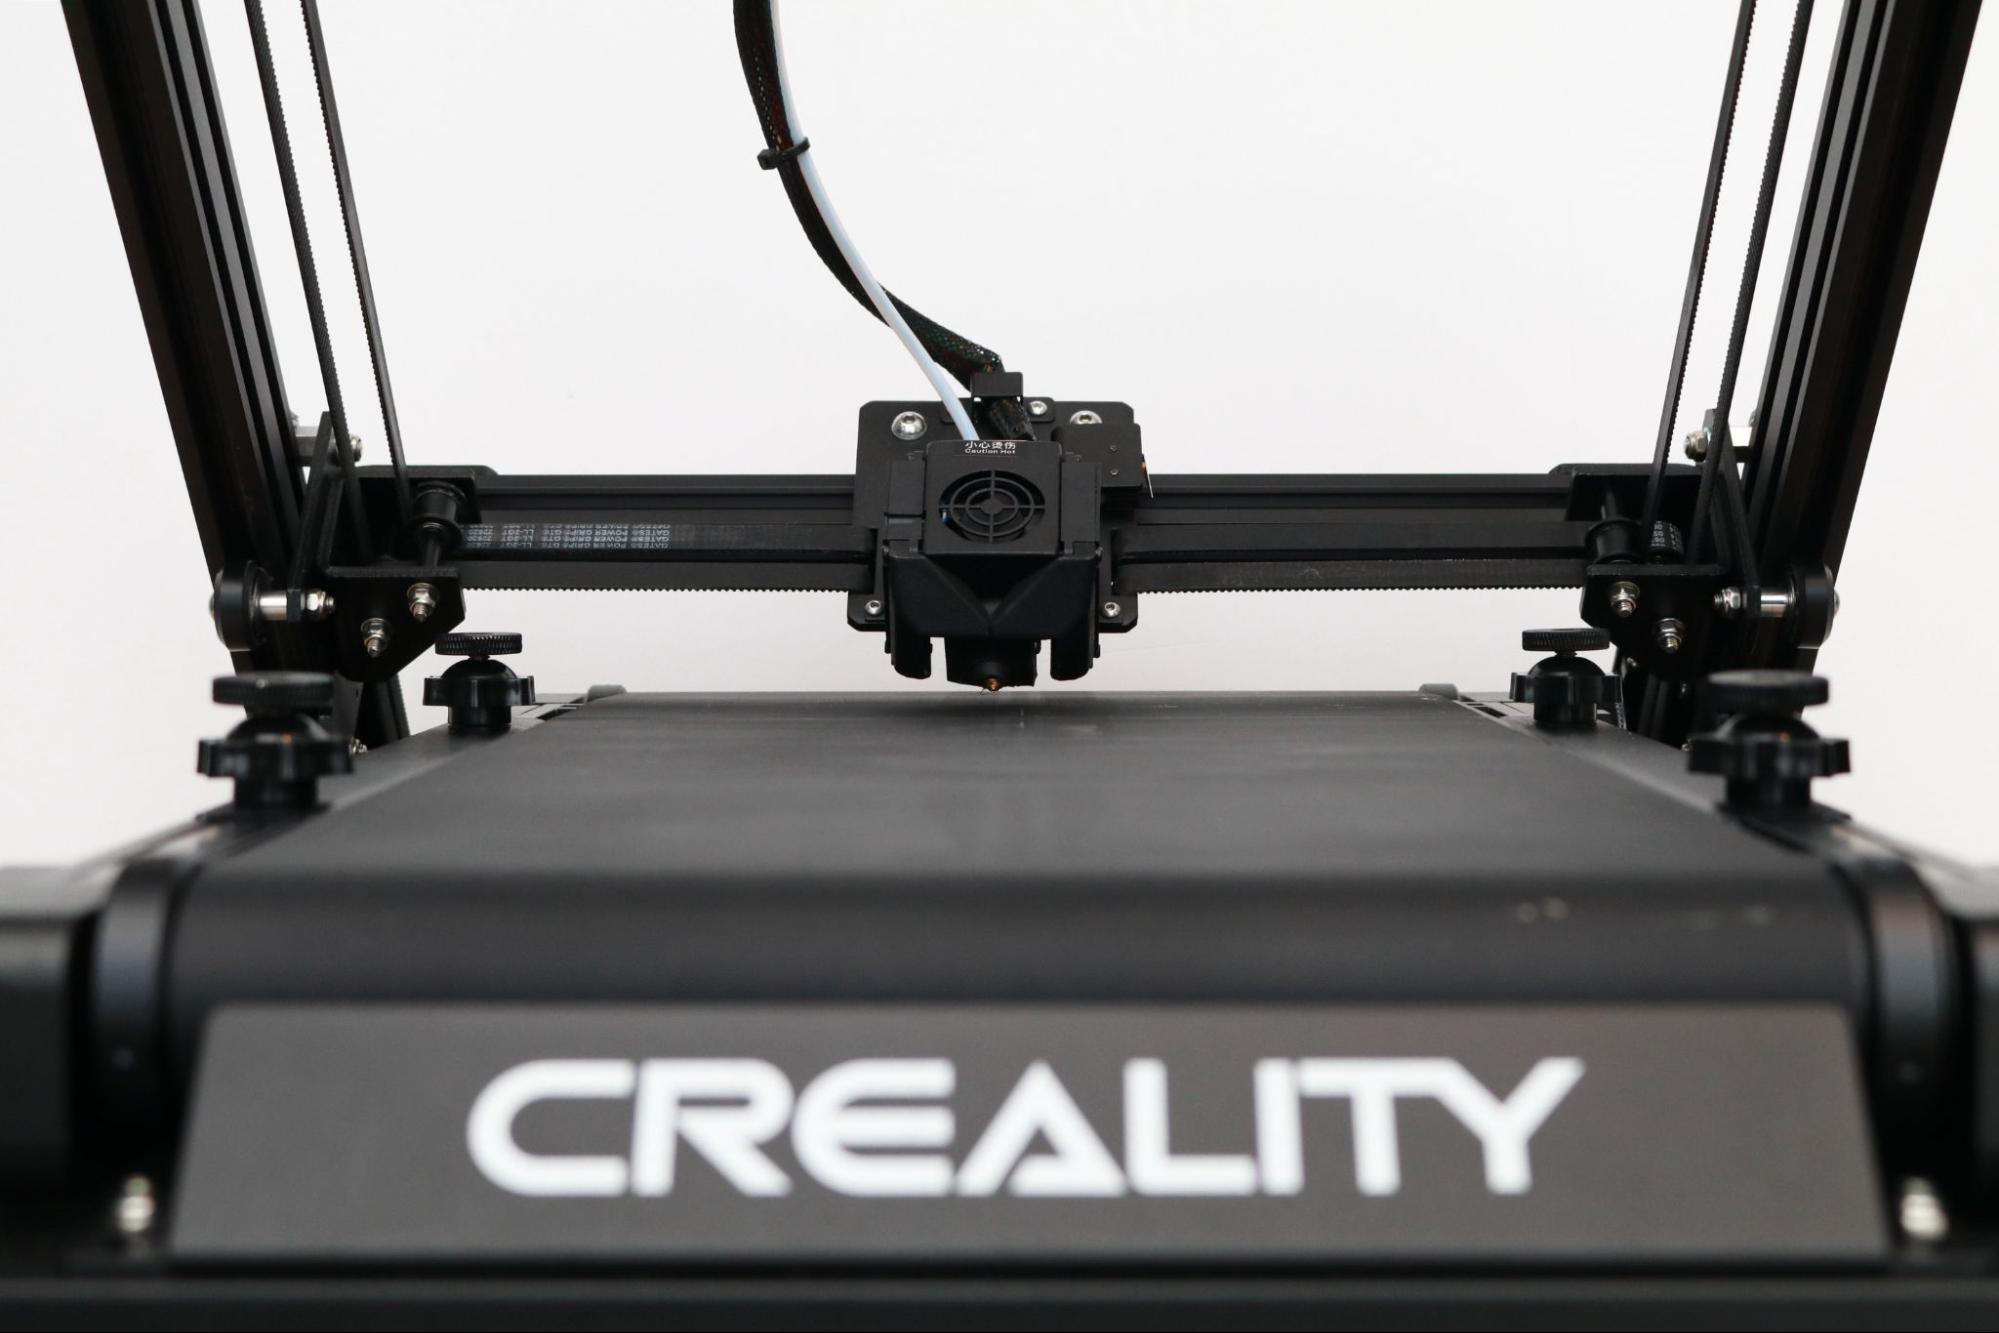
Tom's Hardware Verdict
The Creality CR-30 is a unique 3D printer that offers cutting-edge functionality, but a small install base and limited software support means this printer is best suited for the experienced professional.
Pros
- +
+ Conveyor belt offers easy serial production
- +
+ Angled print head reduces the need for support material on certain geometries
- +
+ Sturdy frame feels rigid enough for industrial use
Cons
- -
Monochrome LCD interface feels outdated
- -
Conveyor belt has a filament-repelling coating
- -
CrealityBelt software feels unfinished and lacks important features
Why you can trust Tom's Hardware
The $1,099 Creality CR-30 (also referred to as Naomi Wu’s 3DPrintMill) is a game-changing 3D printer that offers many unique features not typically found on consumer machines. Instead of printing on a build platform with a fixed area, the CR-30 prints on a conveyor belt that allows the machine to print parts in a serial fashion, ideal for production parts. This unique conveyor belt system also allows for a theoretically infinite print length, and Creality has demonstrated that the printer will keep printing as long as you keep it supplied with filament. However, as innovative as the CR-30 is, it has some issues that prevent it from joining our list of the best 3D printers, most of which involve the conveyor belt included with the machine.
If you’re interested in a 3D printer that is designed to print parts for production, or need speciality geometries that require extra-long length on a particular axis, and don’t mind making mechanical adjustments or calibrations, the CR-30 is a printer you’re going to want to explore. However, if you’re more interested in an easy-to-use FDM platform that doesn’t require any tweaking or adjusting, an easy-to-use printer like the Anycubic Vyper may be a better fit.
Creality CR-30 Specifications
| Machine Footprint | 21.1" x 25.8" x 16.1" (53.5cm x 65.6cm x 41.0cm) |
| Build Volume | 7.87" x 6.69" x ∞" (200mm x 170mm x ∞mm) |
| Material | PLA, PLA+, PETG |
| Layer Height | .1mm - .4mm |
| Build Platform | Textured Conveyor Belt |
| Printer Weight | 16.5 kg (36.4 lbs.) |
| Power Supply | 350W |
Background of Creality CR-30
The Creality CR-30 is a unique 3D printer that made waves when it first launched as a Kickstarter project in November, 2020. The angled nozzle and rotating conveyor belt captured the imagination of many people (including myself) and the campaign went on to raise just under $1.4 million USD before successfully ending. The design of the CR-30 was a collaboration between Creality and designers Naomi Wu, Karl Brown (of NAK3D), and Bill Steele (of Polar3D).
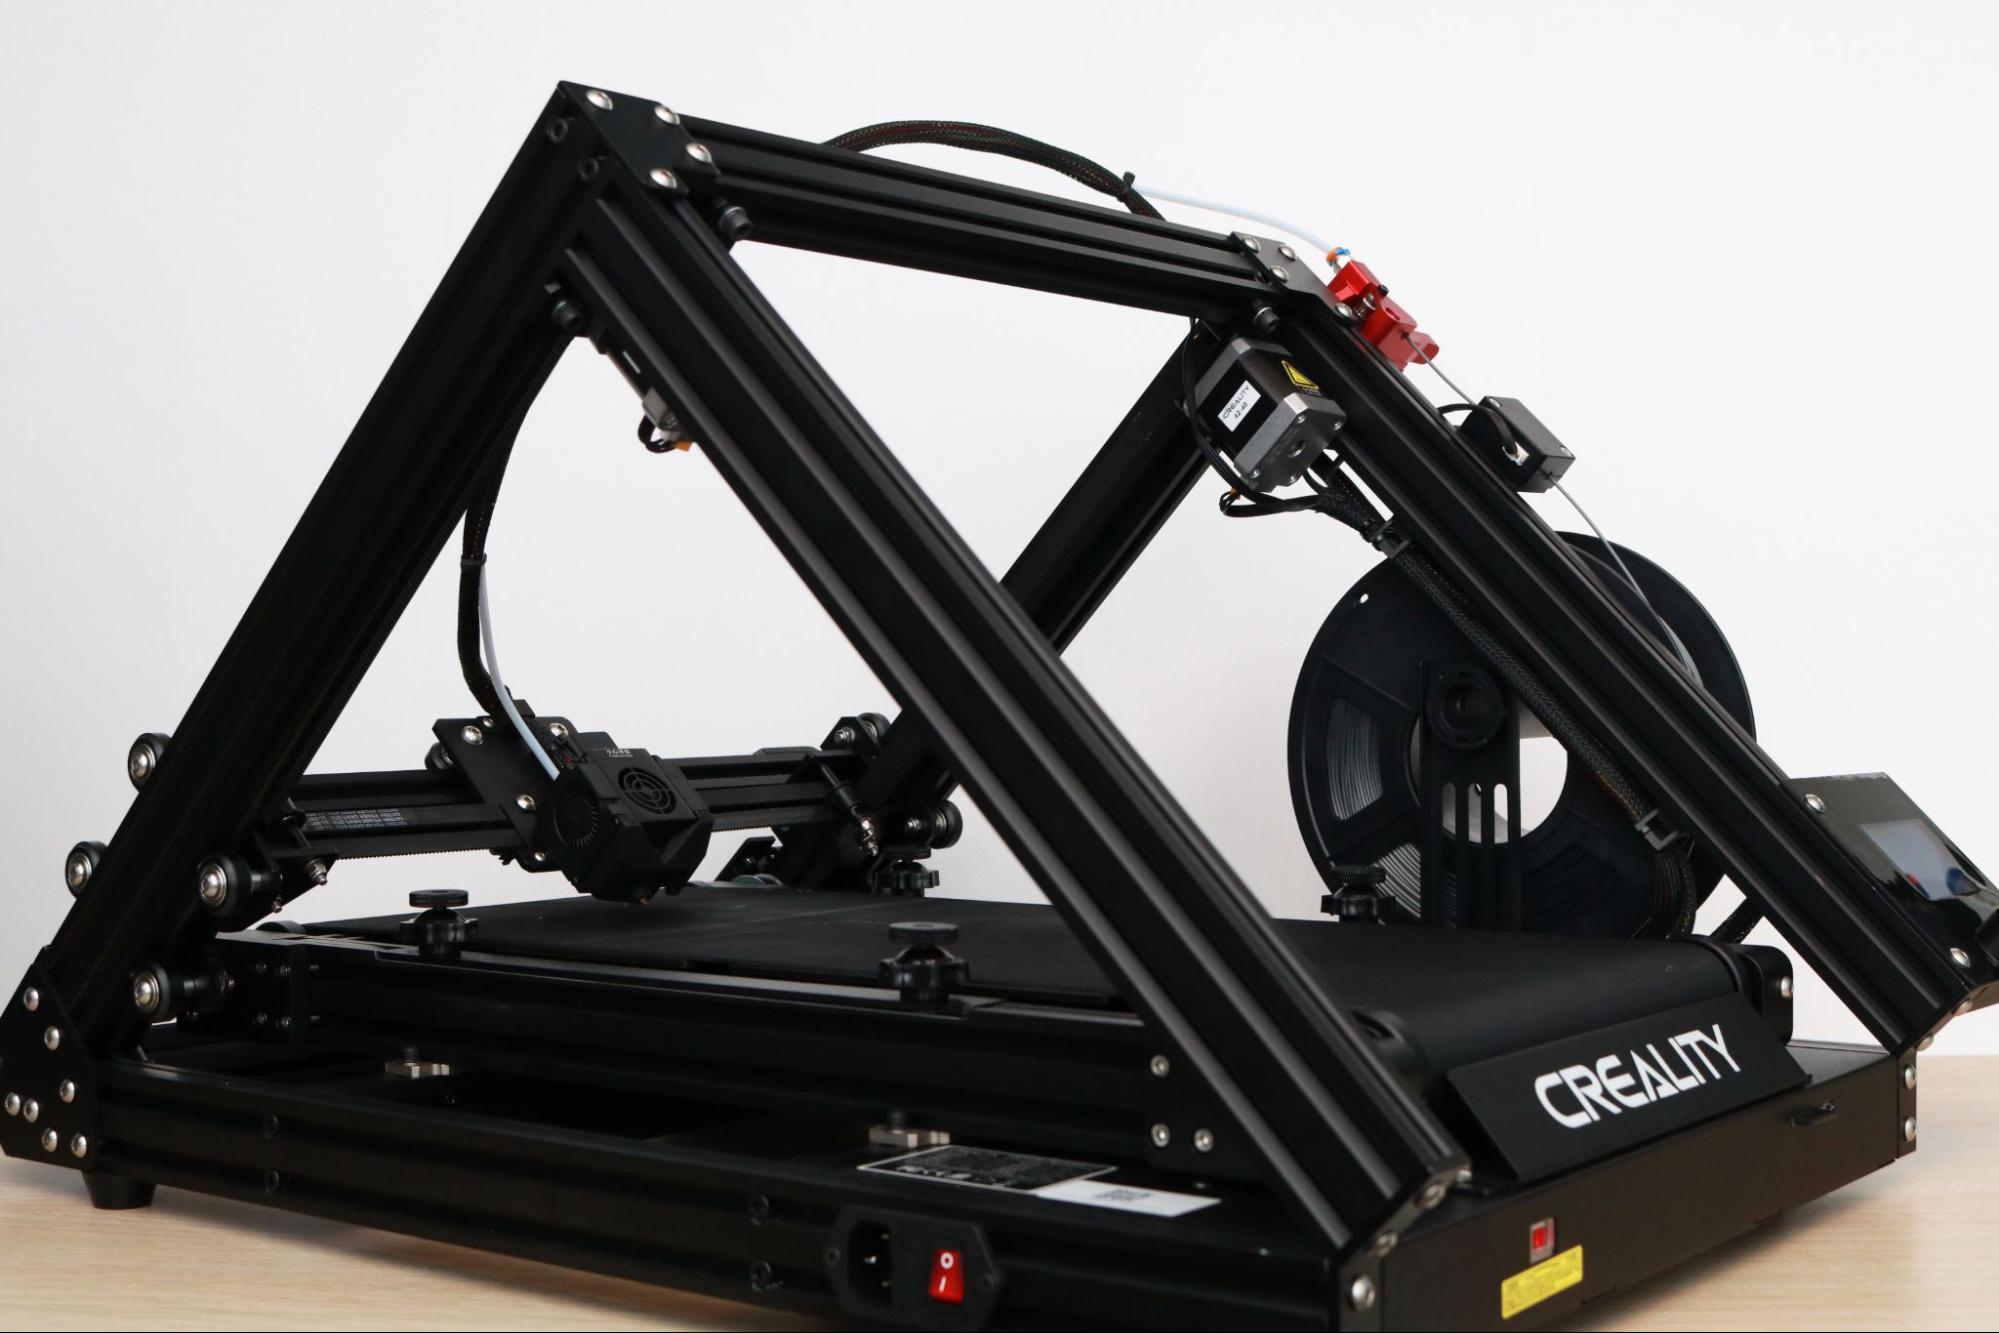
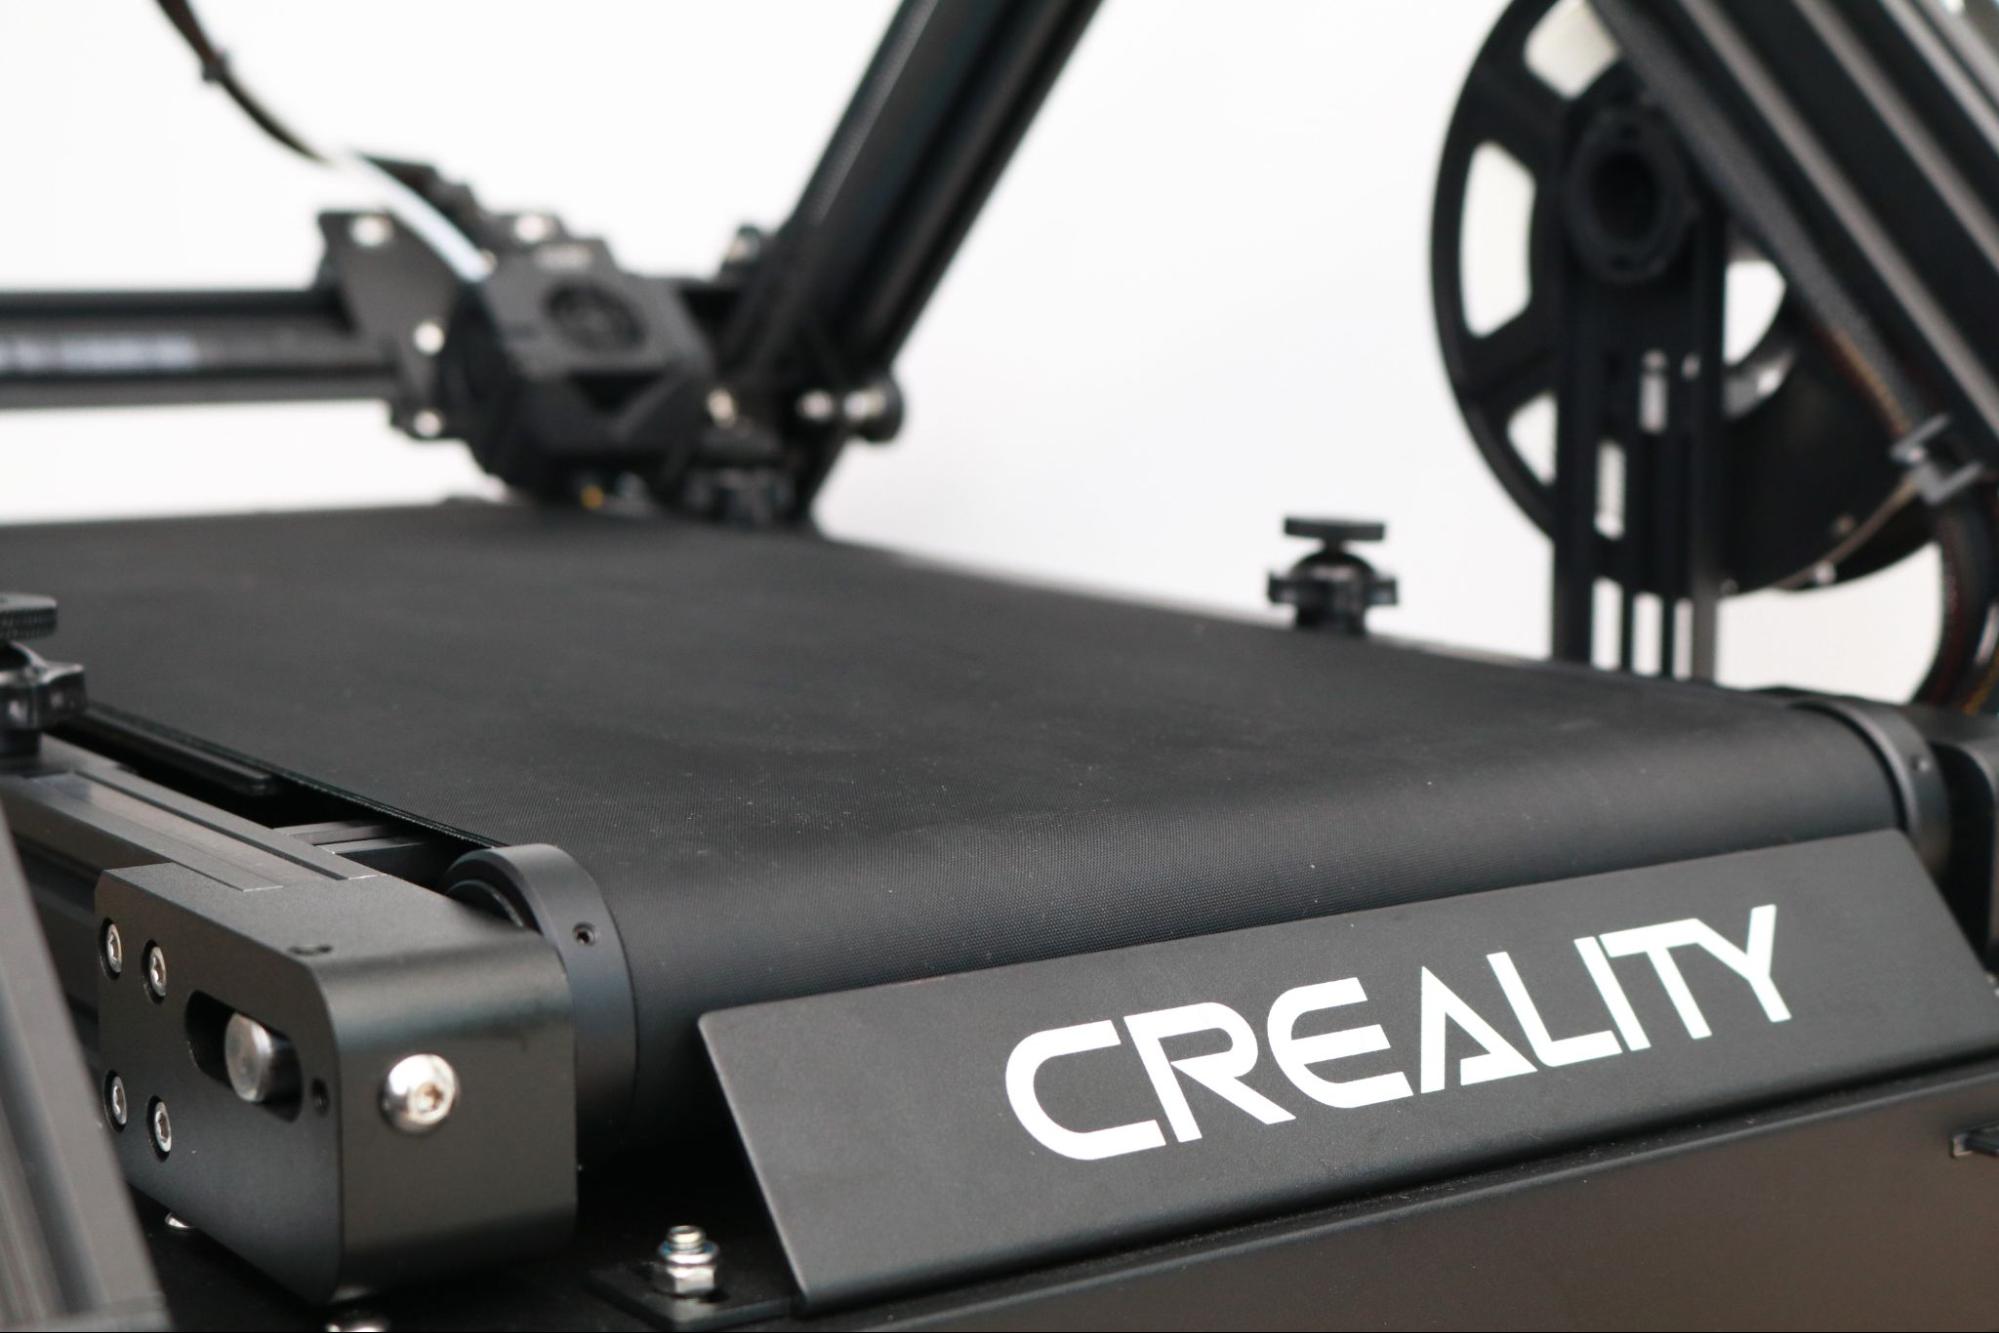
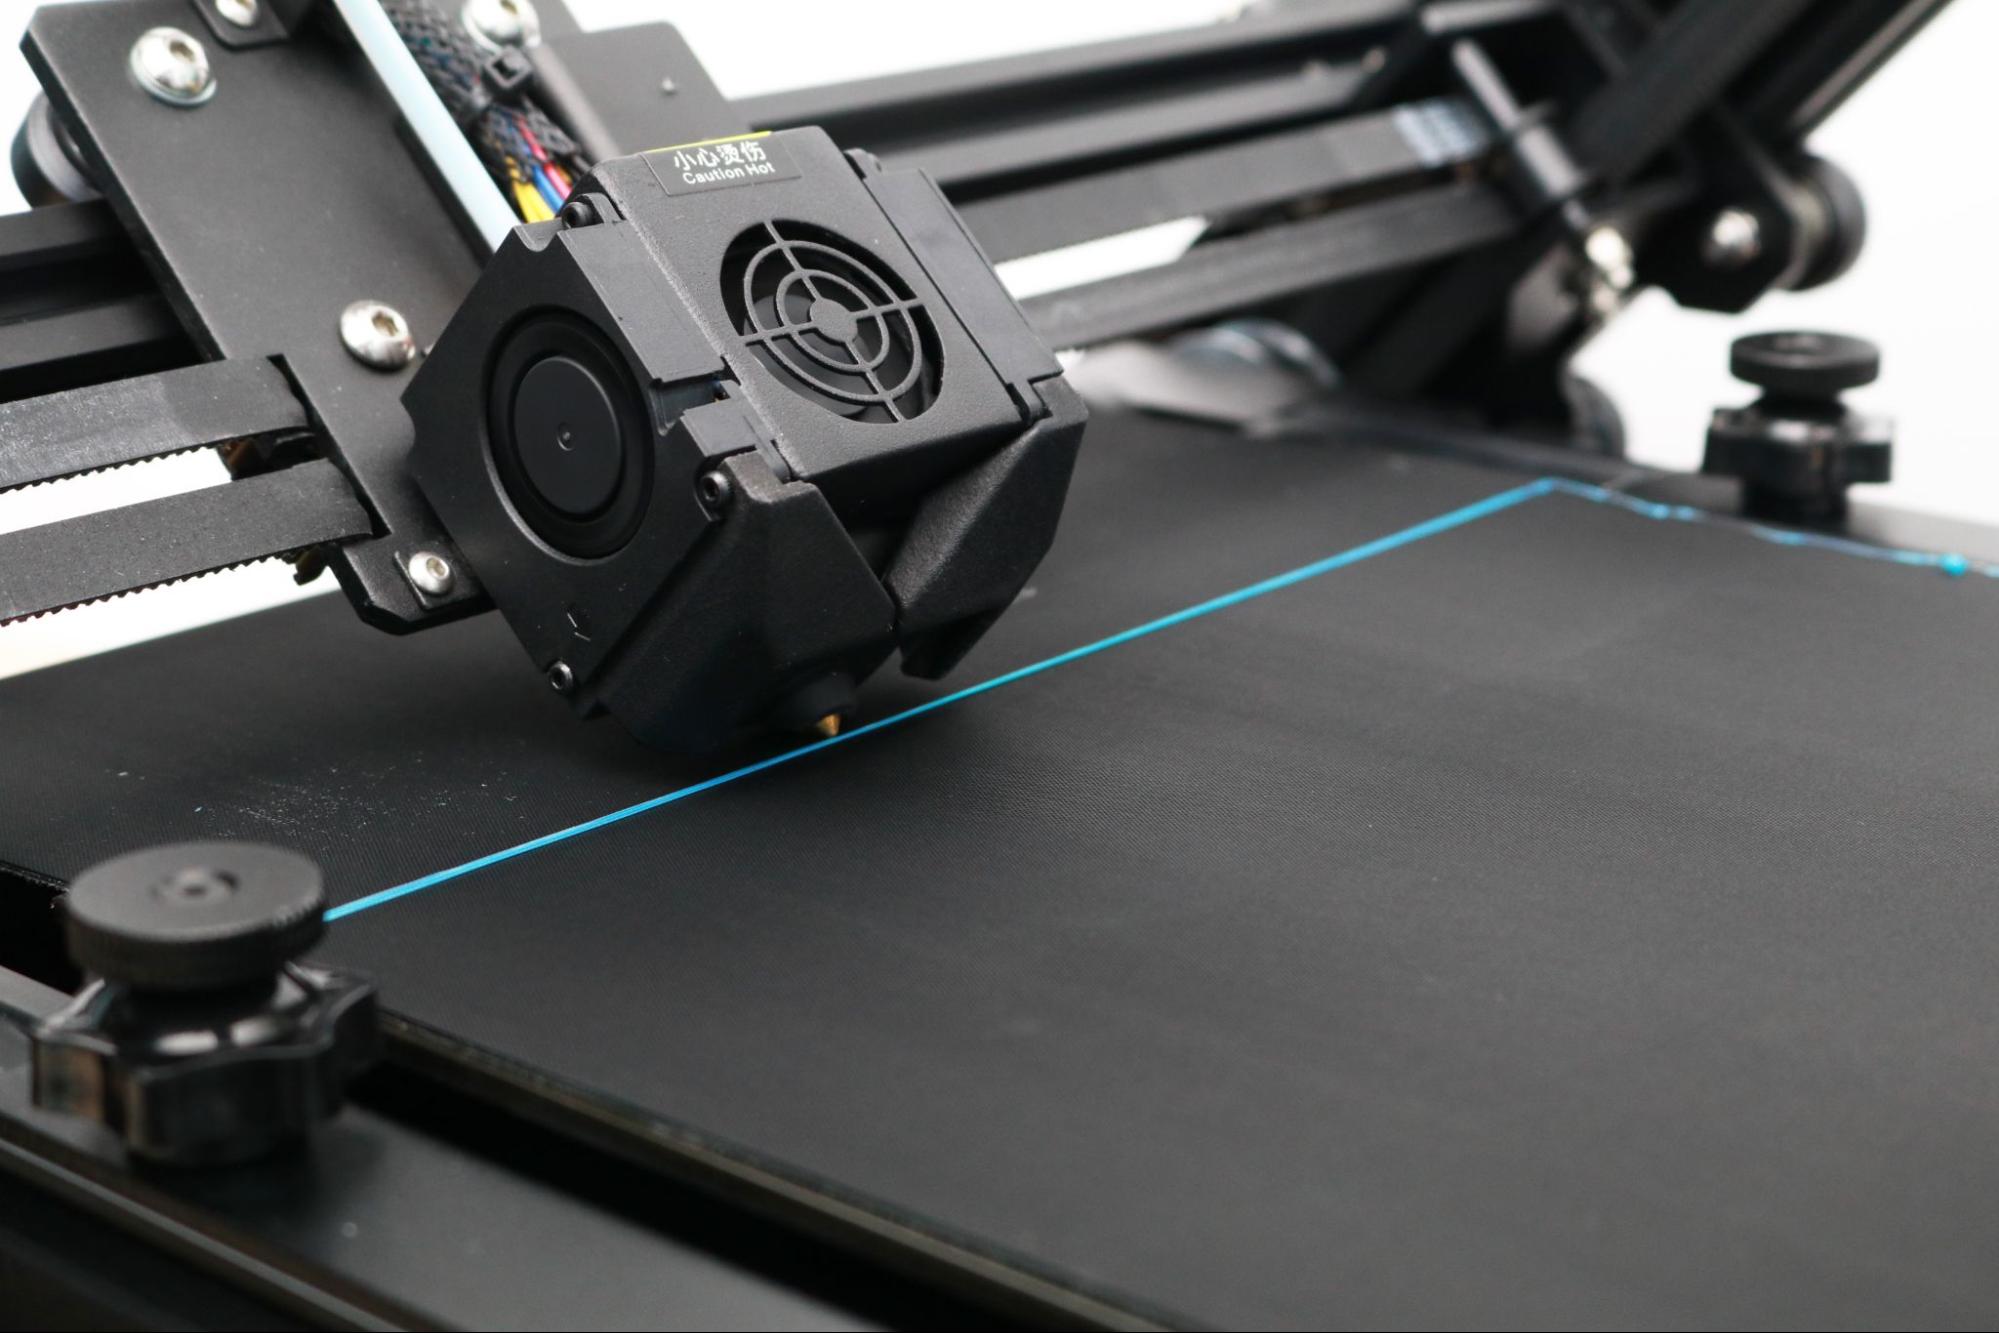
While most 3D printers extrude filament directly perpendicular to the build platform, the CR-30 uses an angled nozzle printing onto a moving conveyor belt to offer an infinitely long Z axis. This configuration takes a minute to fully grasp: essentially, the X/Y plane is now at a 45 degree angle to the build platform instead of the traditional 90 degree angle, and the Z axis moves forward instead of up. Still confused? Adam Fasnacht from Powerbelt3D has written an excellent guide covering the kinematics and slicing considerations for belt printers.
Design of Creality CR-30
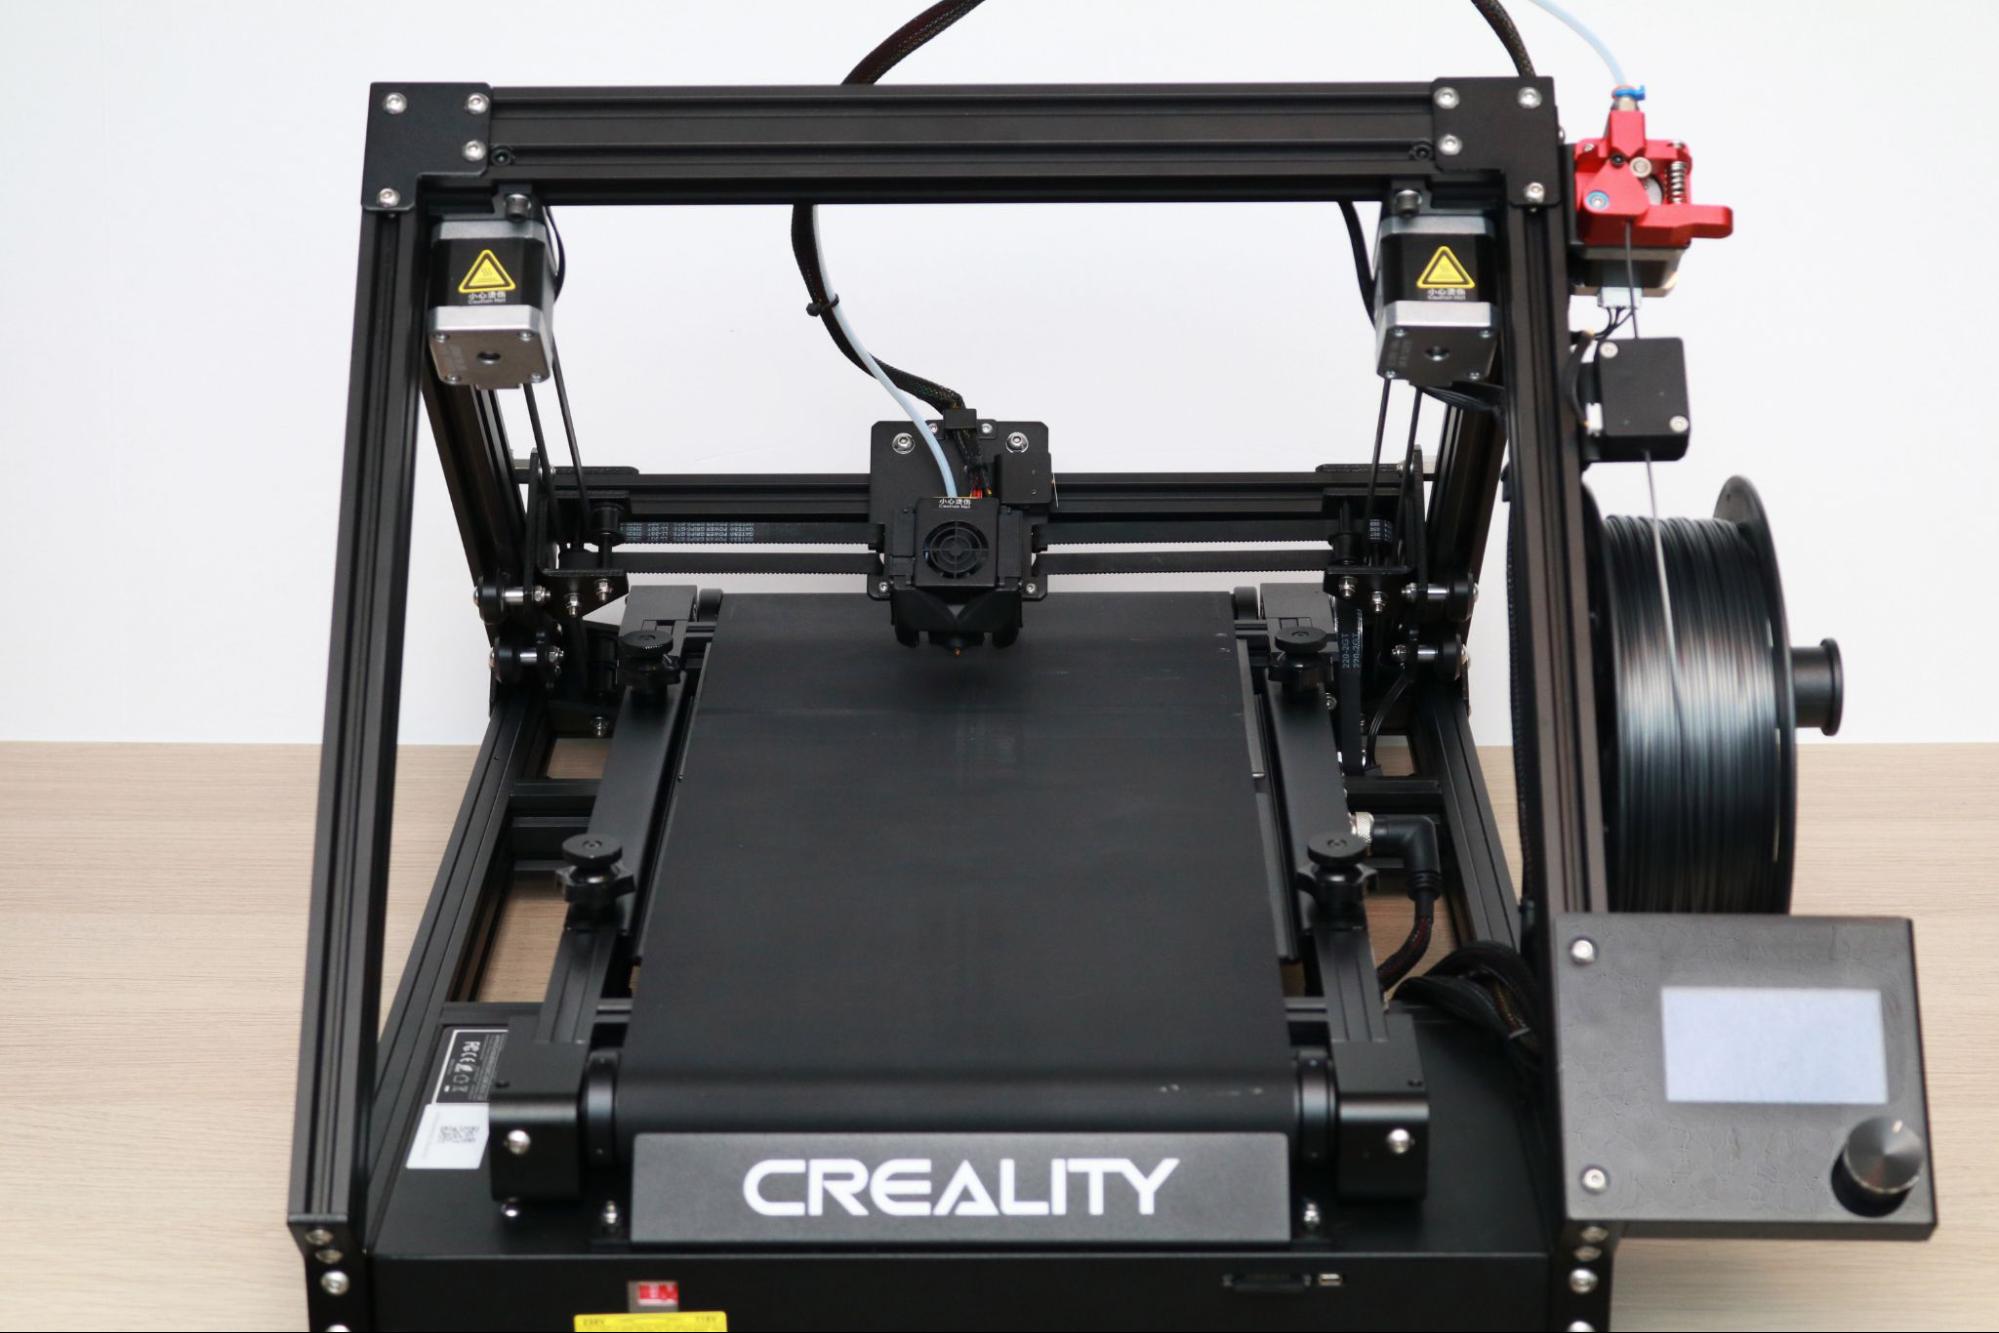
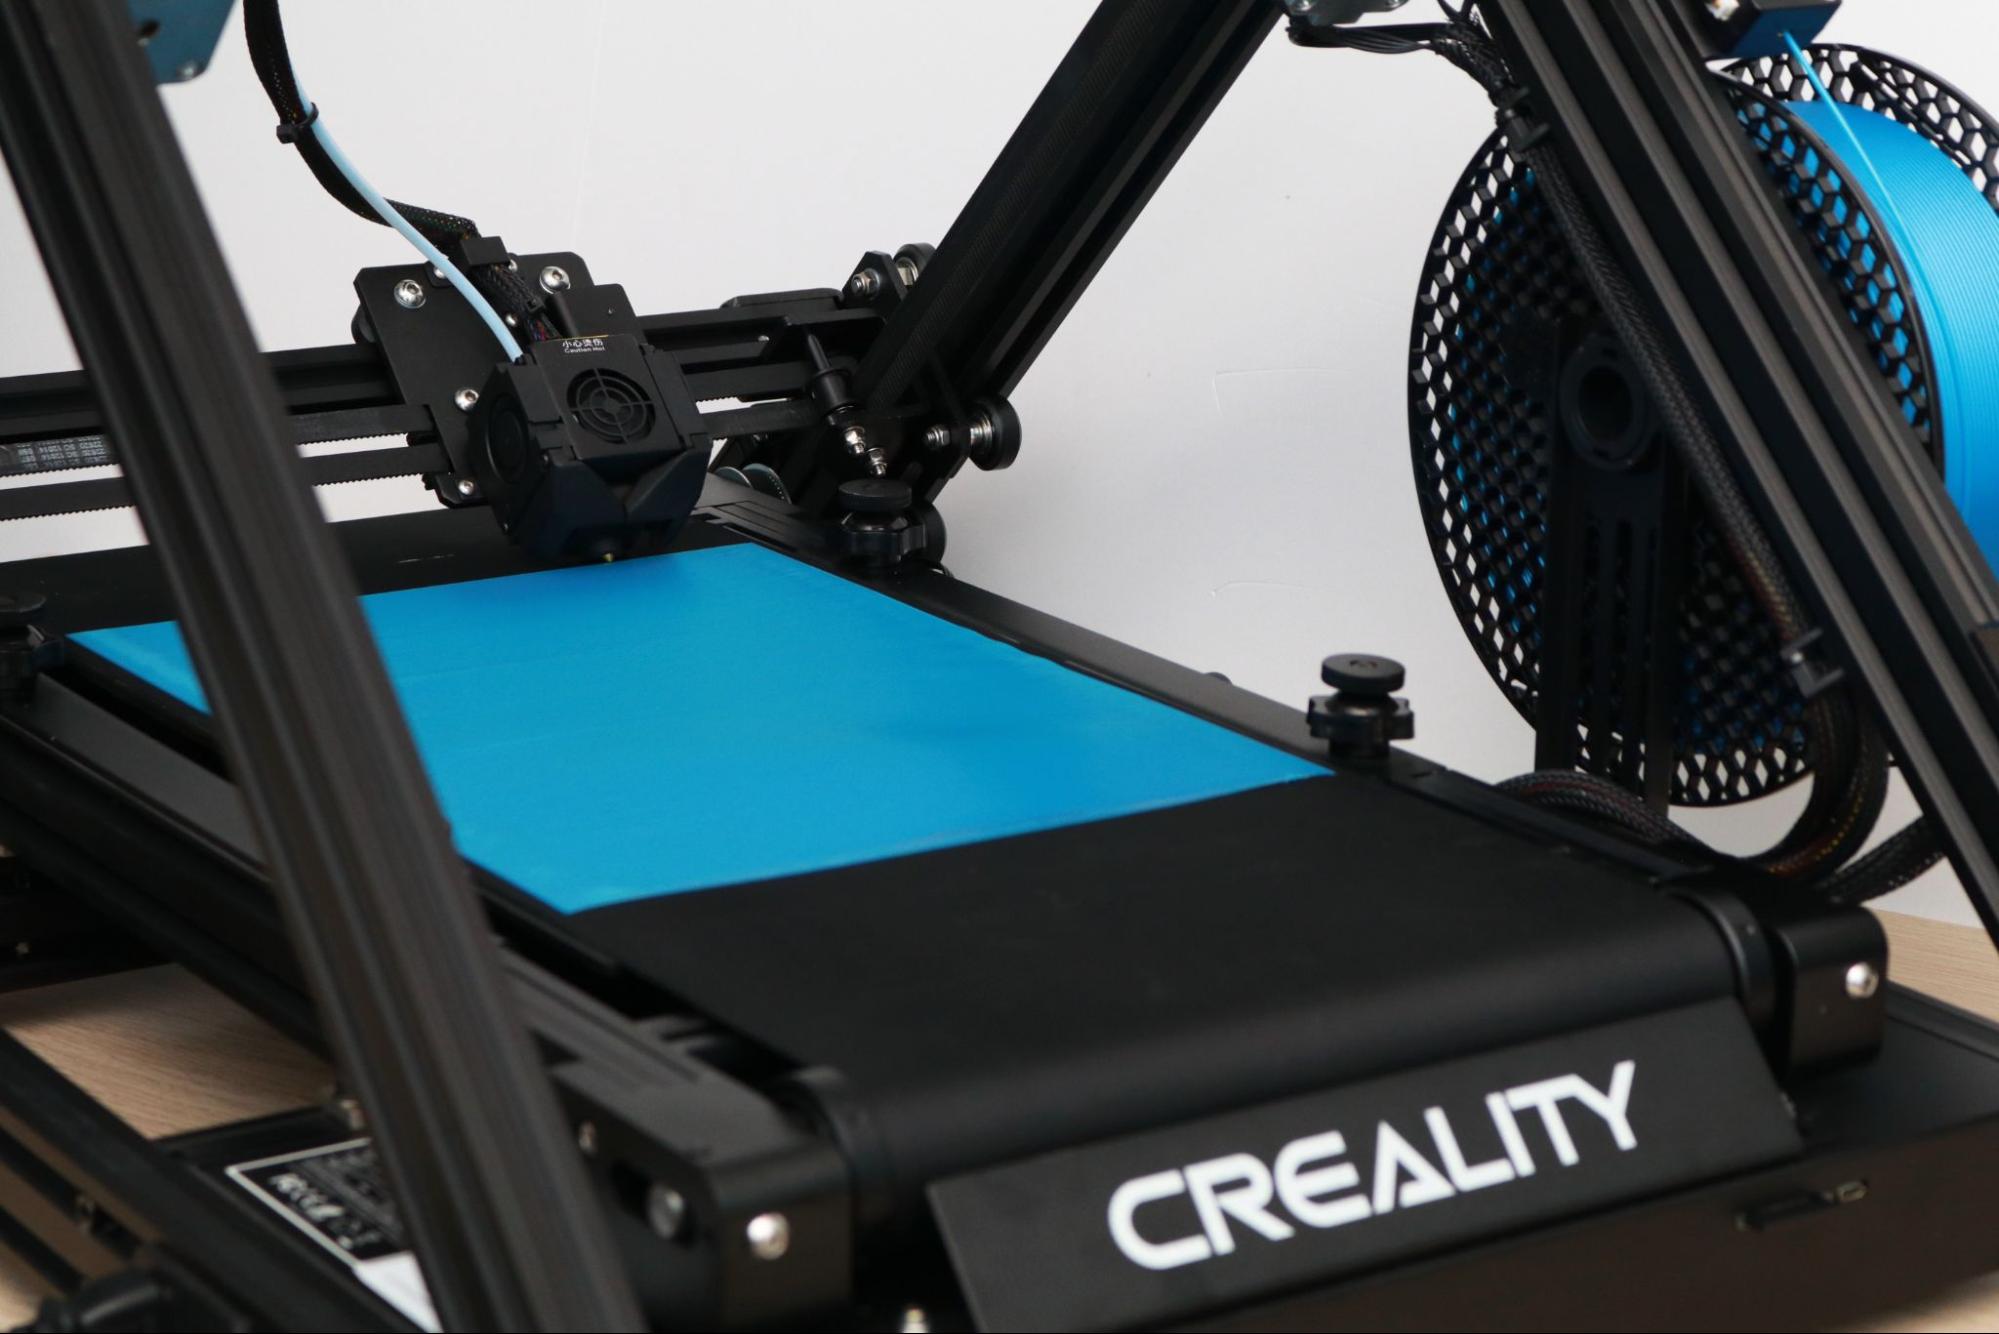
Between the angled nozzle assembly and the rotating conveyor belt, the Creality CR-30 looks more like a piece of industrial automation equipment than a typical FDM 3D printer. The CR-30 uses the same principles as most other FDM 3D printers like the Creality Ender 3 Pro: plastic filament is fed through a heated nozzle and extruded across a predetermined toolpath using a mechanical assembly capable of moving in the X, Y, and Z directions using a Cartesian coordinate system. However, the CR-30 is different from most other machines in how the mechanical system moves, but before we talk about the motion system, let’s look at the rest of the machine.
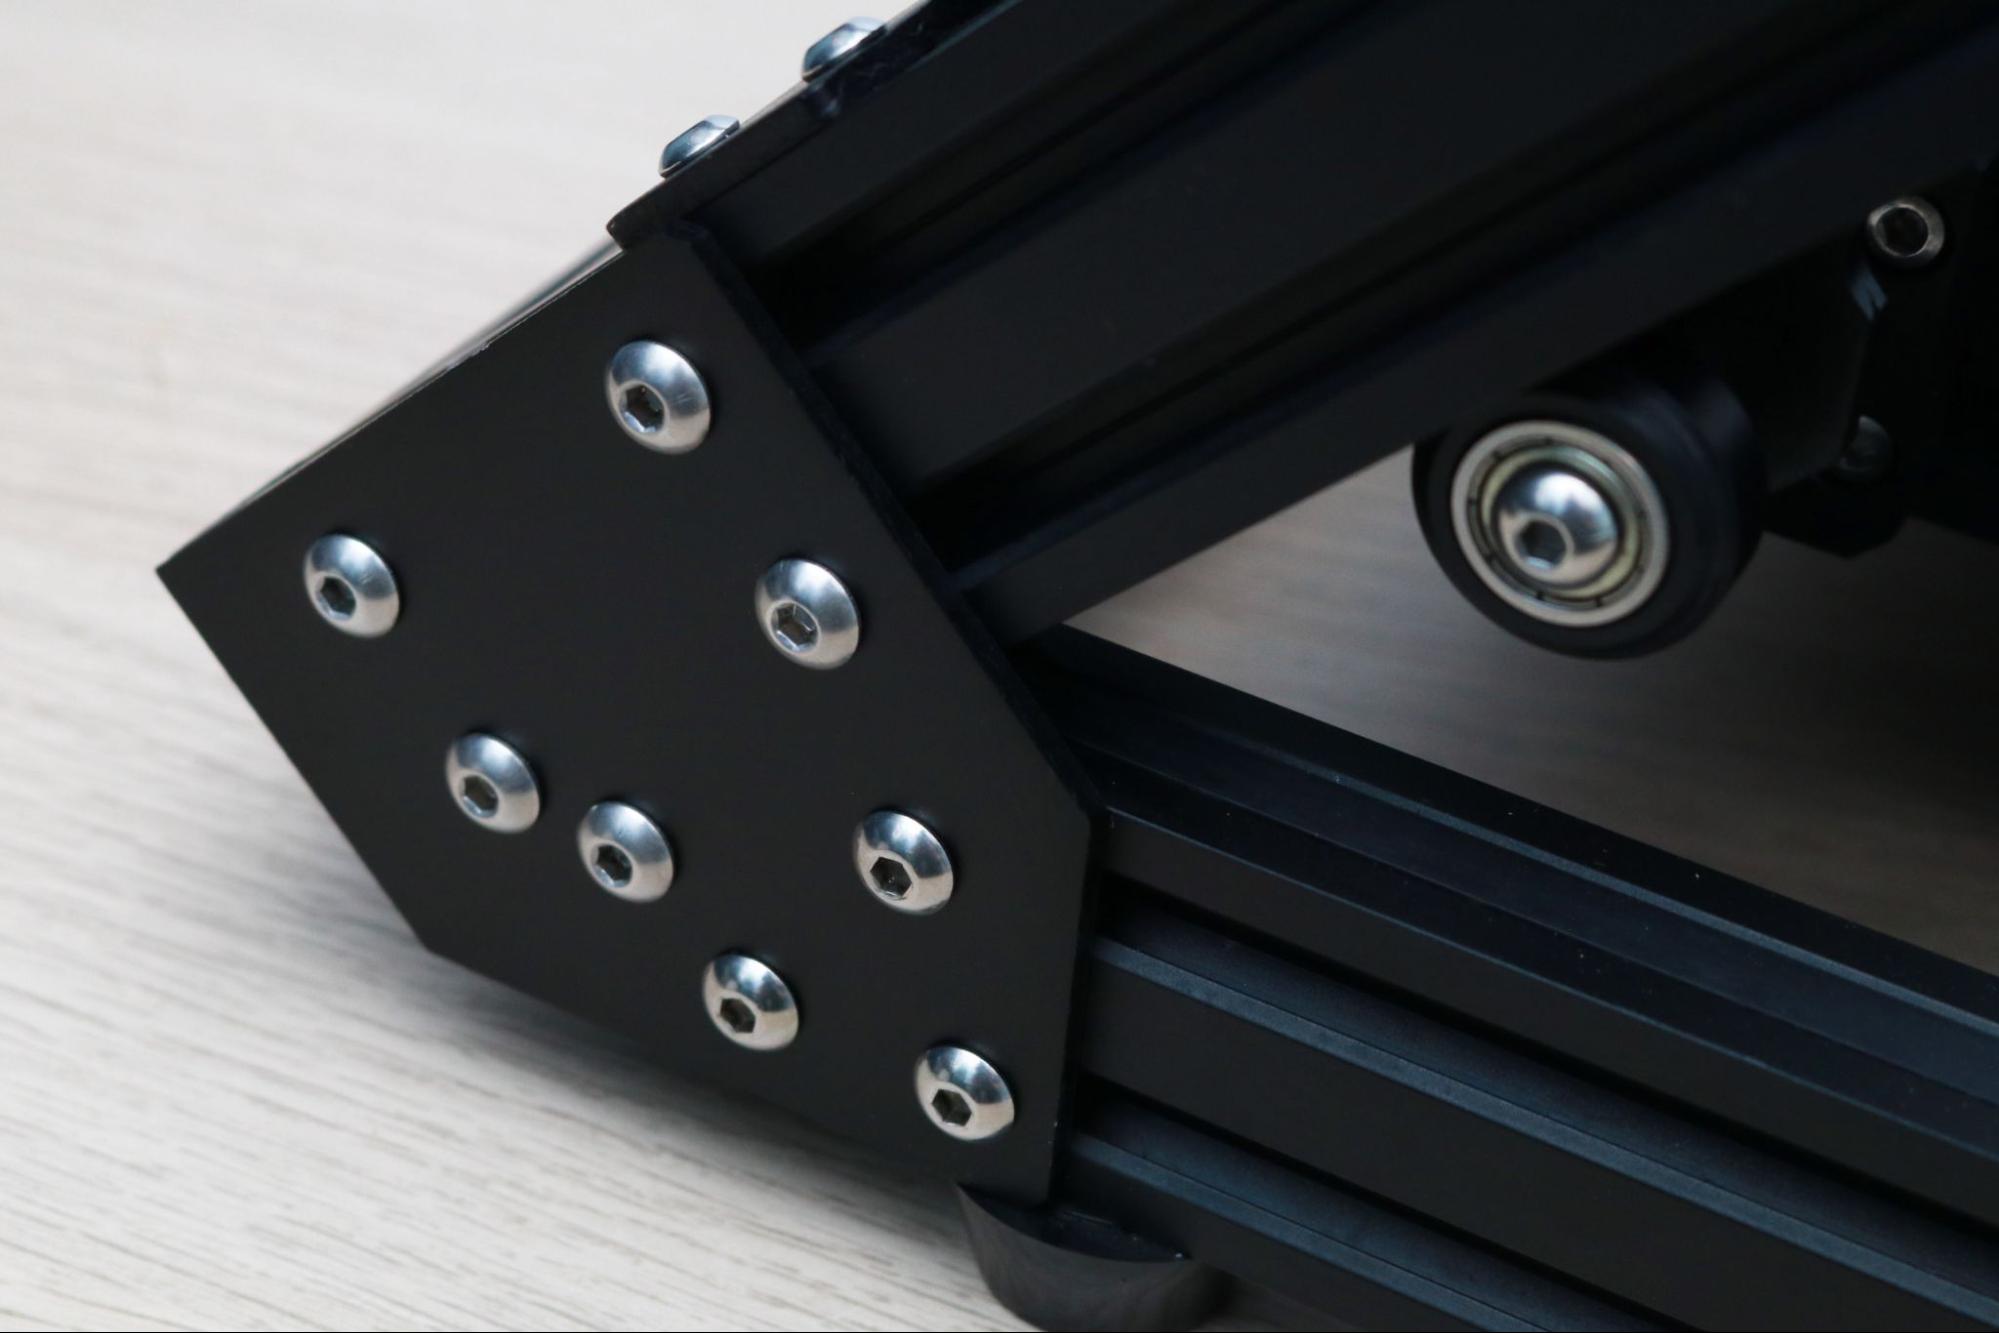
The CR-30 features heavy-duty hardware throughout the machine, and it weighs in at over 36 pounds, nearly twice as much as the 18.9-pound Creality Ender 3 Pro. The heavy frame of this machine gives it a low center of gravity and a remarkably rigid structure. The 1020 profile (as opposed to the single 1010 profile used on less expensive machines) and 80/20 aluminum extrusions are used throughout the machine, adding to the sturdiness of the machine. The CR-30 ships as a partially-assembled kit, and it took me about an hour to put together.
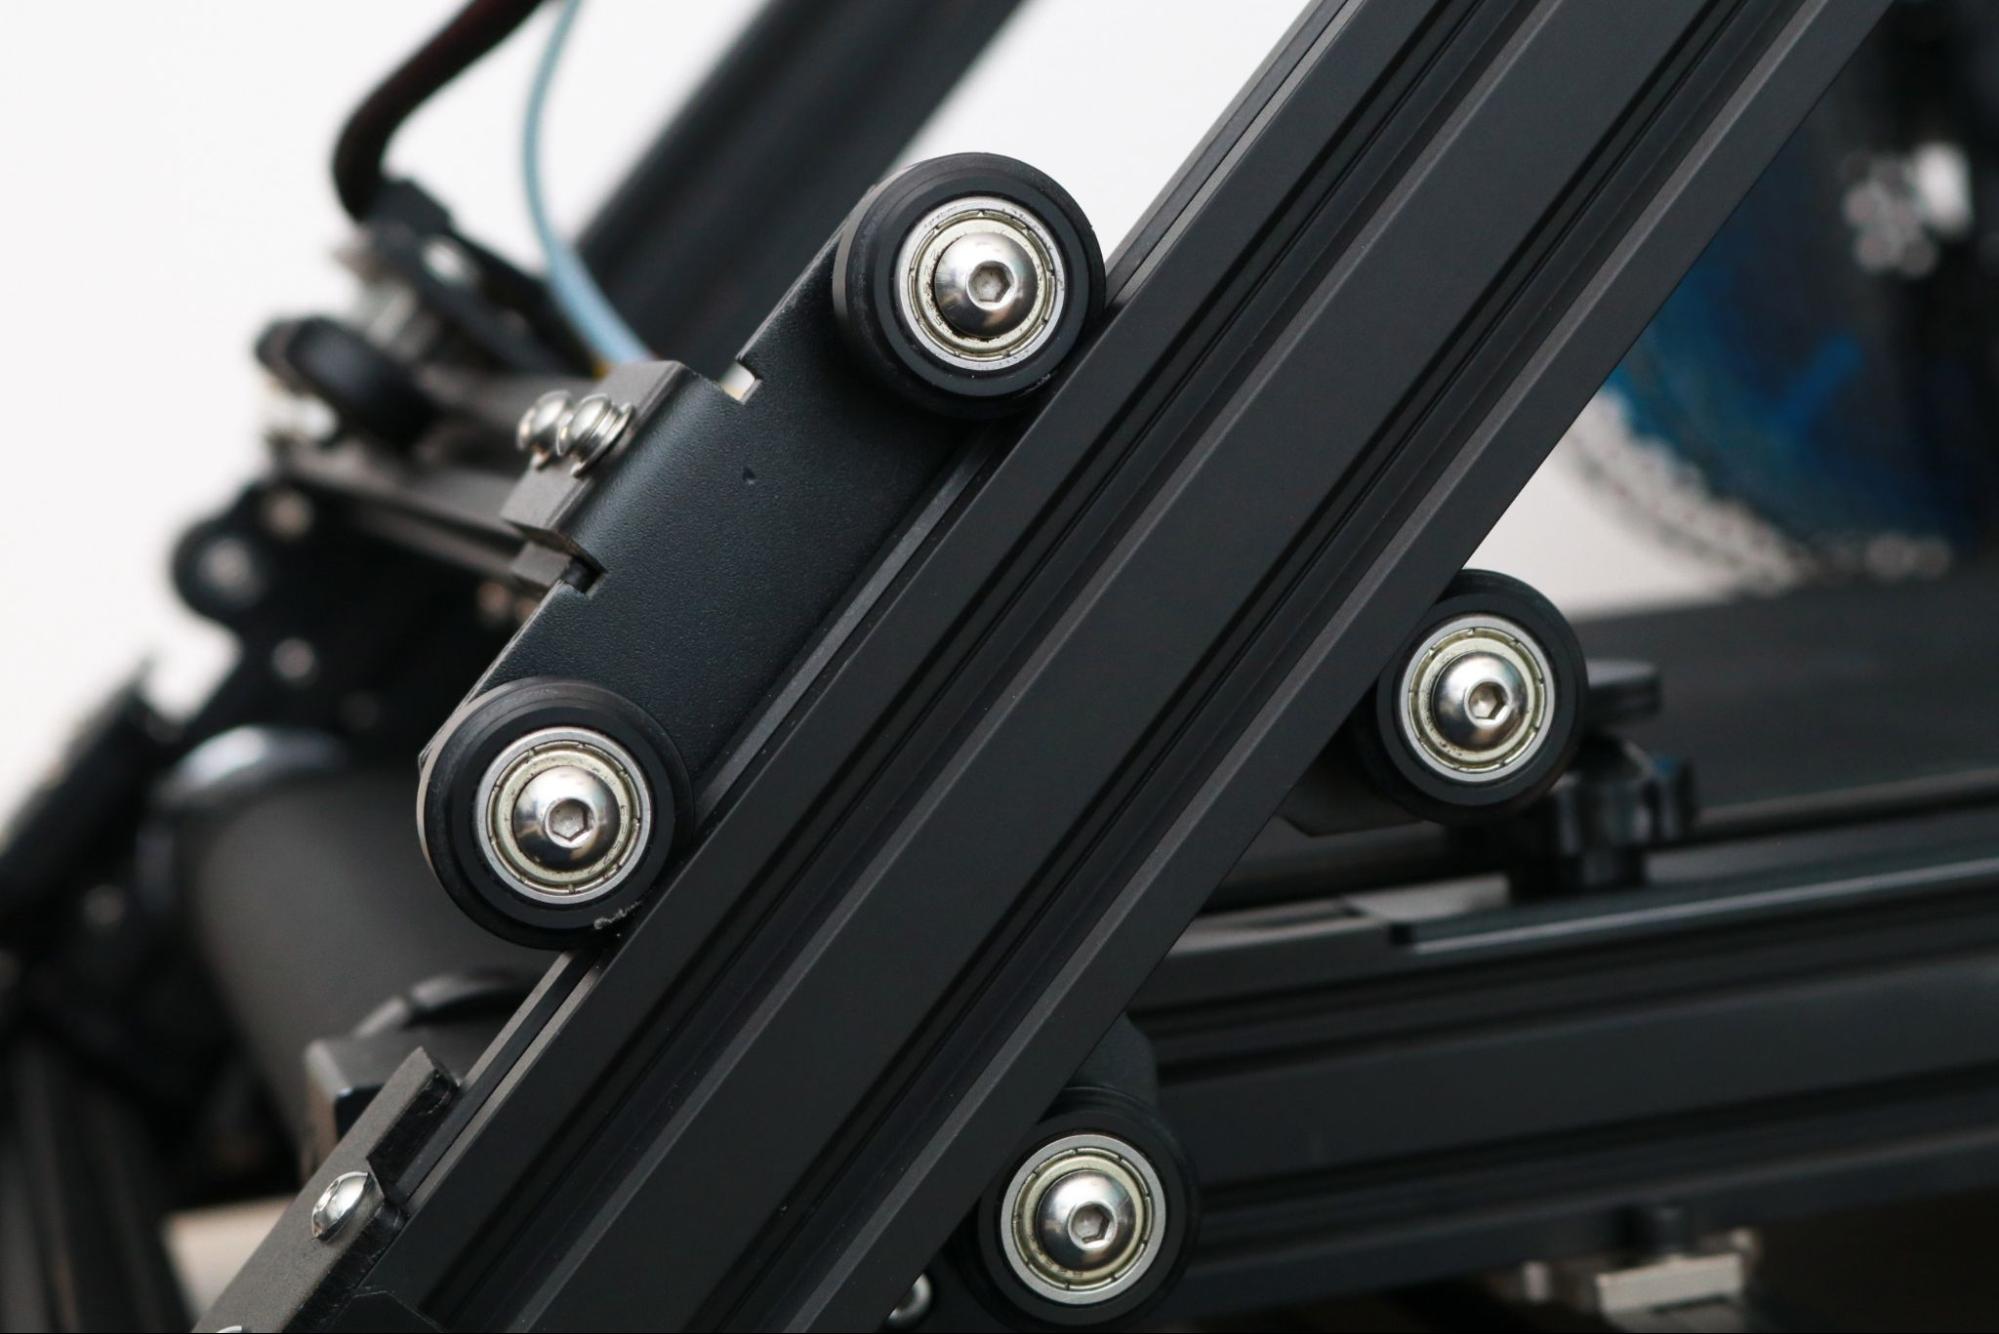
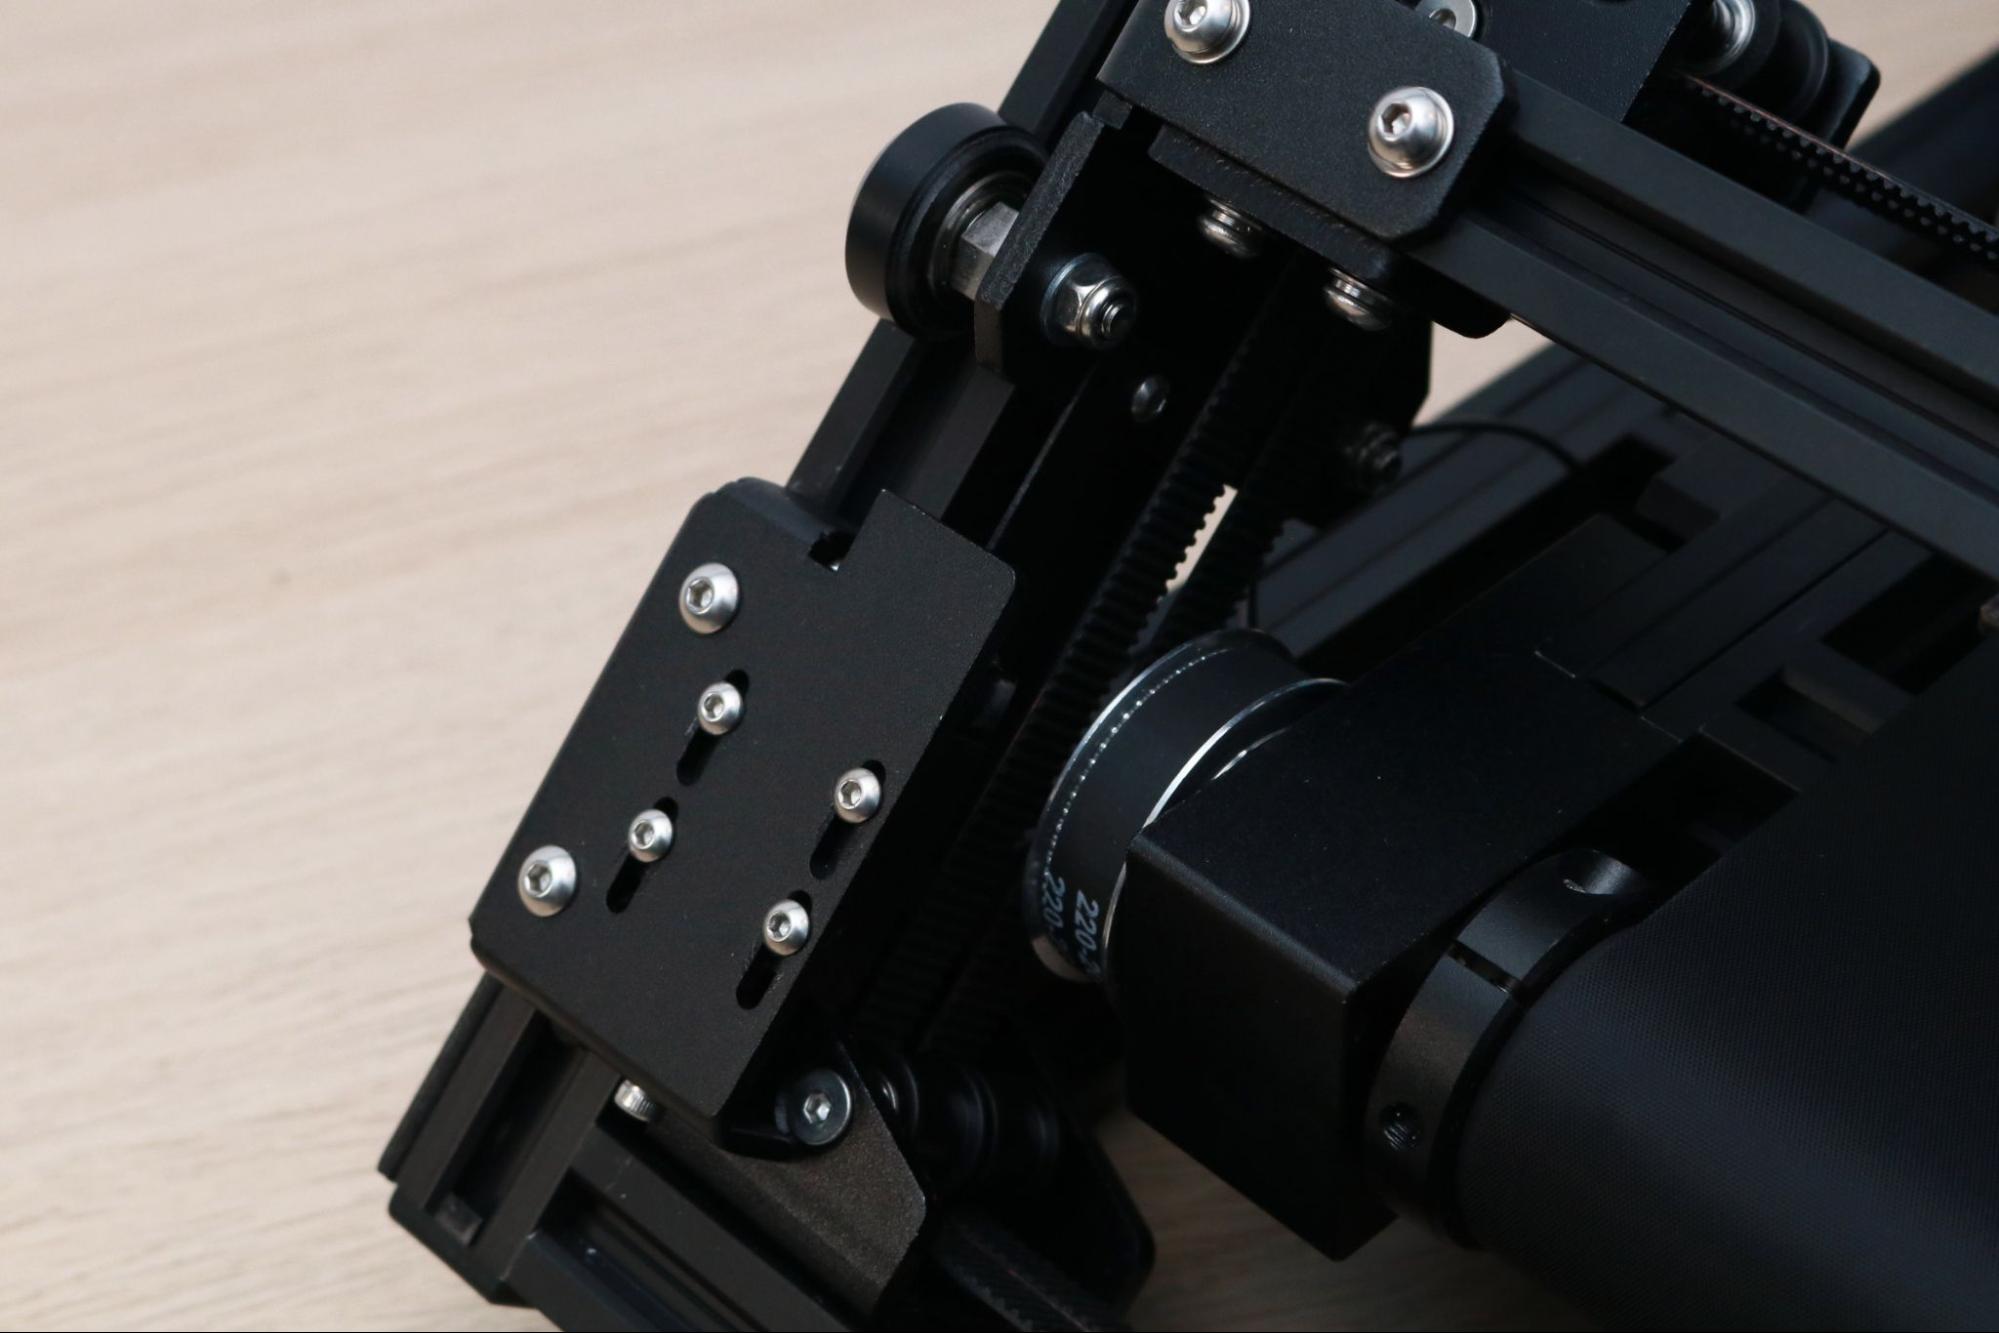
The Y axis on the CR-30 moves up at a 45 degree angle, and it glides up and down using a pair of brackets that each feature four V-slot wheels. Typically, most 3D printers use carriages and brackets with 3 V-slot wheels, as the lowest wheel (bottom of the V) can be tightened or loosened with an eccentric nut to change the tension on the bracket. This isn’t necessarily a bad thing, but it’s certainly an odd design choice, considering the added difficulty of tensioning the bracket without any apparent benefit.
Get Tom's Hardware's best news and in-depth reviews, straight to your inbox.
The CR-30 uses a CoreXY motion system, which is a slightly more complex motion system that allows for faster motion and greater accuracy at the expense of a higher part count and cost. This system moves the hot end assembly back and forth on the X and Y plane, as opposed to a printer like the Elegoo Neptune 2, which moves the X and Y separately and moves the entire platform during printing. By reducing the amount of mass moving during printing and keeping the part stationary, a higher print speed can be achieved with fewer motion-related defects.
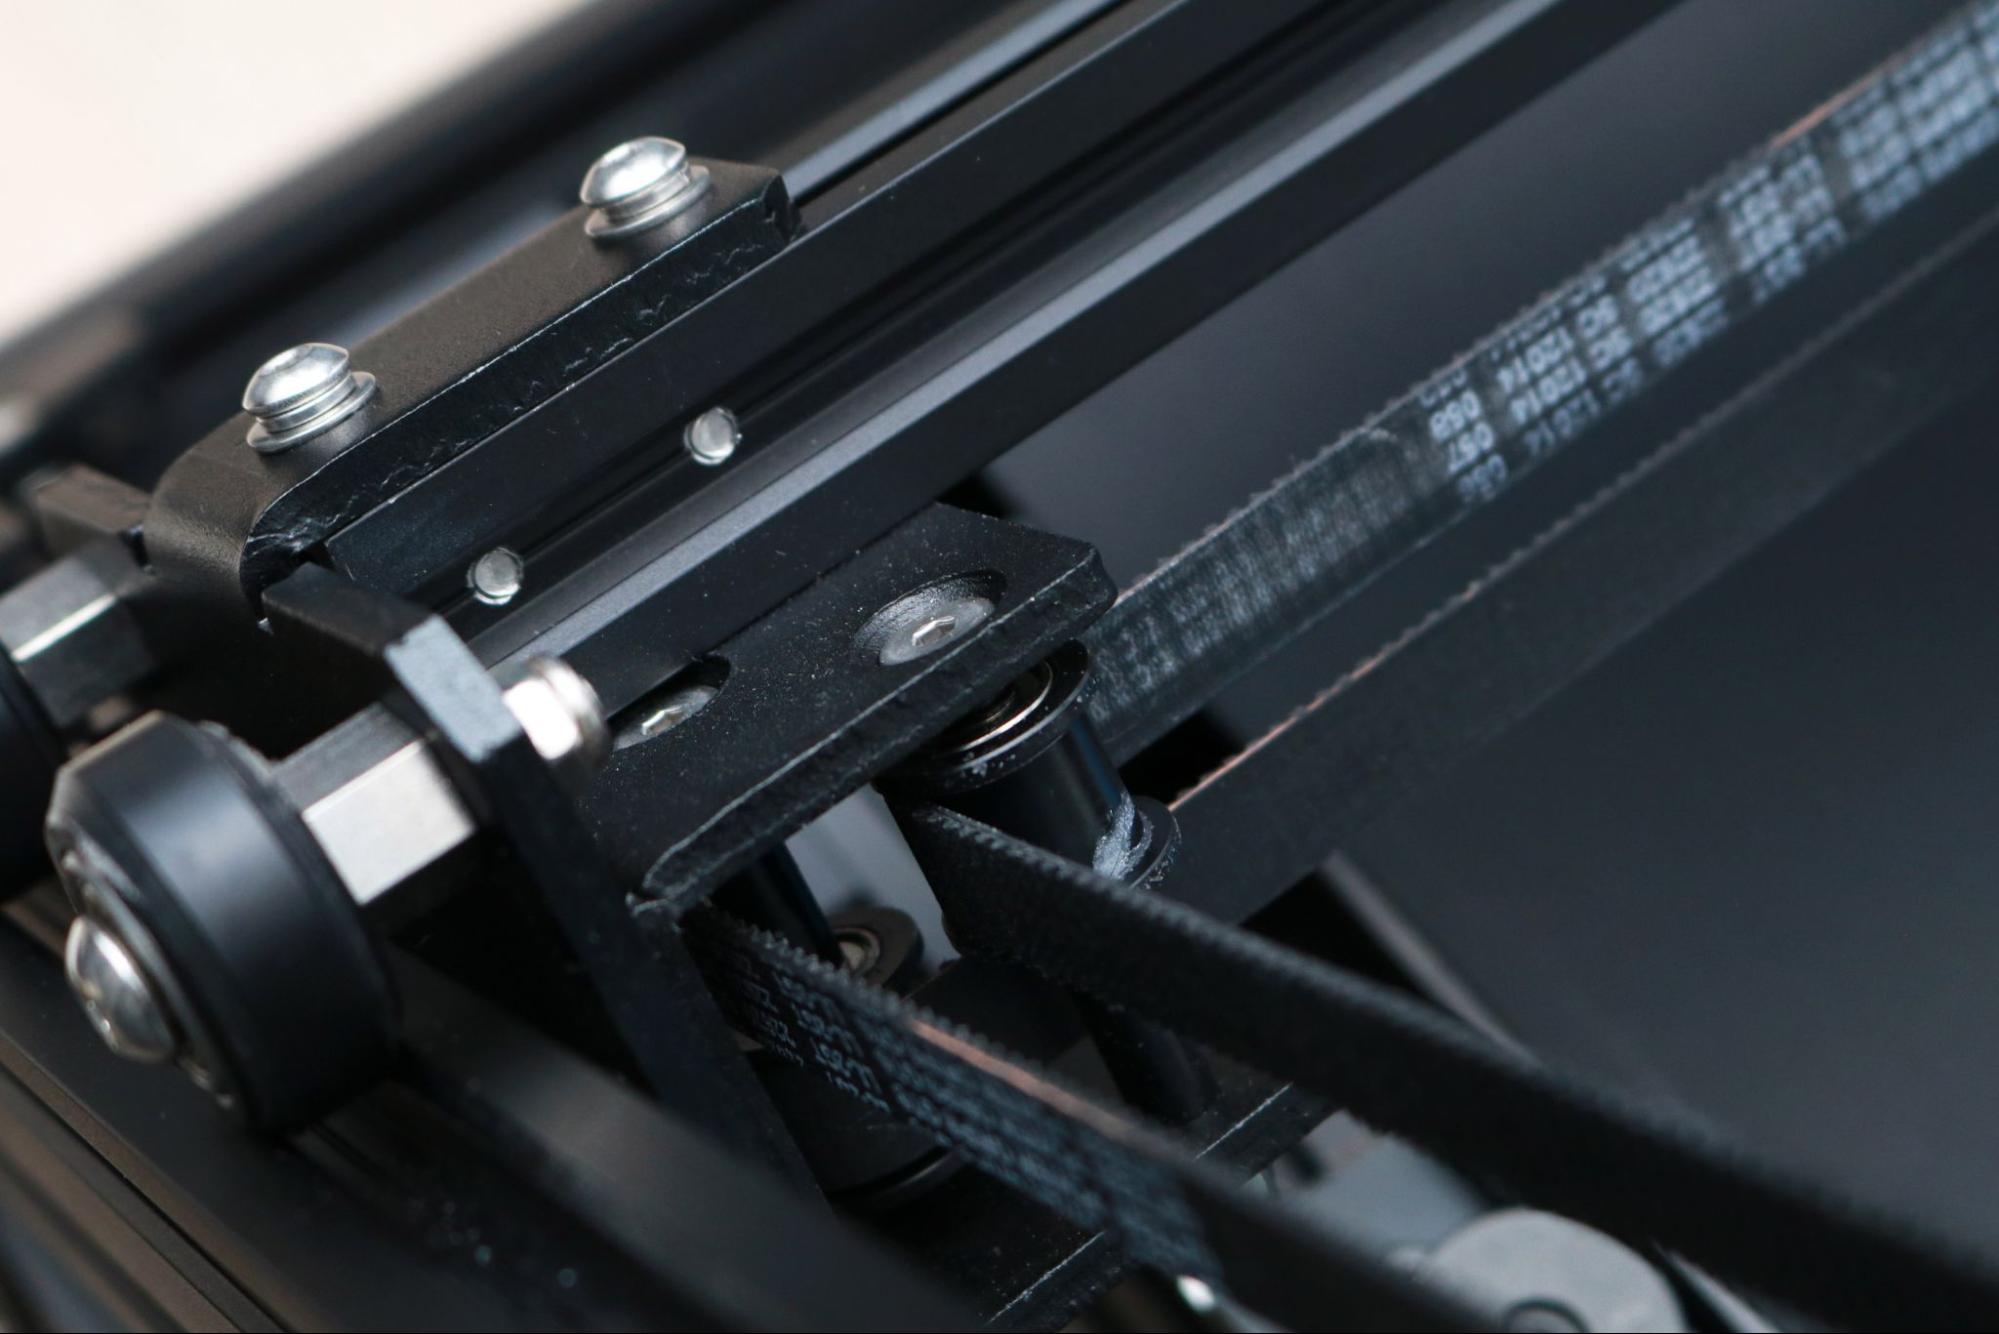
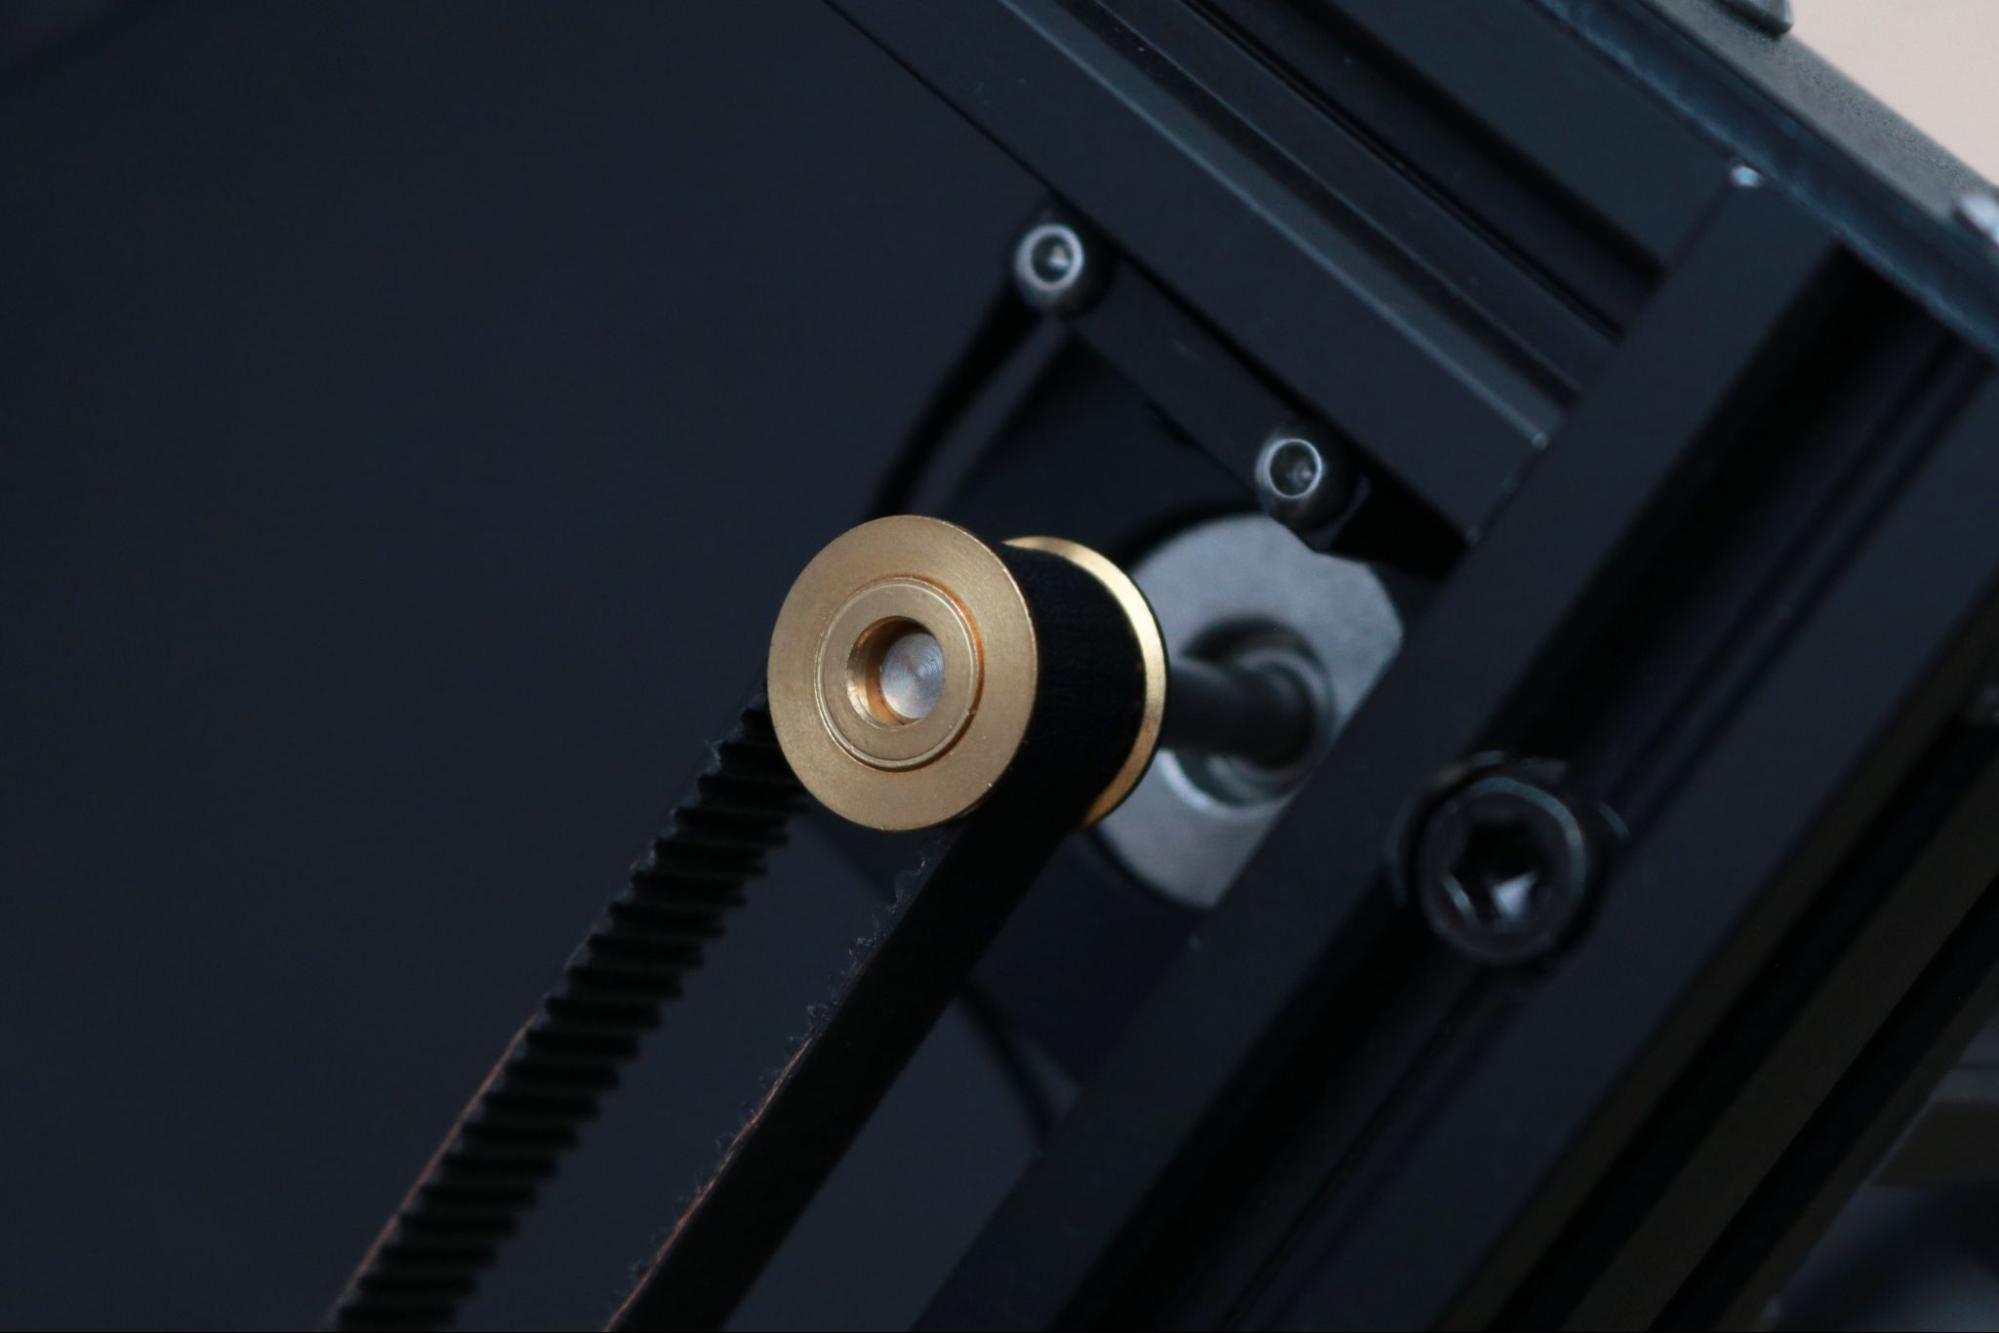
While inspecting the motion system, I noticed that the shaft on one of the CoreXY motors was significantly longer than the other. This looks like a potential failure point for anyone using the machine frequently, as the force applied to the end may cause the long shaft to eventually bend or buckle under a load.
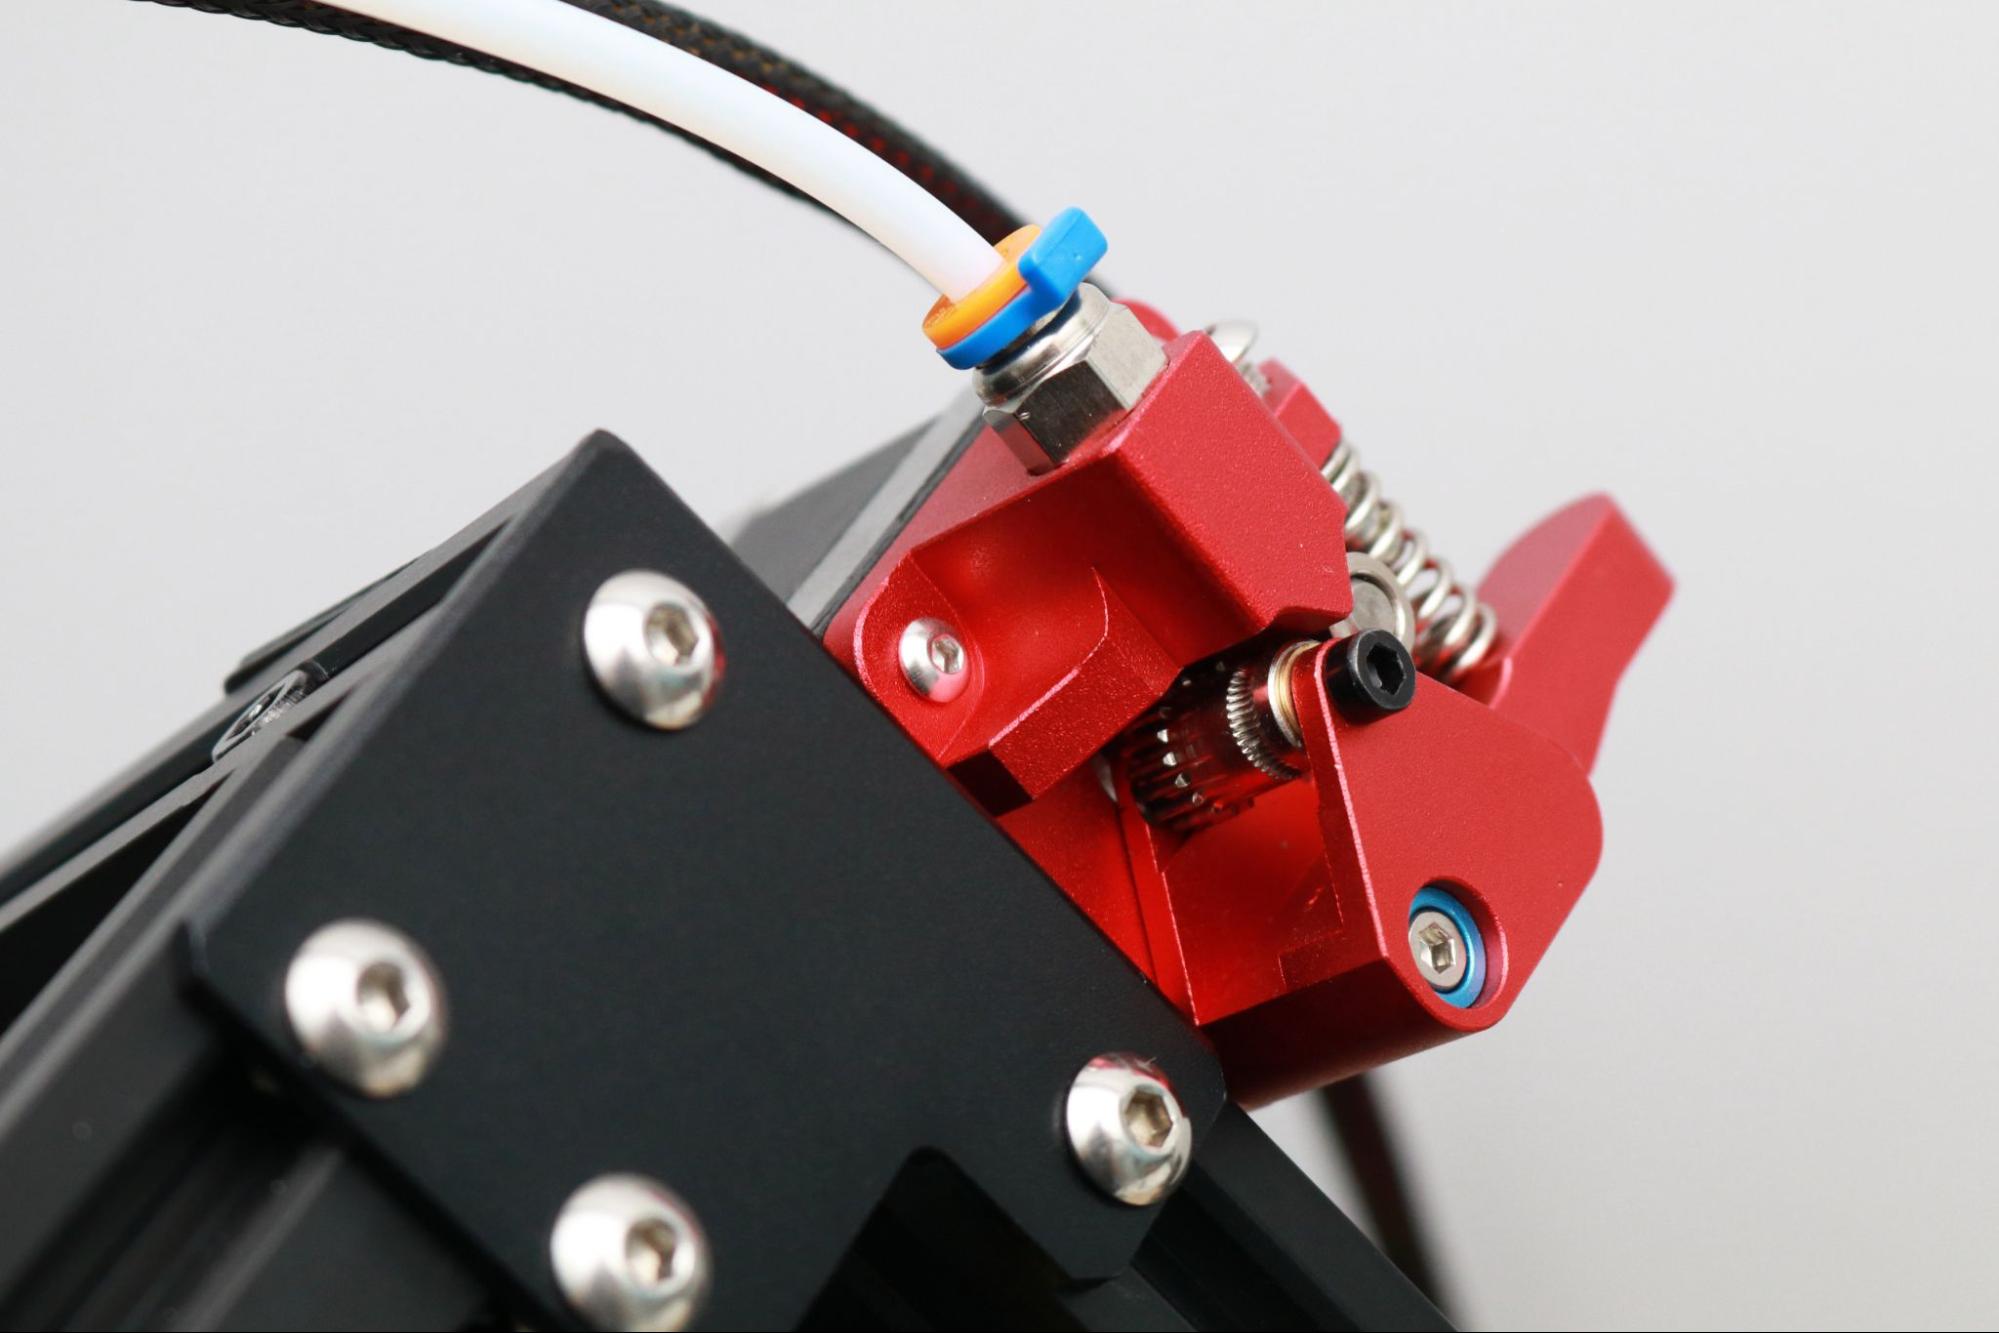
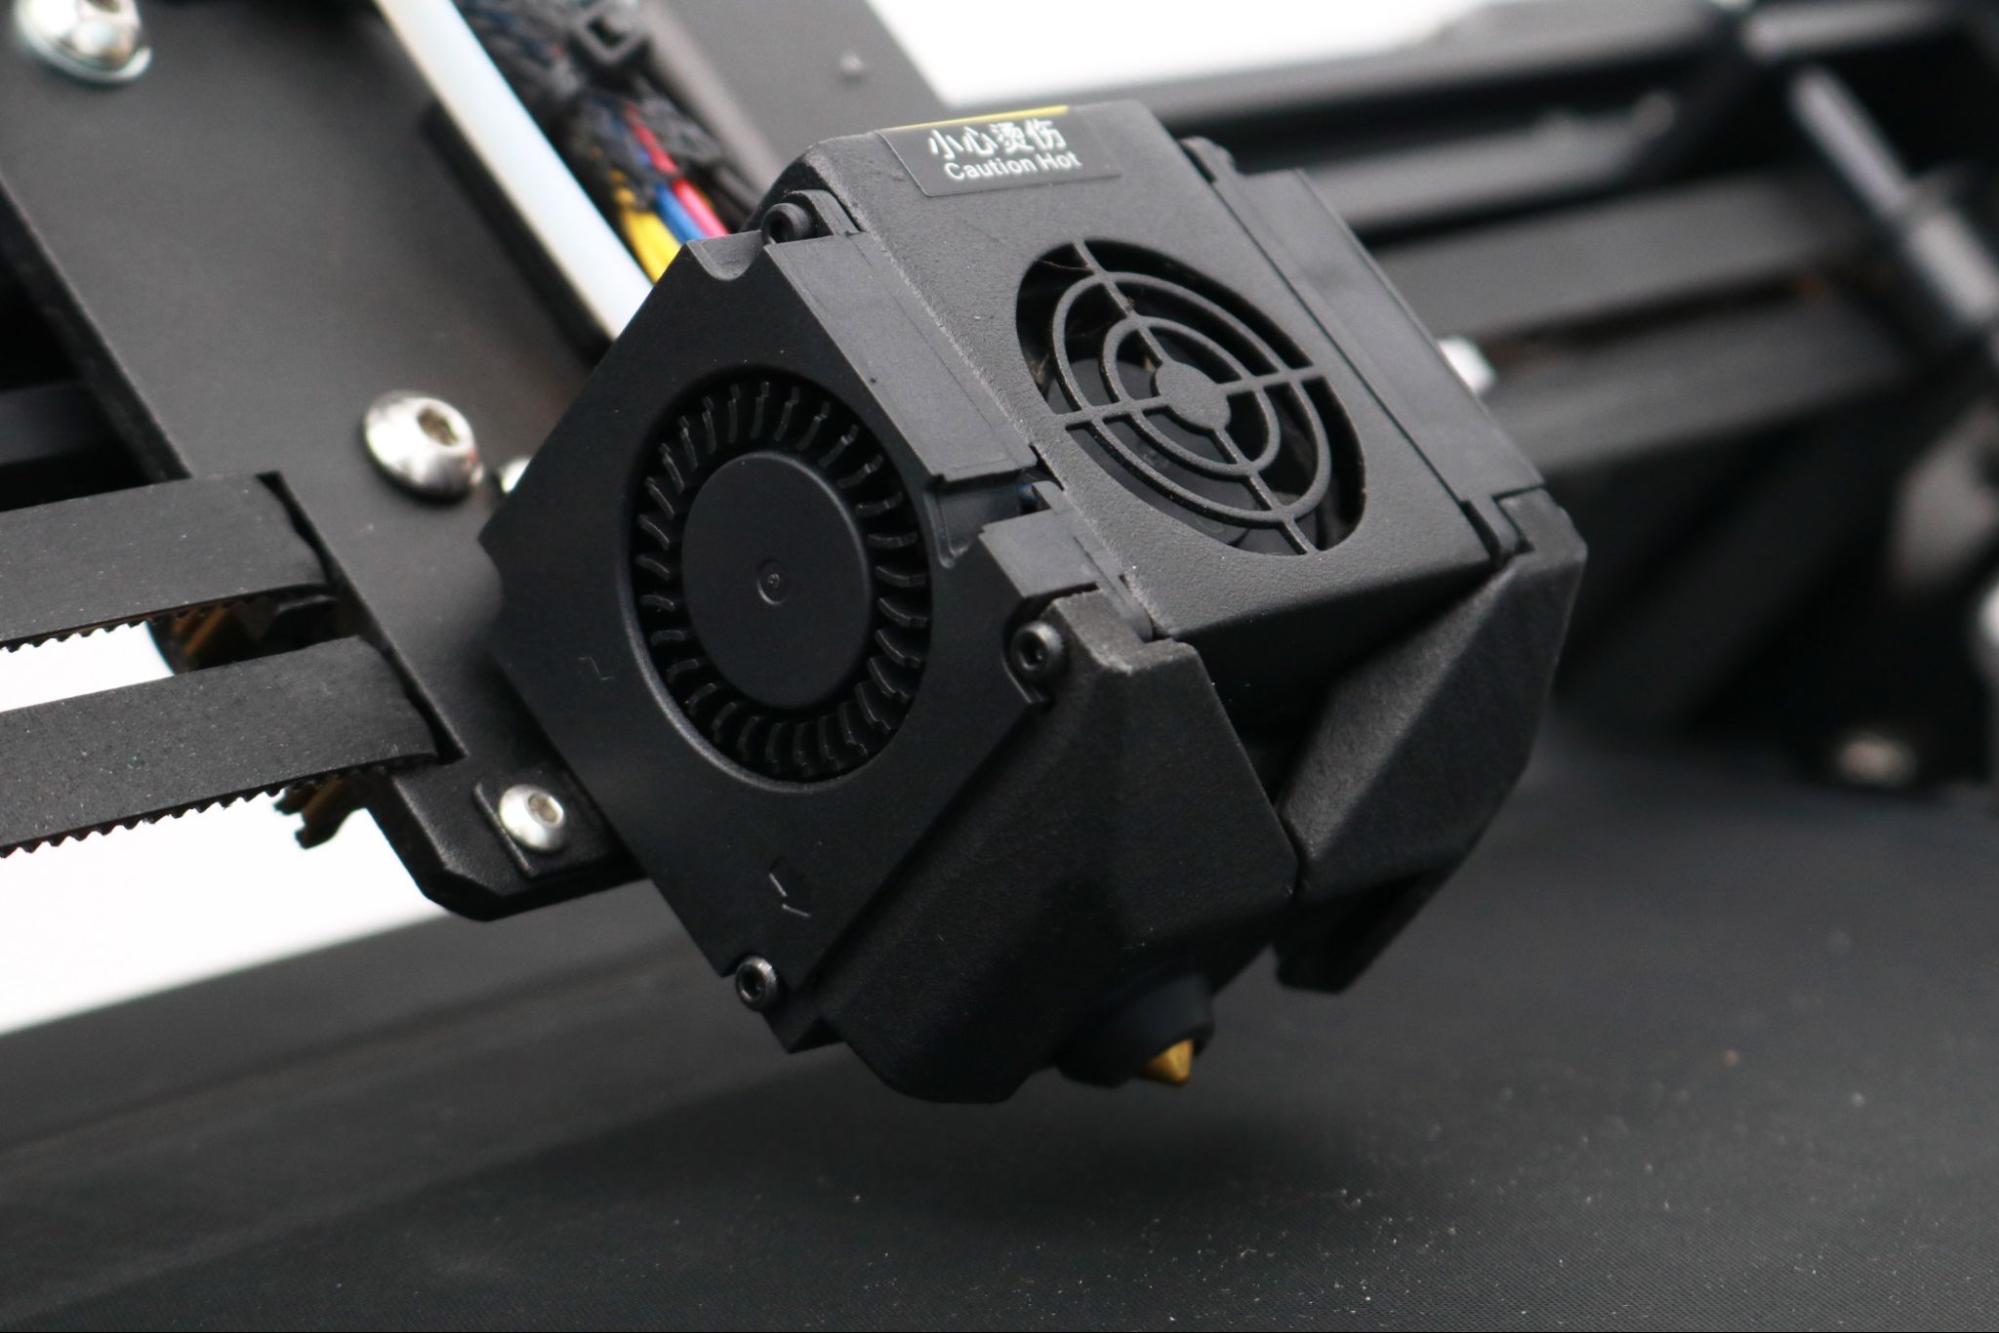
The extruder on the CR-30 is standard for a Creality 3D printer, but it’s worth noting that it is made from machined aluminum, and not the cheaper injection molded plastic extruder body sometimes found on cheaper machines. Considering the cost of the machine, this is a sensible feature to include. This Bowden-style extruder feeds filament from the right side of the machine to the hot end mounted on the X bracket.
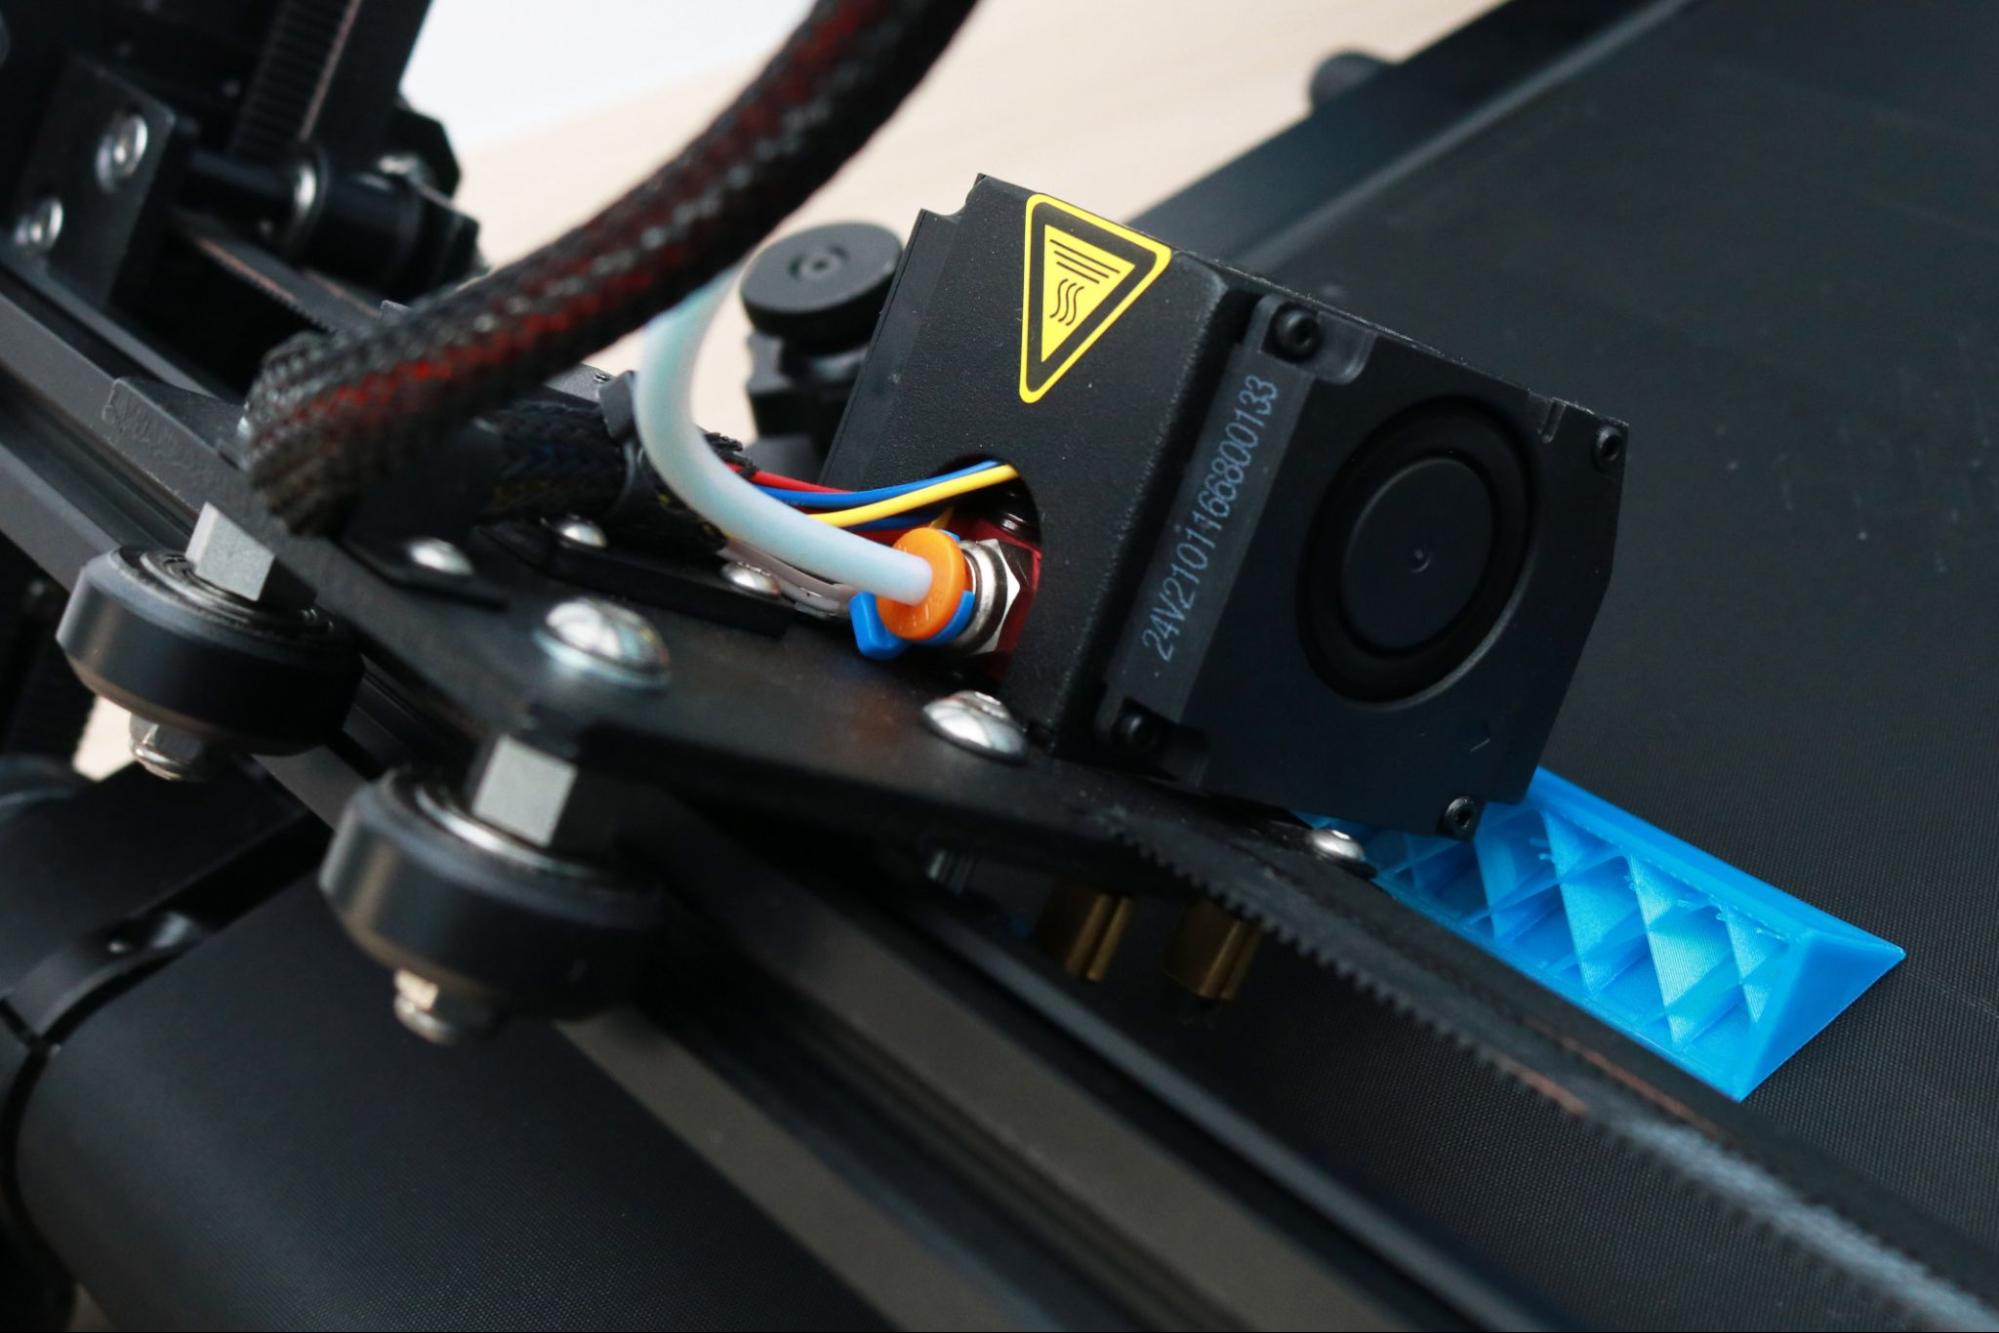
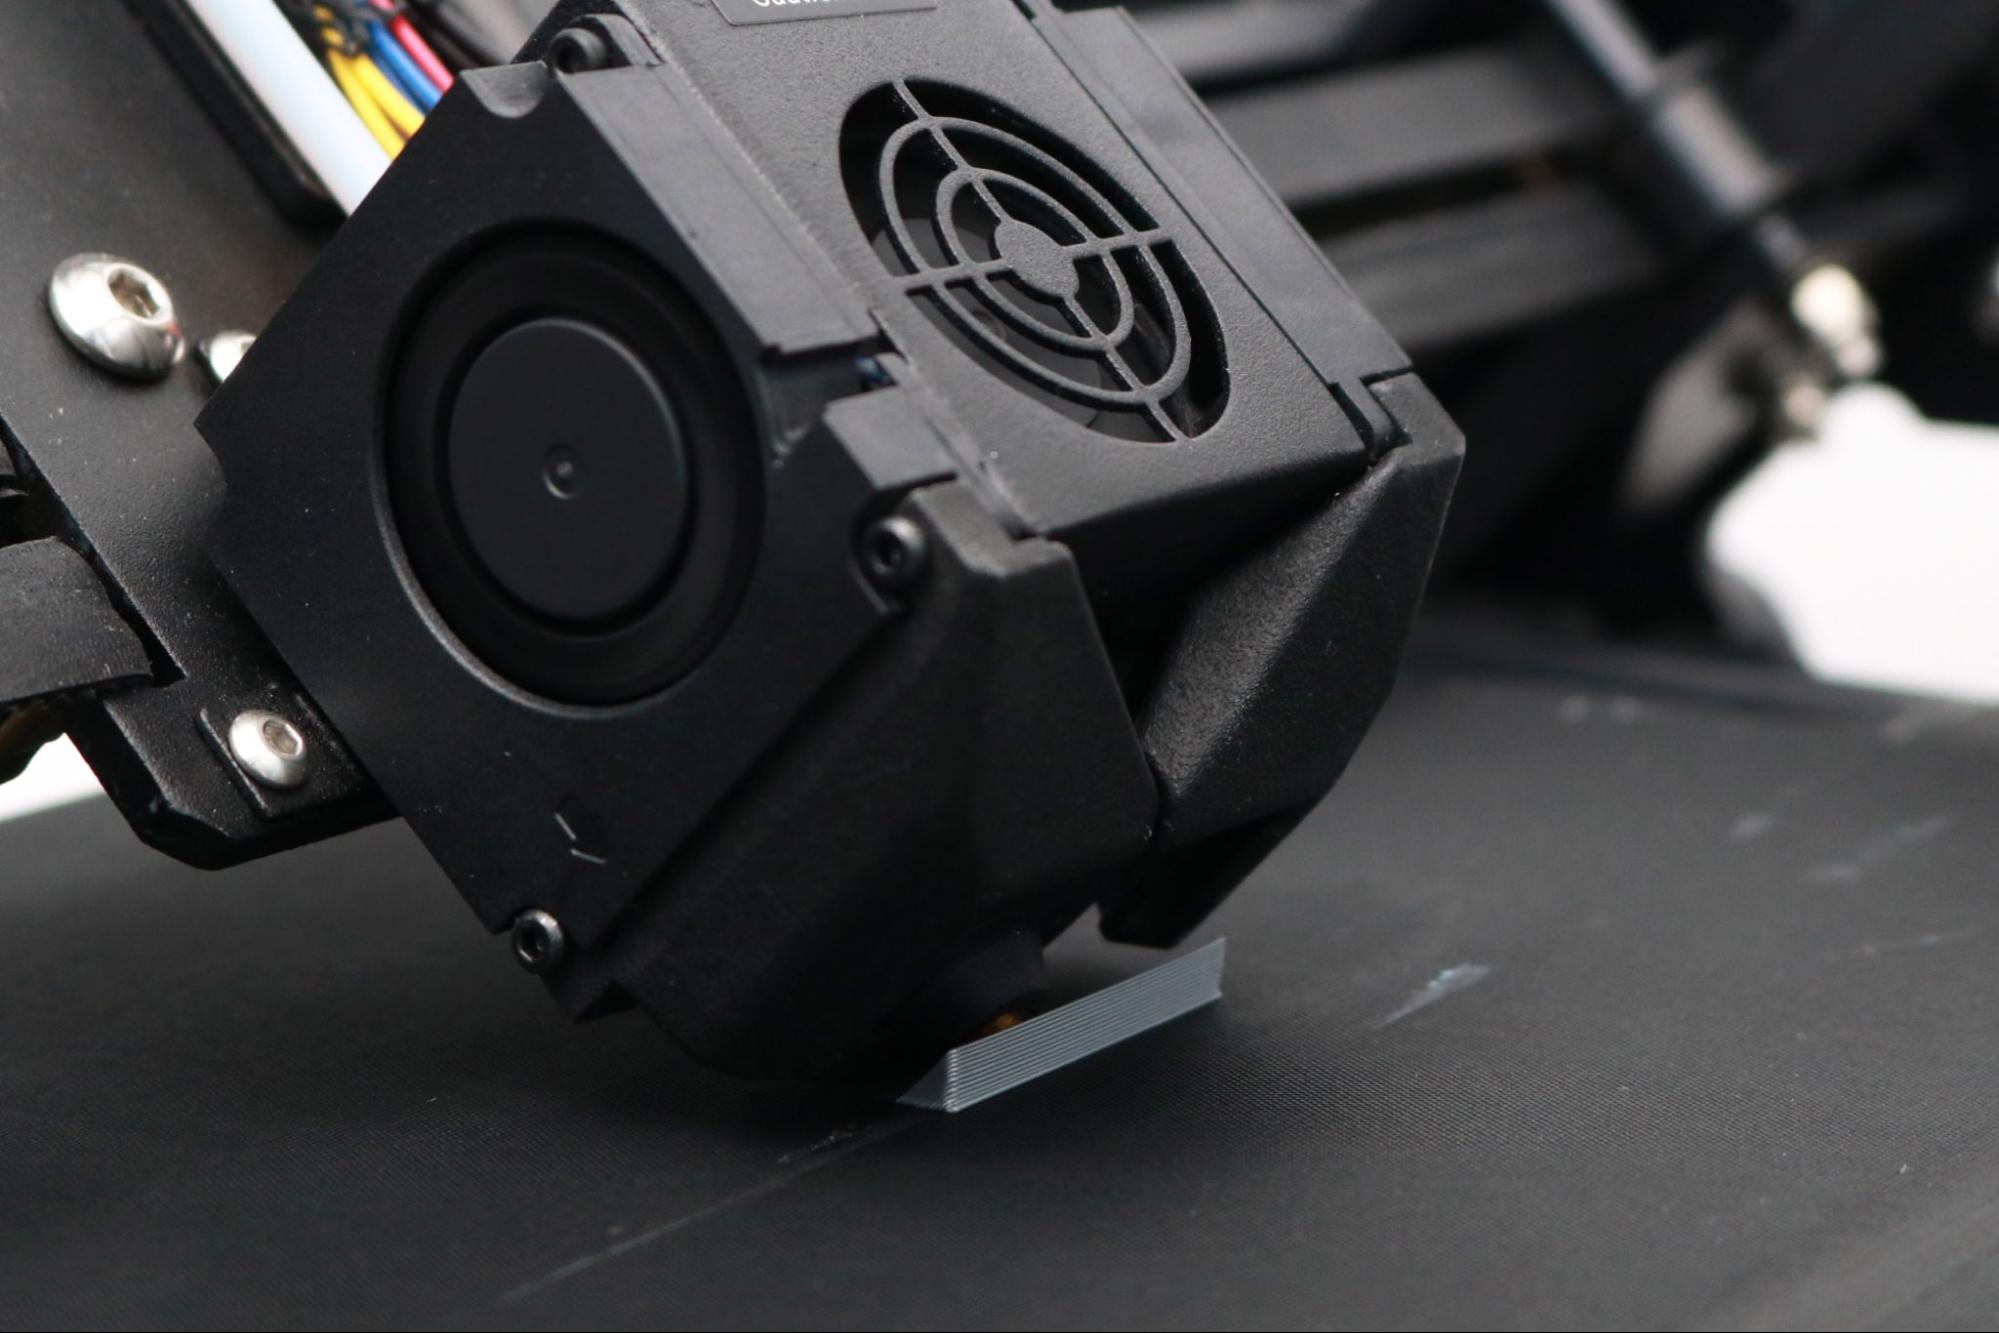
The hot end has a unique nozzle and heat break cooling system; two part cooling fans blow from the sides of the carriage on the X gantry directly on the plastic deposited by the nozzle, and a third fan cools the heartbreak of the hot end. Despite having three fans on the nozzle, the CR-30 is still a relatively quiet 3D printer, and the noise during printing is an acceptable volume for home, office, or lab use.
User Interface on Creality CR-30
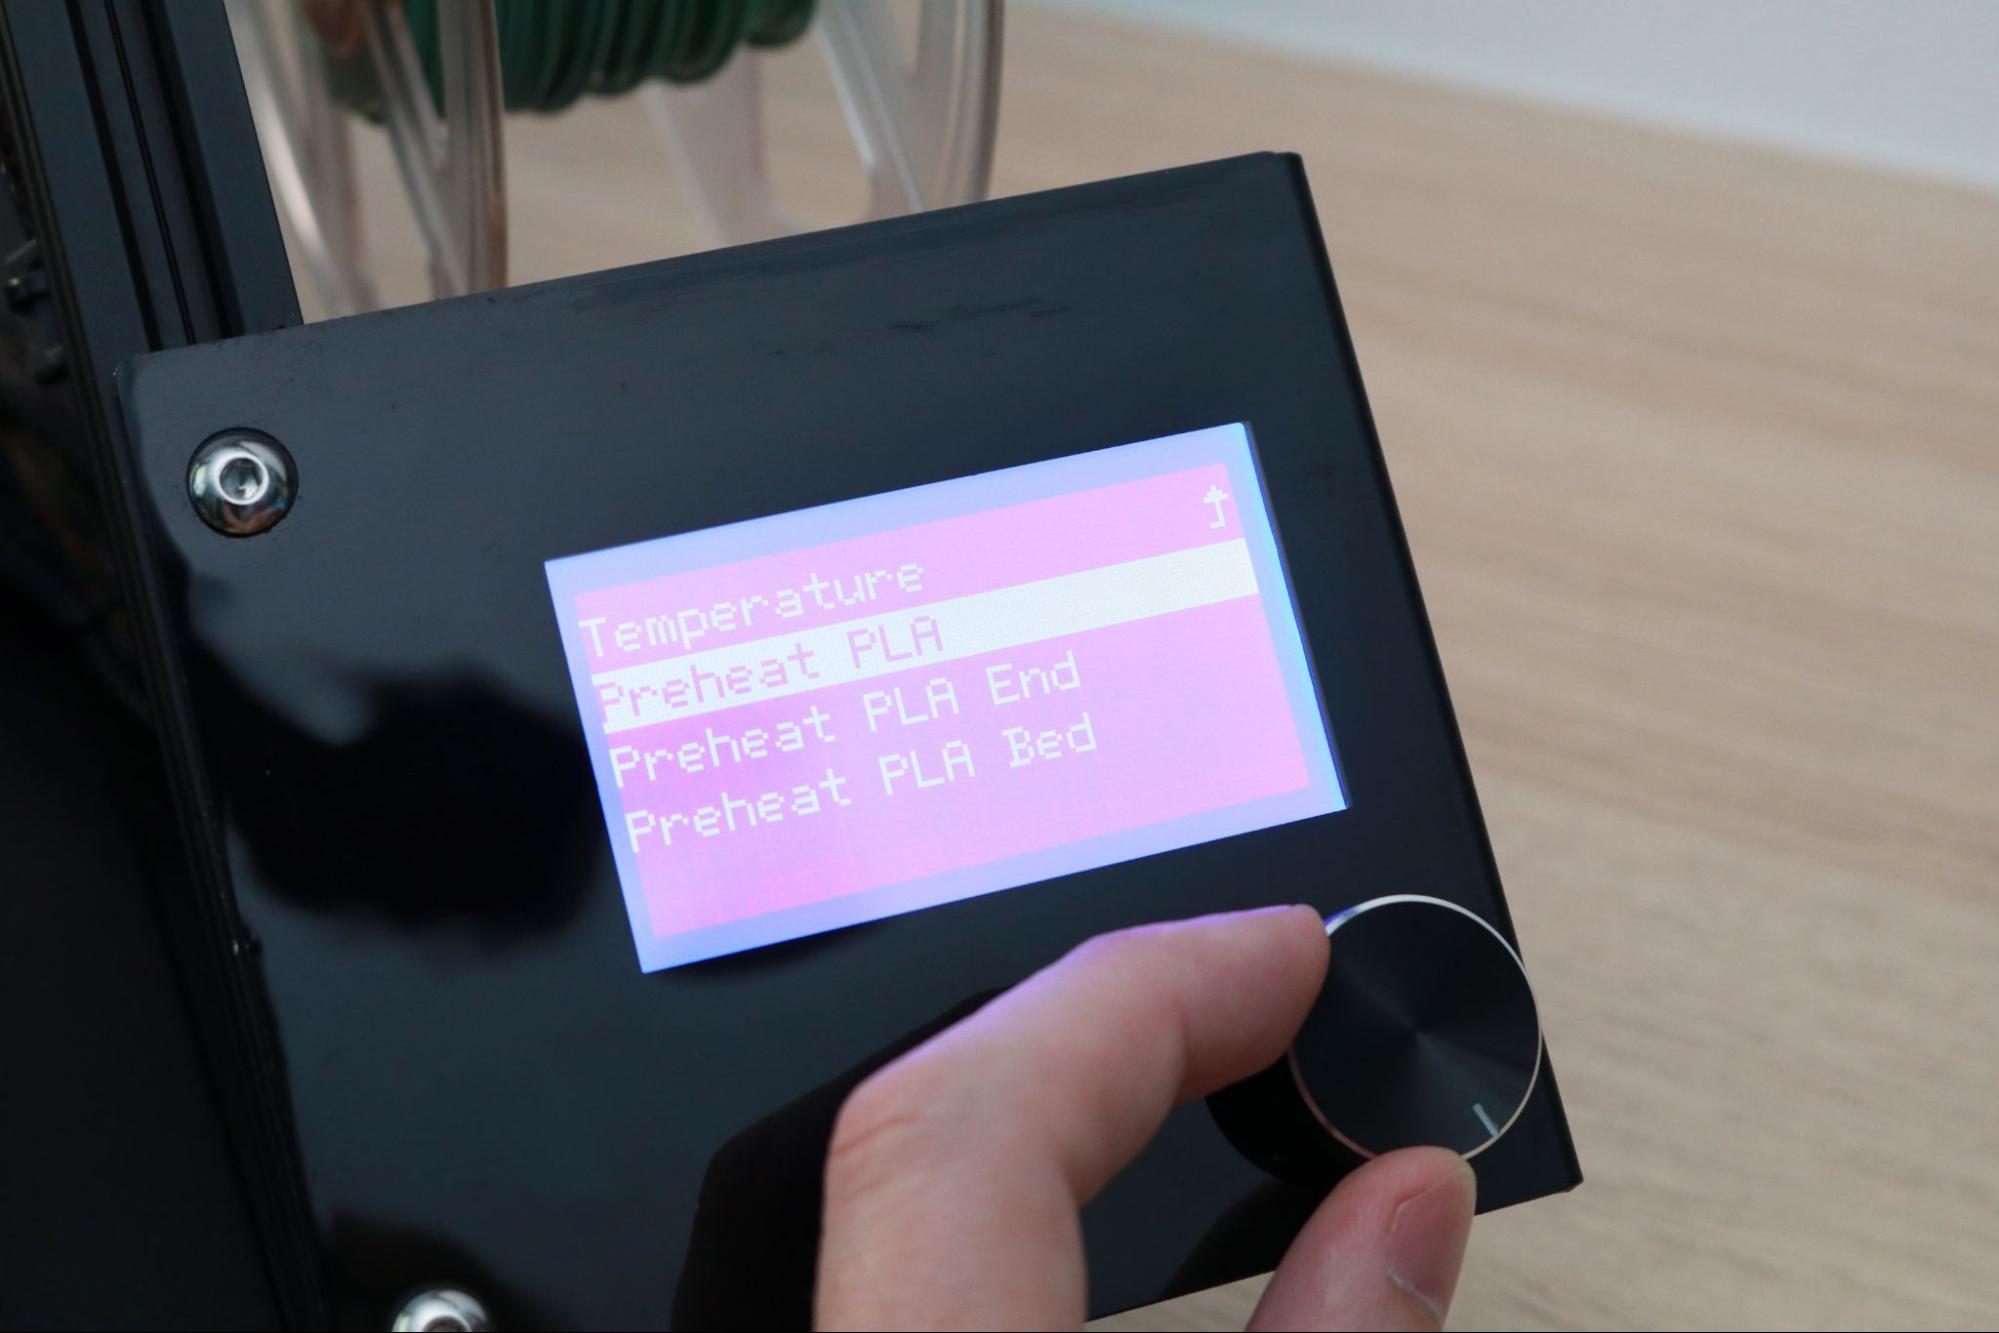
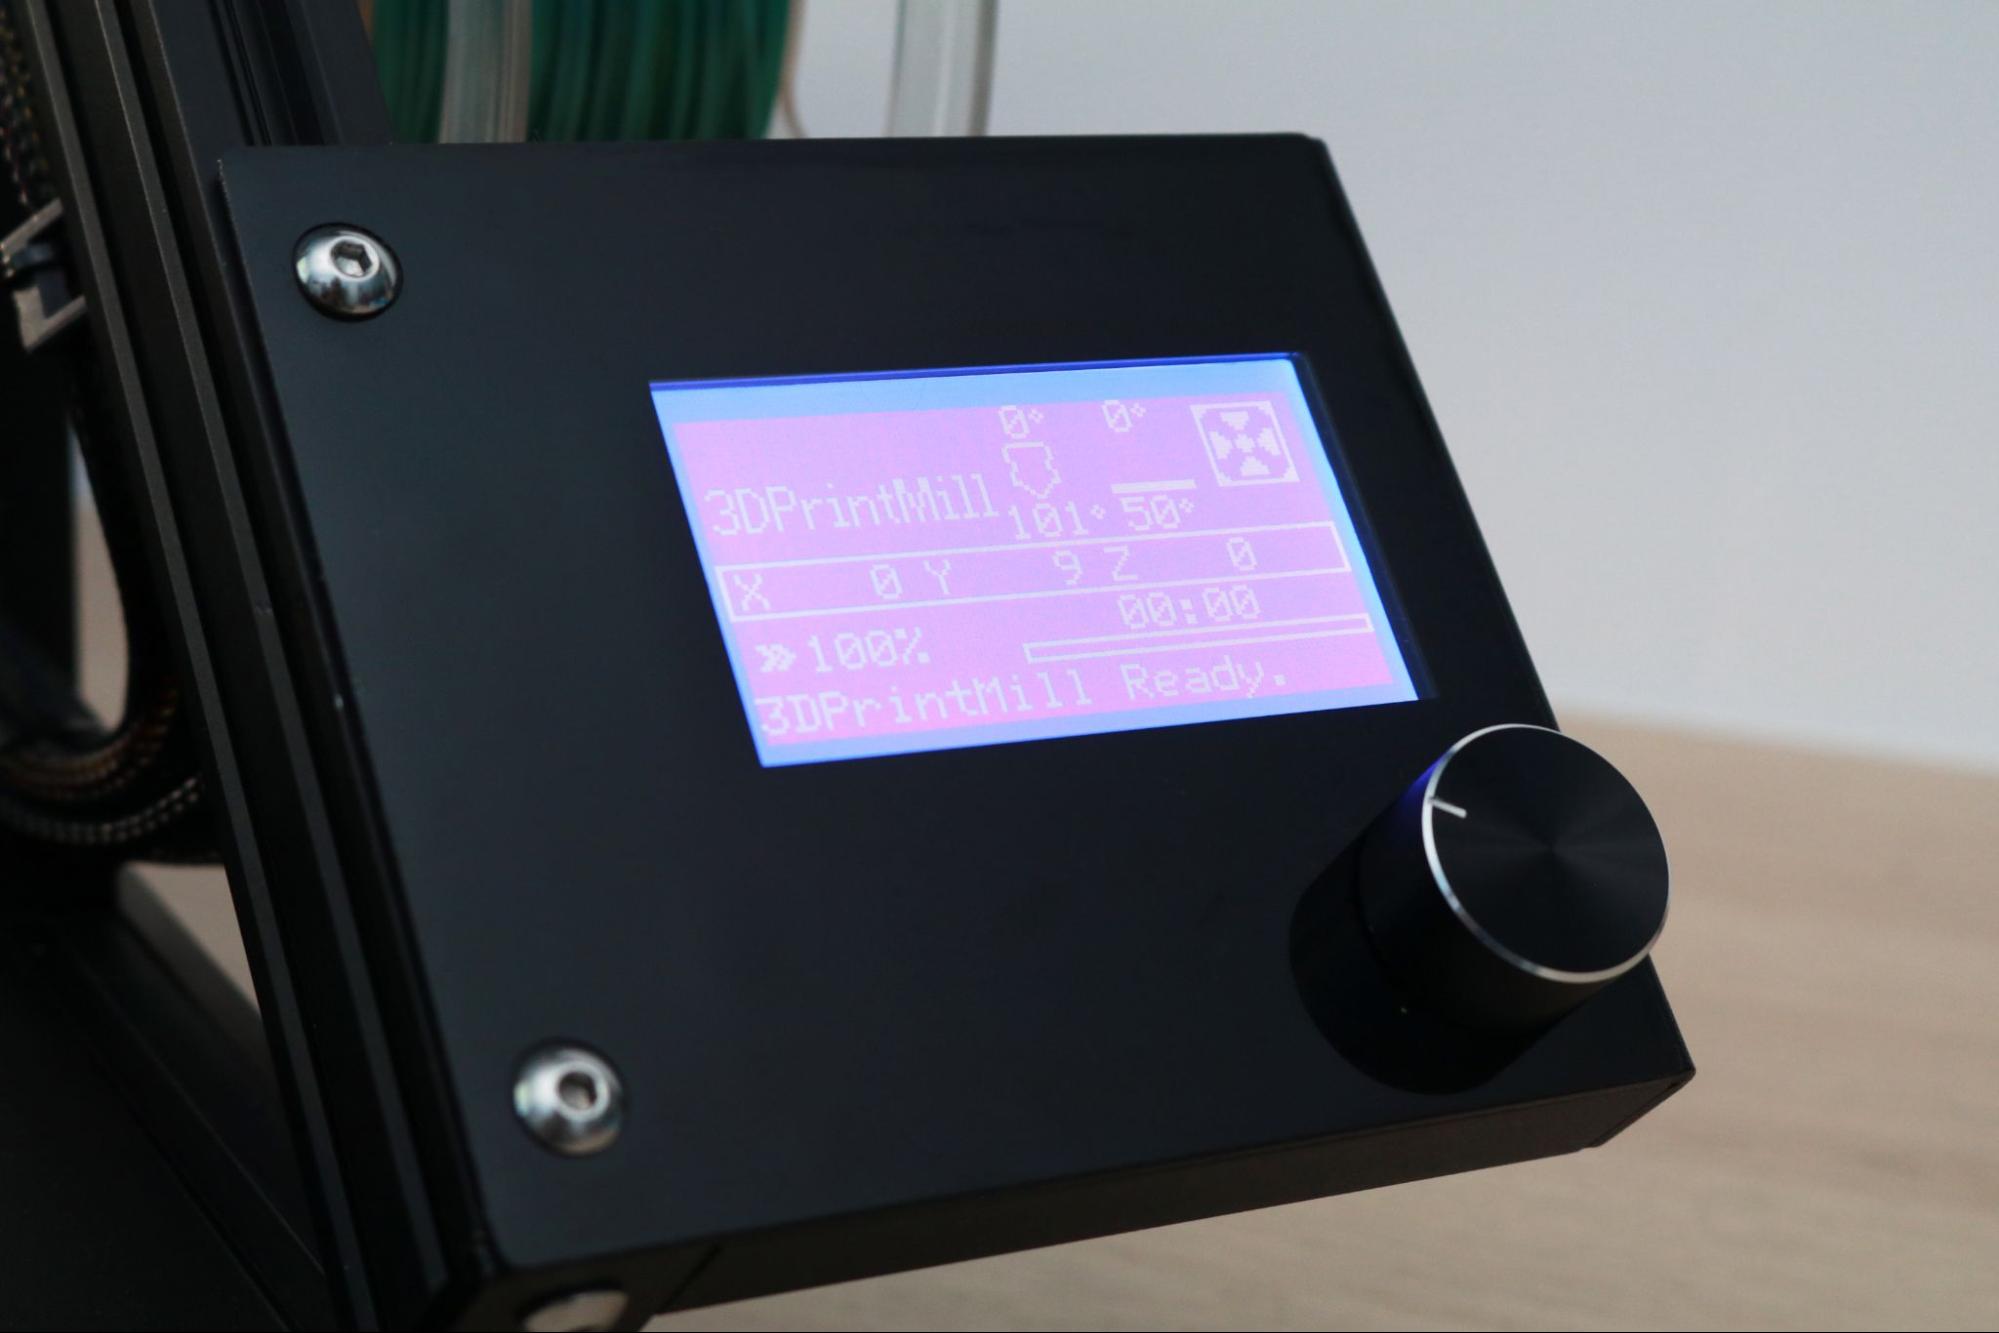
The Creality CR-30 uses a monochrome LCD with a click-wheel as a primary user interface. For a $1,000+ 3D printer made in 2021, this interface feels clunky and outdated compared with the color touchscreen LCD interface on printers like the Flashforge Adventurer 4. The LCD itself measures 3.25-inches, and the mounting bracket is more bezel than screen, which makes it almost feel like an afterthought instead of a design consideration.
This user interface shows the current version of firmware when booted, which I updated to the latest community firmware version (2.0.9.1). This interface enables micro-stepping (X,Y, and Z), but it is buried under several layers of the menu which makes it difficult to make adjustments to the printer on the fly while it is printing. Considering the cost of the machine, an updated interface that allows for greater levels of control as well as a more intuitive UI would be an appropriate addition for Creality to add to this machine.
Leveling the Belt on Creality CR-30
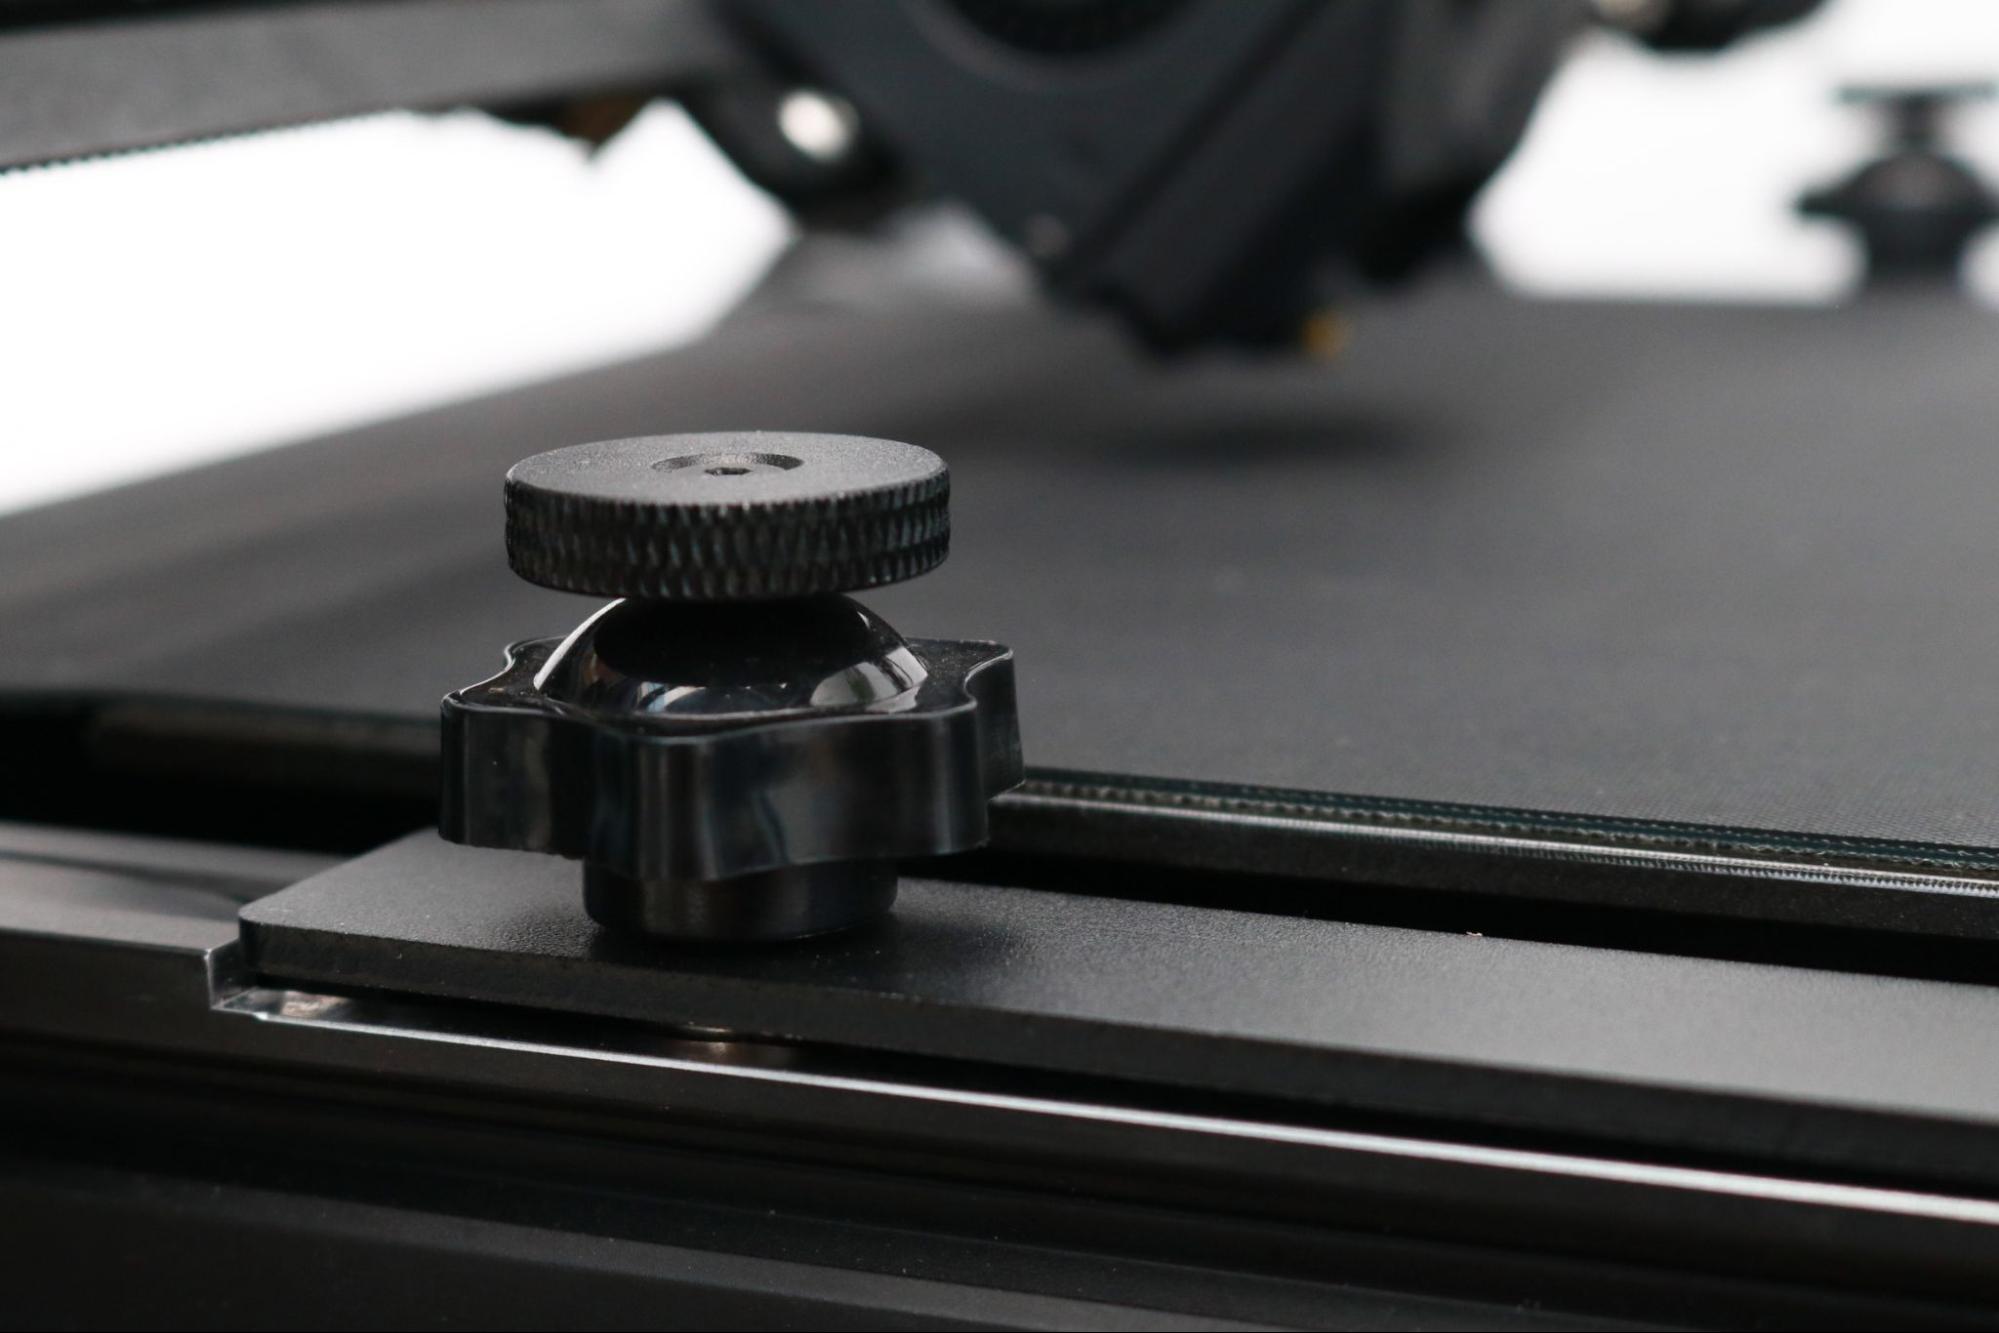
The revolving conveyor belt on the Creality CR-30 is by far the most defining feature on the machine and as you can probably imagine, calibrating it is a complex process. The conveyor belt requires several points of calibration: there is the z-offset between the nozzle and the belt, four thumbscrews that raise and lower the sides of two metal plates under the belt, and the overall tension of the belt itself. Calibrating these points is required to make sure the belt remains flat across both the width as well as length of the printing platform.
The CR-30 has a pair of physical endstops mounted at the bottom of the Y-axis, which act as a bumper to prevent the extruder gantry from moving below a certain point. The physical endstop on the right side of the machine has an optical sensor mounted on the inside which can detect when the gantry has reached a certain level.
Calibrating this sensor involves loosening and lowering the endstop, dropping the nozzle to the platform, and then reattaching the physical endstop once the optical sensor has been triggered. I repeated this process about a half dozen times to try and get the nozzle perfectly aligned with the bed; it’s not an easy process and involves a lot of trial-and-error. Using the included .1mm metal feeler gauge is critical to the success of this process; this feeler gauge sets the offset between both the physical endstop and the gantry as well as the nozzle and the platform.
Once the optical endstop has been adjusted, the nozzle needs to be trammed back and forth on the X axis (left to right) to make sure it’s even with the belt. This can take a few tries to get right, and the nozzle has to be moved slowly to avoid damaging the belt.
An issue I noticed was that the silicone sock on the extruder was slightly lower than the nozzle, causing it to drag back and forth during printing. This basically coats the belt in silicone, which is the exact opposite of what you want to happen during printing. A common solution to this problem is slightly trimming the silicone sock to remove the lower edge; this worked perfectly for me.
There are four knobs that run down the sides of the belt. Two of them control the height of the heated plate underneath the nozzle, and the other two control the height of the unheated plate towards the end of the conveyor. I adjusted the knob on the left side of the heated platform to raise that edge of the bed, which brought it level with the right side. Once these two sides were calibrated, the bed was flat and level, and the extruder could tram back and forth over the platform without touching the belt.
Conditioning the Belt on Creality CR-30
The conveyor belt on the Creality CR-30 has gone through several revisions since the launch of the machine, and the current iteration of the belt has some kind of slick coating on it that repels filament and prevents it from sticking. This means that the belt must be conditioned before the printer can be used. This is one of the single largest factors in the success of a print, and currently, most users are going to struggle with this process.
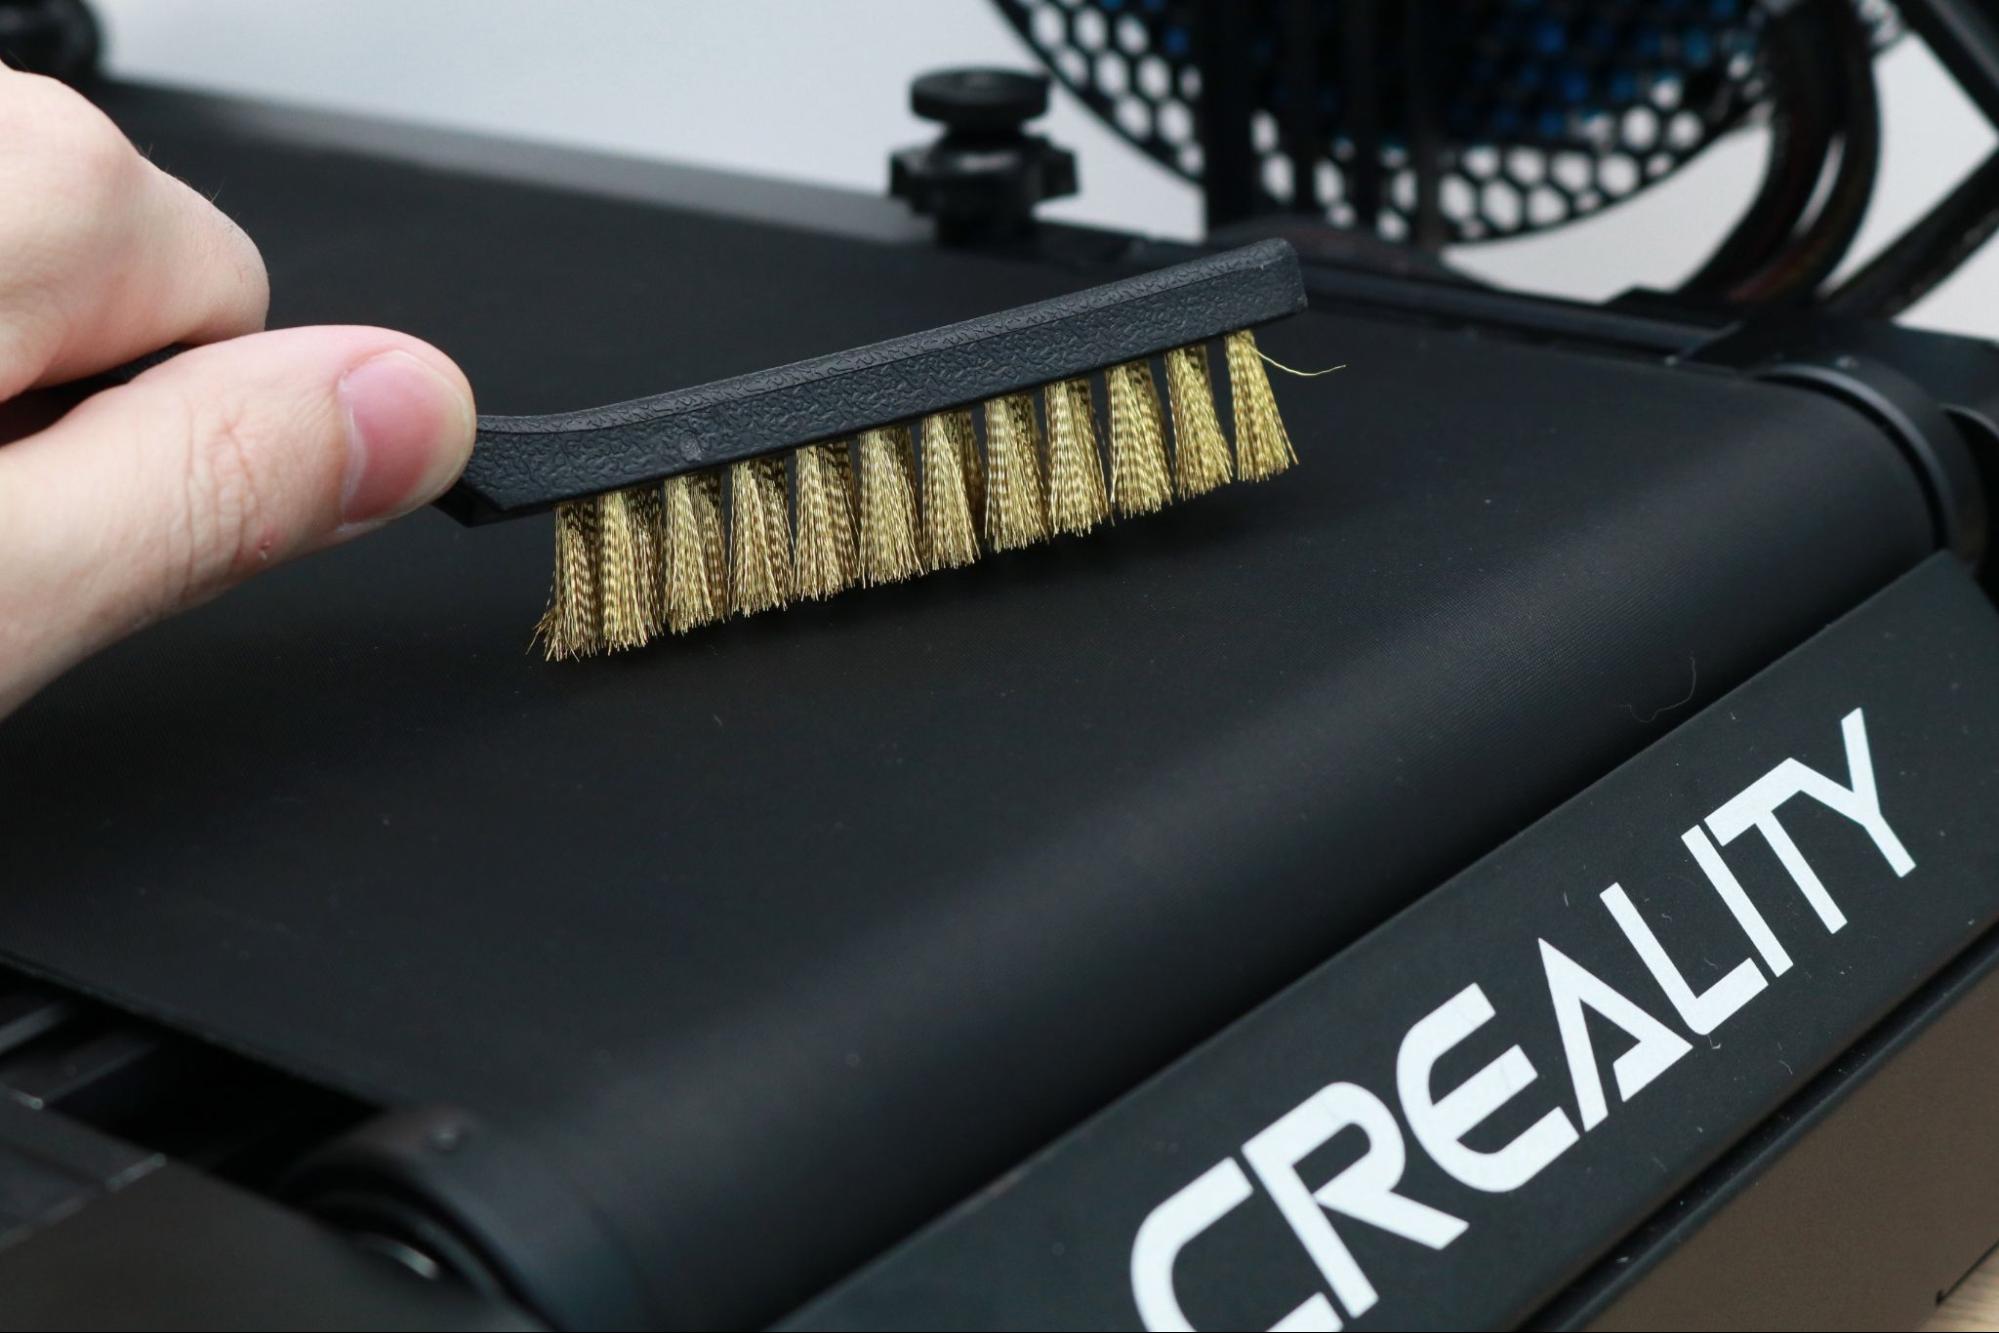
I spoke with Alan Puccinelli from Repkord, a leading expert on serial production using the Creality CR-30 platform as well as the designer of multiple upgrades for the machine, to get his input on this issue. Some of the solutions that he has found success in involve using a wire brush to break through the coating on the platform as well as using an adhesive spray on the platform to allow the filament to stick to the belt. The final trick is to break in the belt by printing an edge-to-edge single layer print, which effectively covers the entire platform. After trying his solutions, I was able to get parts to stick to the platform reliably, something I wasn’t able to do without these steps.
This belt represents a major issue with the CR-30, because users will not find it intuitive to use an aggressive brush, solvents, or adhesives on the belt due to the potential damage they could cause. However, the coating on the belt simply will not allow filament to adhere to it without additional conditioning, a time-consuming and potentially damaging process to the printer. I reached out to Creality about this problem and the company responded that “after leveling and adjustment, the problem of non-sticking can be solved.” If you’re the type of person who really wants to mass-produce parts and have the budget to afford the CR-30, perhaps you have the skill and patience to do this, but for others, it’s an unwelcome challenge.
Printing the Included Test Prints on Creality CR-30
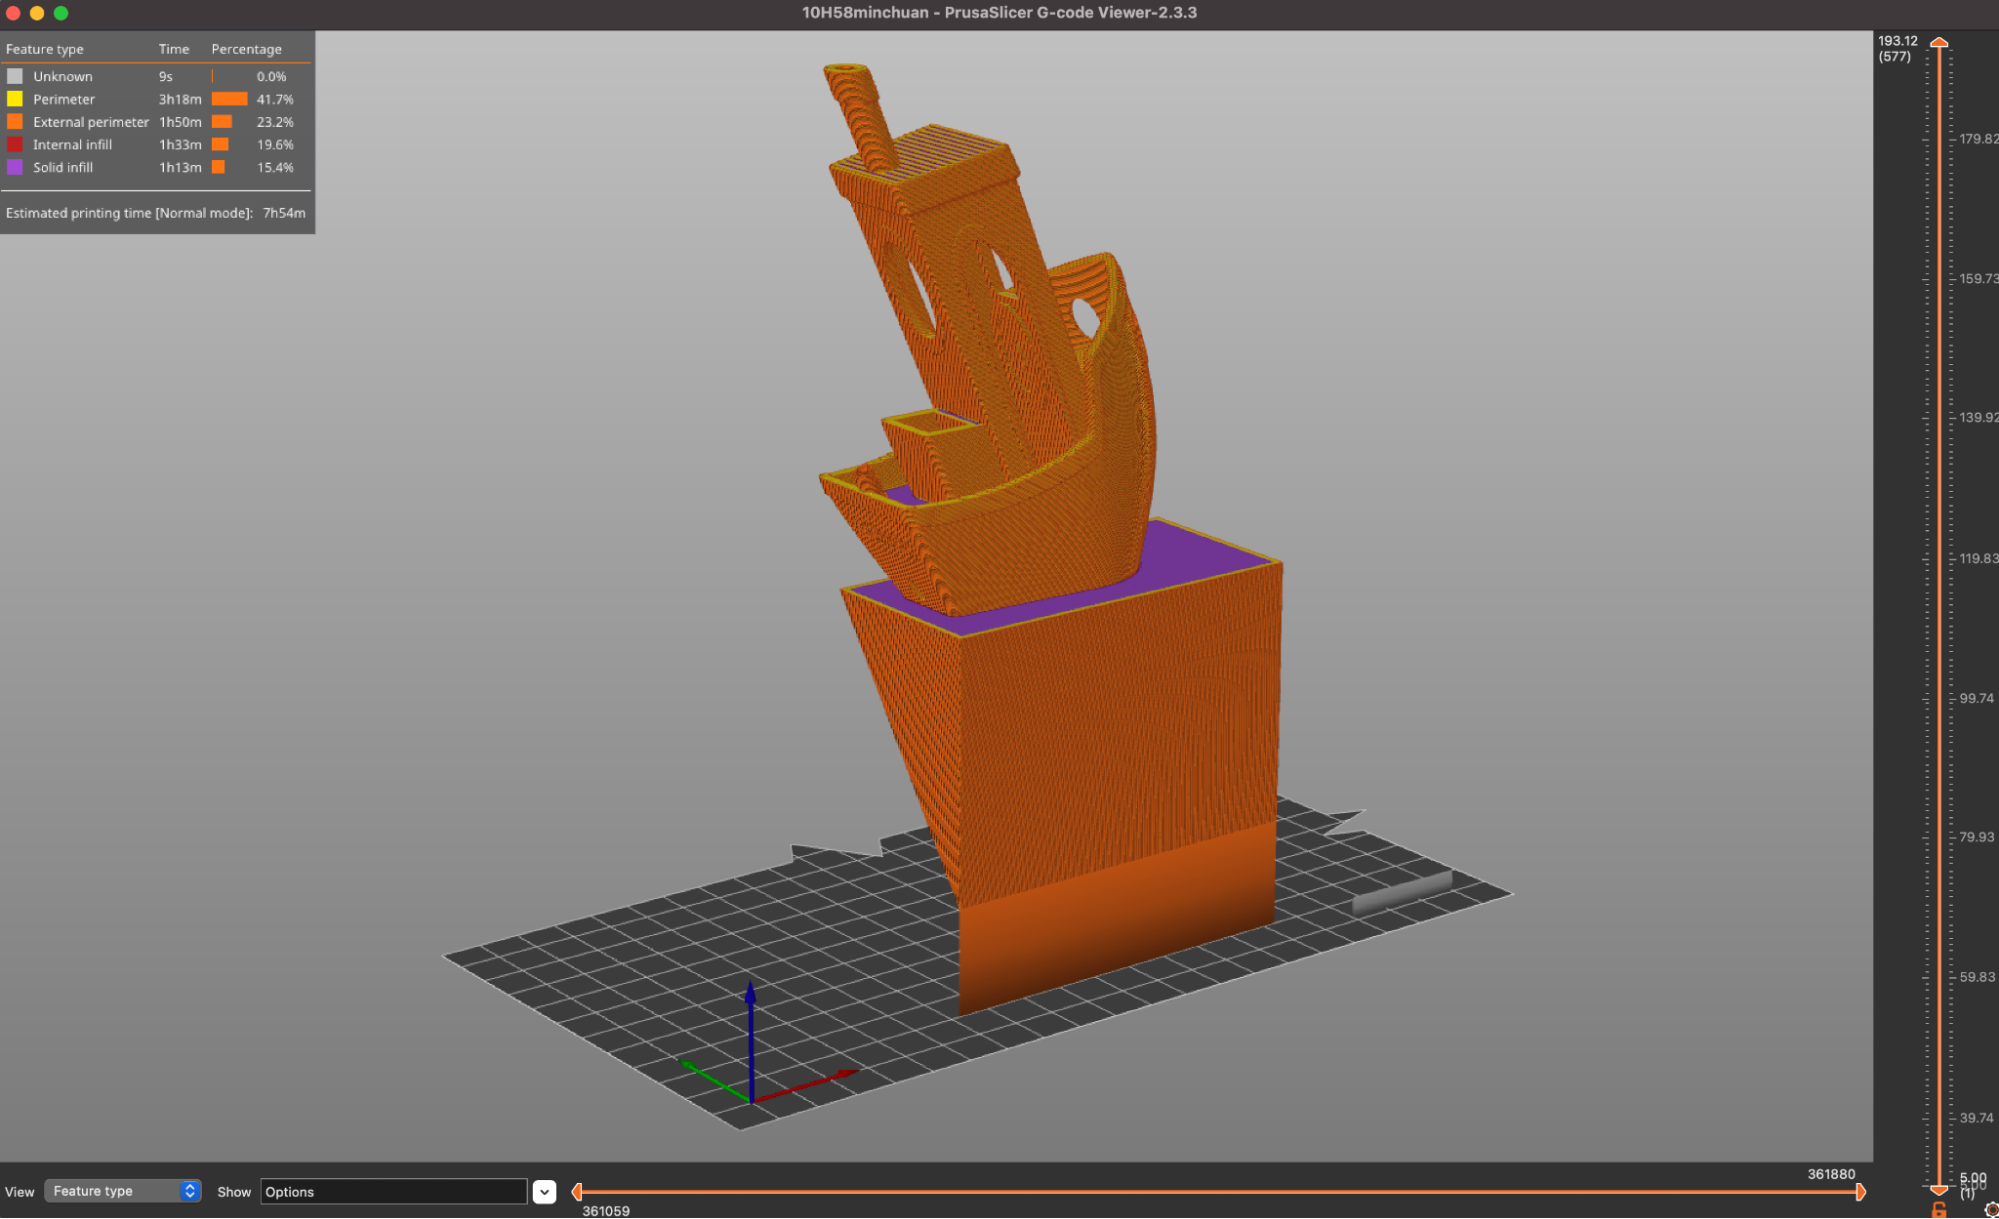
Creality includes three pre-sliced models for the CR-30 on the included SD card, which I was very grateful to see. Preparing models for this style of angled printing isn’t always intuitive, so some examples of what the printer can and can’t do is a good way to speed up the learning process. Unfortunately, the file names for the included files aren’t particularly descriptive, so I opened the file named ‘10H58Mminchuan.gcode’’ in a .gcode viewer to see what it contained.
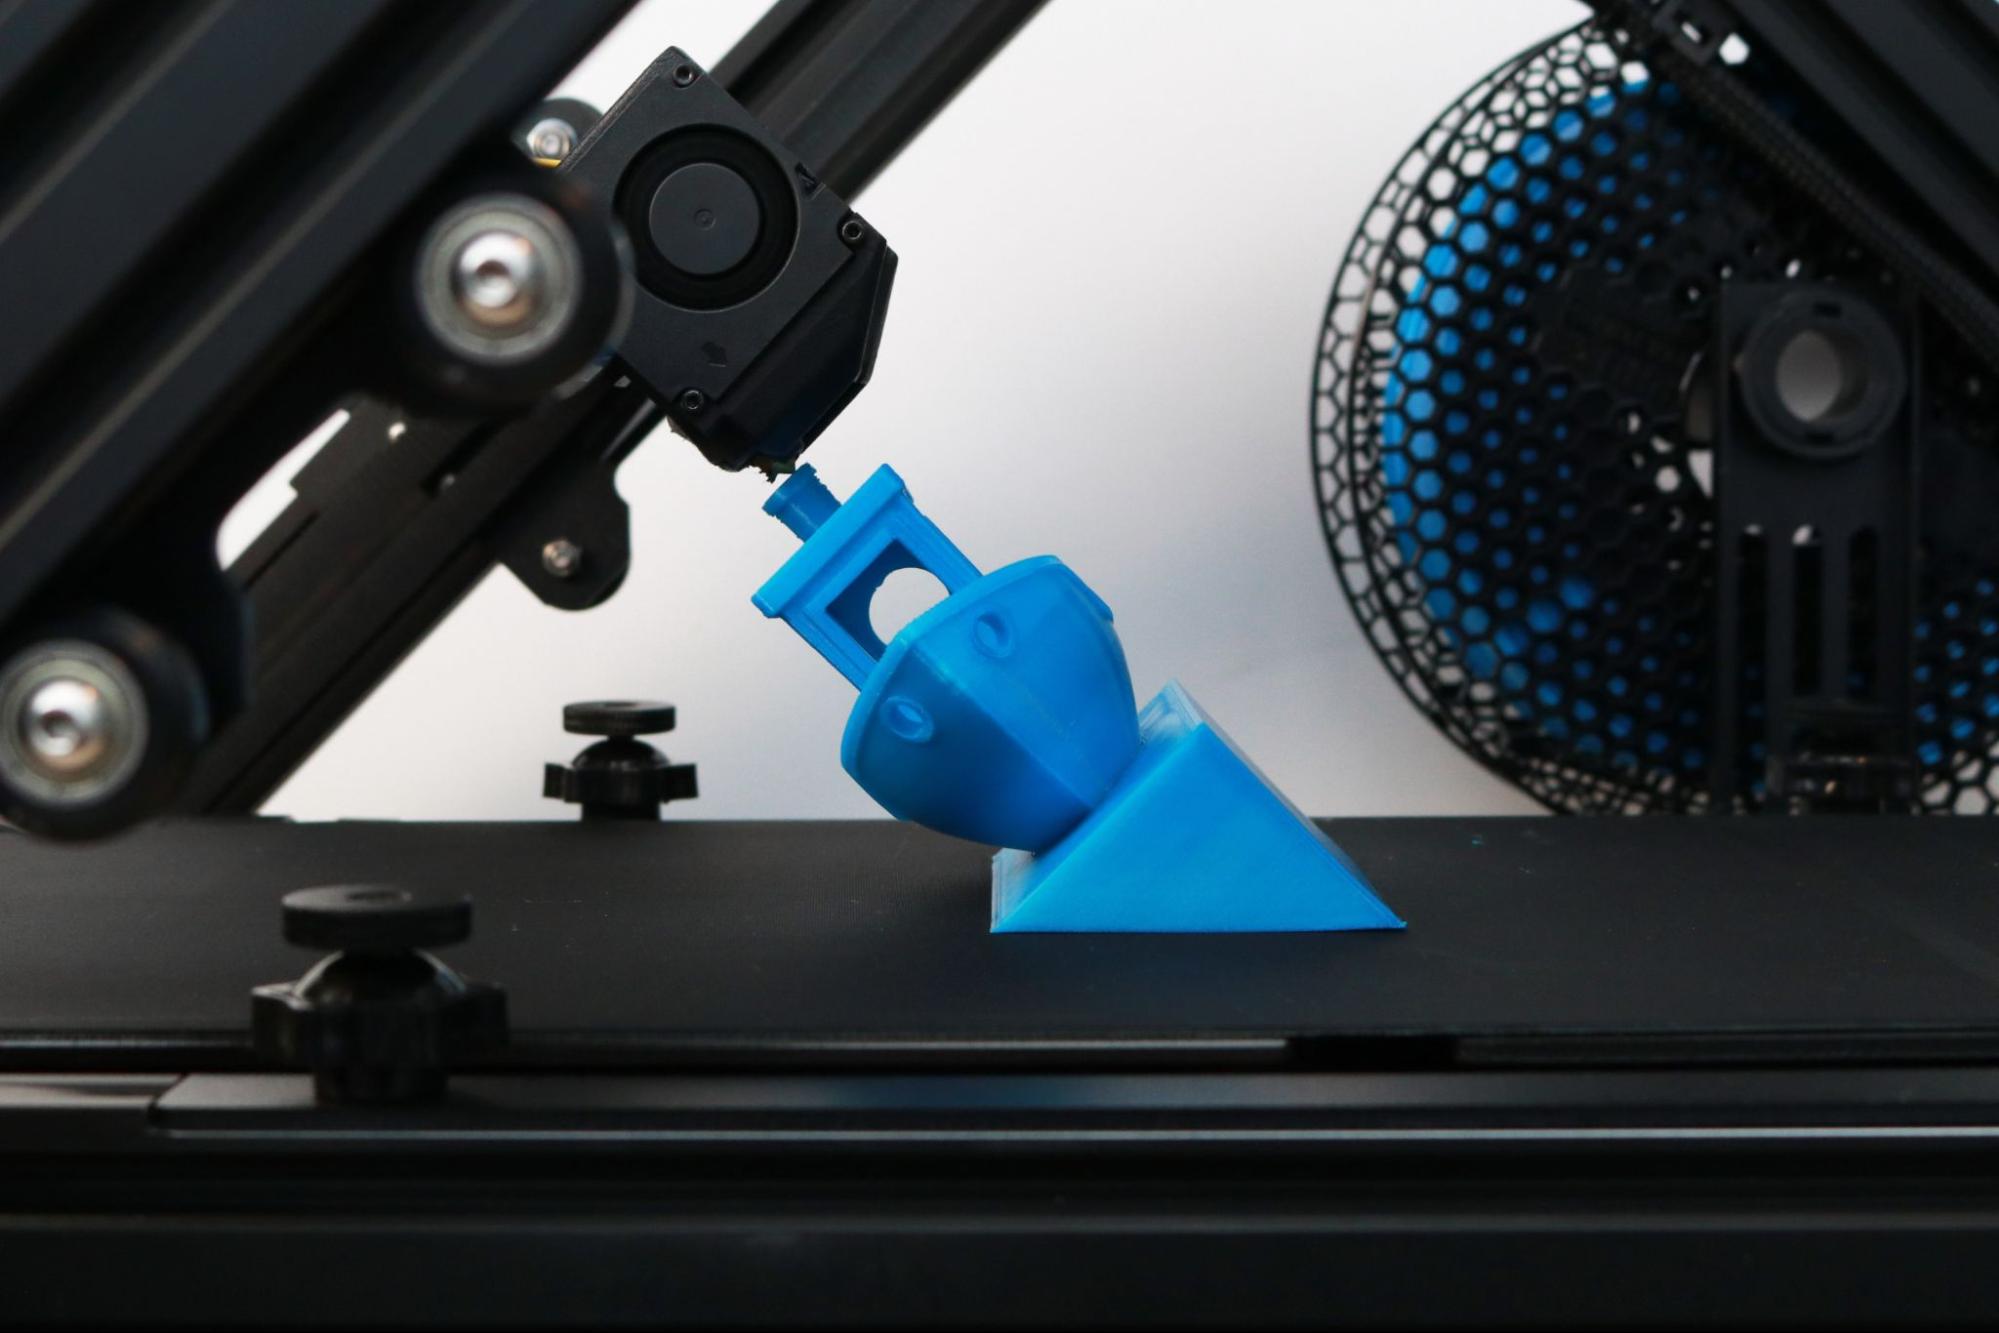
The .gcode revealed a warped Benchy model on top of what appeared to be a triangular block. I opened this file in a few other .gcode viewers, and the warped perspective was persistent between them. I loaded the CR-30 with Prusament Azure Blue PLA, and printed the file directly from the SD card.
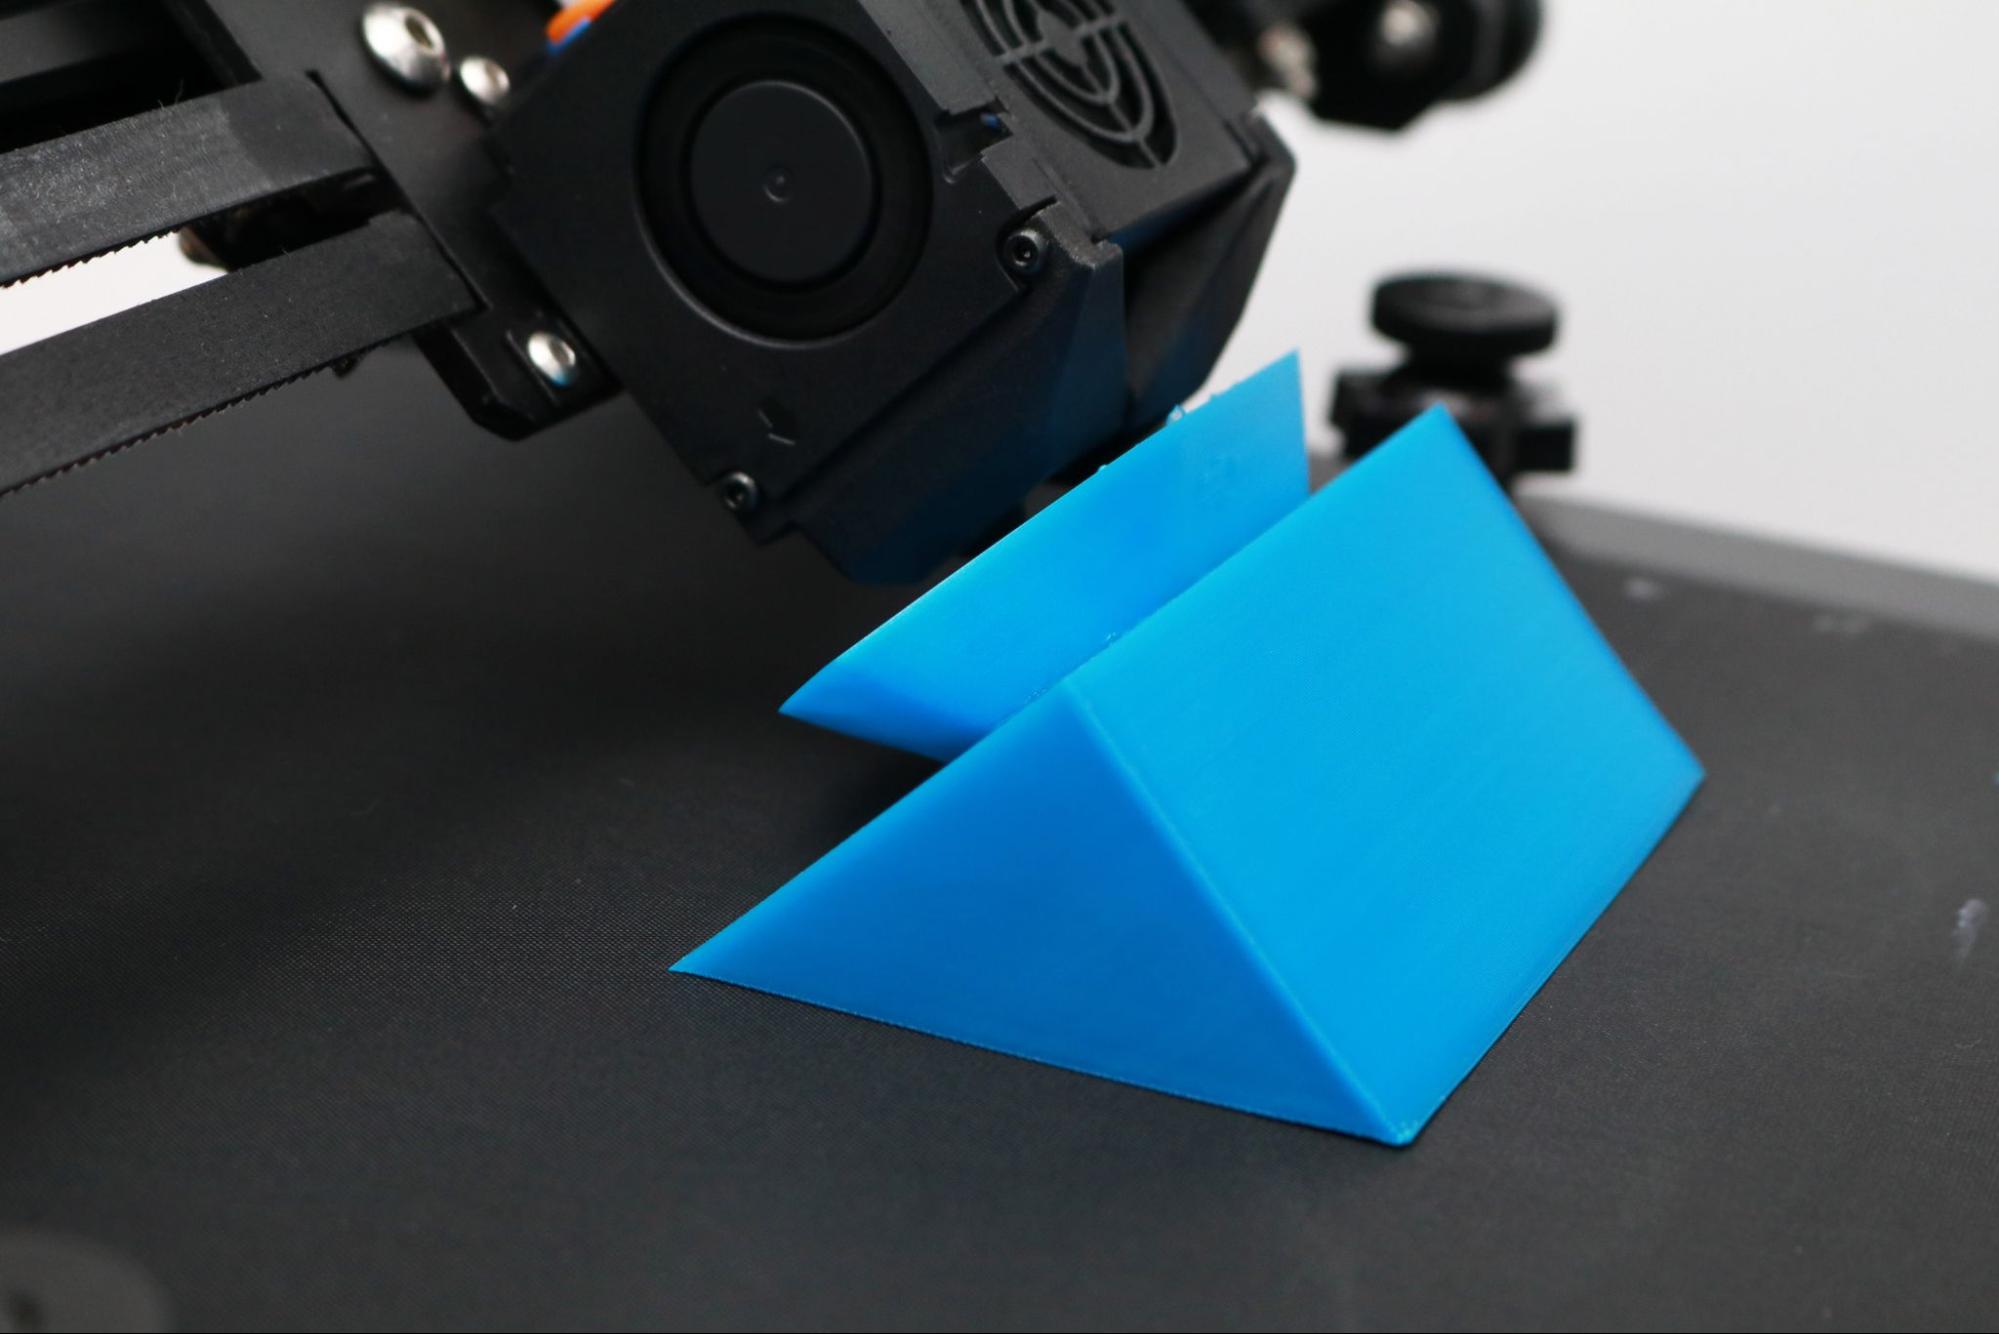
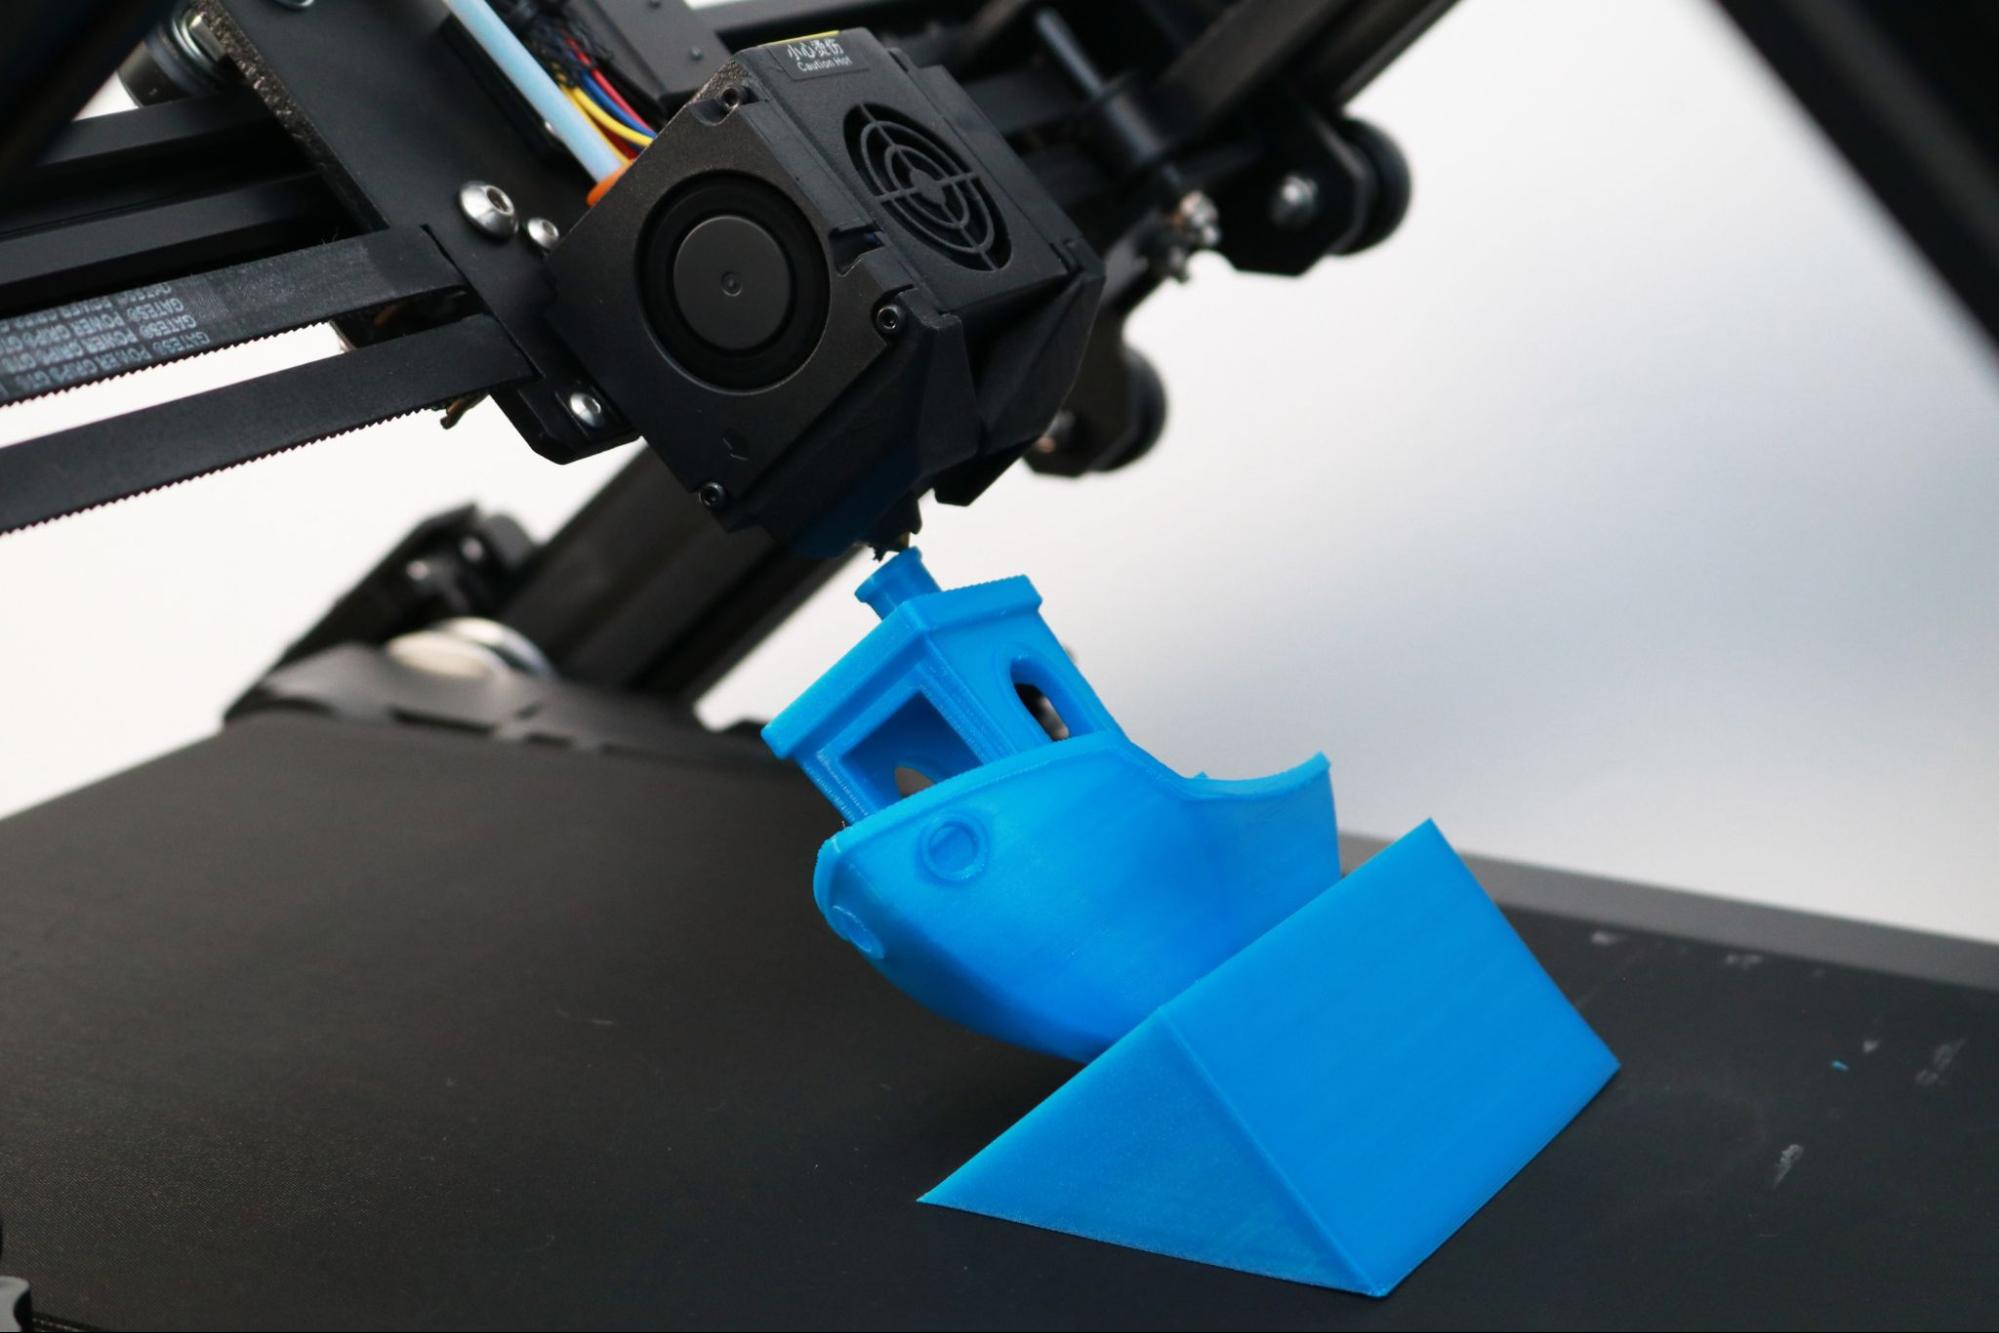
The model took 8 hours and 48 minutes to print, and it shows some of the unique strengths (and weaknesses) of the CR-30. The Benchy is printed at a 45 degree angle, with some of the overhangs looking extremely impressive for a model printed on its side. However, the large thick block it printed on was slightly curled at the corners, something that was recurring even after trying the model on several different spots on the belt.
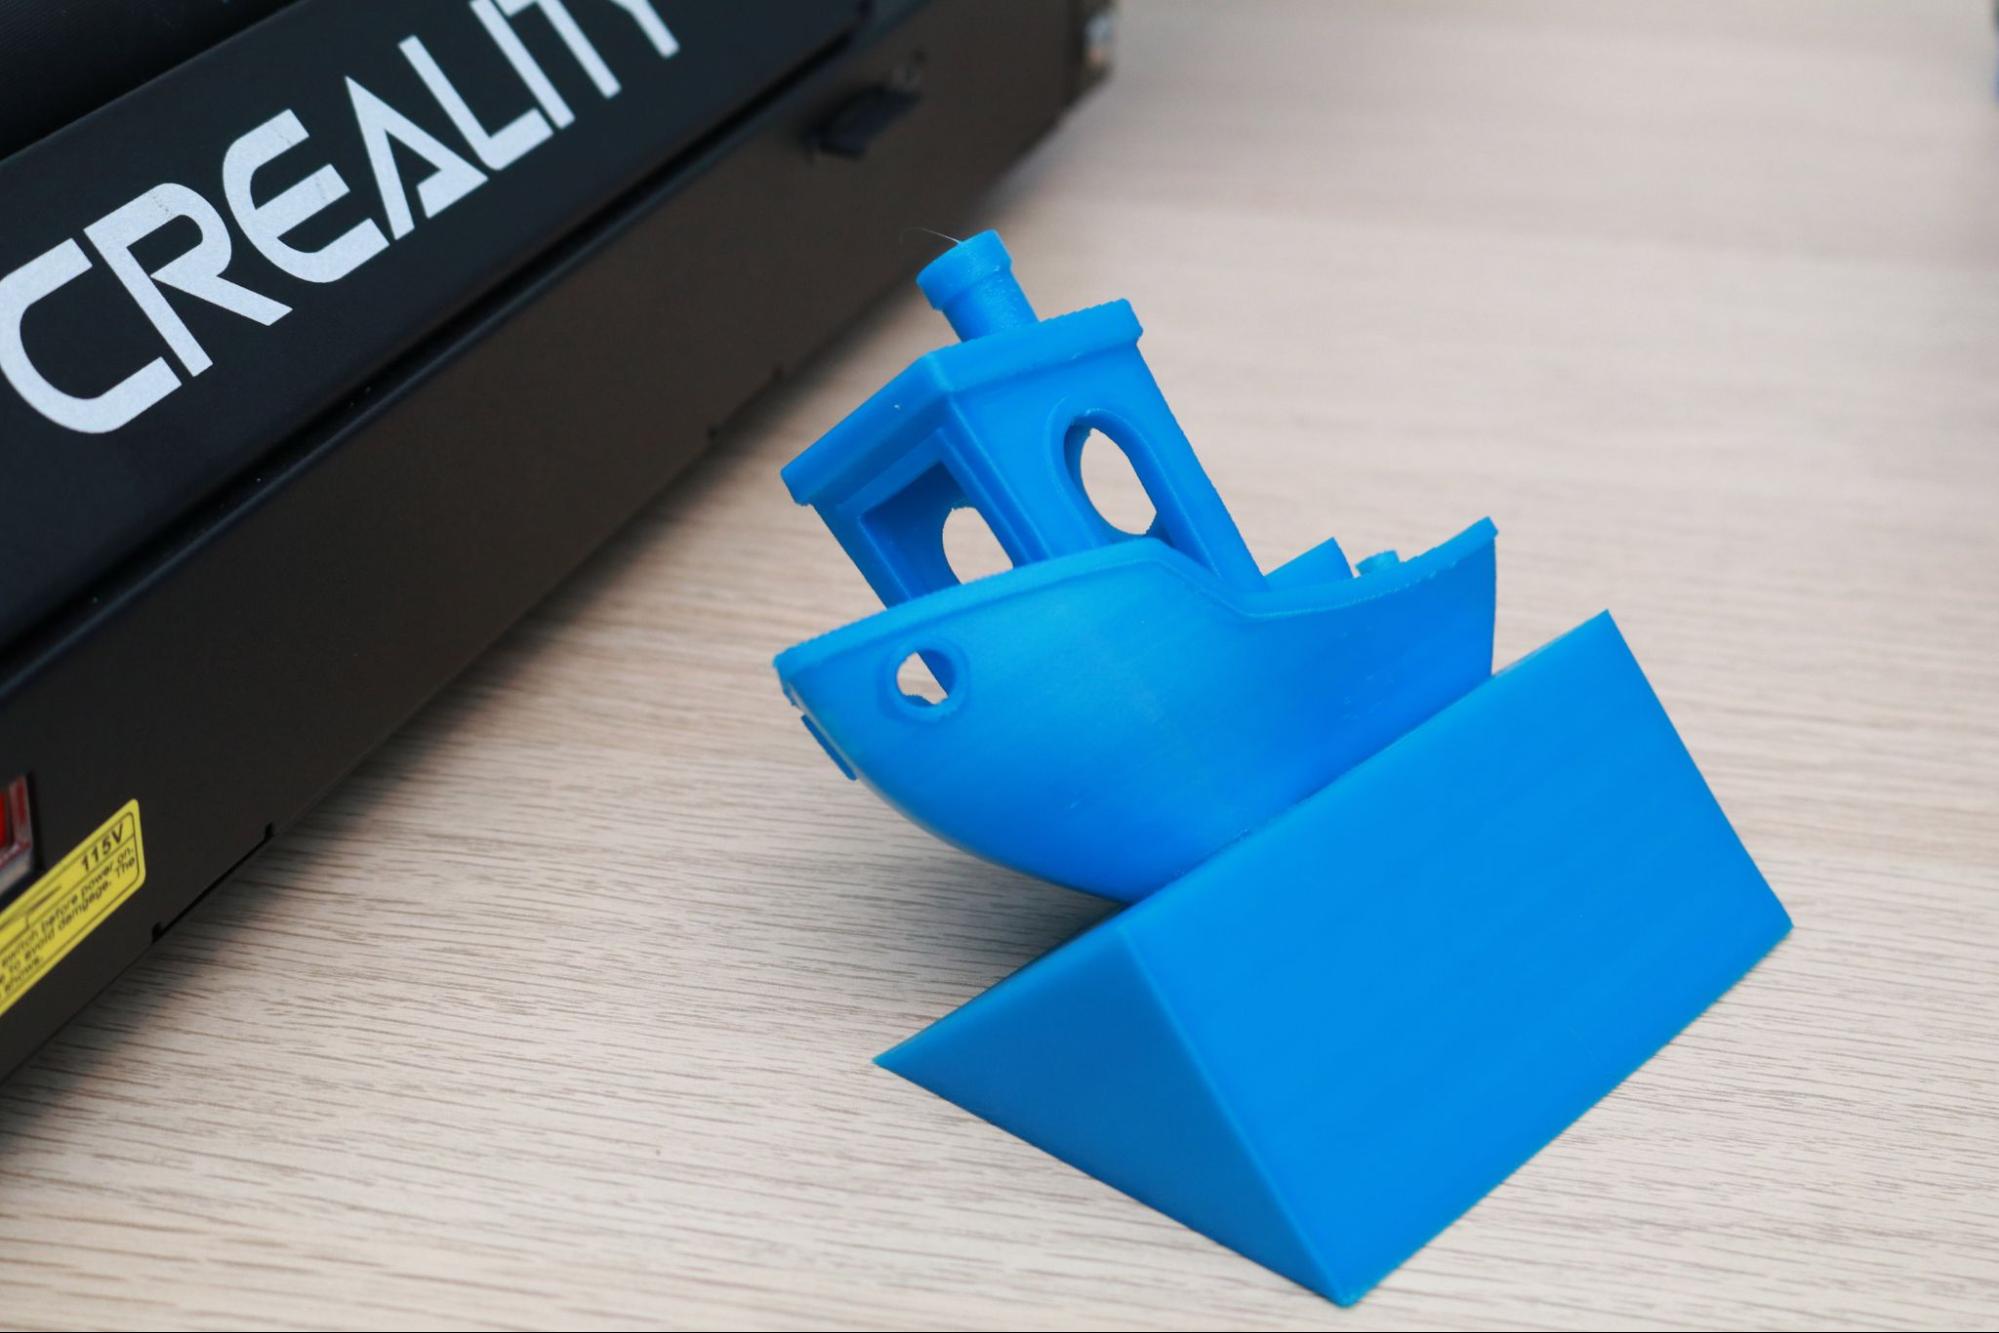
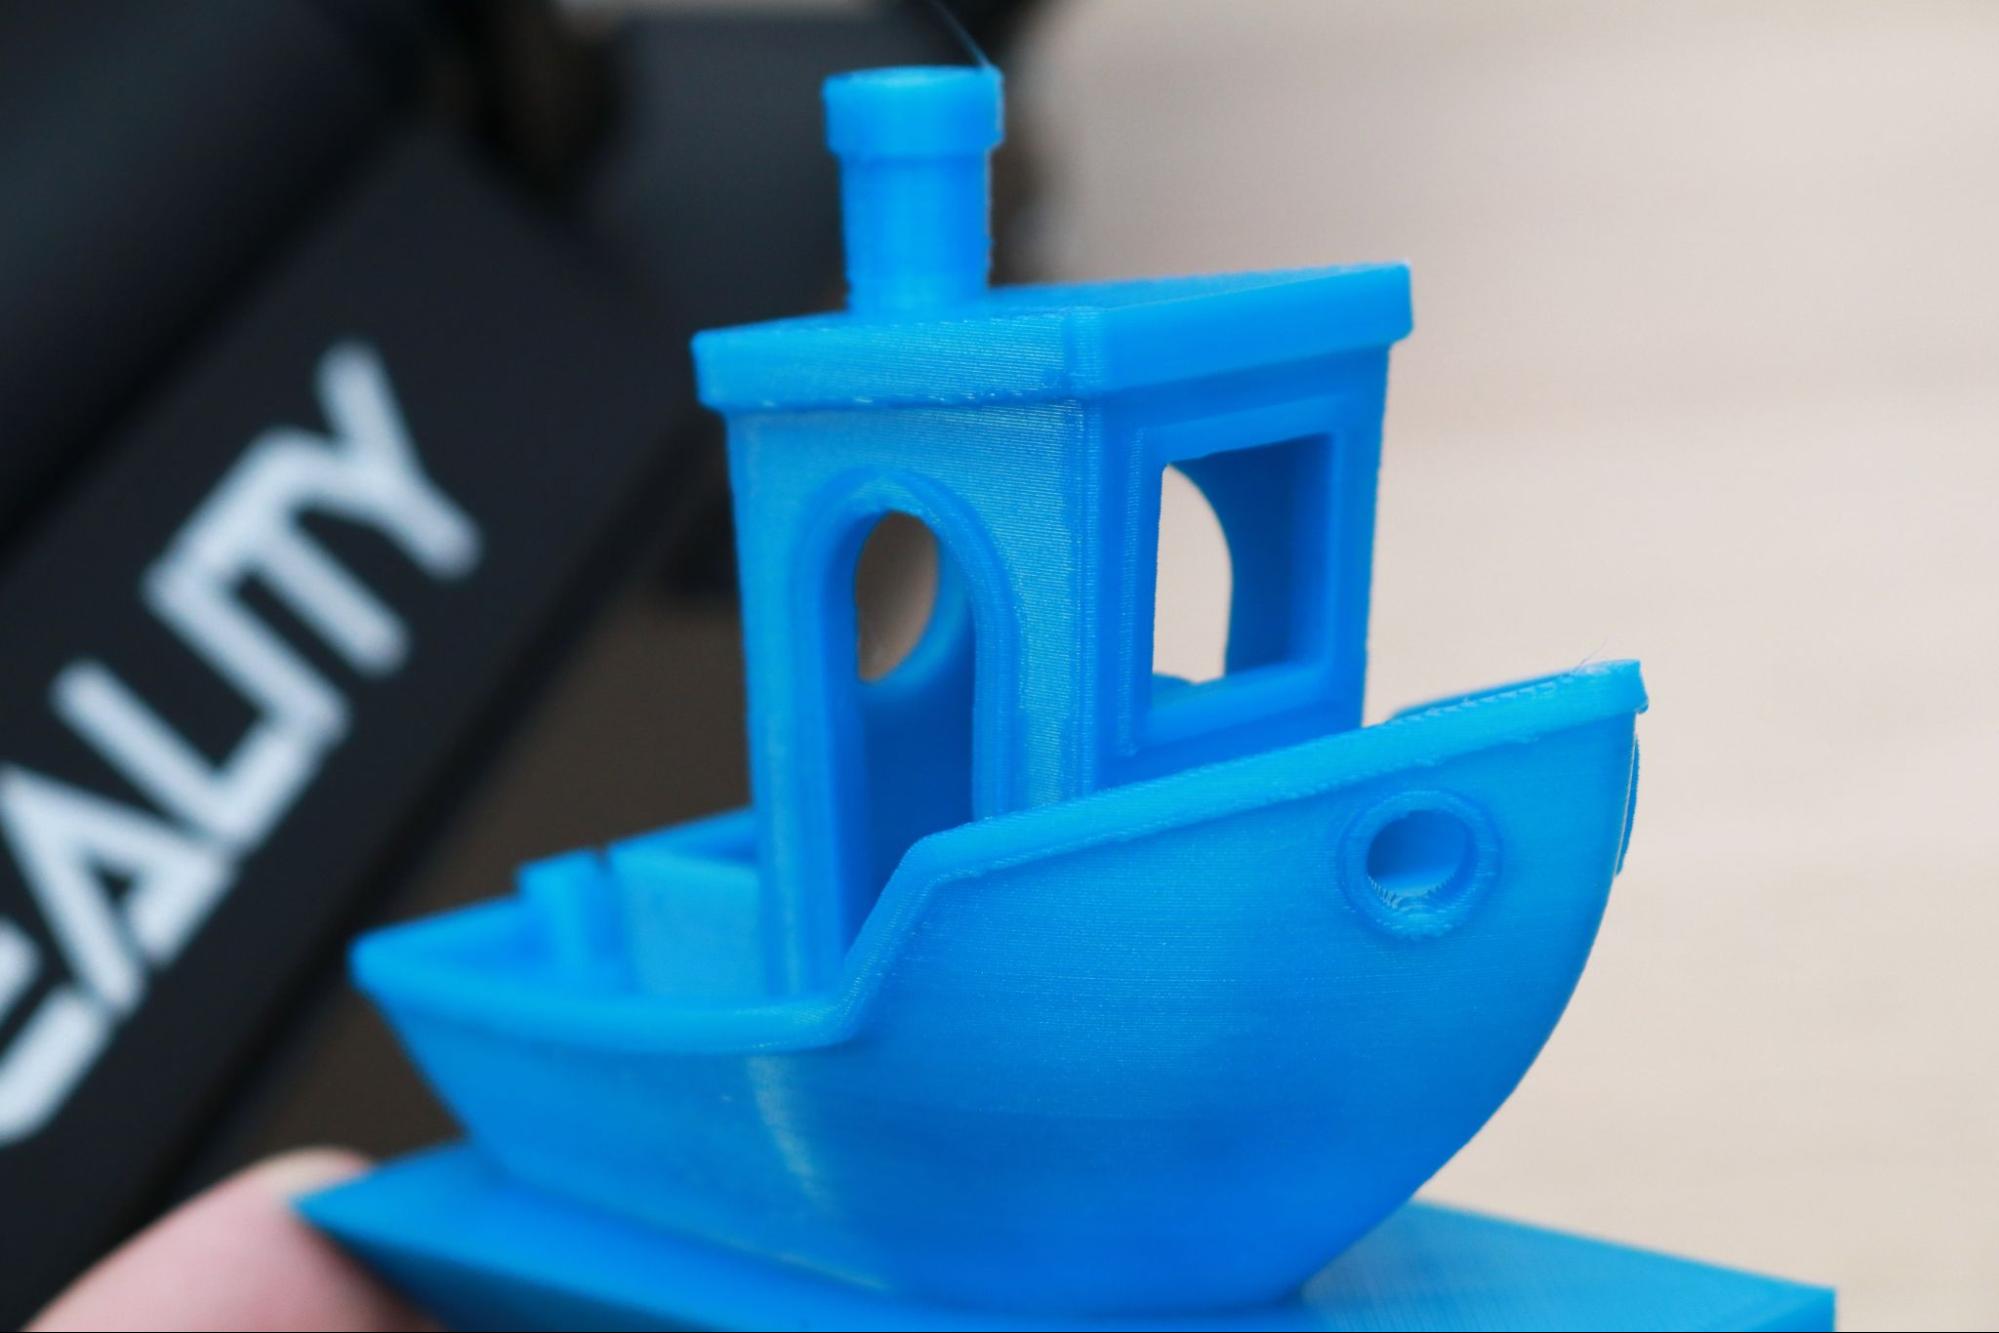
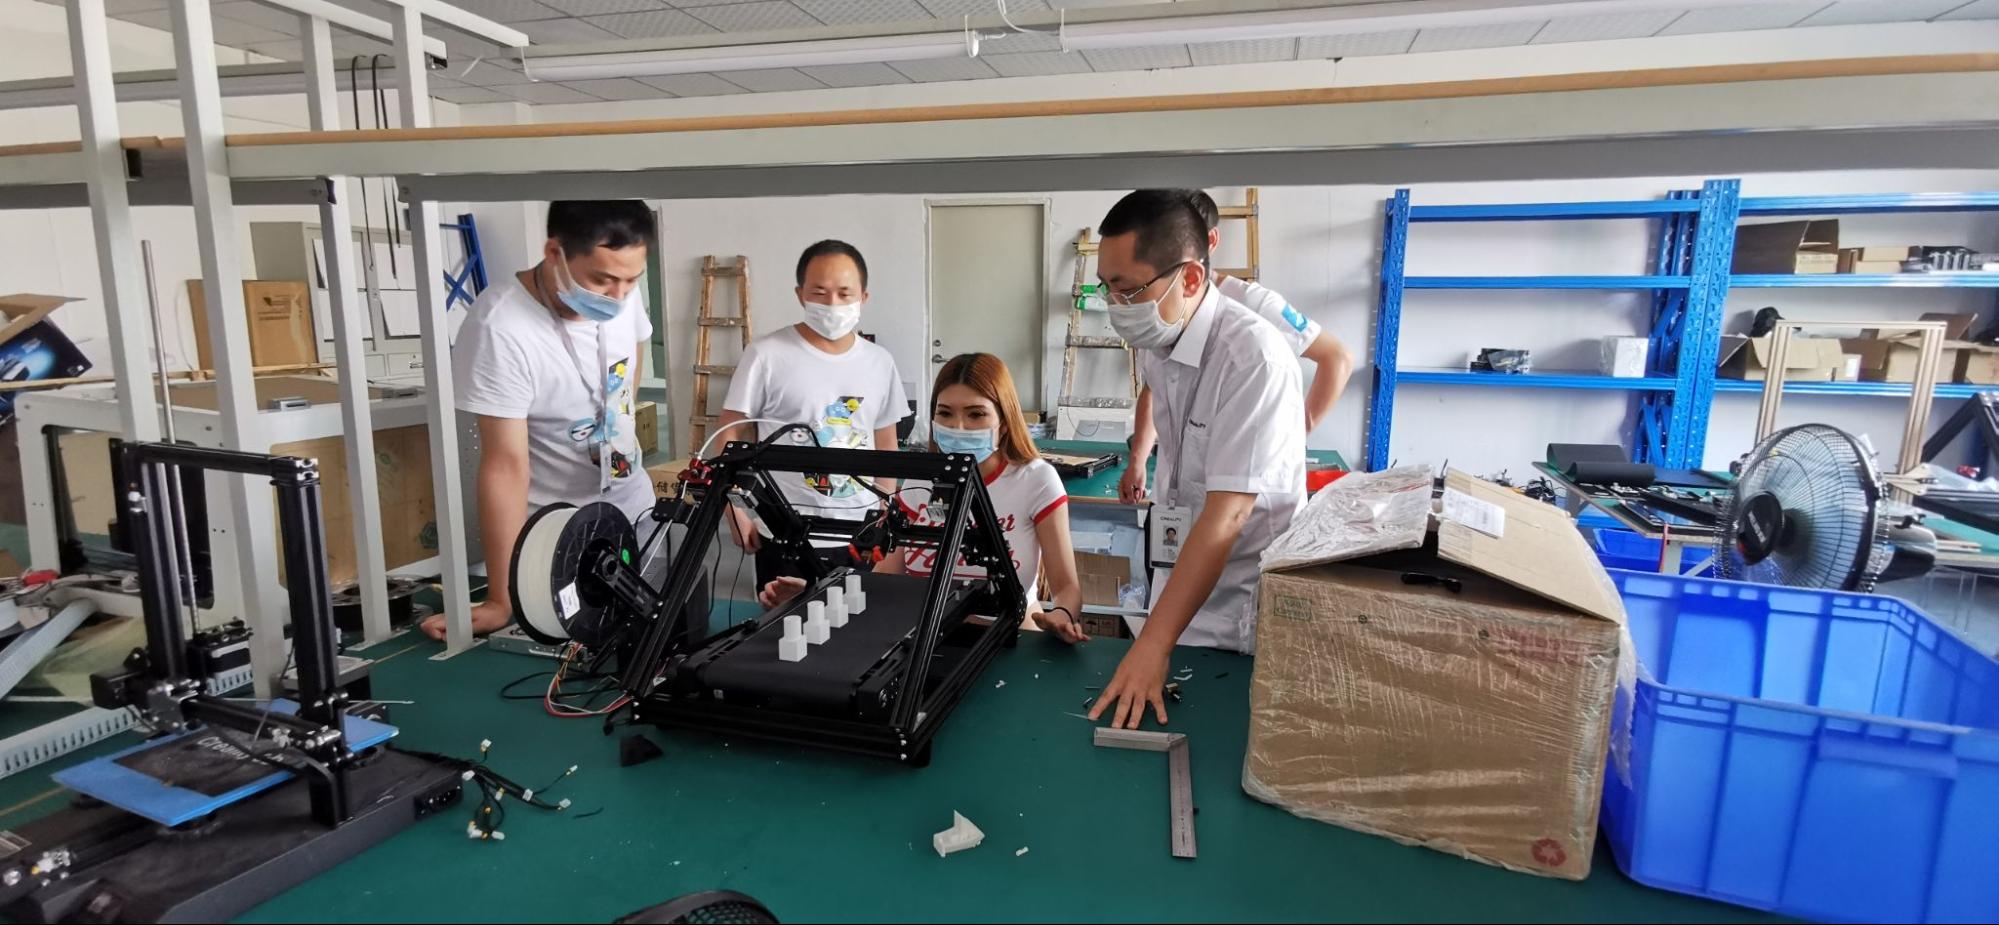
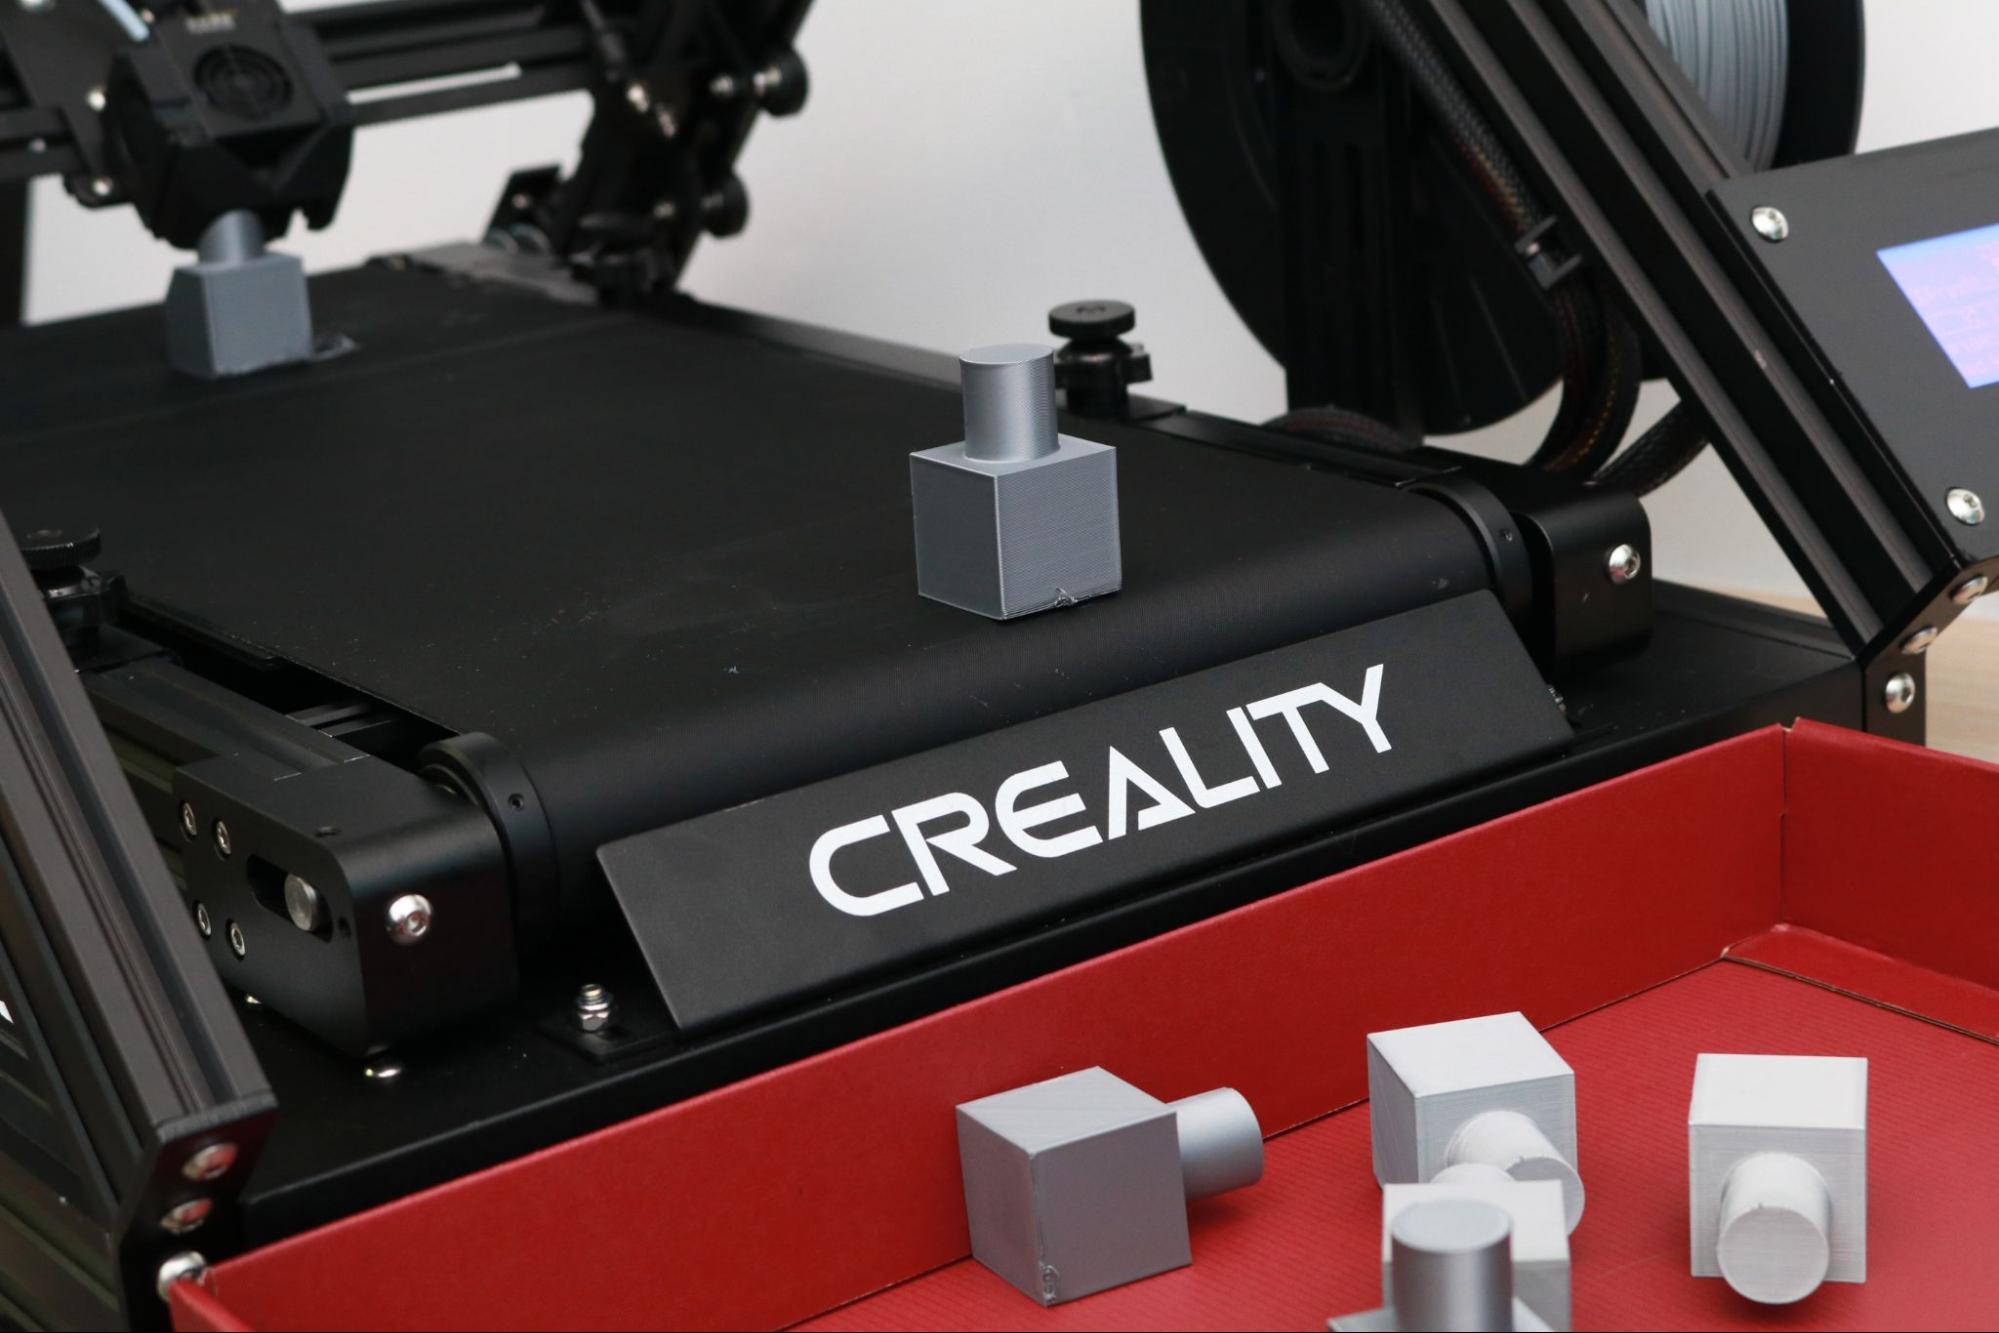
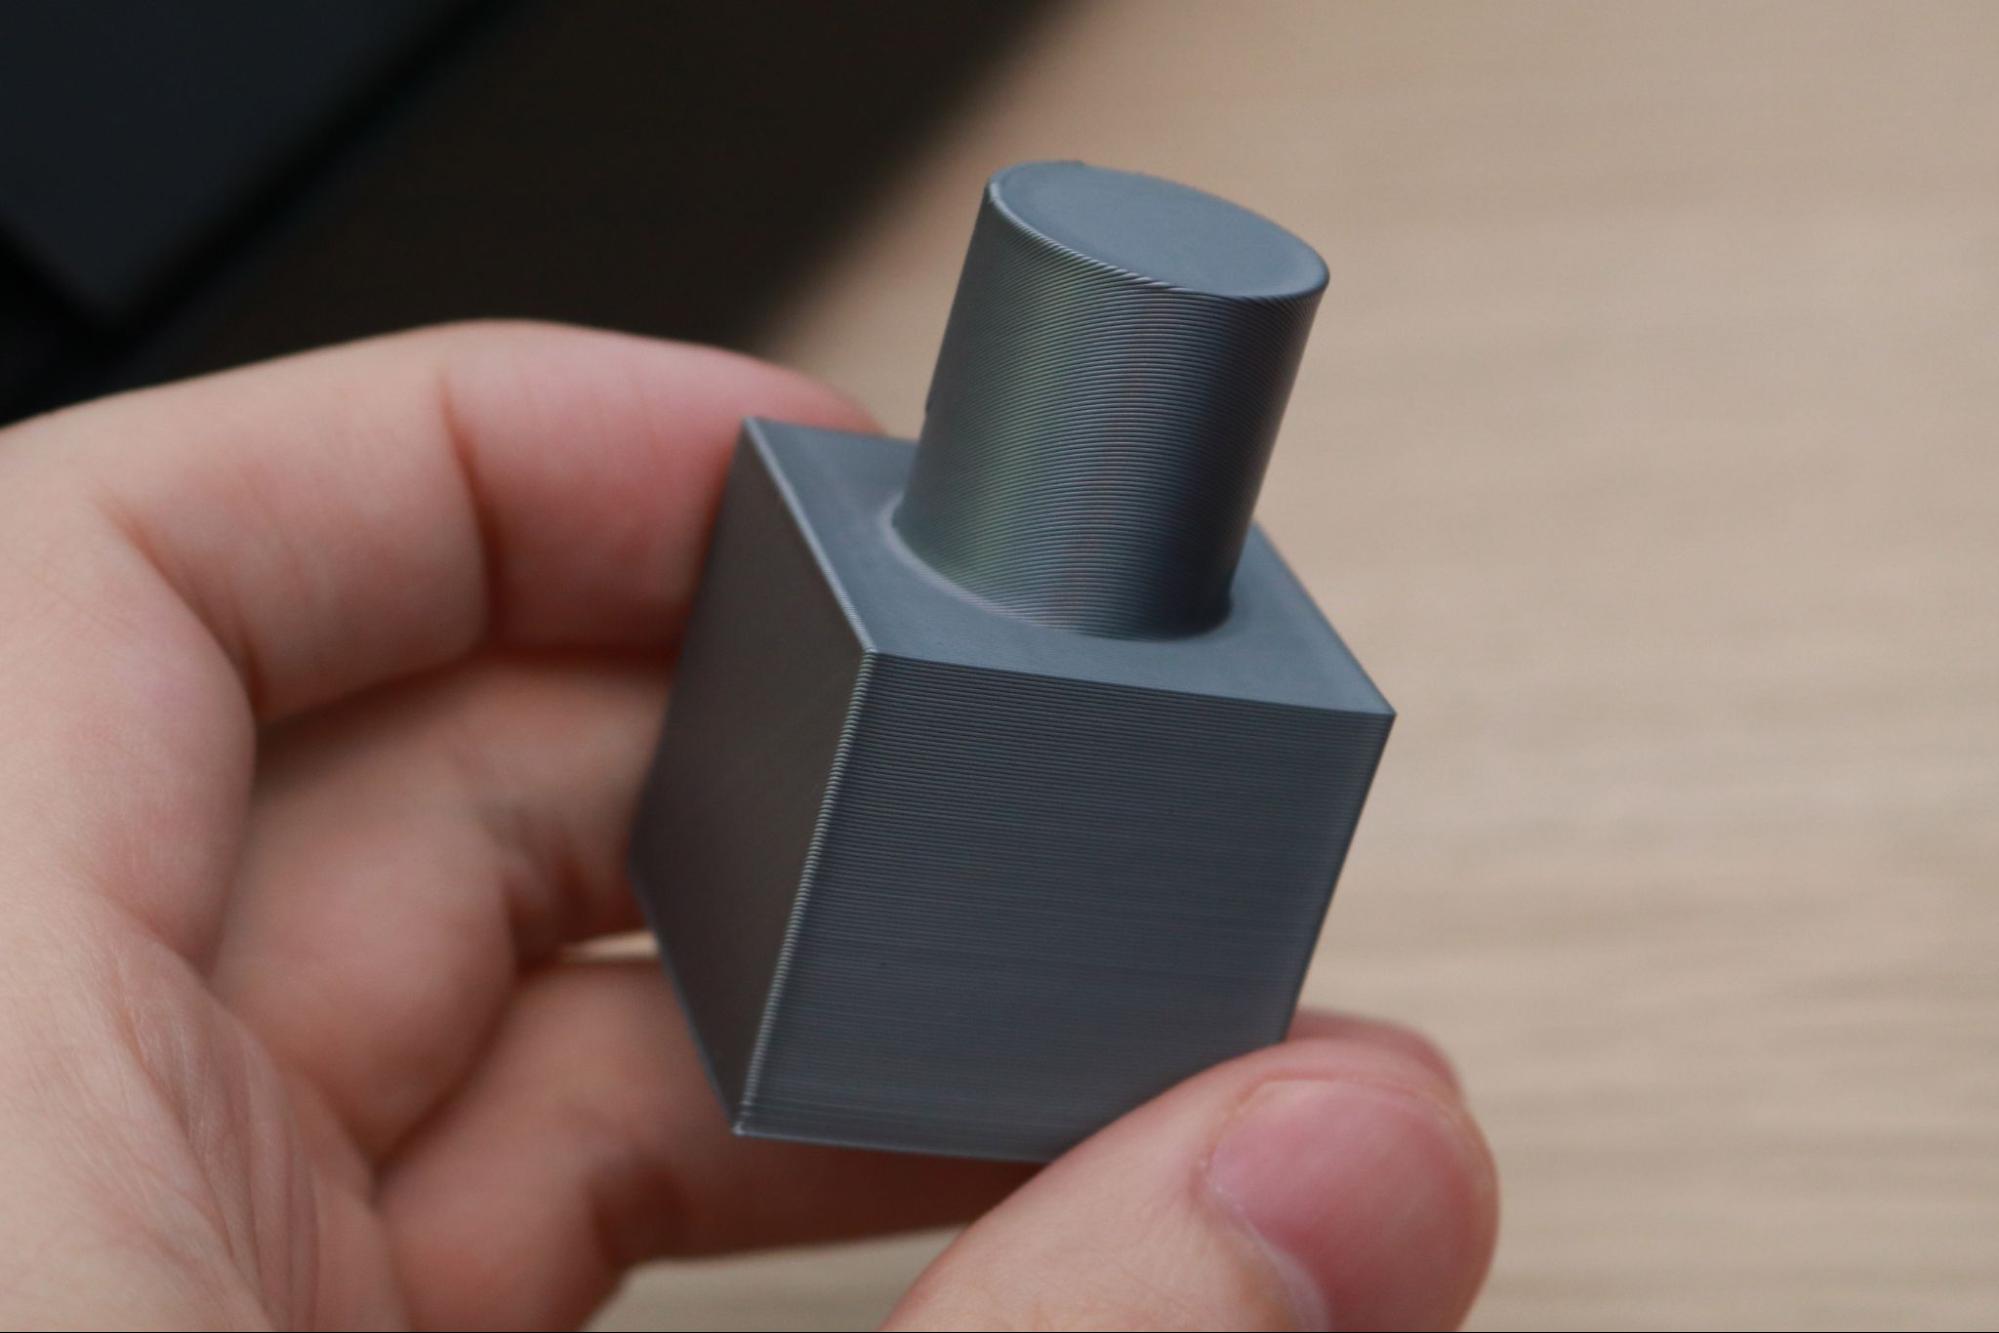
The CR-30 is capable of printing long parts due to the ‘infinite Z’ provided by the moving conveyor belt, but the CR-30 is also ideal for printing batches of parts using a serial production method. As opposed to FDM 3D printers like the Flashforge Adventurer 4 which print multiple parts layer by layer, the CR-30 can print one part at a time until a batch job has been completed. The CR-30 SD card includes a test file that prints 10 models out one at a time, so I loaded the printer with Prusa Silver PLA and ran the print.
I ran this print overnight and was delighted to find that the machine created 10 parts over the course of 15 hours and 37 minutes with no part failures. The ability to produce parts in a serial fashion is one of the major strengths of this machine, and this test print demonstrates that the printer is up to the task. These parts are fairly simple (a cylinder extruded from a cube), but they represent the ability of the machine to produce a part before moving it to the very end of the conveyor, which means a failed print will not scrap the entire job.
The details on the model are sharp, and the angled layer lines give the print a uniform appearance that doesn't have an immediately intuitive build orientation. The bottom of the print (touching the belt) has a slightly rougher surface finish than the rest of the model, but the other faces all look smooth and even. Some of the models had a slight delamination on the front edge of the part where the initial layer failed to adhere. This isn’t a critical error or a major failure, but a part that starts with a small or otherwise fine feature potentially may not have printed correctly.
Preparing Files for Printing with CrealityBelt
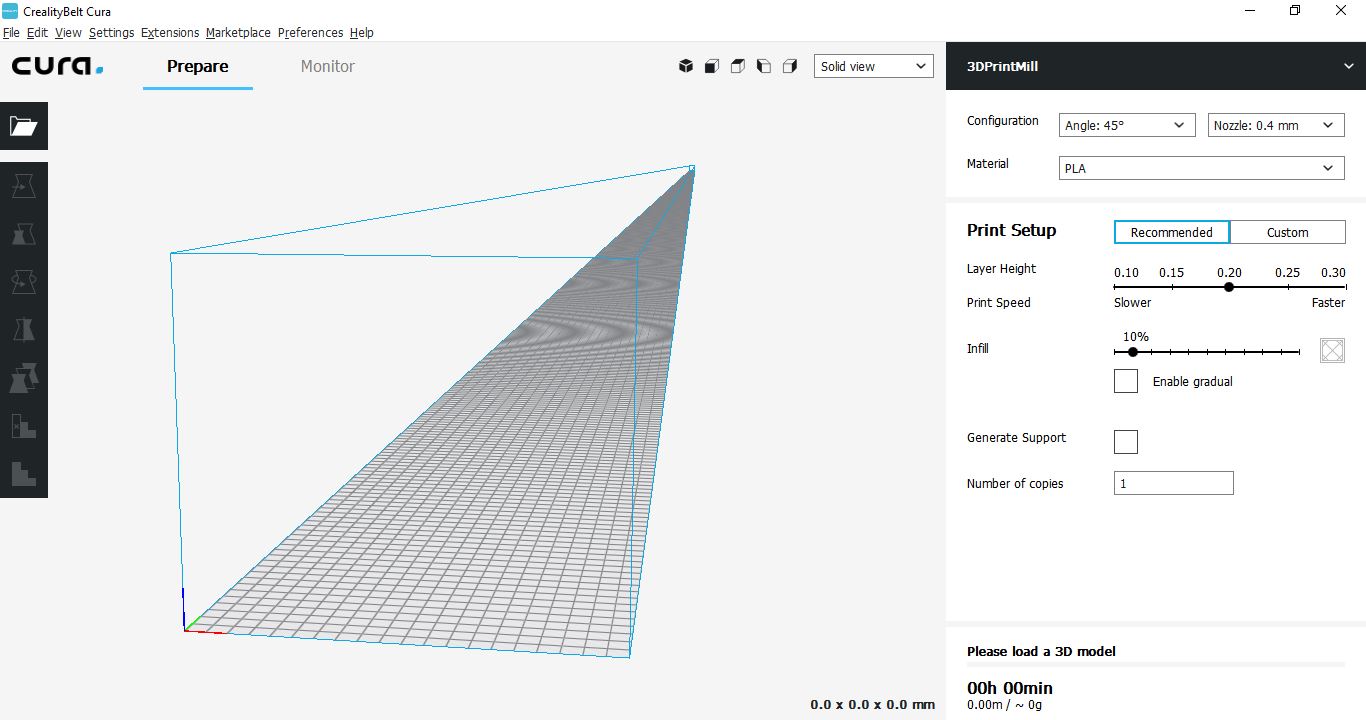
The first part slicer provided by Creality for the CR-30 is called CrealityBelt, and it offers bare-bones functionality with a few quirks that have made it one of the least popular slicer apps for this machine. The 3.6.0 in the name is a reference to Cura 3.6.0, which the slicer app CrealityBelt is built from. This version of the app was originally released in November 2018, and is now considered legacy software that has been replaced with newer, more feature-rich versions.
The interface of CrealityBelt looks similar to the standard interface of Cura 3.6.0, with the obvious exception being the build envelope extended on the Z axis. The ‘Recommended’ tab offers a few basic settings to adjust, with only the ‘Number of Copies’ and ‘Angle’ settings being directly related to the belt functionality of the printer. I was not impressed with CrealityBelt; considering the highly custom nature of the hardware of the CR-30, the design of the software should be as intuitive as possible to reduce the potential for failure.
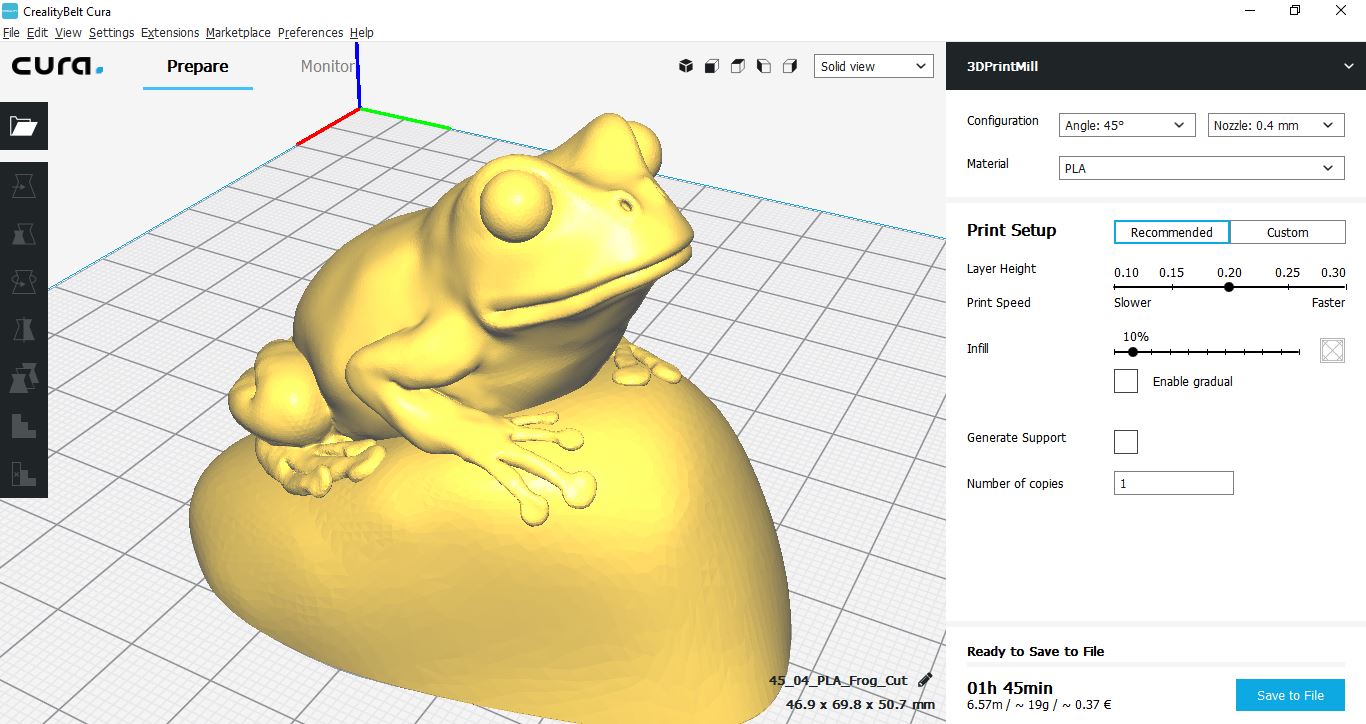
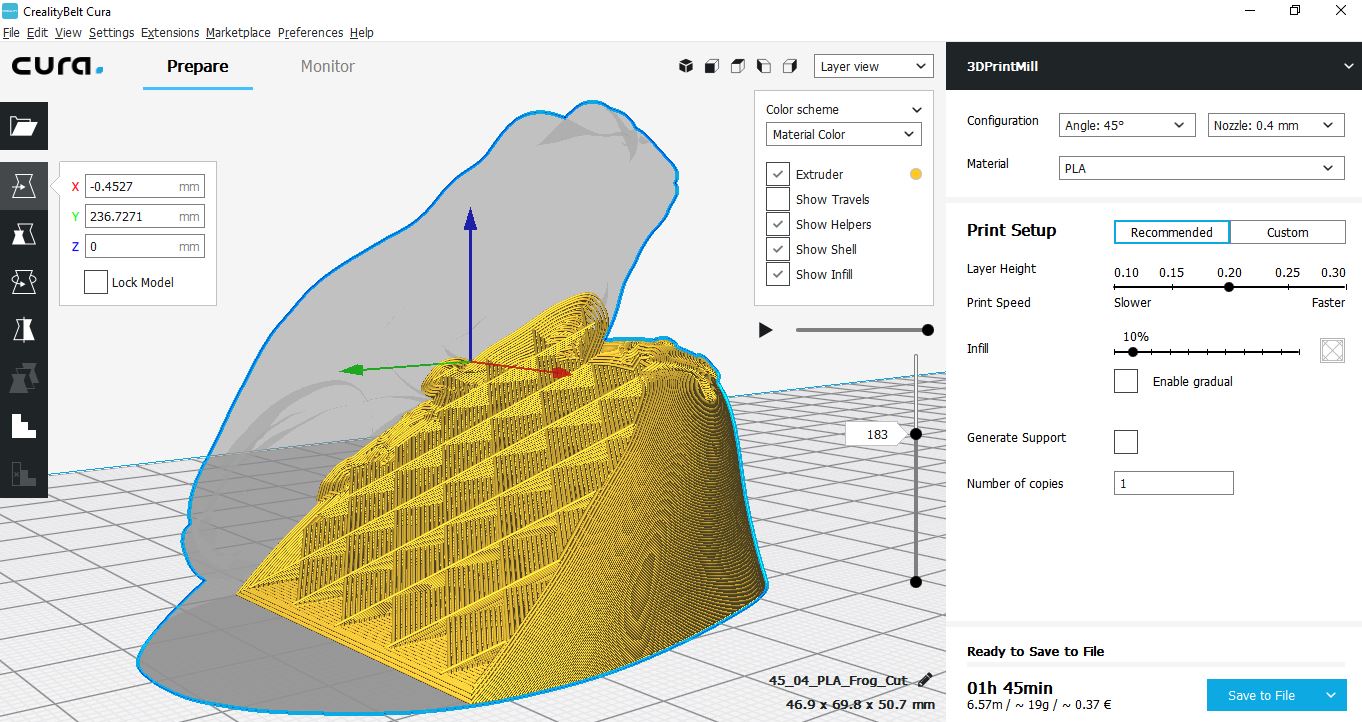
When printing a model on an FDM printer like the Monoprice Cadet, the first layer is typically printed slowly and on top of a raft that helps to fully adhere the model to the build platform. The analog on the CR-30 is the very first layer on the belt which requires a slow printing speed as well as a bead of filament to fully adhere it to the bed. Unfortunately, CrealityBelt does not offer these build platform adhesion helpers, so models sliced for printing require a wide first layer to properly adhere.
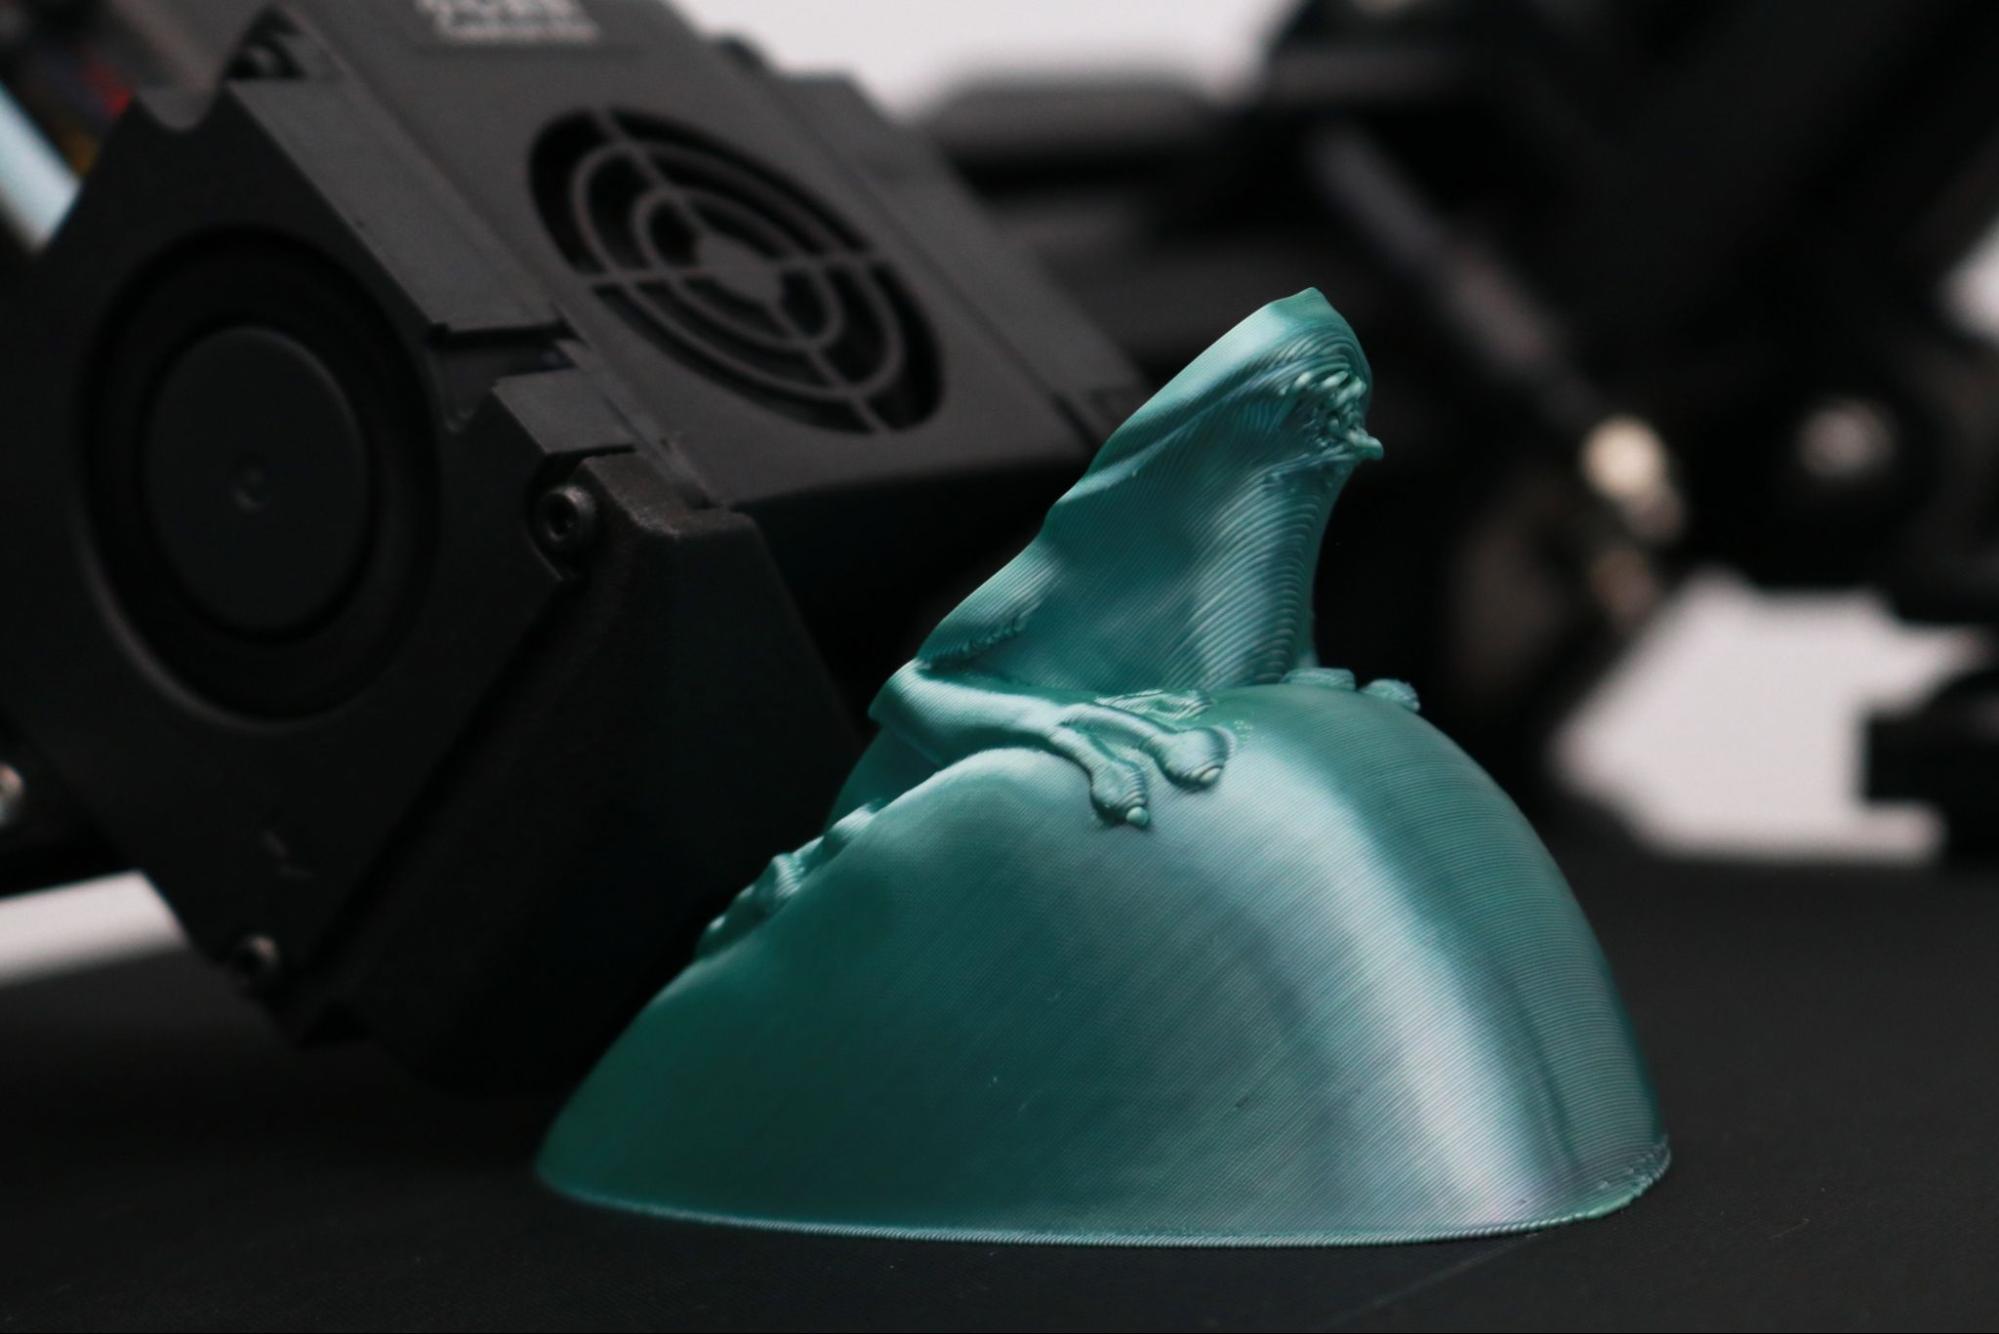
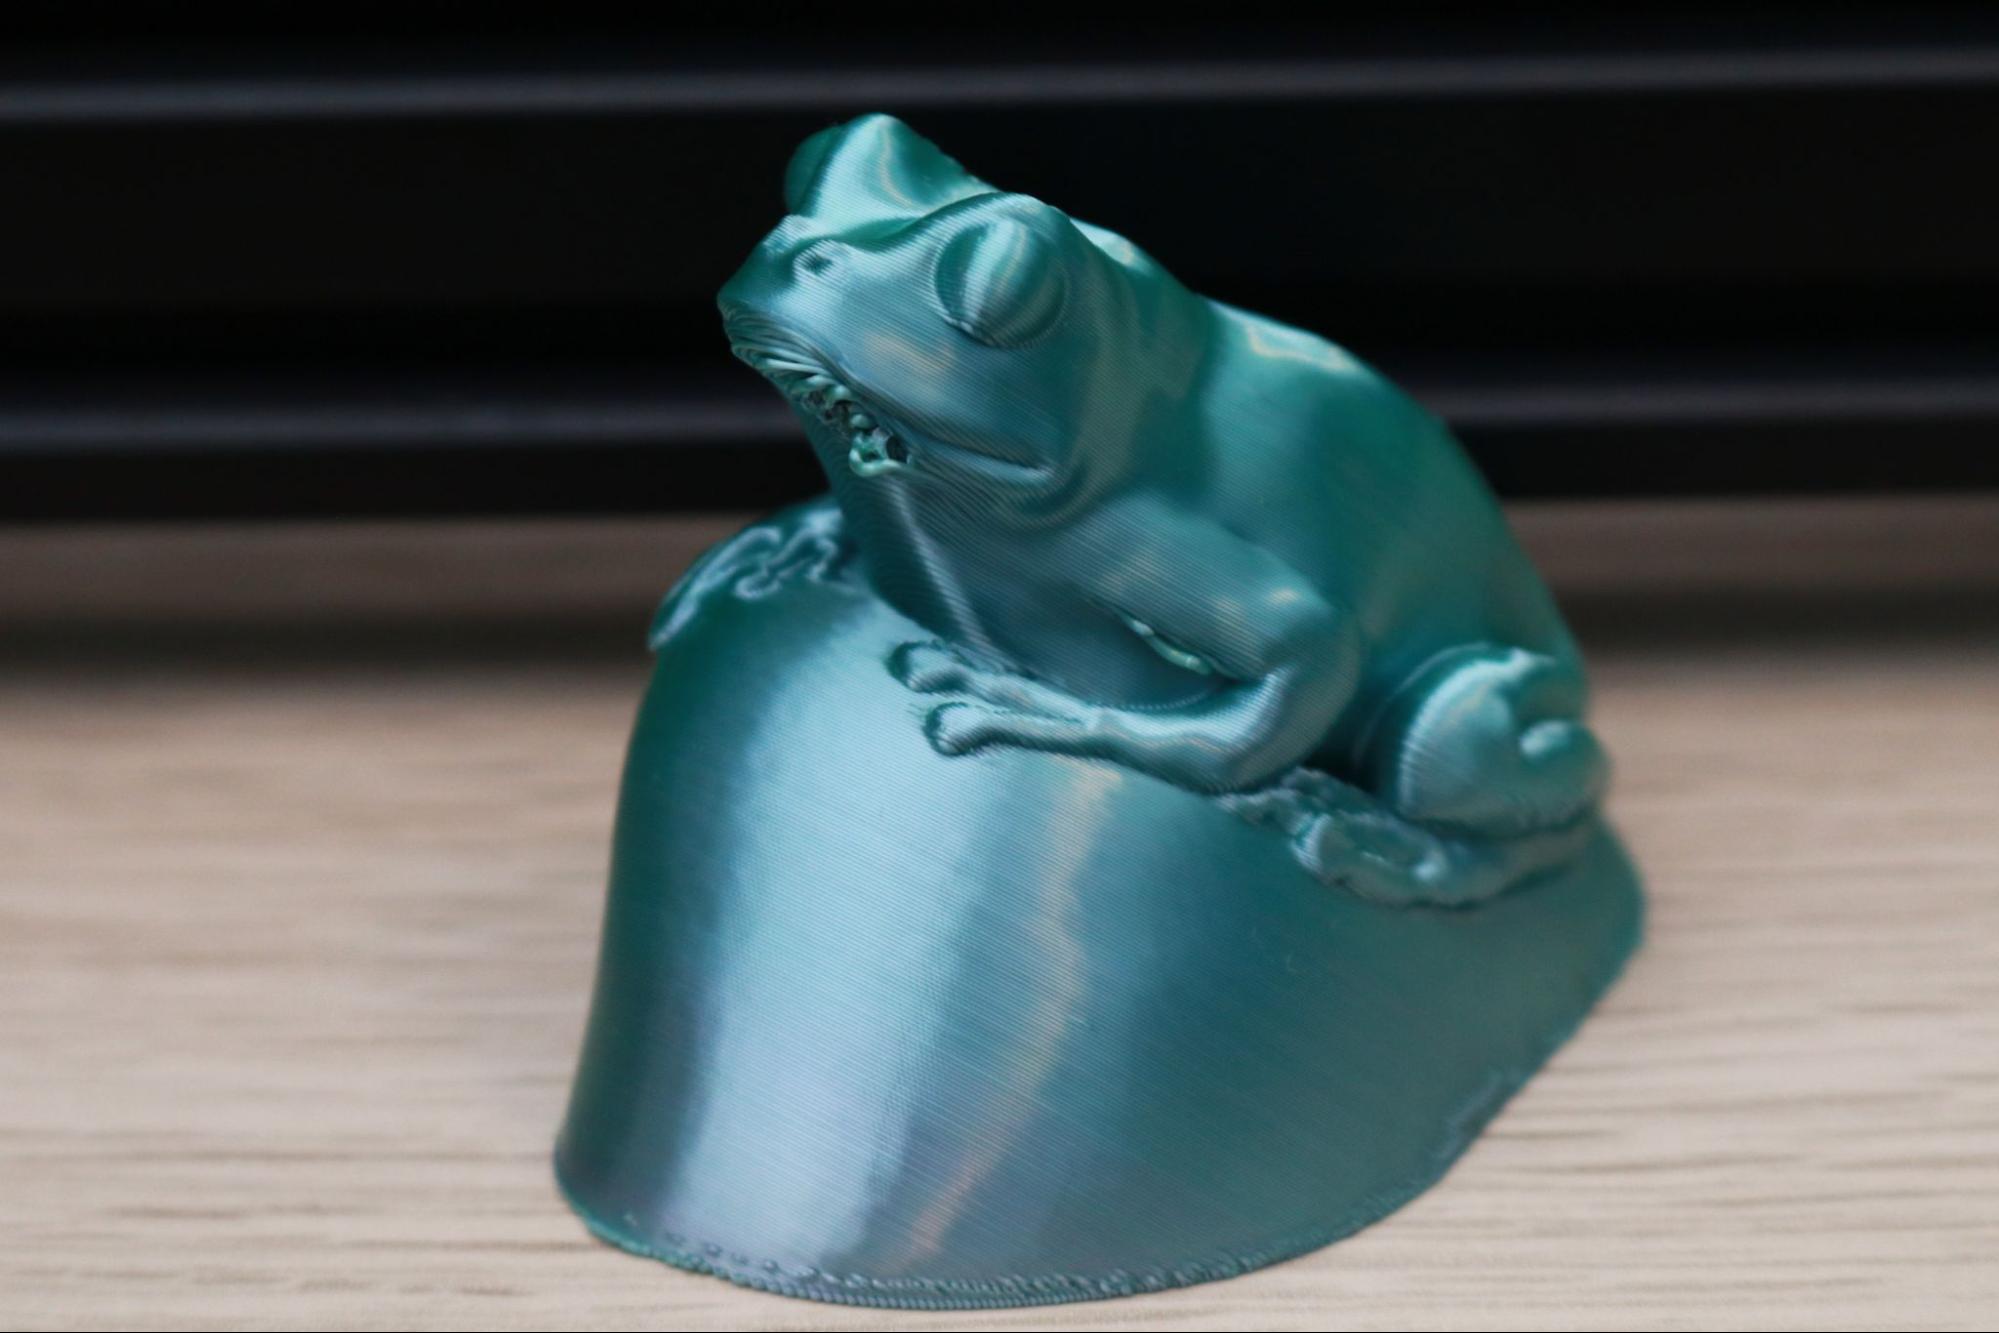
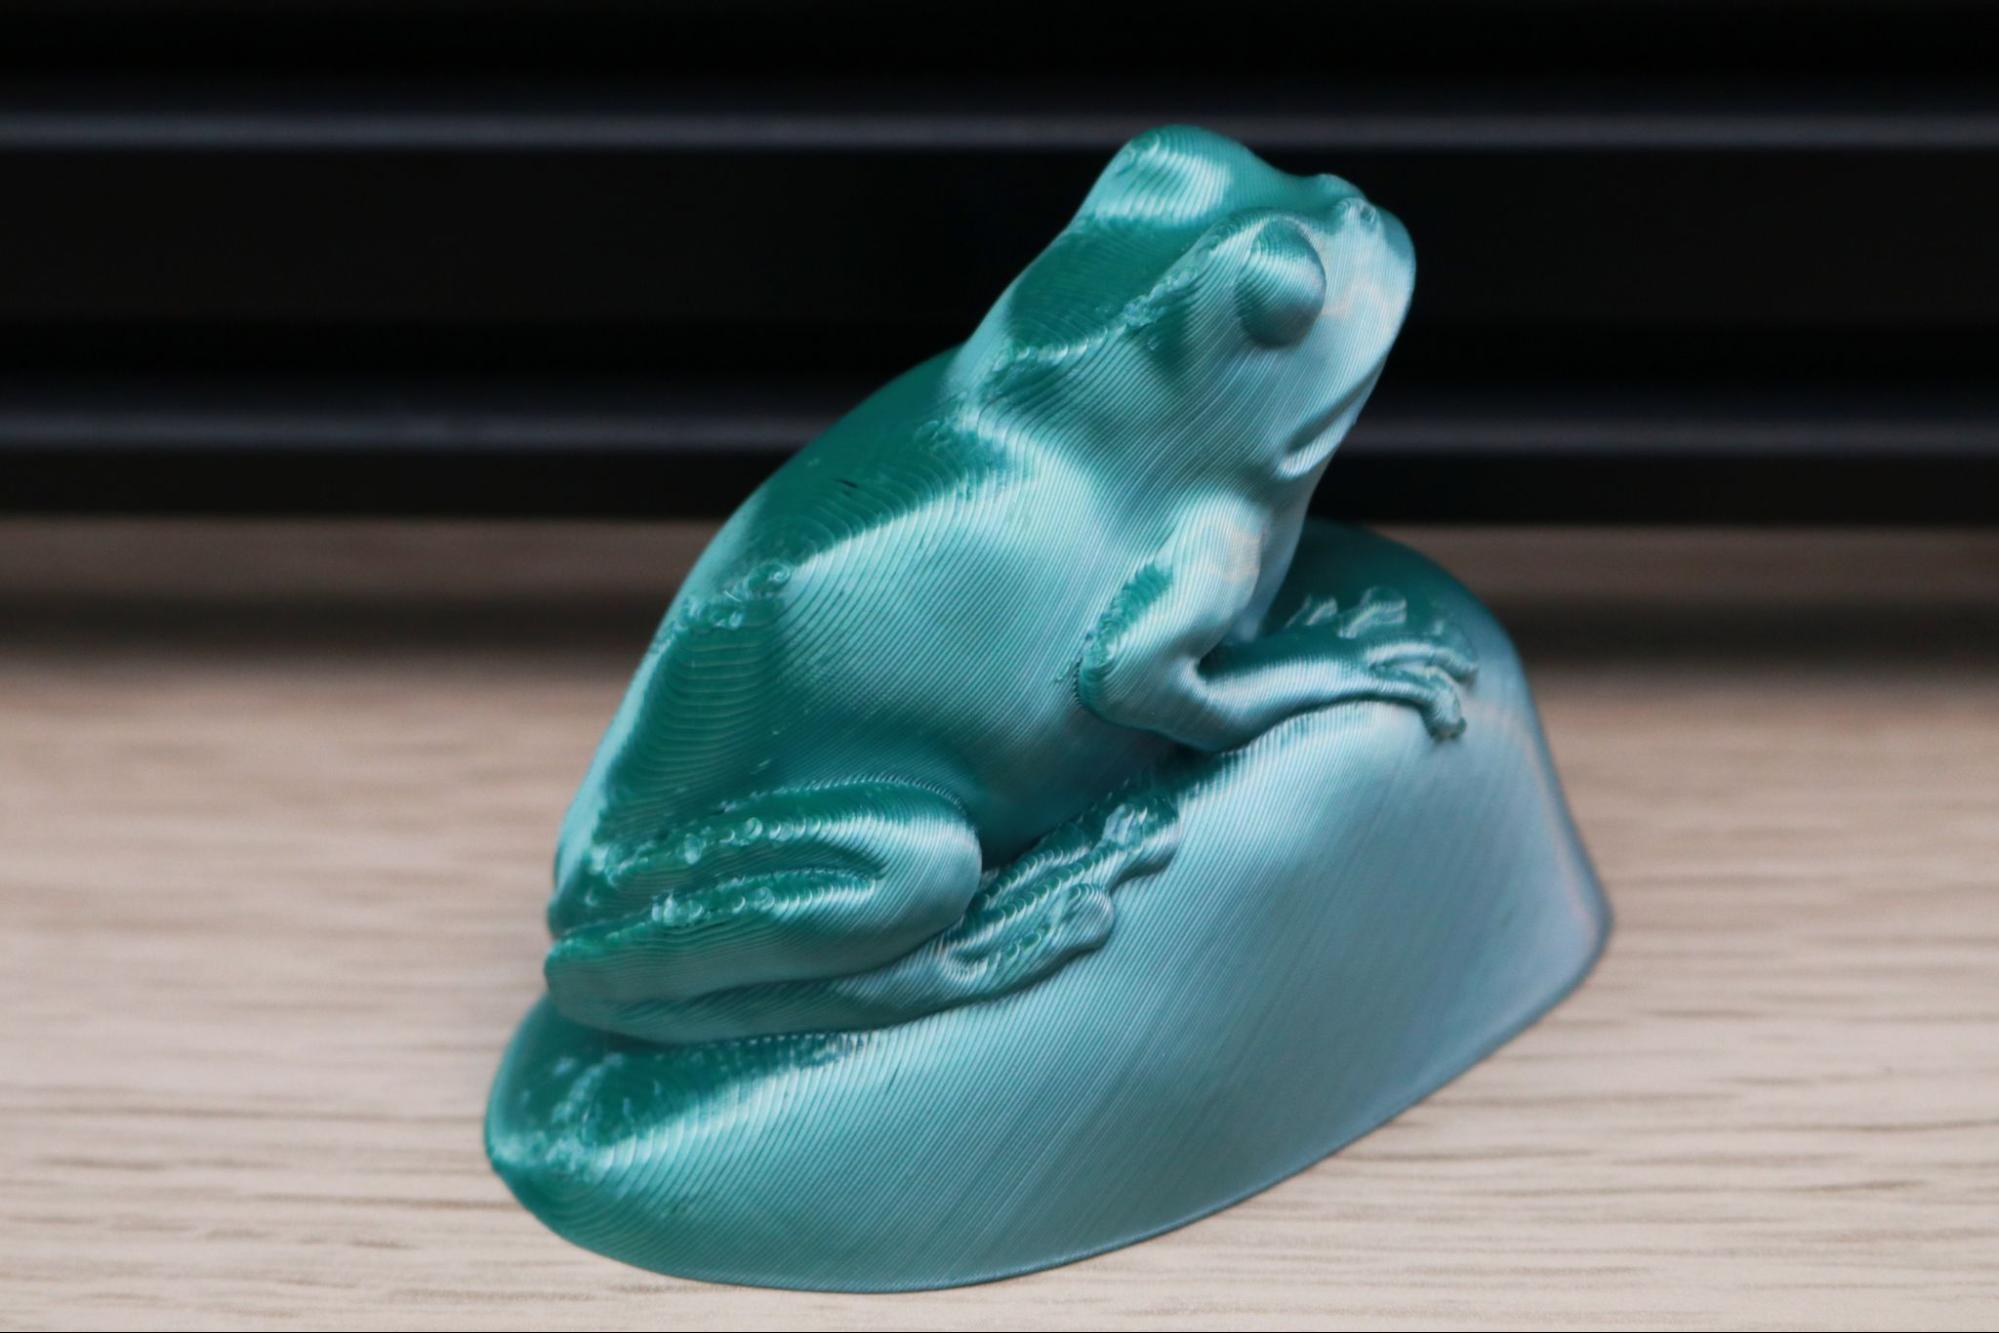
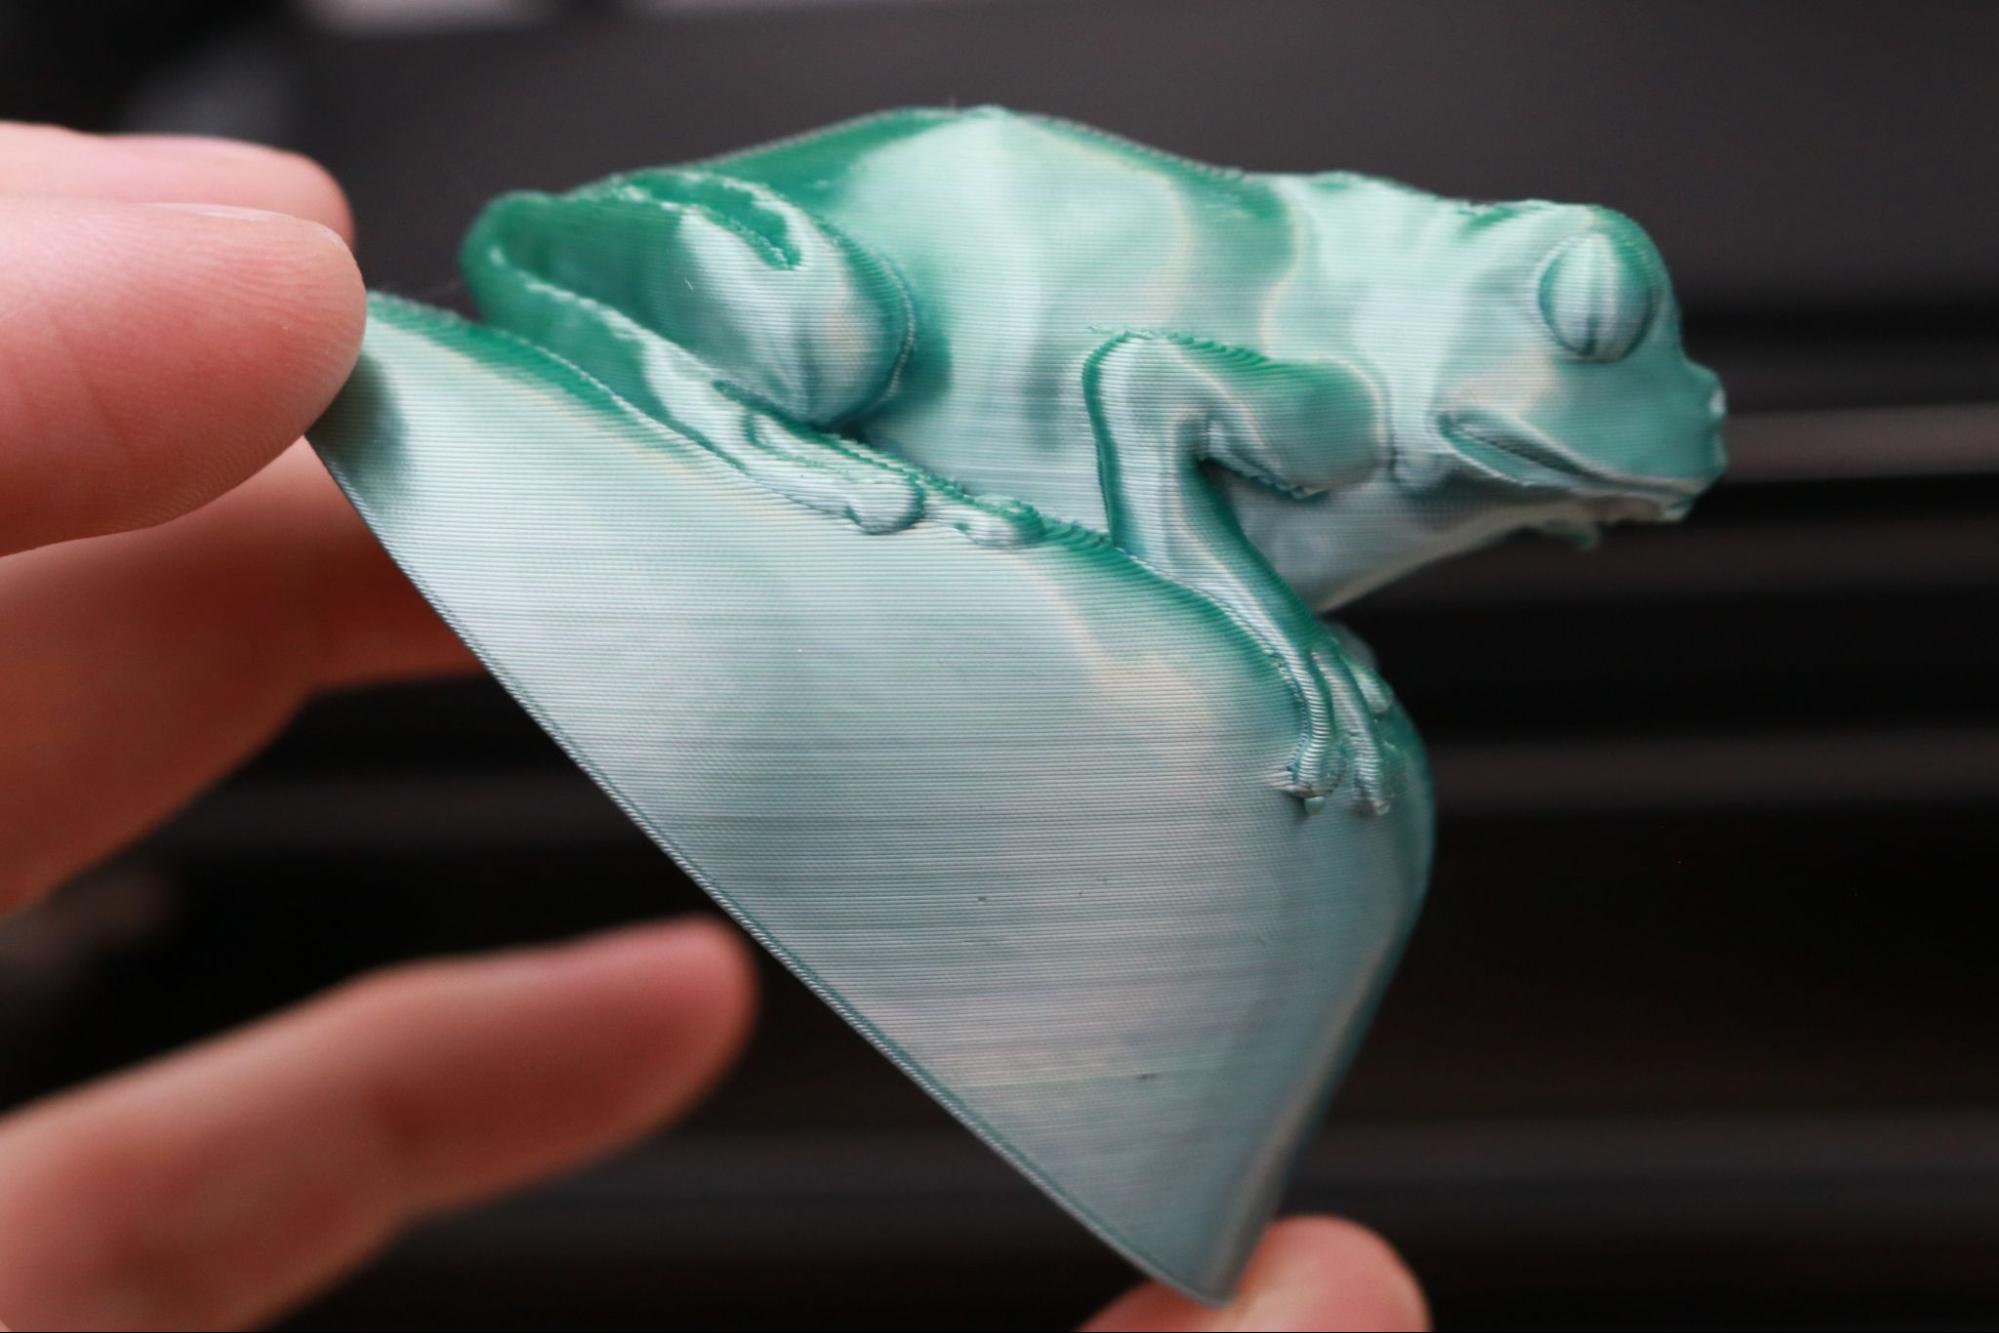
I sliced the Frog model by hairald from PrusaPrinters with CrealityBelt set to the default slicer settings (.2mm layers, 10% infill), and angled the model facing forwards. CrealityBelt offered a print time estimate of 1 hour and 45 minutes, but the model print time actually took 2 hours and 26 minutes. Printed using a multicolor rainbow PLA material, the detail on the frog was impressive considering the lack of support material. The quality of the model was high, but there were some areas where the model wasn’t supported properly and there was some delamination. Angling the print at a 45 degree angle shows this delamination more clearly, and helped me to better understand the impact of orientation on print quality.
Preparing Files for Printing with ideaMaker
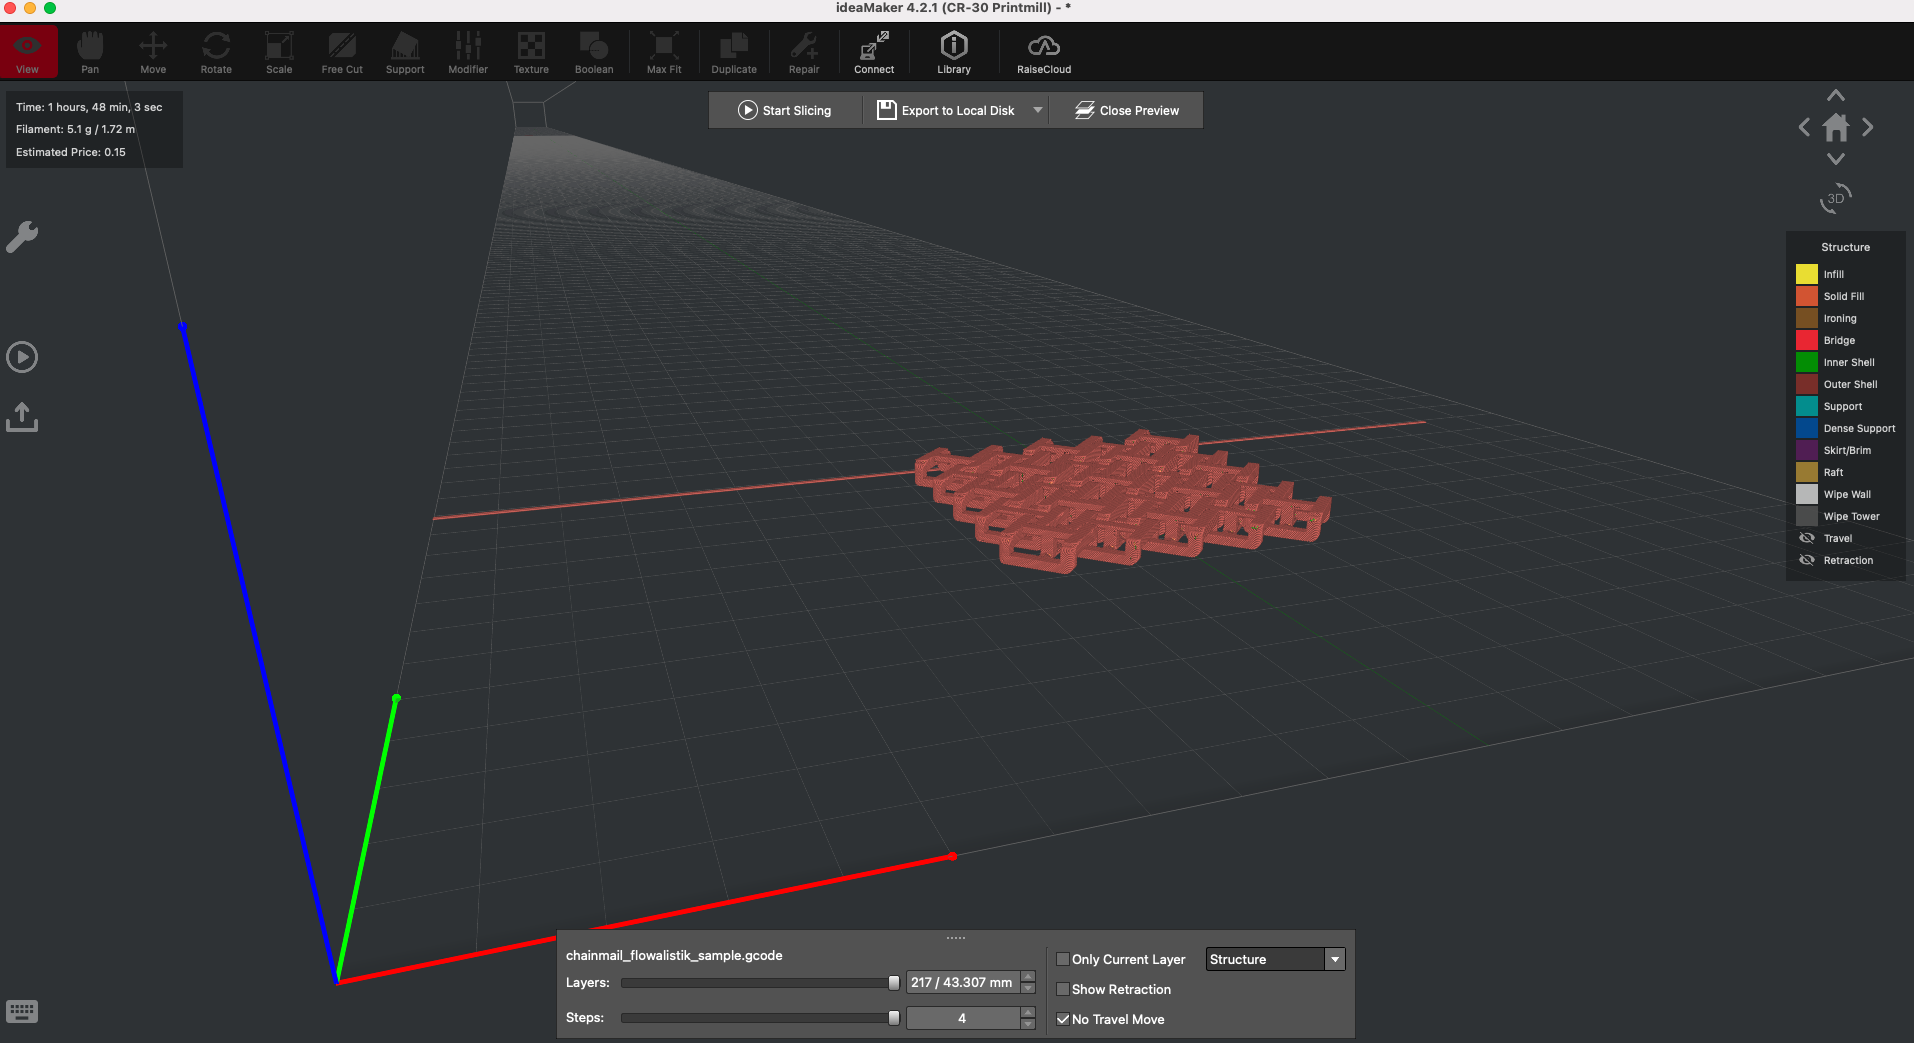
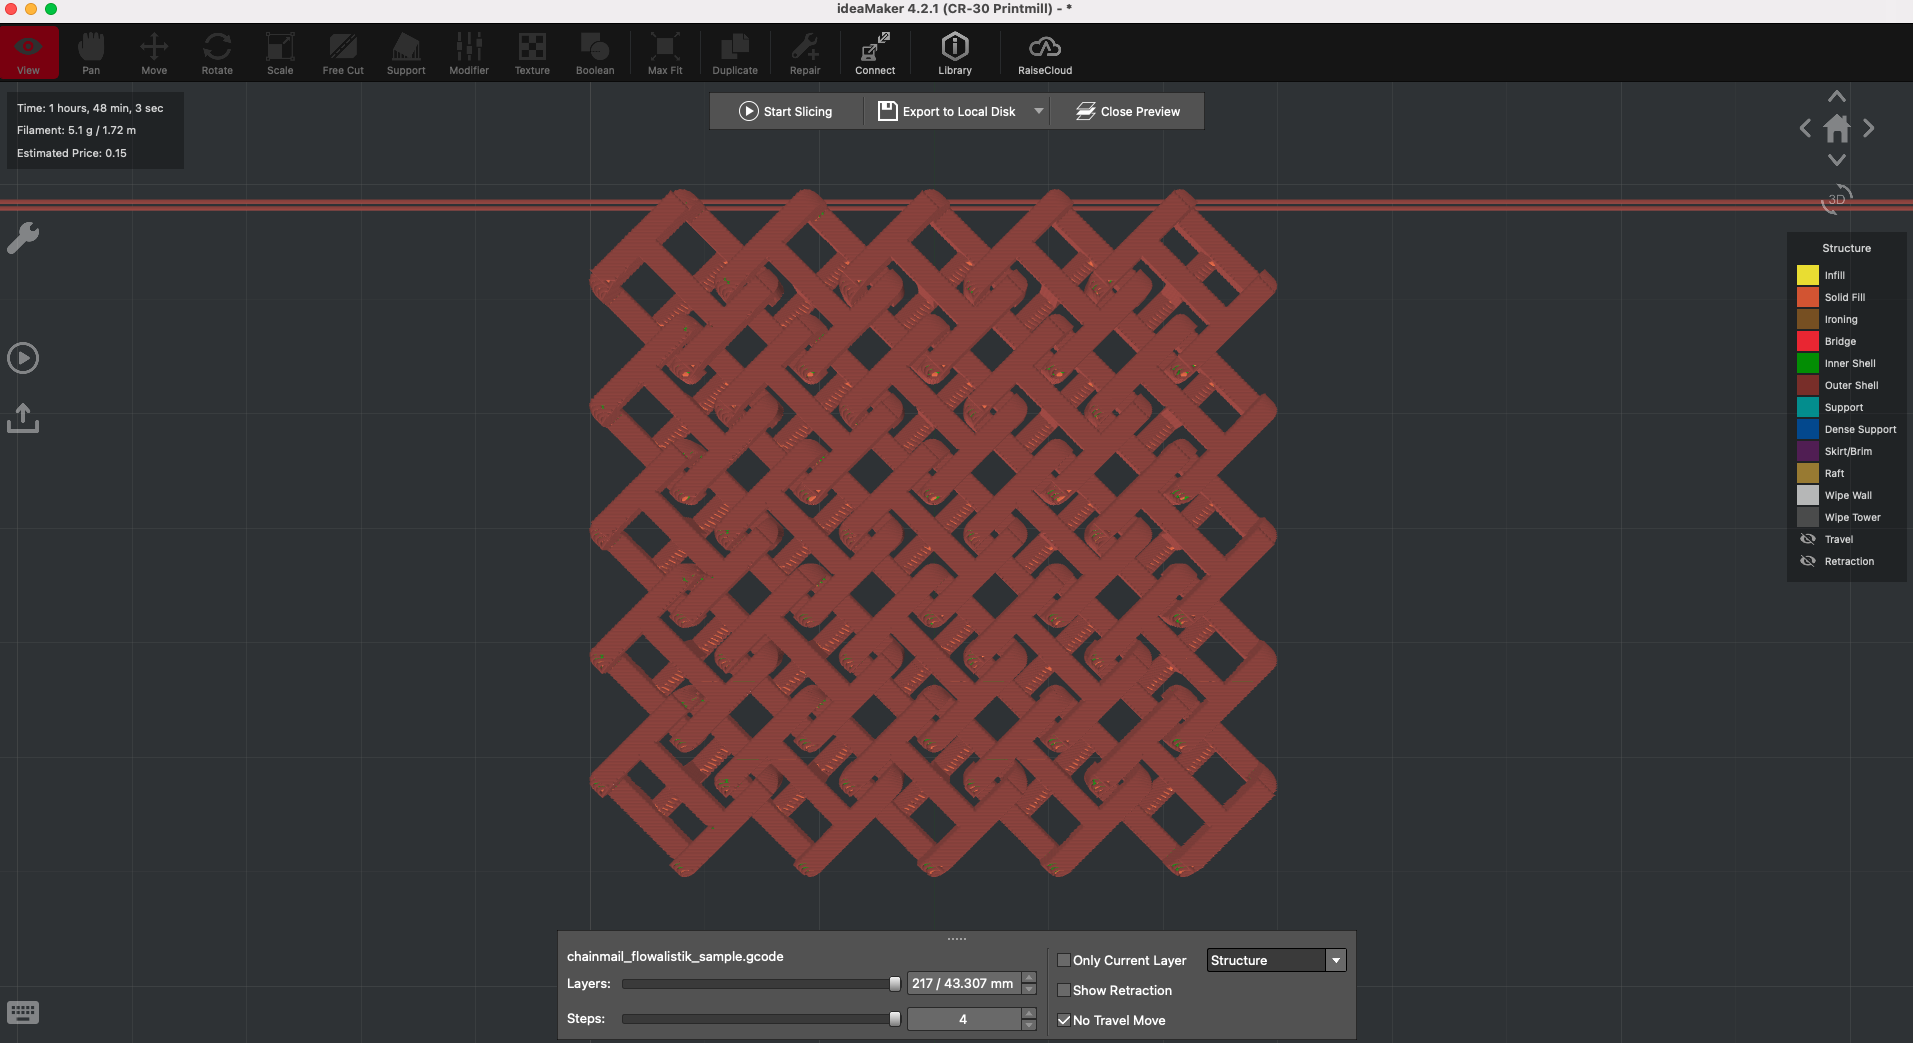
Created by 3D printer manufacturer Raise3D, ideaMaker is a slicer that is rapidly increasing in popularity due to the advanced level of control it offers for belt printers like the CR-30 over slicers like Creality’s own CrealityBelt. I found ideaMaker to be an intuitive and easy-to-use slicer that I preferred over the native CrealityBelt app. ideaMaker offers a powerful alternative for anyone interested in more granular tool-pathing controls and settings unique to belt 3D printers.
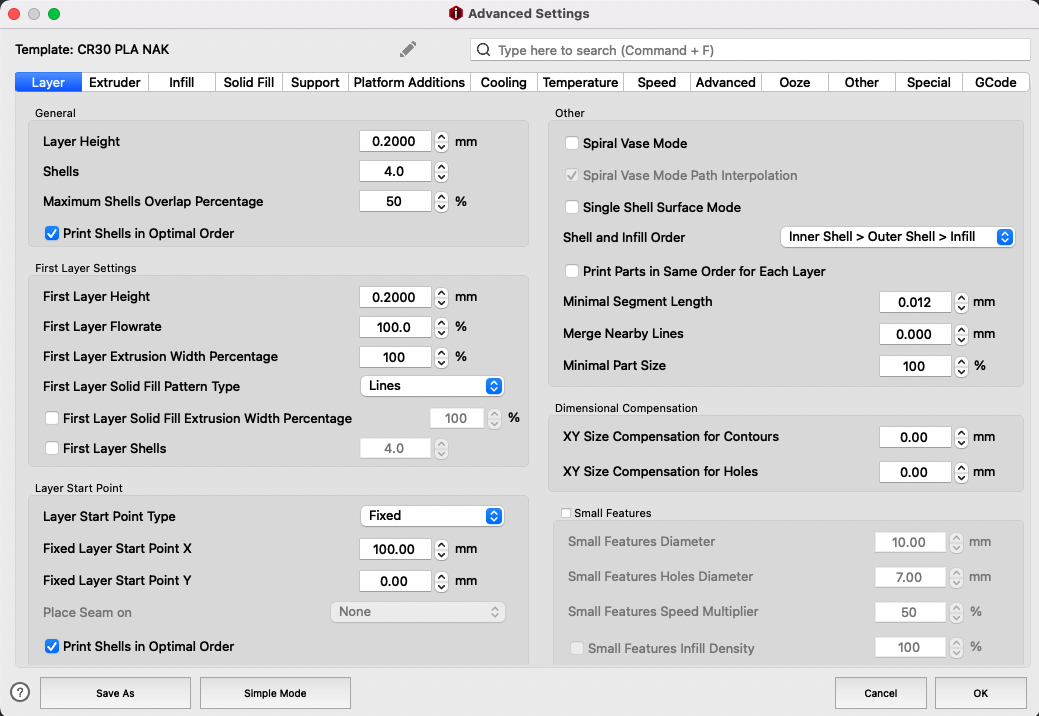
Just like the similarly feature-rich slicer PrusaSlicer (which is currently not compatible with belt 3D printers), ideaMaker offers varying levels of control to the user depending on the desired application. The default window has basic controls (move, rotate, scale, etc.) but the Advanced Settings window allows a deep dive into virtually all of the adjustable parameters you would find on a printer like the Creality CR-30.
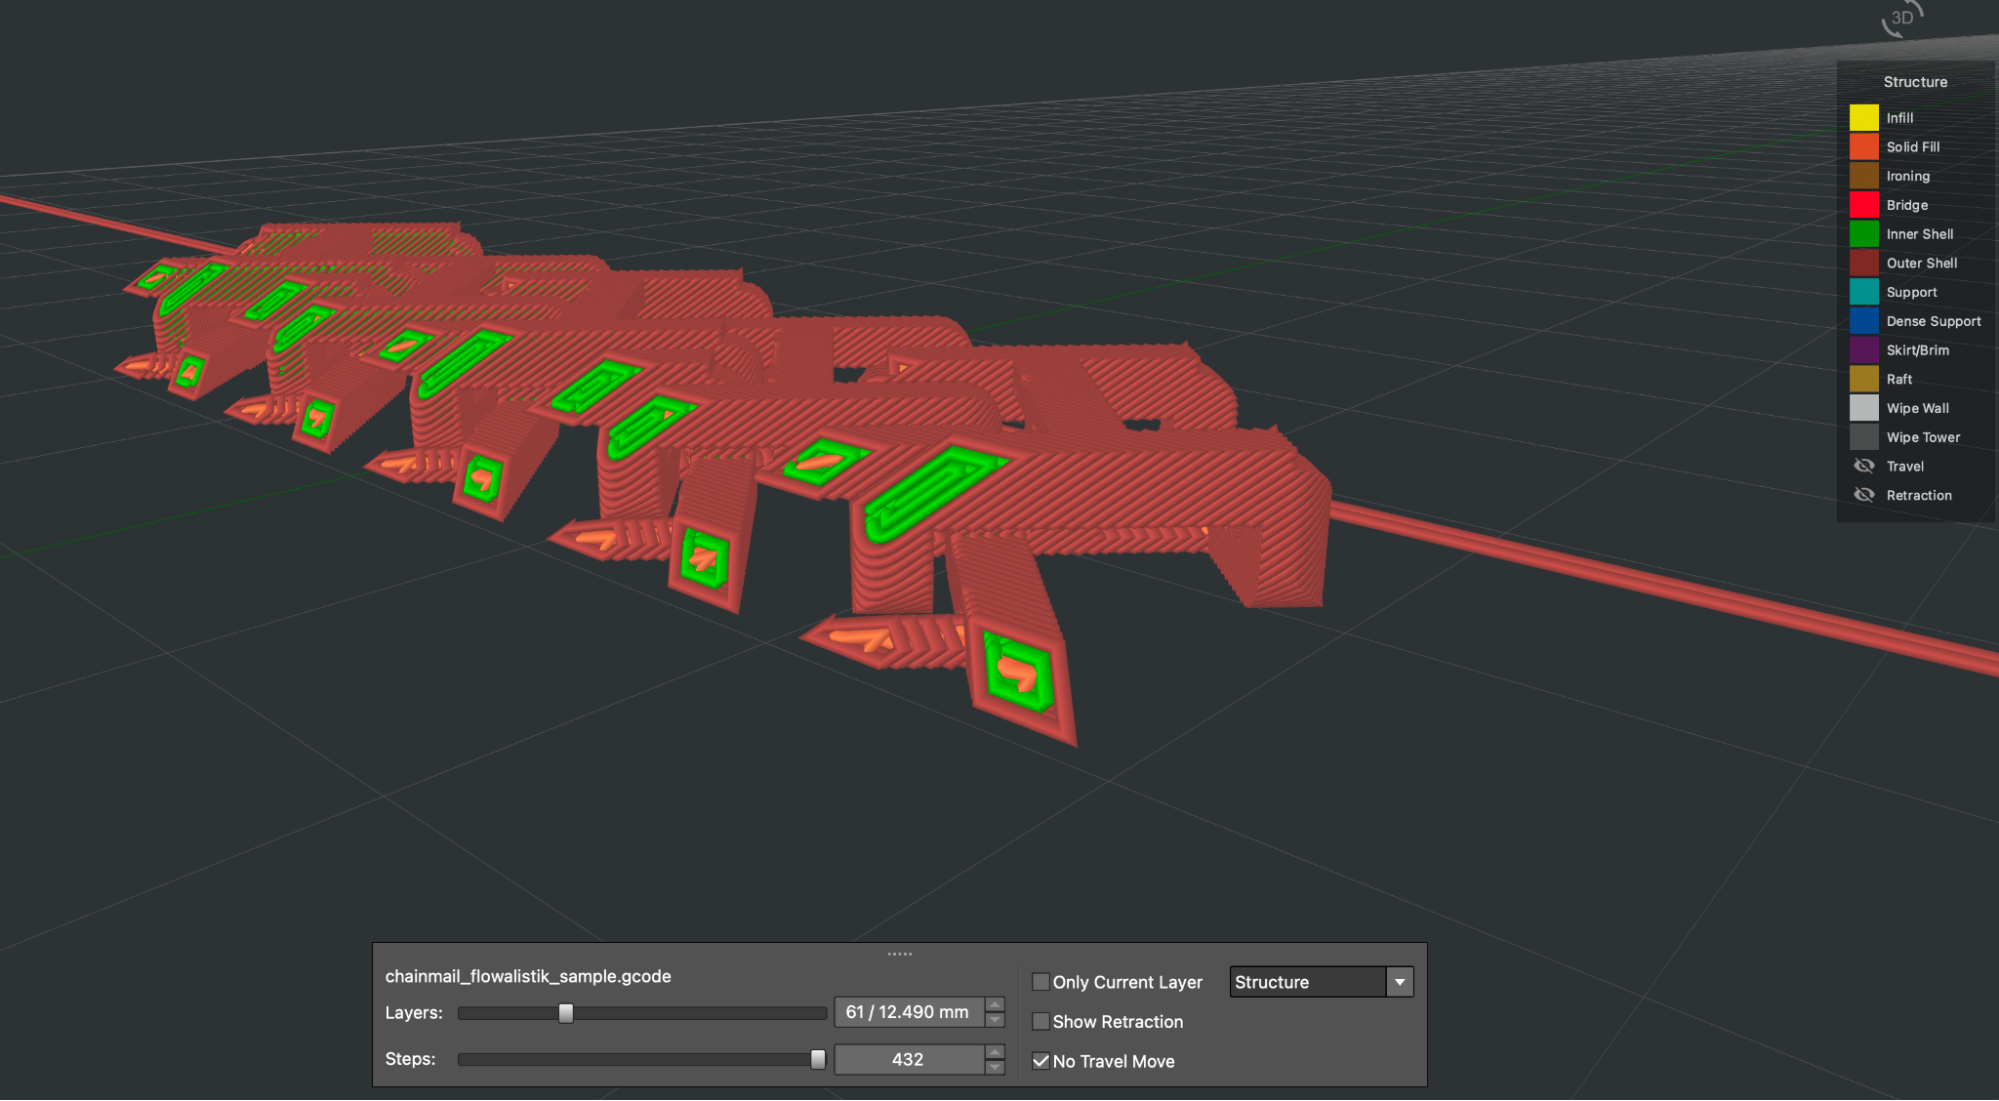
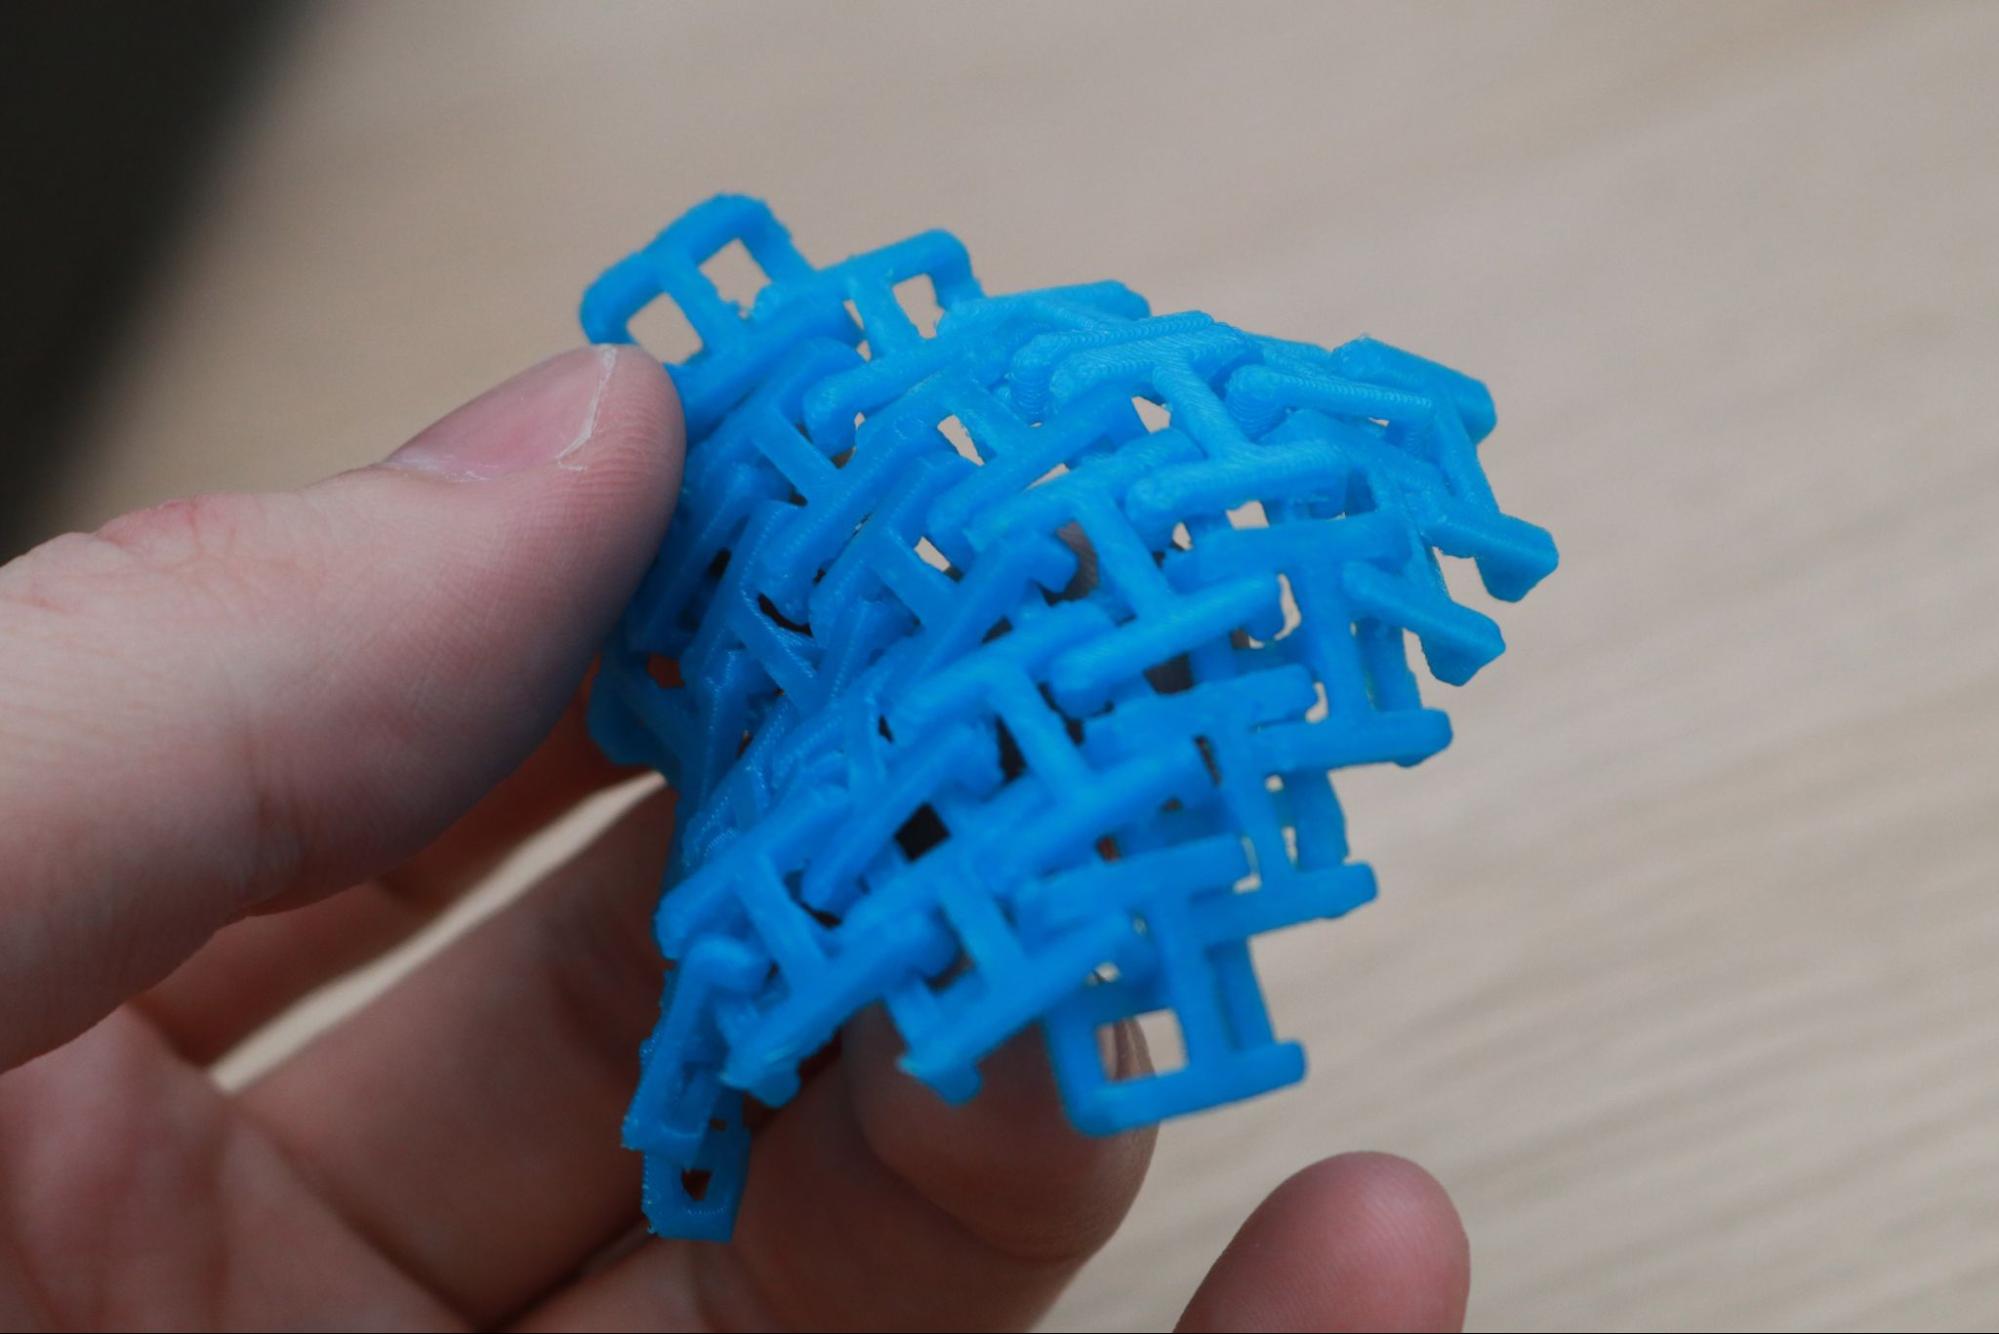
ideaMaker creates an edge-to-edge purge line at the start of each print, which allows models with a thin first layer to stick to the platform and not delaminate. This feature alone makes ideaMaker worth using by default, as the CrealityBelt software does not offer this as a feature despite the obvious need to create a firm connection to the belt with the first layer. To test out how well this purge line works, I printed the Chainmail fabric designed by Agustin Flowalistik, which is made up of many individual bodies that are all separately connected to the platform.
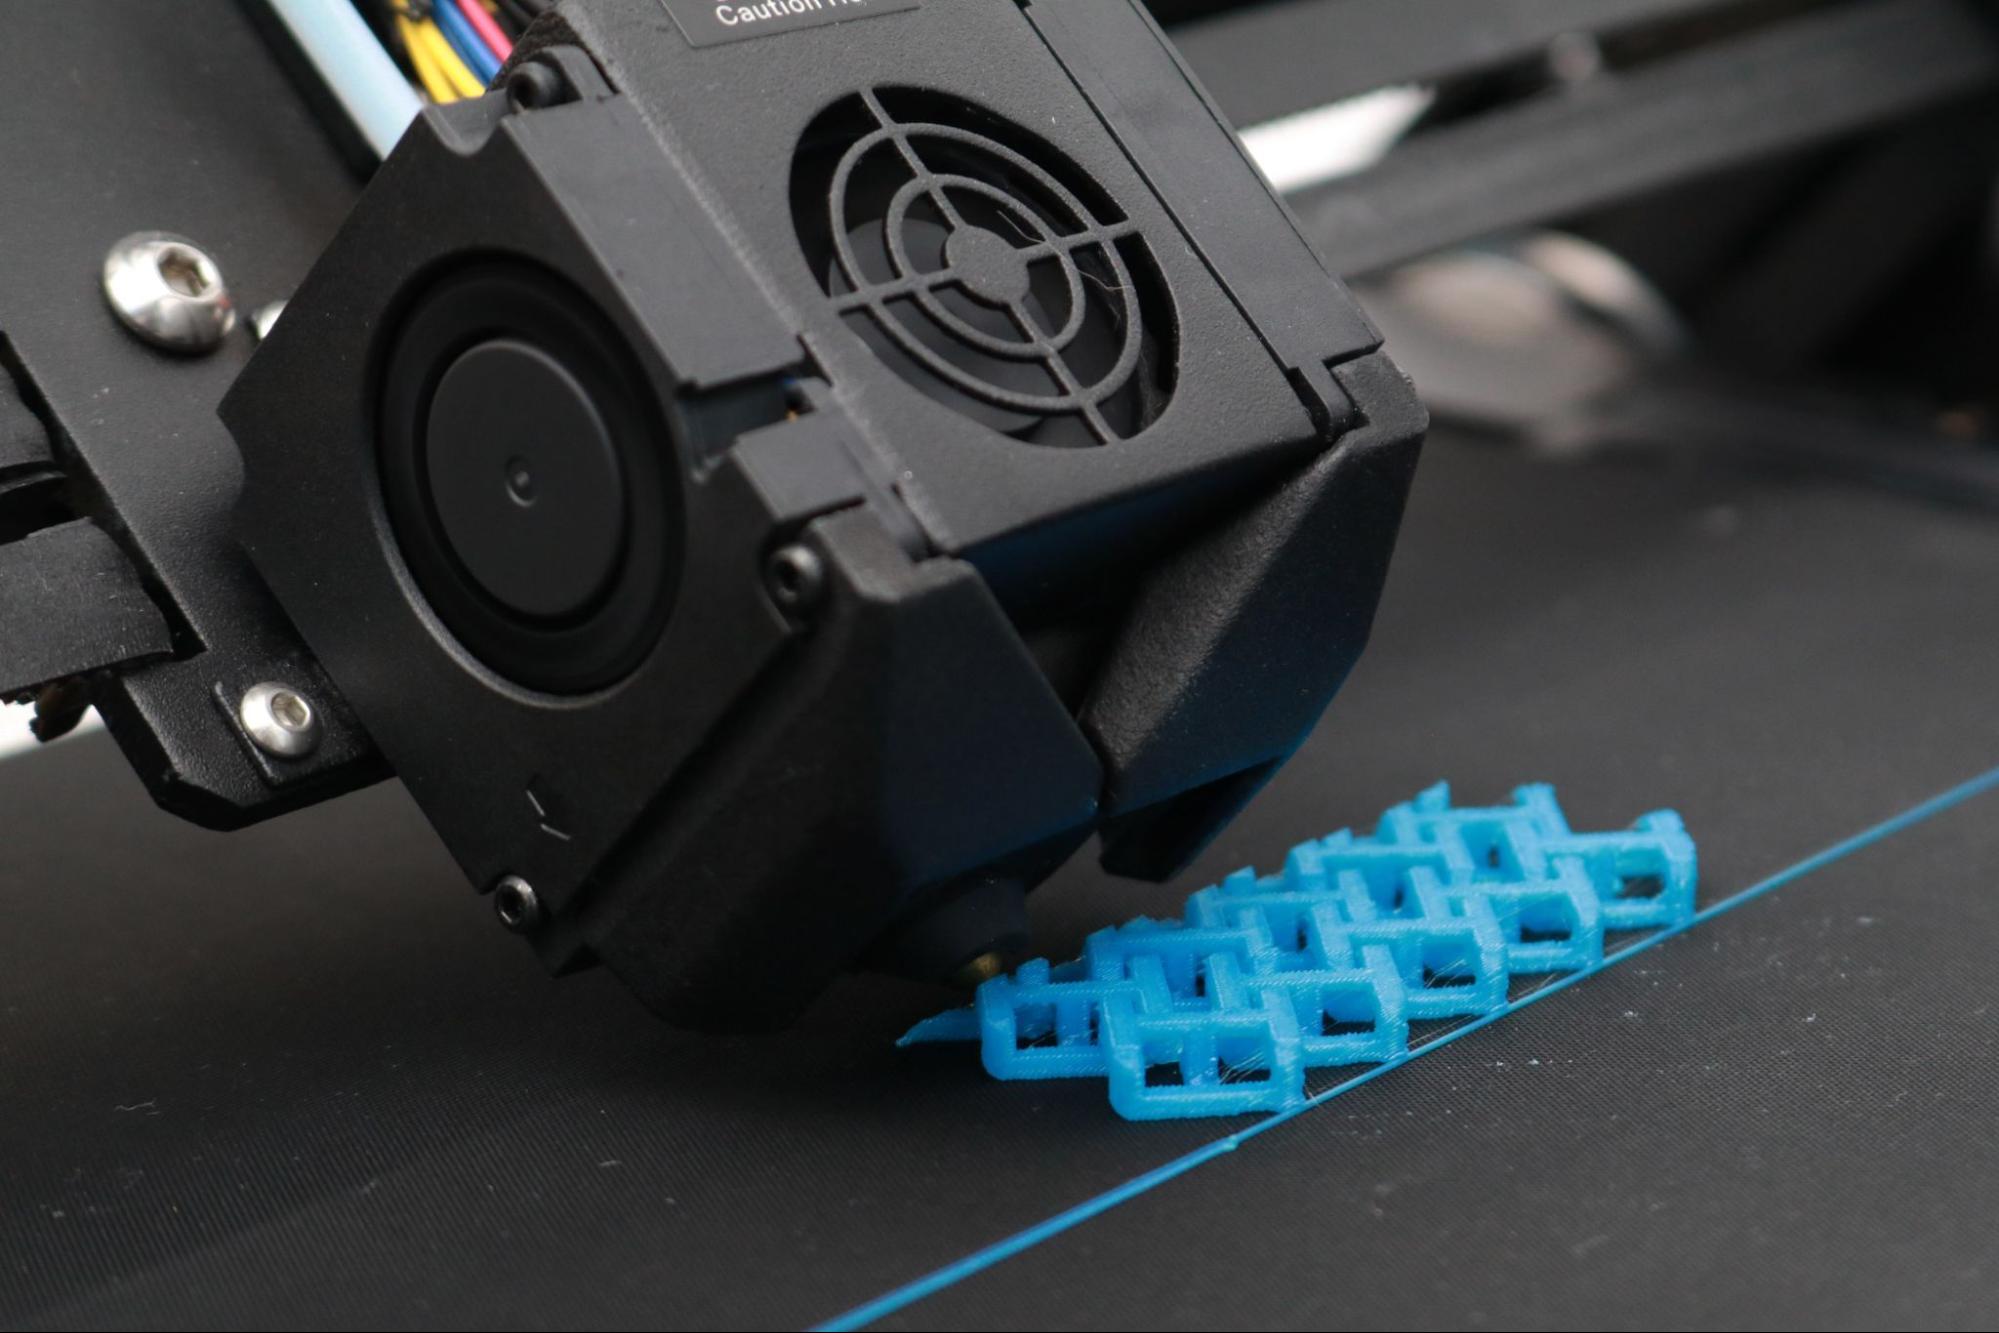
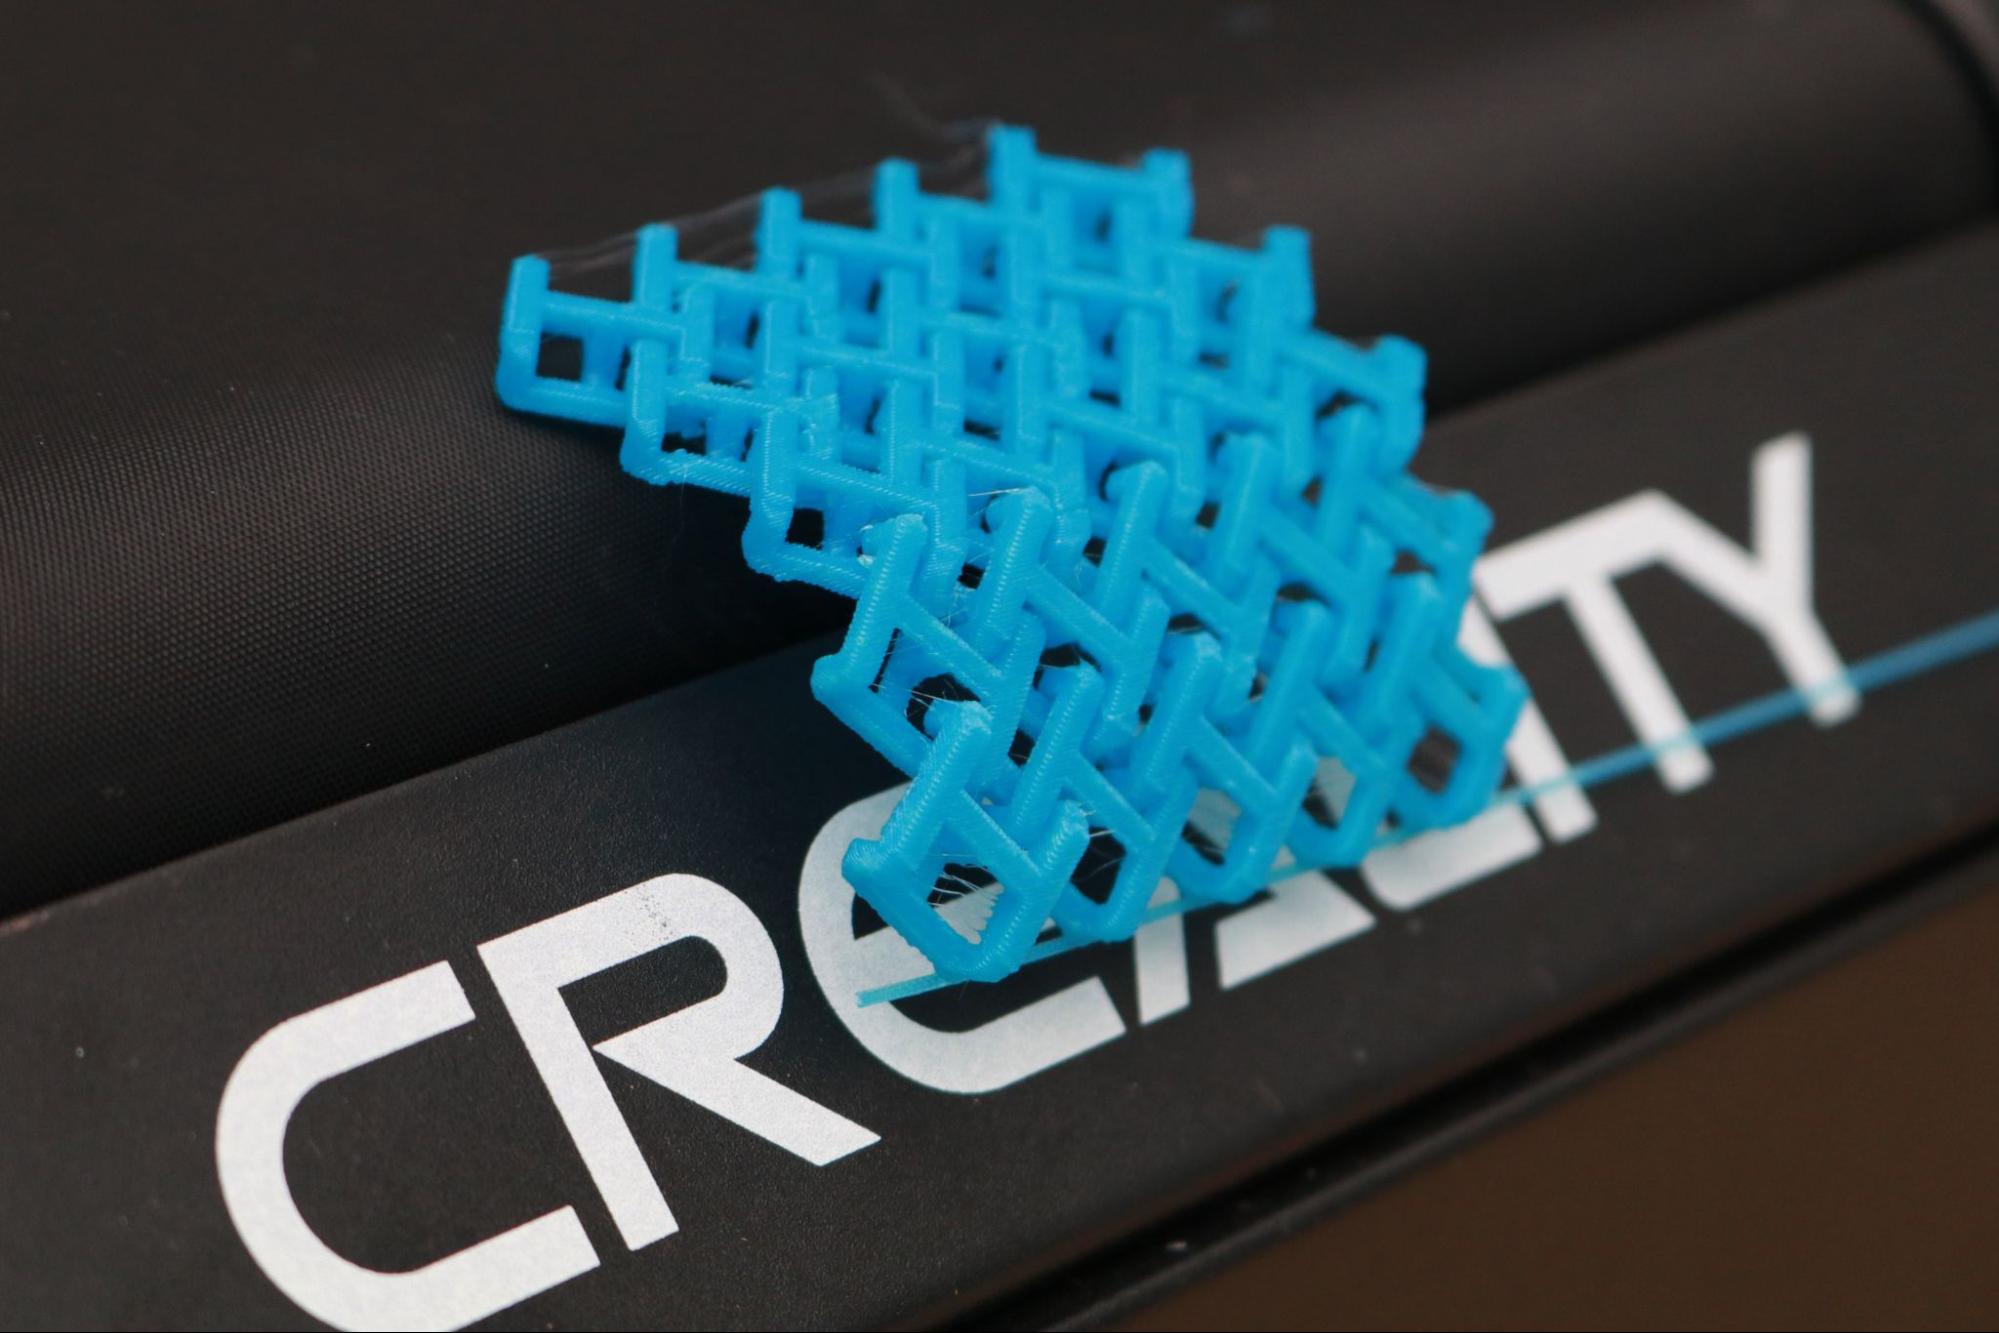
The chainmail fabric completed in 2 hours and 34 minutes, and the model stayed firmly adhered to the belt during printing. I removed the chainmail by advancing the Z axis, causing the chainmail to slide right off the edge of the belt. This leads me to believe that this chainmail could be printed indefinitely; as the belt advances, the chainmail at the end will separate while new links are being printed.
Printing Long Models on Creality CR-30
In addition to serial production, one of the strengths of the Creality CR-30 is the ability to print models of an infinite length on the Z axis. Creality has advertised that they successfully printed a part that was 20 feet long, so it’s safe to say the length of the part is determined more by the patience of the user than by the speed of the printer.
Printing long, thin models like cosplay swords is a great example of a challenging print for conventional printers: printed upright, they are weak and break and easily, printed horizontally, the size is typically limited to under 10 inches. The CR-30 is able to print long, strong parts by laying the model down flat on the conveyor belt and taking advantage of the long Z axis.
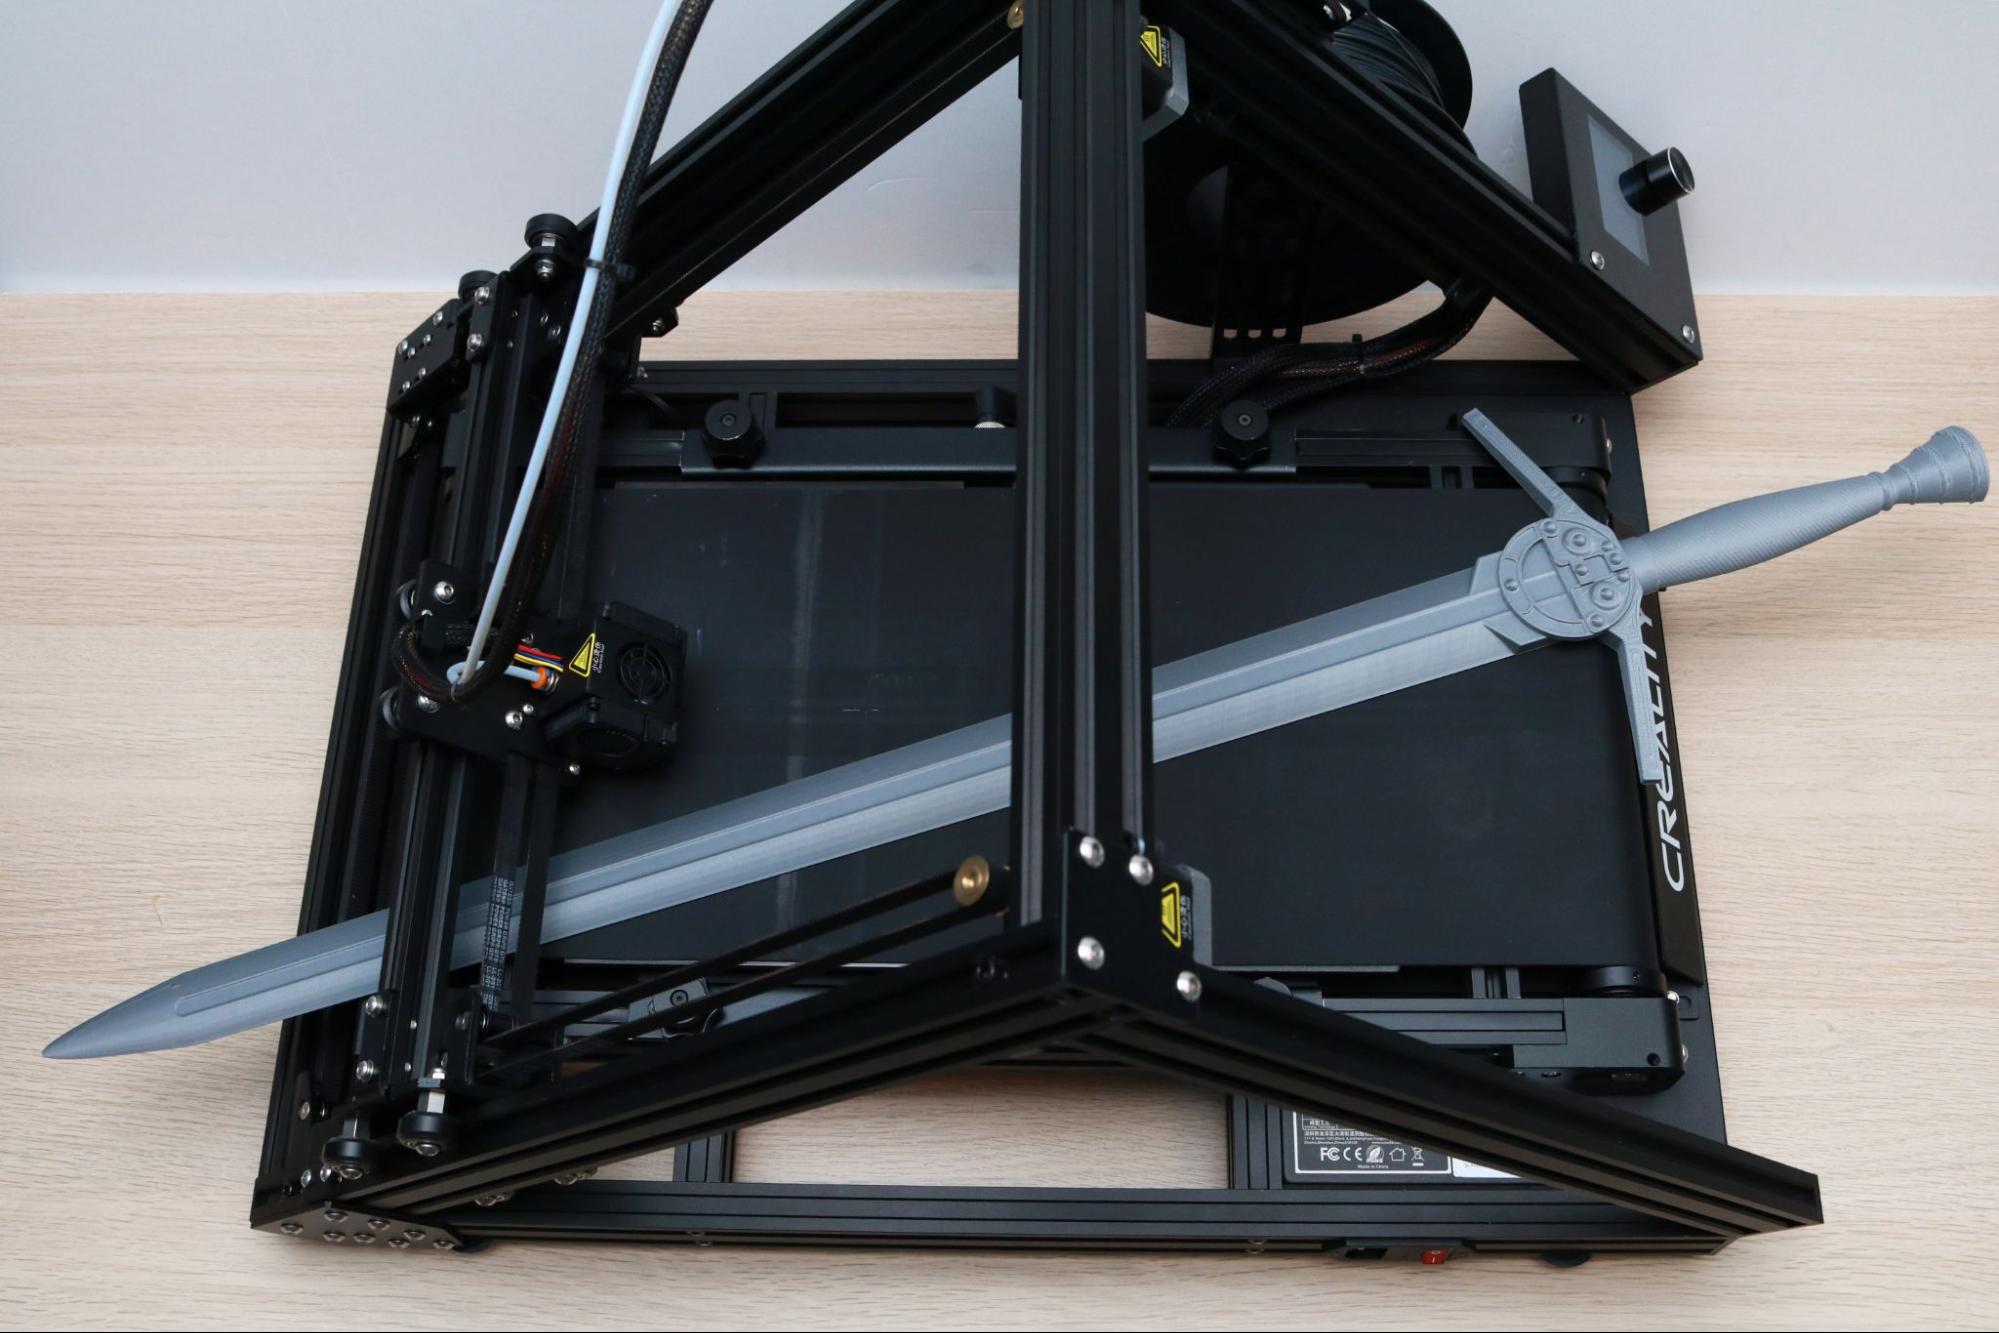
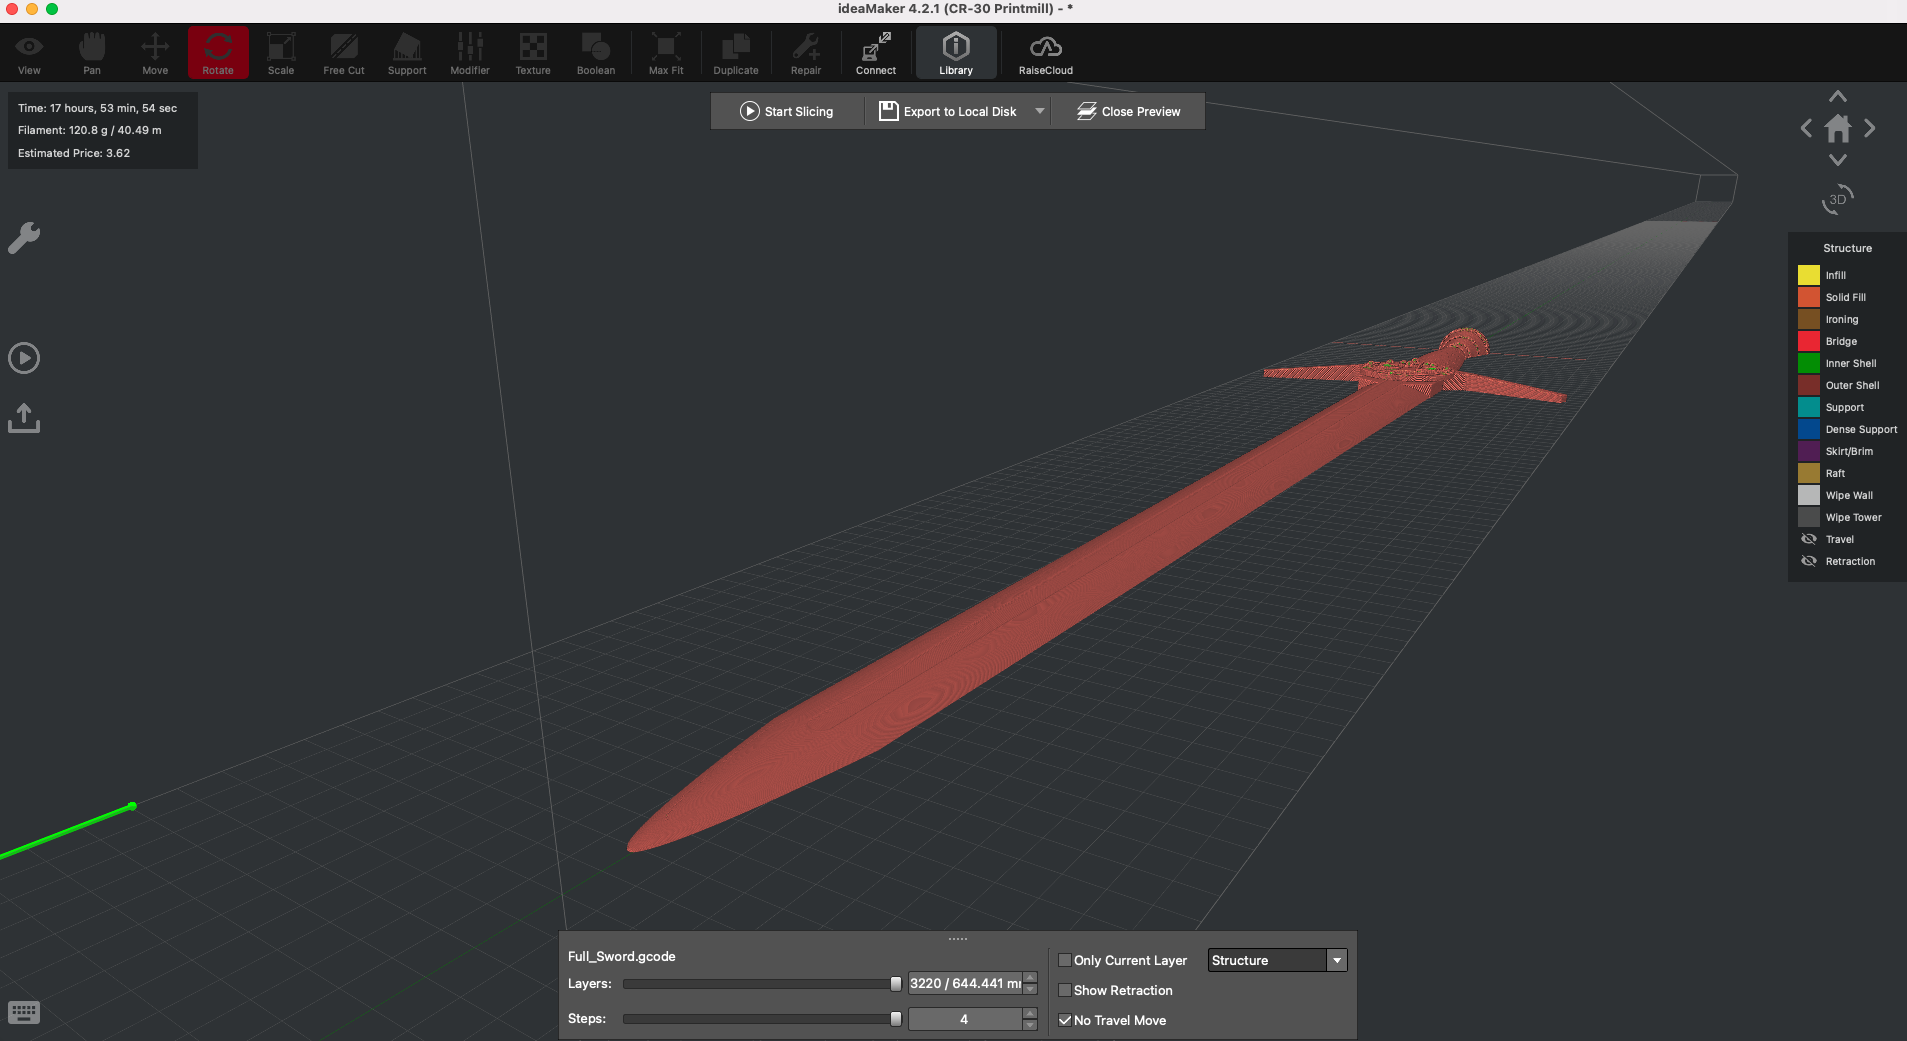
The Witcher Sword (Netflix Version) by WF3D is the perfect model to use as a test case; it can be evenly split down the middle and has plenty of fine detail on the hilt. I cut the model in ideaMaker right down the center, and printed it using the default .2mm layer settings. ideaMaker has the various model adjustment controls intuitively laid out at the top of the screen, so the prep process (Move, Rotate, Scale, Cut) can be done in a linear fashion that only takes a few minutes. Considering that most models have been designed for a 90 degree extruder setup, the lack of these tools in CrealityBelt means complex models will likely be prepared in a different slicer app.
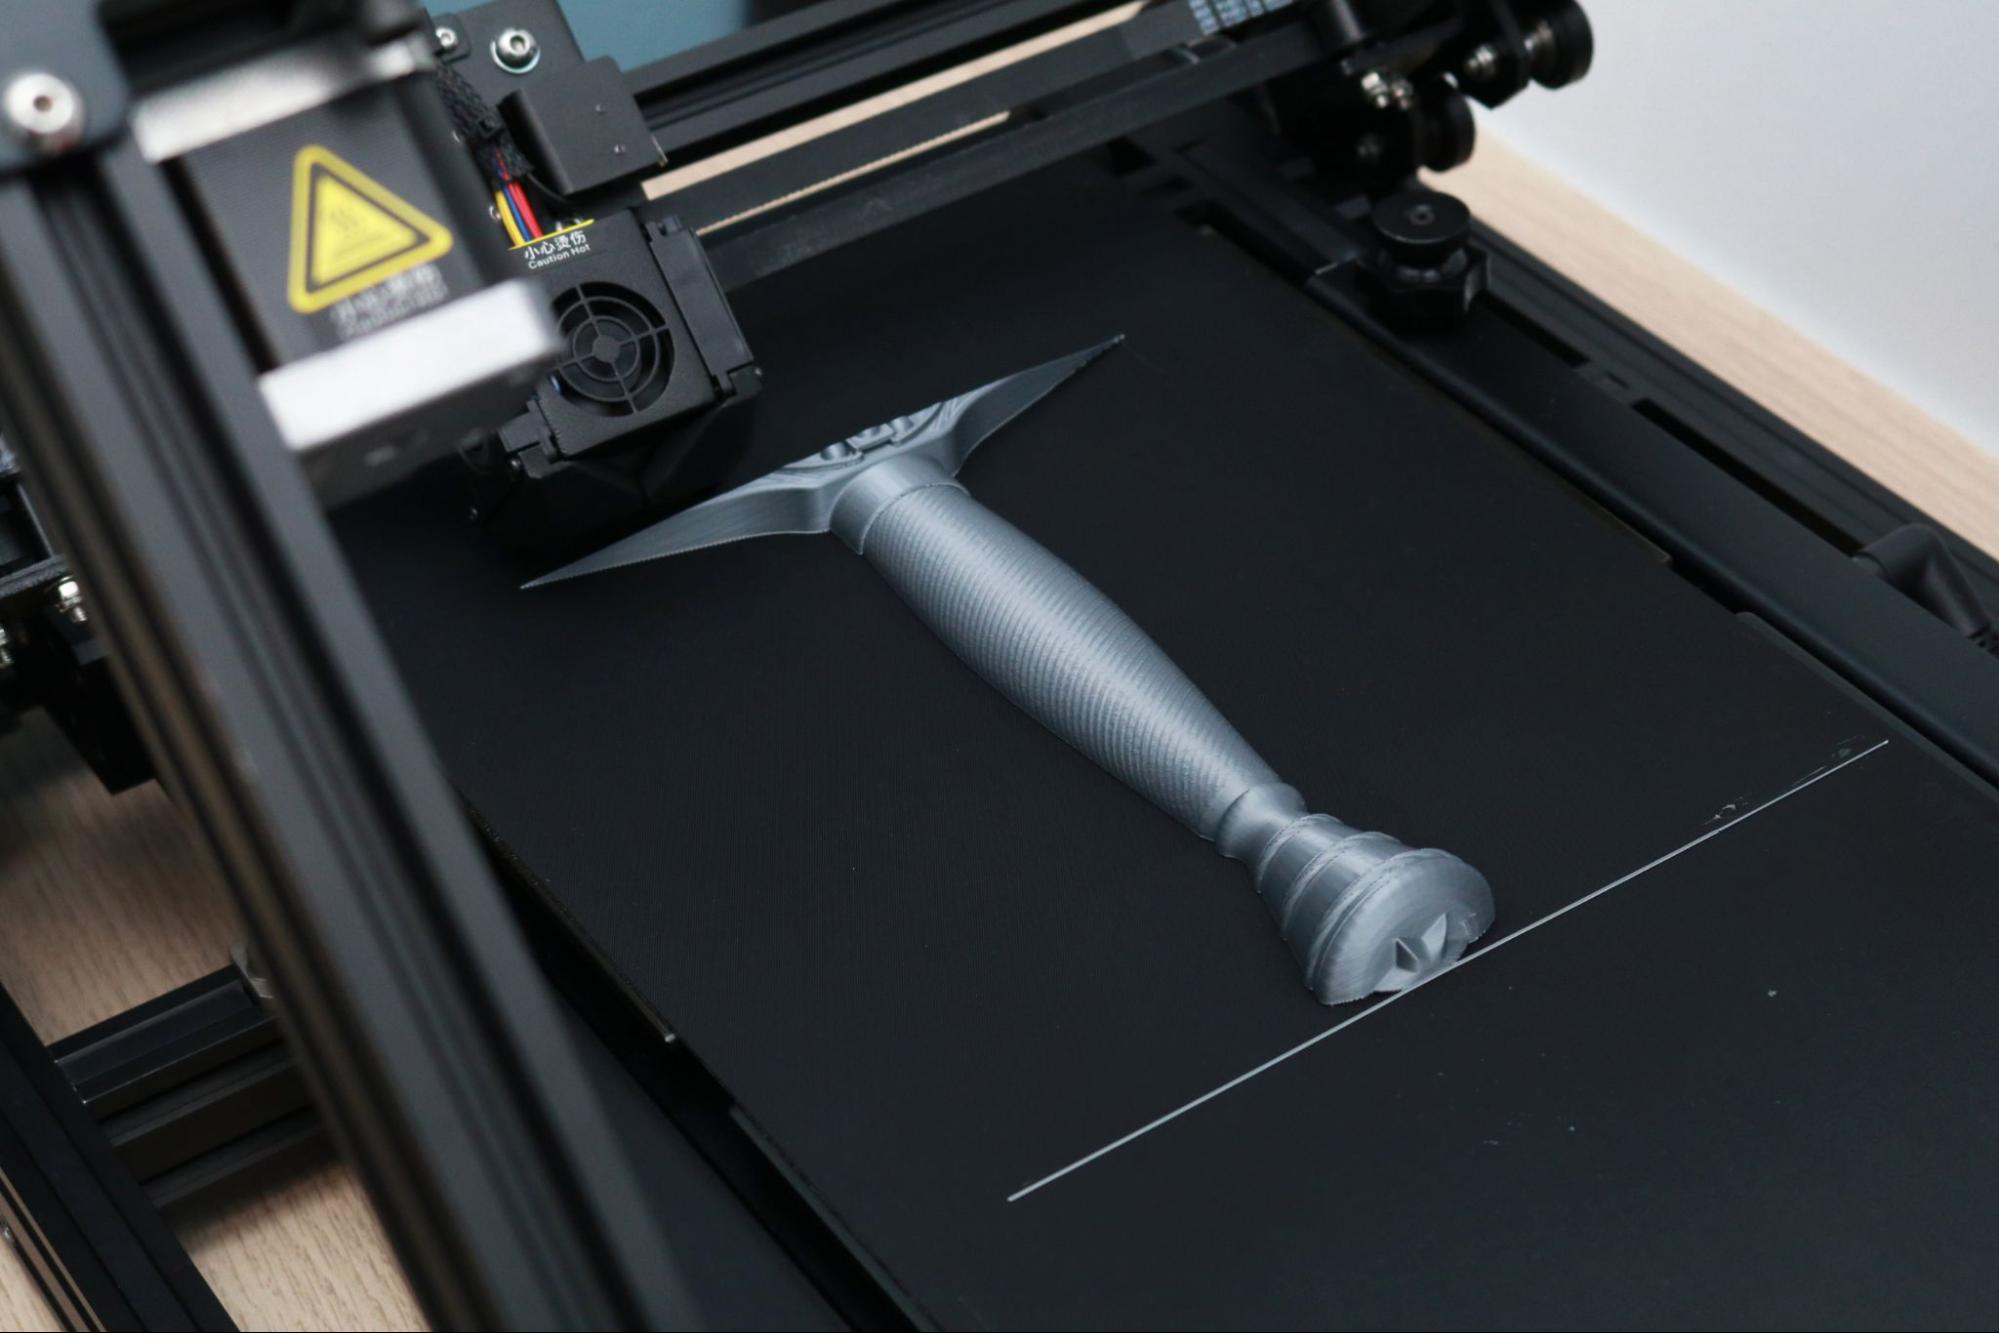
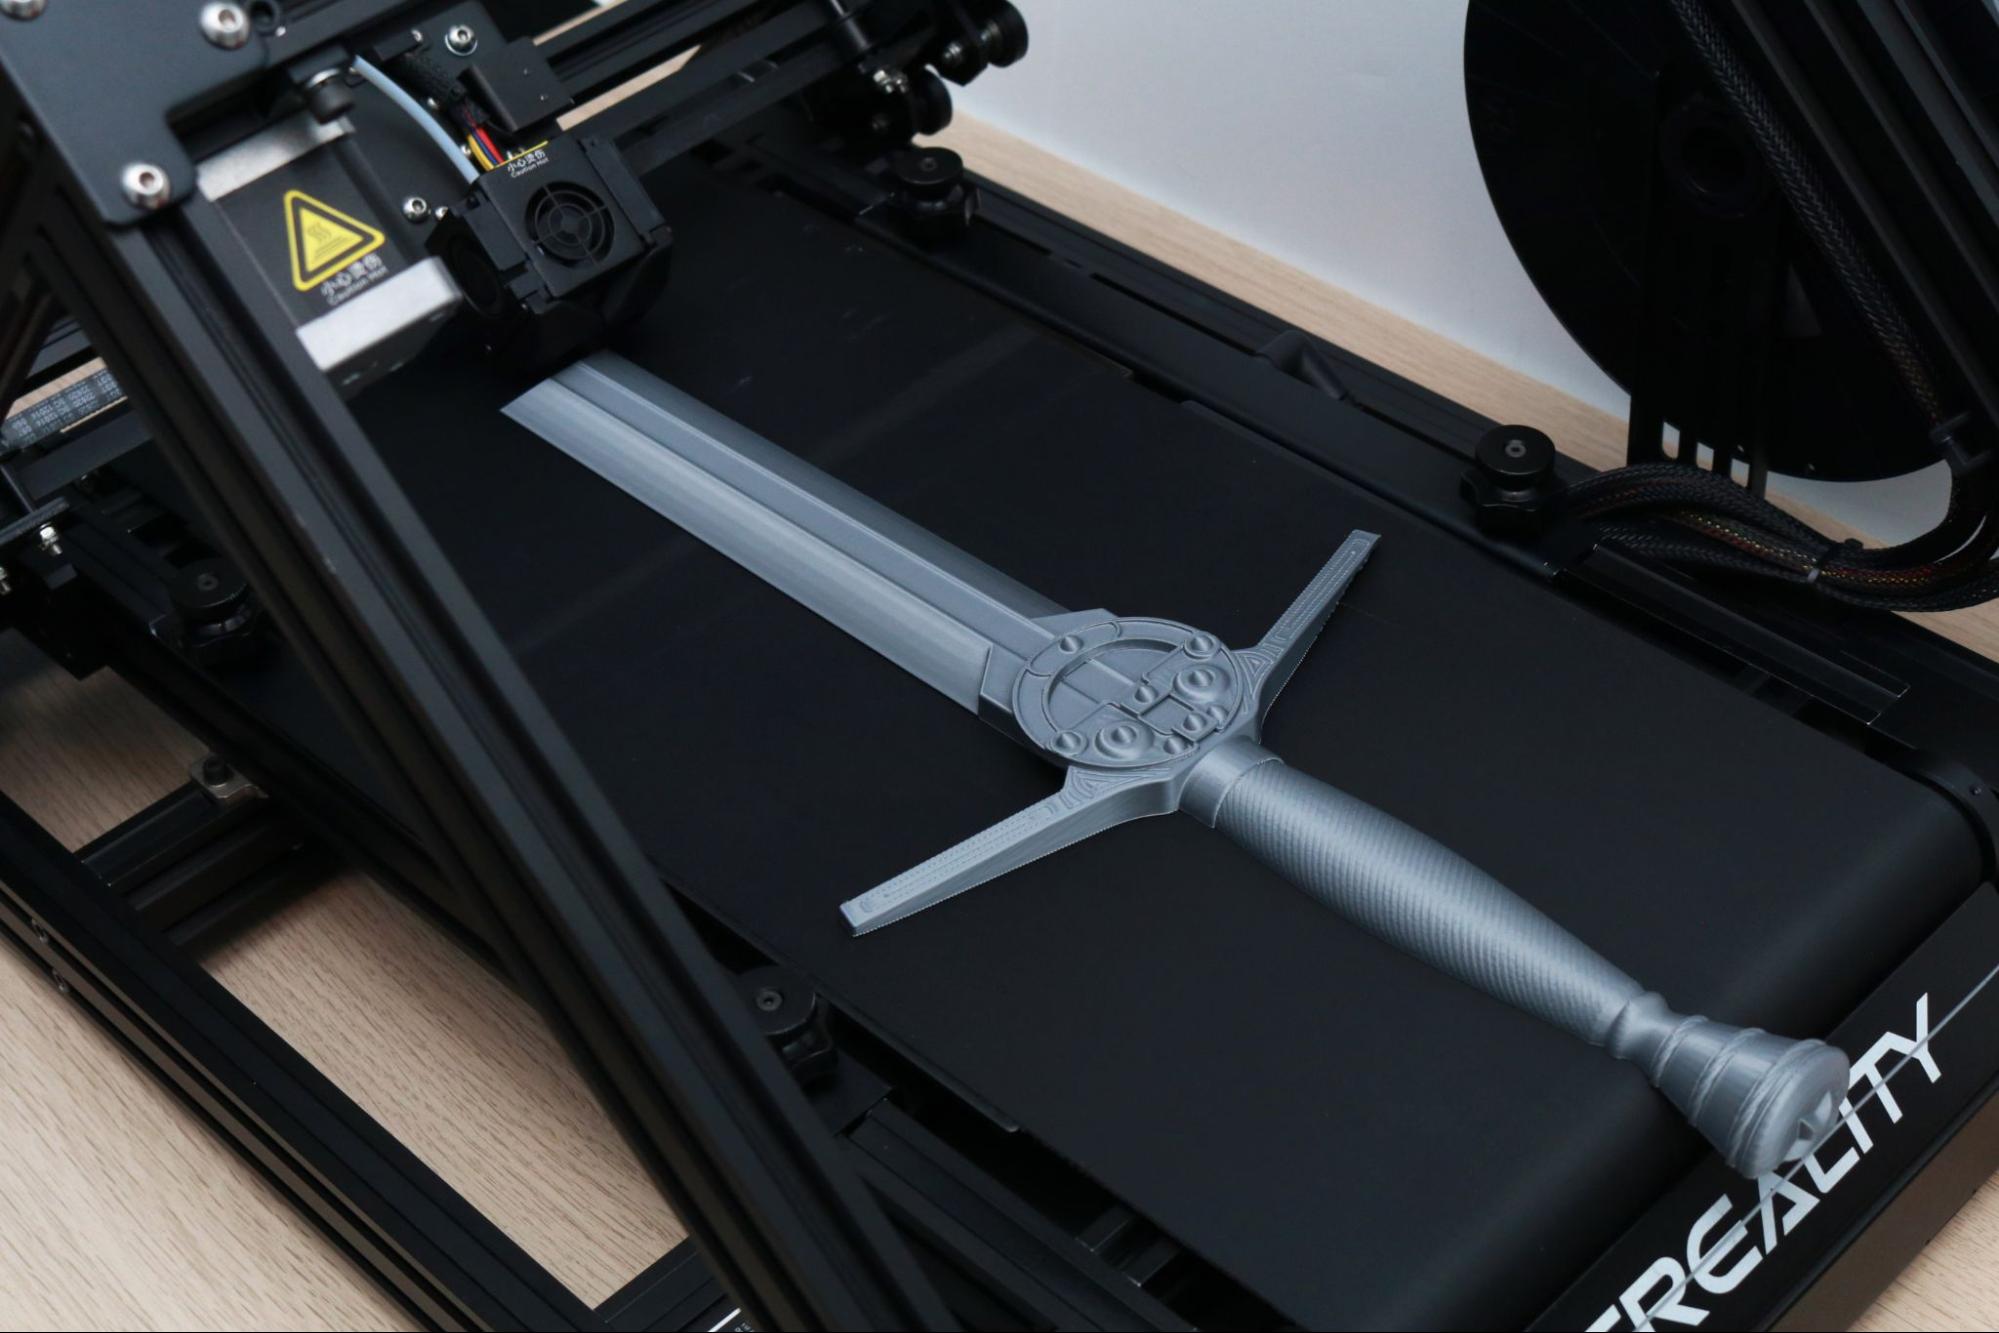
I printed the model hilt-first so the first few layers would have more of a bite into the belt and increase the chances the model could print successfully. The initial purge line created by ideaMaker worked perfectly, and the model was firmly adhered to the bed for the duration of the printing process. As the print progresses, you can see it starts to gently delaminate from the edge of the belt; this allows the sword to detach at the very end without disturbing the area that is actively being printed under the extruder. Creality sells an extension kit for the CR-30 that uses rollers to allow longer parts to remain stable printing, but I used a few books stacked on top of each other to keep the parts supported during printing.
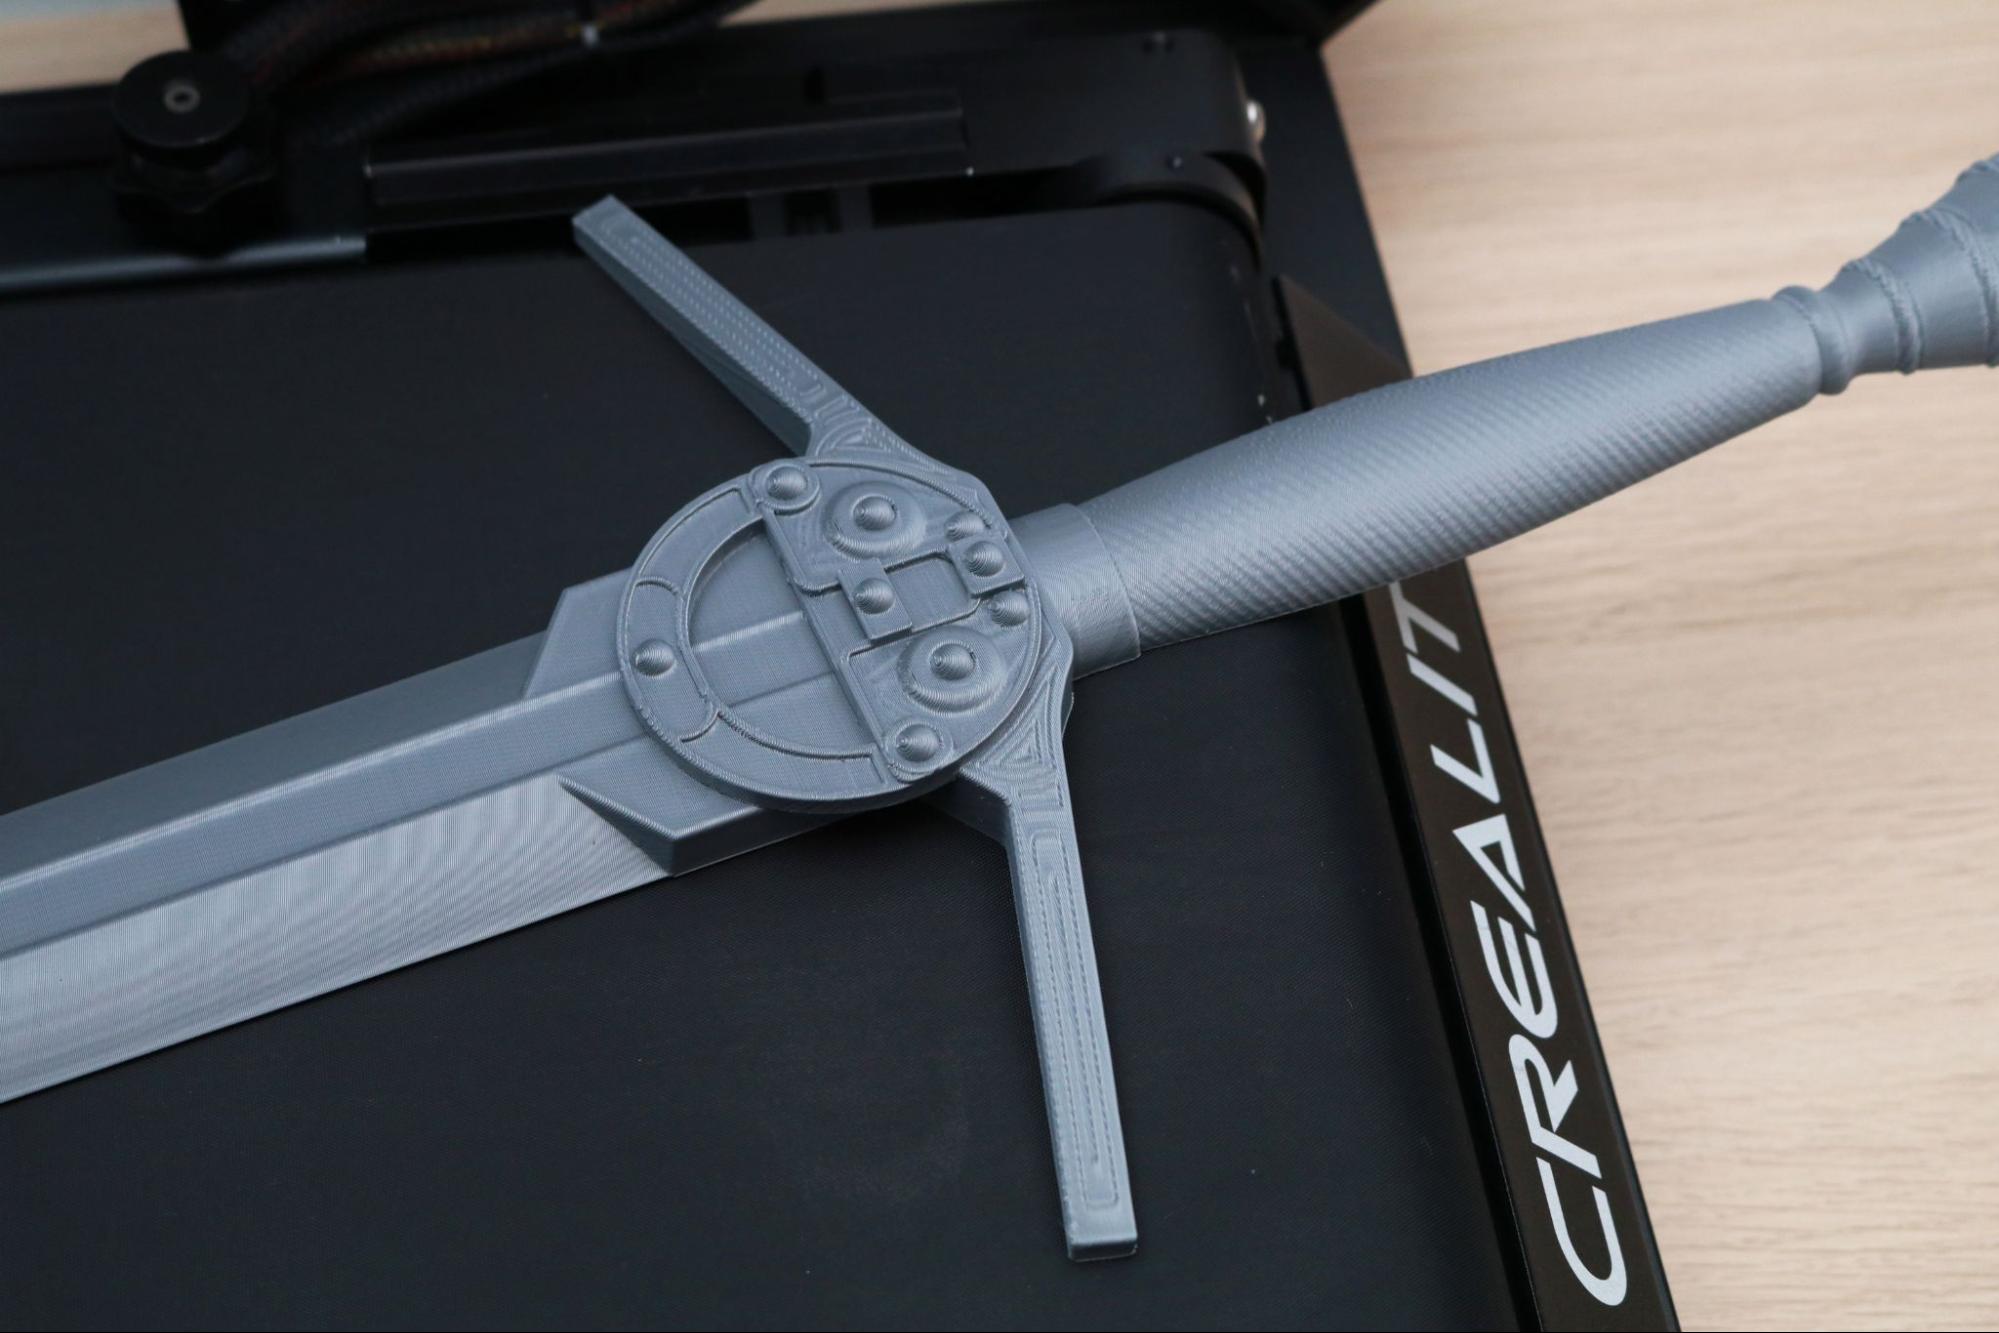
The model printed in 22 hours and 57 minutes, much longer than the original estimate (17 hours, 53 minutes) provided by ideaMaker. The entire sword had stayed firmly laminated to the belt during printing, and it detached easily by advancing the belt at the end of the print, allowing it to pop right off. The fine details on the hilt printed perfectly, and the angled nature of the print gave the blade of the sword a smooth and even appearance. The sword is 35 inches long, an impressive length for a part printed in a single piece.
Printing Multiple Models on Creality CR-30
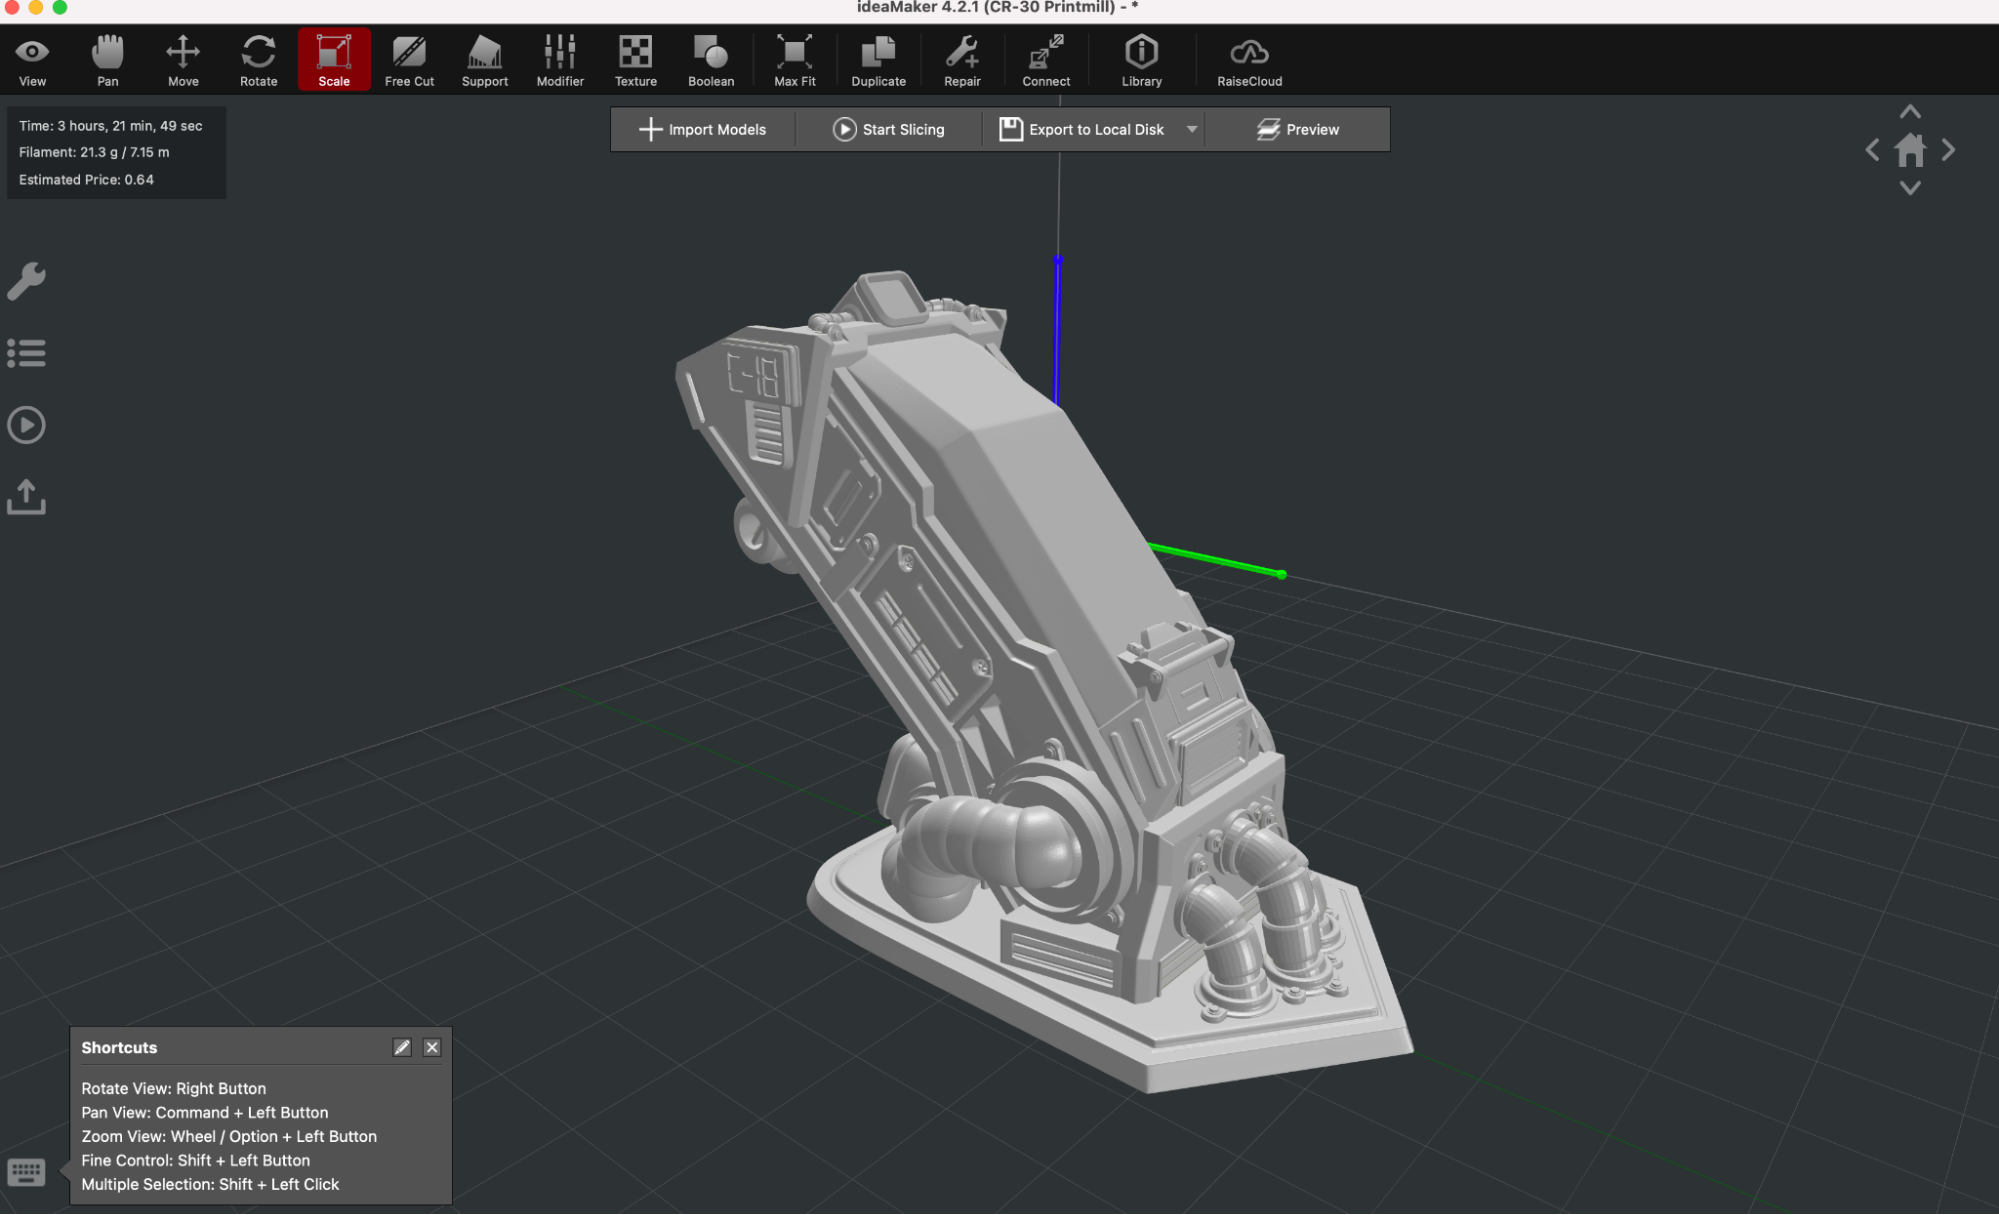
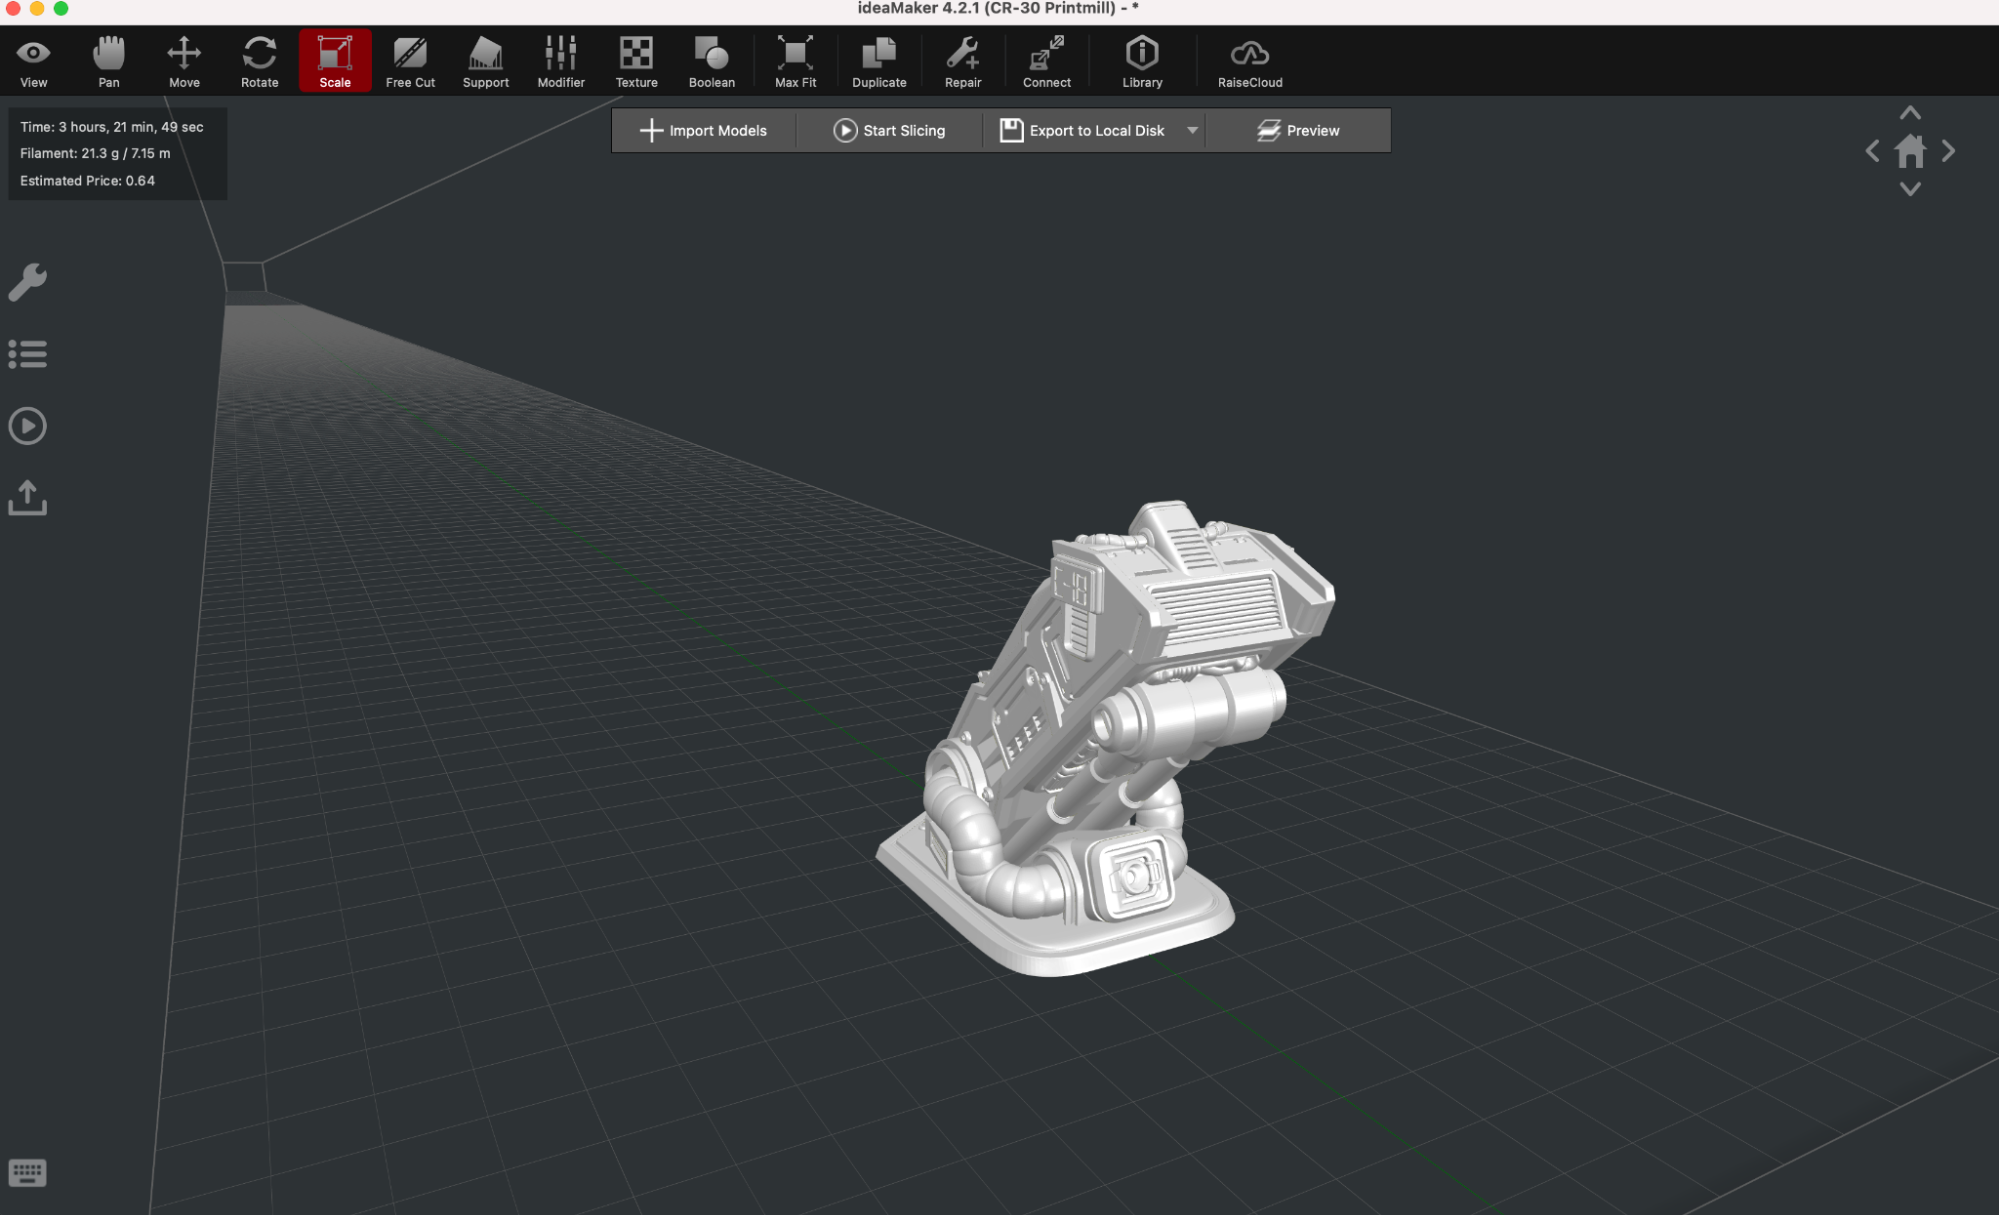
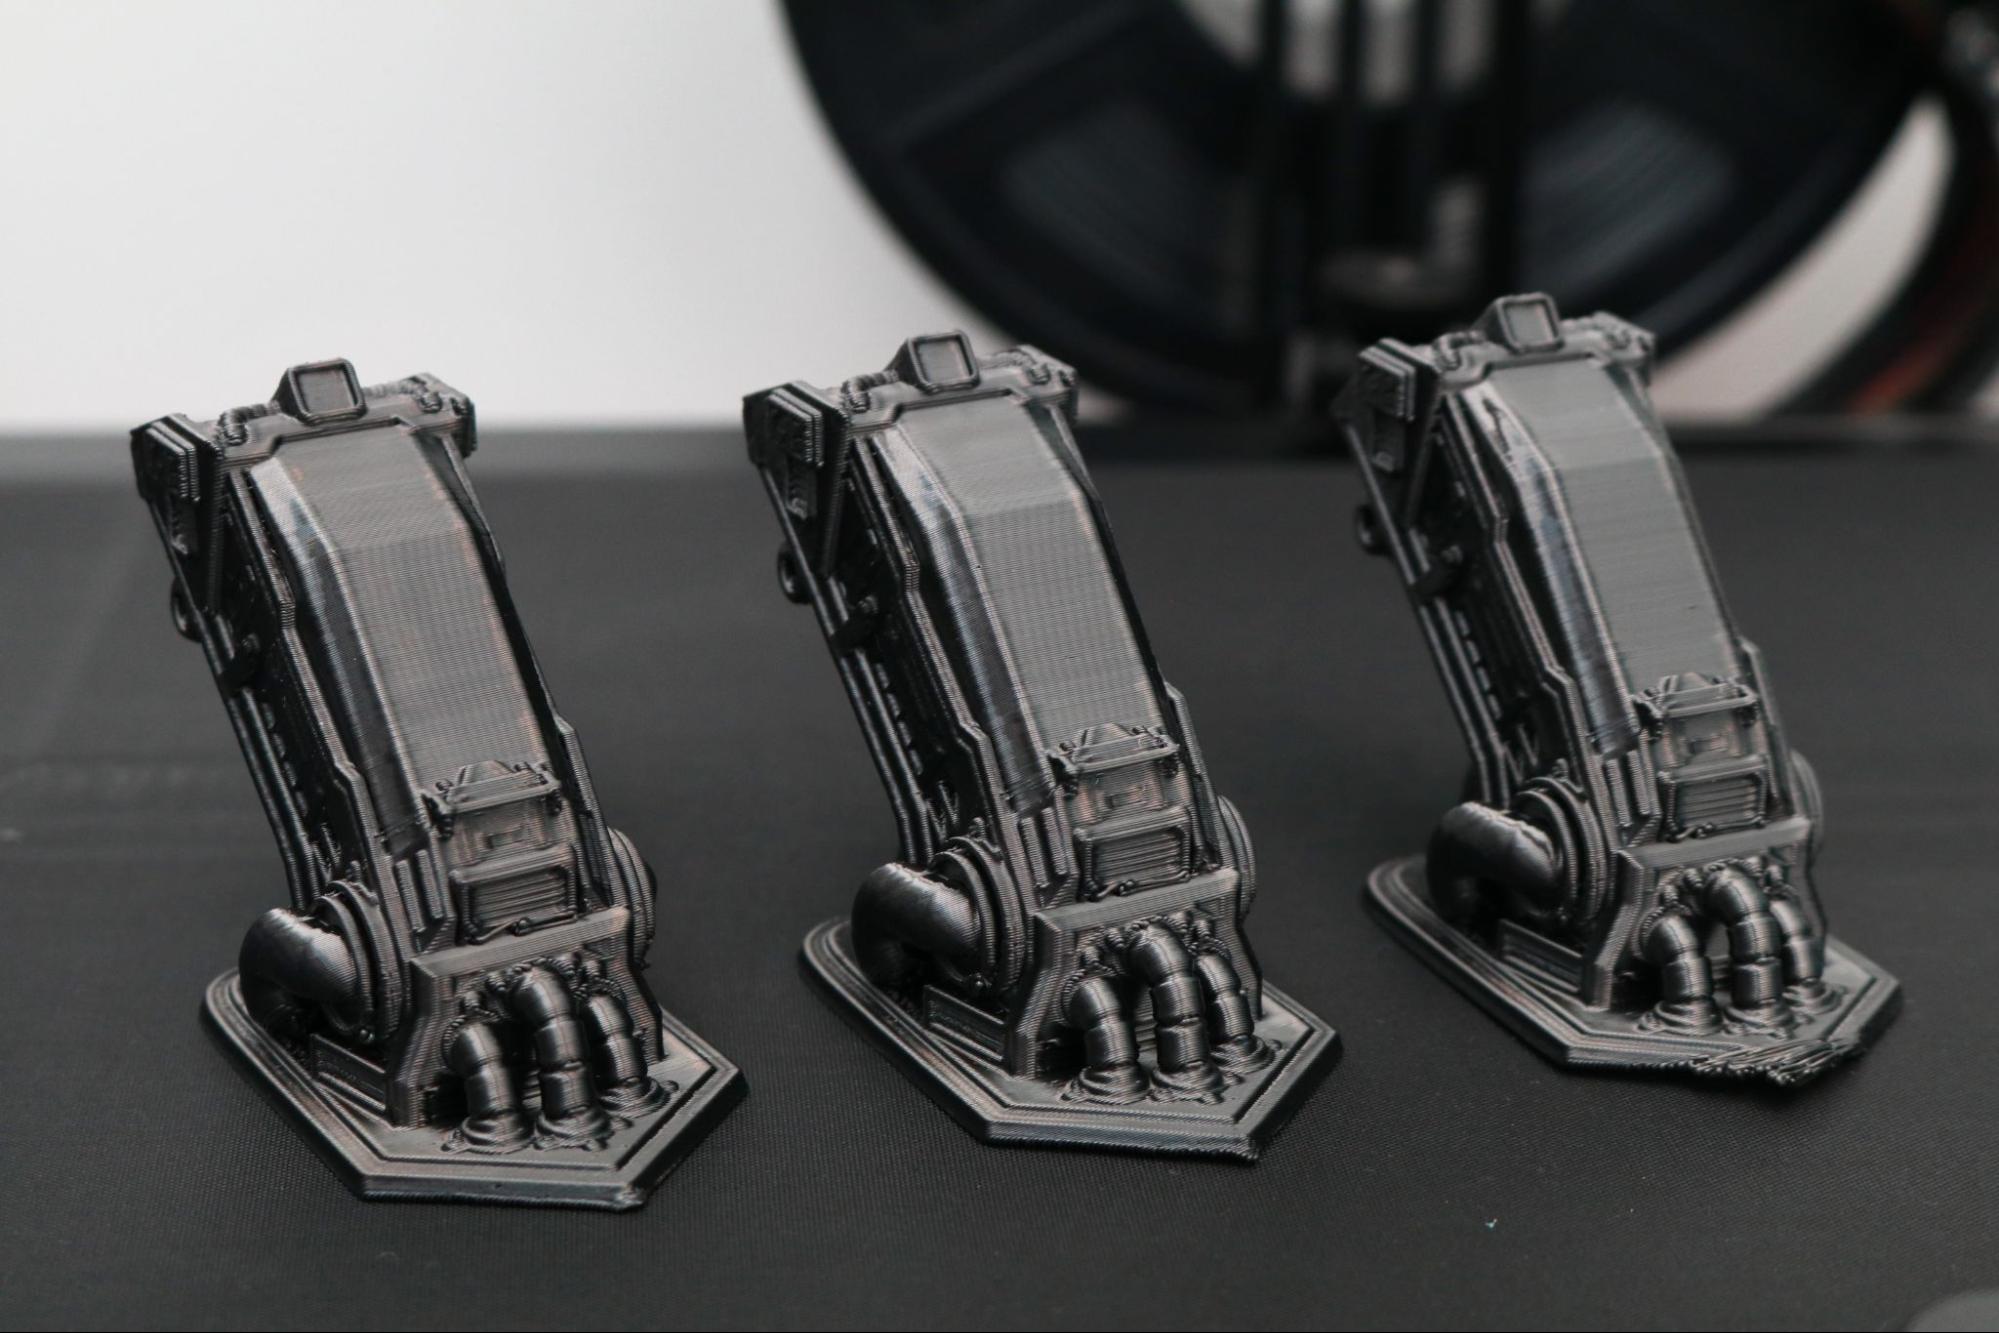
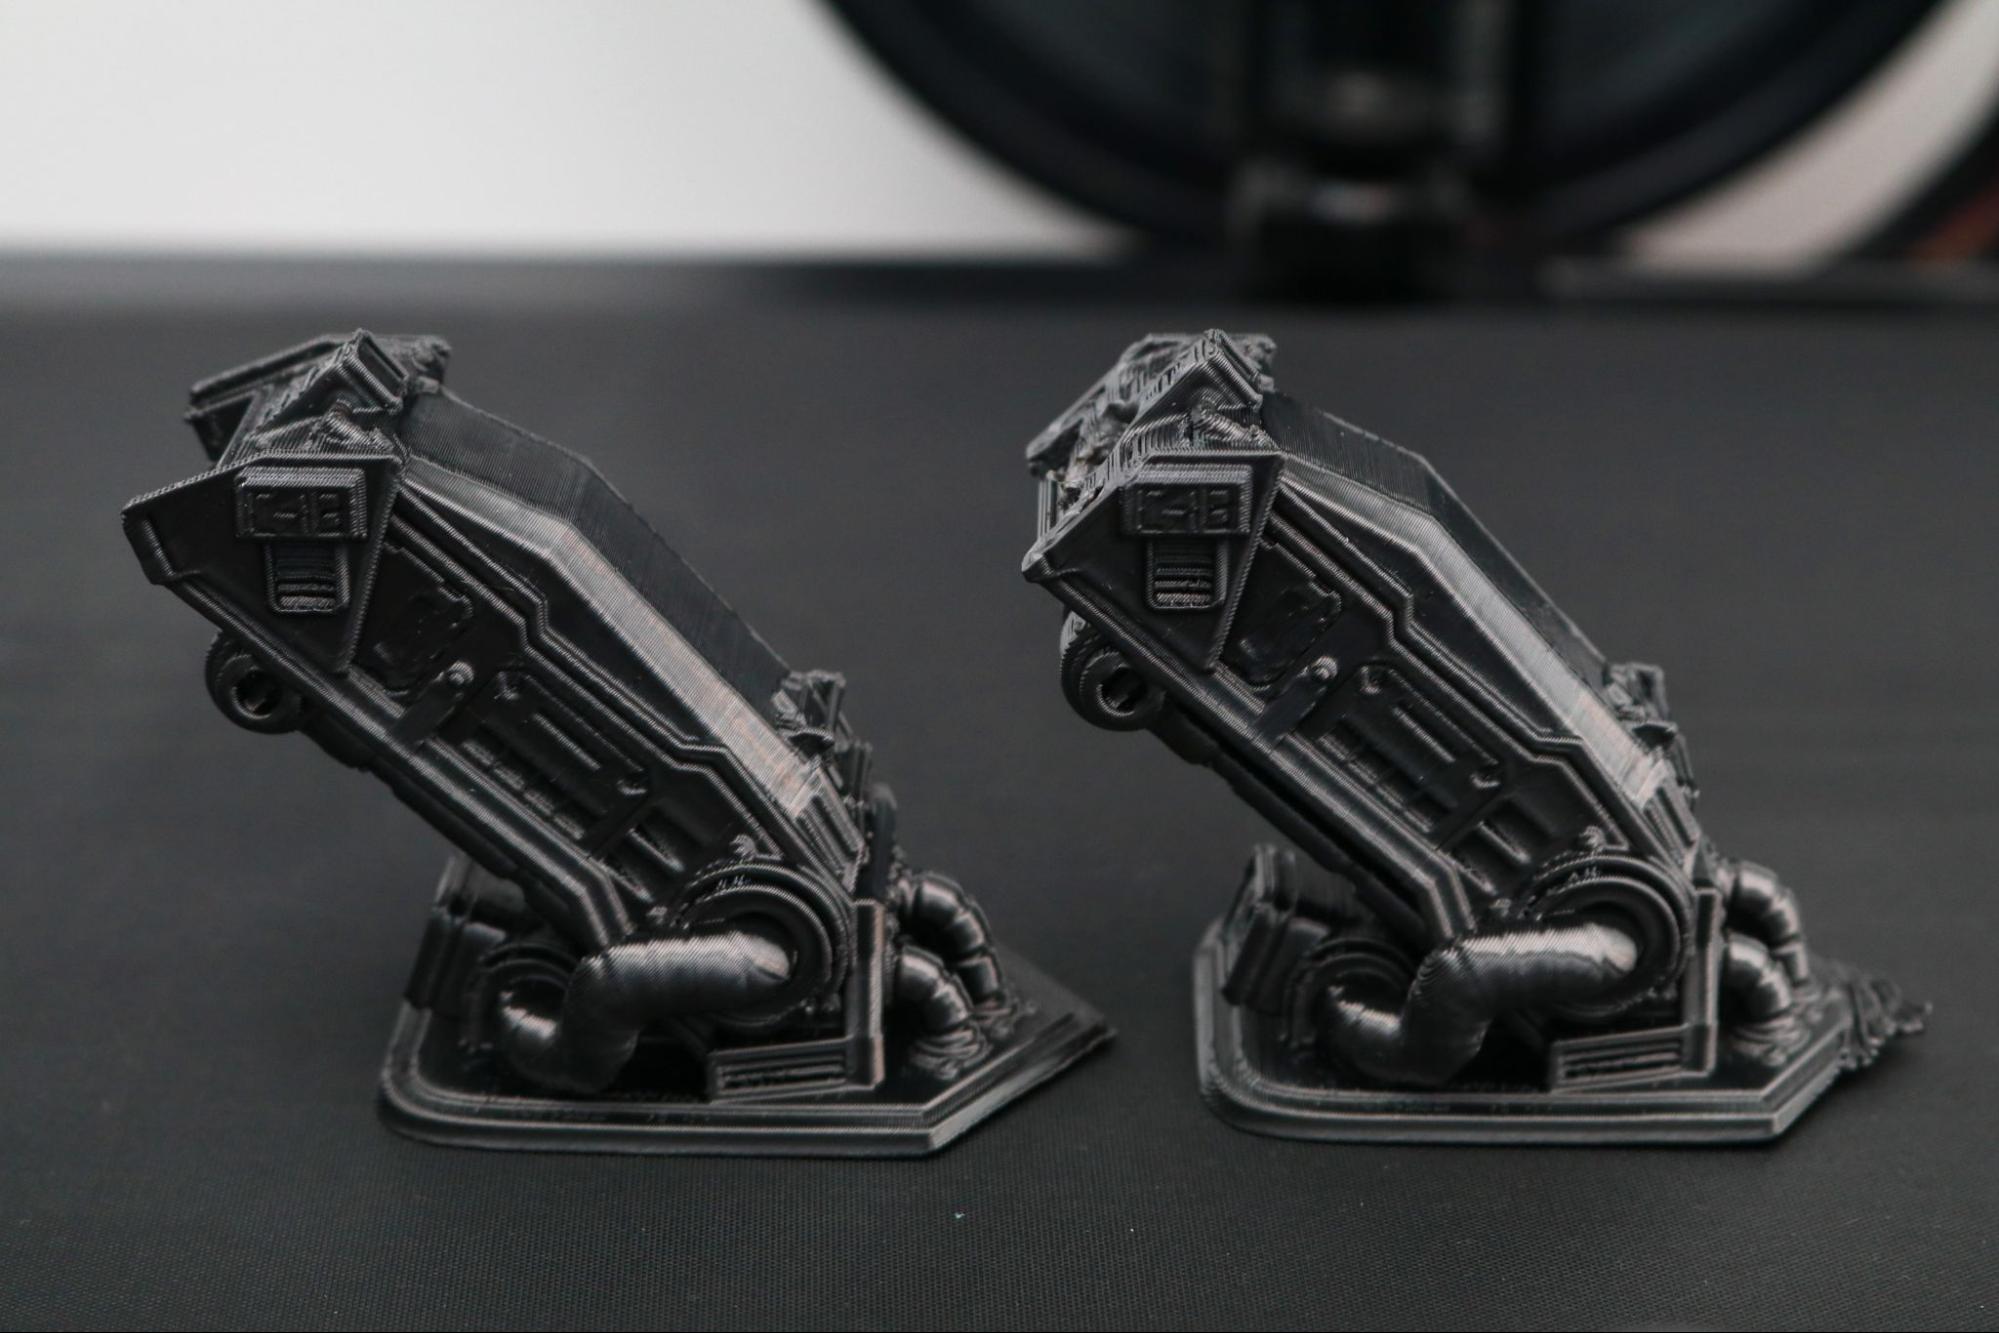
The ideaMaker software also allows for a ‘Repetition’ setting to be adjusted, which controls the total number of parts printed out. Unfortunately, this repetition setting doesn’t show an accurate print time or slice preview, but instead simply advances the belt and repeats the print from the beginning. The Creality CR-30 is advertised as a machine that is capable of serial production, so I tested this ability with the Loot Studios ‘Cryochamber’ model; a piece of terrain that would be used in a tabletop game.
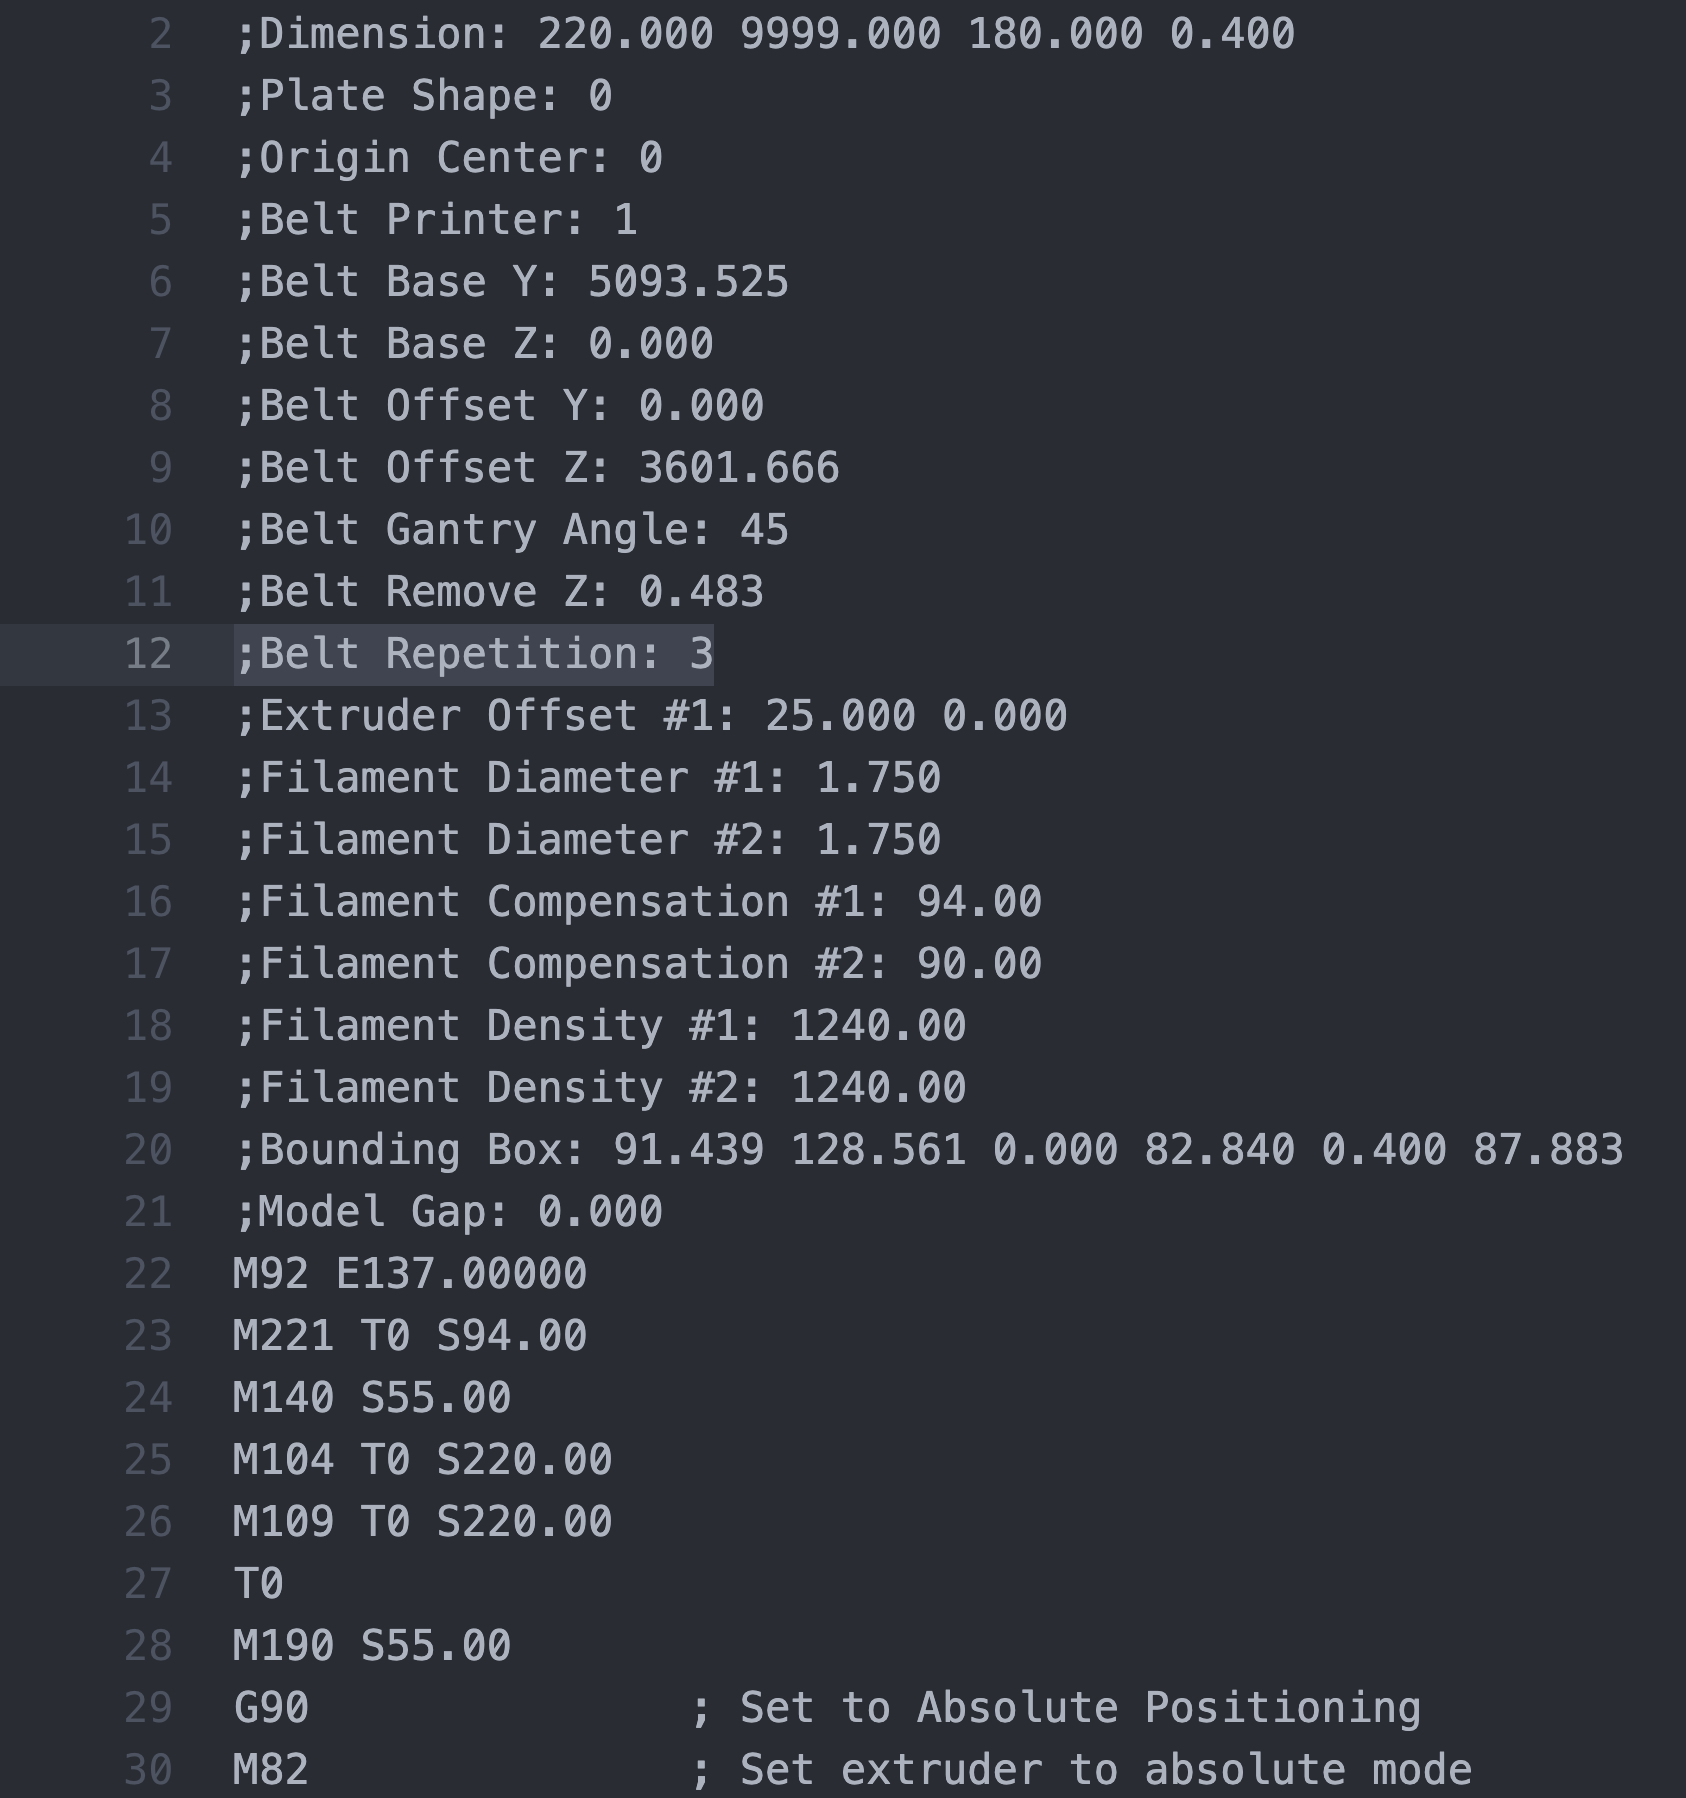
After slicing the model in ideaMaker, I set the repetition field to ‘3’, which creates 3 identical models back to back. Opening the .gcode file in a text editor confirms this setting was set correctly, and shows that the model will print 3 times. Estimating the print consists of roughly multiplying the estimated time (3 Hours, 21 minutes) by 3, but the underestimation of ideaMaker means that this print actually took longer to fully complete.
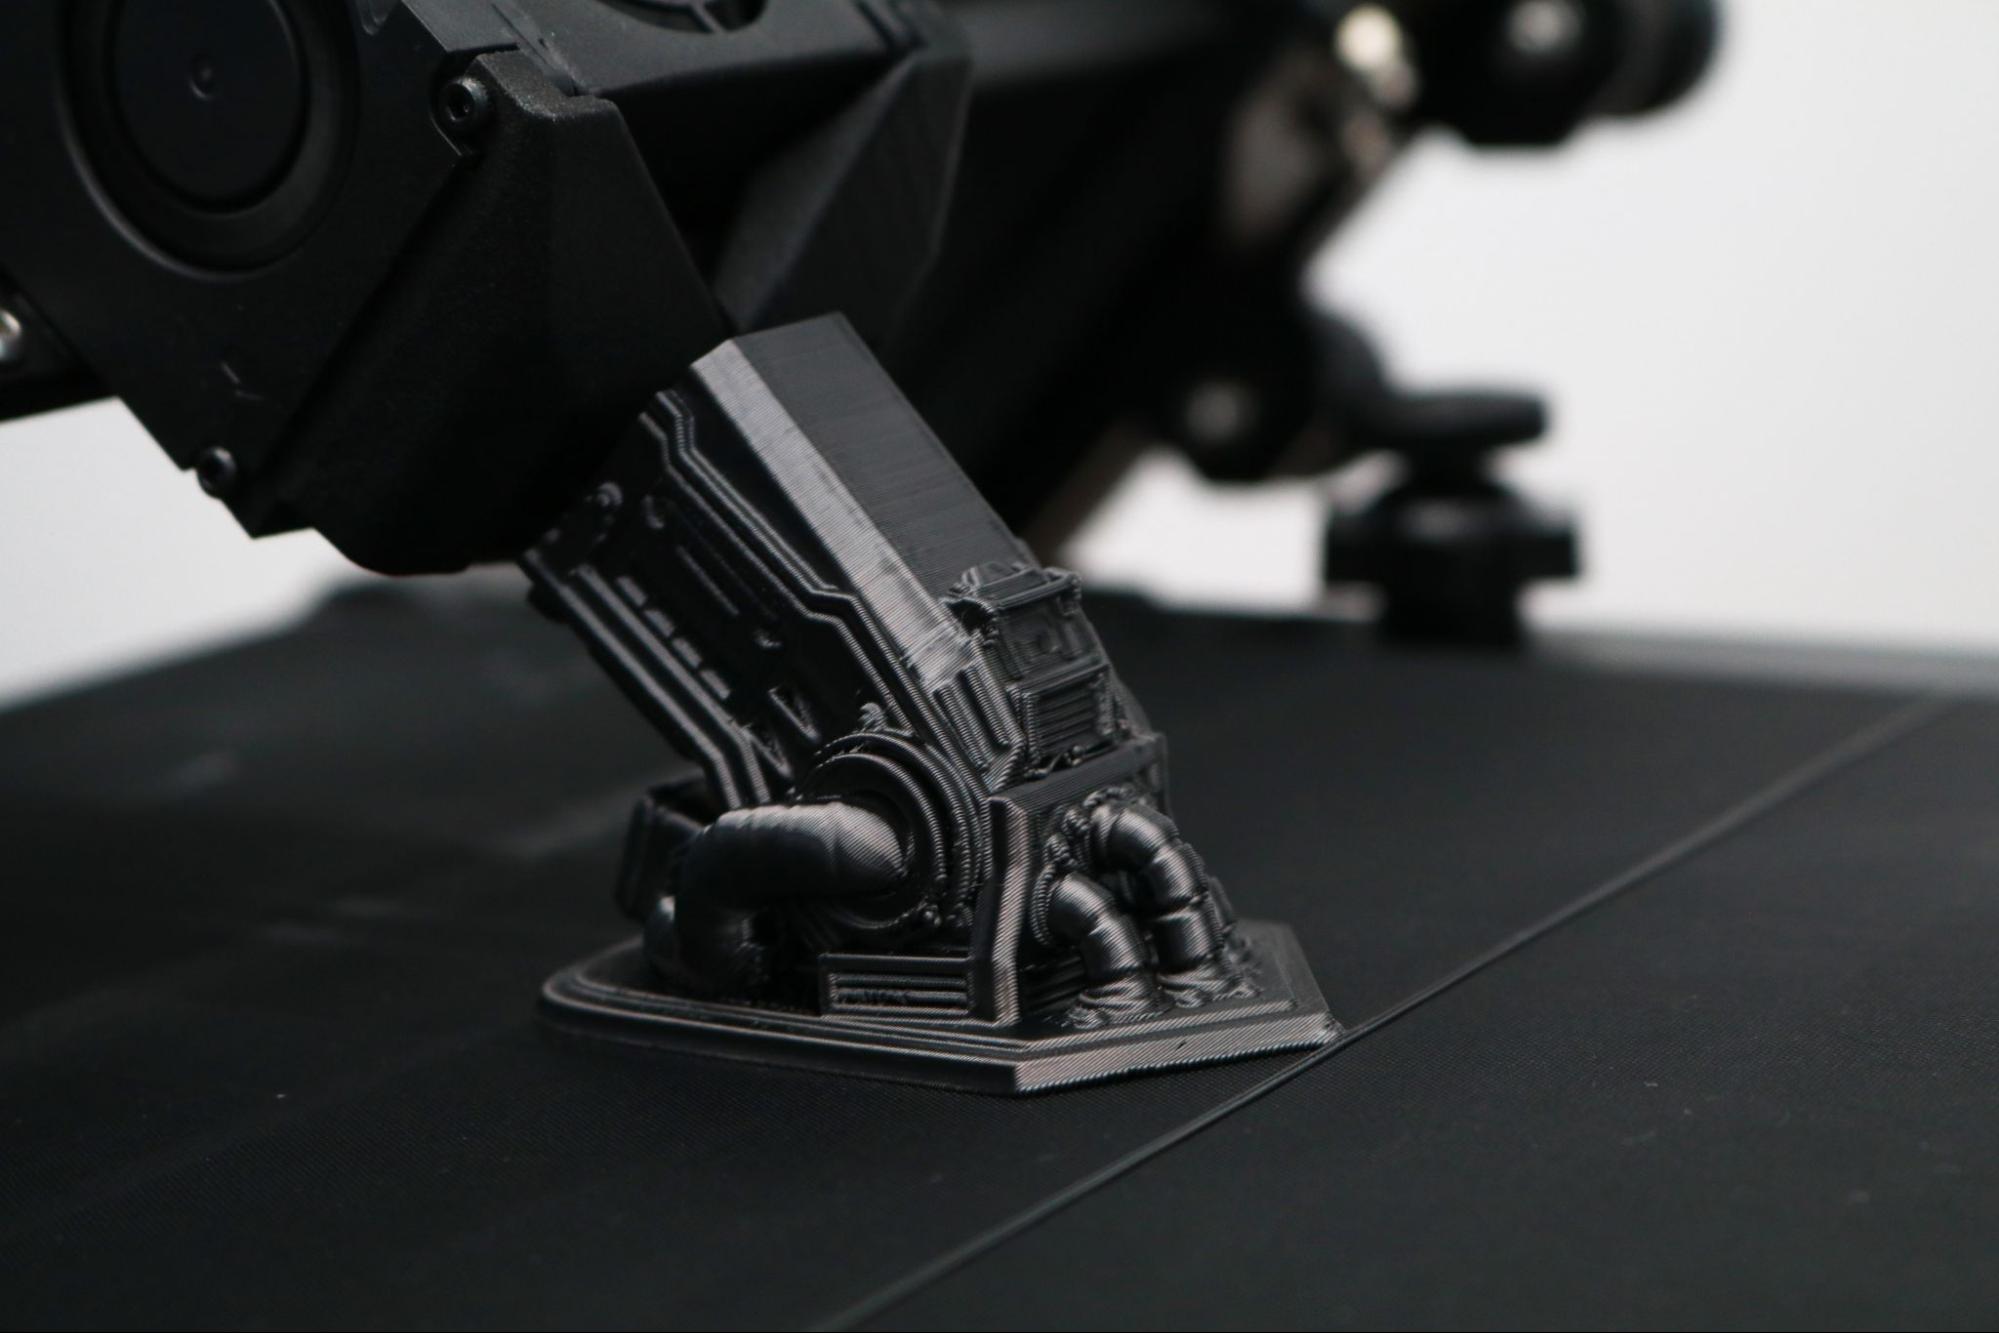
The three models printed out in sequence, with ideaMaker generating a small line of filament down the center of the belt to connect the models. Unfortunately, the last model delaminated from the belt right at the end of the print, and so it is missing some details on the very top. The first two models look nearly identical, which demonstrates the ability of the CR-30 to produce parts in a serial fashion. The failure of the third part highlights the issues with the reliability of the belt; the first two parts were firmly adhered, while the third had some adhesion issues in the beginning that persisted until the print failed.
Bottom Line
The Creality CR-30 is a wildly-inventive 3D printer, but there is a cost to being so far ahead of the curve. Calibrating this printer is a challenging process, and the slick coating applied to the bed may cause frustration to users who are used to a plug-and-play experience with their 3D printers. In addition, because the CR-30 requires a special slicer app, users will need to spend some time learning either CrealityBelt, ideaMaker, or another app capable of preparing models for an angled extruder.
If you’re interested in a machine capable of serial production and don’t mind spending some time learning how to get the best results from a machine, the Creality CR-30 will likely be a good fit for you. If you are uncomfortable with making adjustments to the hardware of the machine or otherwise want a printer that is simply easier to use, an FDM printer like the Prusa MK3S+ will be a better fit.

Andrew Sink first used a 3D printer in 2012, and has been enthusiastically involved in the 3D printing industry ever since. Having printed everything from a scan of his own brain to a peanut butter and jelly sandwich, he continues to dive ever more deeply into the endless applications of additive technology. He is always working on new experiments, designs, and reviews and sharing his results on Tom's Hardware, YouTube, and more.
-
Domadraghi Hi! Nice work :)Reply
I just purchased a creality cr-30 but still have problems with default, microsoft word of the sd card, settings.
What kind of settings do you use to print the sword? That's so smooth!
Can you kindly share this information with us?
Thank you so much!
