How To Customize Your PC Case & Achieve Professional Results
How To Install A Window Kit In Your PC, Continued
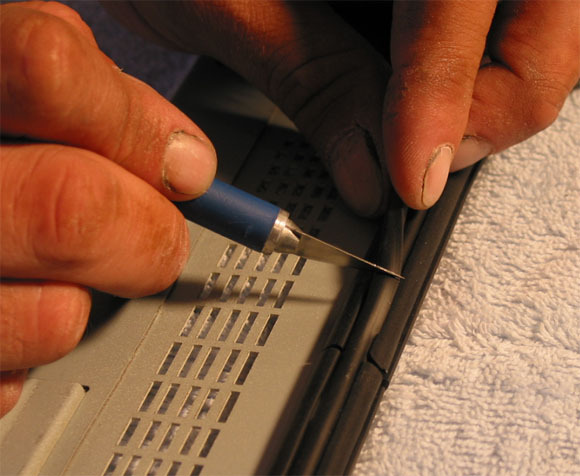
Once the seal is installed correctly, start working the locking strip into the groove. You want make sure that you start this in such a way that it will overlap the split in the window seal. Once installed correctly and overlapped over the split, you can use your Exacto knife to cut the locking strip.
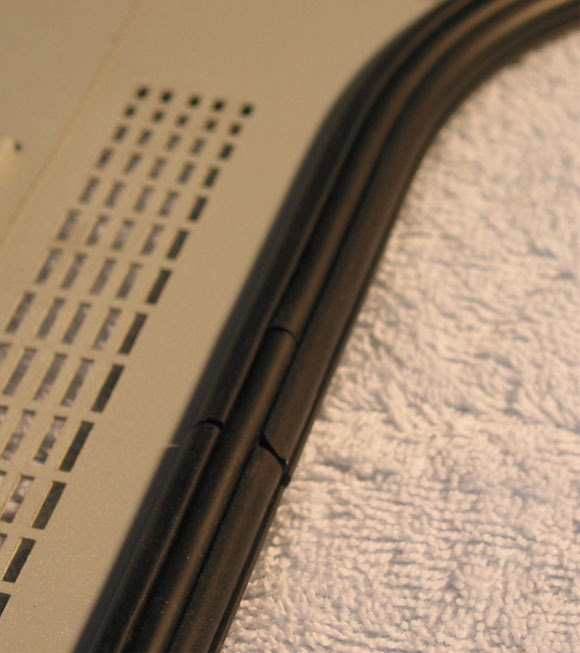
Below is a close-up picture showing the correct placement of the seal with the locking strip installed.
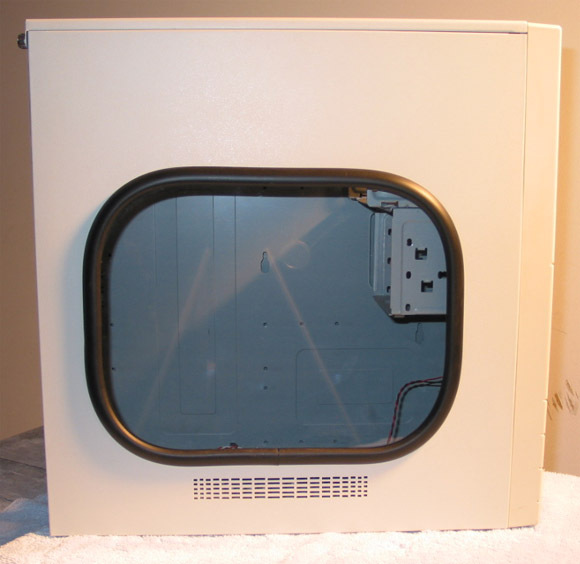
This is the completed case with the window installed. This may seem like a lot of steps, but I can't stress enough how important it is to take your time and follow them correctly.
Conclusion
In this article, Steve Horch has not only shown you how to install a case window in your PC, but he has provided some very comprehensive suggestions and tips for getting the most out of your case modding experience. It is obvious to us, based on our discussions with Steve, that case modding will continue to be a very popular pastime. What has also become clear is that, without additional information and guidance, it is difficult to achieve professional looking results. However, the reward for doing the work to achieve professional results is and exceptional look. In the event that you are not mechanically inclined, there are a variety of pre-modded options that are available. You could always seek one of those solutions, as well. However, as Steve has pointed out, be cautious, because you certainly want to get the look that you are paying for.
We will continue to monitor and report on the case modding community in future articles. In the meantime, we believe this article surely shows you how much fun case modding can be. So, why not find an old case and give it a try?
Get Tom's Hardware's best news and in-depth reviews, straight to your inbox.
Current page: How To Install A Window Kit In Your PC, Continued
Prev Page How To Install A Window Kit In Your PC, Continued

