How To Customize Your PC Case & Achieve Professional Results
How To Install A Window Kit In Your PC, Continued
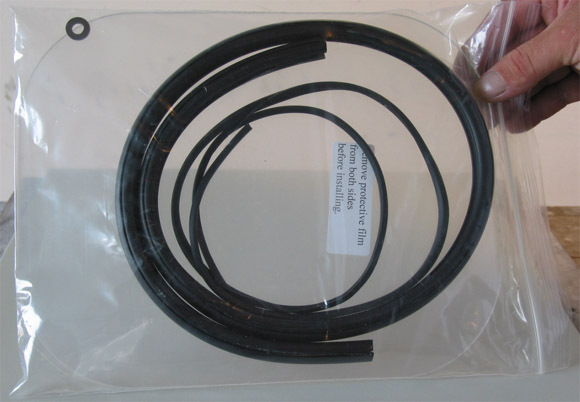
In the picture below you see what comes in the typical window kit package. As you can see, there isn't much in the package and the one page of instructions offers very little help to get the window kit from the package into the side of your case.
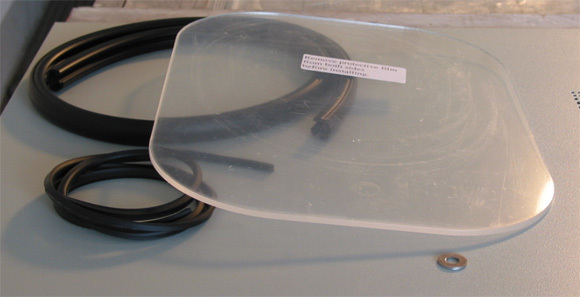
After unpacking the kit, you will find the following: pre cut windows, molding kit with lock for the window molding, and a spacer washer.
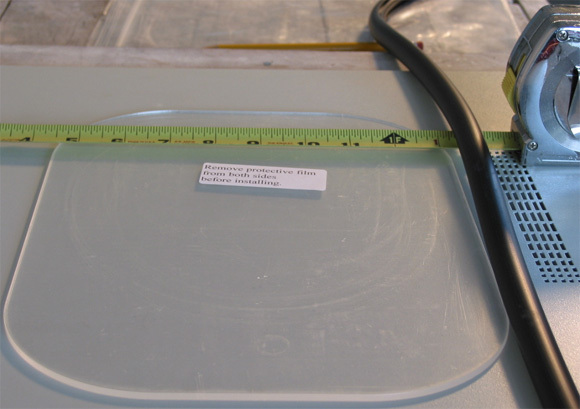
Next, you need to lay the window out on the side panel of your case. You will want to take into account the proper needed clearance for the edges of your case, as well as any items within your case that would cause an obstruction. The position of the window is critical because once you measure out where you will place the window, there is no going back. Too high on the side panel and you will get nothing more than a view of your power supply; too far forward and you will see nothing more than the front drive bays. Take your time and be sure that you have selected the optimum position before moving to the next step.
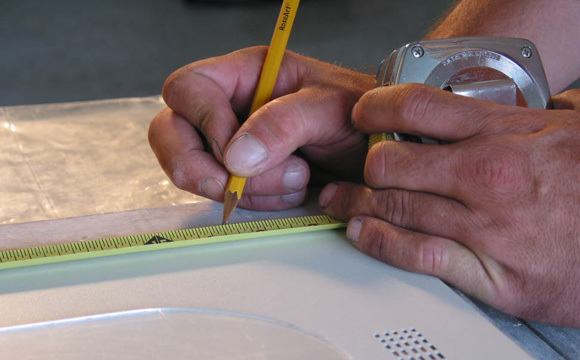
Using a Number 2 pencil and tape measure, mark the horizontal position line starting points (one on each side) and make sure that the placement of your window will be the same on both sides. After the measurements are made, you can get the marking for vertical placement of the window.
Get Tom's Hardware's best news and in-depth reviews, straight to your inbox.
Current page: How To Install A Window Kit In Your PC, Continued
Prev Page How To Install A Window Kit In Your PC Next Page How To Install A Window Kit In Your PC, Continued


