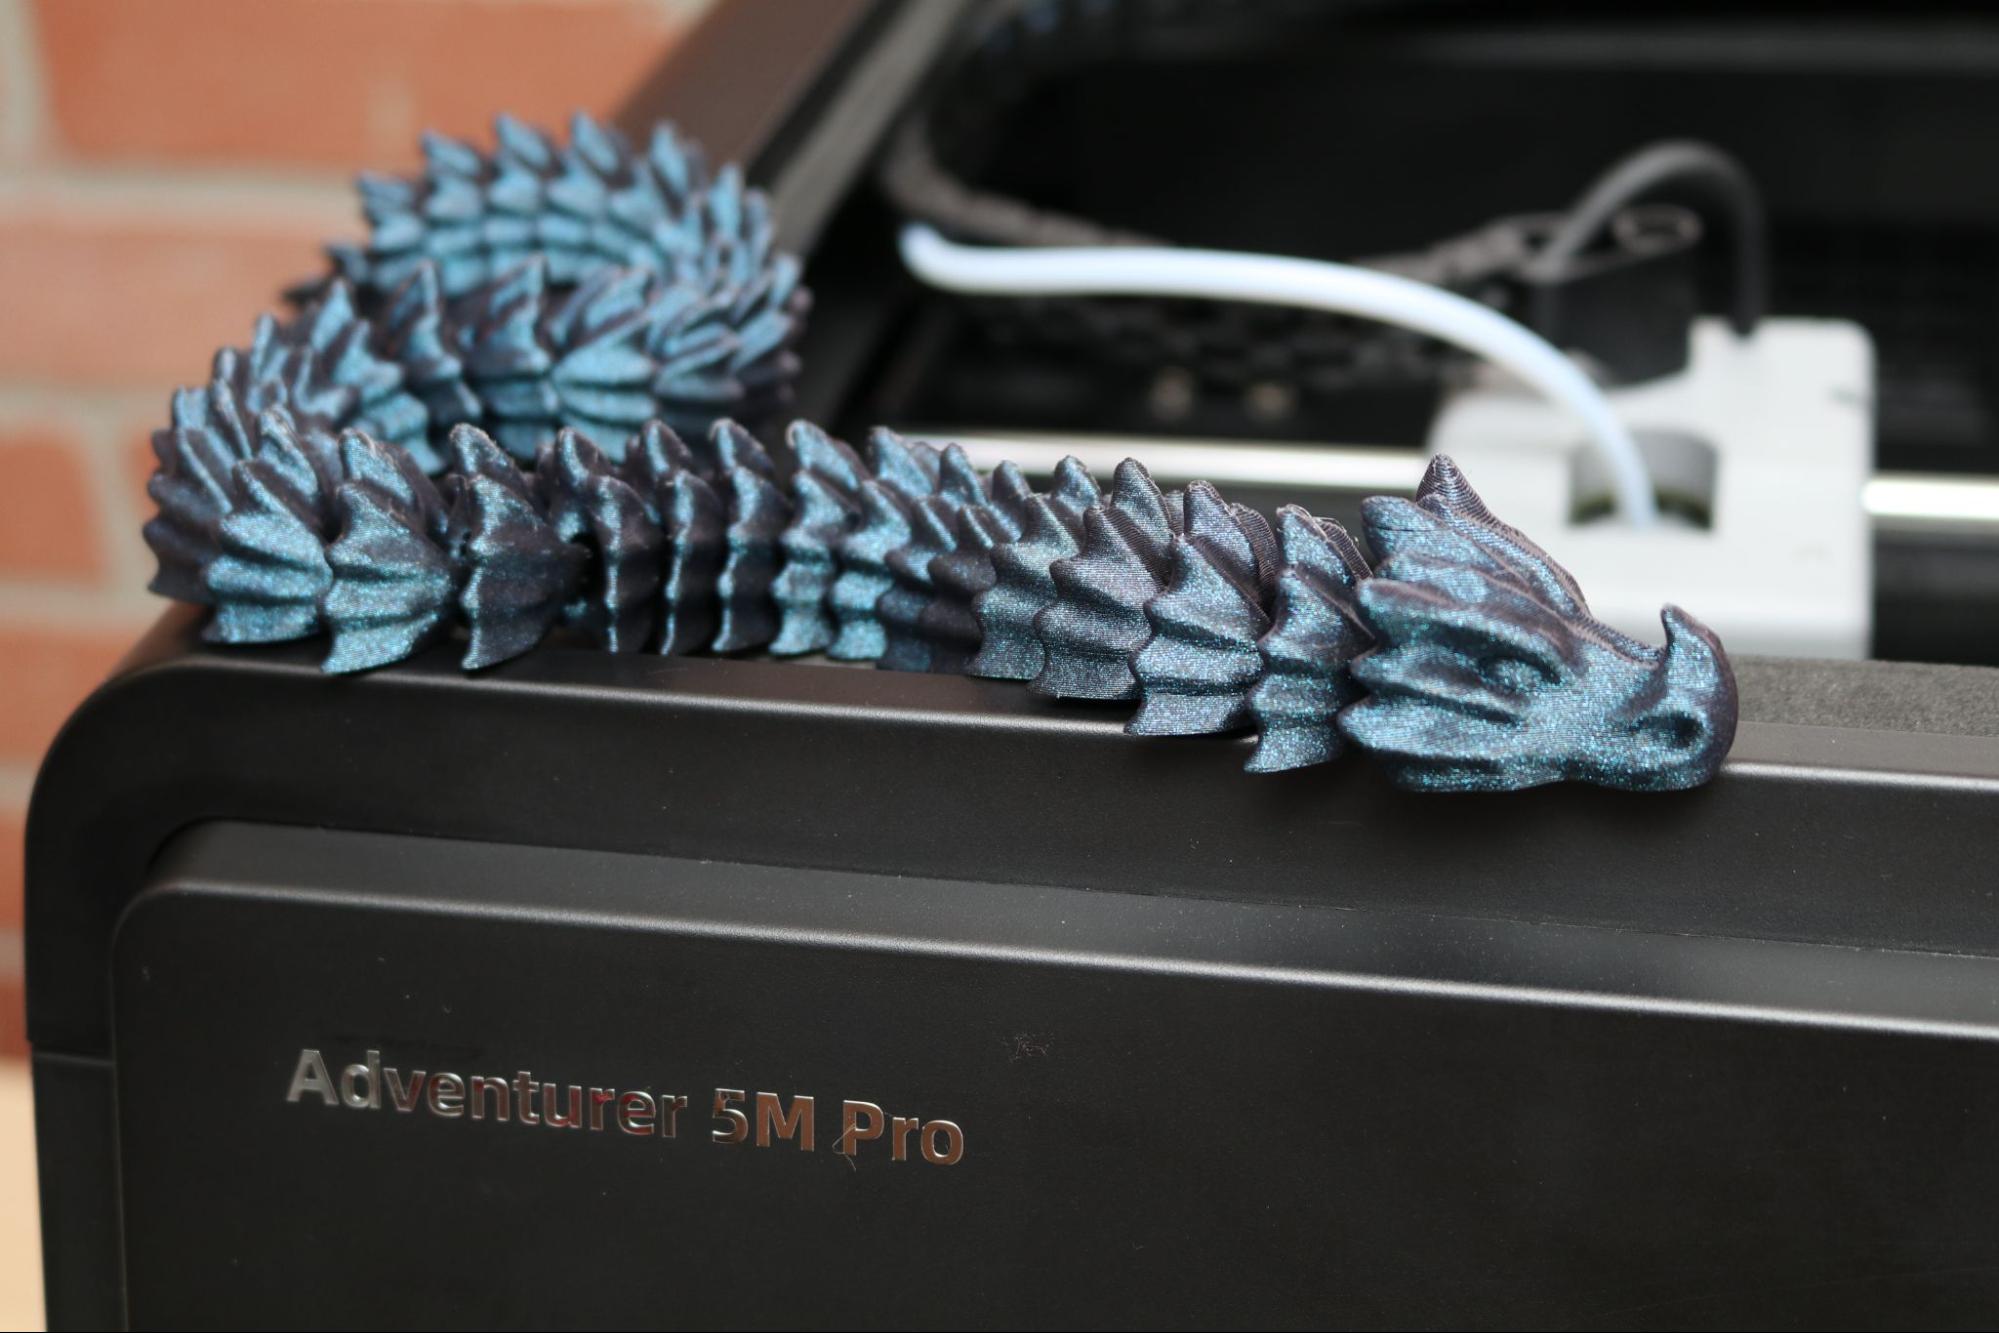
Tom's Hardware Verdict
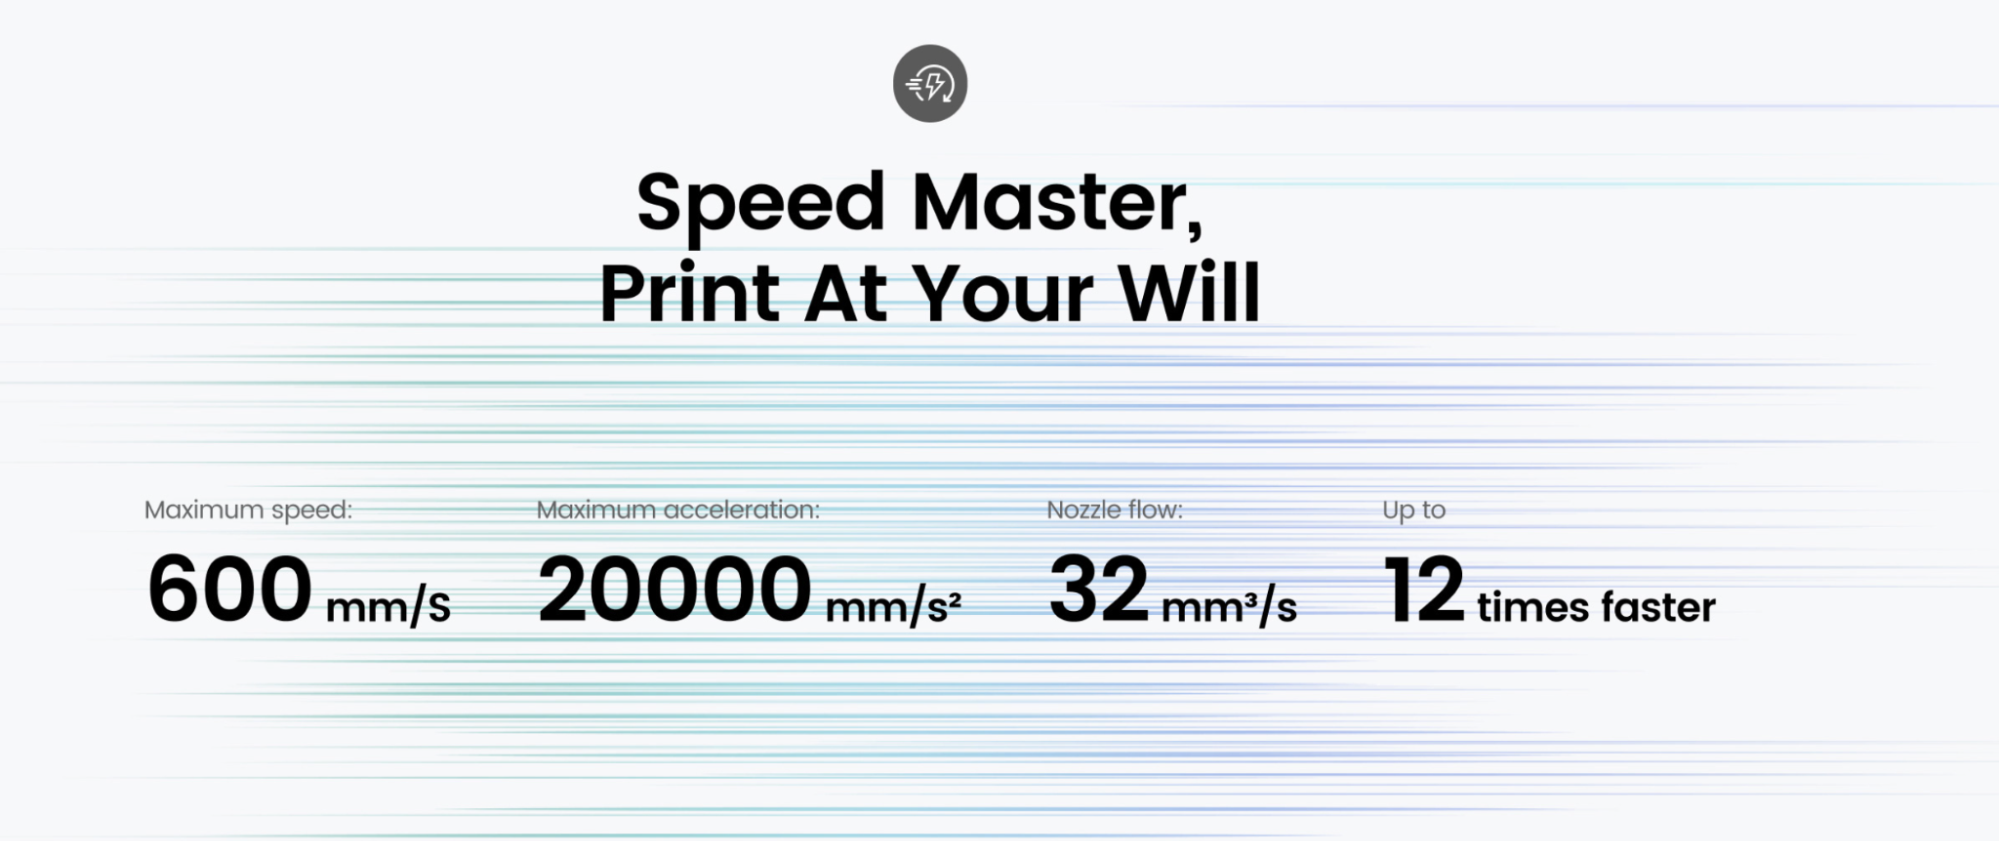
The Flashforge Adventurer 5M Pro is a fully enclosed CoreXY 3D printer that advertises a jaw-dropping 600mm/s max extruder speed, but the included print profiles and software won’t get you to the finish line.
Pros
- +
Lightning-fast print speeds
- +
Direct drive extruder and CoreXY motion system
- +
Fully enclosed build volume
- +
Included air filtration system
Cons
- -
FlashPrint 5 software only includes a single profile per nozzle
- -
Included demo models lack attribution
- -
Webcam offers a meager 640 x 480 resolution
- -
Auto Leveling did not work correctly on each attempt
- -
TPU filament jammed in the extruder after printing
Why you can trust Tom's Hardware
The Flashforge Adventurer 5M Pro features a 220 x 220 x 220mm build volume and uses a CoreXY motion system coupled with a direct drive extruder to provide lightning-fast print speeds and a max advertised acceleration of 20,000 mm/s. The enclosed build volume is designed to control airflow and provide filtration, useful when printing temperature-sensitive materials. The remote-monitoring webcam functionality, replaceable air filters, and “Pro” name all indicate that this machine is aimed at the professional market. However, unclear documentation and stripped-down software slicing profiles prevent this printer from being one of the best 3D printers, with the hands-on work of slicer software manipulation being something professional users may want to avoid.
Ultimately, the Flashforge Adventurer 5M Pro shares a lot of similarities with its predecessor, the Flashforge Adventurer 4. While the hardware is impressive on paper, the overall experience of using the machine is seriously held back by the initial software experience at launch. While it’s possible to fix this with updated profiles and better documentation in the future, it’s never a guarantee. With a retail price of $599, the Adventurer 5M Pro will likely appeal to prosumers who aren’t afraid to venture into the software to get the most out of this machine.
Specifications of Flashforge Adventurer 5M Pro
| Machine Footprint | 14.96 x 15.75 x 17.83 inches (380mm x 400mm x 453mm) |
| Build Volume | 8.67 x 8.67x 8.67 inches (220mm x 220mm x 220mm) |
| Material | 1.75mm PLA, PLA+, ABS, TPU, PETG |
| Power Supply | 350W |
| Bed Leveling | Automatic Mesh Leveling |
| Nozzle | 0.4mm (installed), 0.6 (included), 0.25 / 0.8mm (optional) |
| Max. Nozzle Temperature | 280°C / 536°F |
| Max. Bed Temperature | 110°C / 230°F |
| Printing Speed | 600mm/s (max) |
| Build Platform | Removable Flexible PEI Steel Platform |
| Connectivity | USB, Wi-Fi, Ethernet |
| Interface | 4.3-inch Color Touchscreen LCD |
Unpacking and Assembling the Flashforge Adventurer 5M Pro
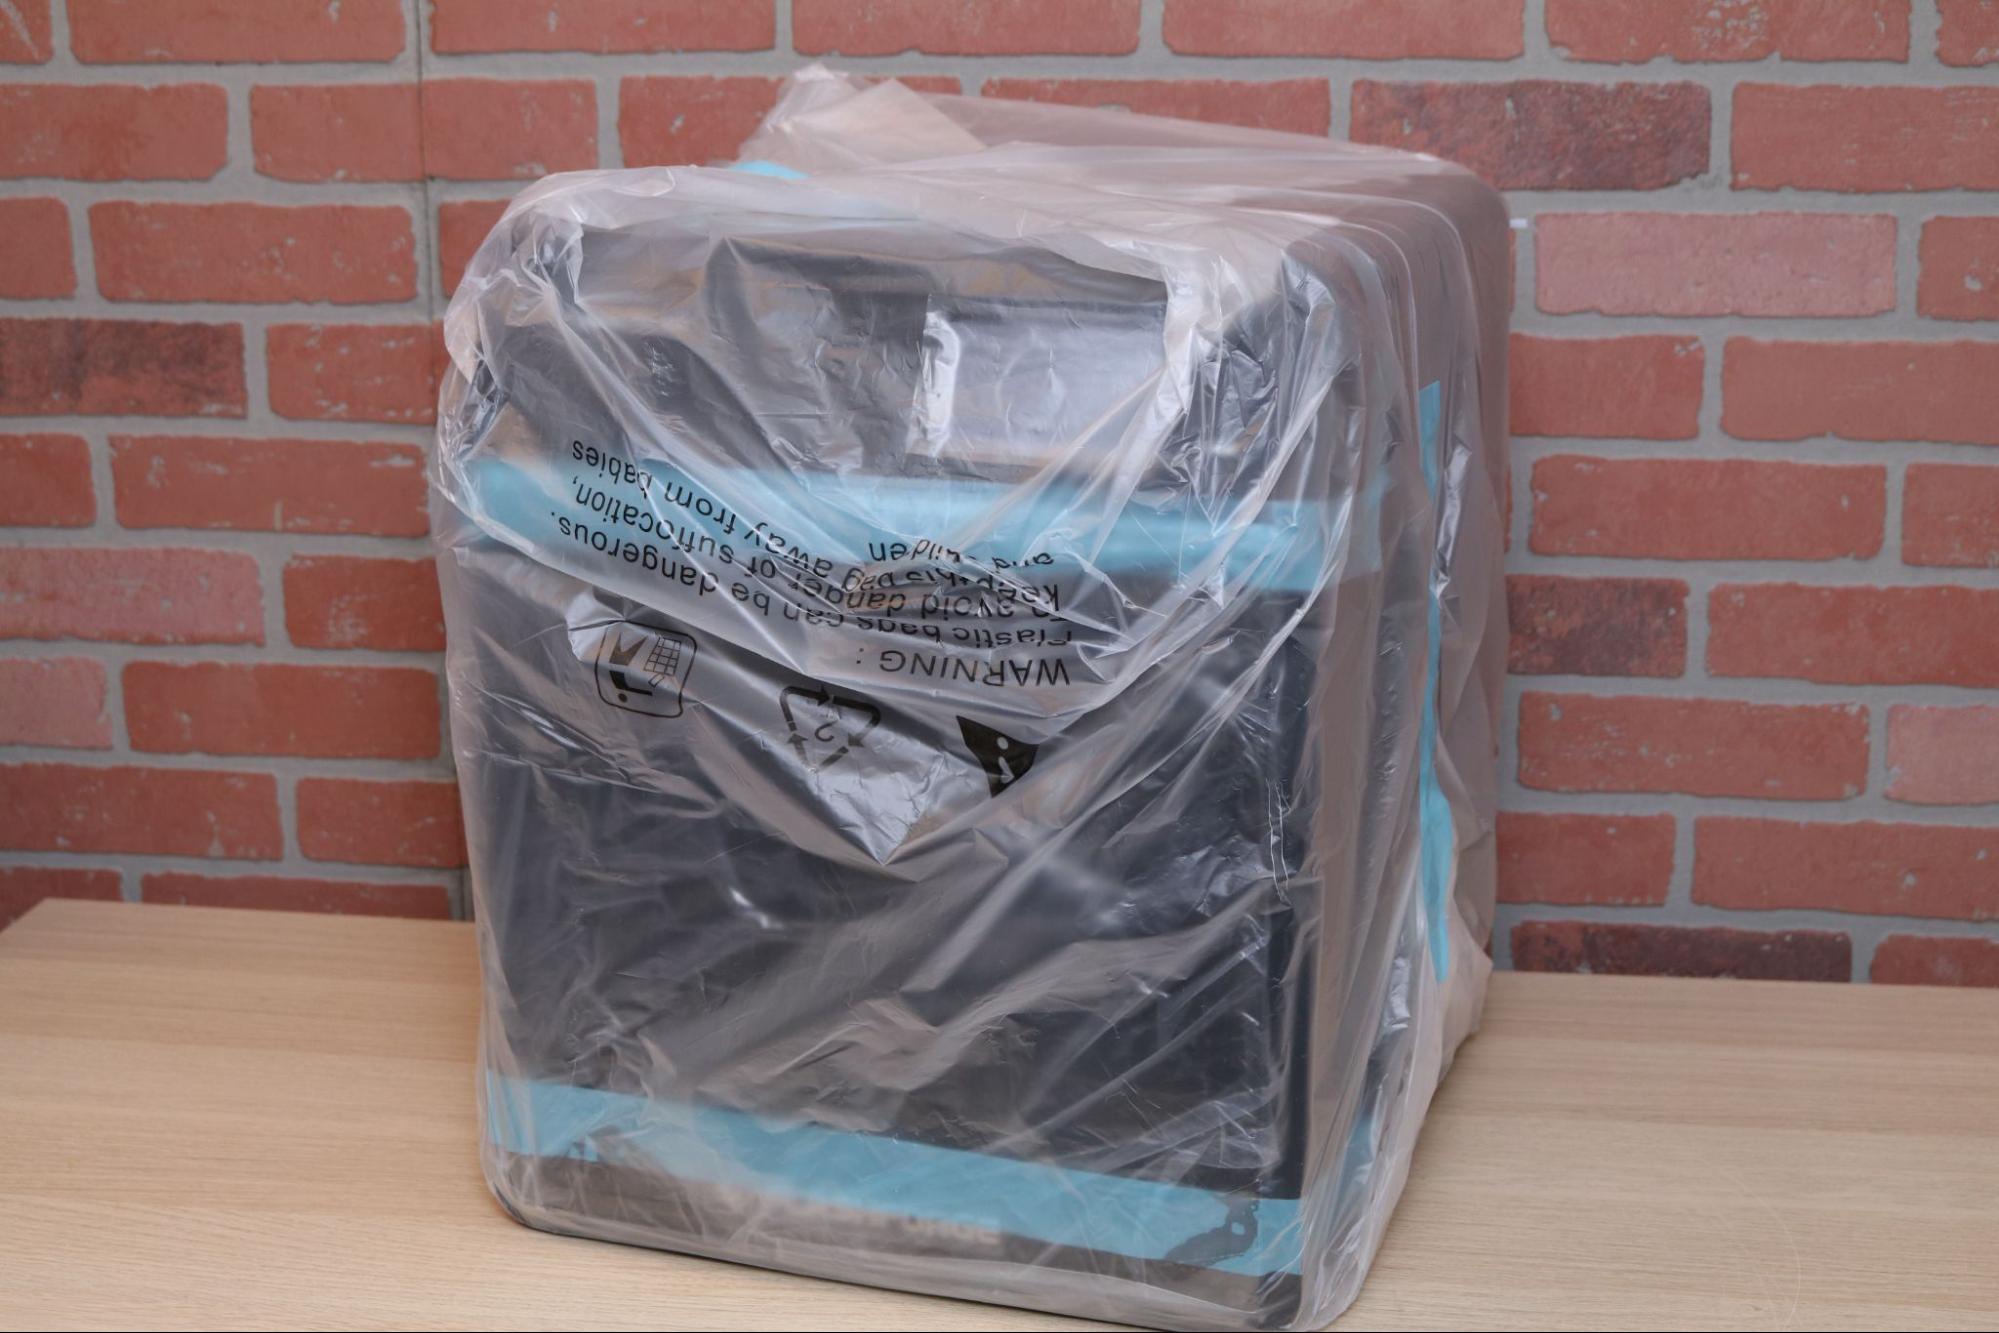
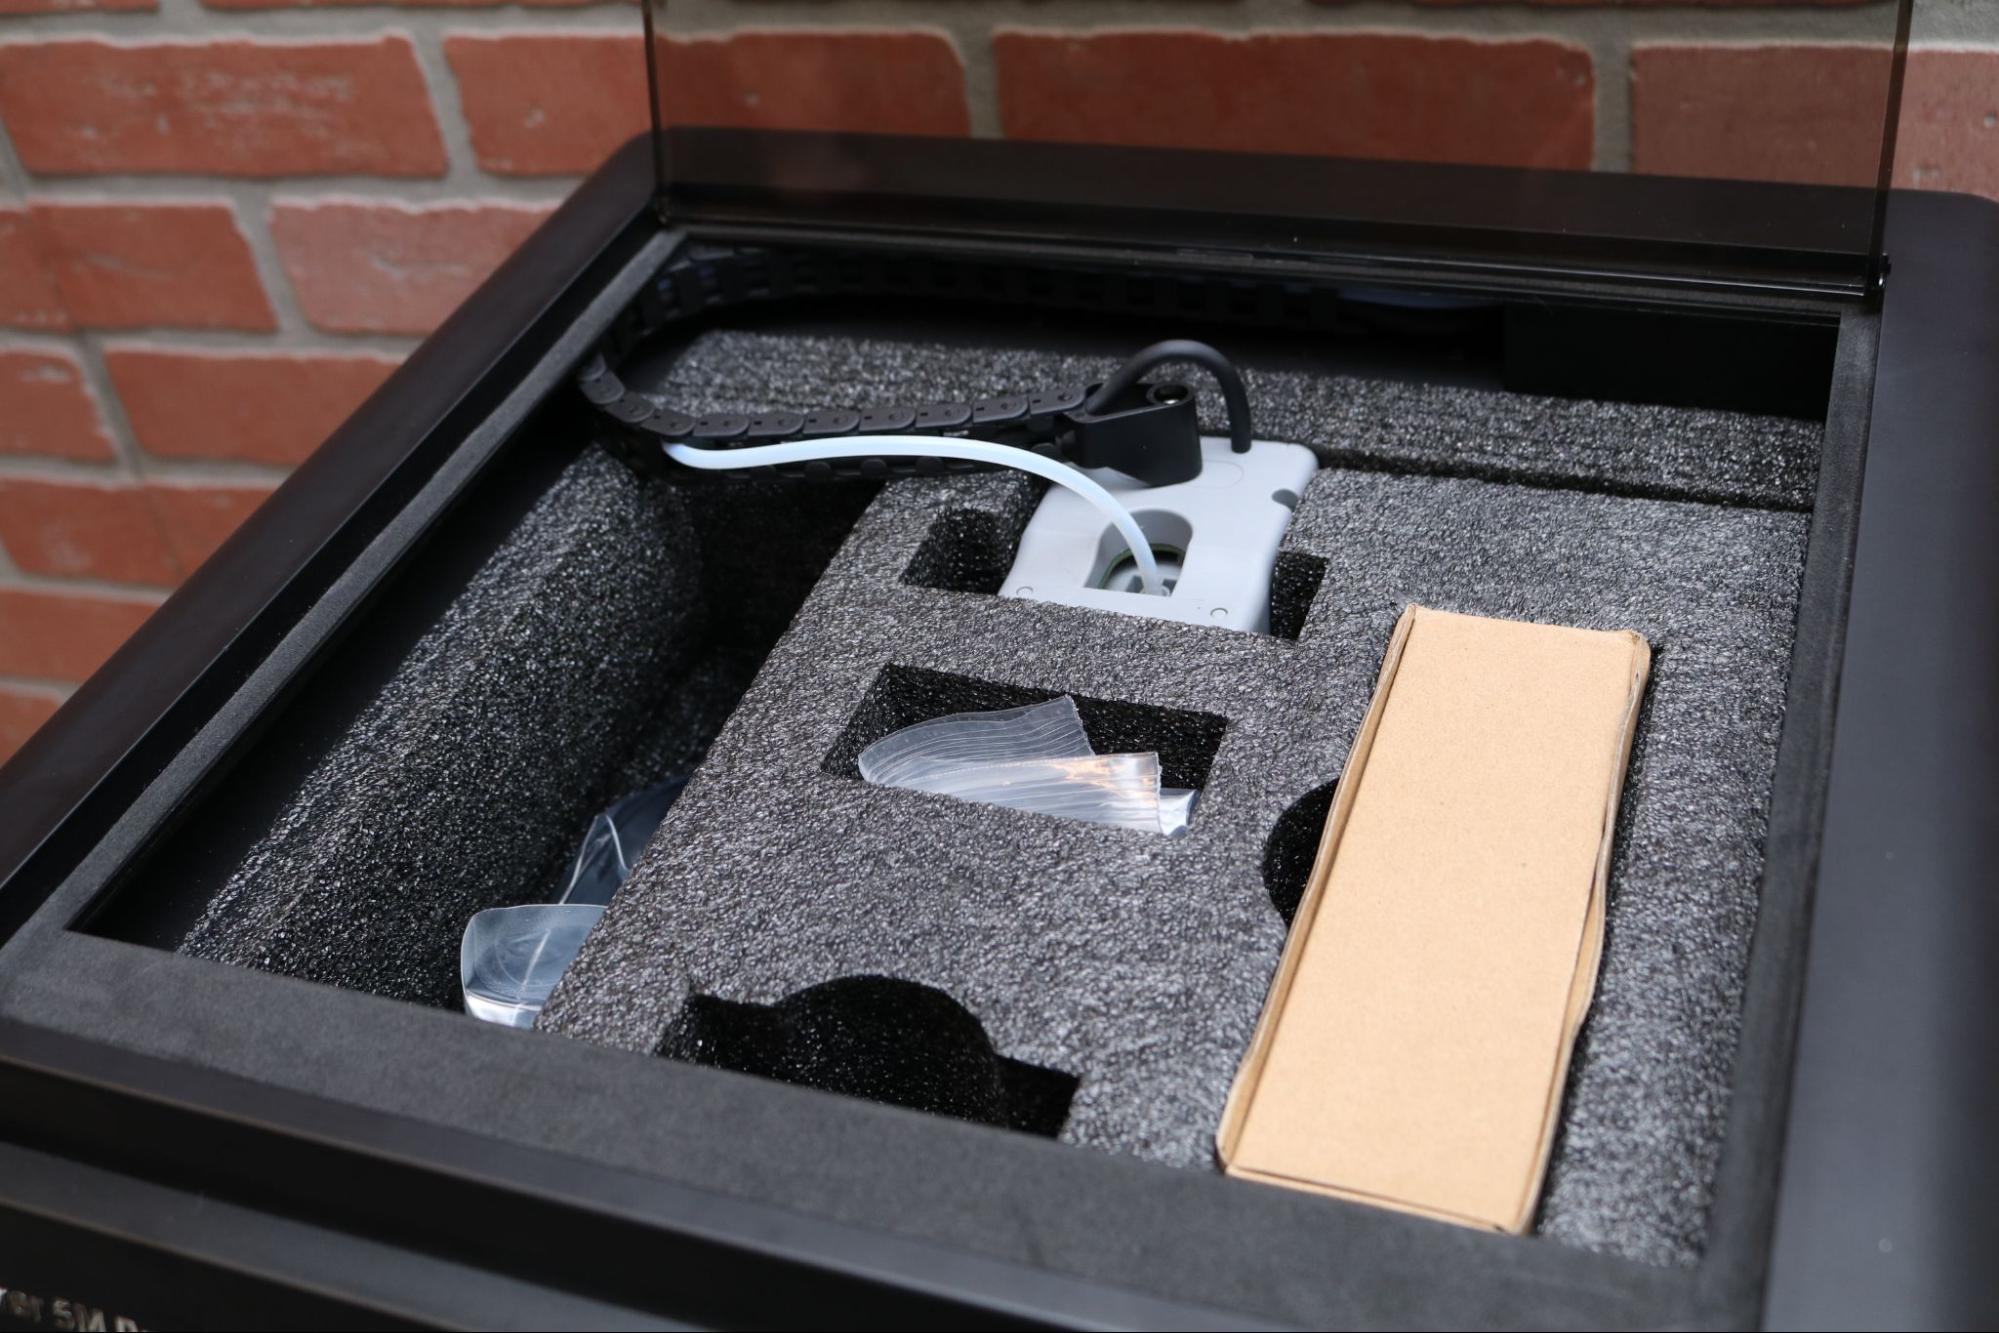
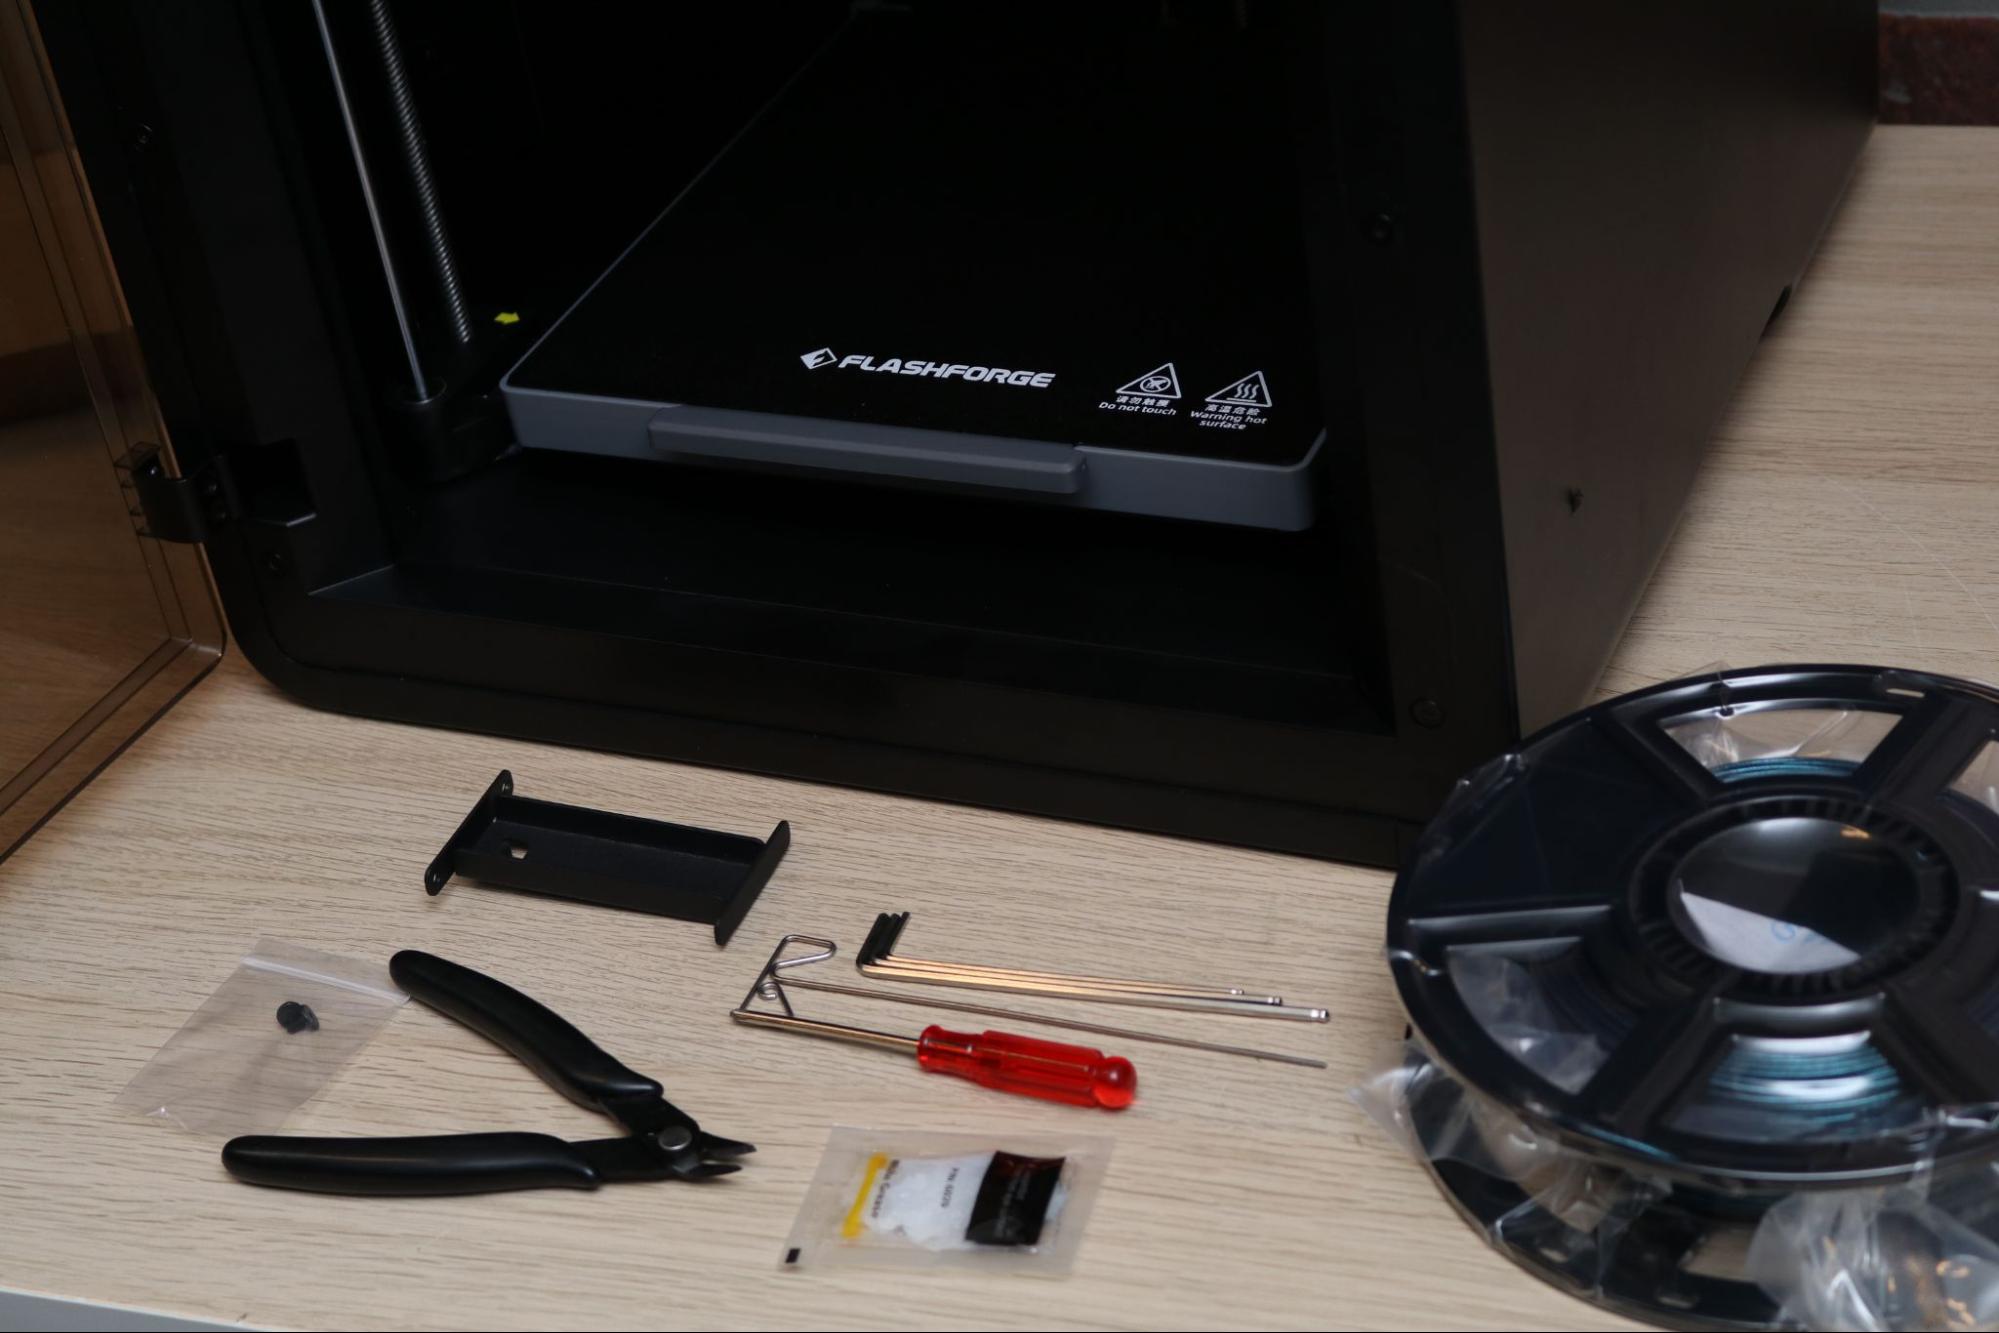
The Flashforge Adventurer 5M Pro is advertised as having a “<10 Minute Quick Setup”, something that will no doubt appeal to users who are interested in getting up and running as quickly as possible. Unlike less expensive i3-style printers like the Anycubic Kobra Go that typically have a more involved assembly process, the Adventurer 5M Pro only needs to be unpacked before the quick setup process can be completed.
The Adventurer 5M Pro that was sent to me was initially missing a few pieces (no glue stick, no 0.6mm nozzle, and the USB thumb drive was blank), which meant that after unboxing the printer, it sat idle while I waited for Flashforge to send me the slicer software.
The OrcaSlicer software is now available on the Download Center page on the Flashforge site, so you shouldn’t need to go searching if you receive a blank USB thumb drive. I was able to unbox and set up the printer in only a few minutes, but was still generally disappointed in the initial out-of-the-box experience as I wasn’t able to immediately start using the printer.
Design of Flashforge Adventurer 5M Pro
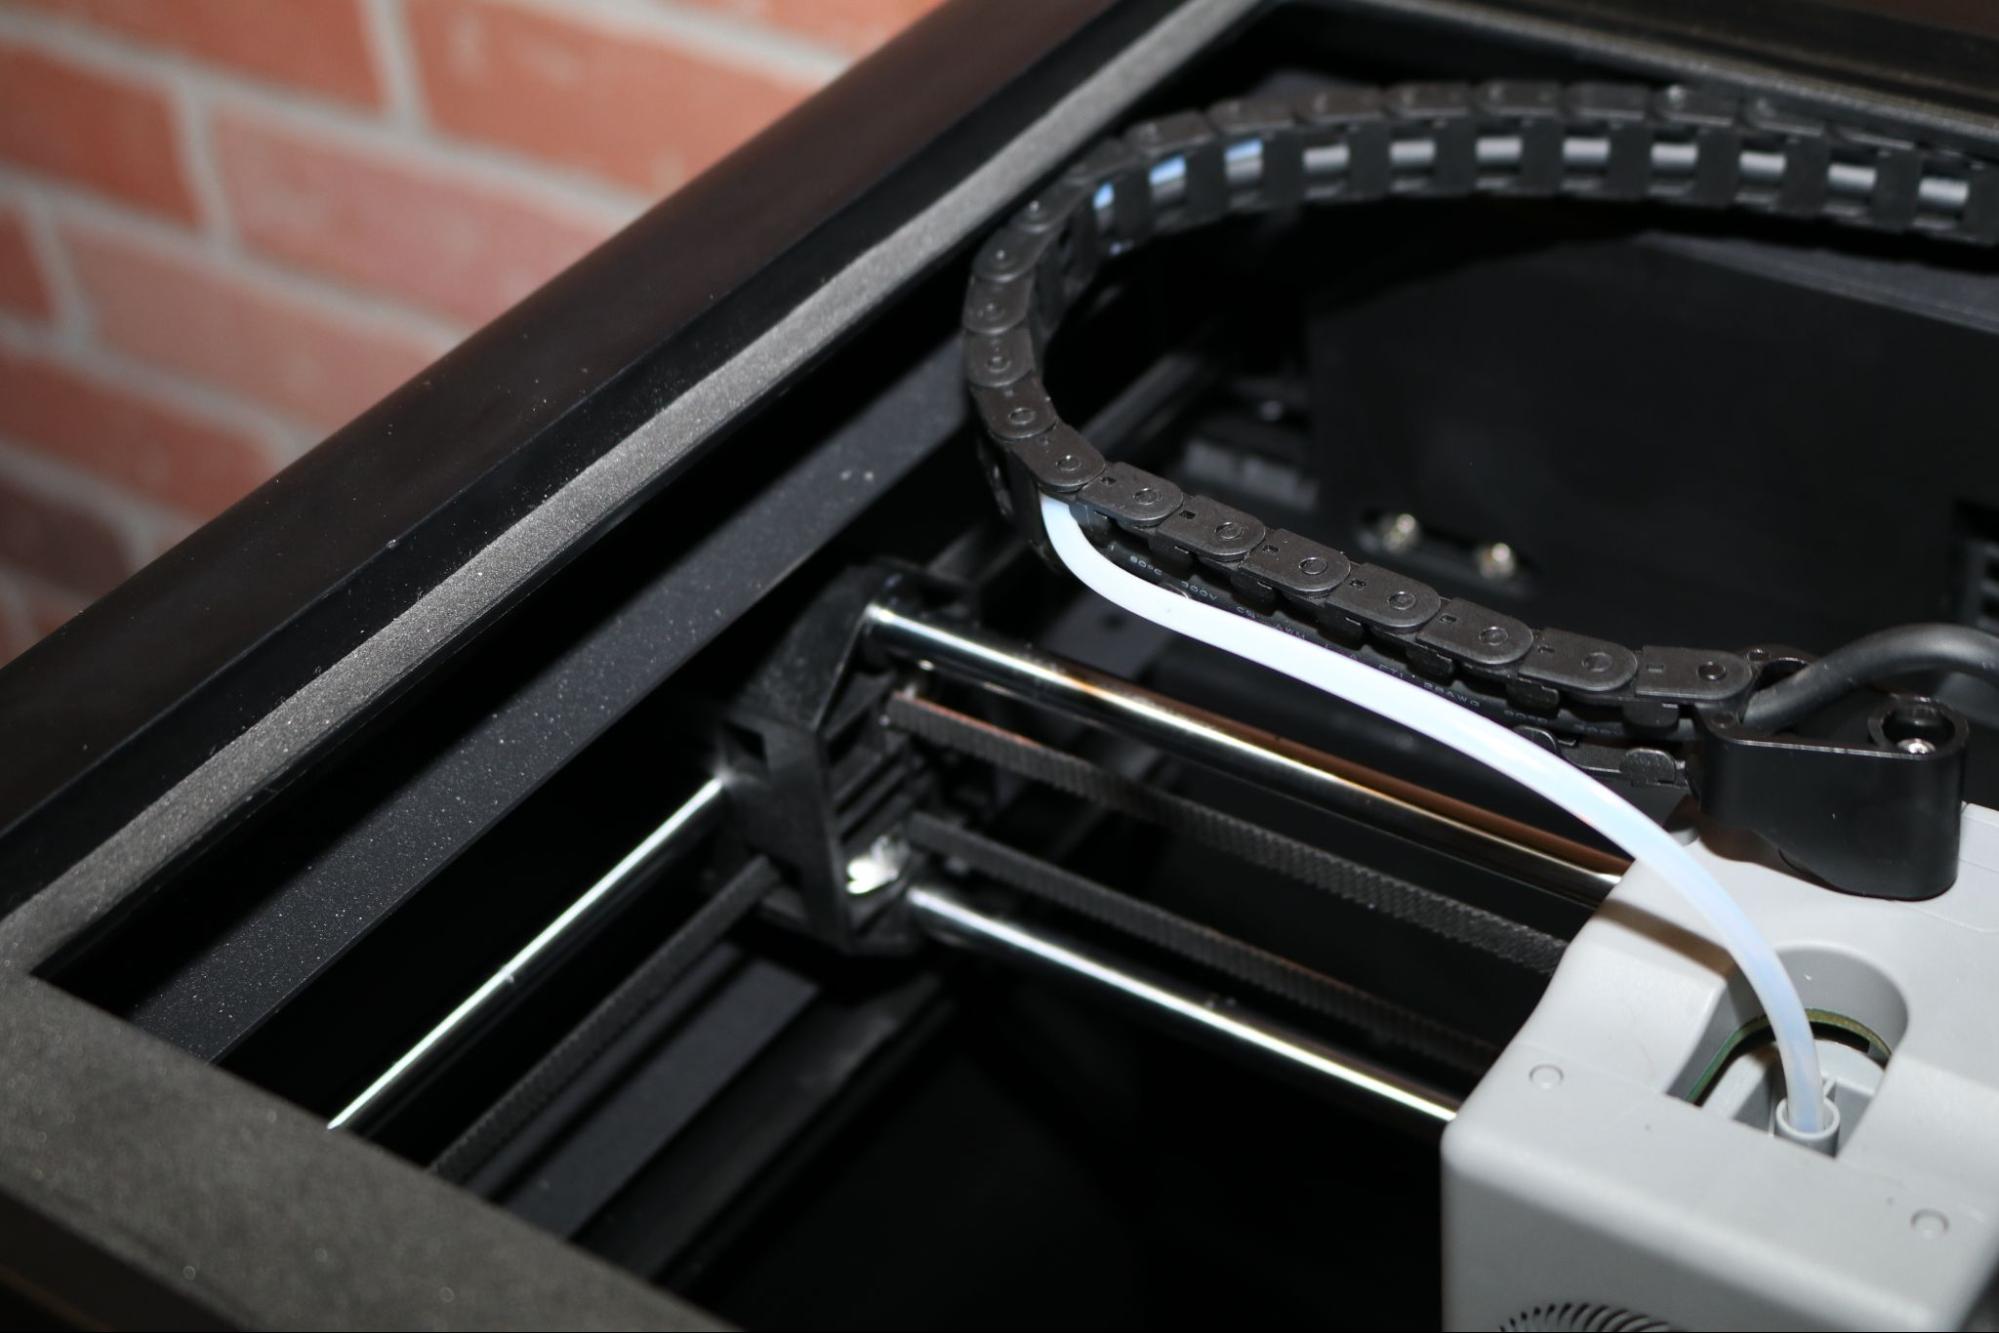
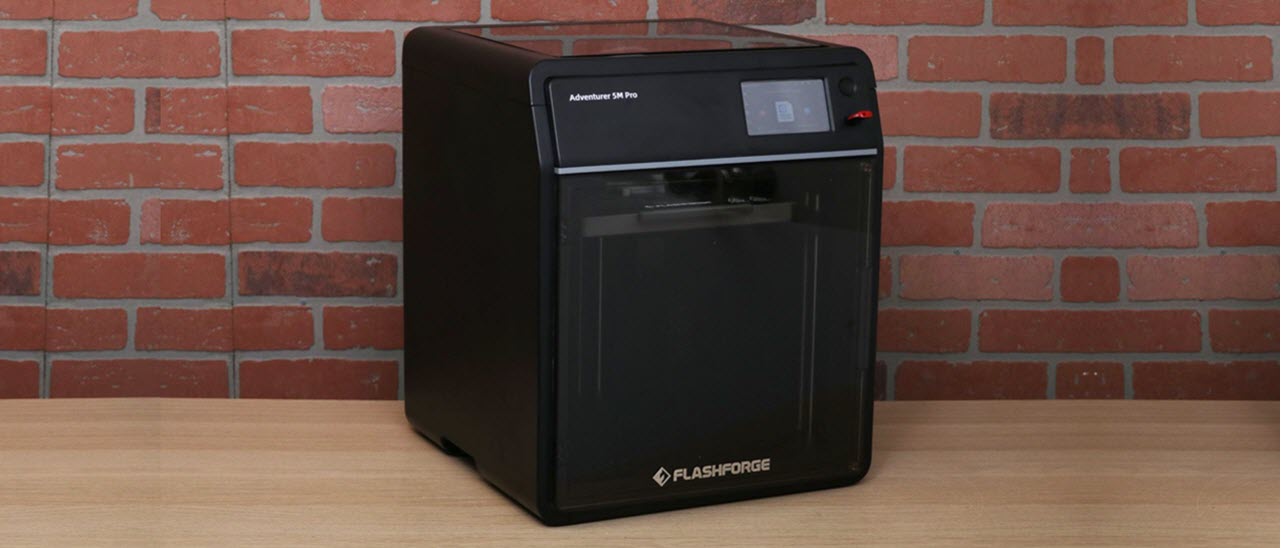
The sleek, polished enclosure of the Flashforge Adventurer 5M Pro looks more like an appliance than a typical 3D printer. There are no visible wires, cables, belts, or other mechanical gantry components sticking out from the frame, something that is common on i3-style printers like the Elegoo Neptune 3 Plus.
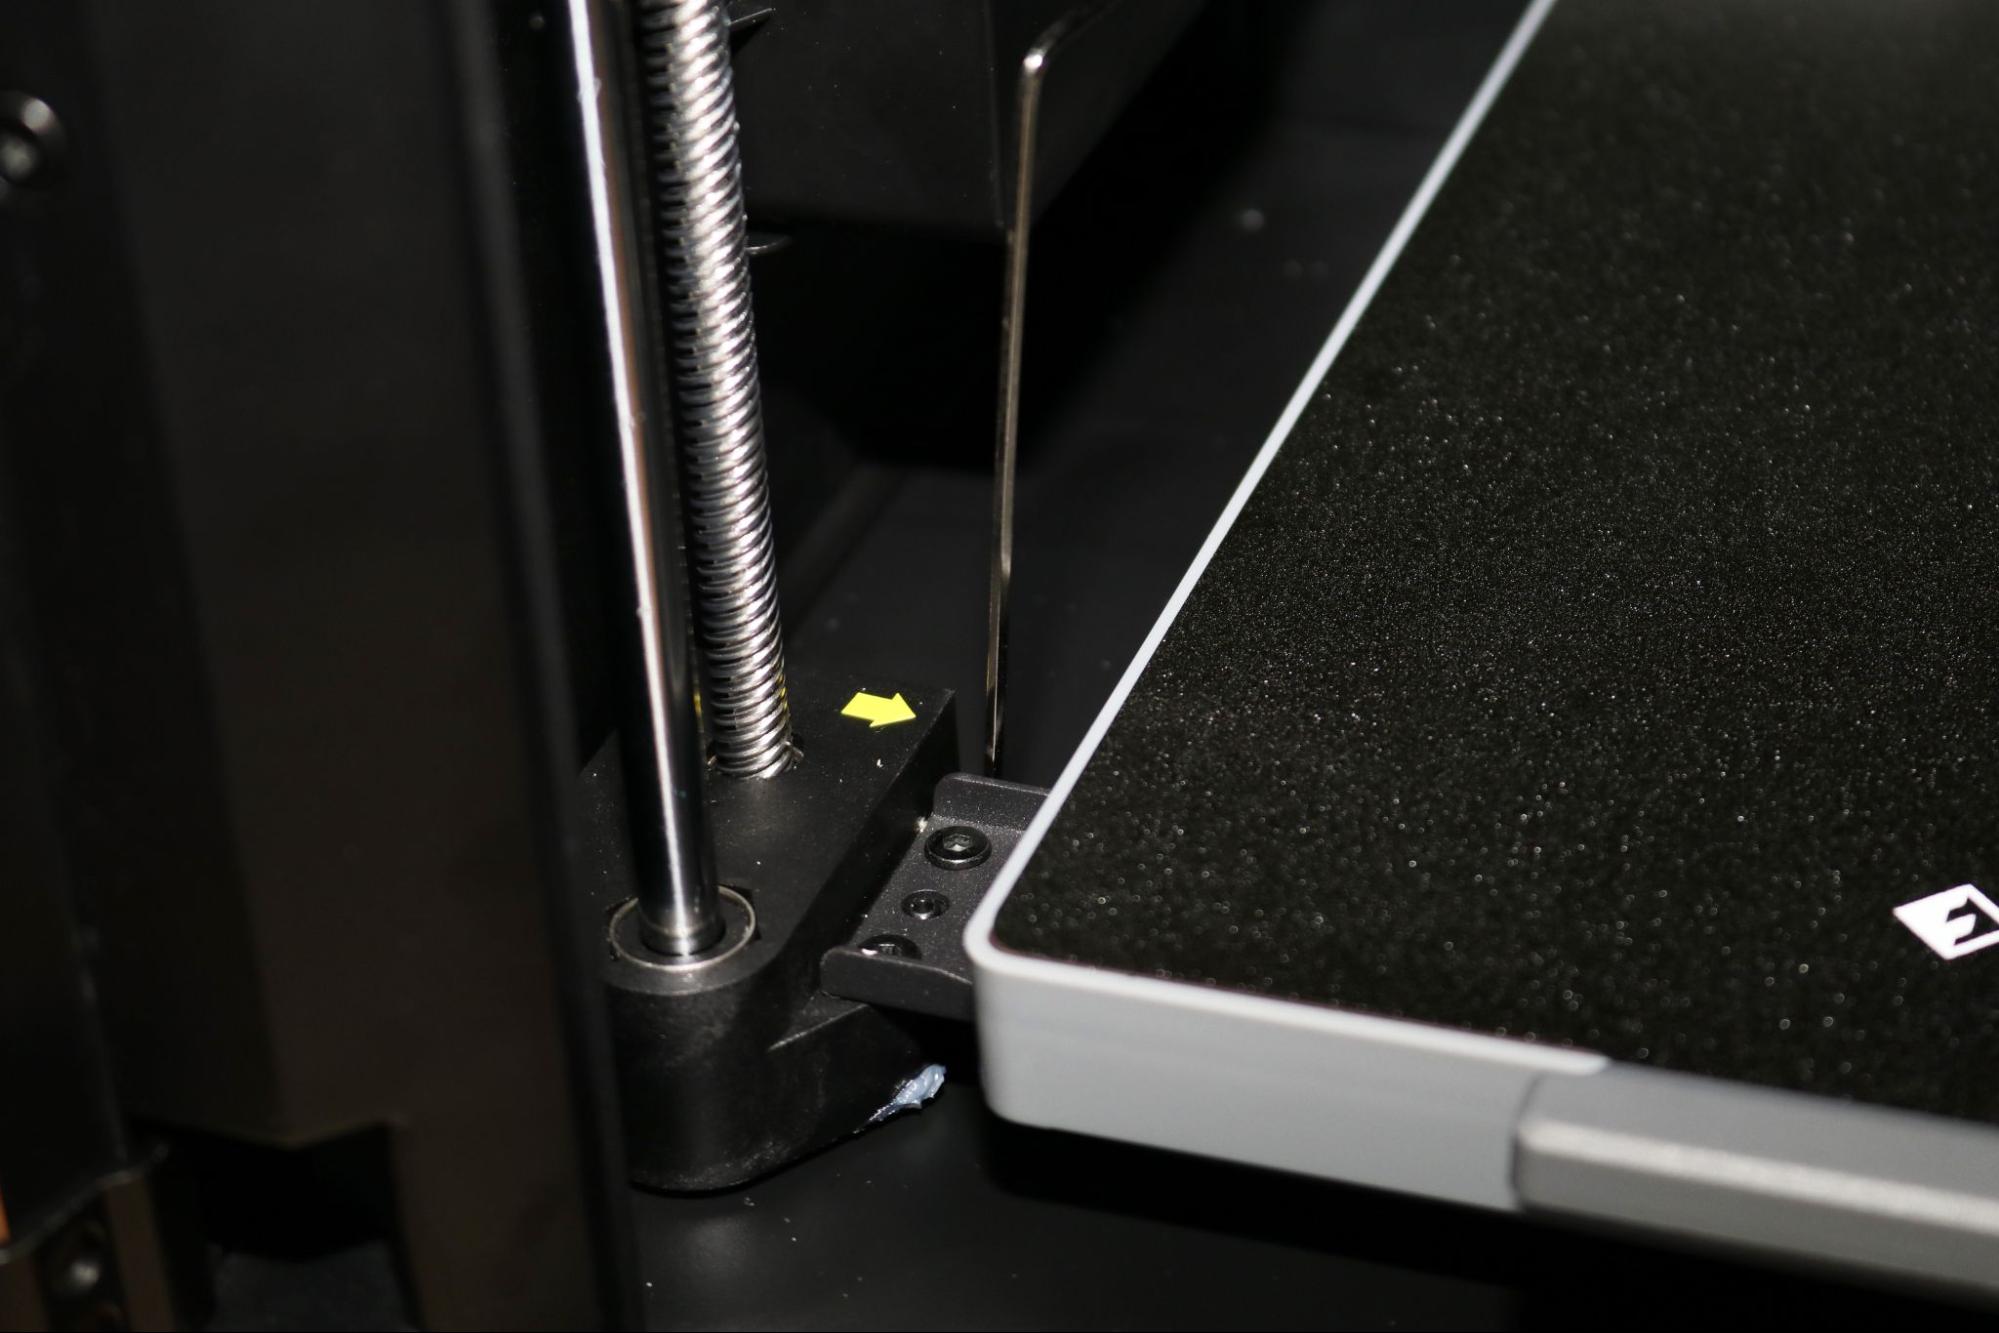
The CoreXY motion system offers impressive print speeds and requires no set-up save the removal of a few bolts that hold down the platform during shipping. This streamlined appearance will no doubt appeal to users who are worried about a complex assembly process or more interested in a printer that can be unboxed and immediately put to use.
Get Tom's Hardware's best news and in-depth reviews, straight to your inbox.
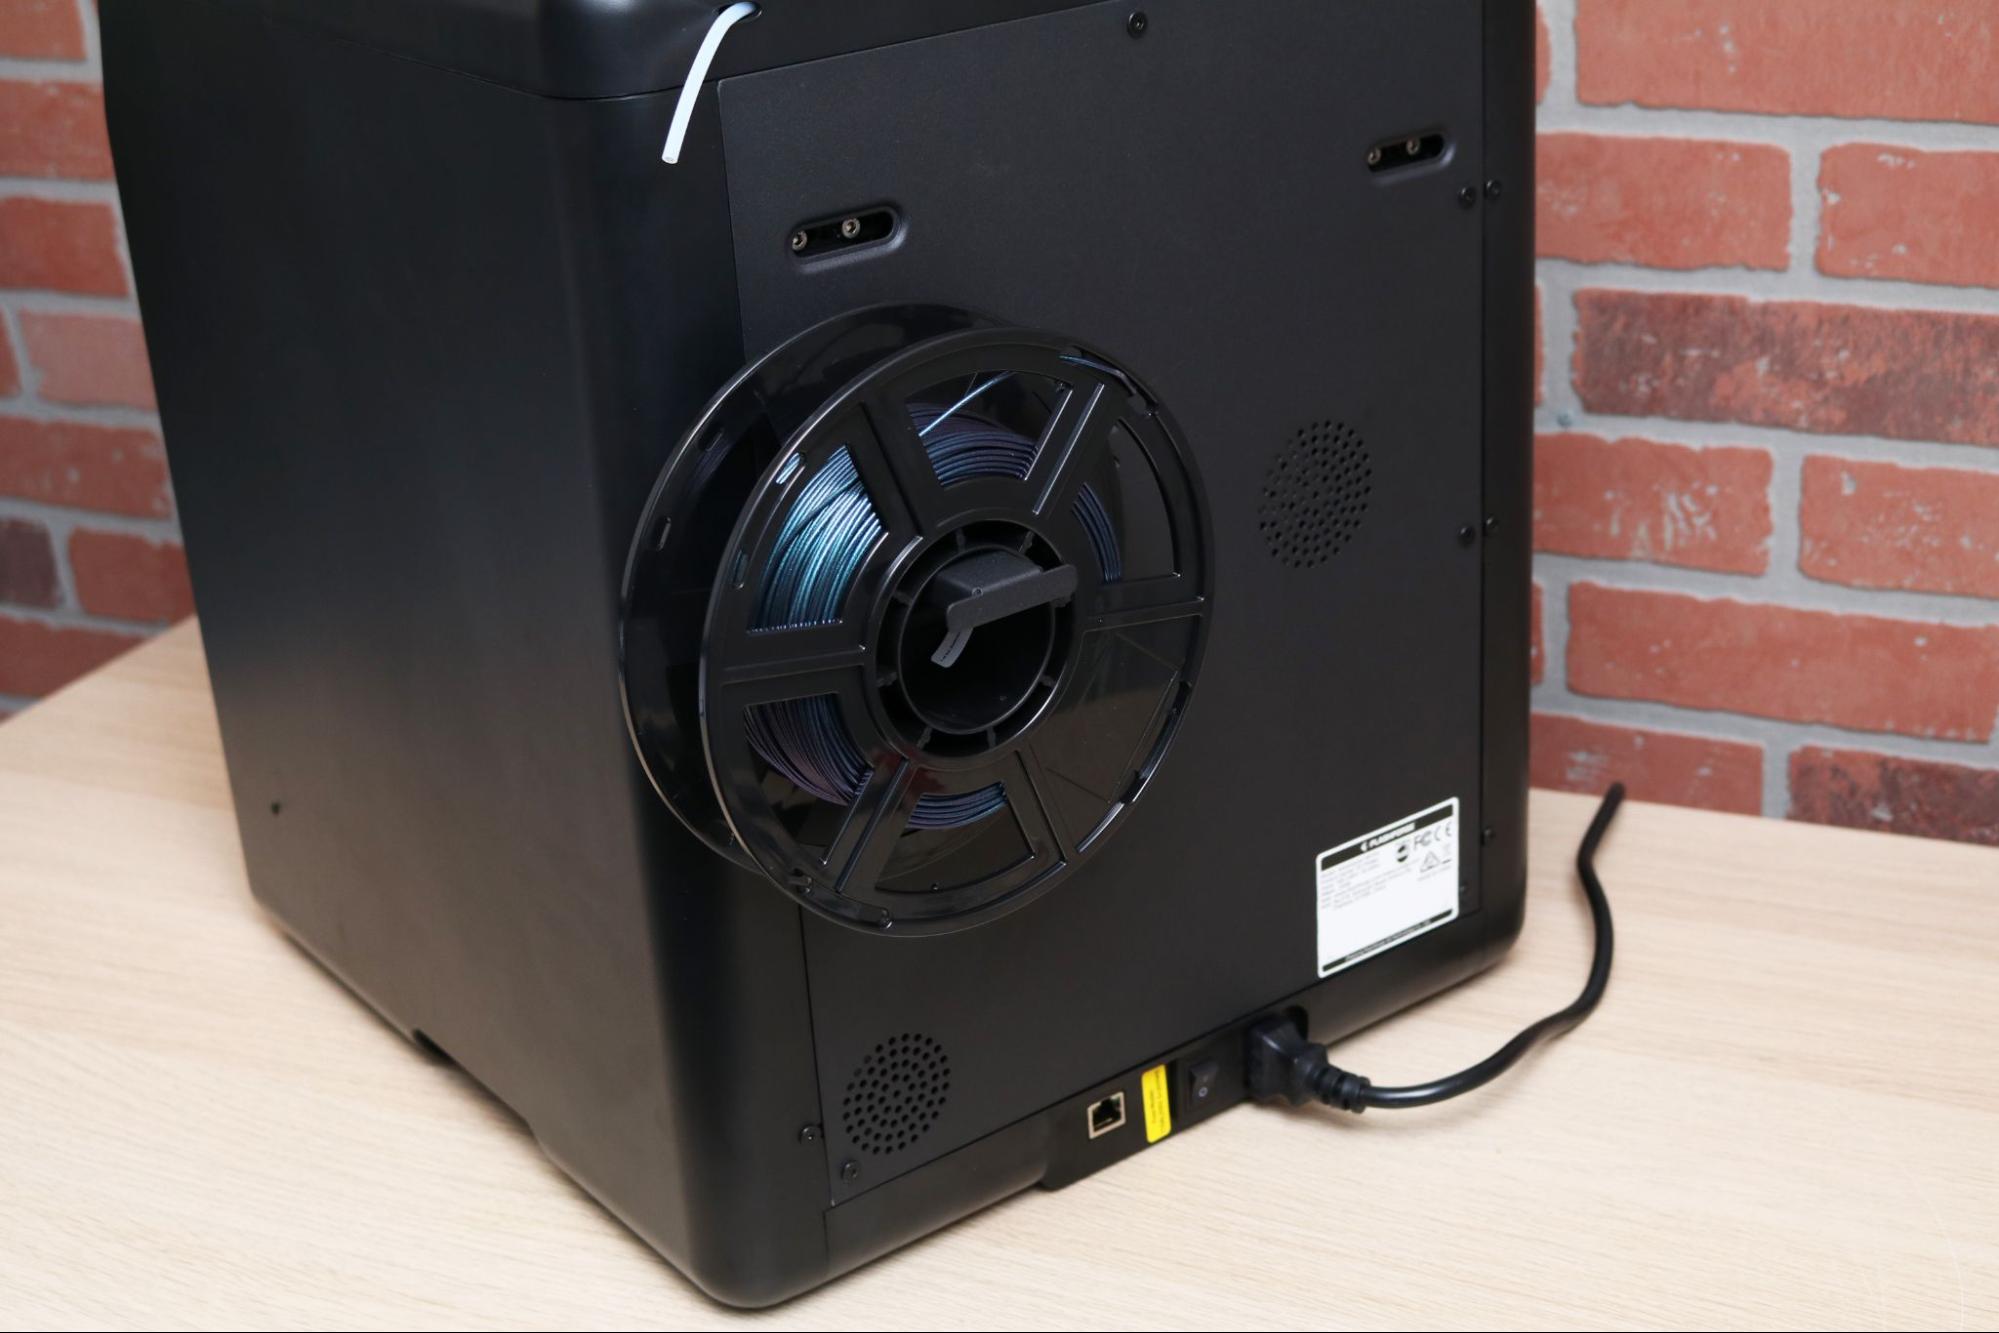
Files can be sent to the printer either via the built-in USB port, over Wi-Fi from FlashPrint 5, or through the rear-facing Ethernet port. The front door is attached via a pair of side-mounted hinges and snaps shut using integrated magnets, while the top panel can be lifted up to access the extruder when changing filament.
This is ideal for keeping the chamber at a consistent temperature during printing, preventing the print from being subjected to a breeze from a window or a blast of air from an HVAC register. Filament is held on an externally mounted spool holder that is attached to the rear of the unit.
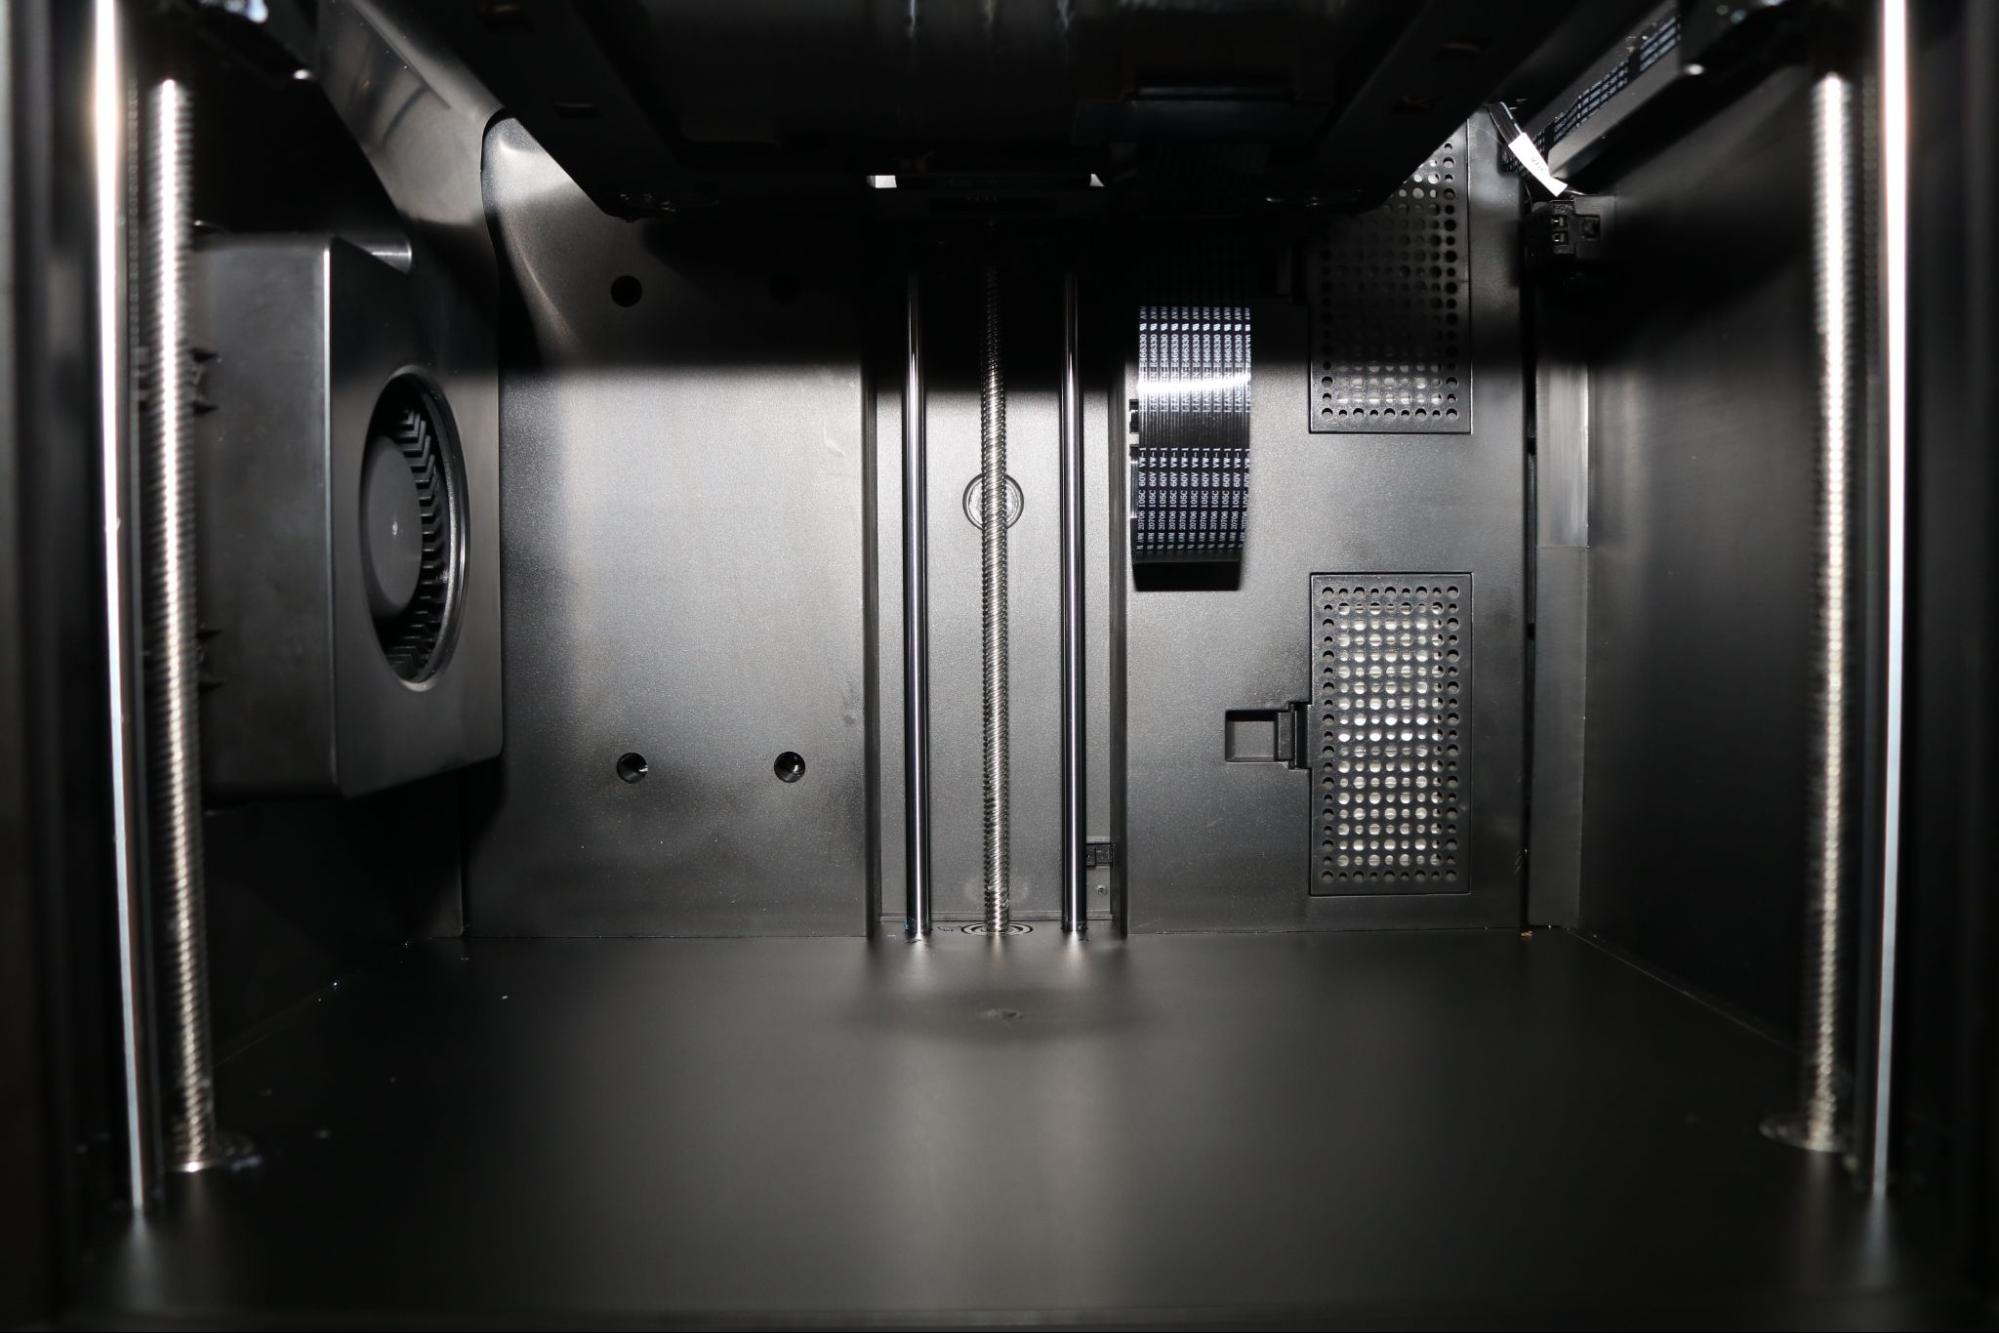
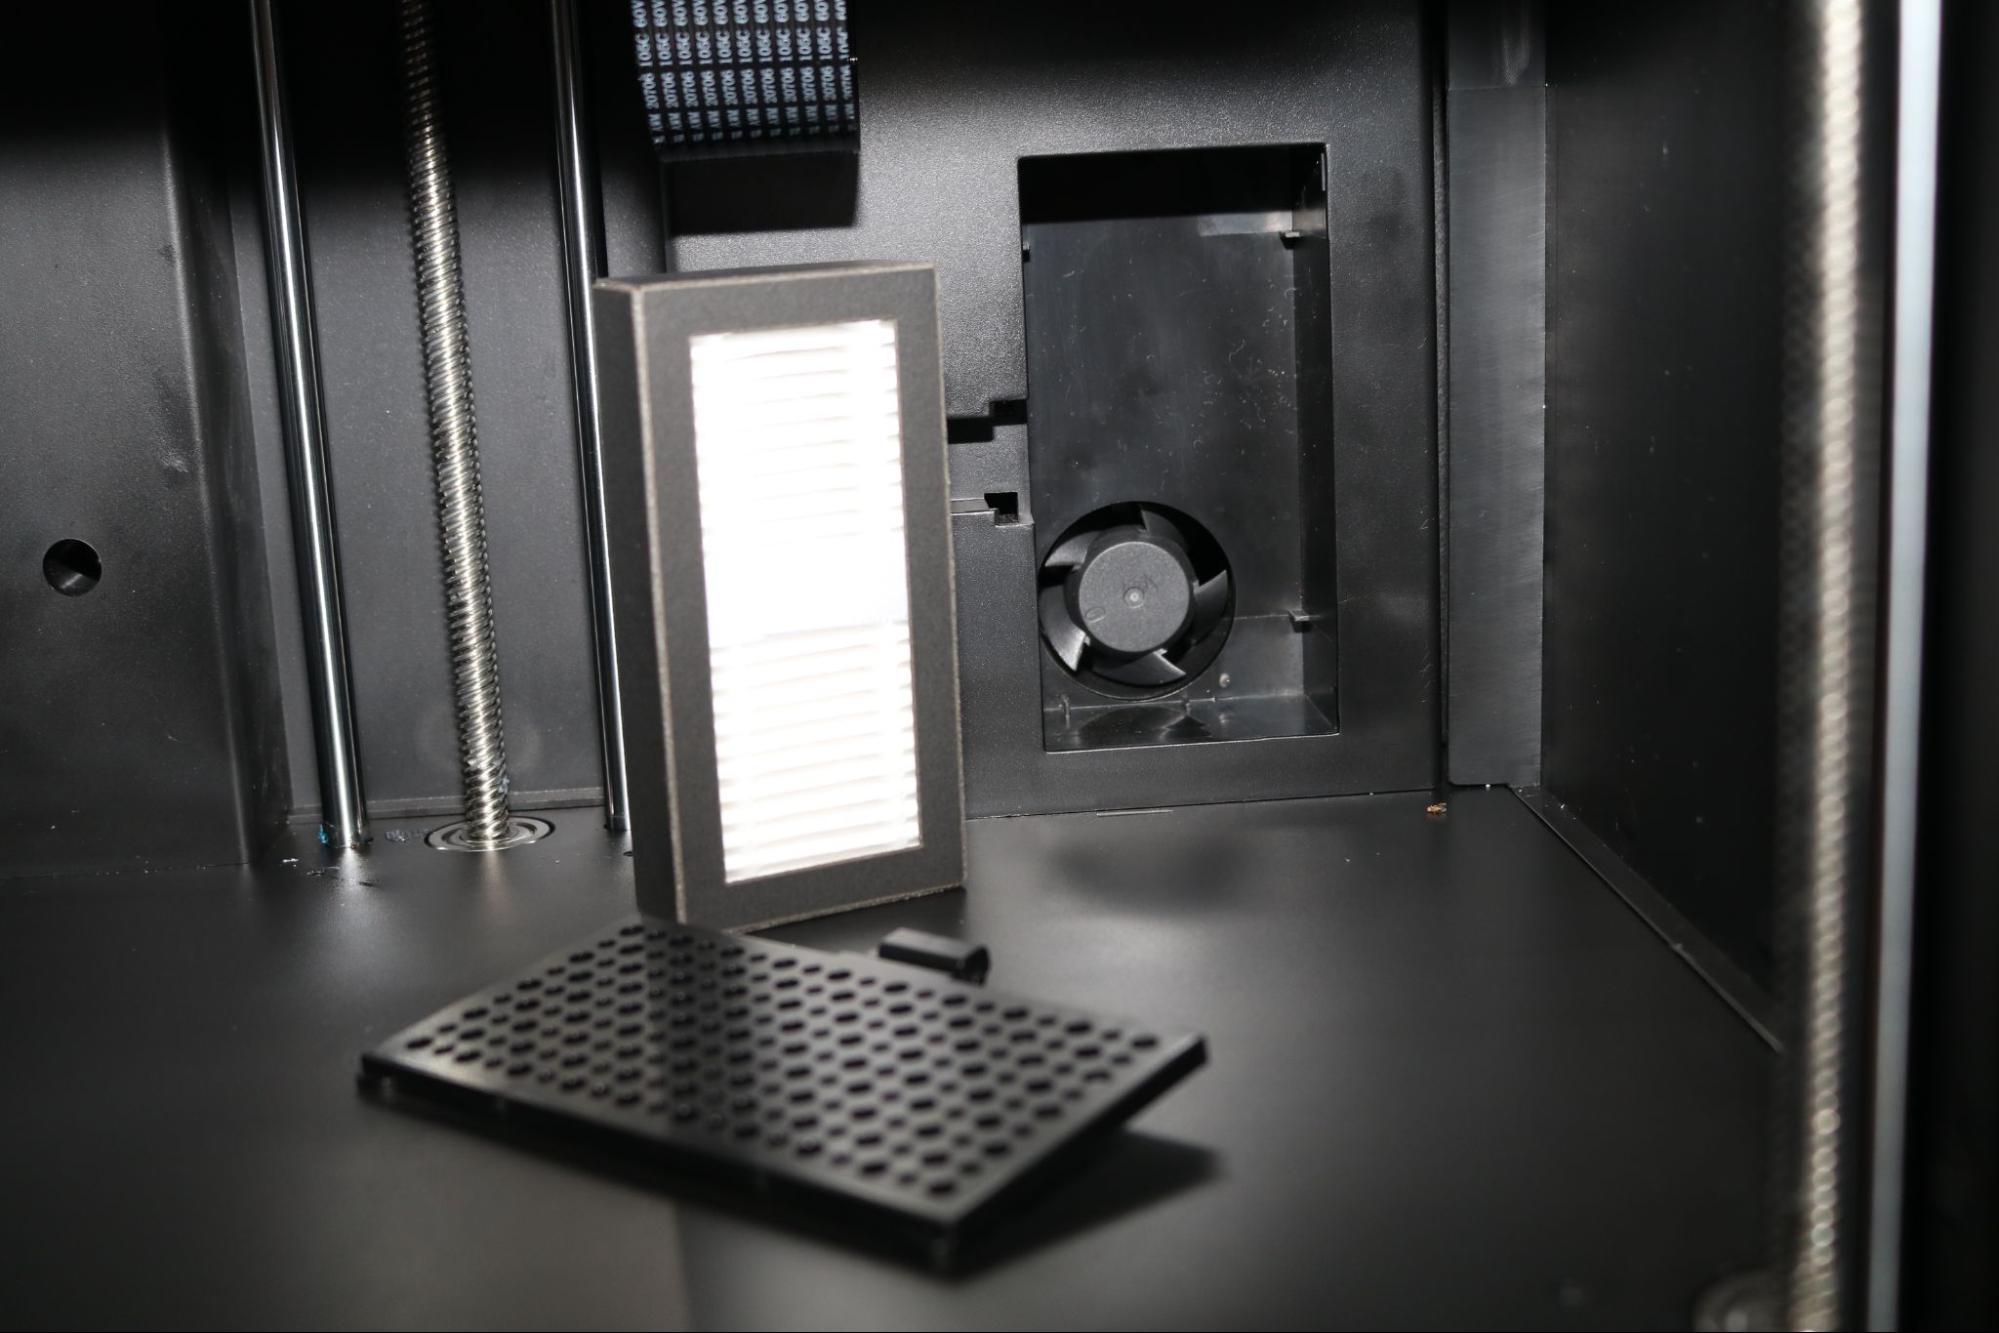
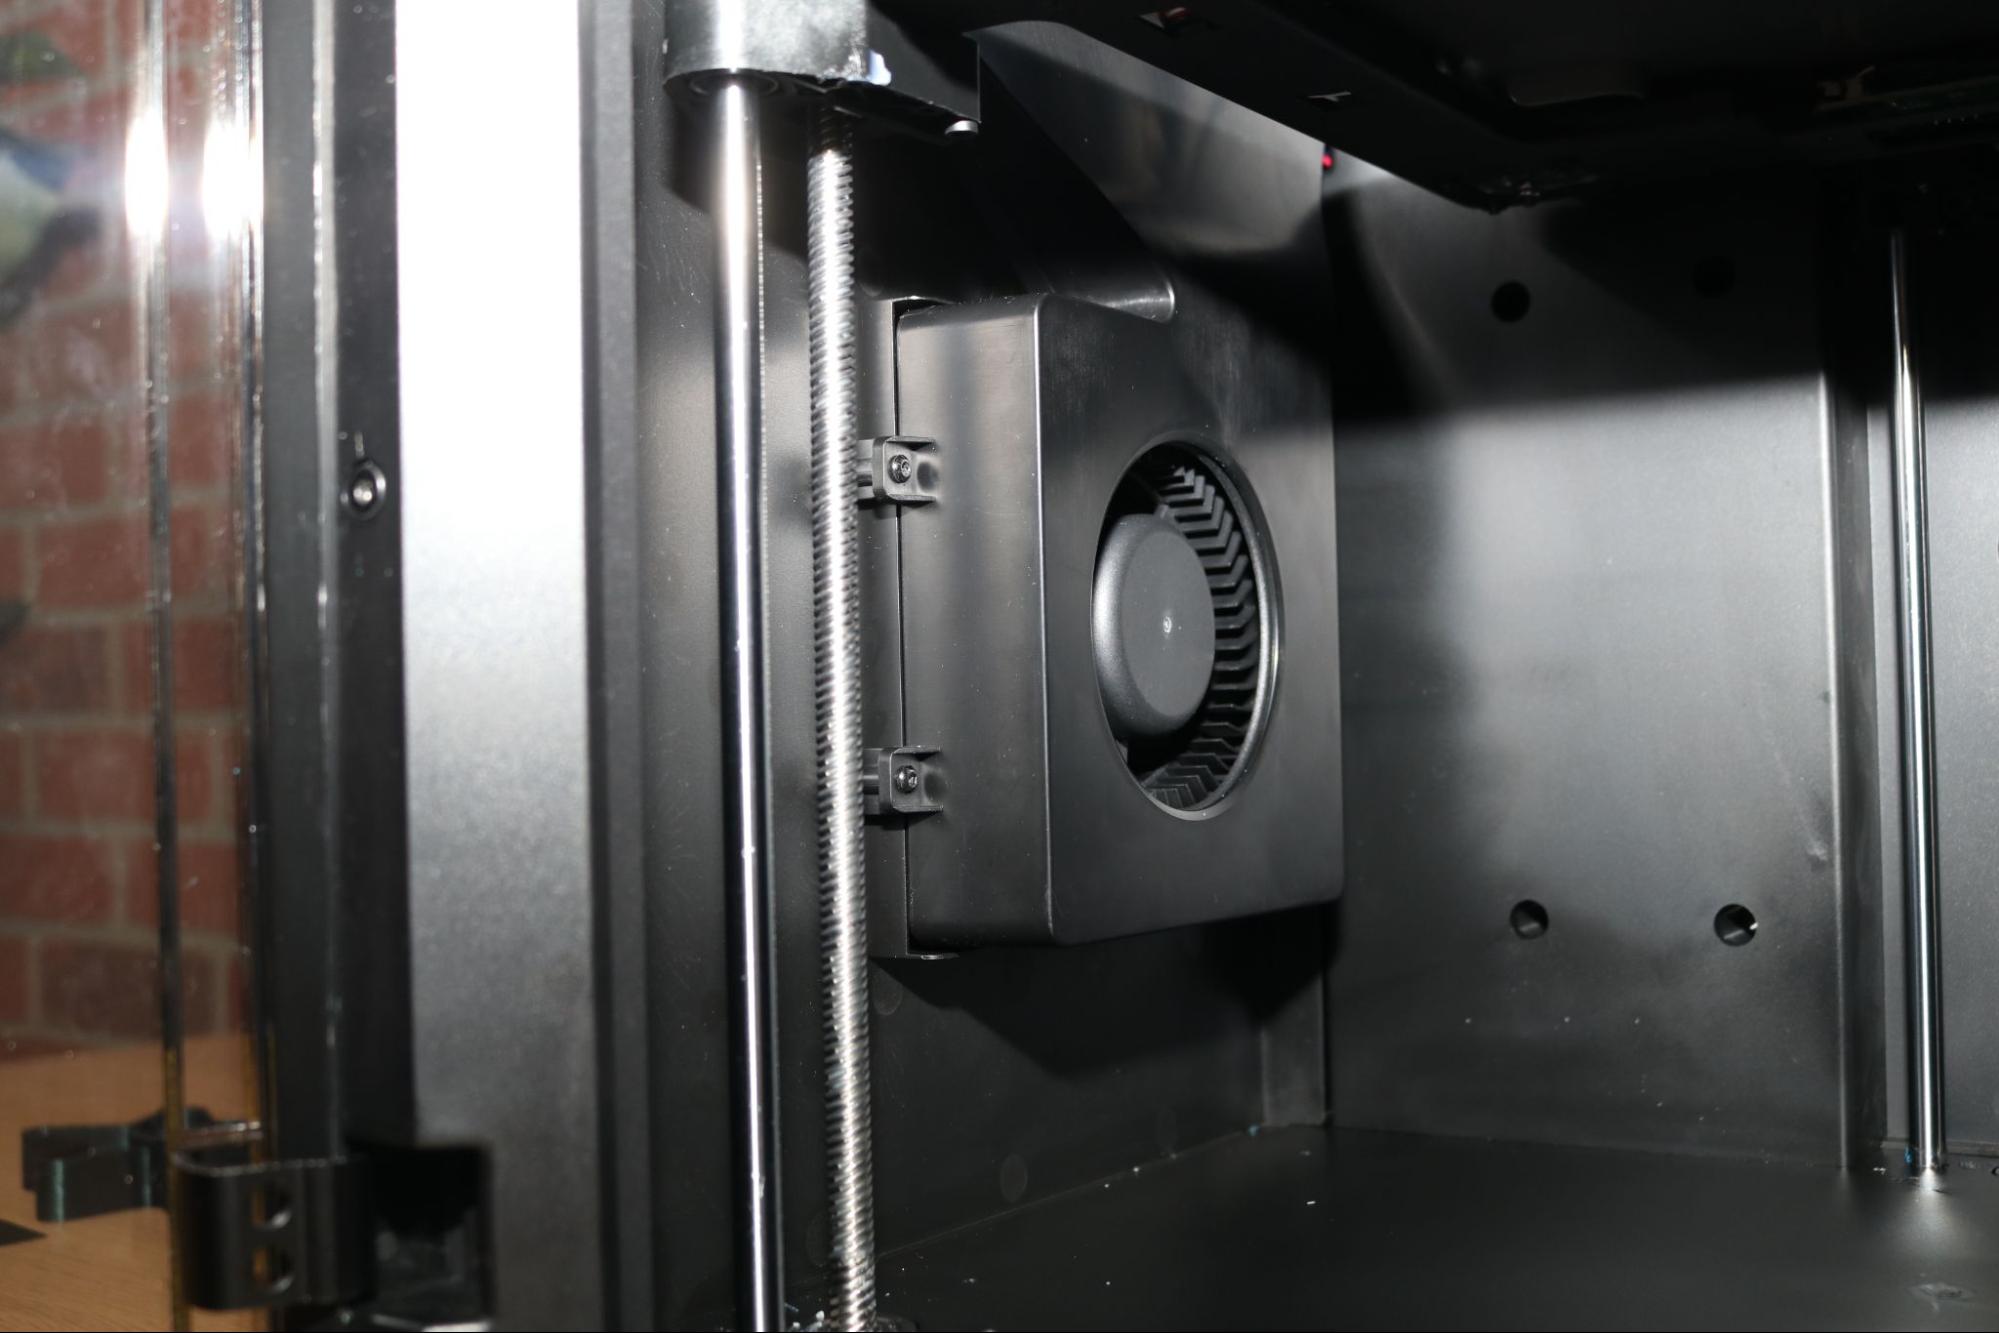
The Adventurer 5M Pro contains a surprising number of fans for a desktop 3D printer, including part cooling fans attached to the extruder, circulation / filtration fans located on the back of the machine, and a powerful chamber fan located on the side of the printer that blows air over the build area. As you can imagine, this all adds up to a printer that creates audible fan noise during printing. The Adventurer 5M Pro includes a “Low-Noise Mode” that can be toggled to reduce the amount of noise generated by the fans during printing.
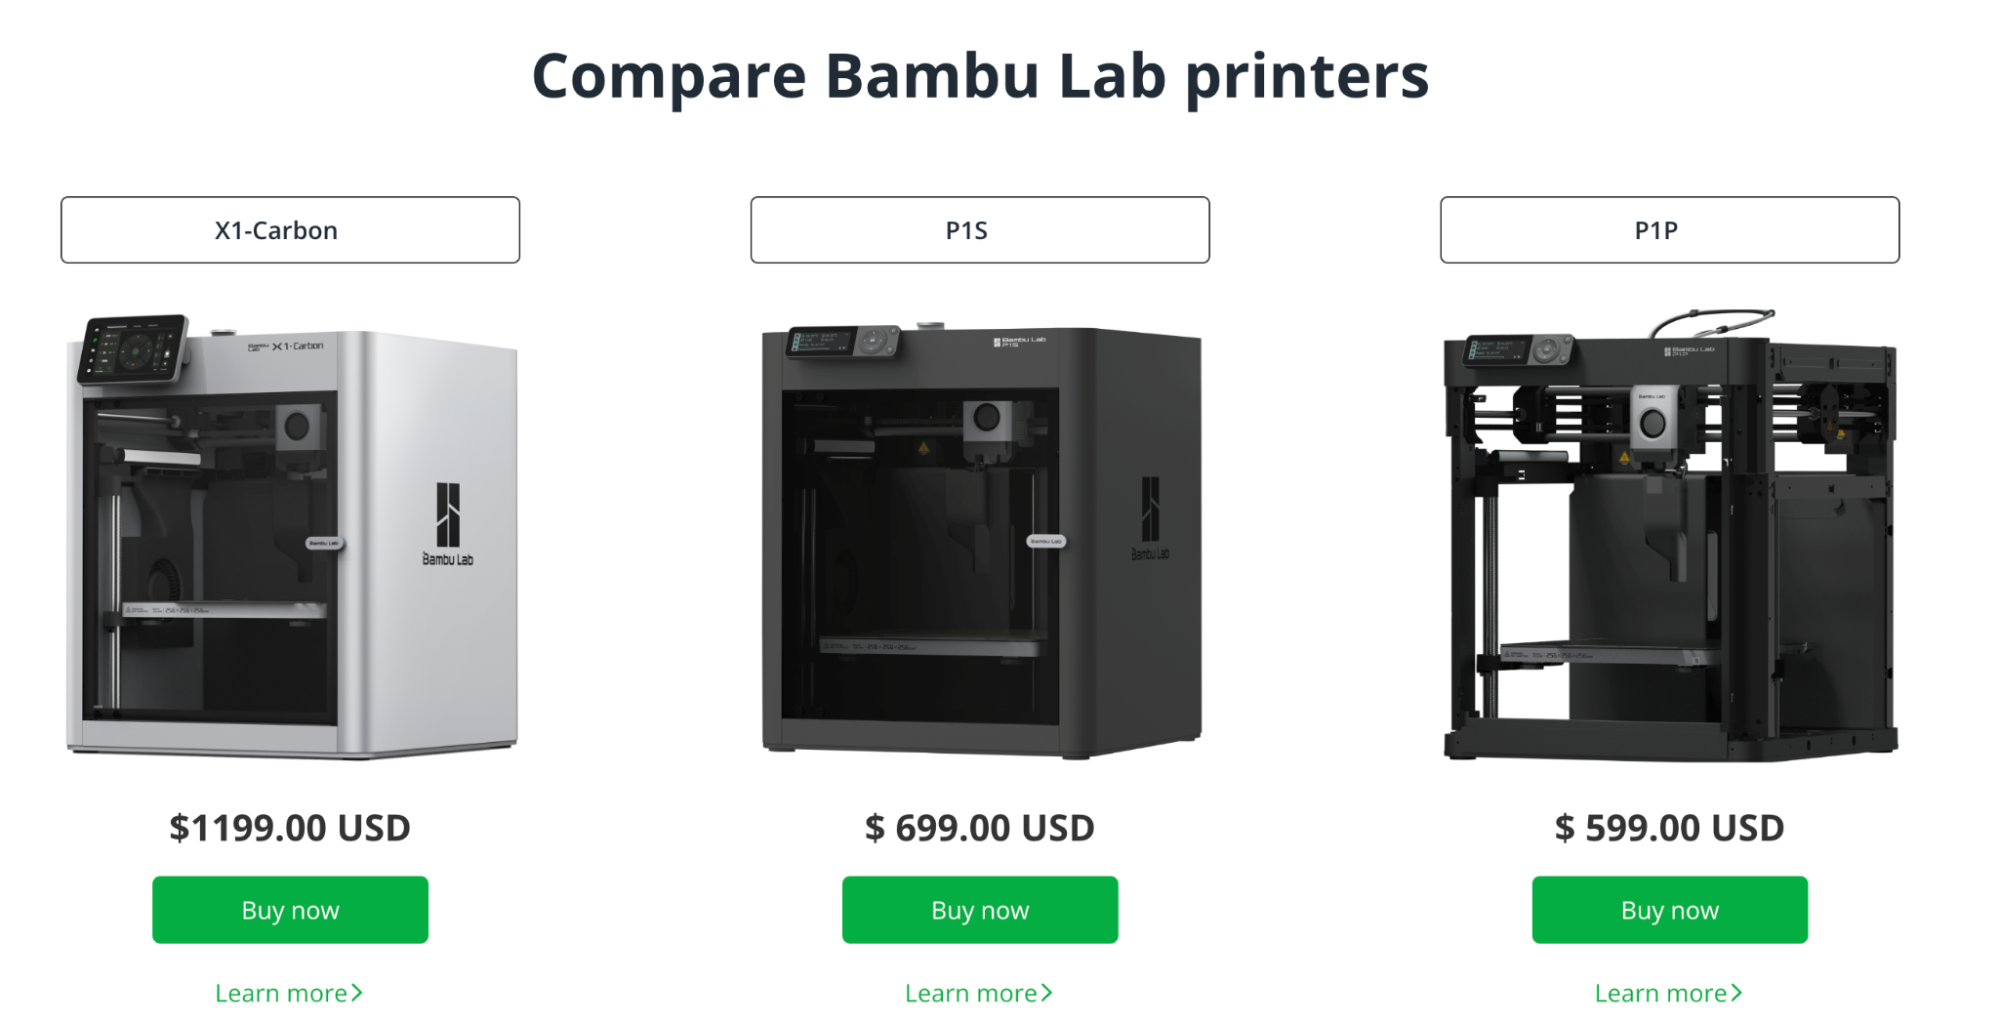
Flashforge has clearly been paying attention to the runaway success of the Bambu Lab X1C and P1P 3D printers, and this is made apparent when comparing the Adventurer 5M printers with their Bambu Lab counterparts. The sleek enclosure and bright touchscreen of the Adventurer 5M Pro could be mistaken for the X1C from a distance, and the more barebones open frame of the Adventurer 5M gives it a similar appearance to the lower-cost P1P 3D printer.
User Interface on Flashforge Adventurer 5M Pro
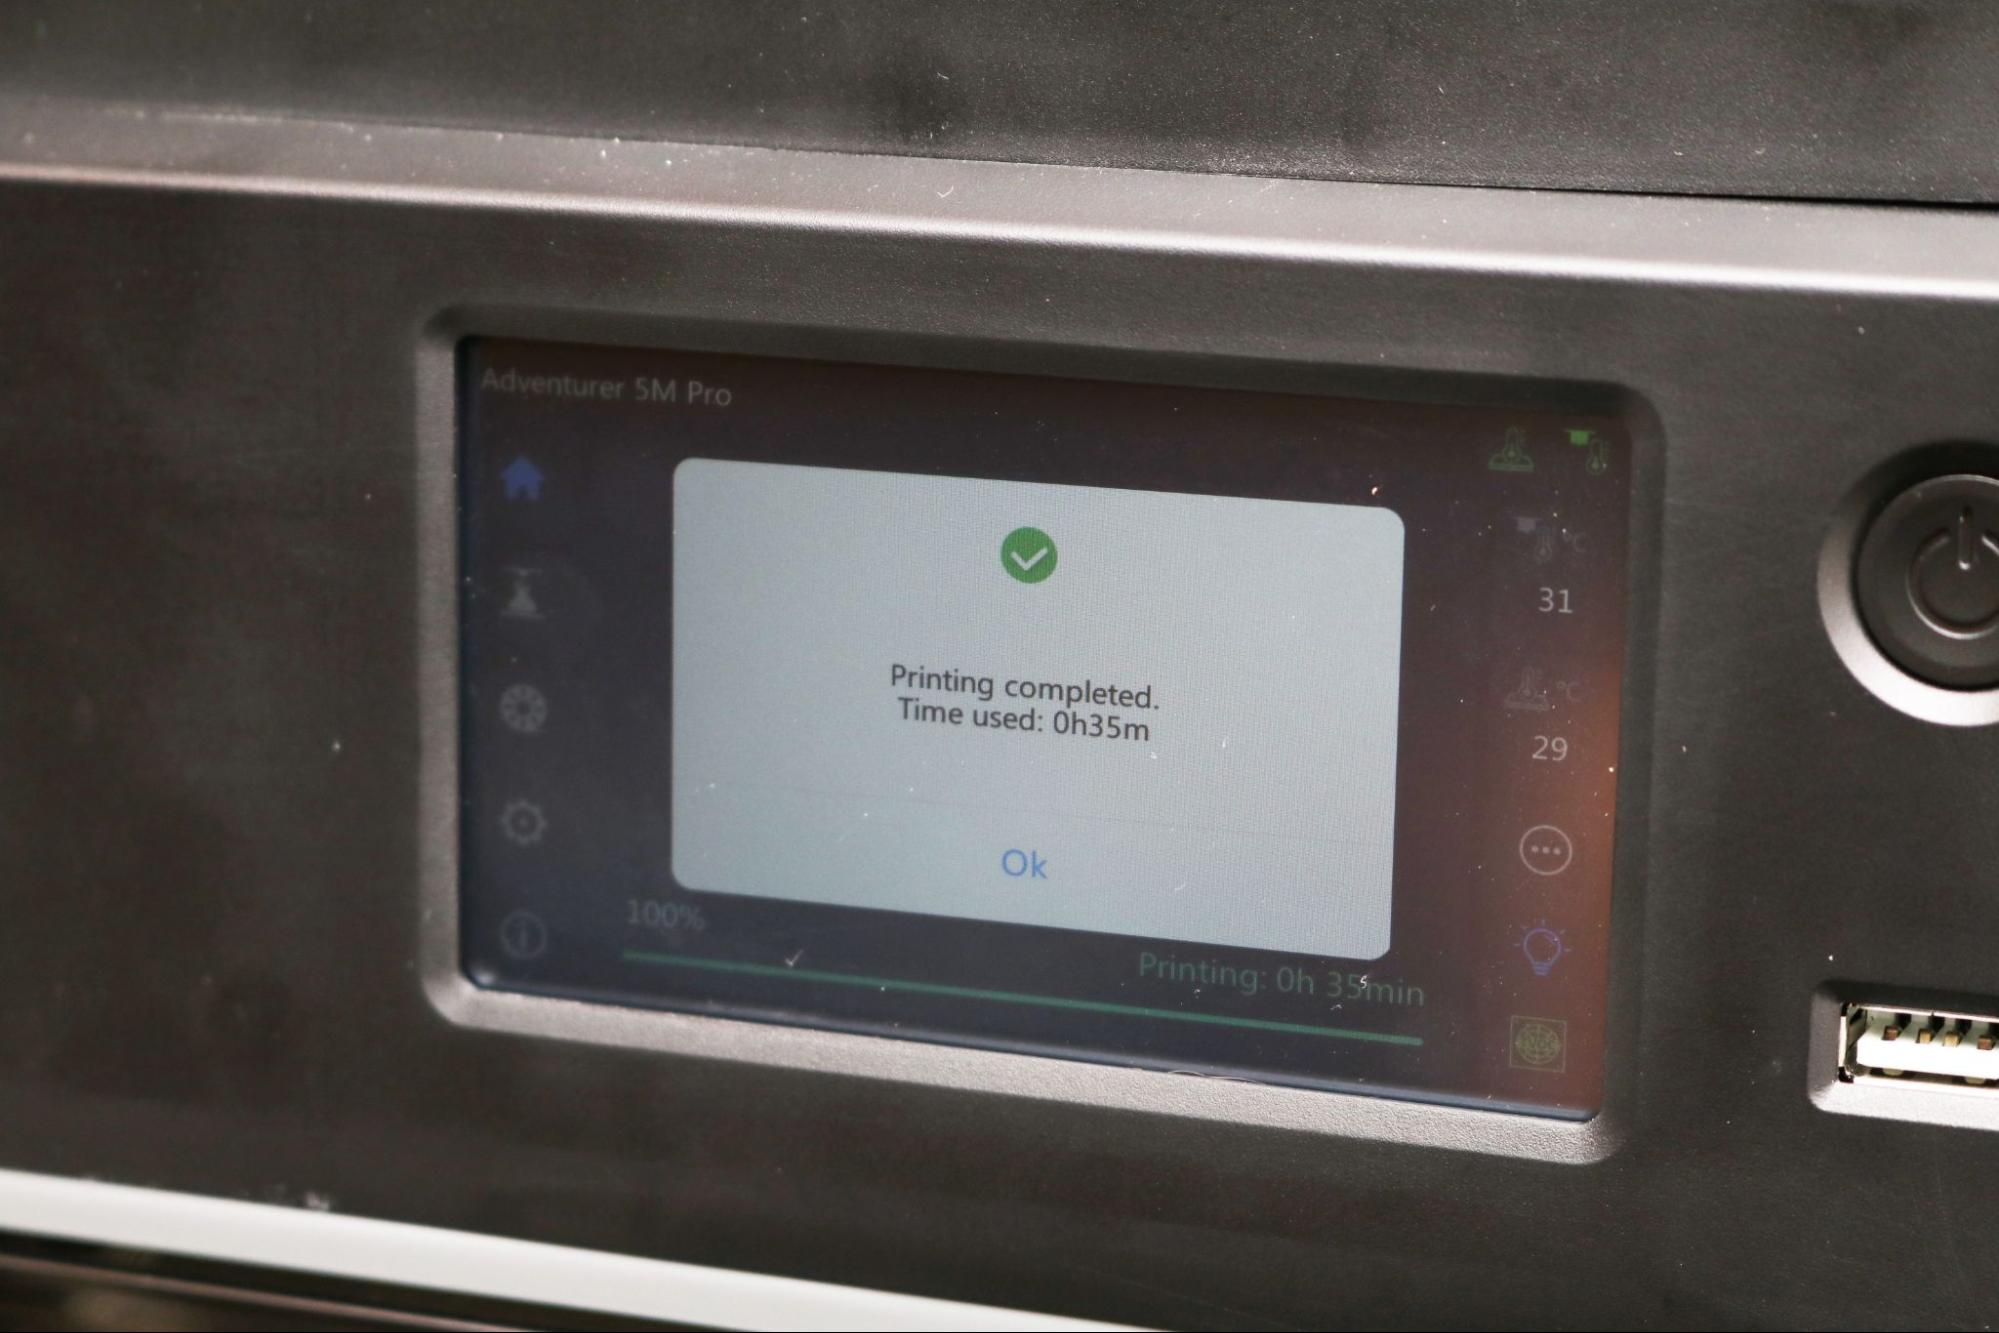
The only physical button on the front panel of the Adventurer 5M Pro is the large power button at the top right of the unit, and all other interactions are handled through the integrated touchscreen. The printer UI is polished, and the overall experience of using this touchscreen was a positive one. Menus are on the left of the interface, and functions like selecting and joining a Wi-Fi network can be found under the ‘Settings’ tab.
During printing, the interface shows an estimate of time elapsed, print temperature, and other relevant information. When printing files sliced with OrcaSlicer, the printer does not show an estimated time until completion, something that some users will find themselves missing when trying to schedule print jobs.
A feature that many will find useful is the ‘Auto Power Off’, which automatically powers down the printer when a print job is complete. This is a helpful feature for anyone concerned about minimizing the amount of wear of the fan motors or just general electricity consumption.
Calibrating and Leveling Flashforge Adventurer 5M Pro
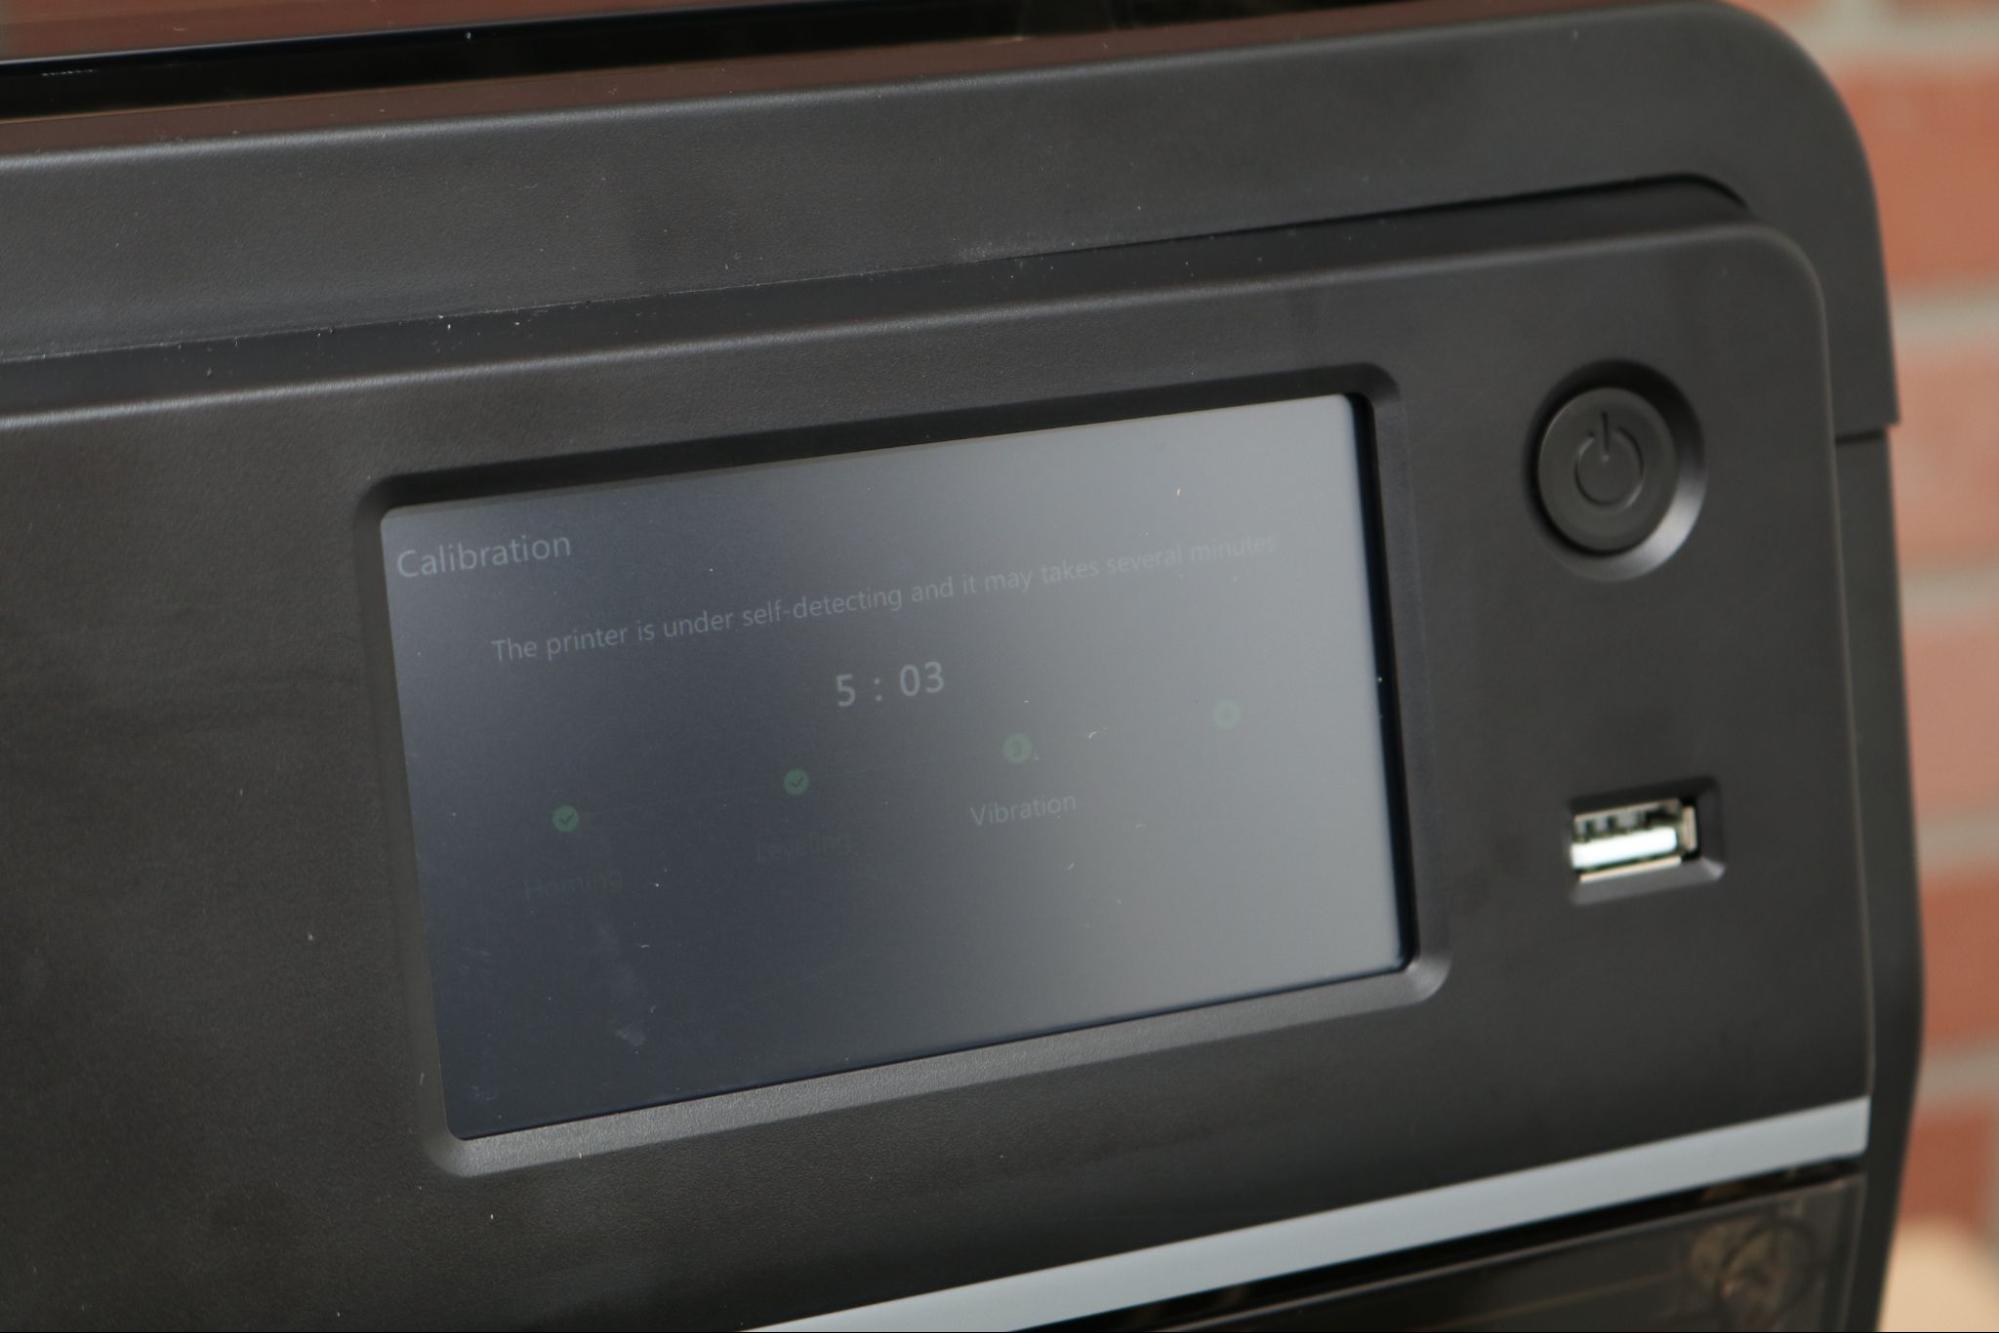
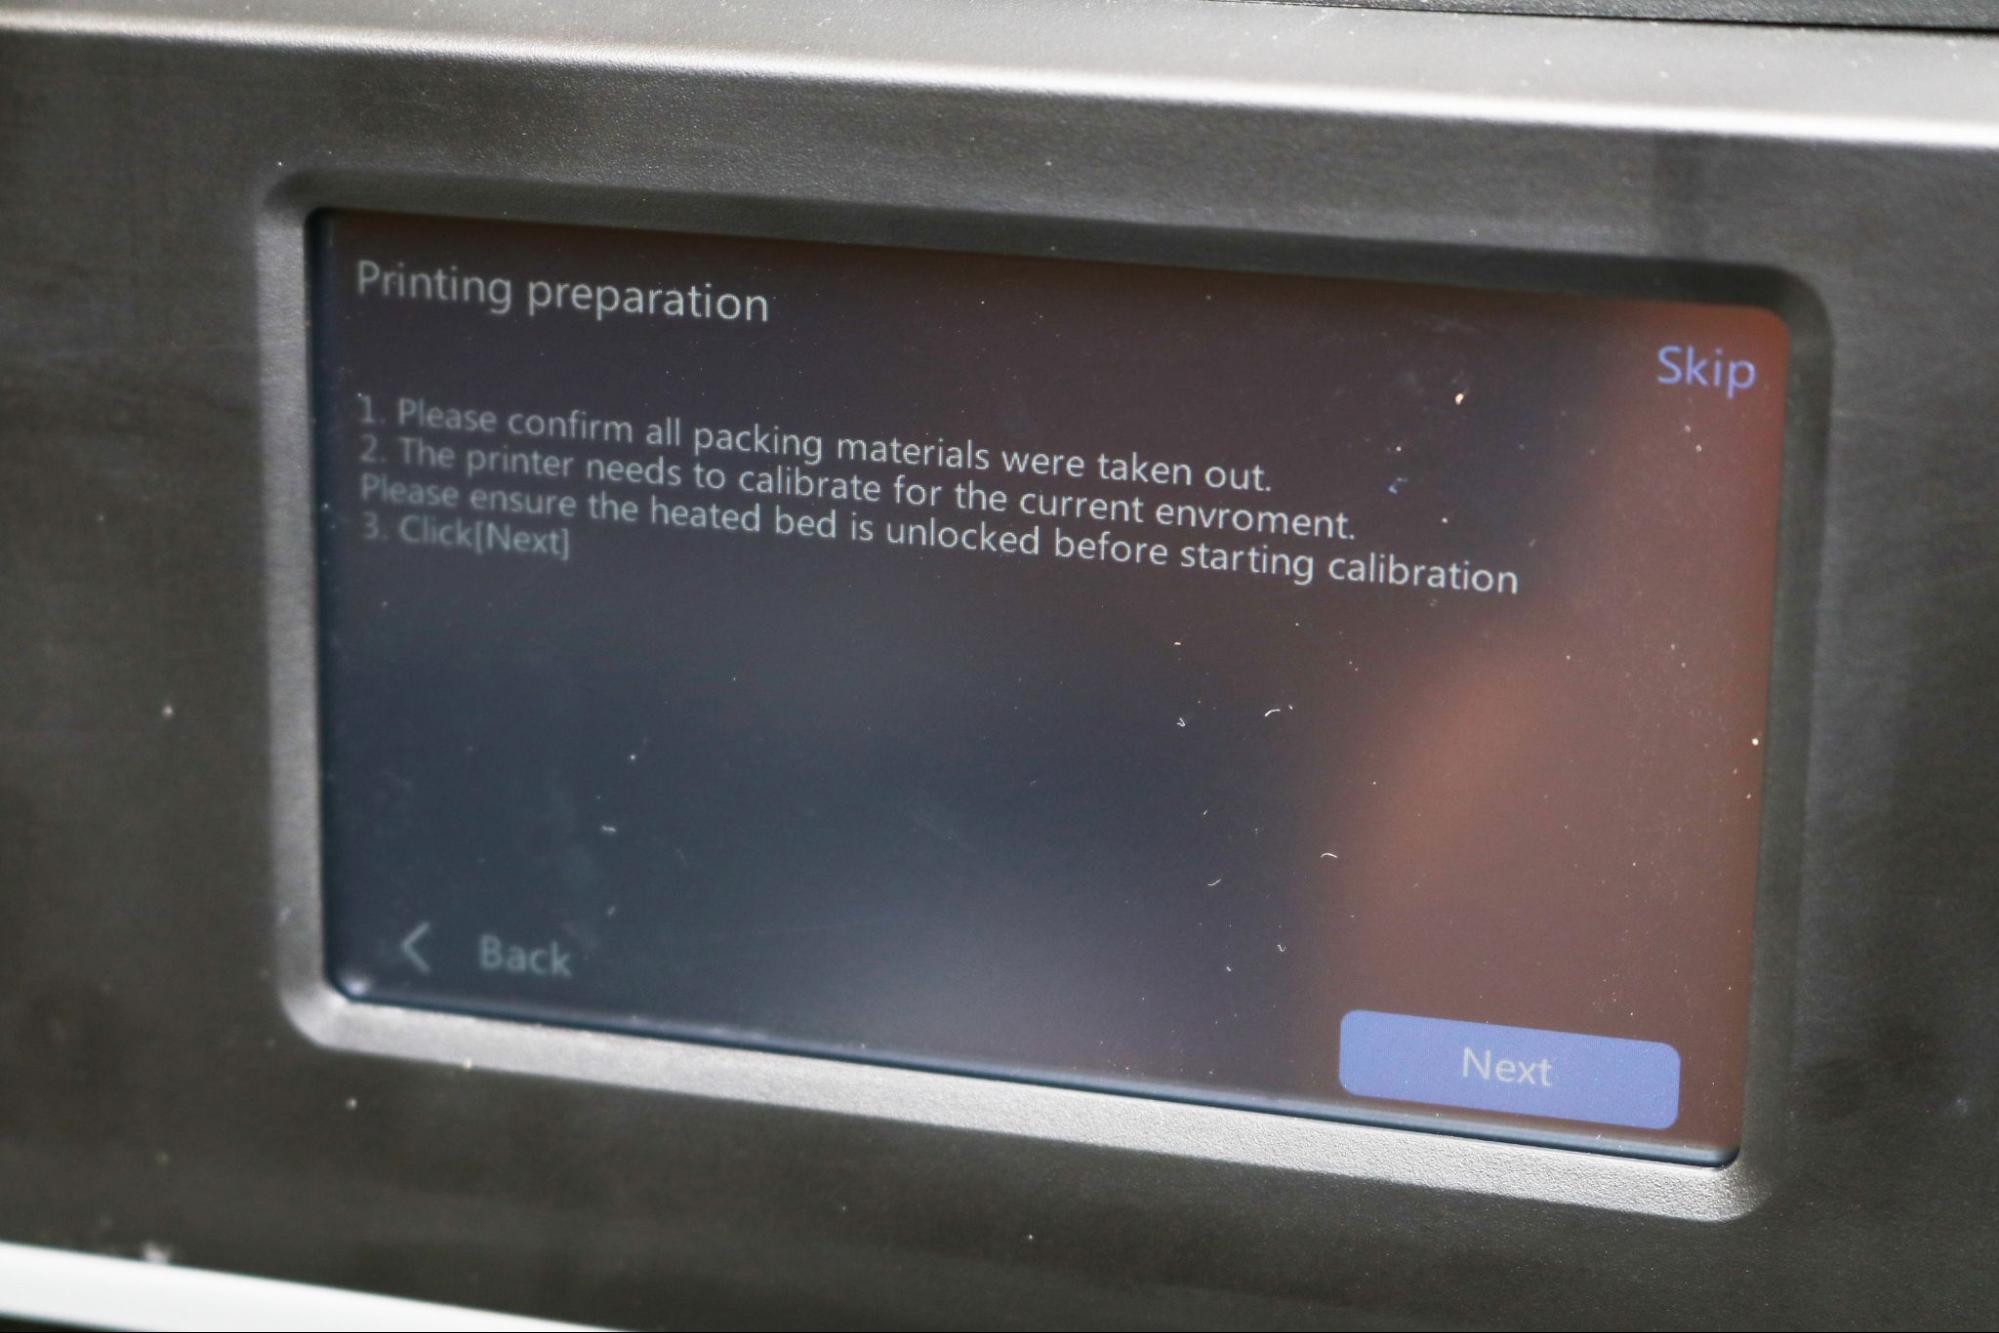
The Flashforge Adventurer 5M Pro is advertised as including “Full-auto one-click leveling”, which is accomplished using the “Auto Calibration” function from the user interface. After powering on the printer for the first time, this process begins automatically and the printer probes multiple points on the platform to determine the relative Z offset at each point.
In practice, I found this process didn’t work every time and I had to run the automatic leveling a few times before the Z height was set correctly. Live Z-adjust requires clicking through several menus during a print, and is adjustable in increments of 0.05mm. The Adventurer 5M Pro does not include a global Z offset in the calibration menu, so it’s not a simple task to set an offset once the automatic calibration has been completed. Once I had a good calibration, I found myself skipping the calibration before each print to avoid failures.
Build Platform on Flashforge Adventurer 5M Pro
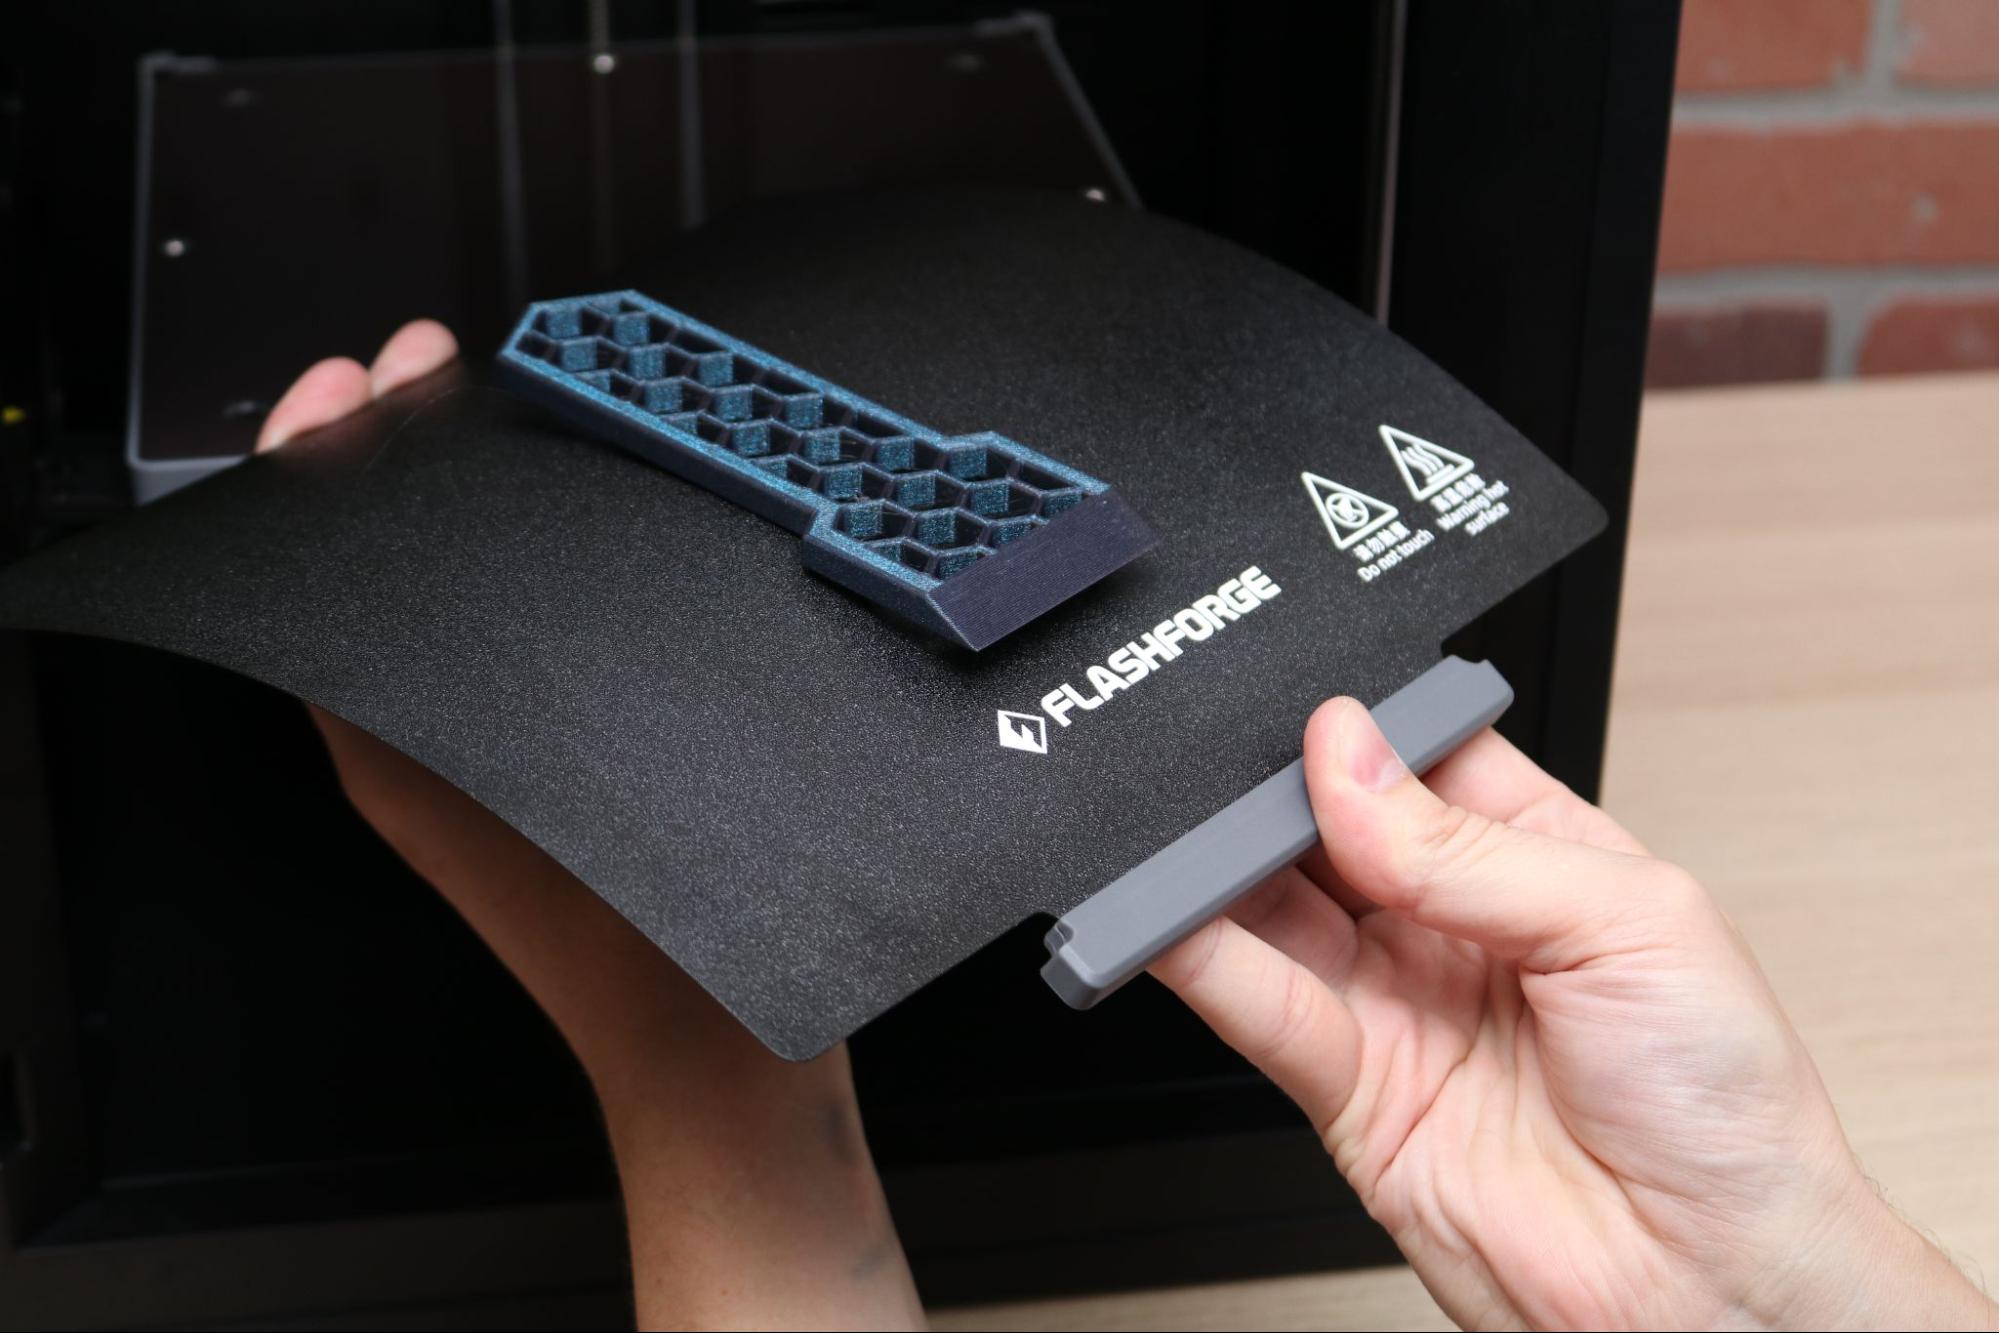
Just like the previous generation Flashforge Adventurer 4, the Adventurer 5M Pro uses a flexible build platform that can be removed from the printer once a print is complete. This thin build platform can be easily deformed and printed parts practically fall off when the platform is bent. The platform clicks into place and the integrated handle allows users to remove it without having to directly touch the surface of the platform. This prevents oils, dirt, and other contaminants from compromising the surface.
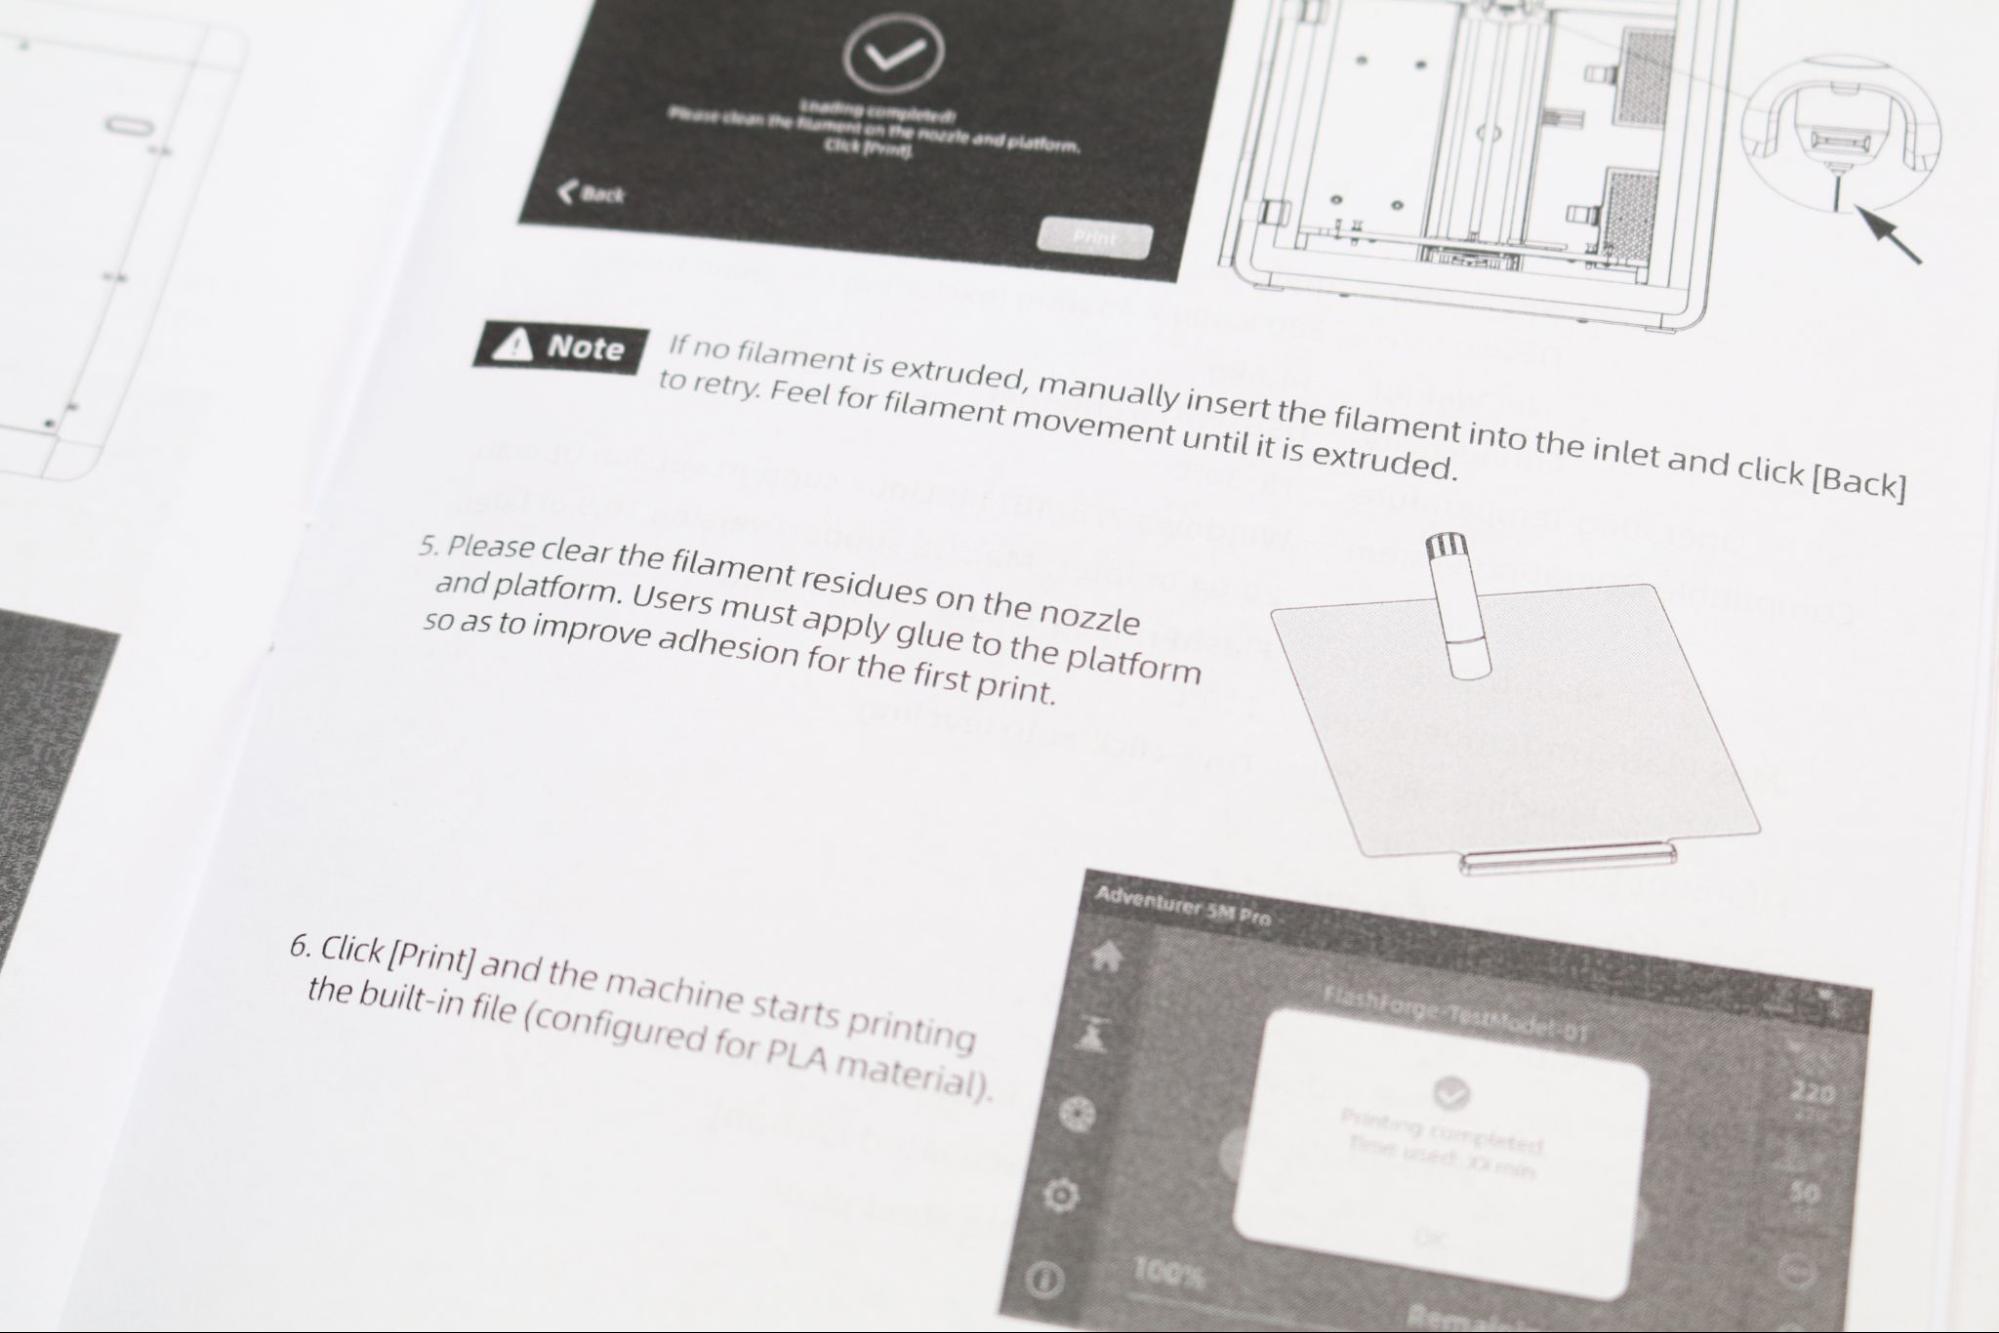
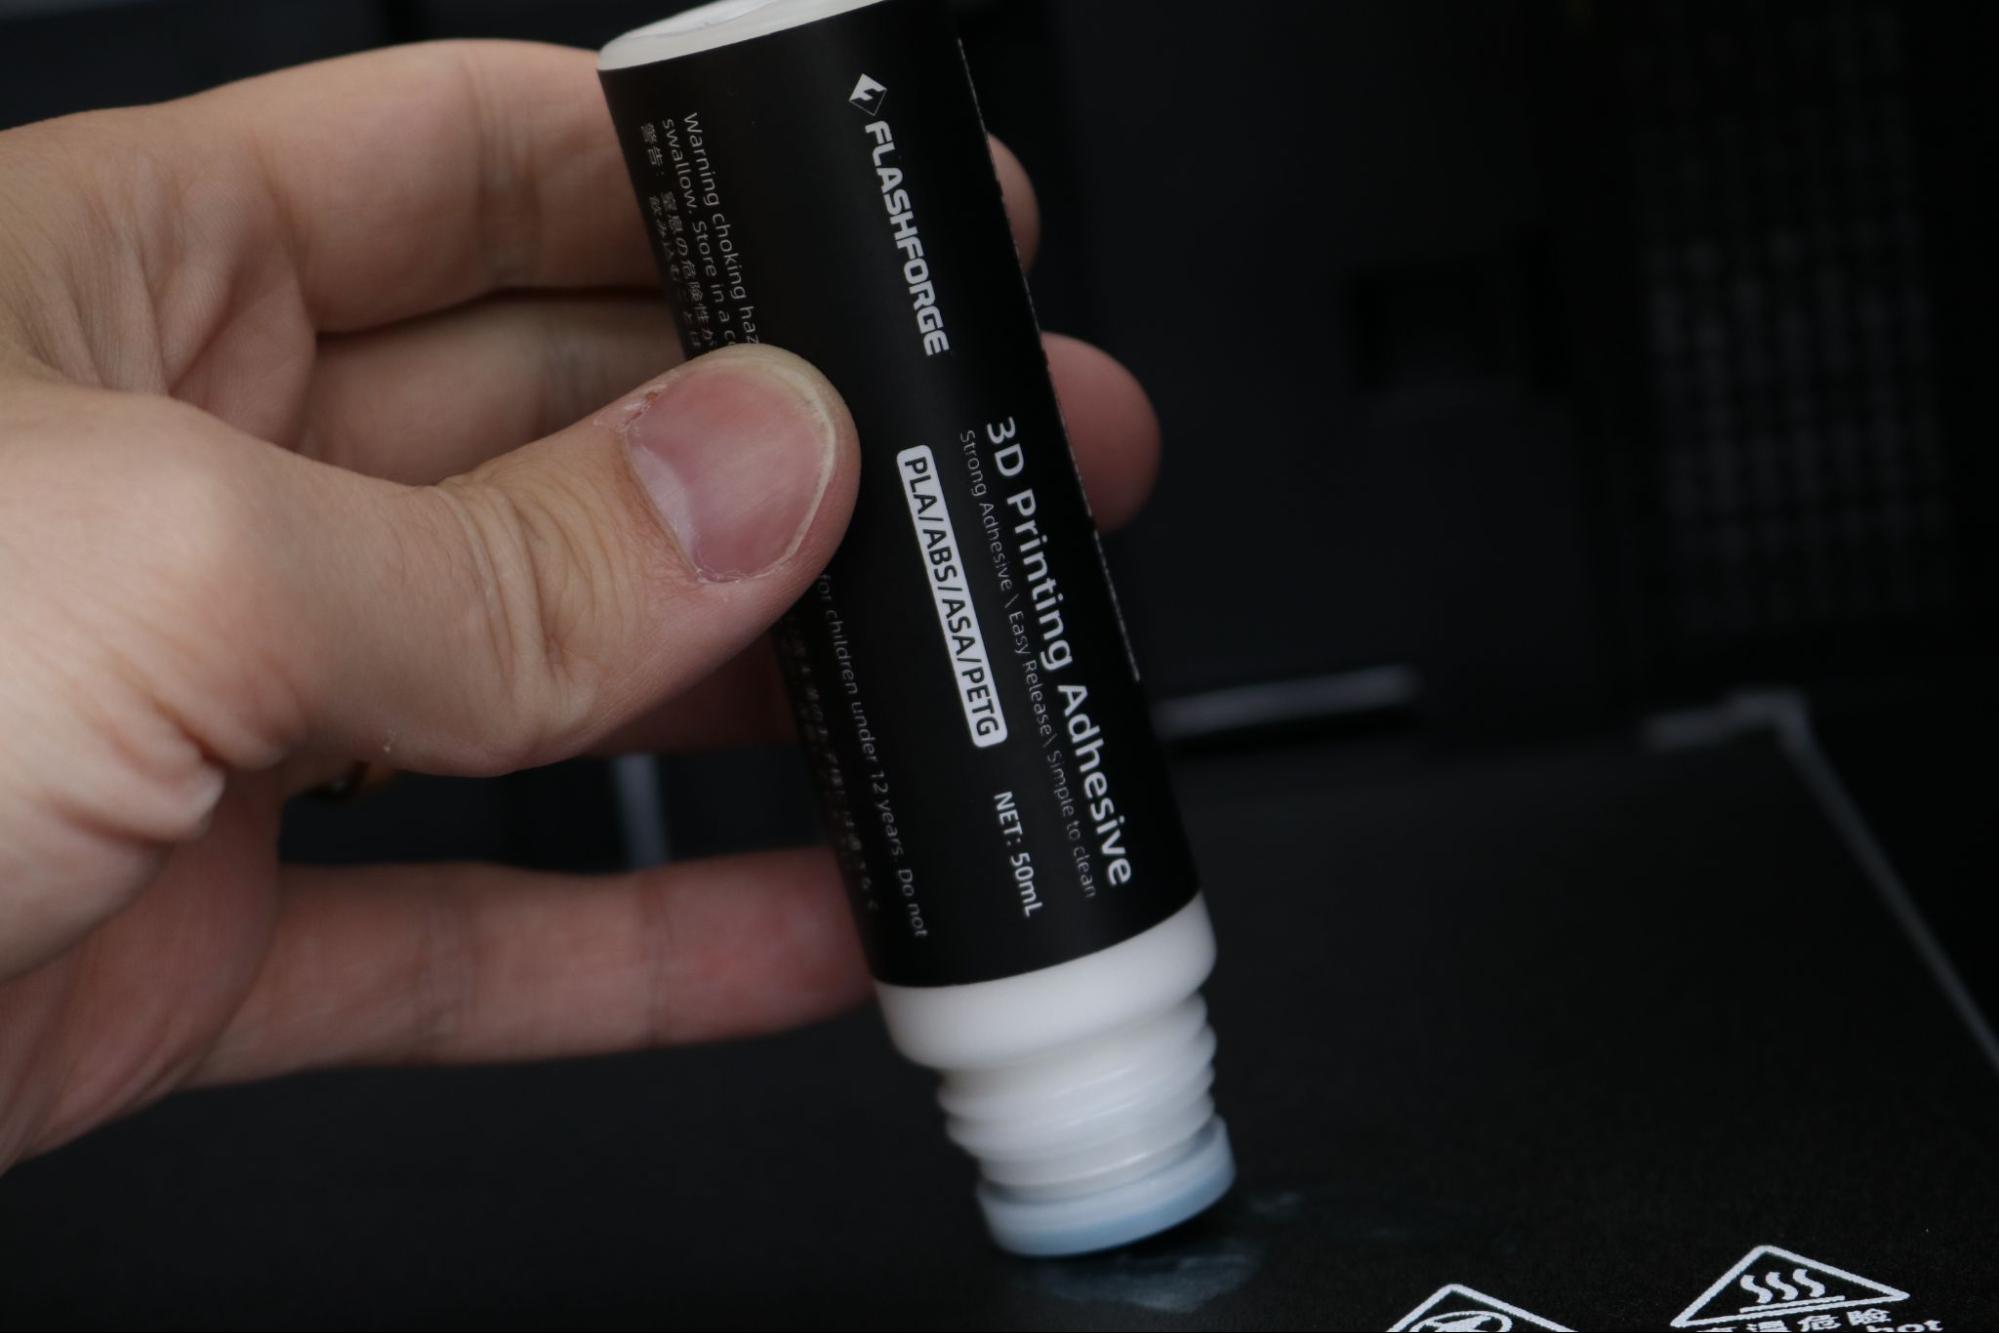
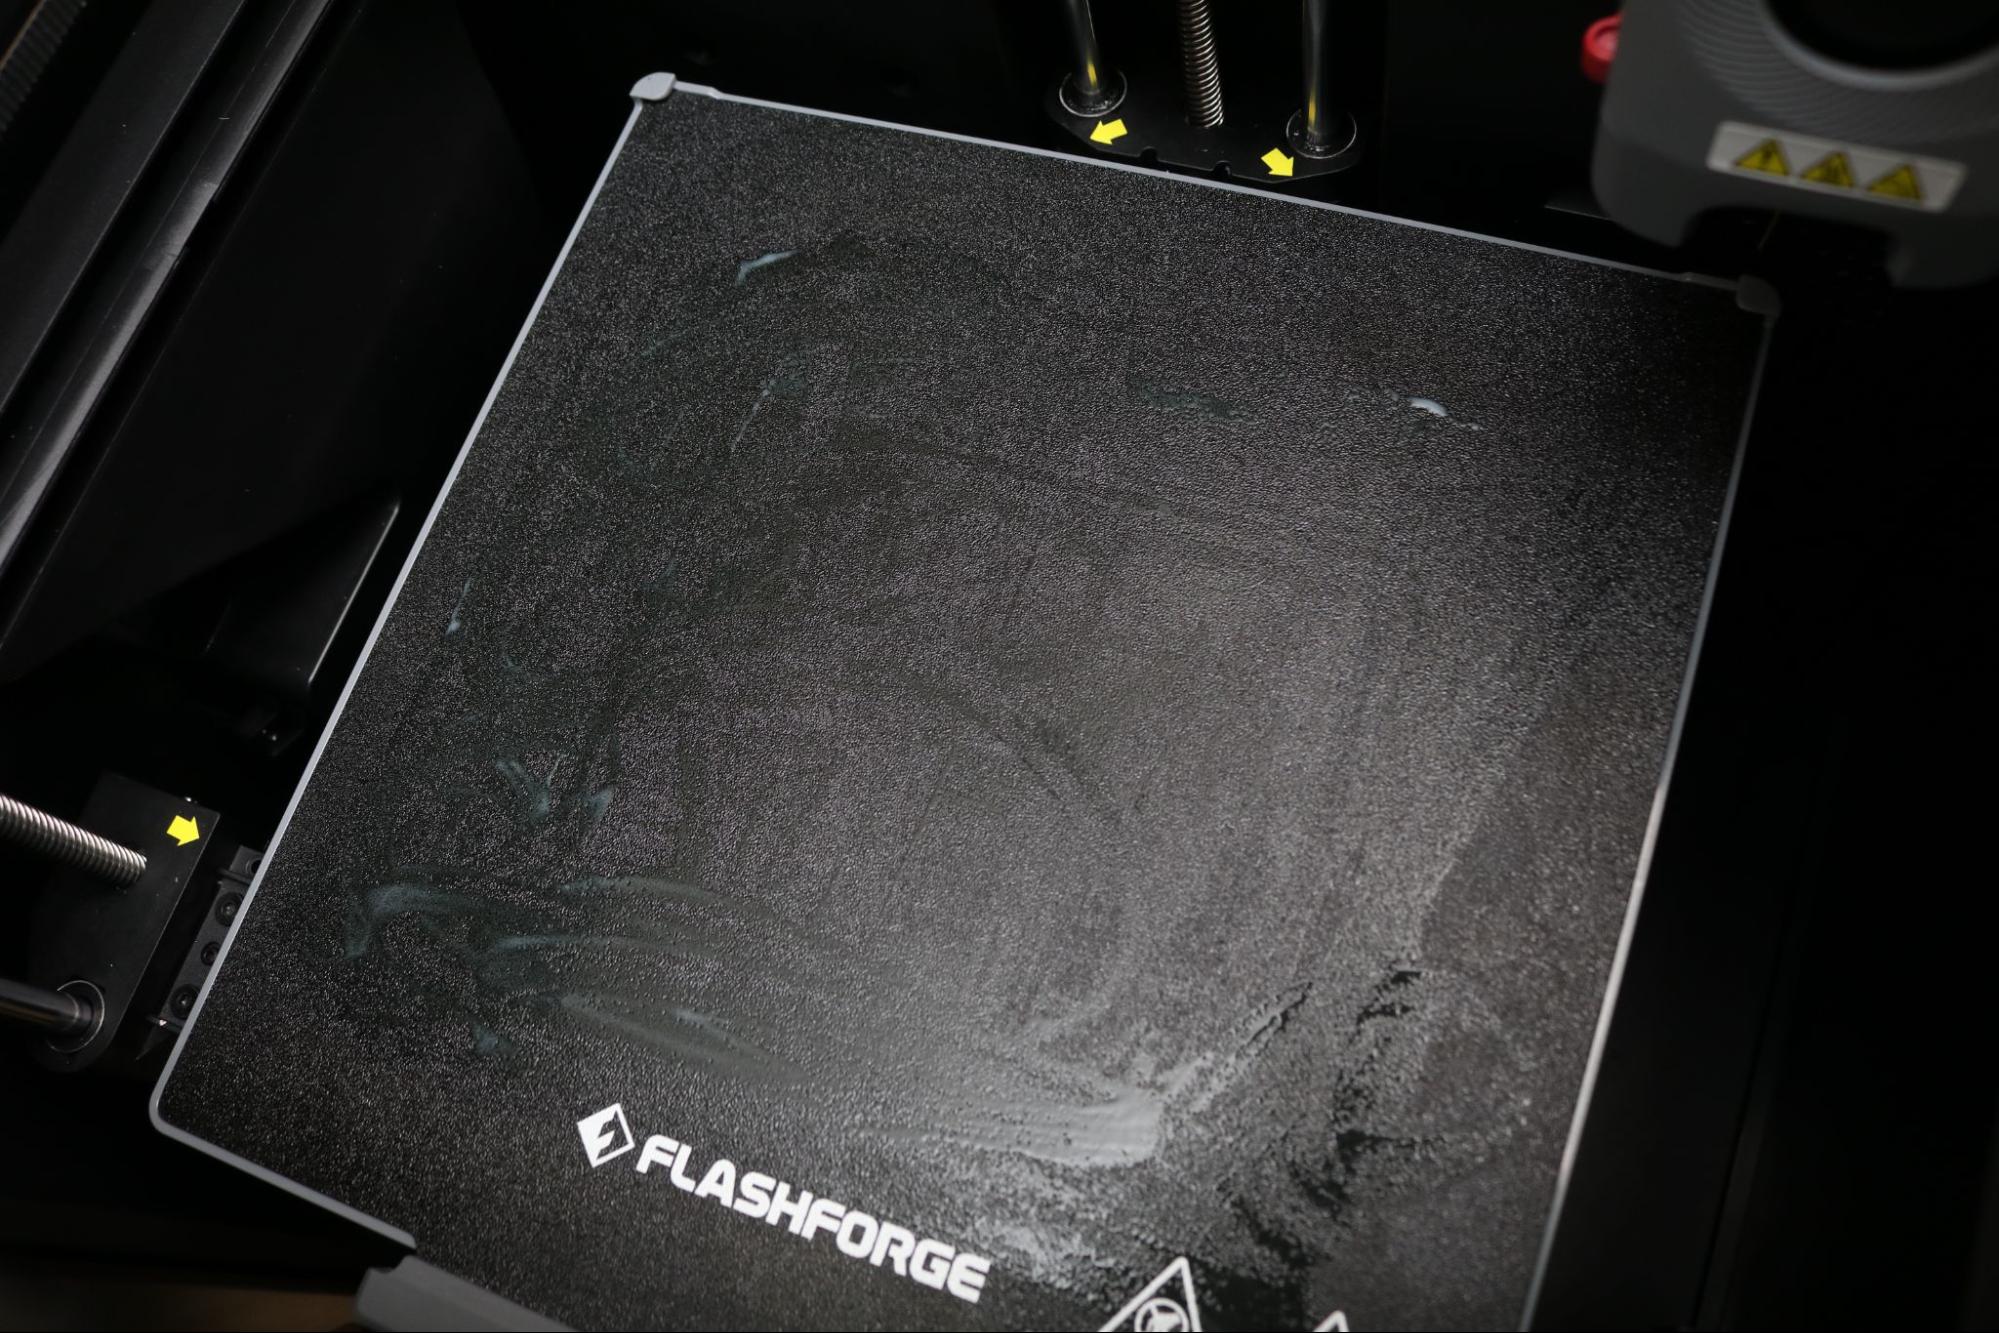
For high-temperature materials that tend to warp during printing, a textured platform is an easy way to increase bed adhesion without having to use additional adhesives like glue, tape, or other coatings. Oddly enough, the Adventurer 5M Pro includes a glue stick for adhesion, something that I found myself using for larger prints. The texture on the platform doesn’t quite have the required adhesion for thin layers, and the glue stick was needed for these prints and is recommended by Flashforge.
The texture also provides some complexity to the surface, which keeps the platform-facing side of the print from having the high gloss associated with glass or other smooth platforms. Whether or not this is a good thing is ultimately a personal preference, but I think the textured appearance looks a bit more polished and professional than a shiny surface which doesn’t match the matte appearance of the rest of the print. Unfortunately, the glue leaves a residue which needs to be gently washed off to fully see the texture.
Printing Included Demo Models on Flashforge Adventurer 5M Pro
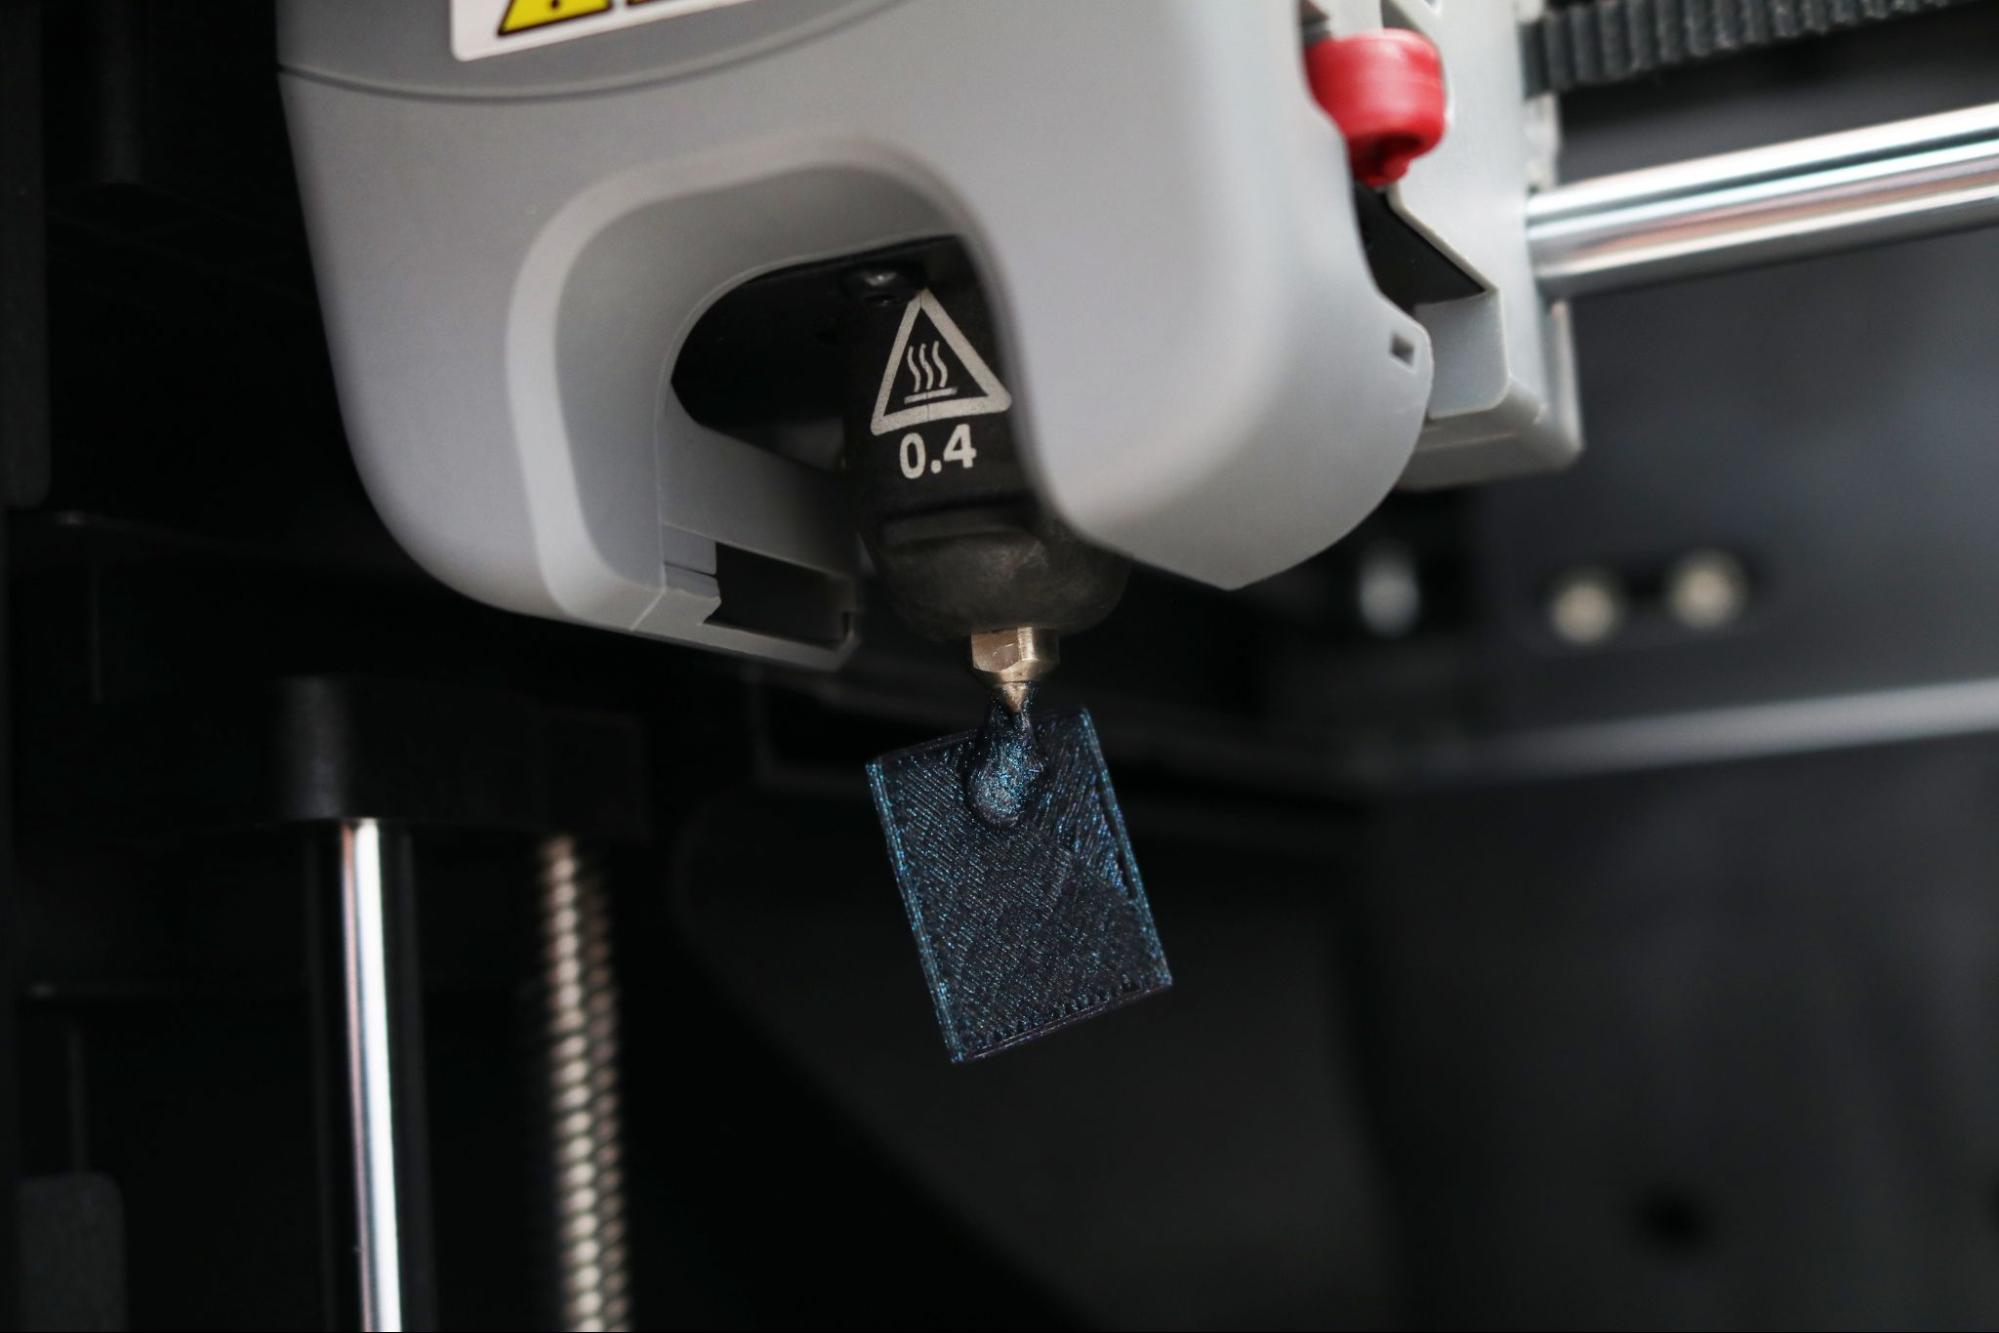
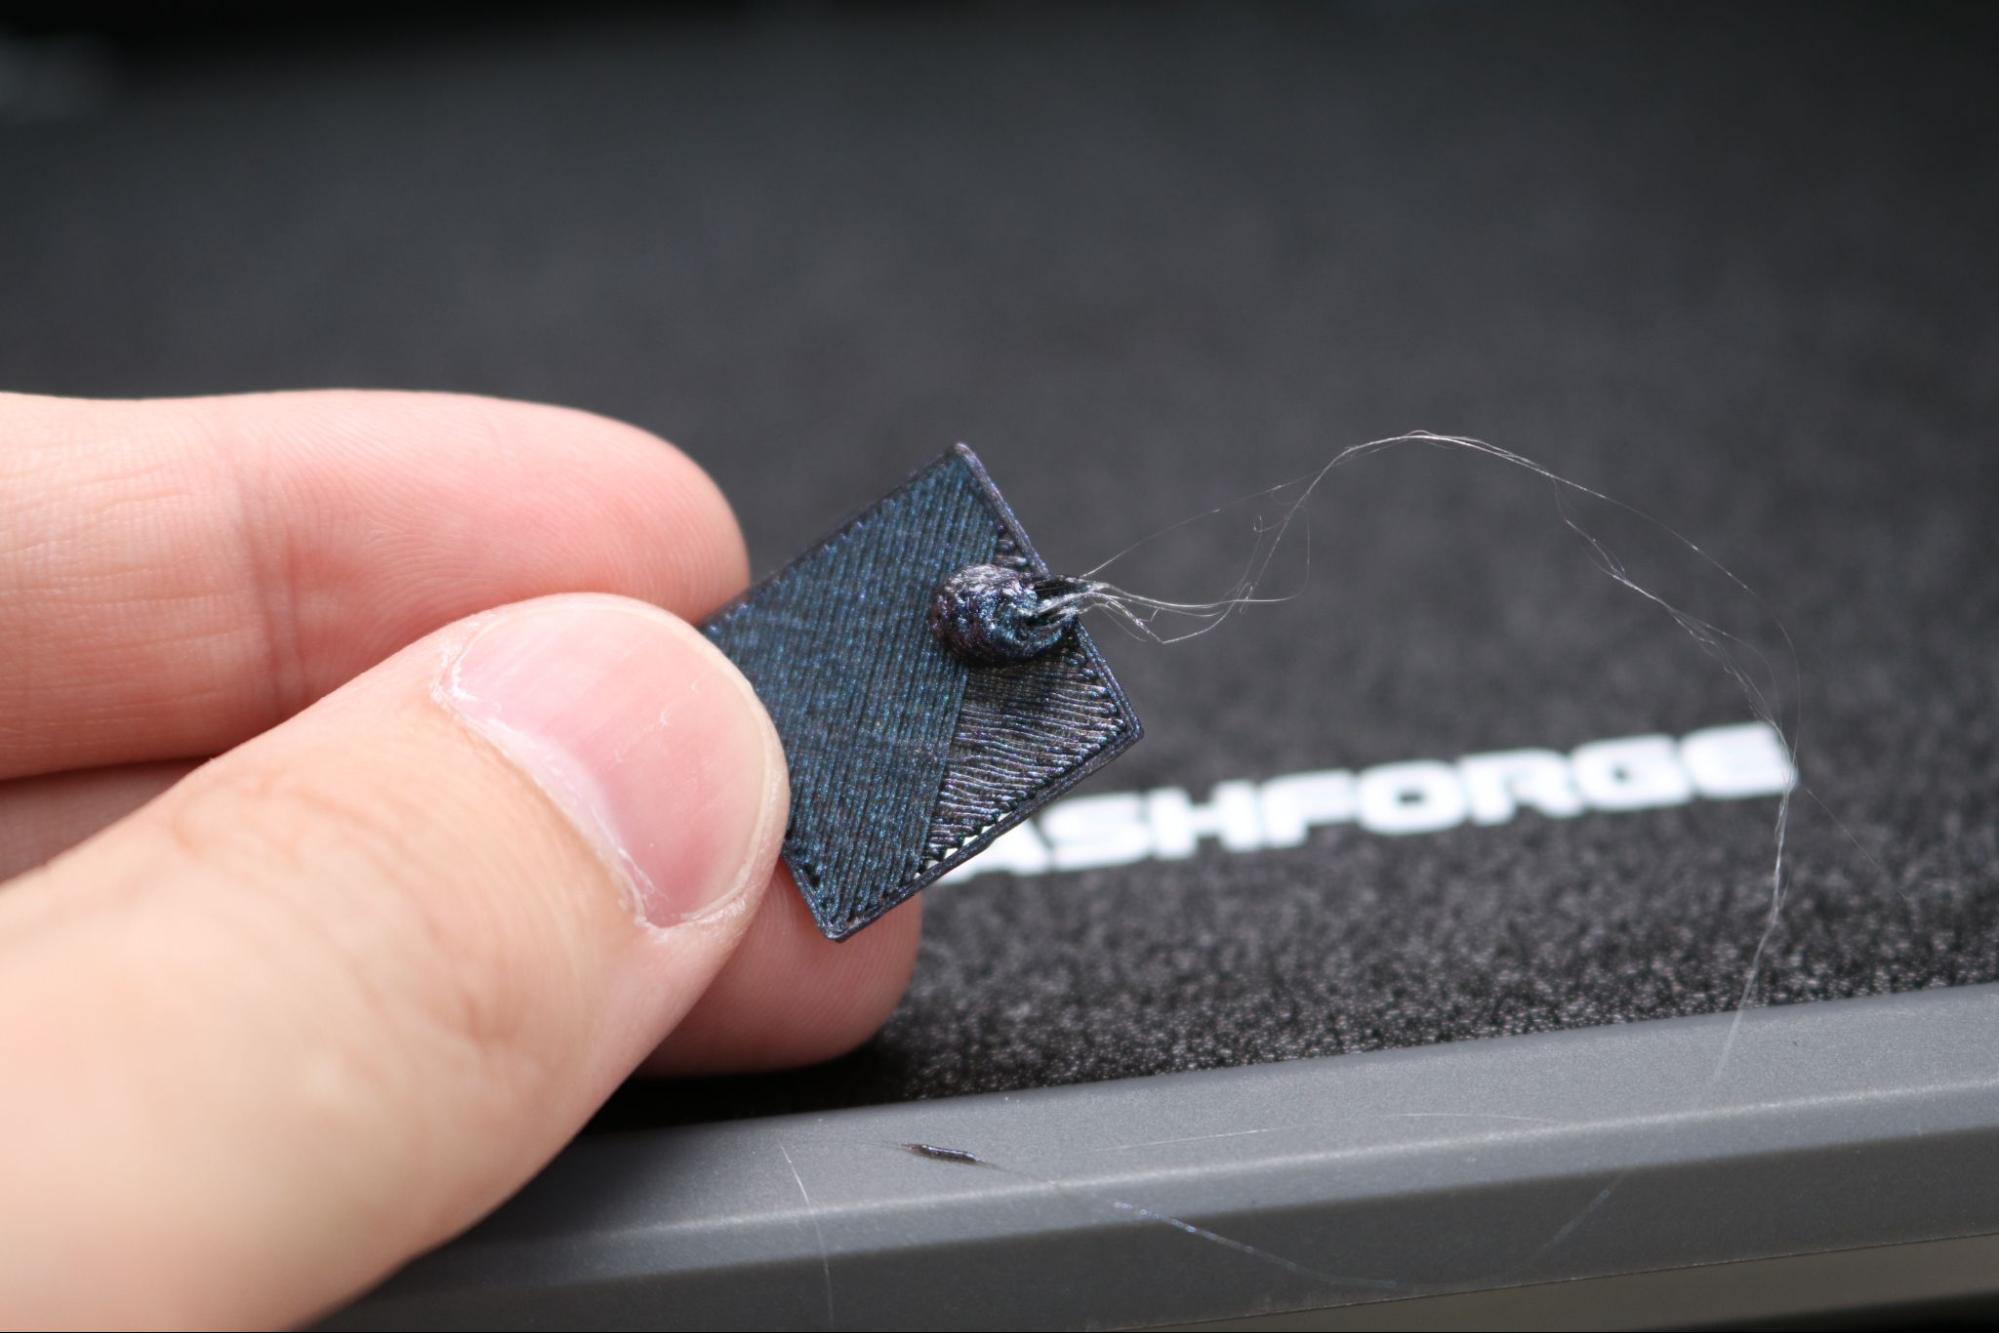
When first setting up the printer, the default cube model prints immediately after the calibration and is complete. The auto-leveling failed the first time it ran, which led to the cube being printed several millimeters above the platform and getting dragged around by the extruder after a few layers. This didn’t inspire much confidence in the machine, and I ran the automatic calibration a few more times before the Z-height was set correctly and I could continue printing the demo prints successfully.
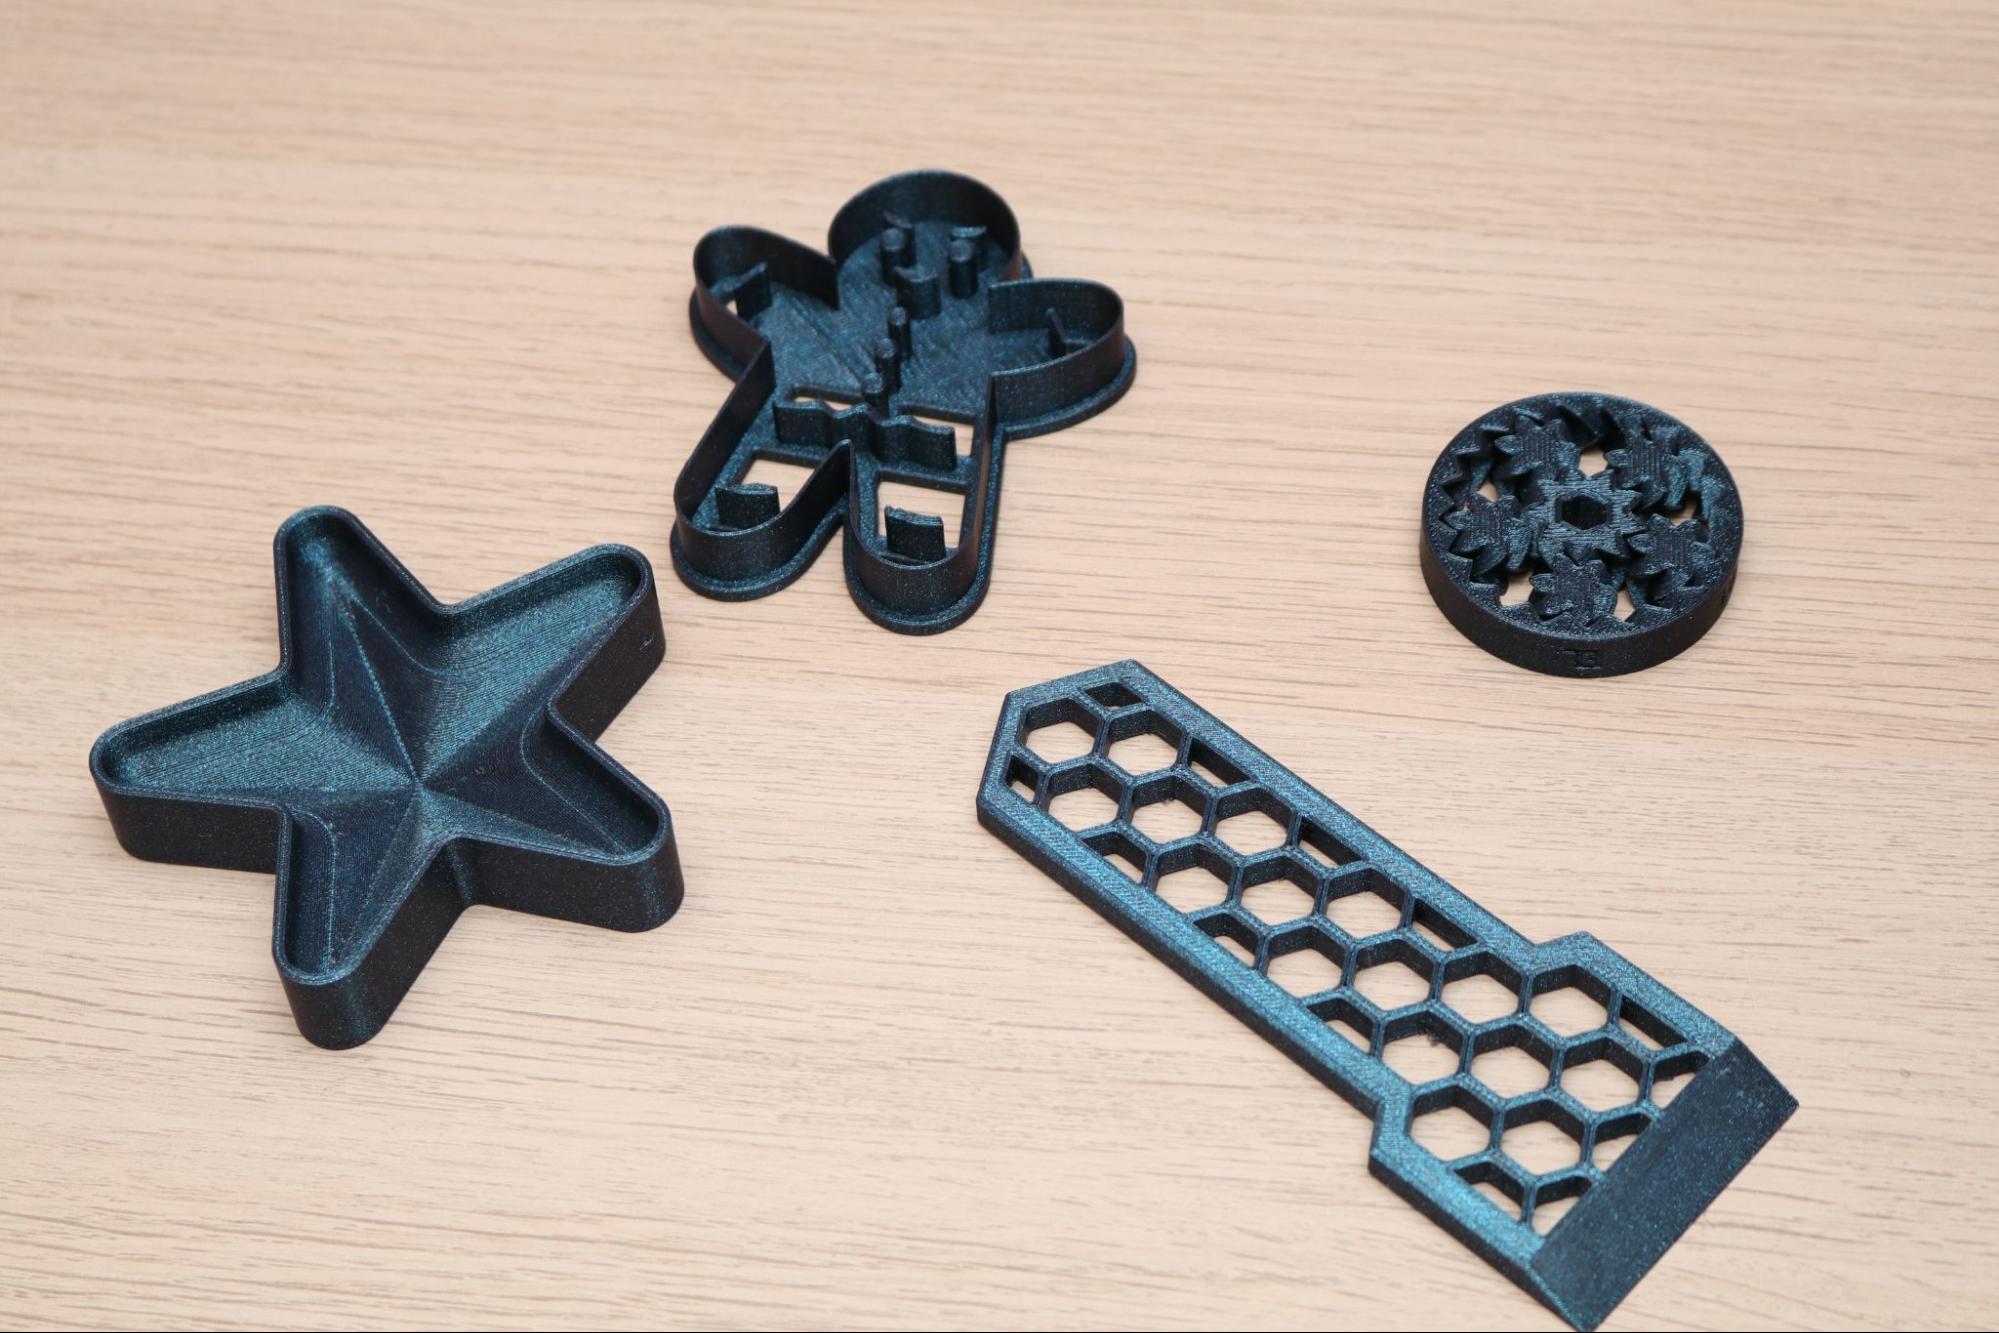
I used the included partial roll of Burnt Titanium PLA for printing the demo models, a color that I was impressed with and looks great in pictures. Flashforge includes several demo prints in the built-in memory of the Adventurer 5M pro, including a cookie cutter, a gear bearing, a hex scraper, and a starfish-shaped mold. I recognized the Hex Scraper from Printables, but didn’t see any attribution on the model or in the user guide. I used stlplease.com to identify the origin of the Starfish mold model (Printables) and the engraving on the back of the cookie cutter to find it on Thingiverse.
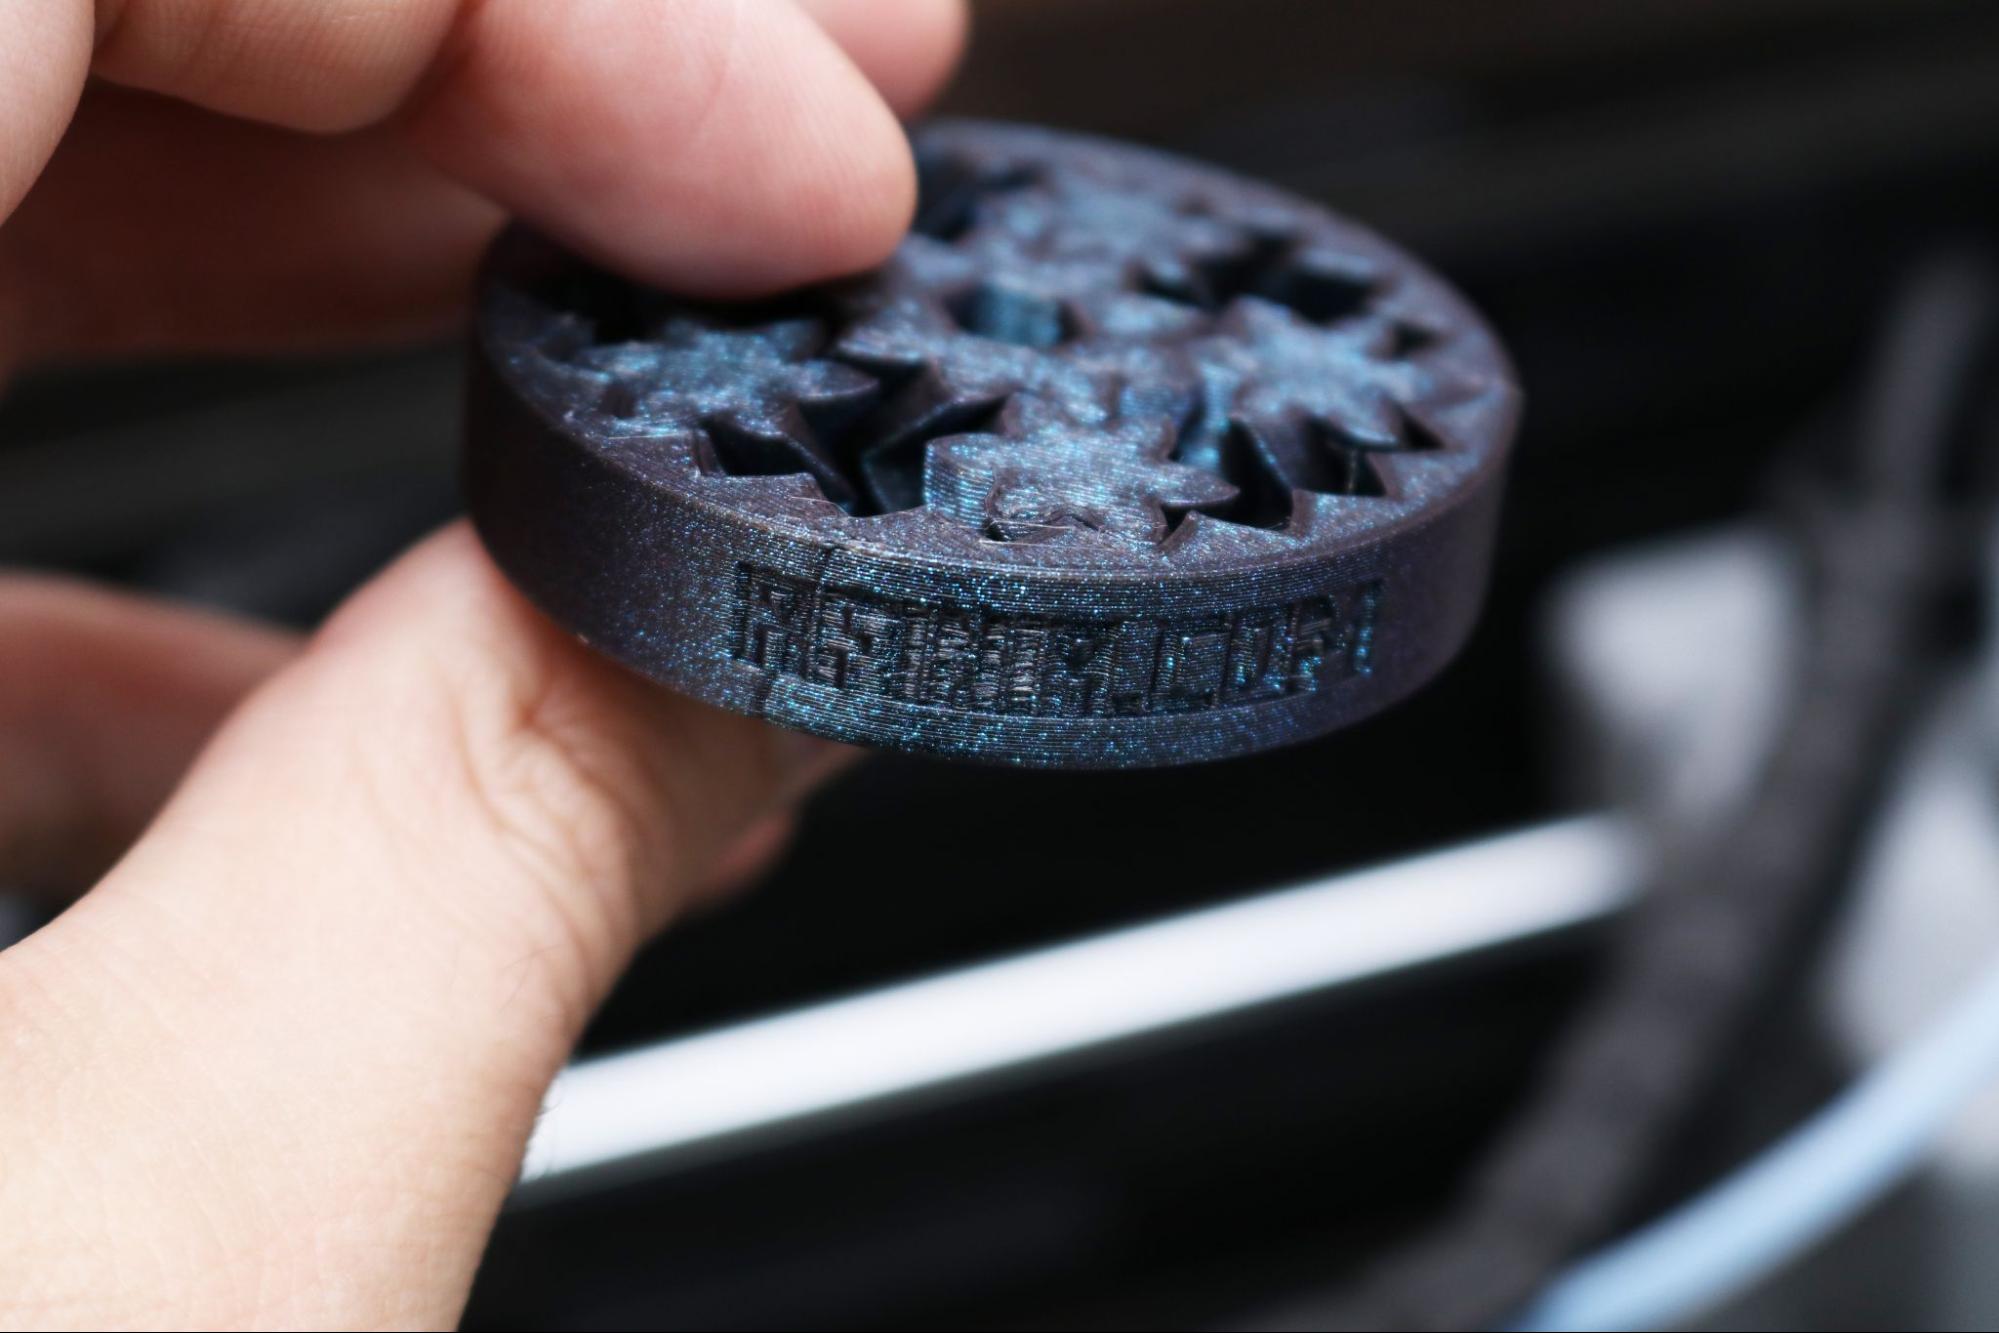
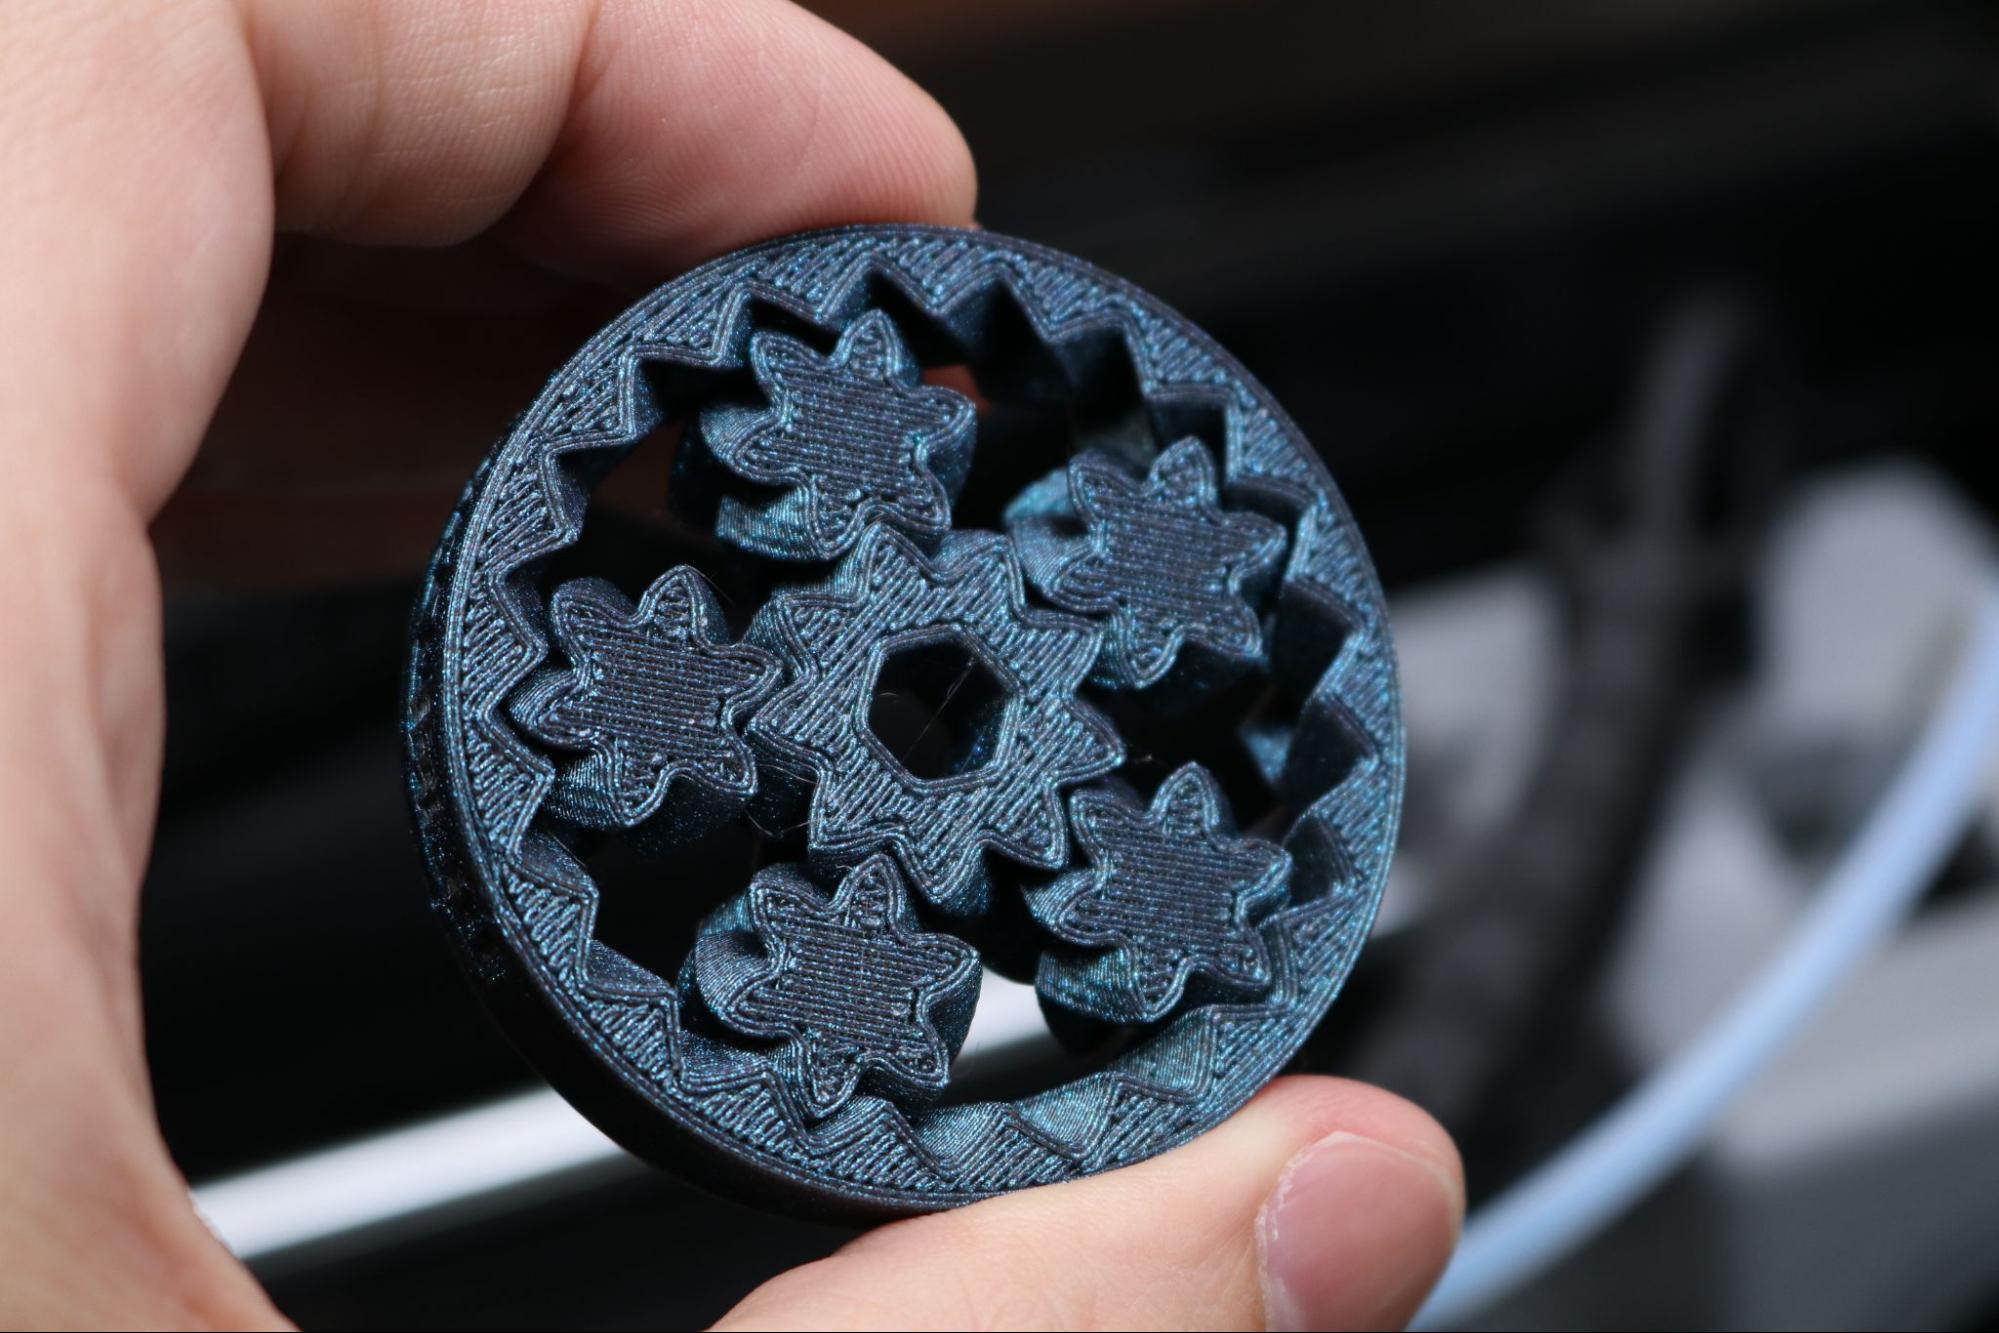
The included gear bearing model is engraved with “AFINIA.COM”, a competing 3D printer manufacturer. Interestingly enough, this same model appeared on the Voxelab Aries (Voxelab is a subsidiary of Flashforge) and the company claimed this was unintentional and wouldn’t happen again. The model is still being included as a demo, which shows Flashforge and Voxelab are either unwilling or unable to remove this model and replace it with an unbranded or appropriately branded model.
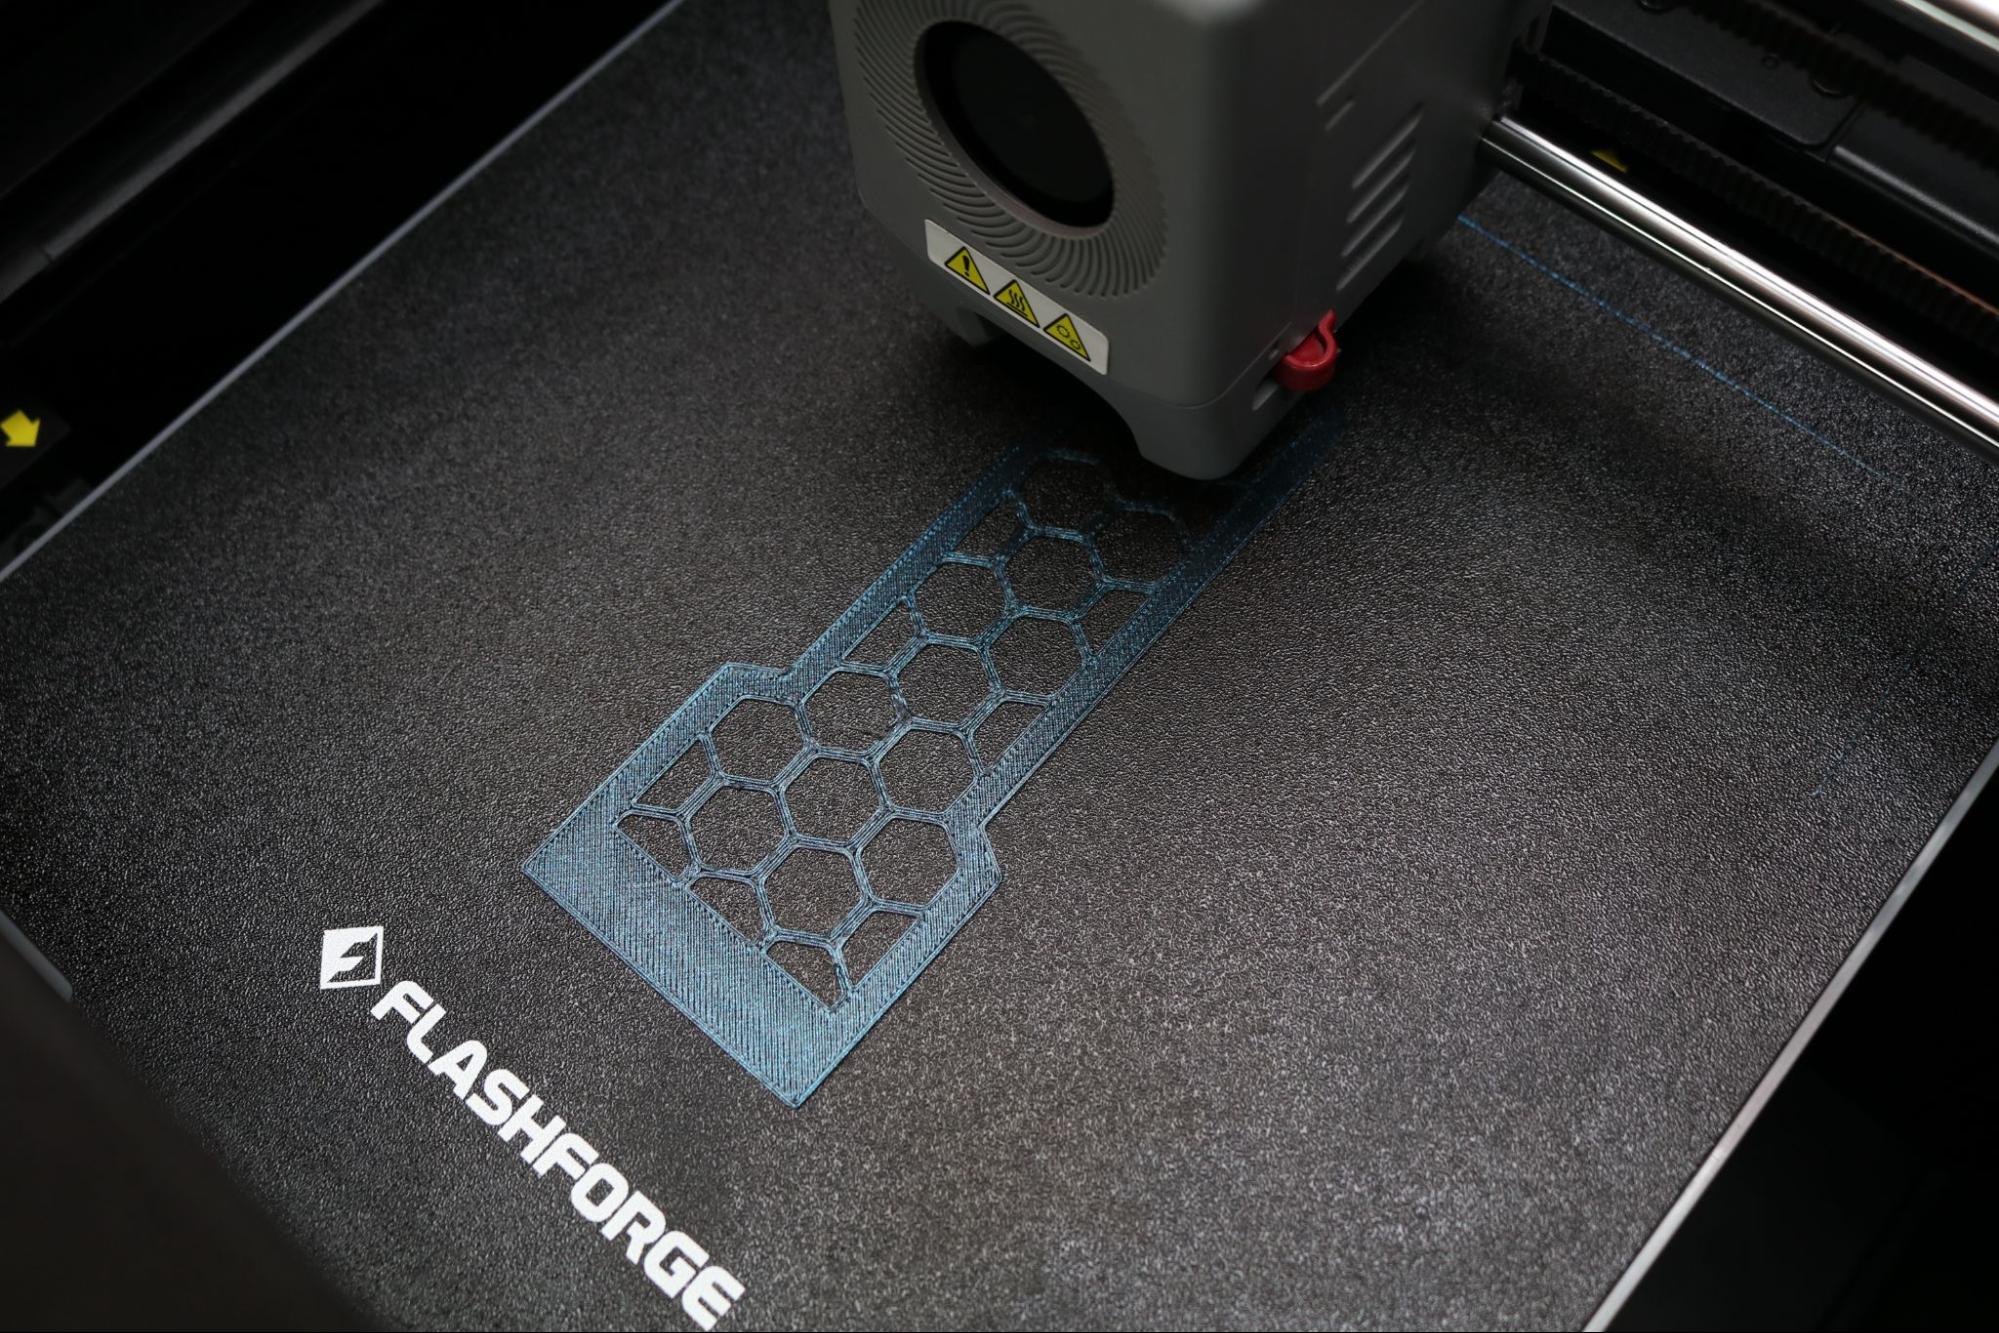
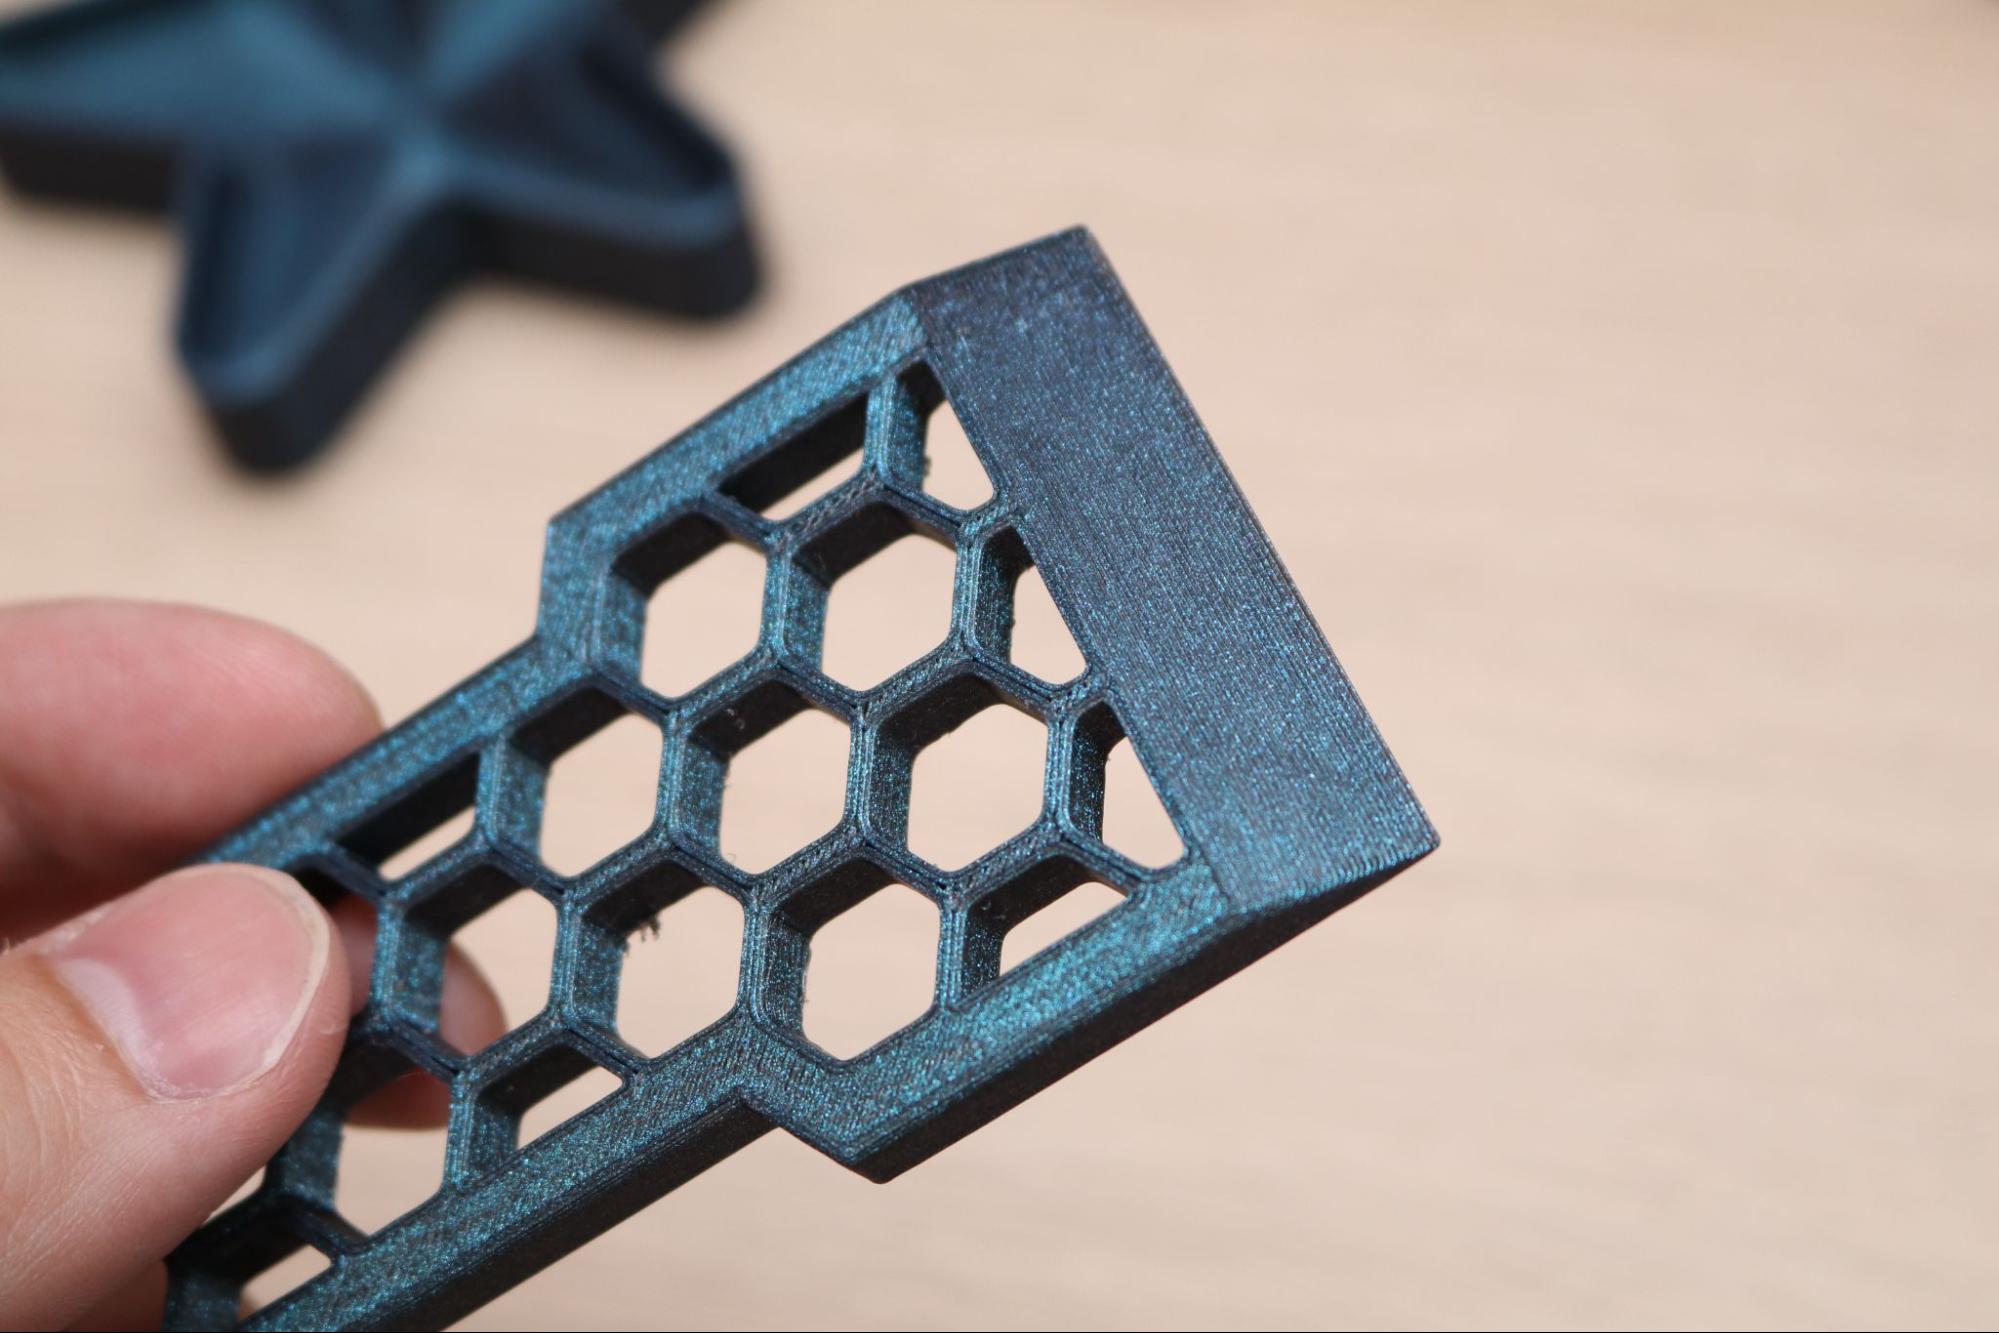
I reached out to the artist (visle on Printables) who designed the Hex Scraper mold, and he was unaware that his model was being used as a demo model and he had not been contacted by Flashforge or given his permission for the model to be used.
I contacted Flashforge and asked if they had received permission from the designers and received the following response: “Thank you for the reminder. We will replace the current models with new original models, all of which are designed by Flashforge. You will notice the contribution in model filenames soon.”
Considering the large number of 3D models available in the public domain as well as the pool of talented 3D artists who are available for commission, it’s disappointing to see a company include models without attribution when the alternative is so simple.
Slicing Software for Flashforge Adventurer 5M Pro
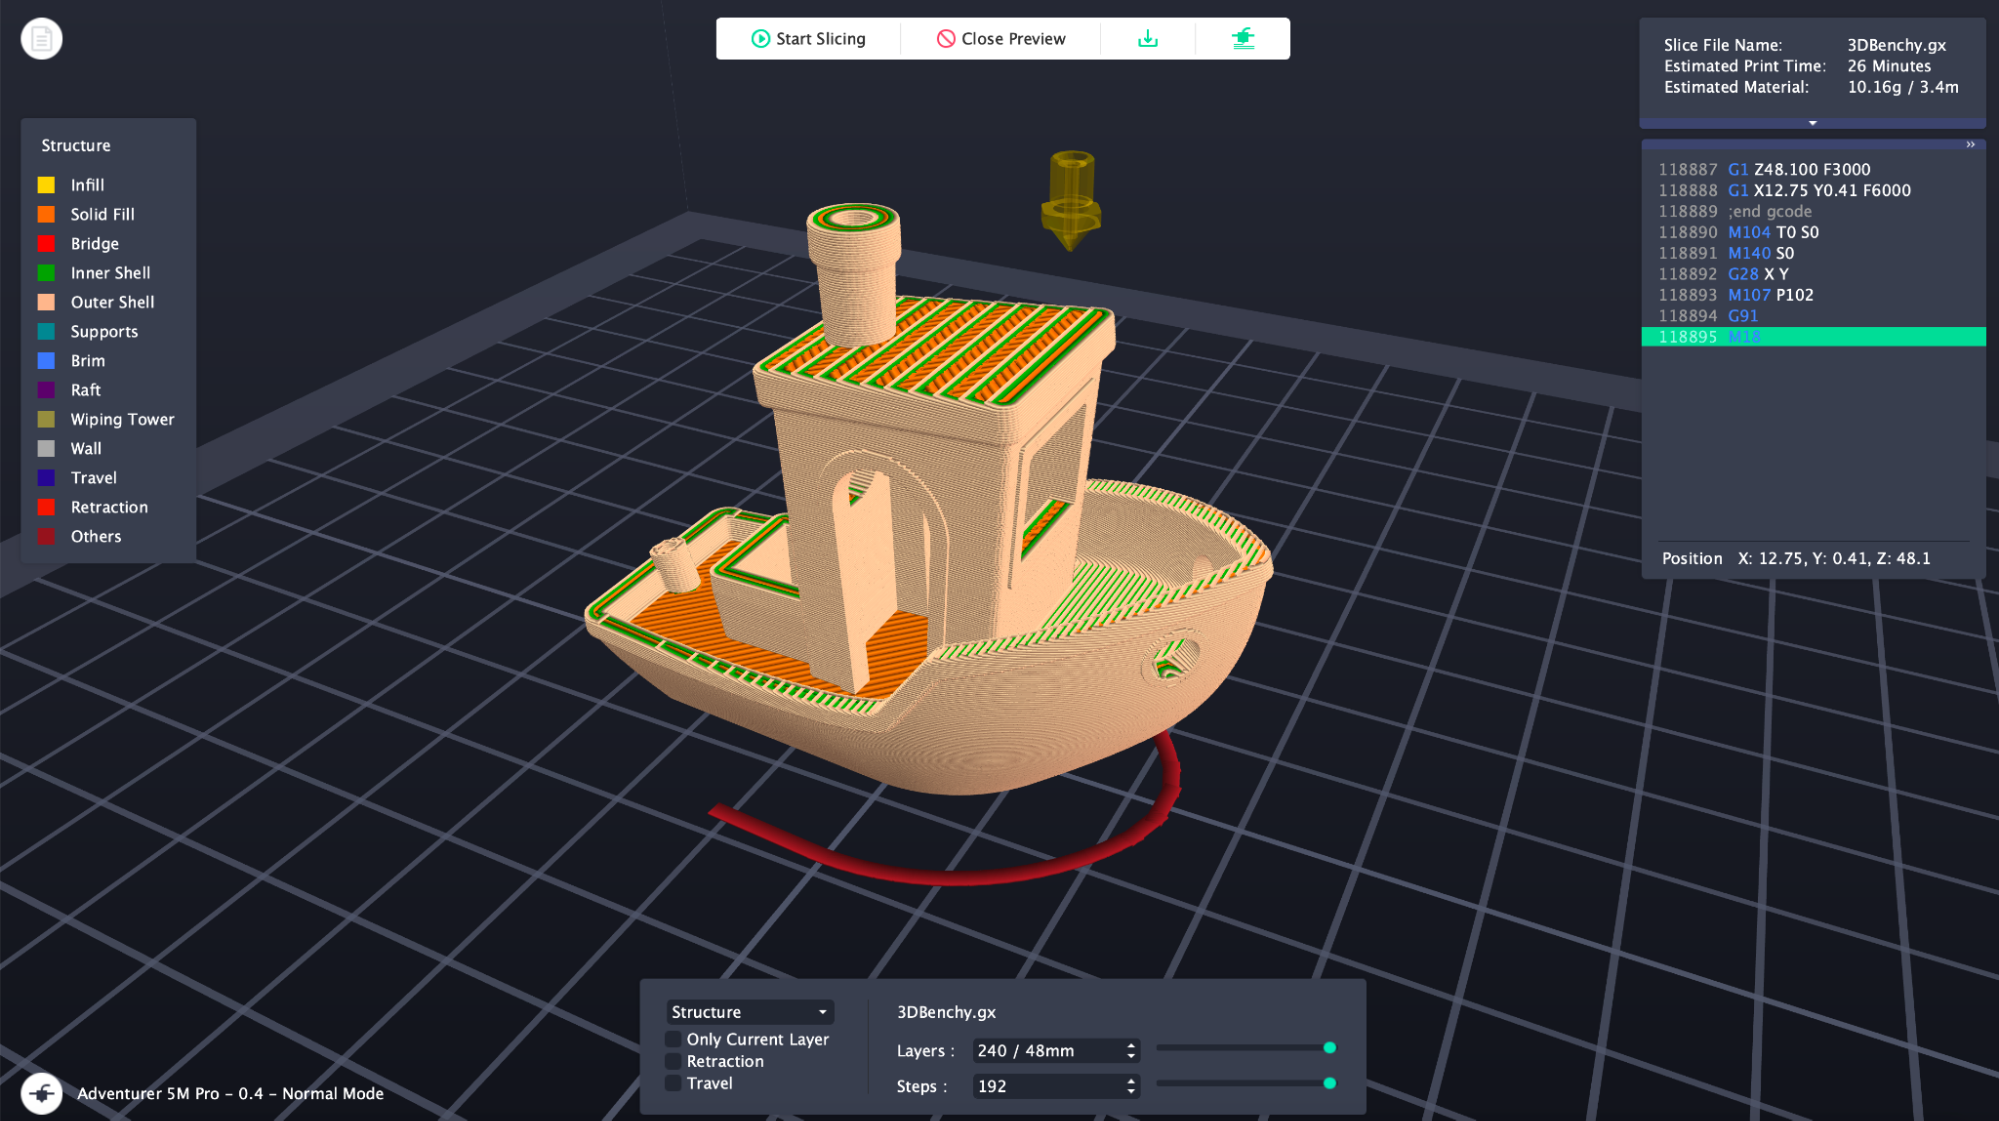
The Flashforge Adventurer 5M Pro ships with a copy of FlashPrint 5, the latest release of the company's flagship slicer software. This latest version includes a clean interface that includes Dark Mode, a much-appreciated feature for those who prefer to avoid having a screen that doubles as a light source. FlashPrint 5 is a fully-featured slicer software, allowing users to upload a file (.stl, .obj, .3mf, and others are all accepted), rotate, scale, generate supports, and even perform cuts to split a model into pieces.
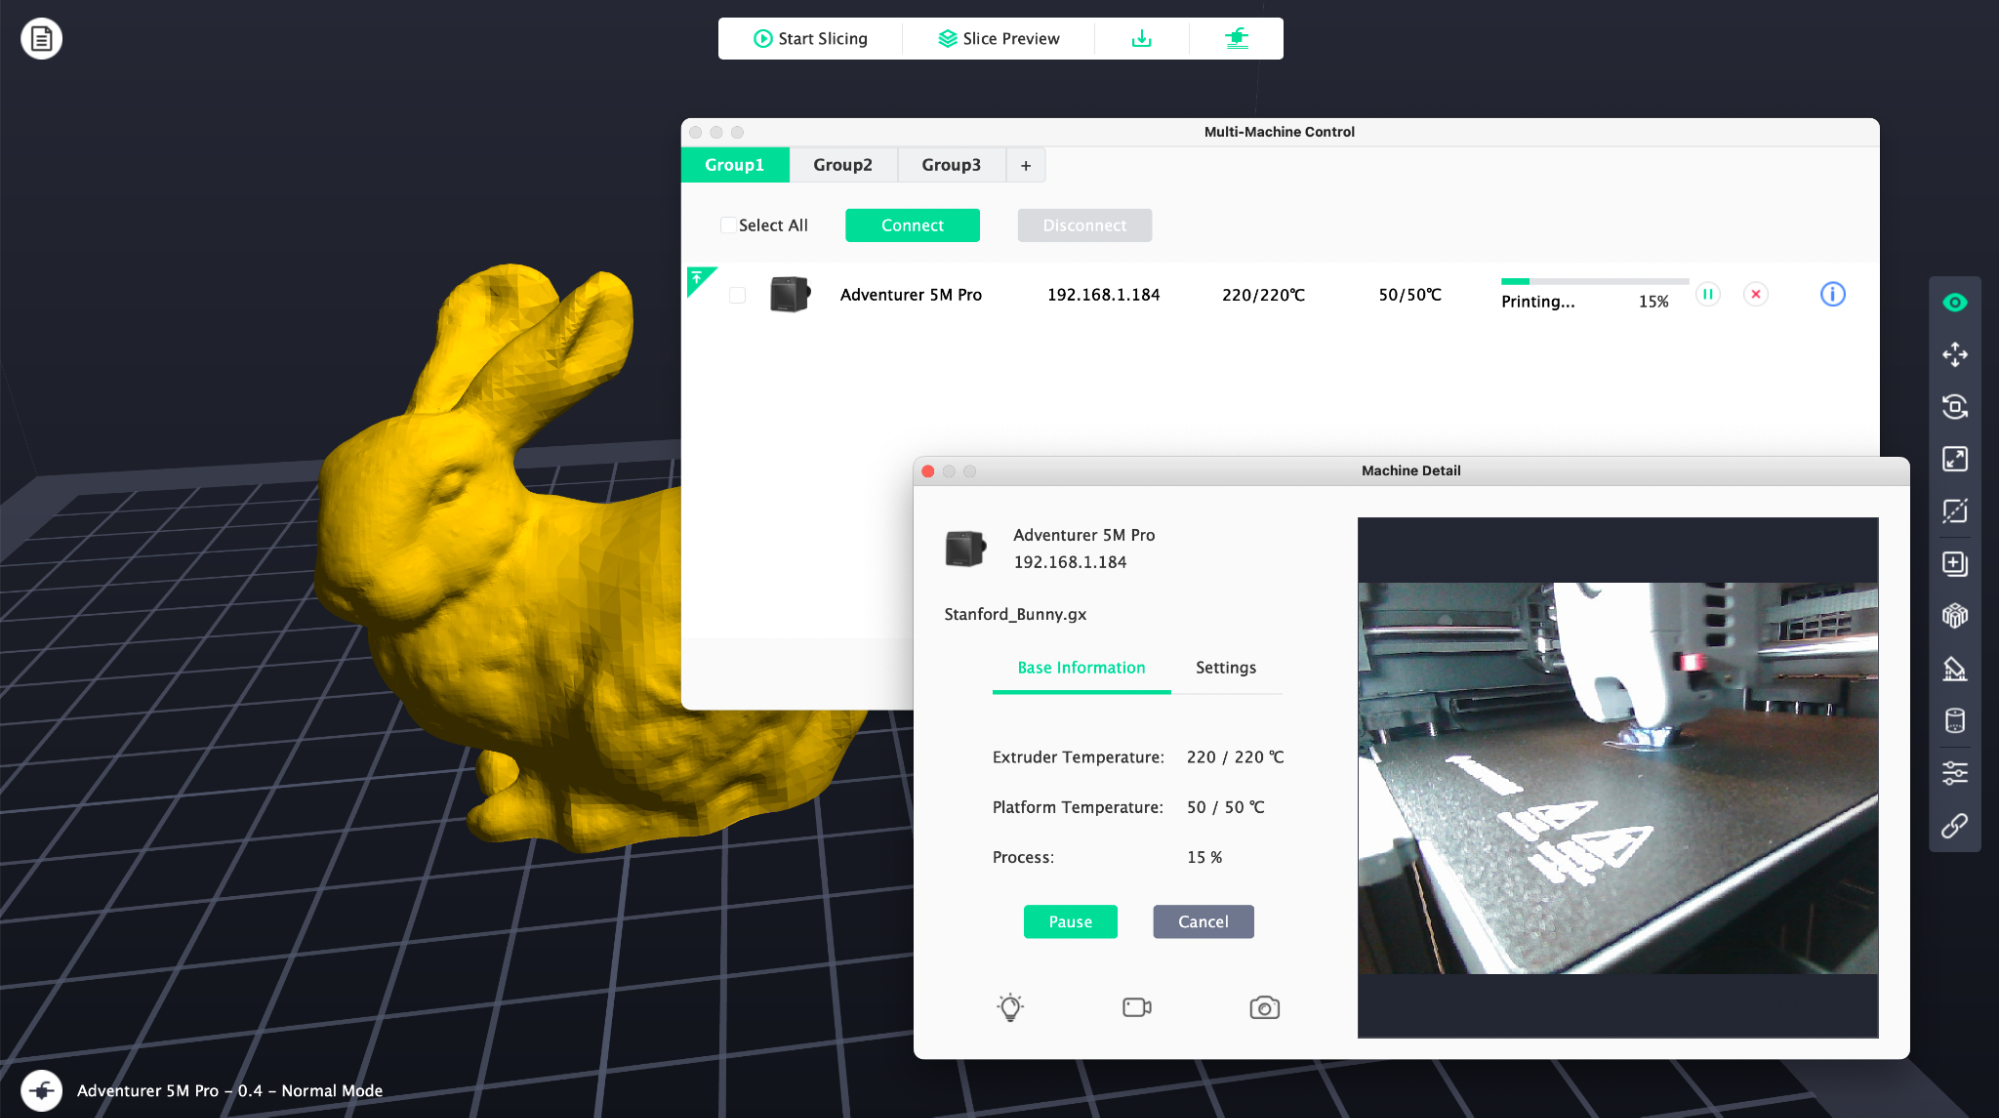
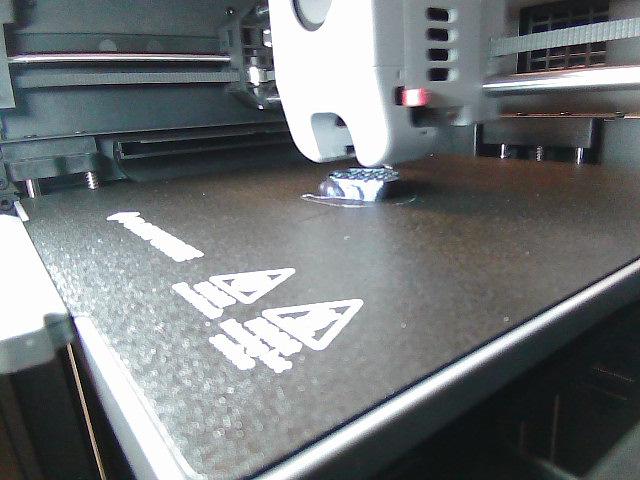
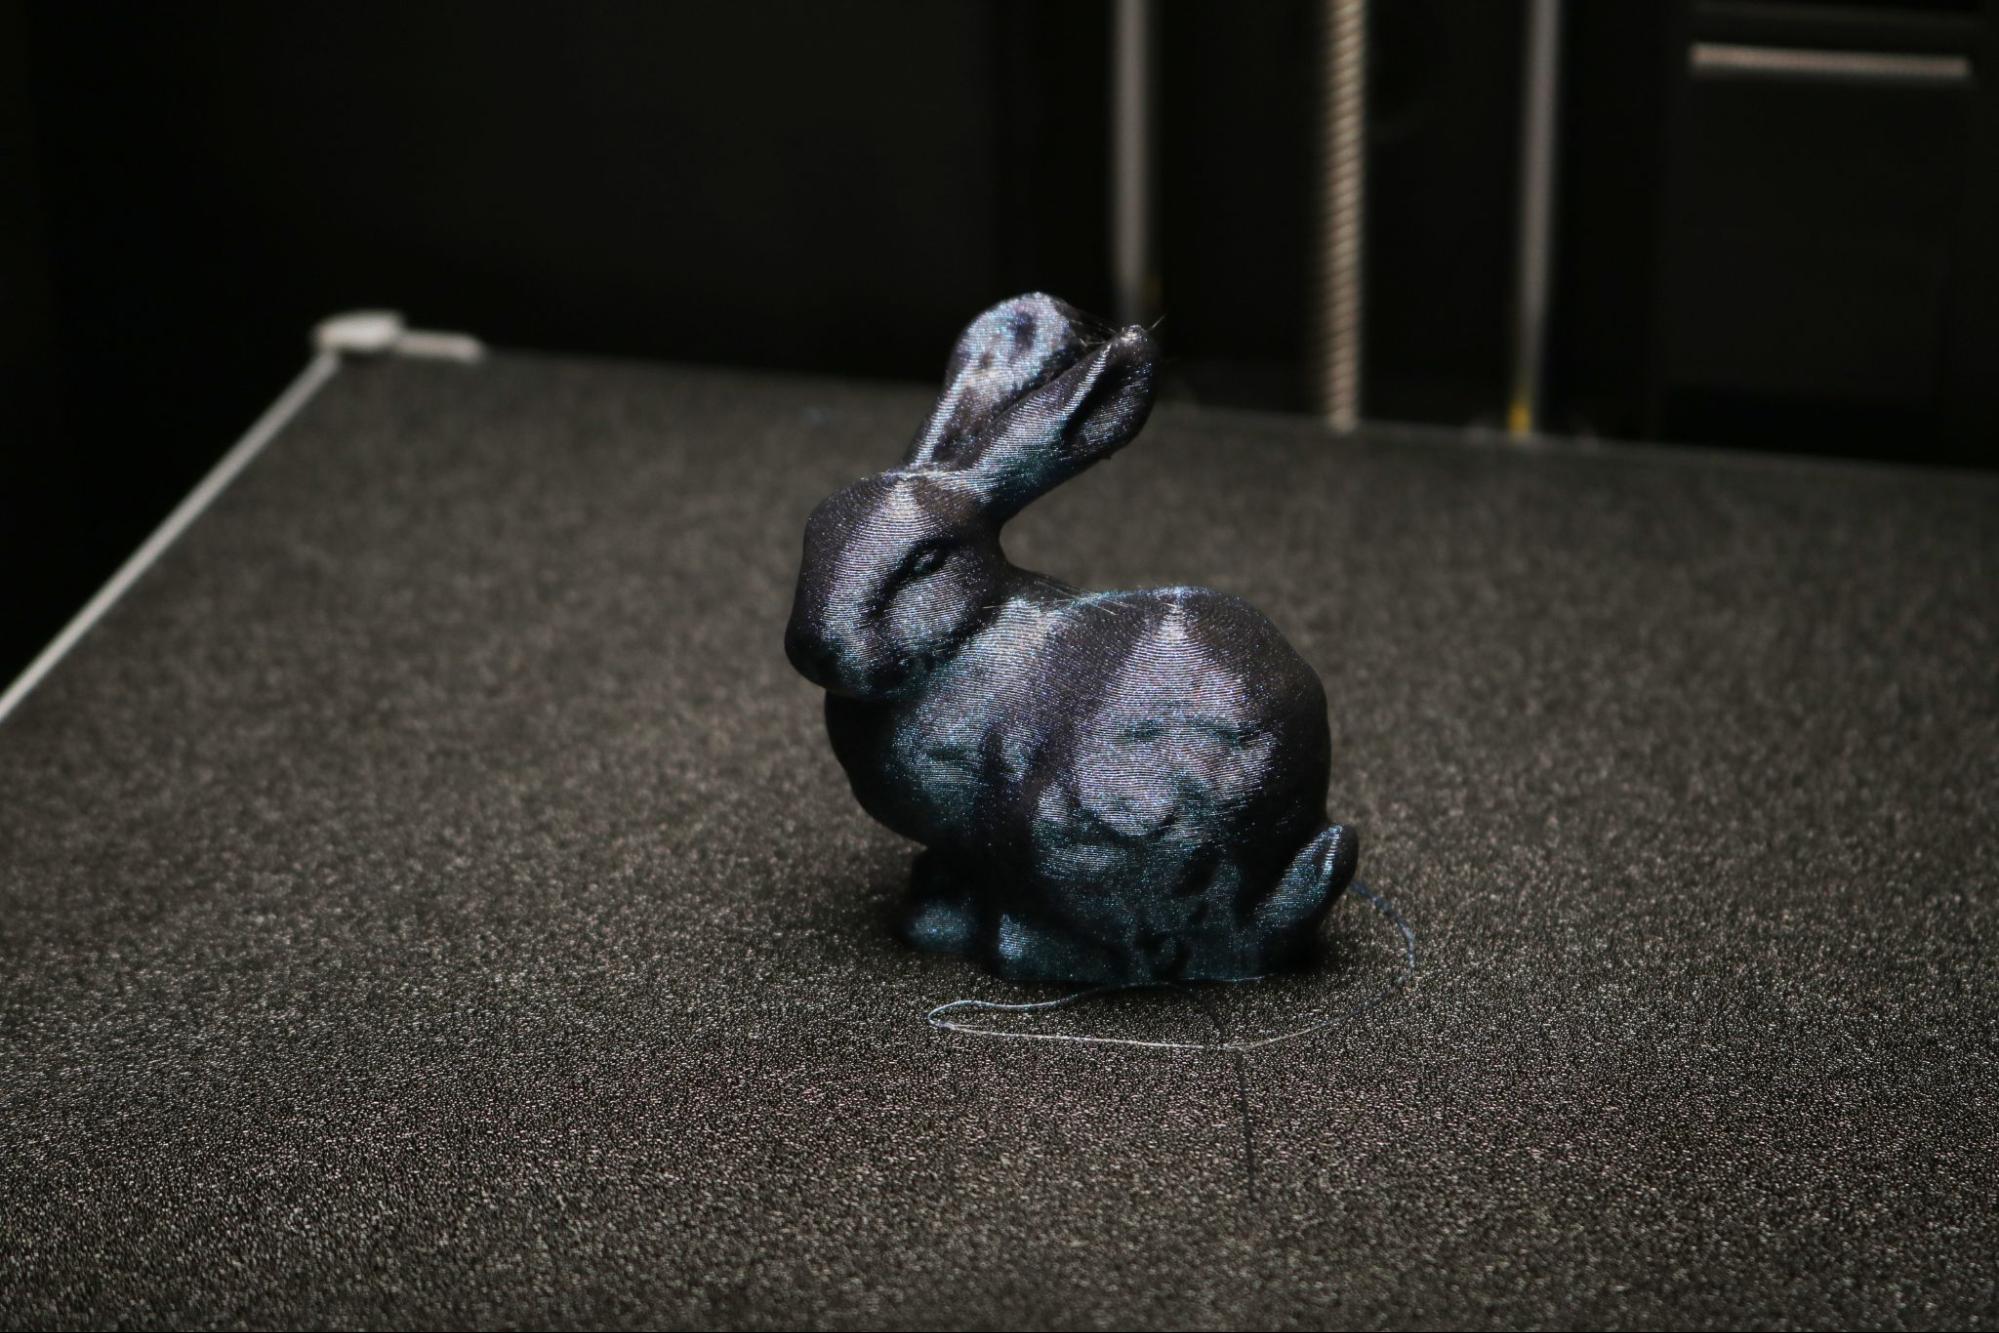
FlashPrint 5 can also send prints via Wi-Fi, and users can monitor the progress of a build using the built-in webcam. The webcam can also be used to take screenshots, which are exported as a disappointing 640 x 480 resolution .jpeg and aren’t useful for much other than monitoring the print. This is the same resolution and quality as the webcam on the previous Adventurer 4 from Flashforge and again feels like an afterthought added to an otherwise improved hardware package.
FlashPrint 5 also records a timelapse of the print, but I wasn’t able to open the video on two different macOS devices or an iPhone. I was able to open the timelapse only on a Windows PC, something to note for Mac users.
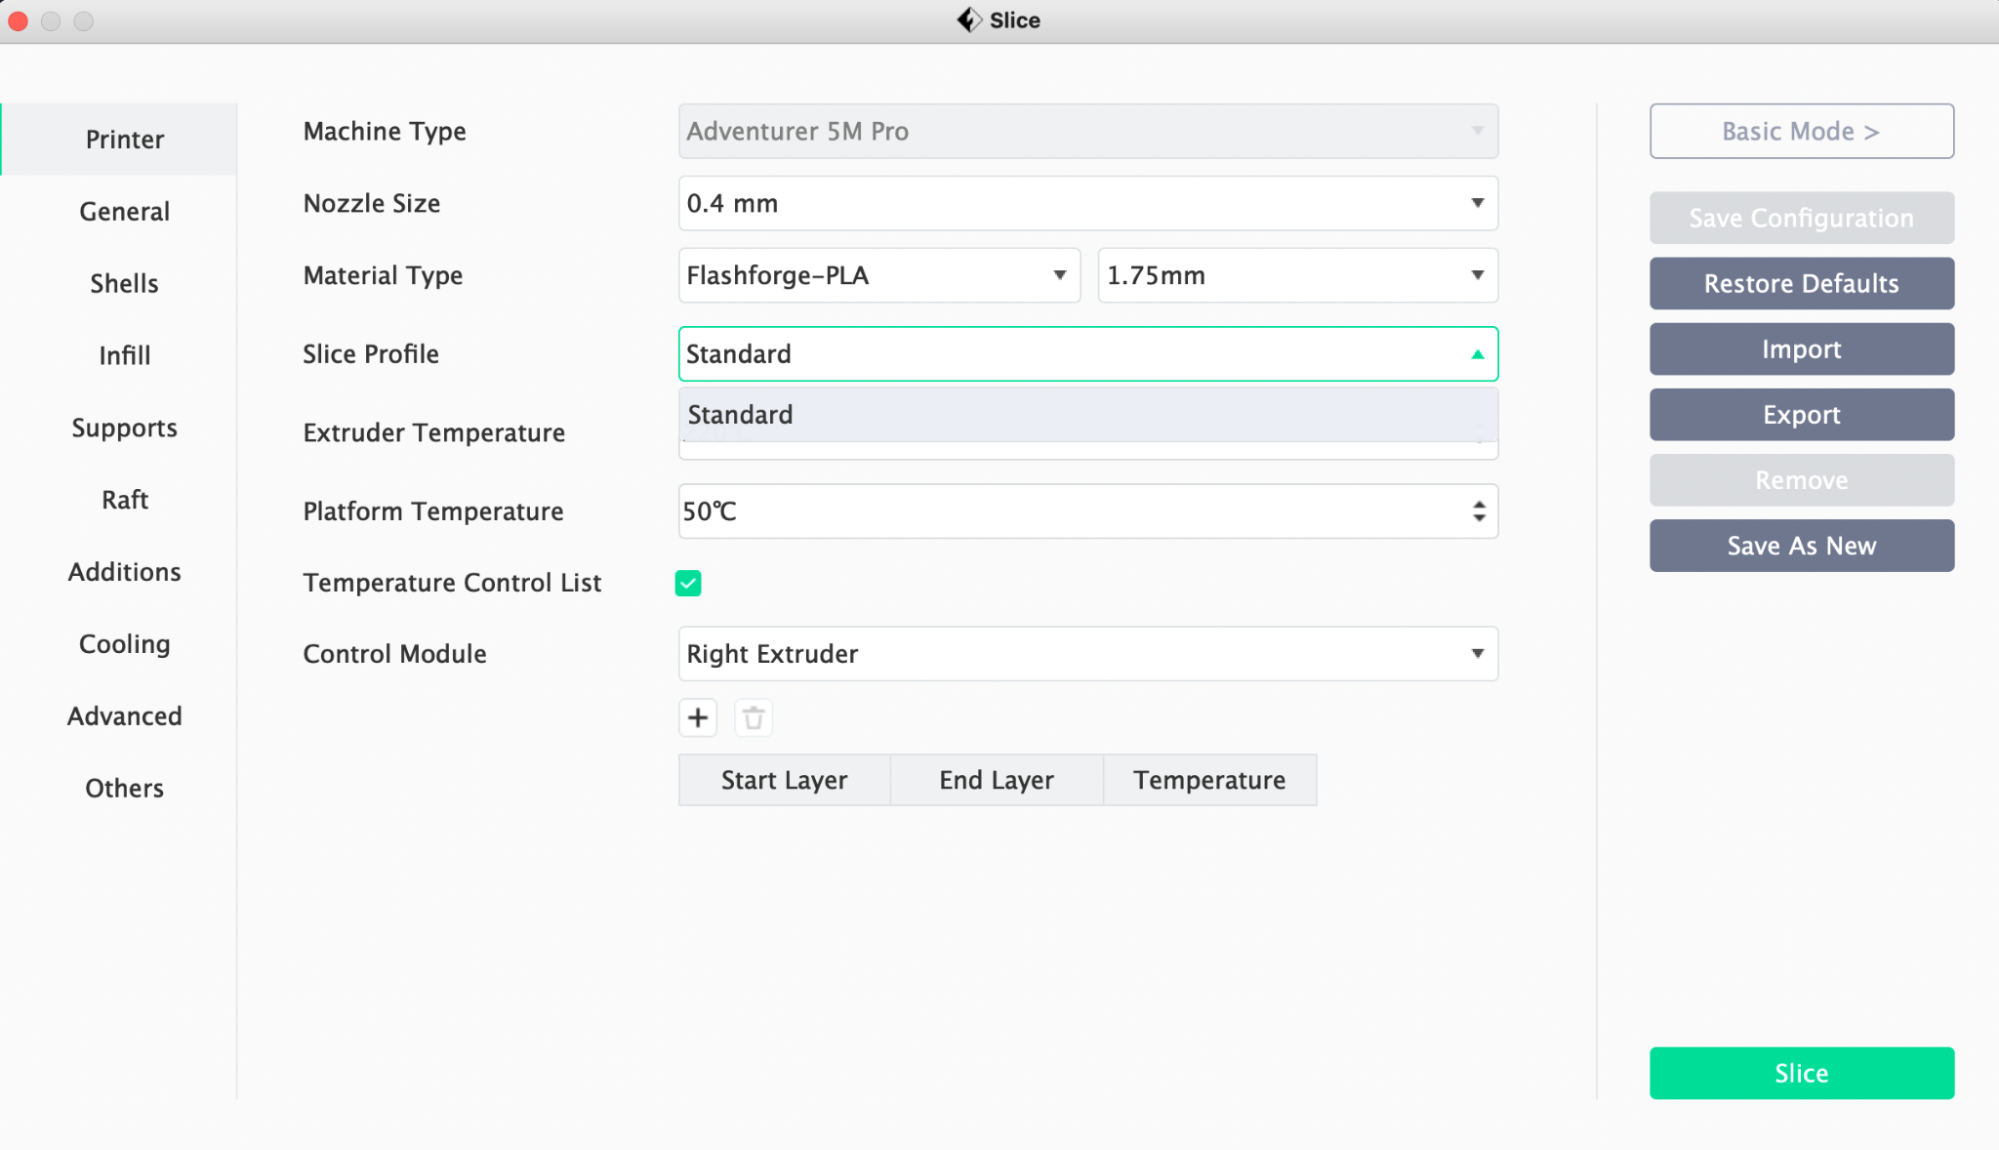
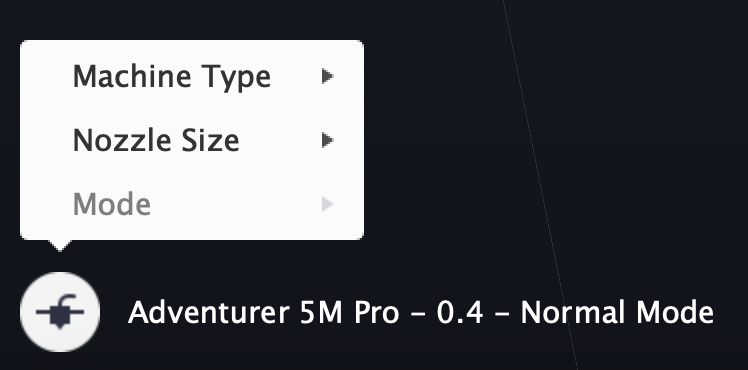
Unfortunately, the demo printer did not include a copy of FlashPrint 5 initially (in fact, the USB drive shipped with the printer was completely blank and there was no download page on the Flashforge site), and the version later provided by FlashForge only includes a single “Standard” profile which defaults to .2mm.
The ability to select a different mode exists, but is grayed out in the UI and cannot be changed. Considering that FlashPrint 5 is intended to be an easy-to-use software, only including a single profile and requiring users to build their own puts the software in an awkward place. It’s too stripped-down for power users, and beginners will almost immediately outgrow the basic capabilities.
My experience with FlashPrint 4 was similarly frustrating, and this is a serious weak spot for a printer targeted at the prosumer market. While most of the hardware on the Adventurer 5M Pro is undeniably impressive, the software feels like an afterthought that wasn’t given the same level of consideration. An example is the built-in keyboard from FlashPrint 4, which was literally missing a letter and couldn’t be used to type in a password. While the FlashPrint 5 keyboard contains all the required letters, only including a single profile will be a headache for users who want to alternate between high speed and high quality.
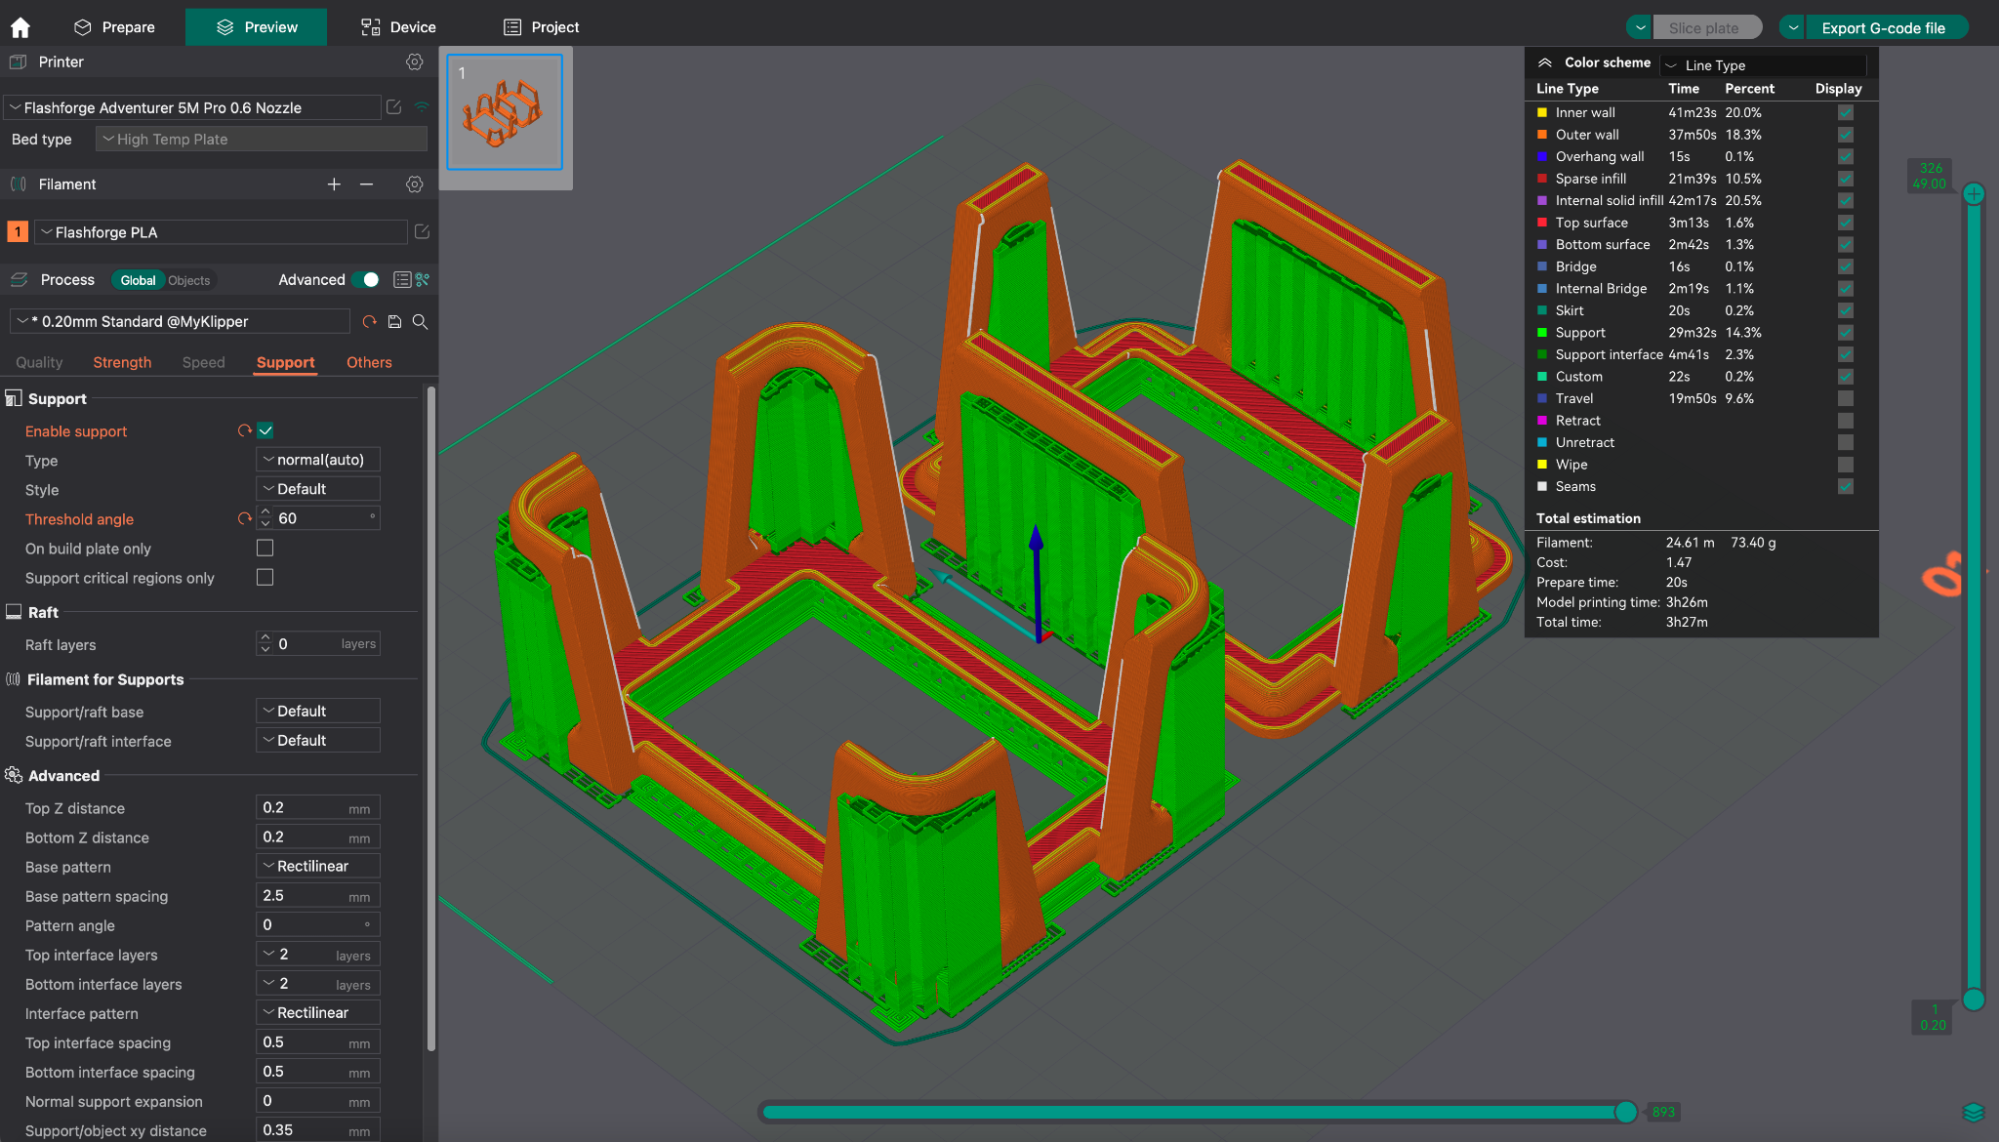
Flashforge has also included OrcaSlicer 1.6.6 as a compatible slicer for the Adventurer 5M Pro. When this printer was first shipped to me, this was the only slicer included and FlashPrint 5 was still not compatible with the Adventurer 5M Pro. This software offers significantly more advanced features, at the expense of a potentially steeper learning curve and more complicated UI. As of the writing of this article, OrcaSlicer is only mentioned once on the Flashforge Adventurer 5M Pro page, while FlashPrint is shown in multiple screenshots.
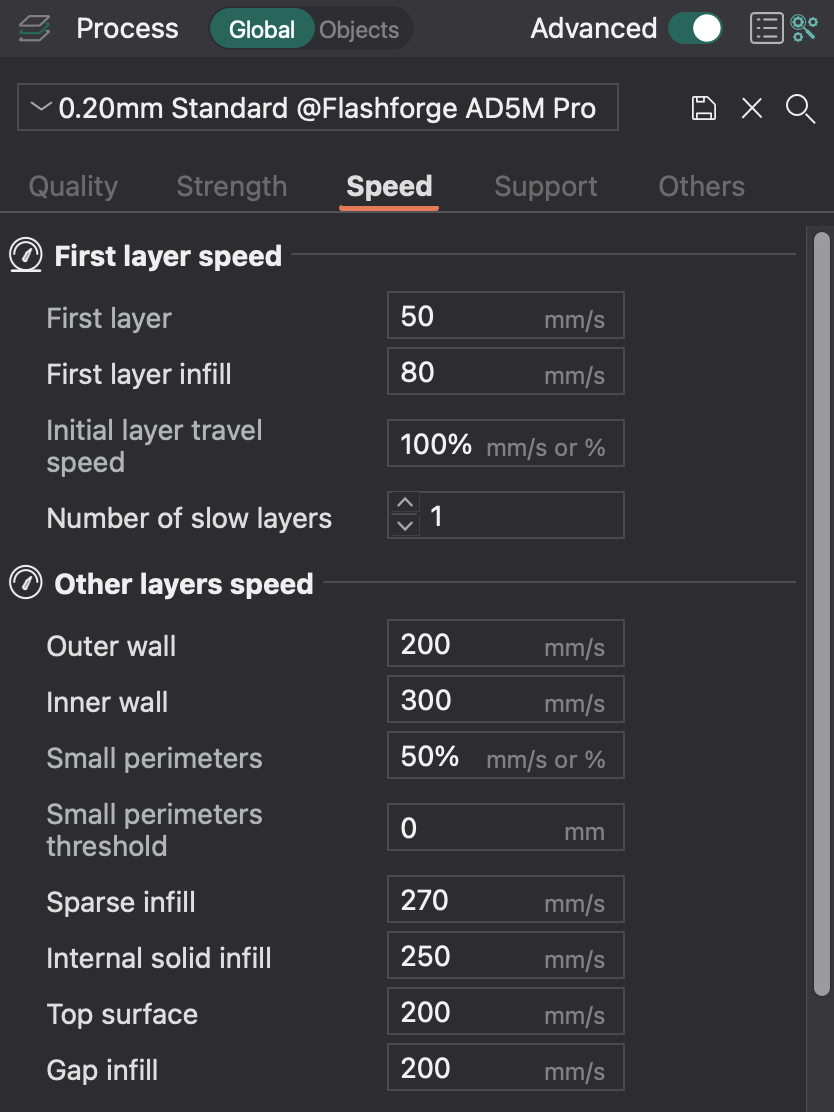
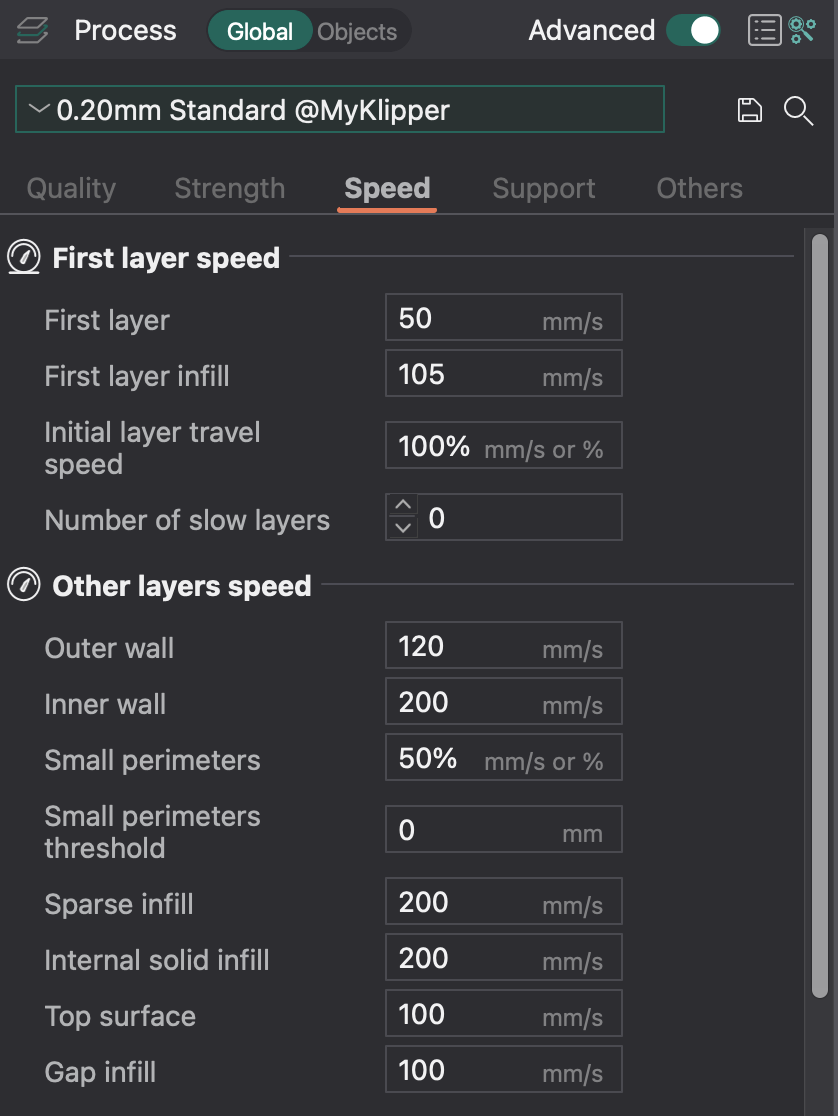
OrcaSlicer contains several preset print profiles and Flashforge has included a total of two with the printer: a 0.2mm layer profile for the 0.4mm nozzle and a 0.3mm layer profile for the 0.6mm nozzle. While this might initially seem like plenty, the print speeds on the OrcaSlicer-provided profiles is significantly lower than the Flashforge-provided profiles, so you’re going to need to update them yourself if you want to use anything other than the single profile provided per nozzle.
Again, this is a surprising oversight that could have easily been addressed during QA testing, a recurring theme with the Adventurer 5M Pro software. By using an open-source slicer and providing only a single profile, it feels like Flashforge is simply passing the profile development effort to the user instead of doing the work internally. This translates to a less capable software and a poor experience for users looking for plug-and-play functionality.
Printing on Flashforge Adventurer 5M Pro
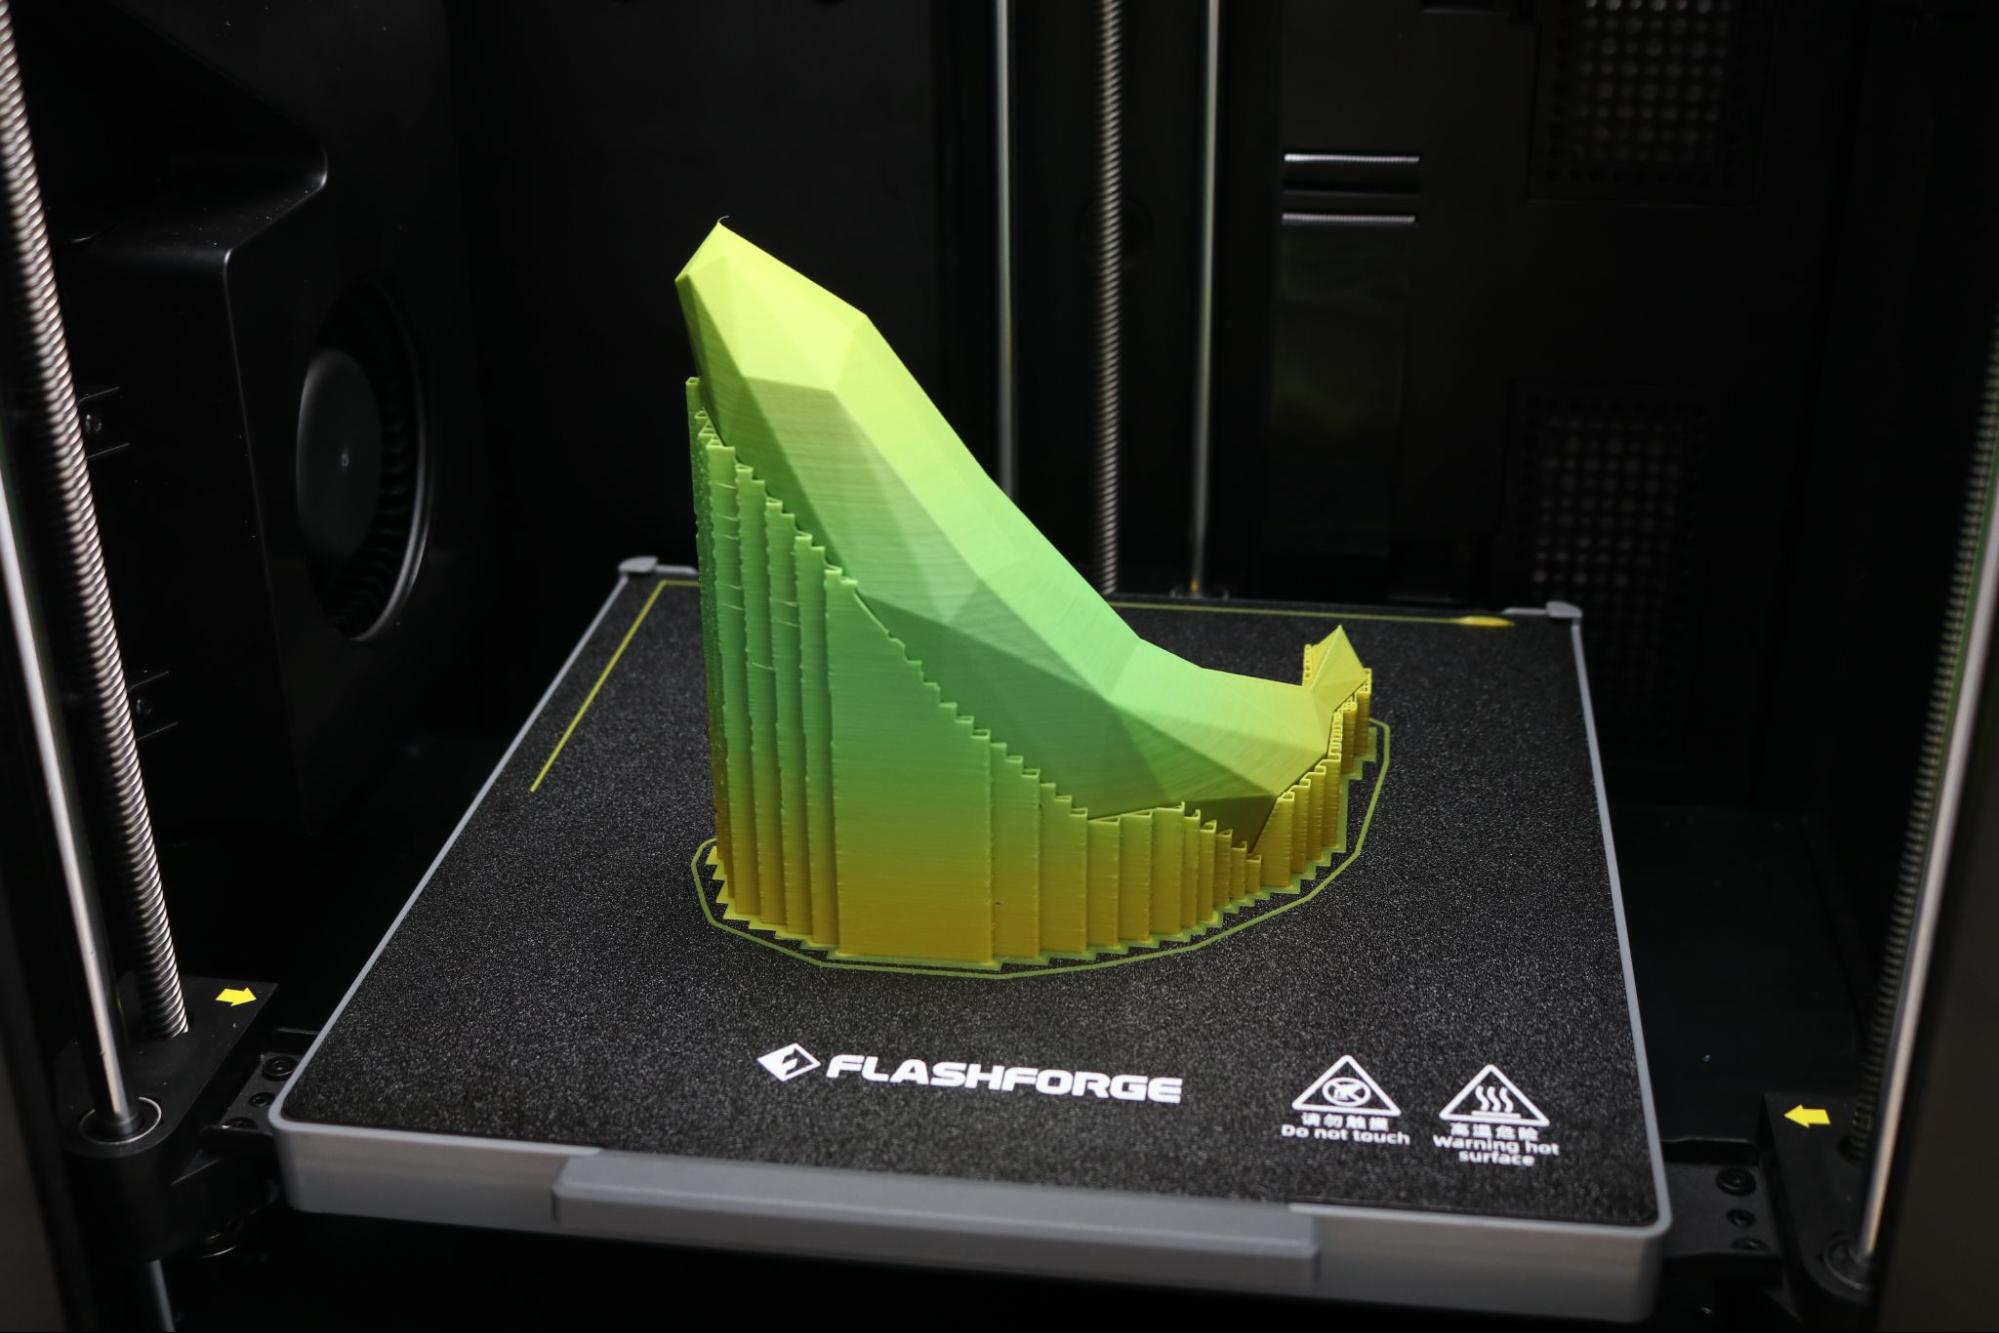
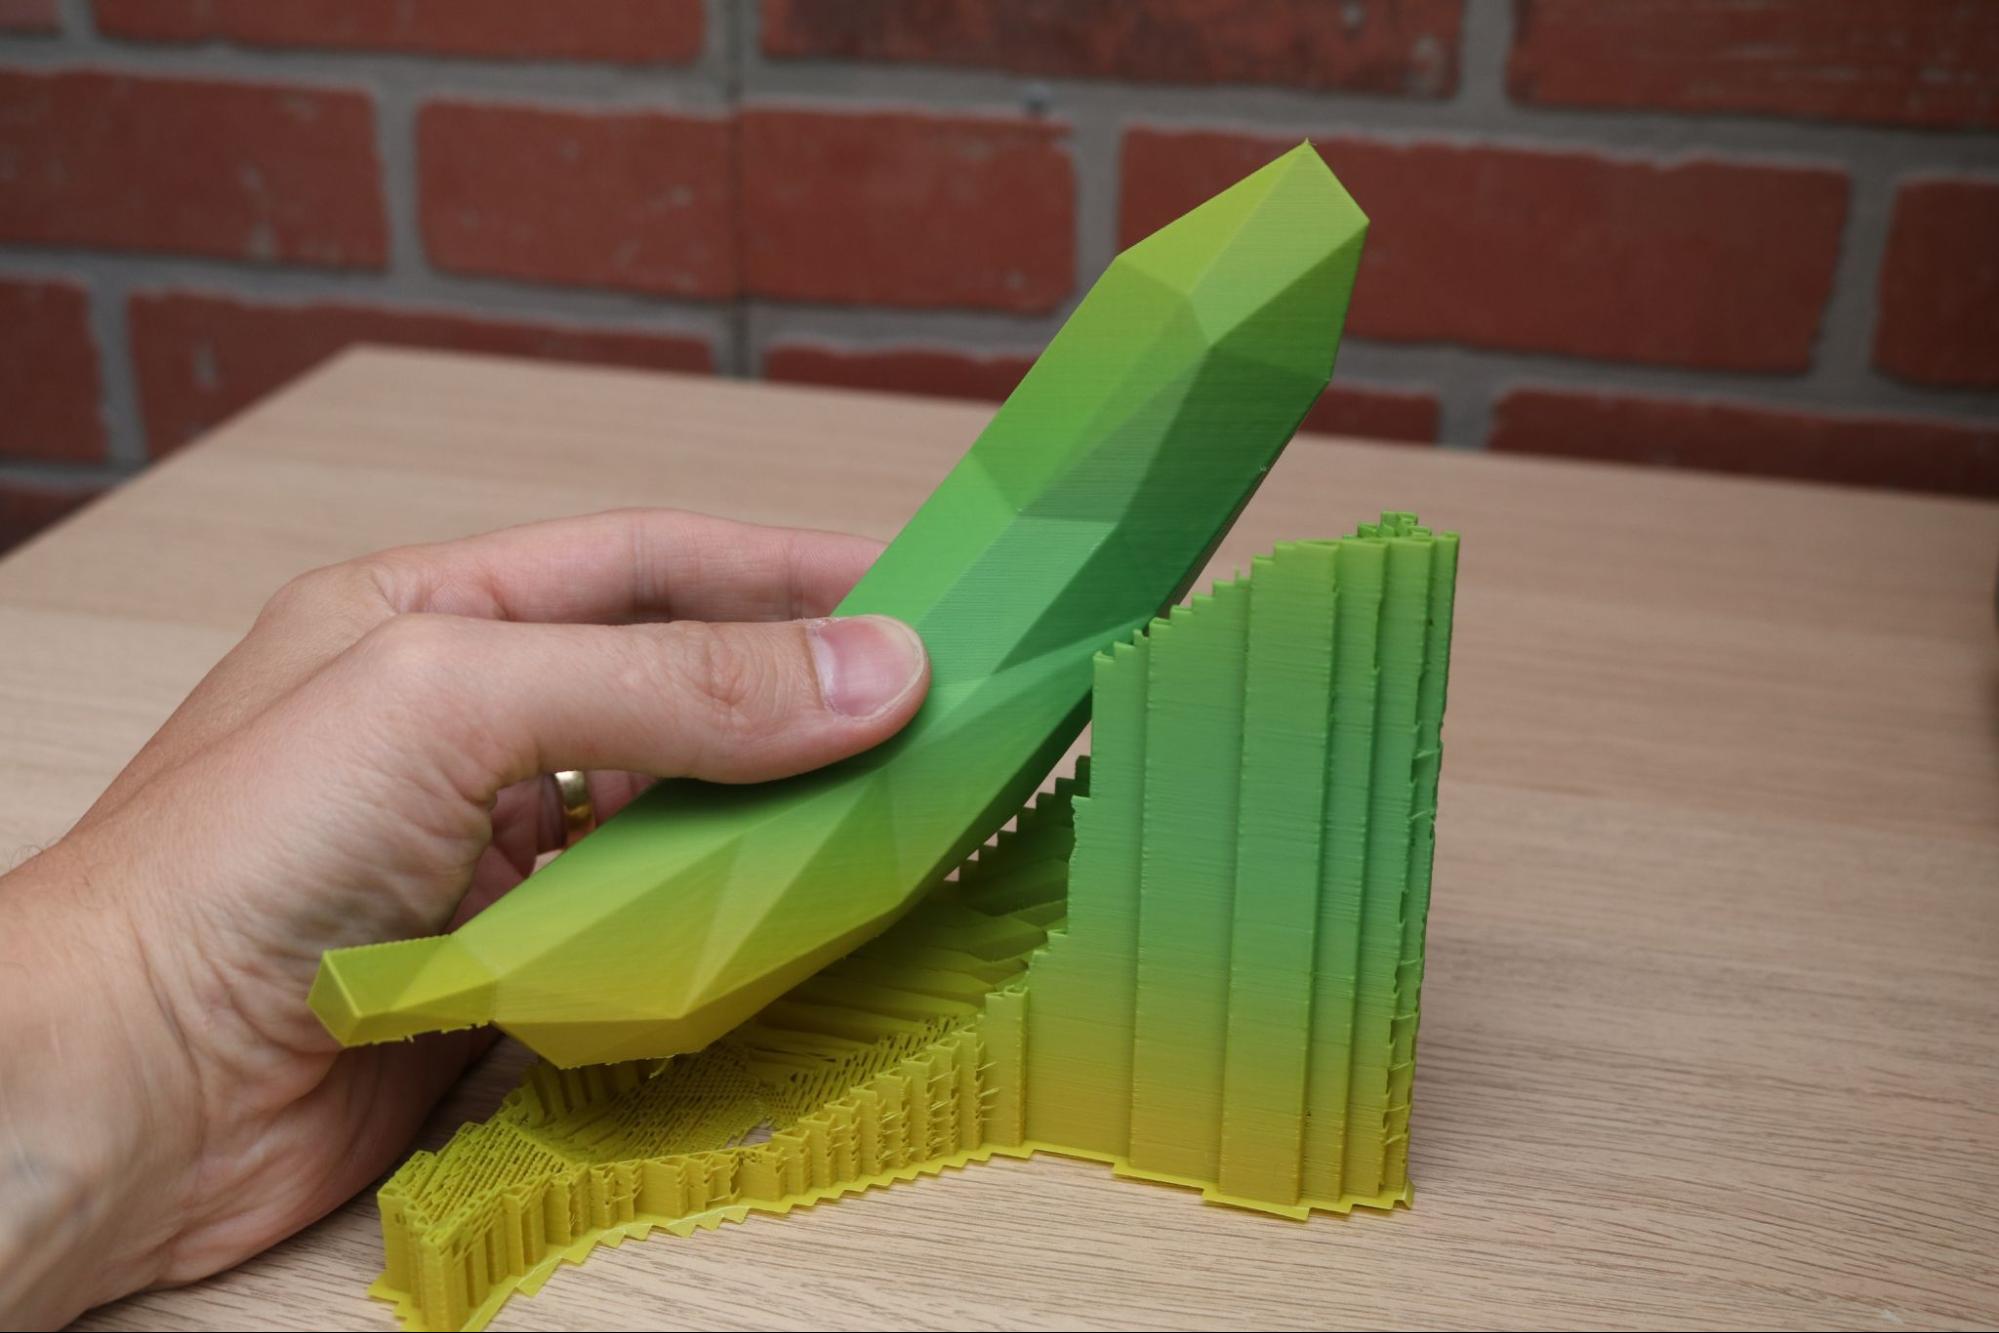
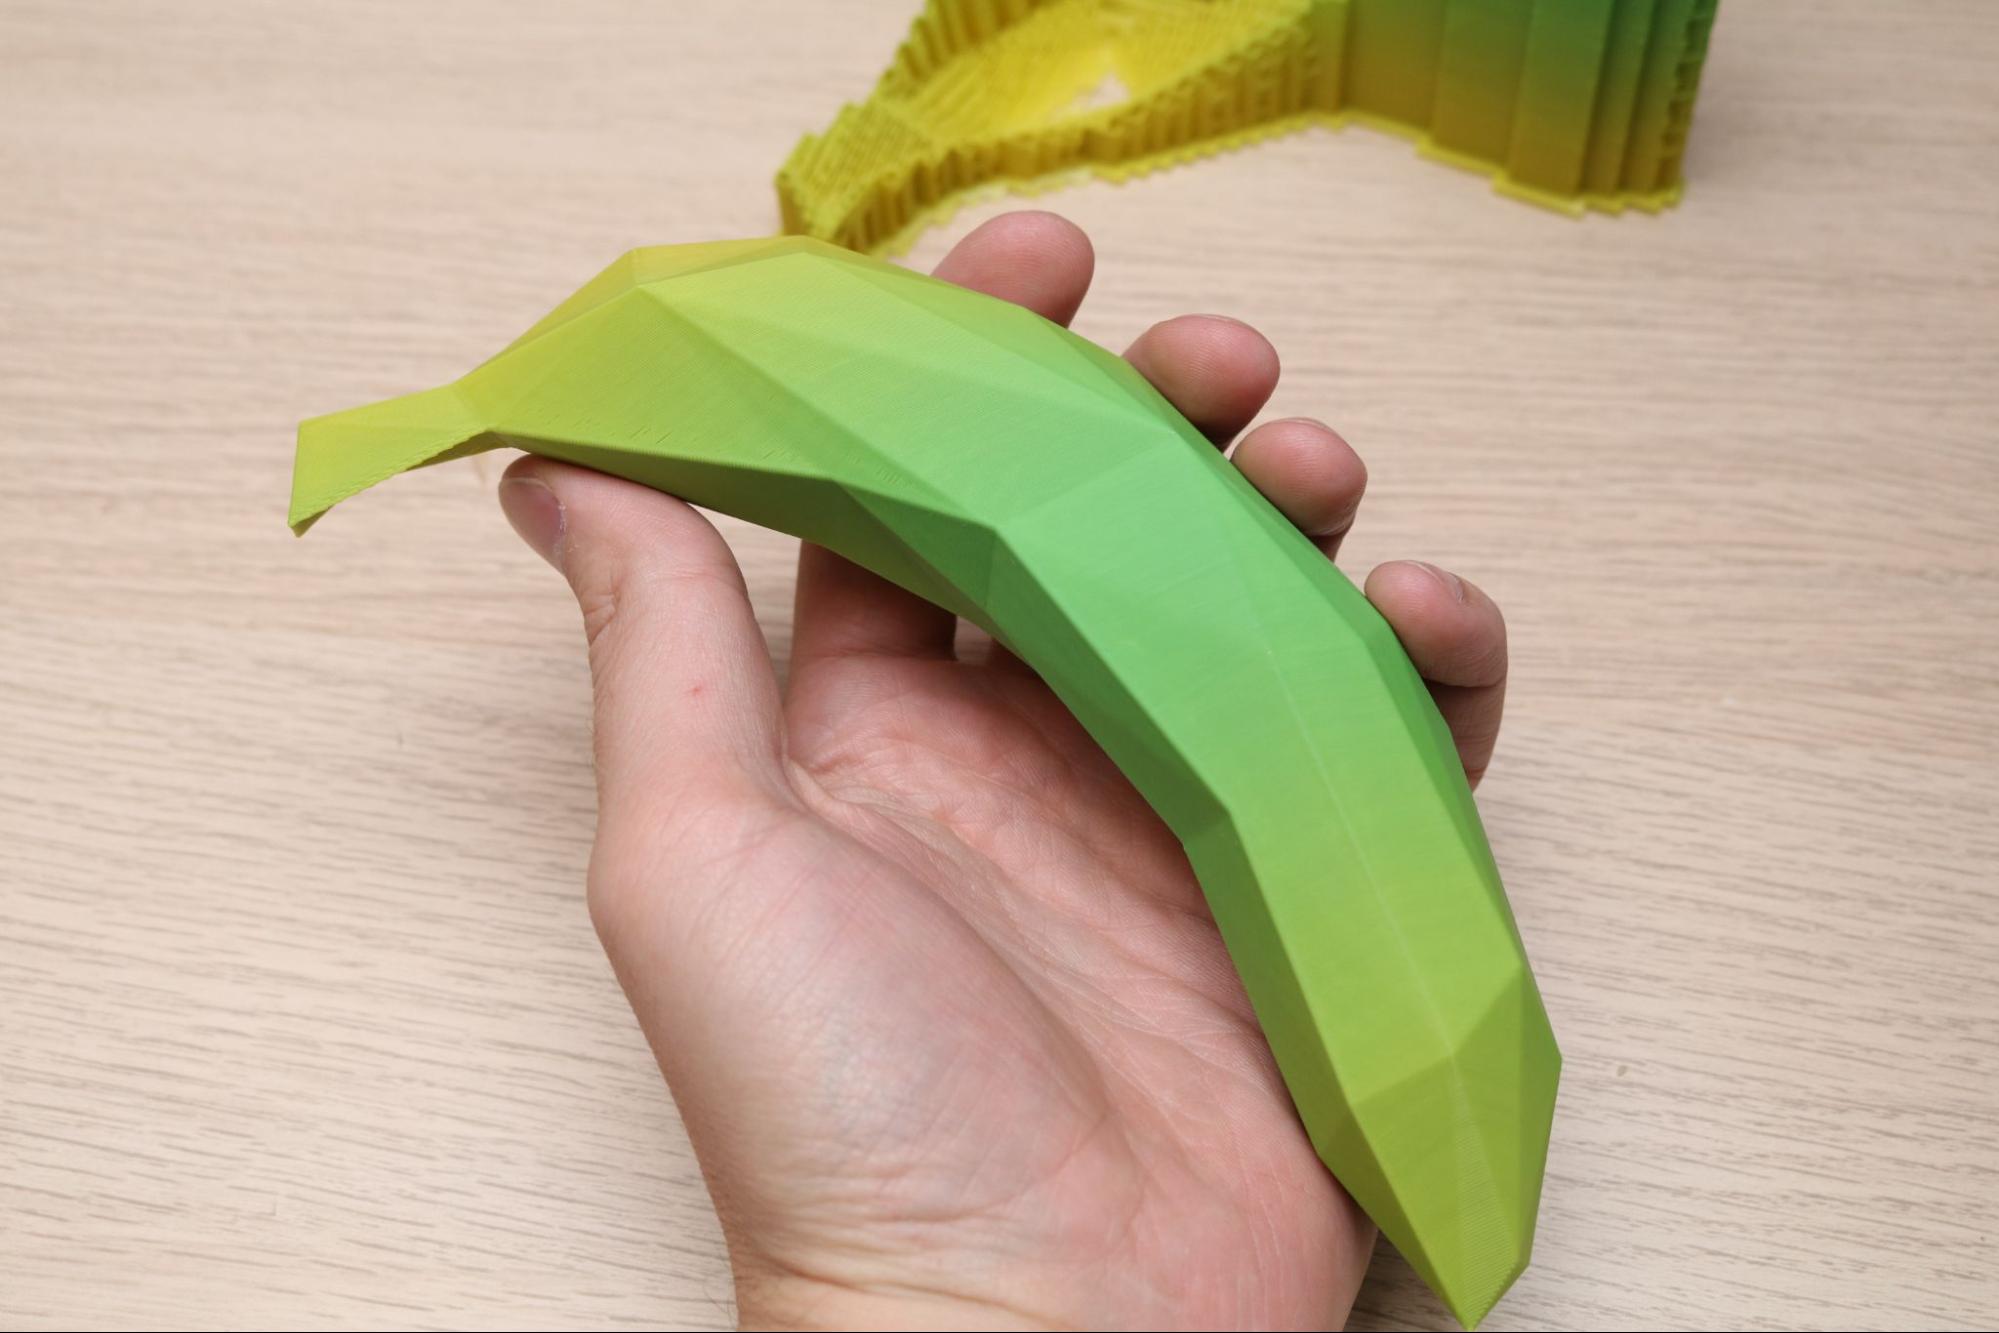
Printed using Sliceworkx BANANAAH! matte PLA with the Flashforge 0.2mm profile, the Low Poly Banana 3D model printed without defects and the support material simply peeled right off. I was impressed with how easily the support material could be removed, considering the speed and temperature at which the material was extruded. The matte surface of the model is a function of the typically dull appearance of parts printed at high speeds as well as the matte nature of the material.
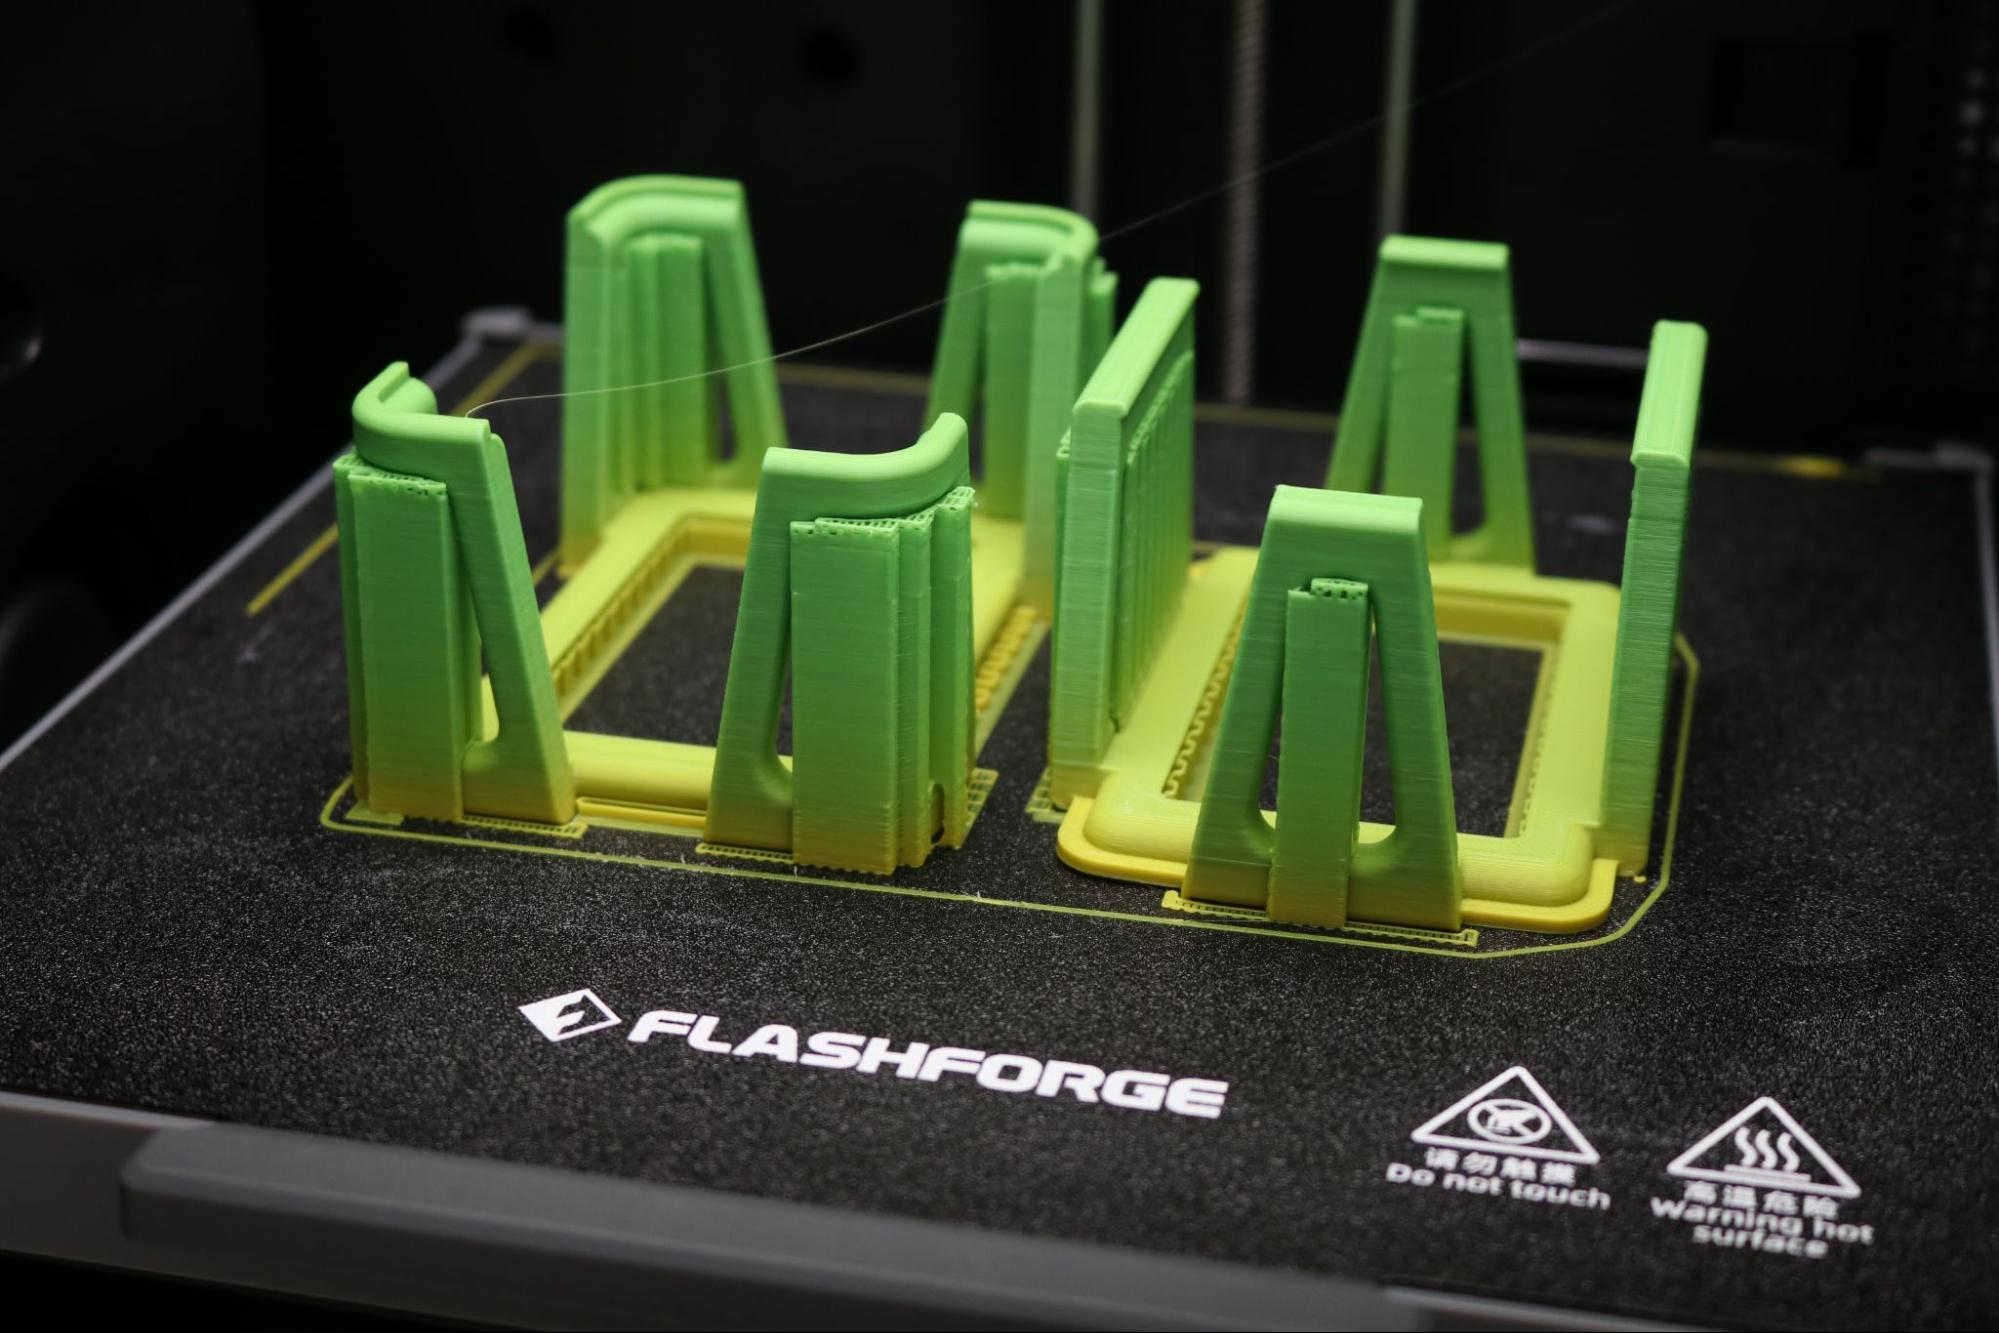
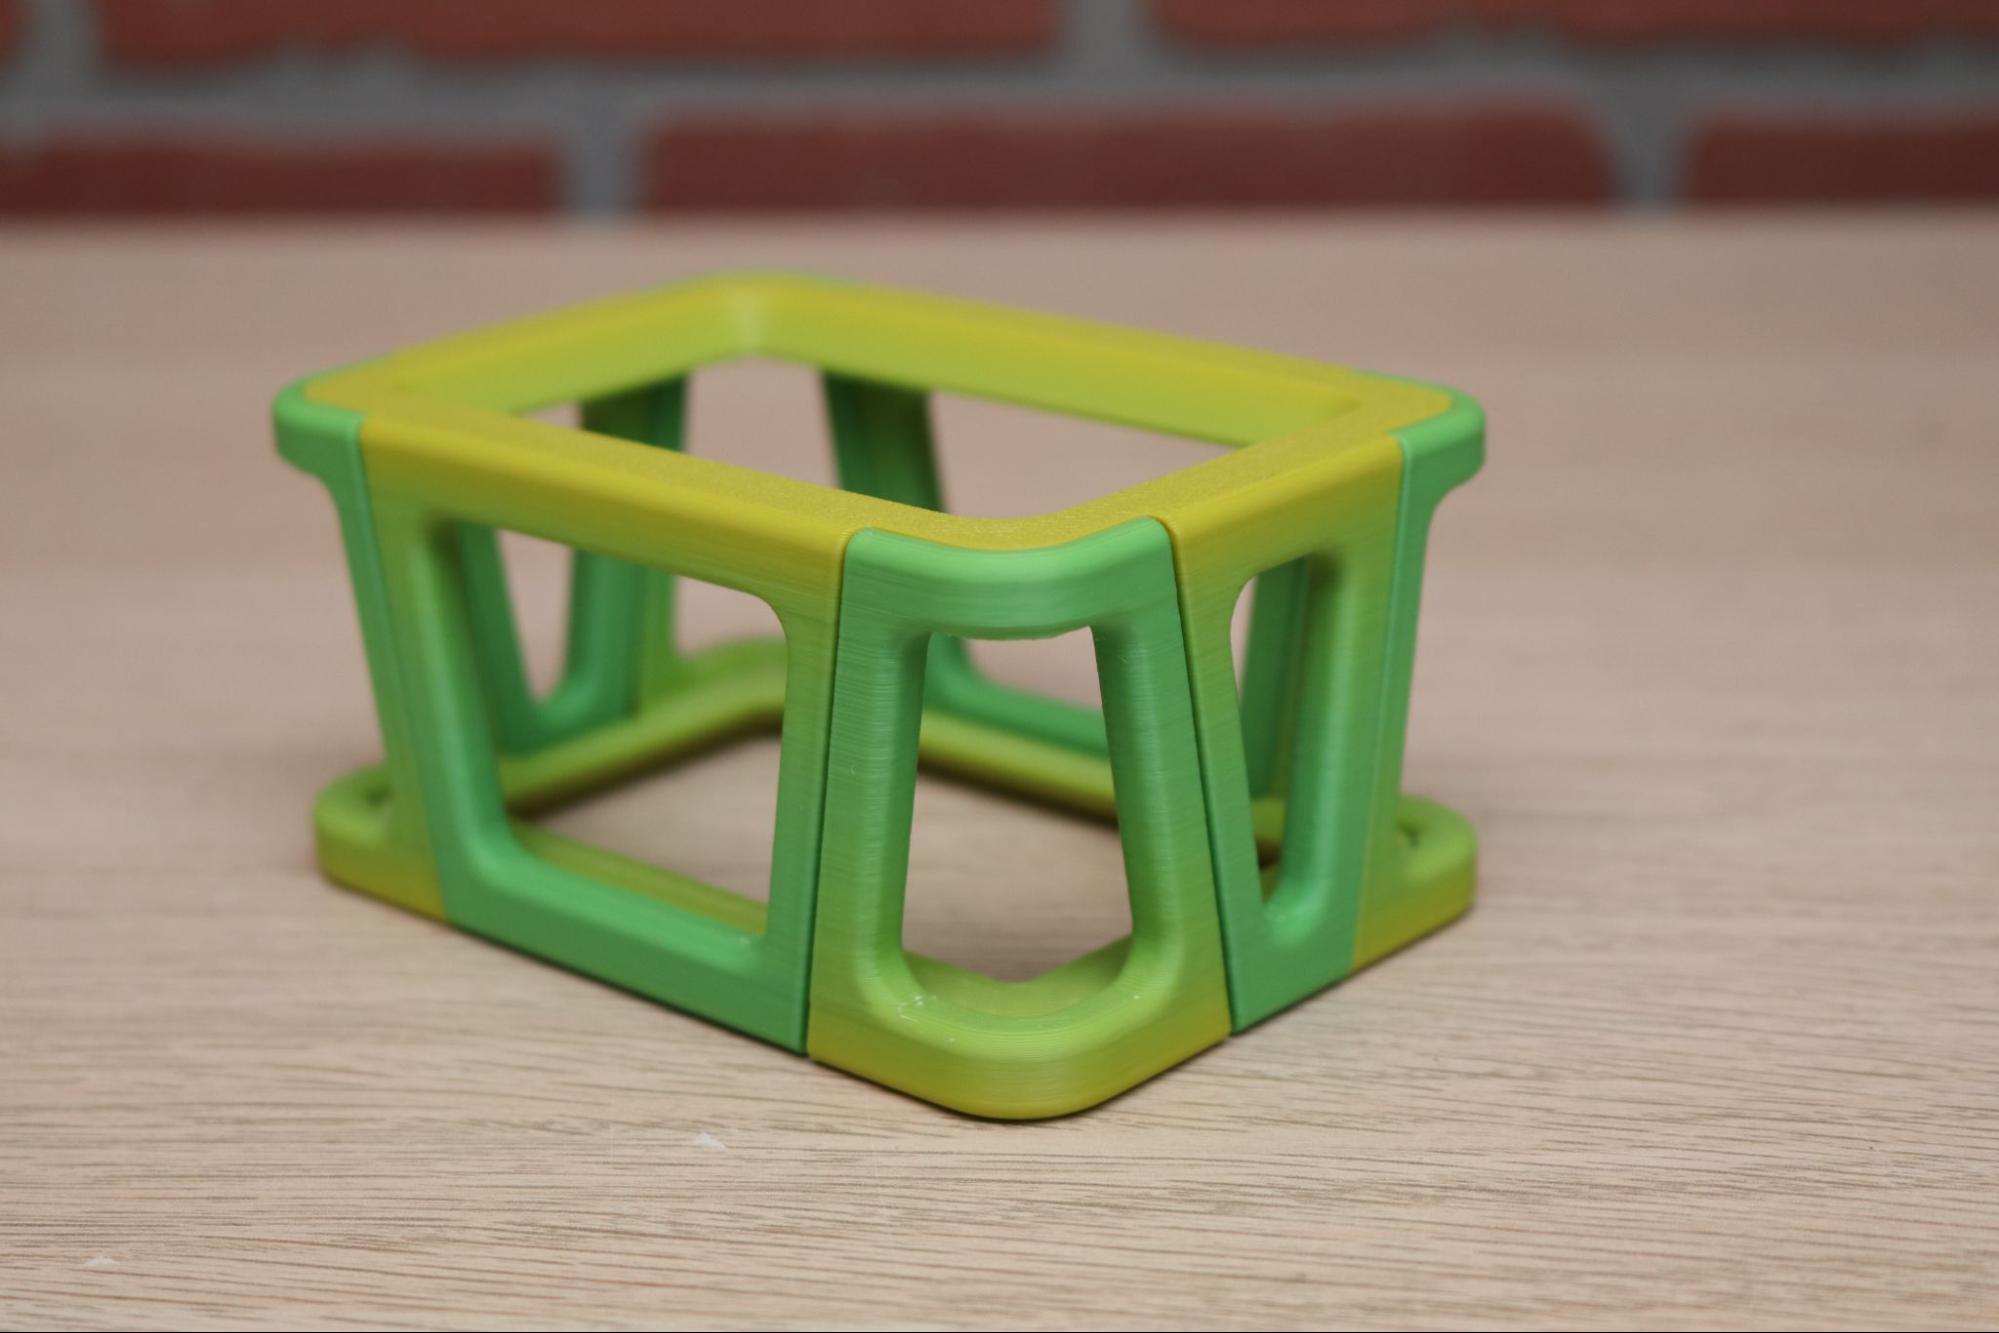
Models like the Card Game Keeper by Chris with snap fit tolerances also printed without issue on the Adventurer 5M Pro. This card deck holder prints in two pieces, and snaps together to hold your cards in place. The support material was easy to remove, and didn’t leave any defects on the model. Printed at a 0.2mm layer height, the surface feels like a molded part with a slight texture applied.
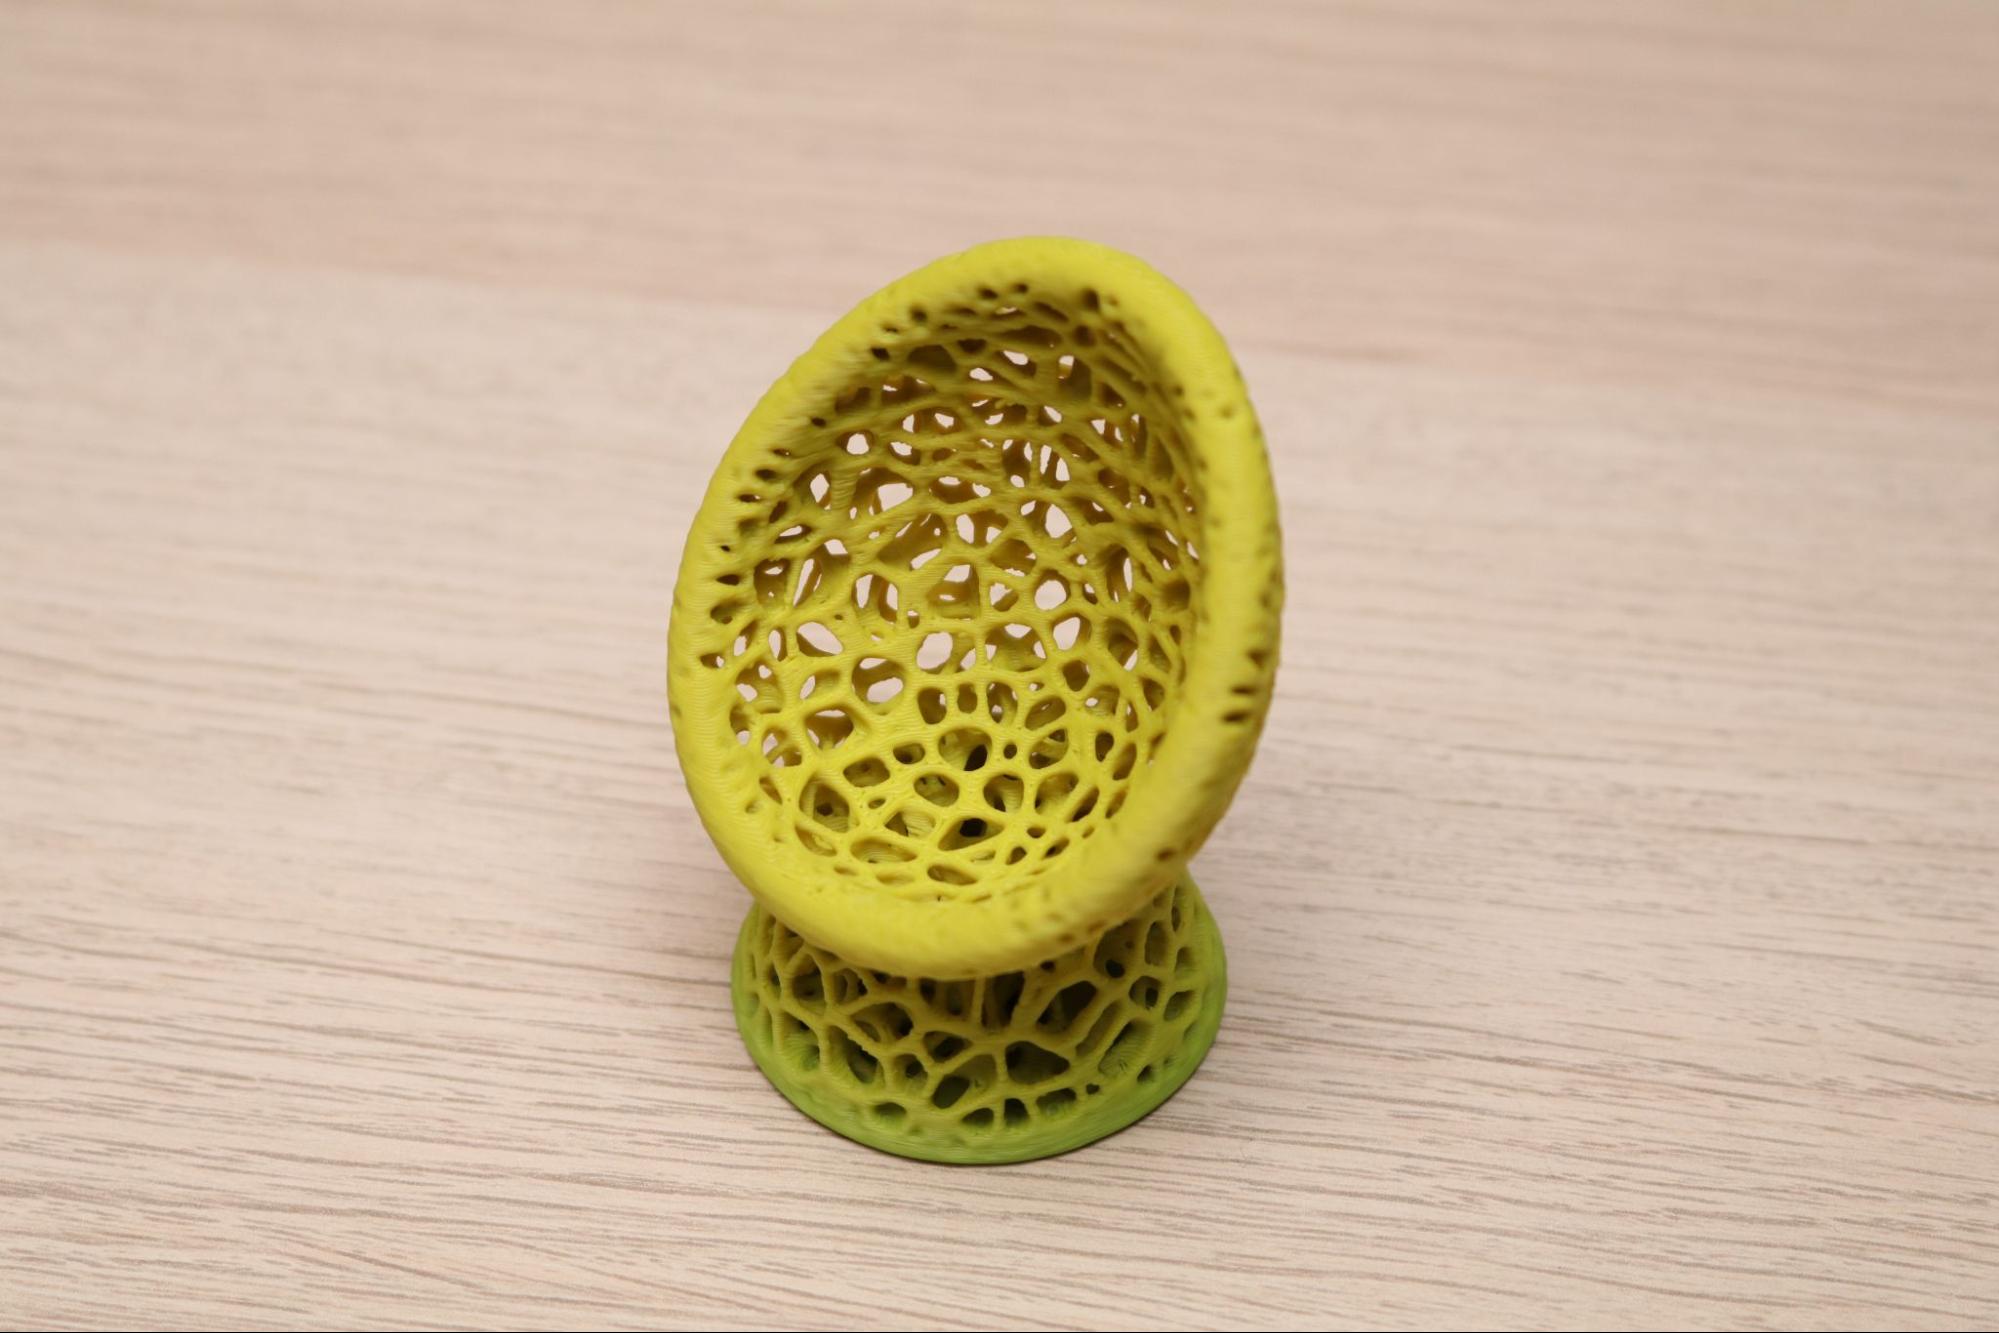
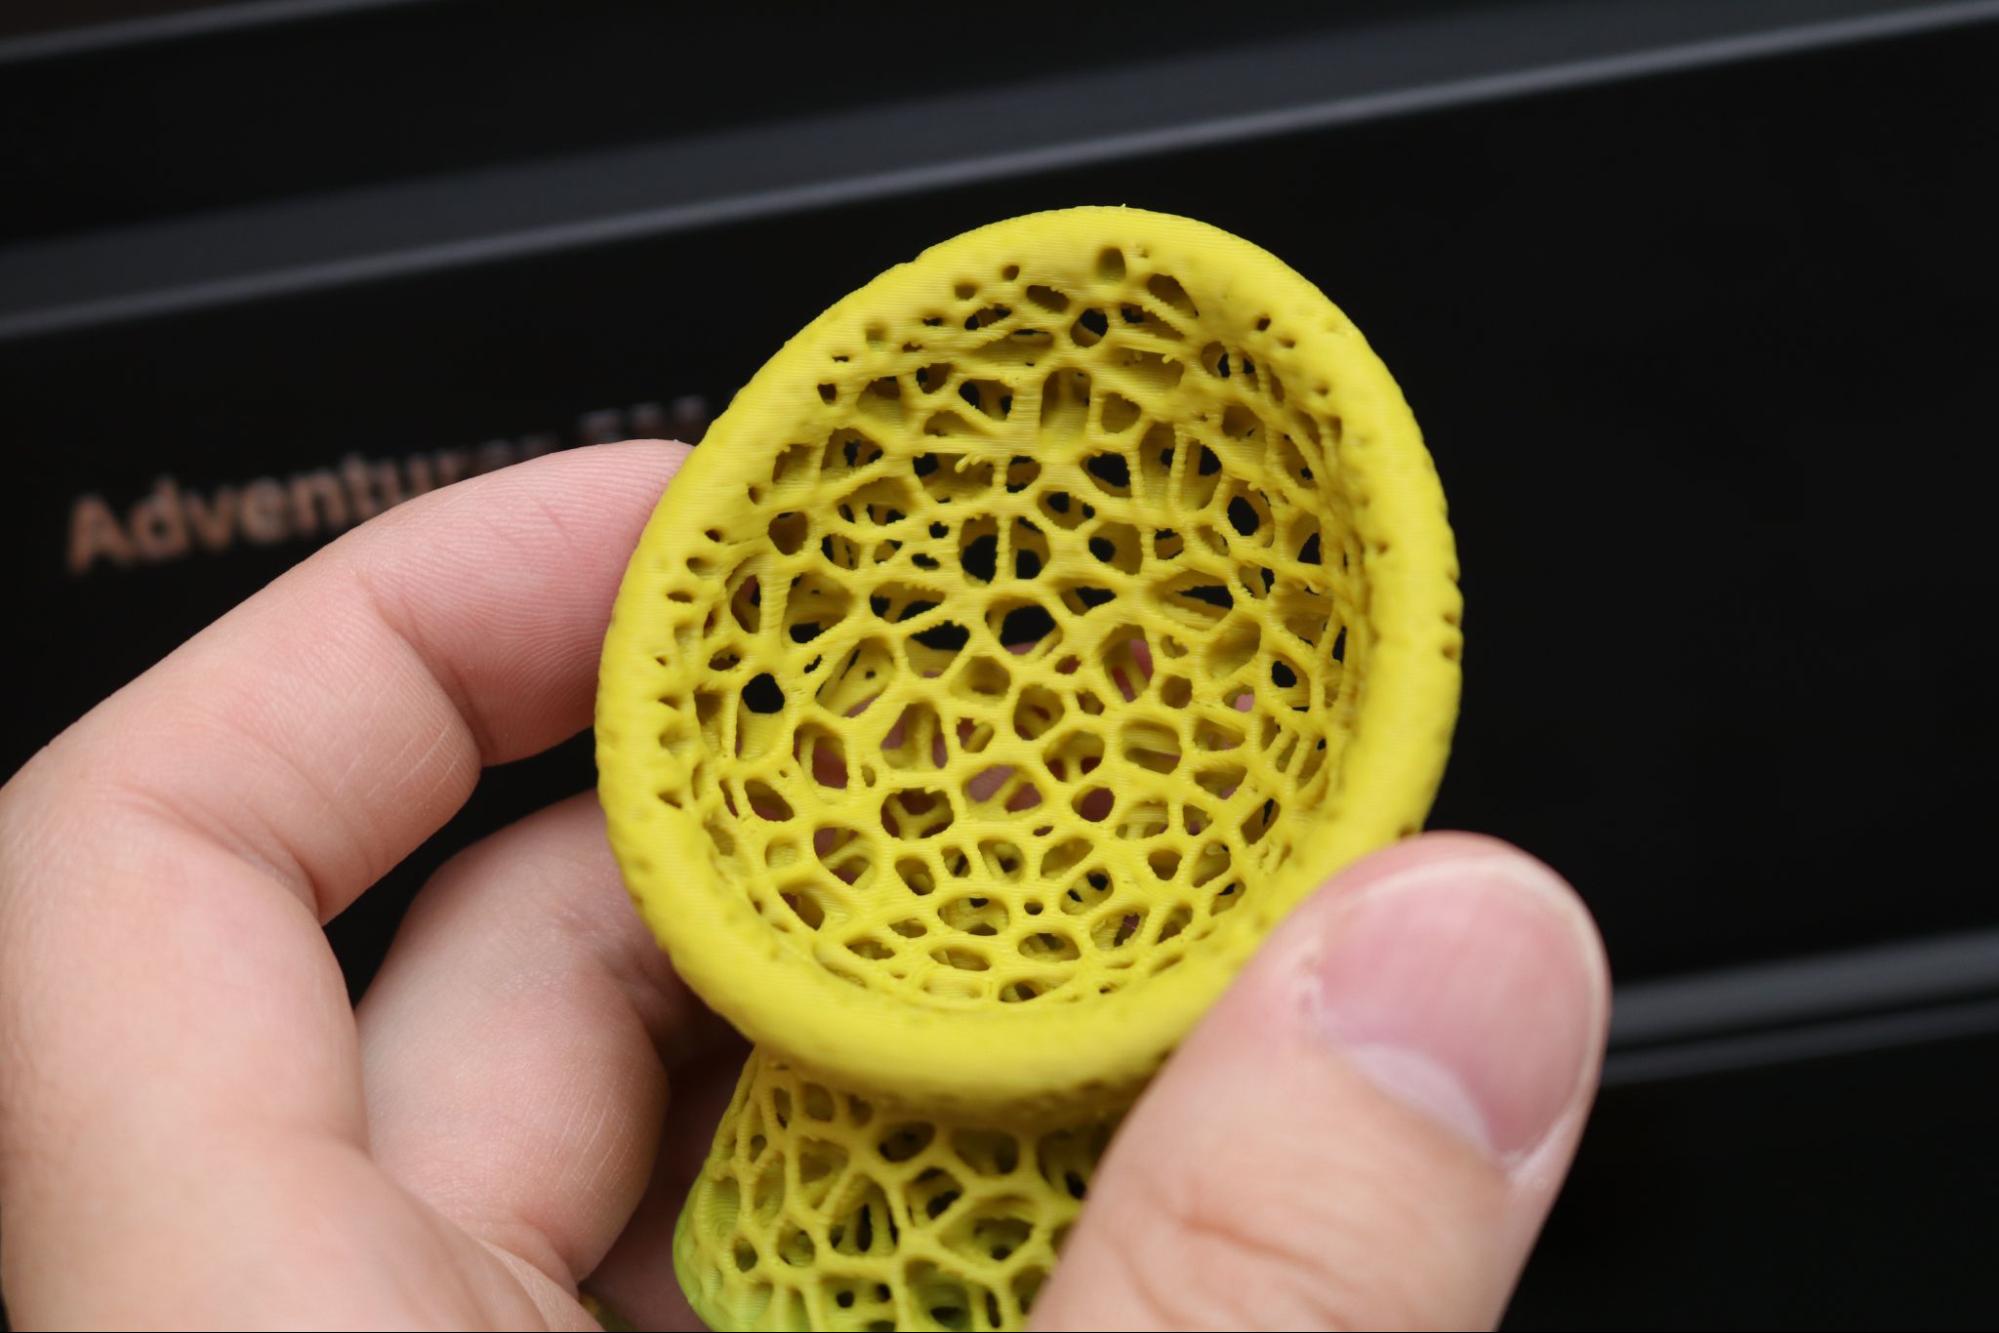
Retraction-heavy models like the Egg Chair by Dave Makes Stuff printed with almost no stringing thanks to the direct drive extruder and short filament travel path. This model has multiple short extrusion moves that make up the organic structure, and there are no signs of under-extrusion or other defects related to the rapid extrusion / retraction moves on this model.
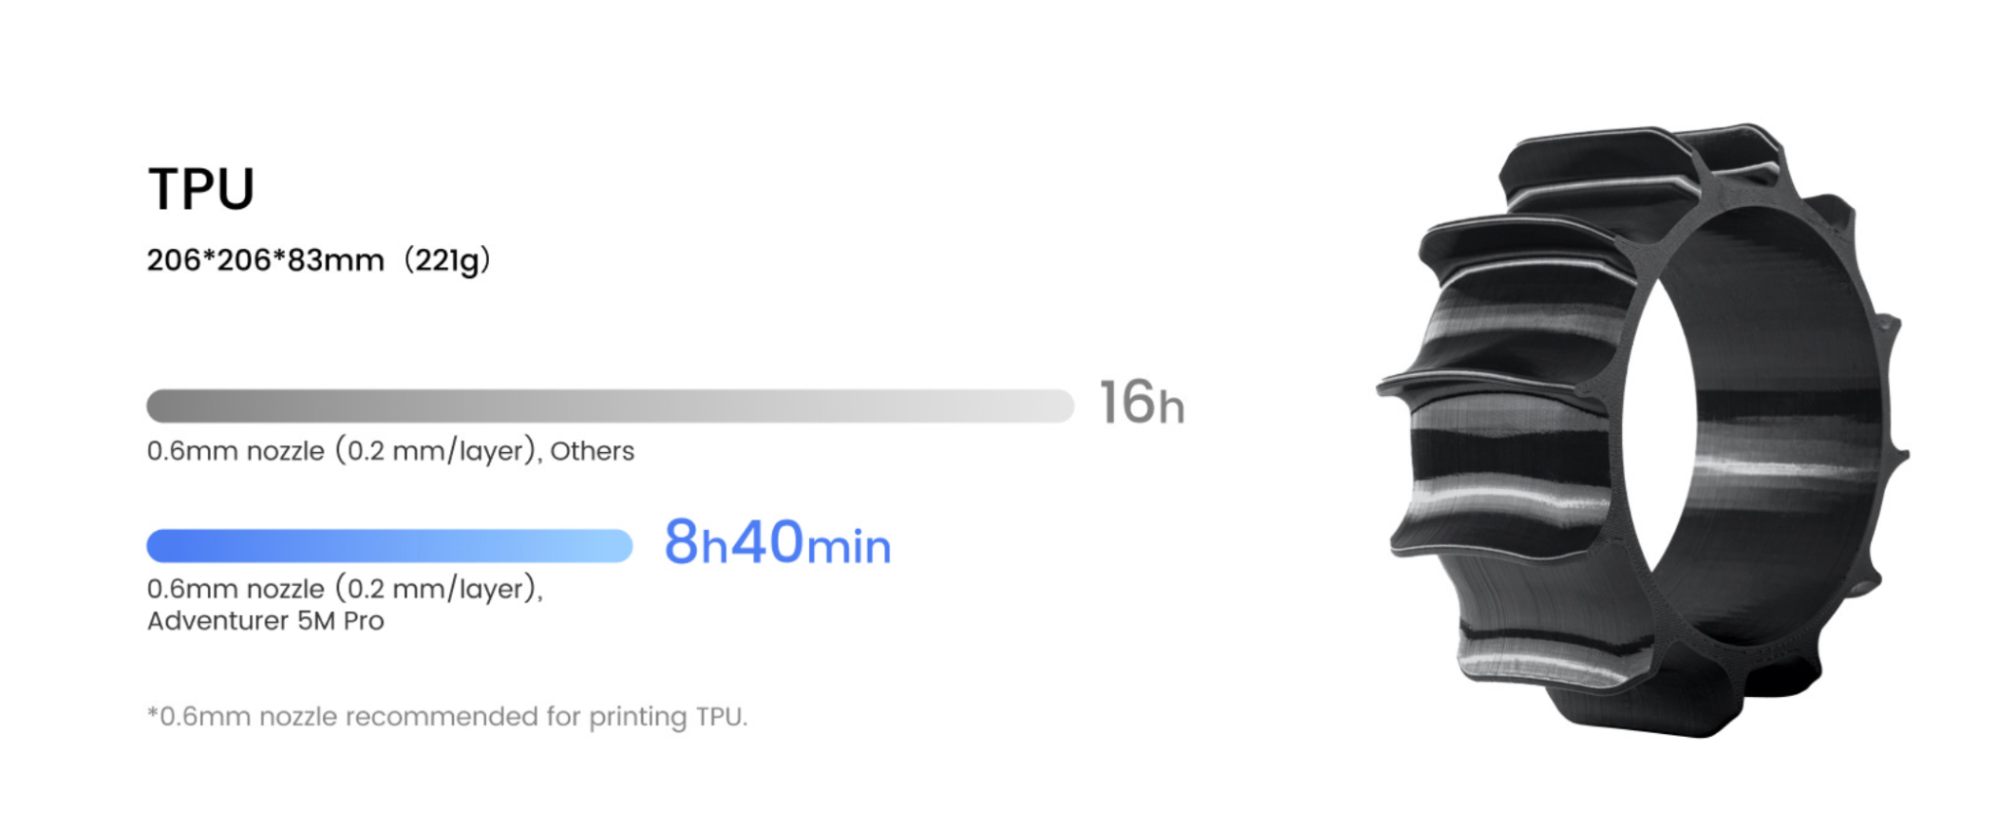

The documentation on the Flashforge site is unclear as to best practices when printing TPU material. Typically, direct drive extruders like the one on the Adventurer 5M Pro are superior for printing flexible materials, as the overall travel length is much shorter than a remote Bowden extruder.
Flashforge indicates in the user manual and on the technical specs on their site that the 0.4mm nozzle is recommended for printing TPU, but also recommends the 0.6mm nozzle for printing TPU when touting the speed increase offered by the nozzle. When asked for clarification, a representative offered the following response: “Both the 0.4mm and 0.6mm nozzles are capable of printing with TPU filament. However, it is highly recommended to use the 0.6mm nozzle for TPU filament printing.”
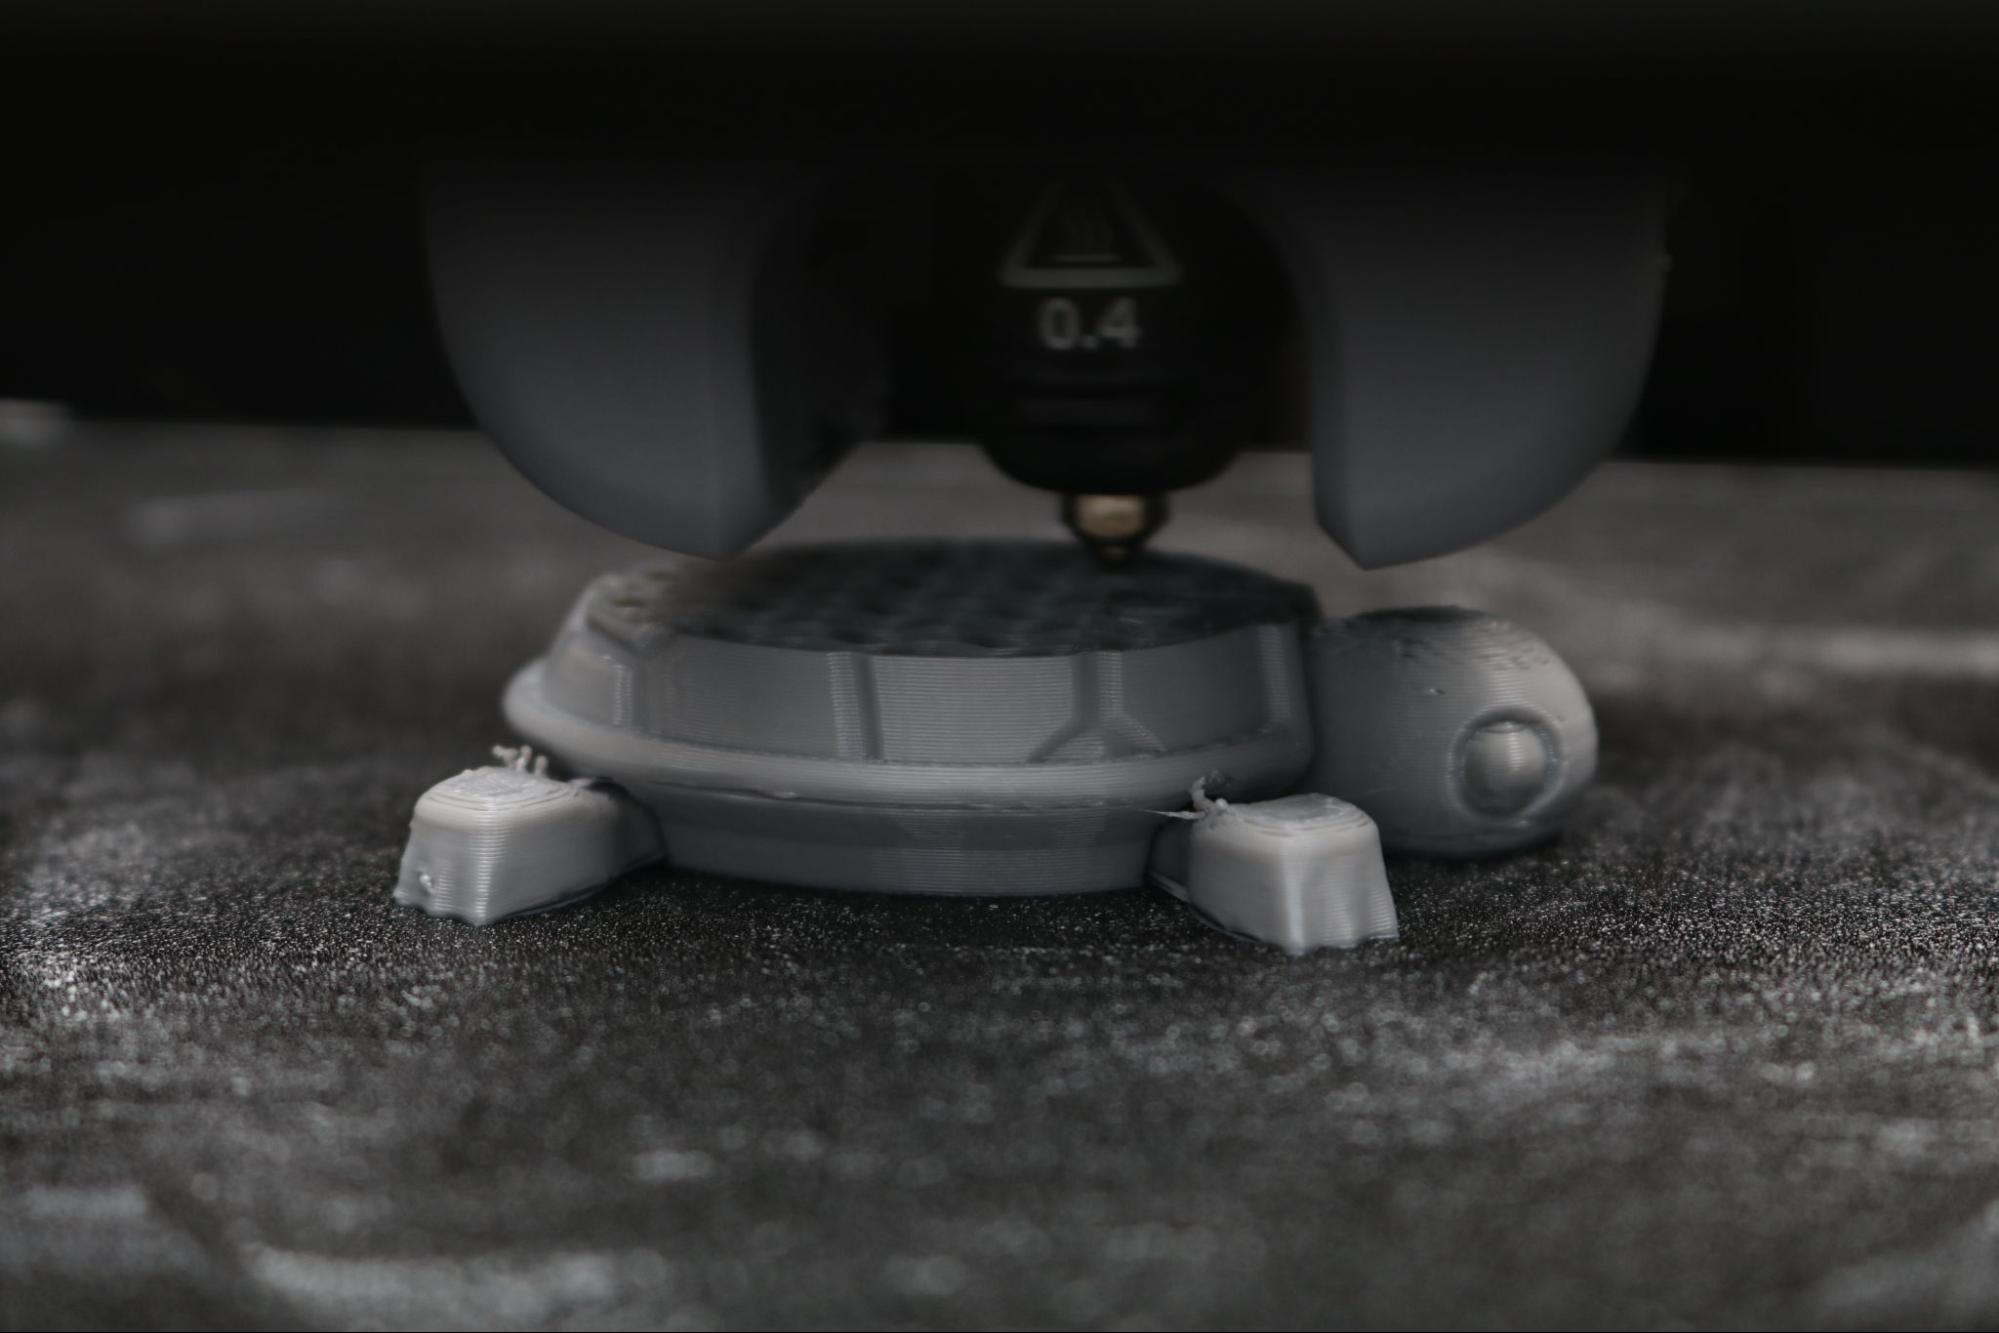
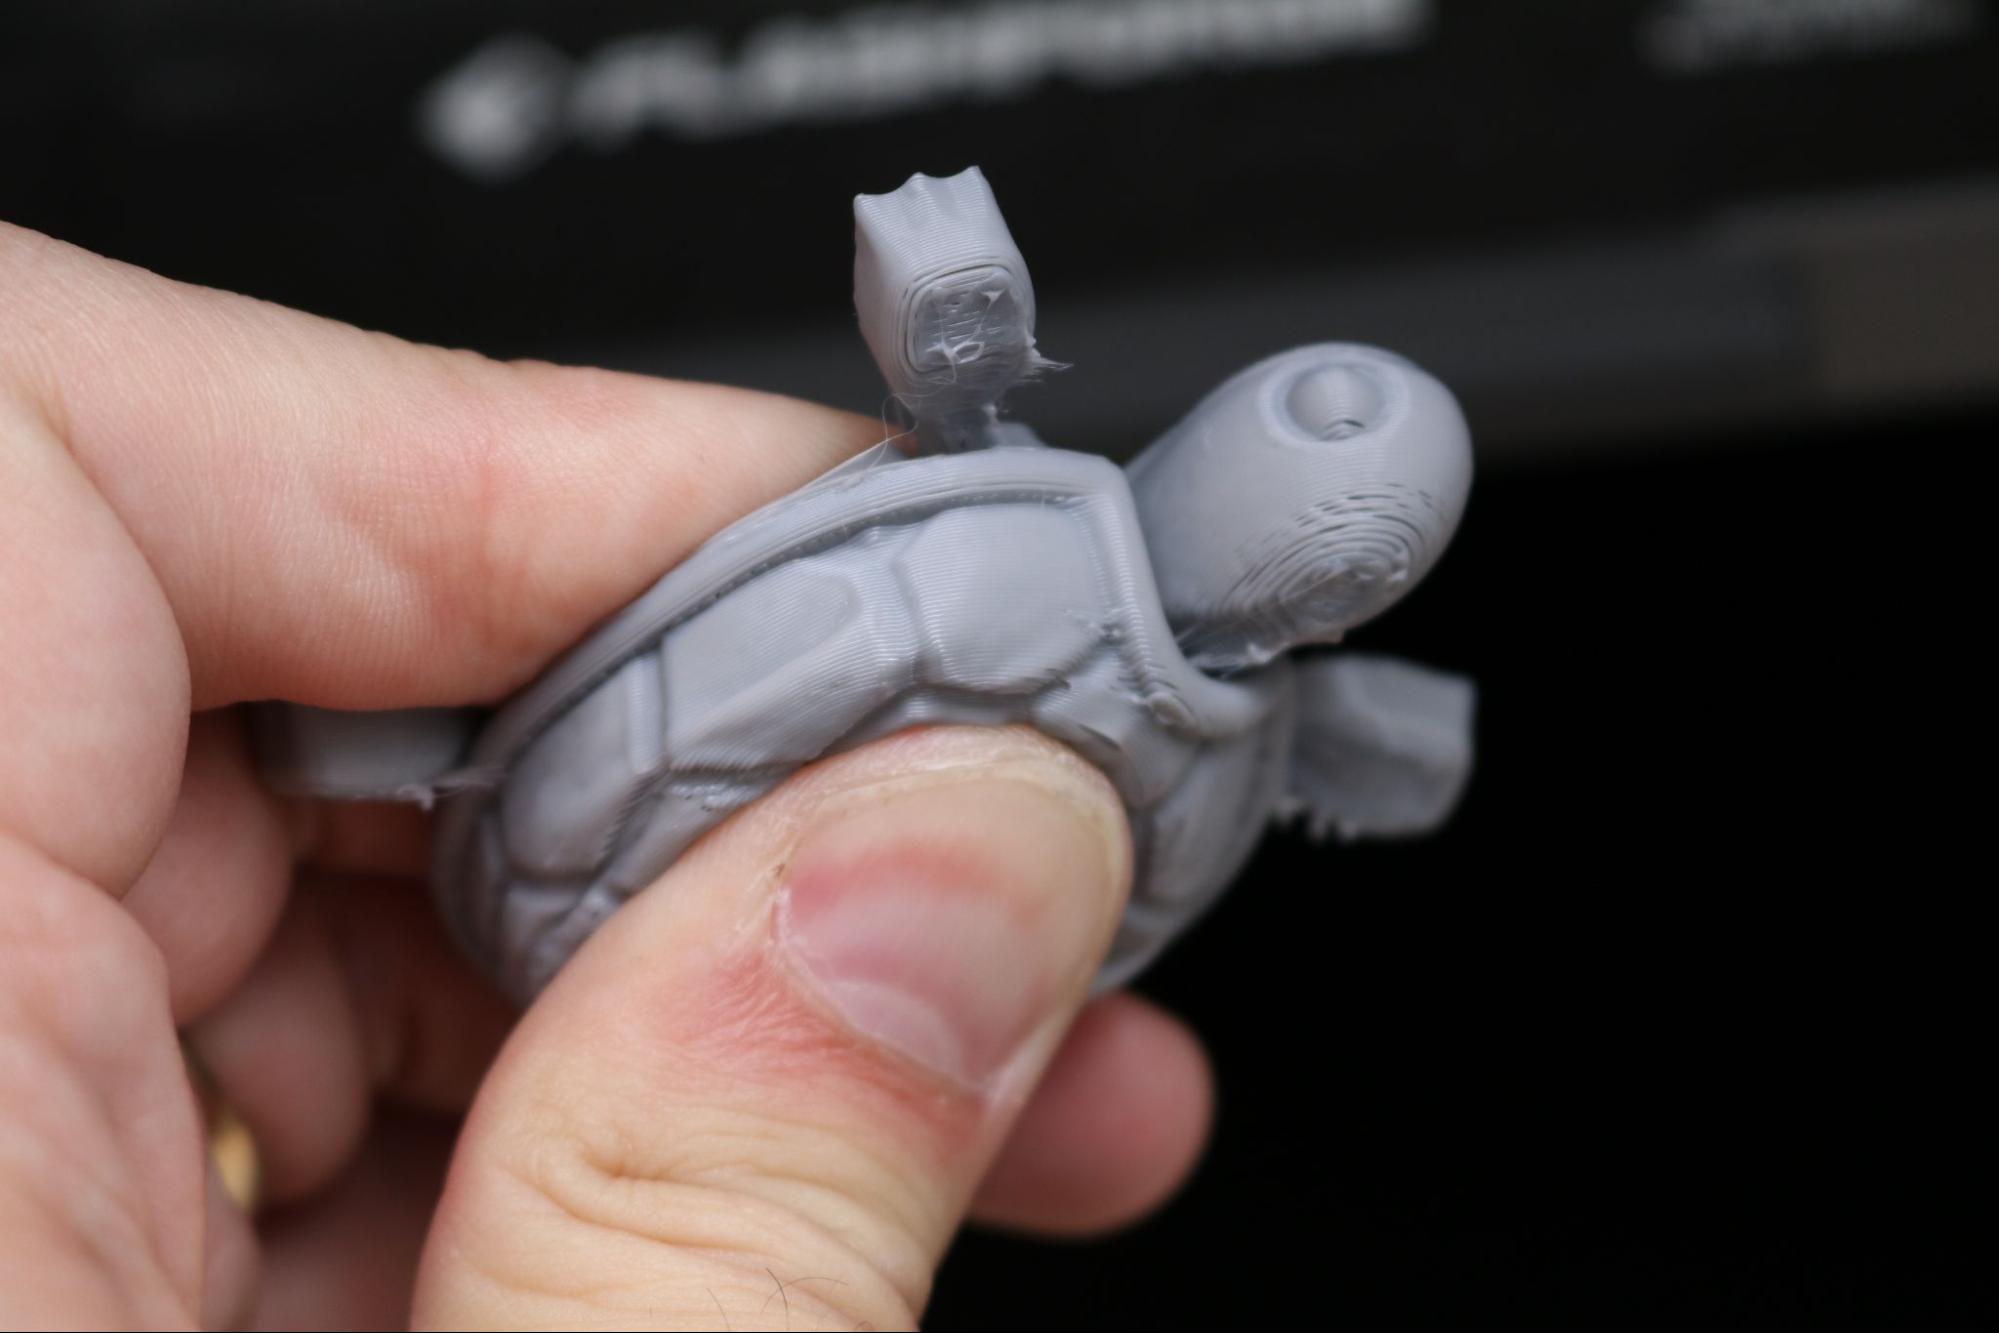
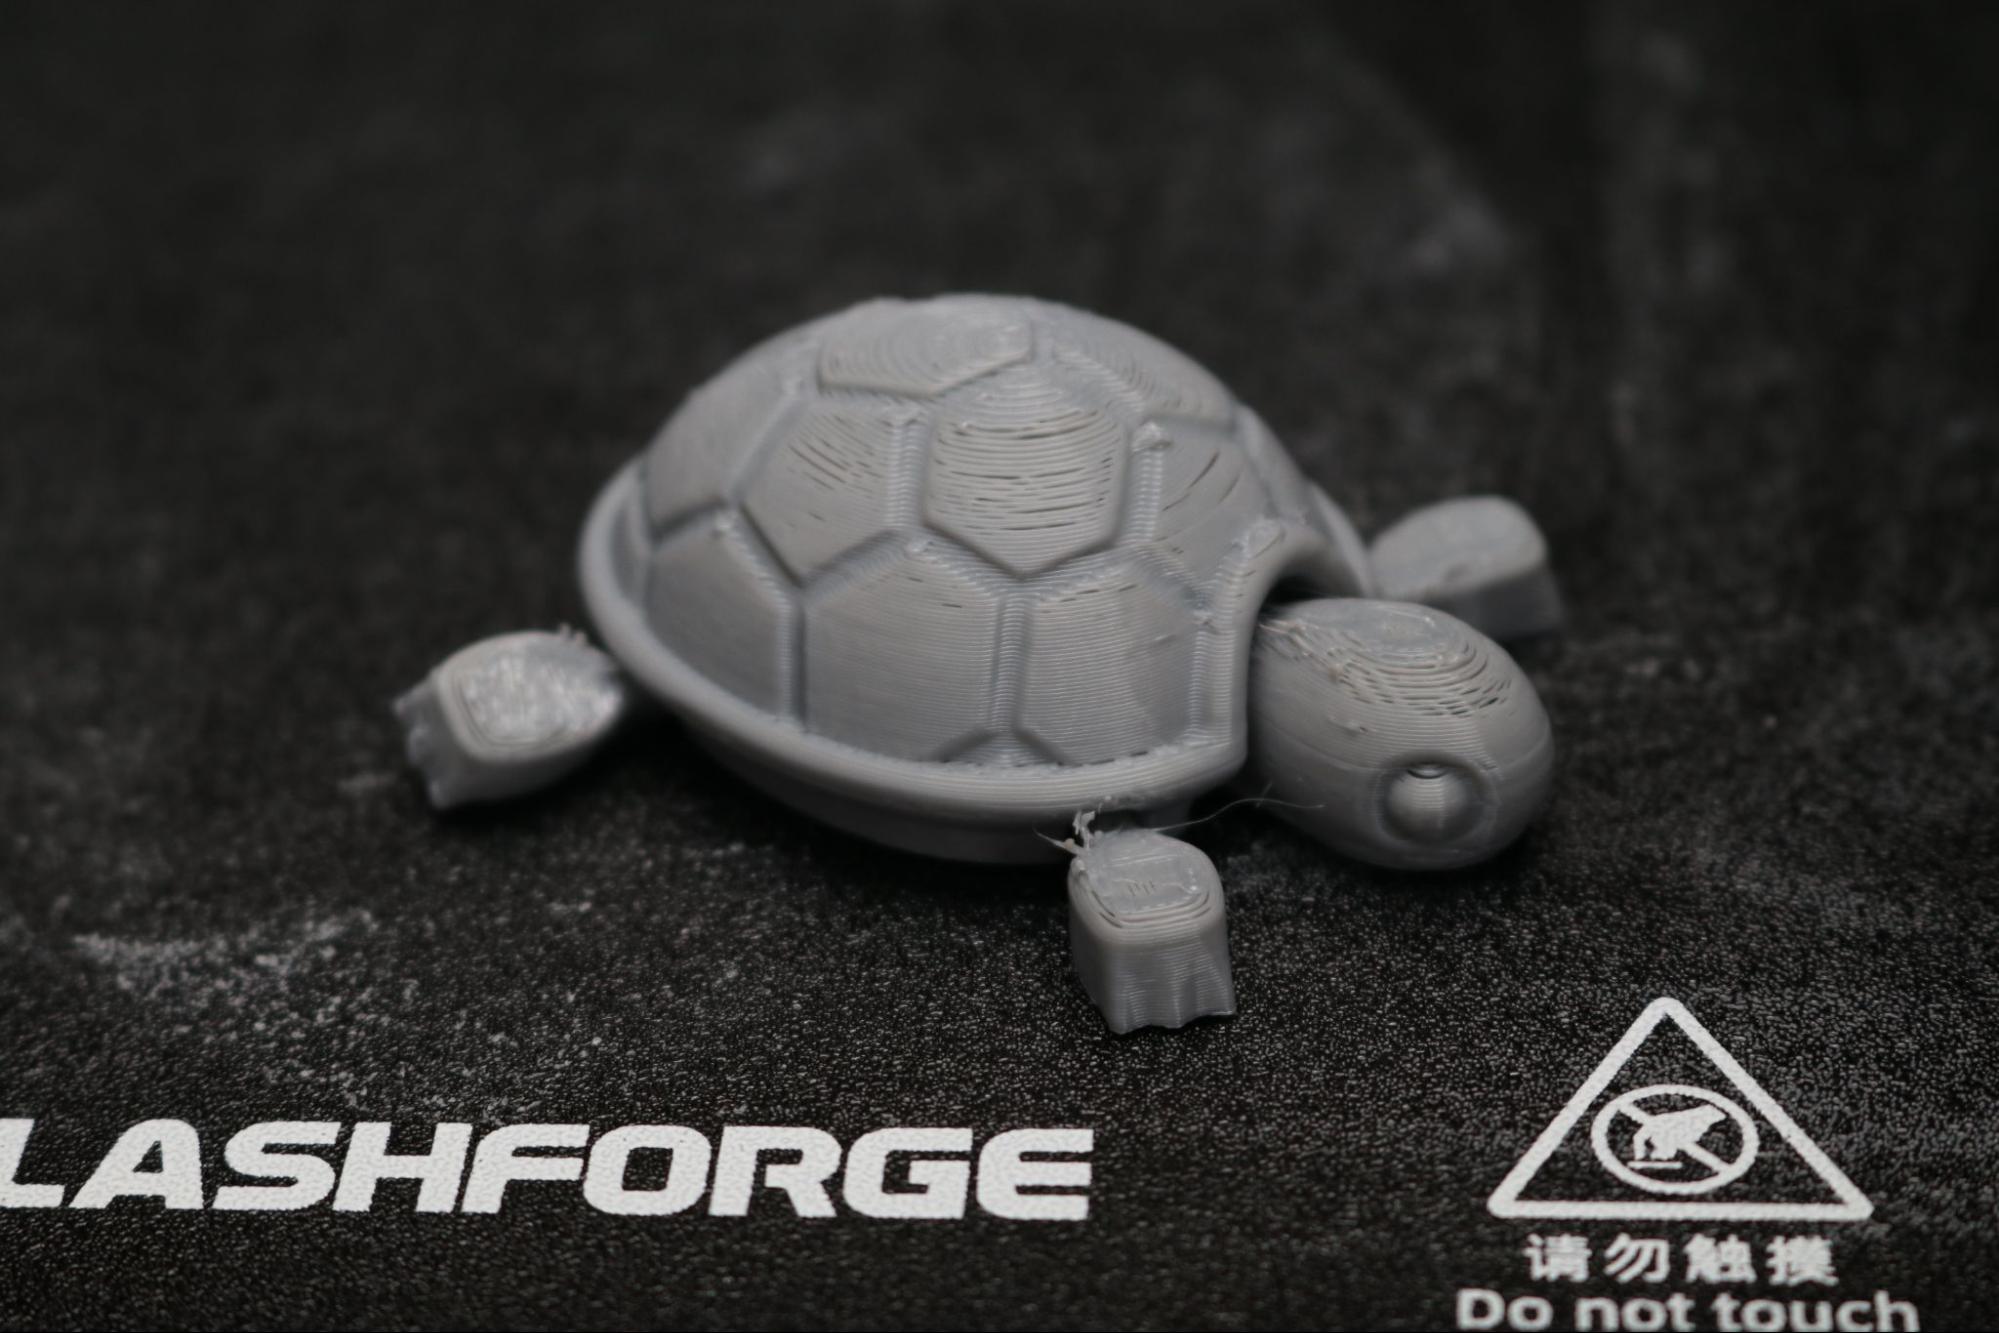
I tested TPU printing using the 0.4mm nozzle with the Cutie Baby Turtle by squinn to see how the extruder and nozzle combo would perform. Printed using Overture Grey TPU, the model is durable and tough, and the model fully articulates. Each individual joint can be deformed without breaking, but there are some extrusion-related defects on the top surfaces as well as some retraction-related issues around the extruder hops.
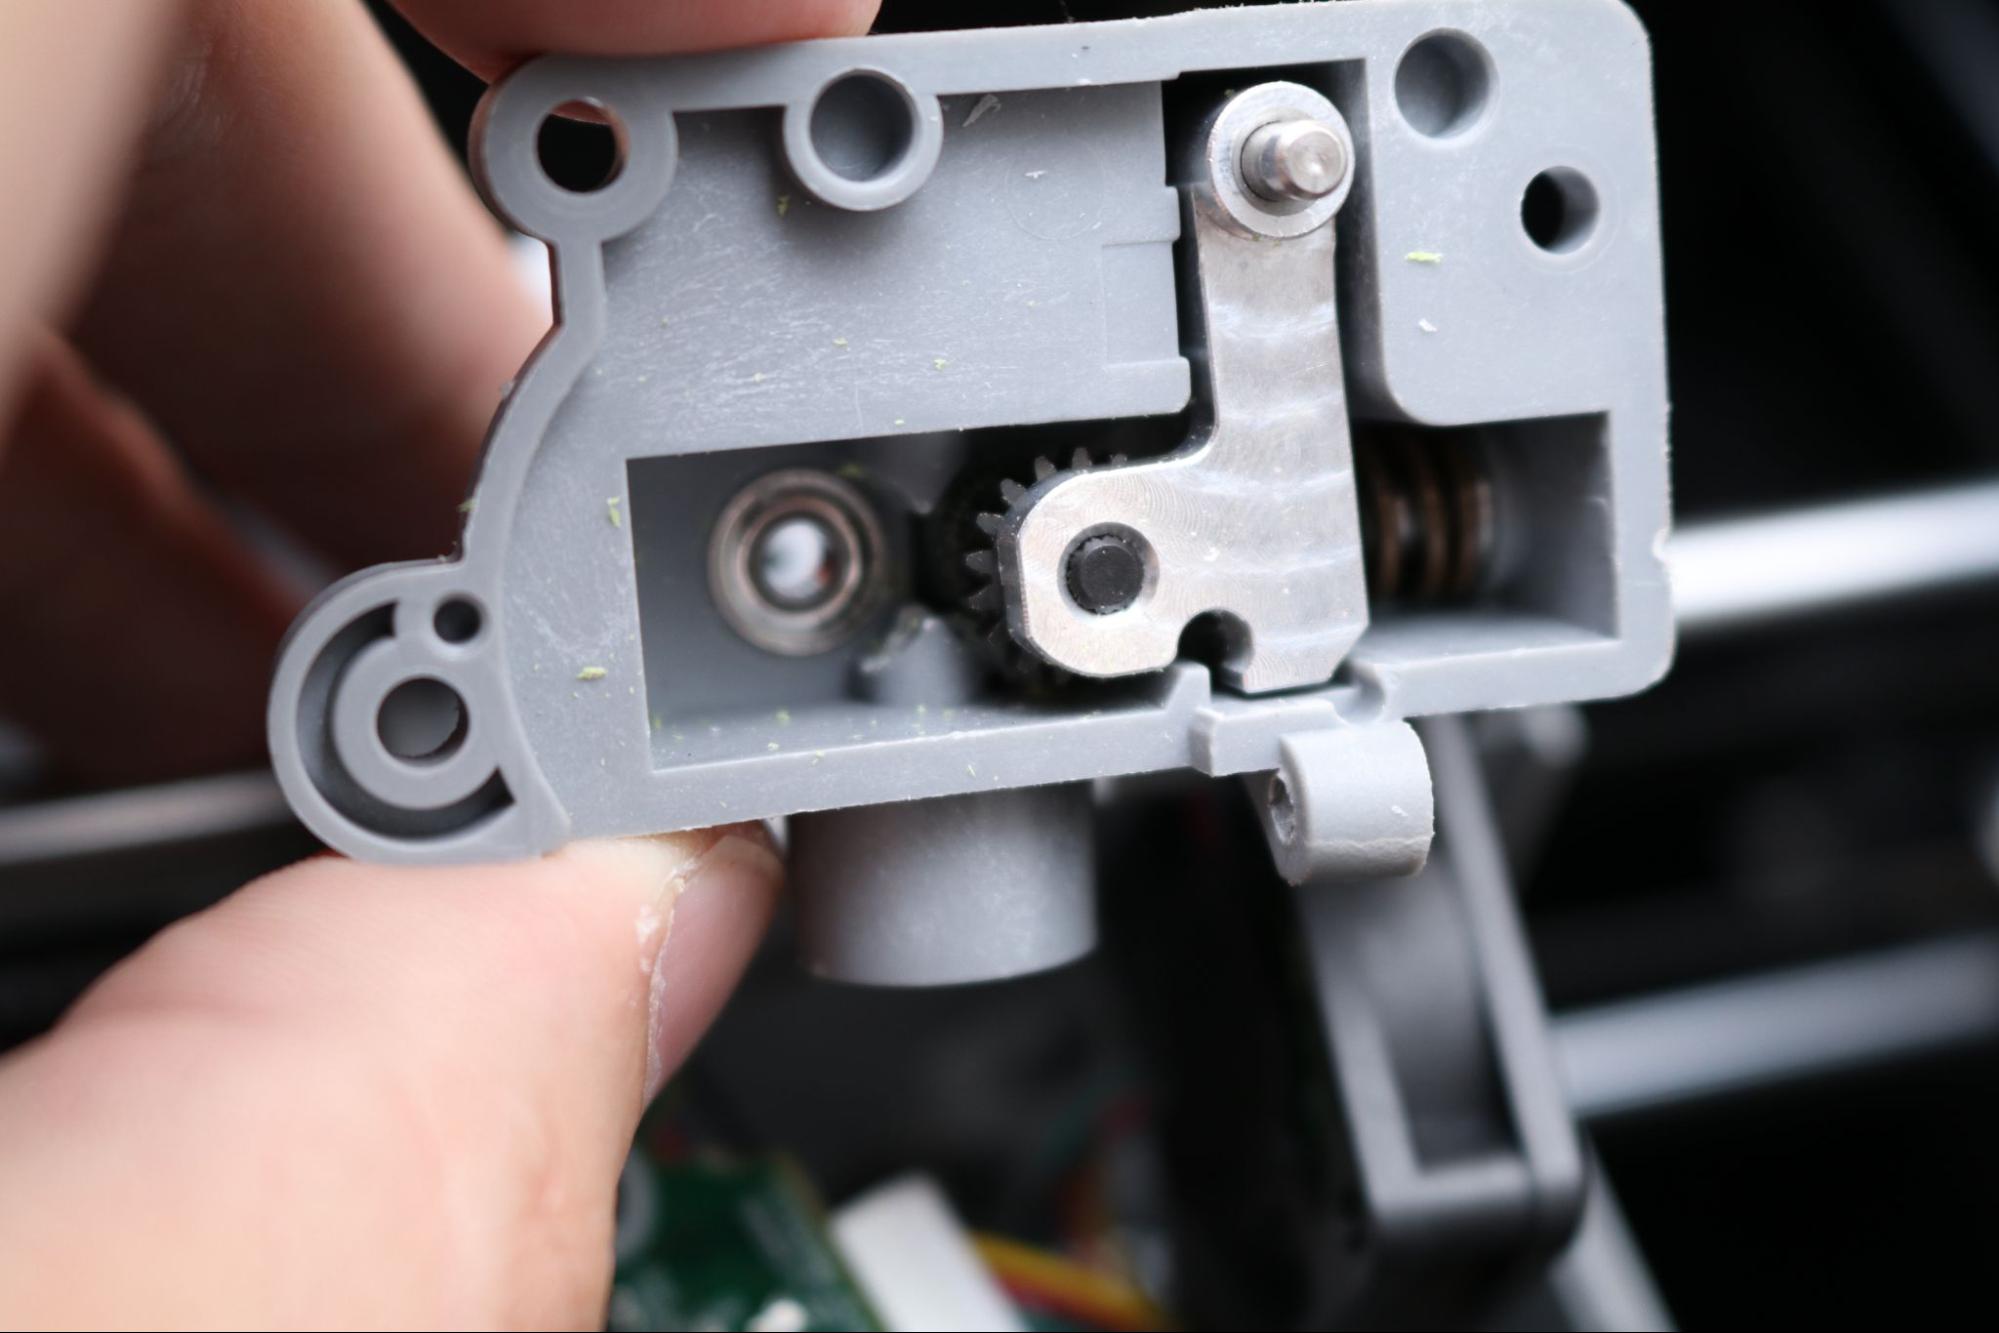
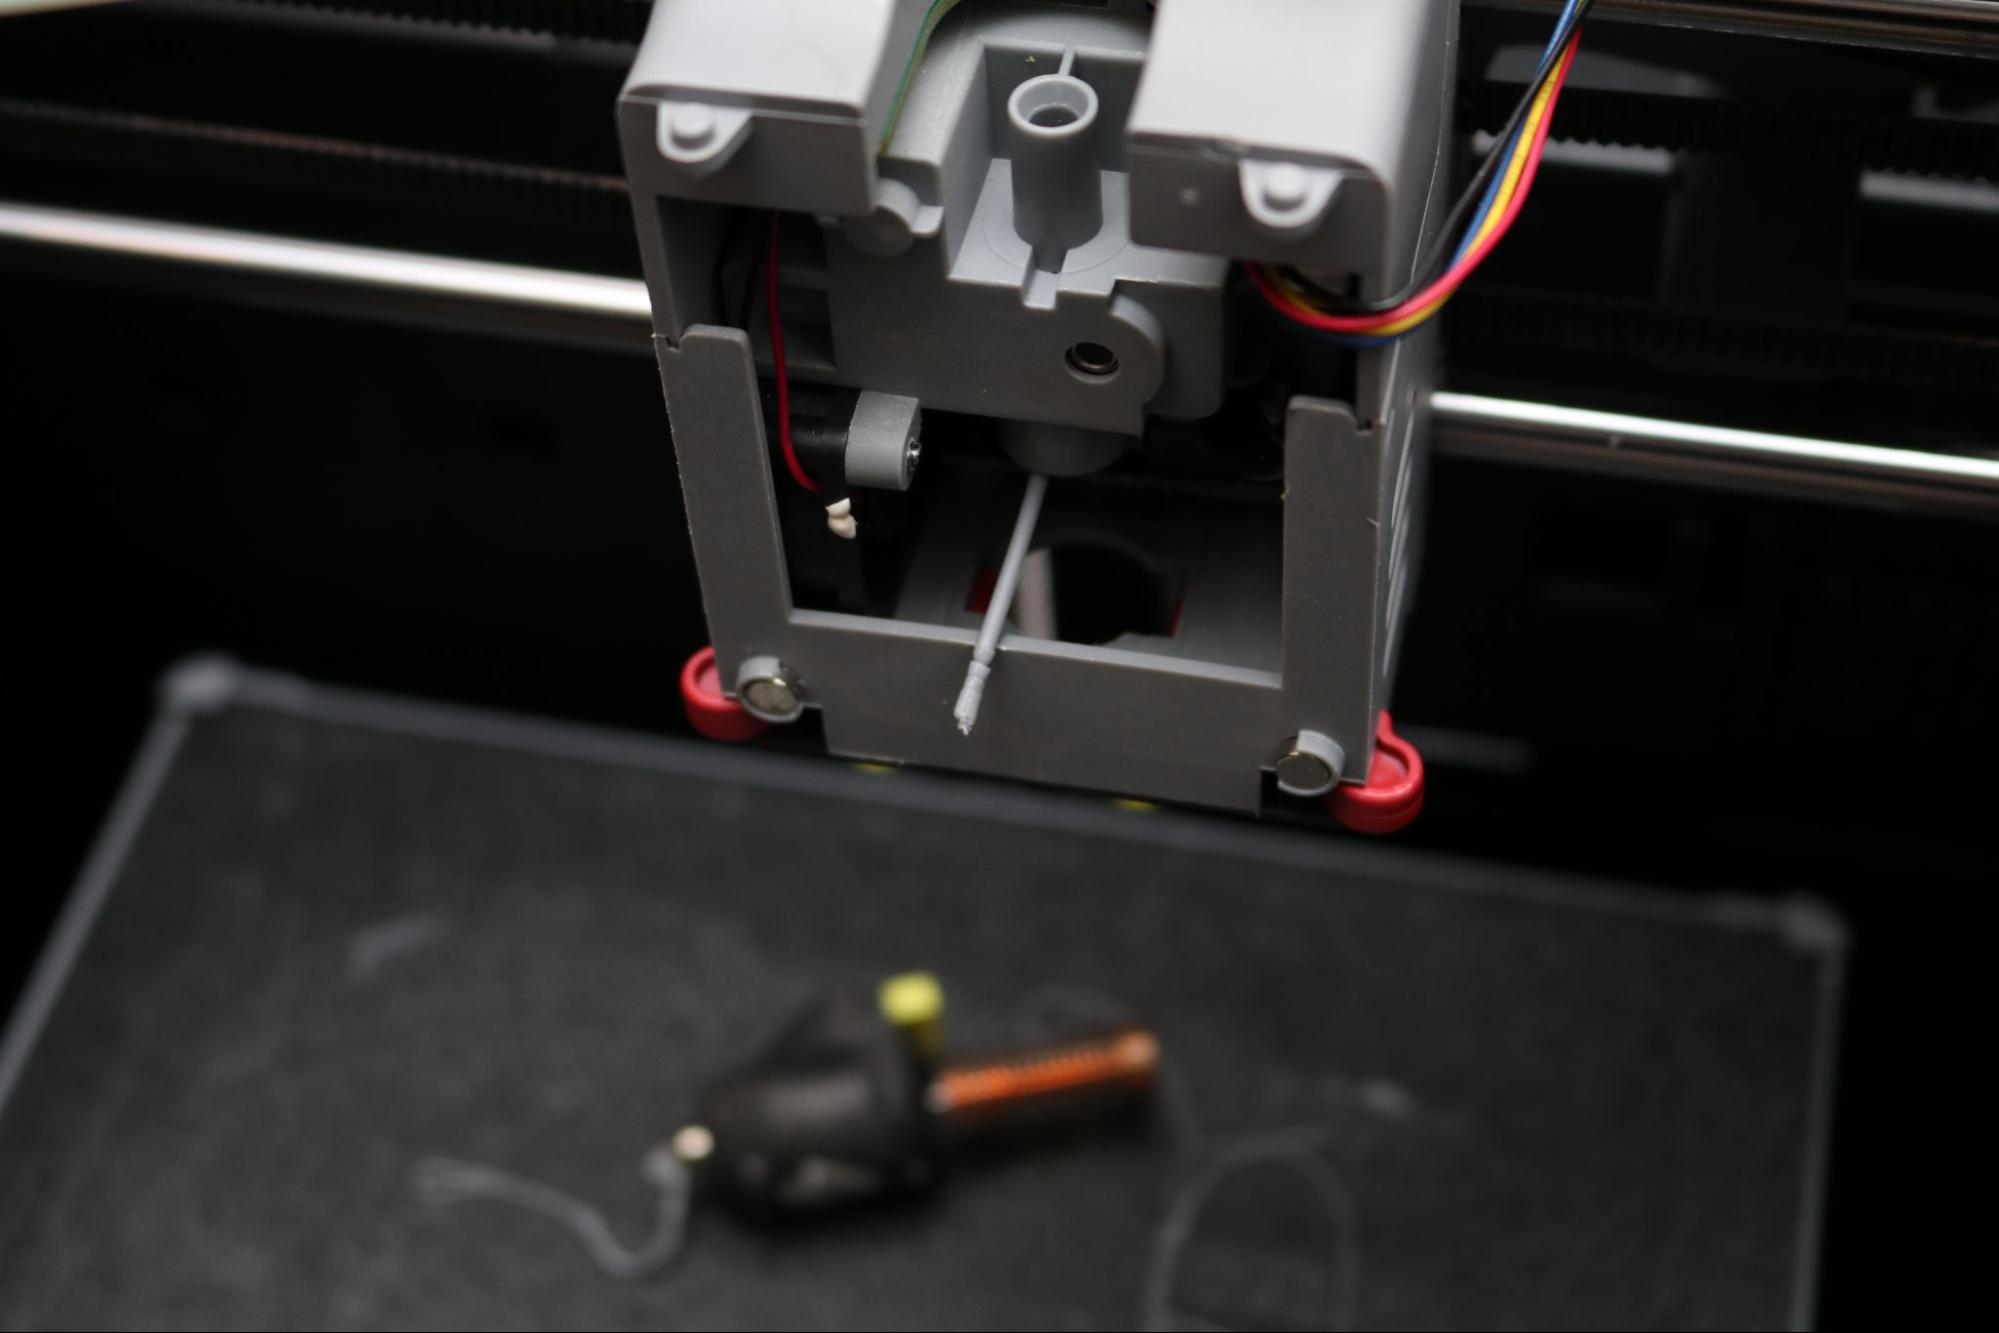
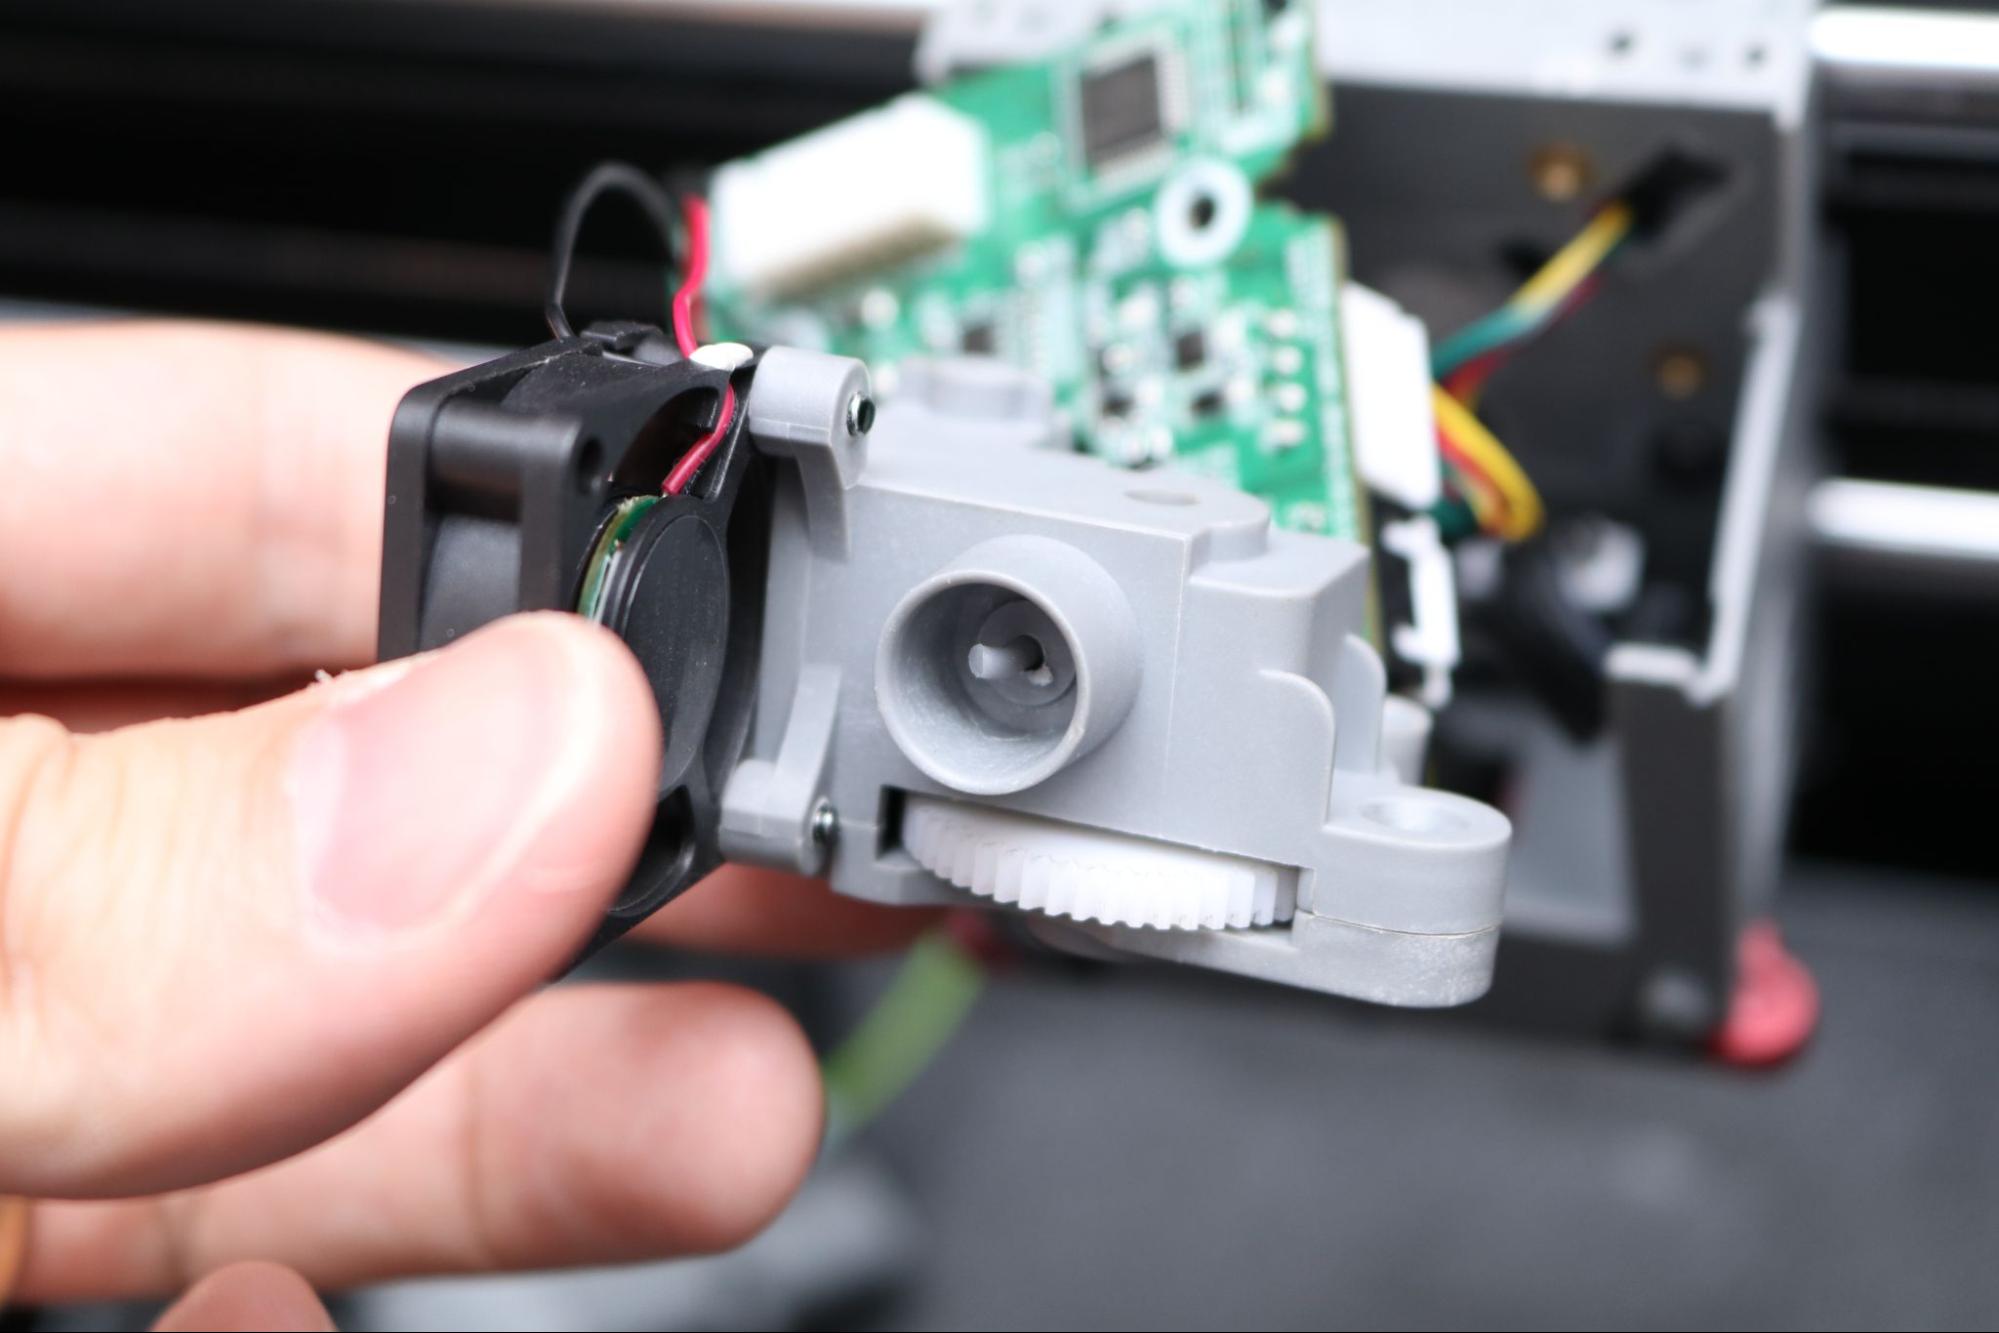
Unfortunately, after printing with TPU, the material changeover resulted in a jam in the extruder. The Adventurer 5M Pro doesn’t offer any retraction moves in the filament swap menu, and can only push filament forward. As a result, some of the TPU got stuck under the gear and had to be removed manually after disassembling the entire extruder assembly. This was a frustrating and time-consuming process that would be a daunting task for any beginner, and the enclosed nature of the extruder assembly doesn’t offer any shortcuts to clear the jam.
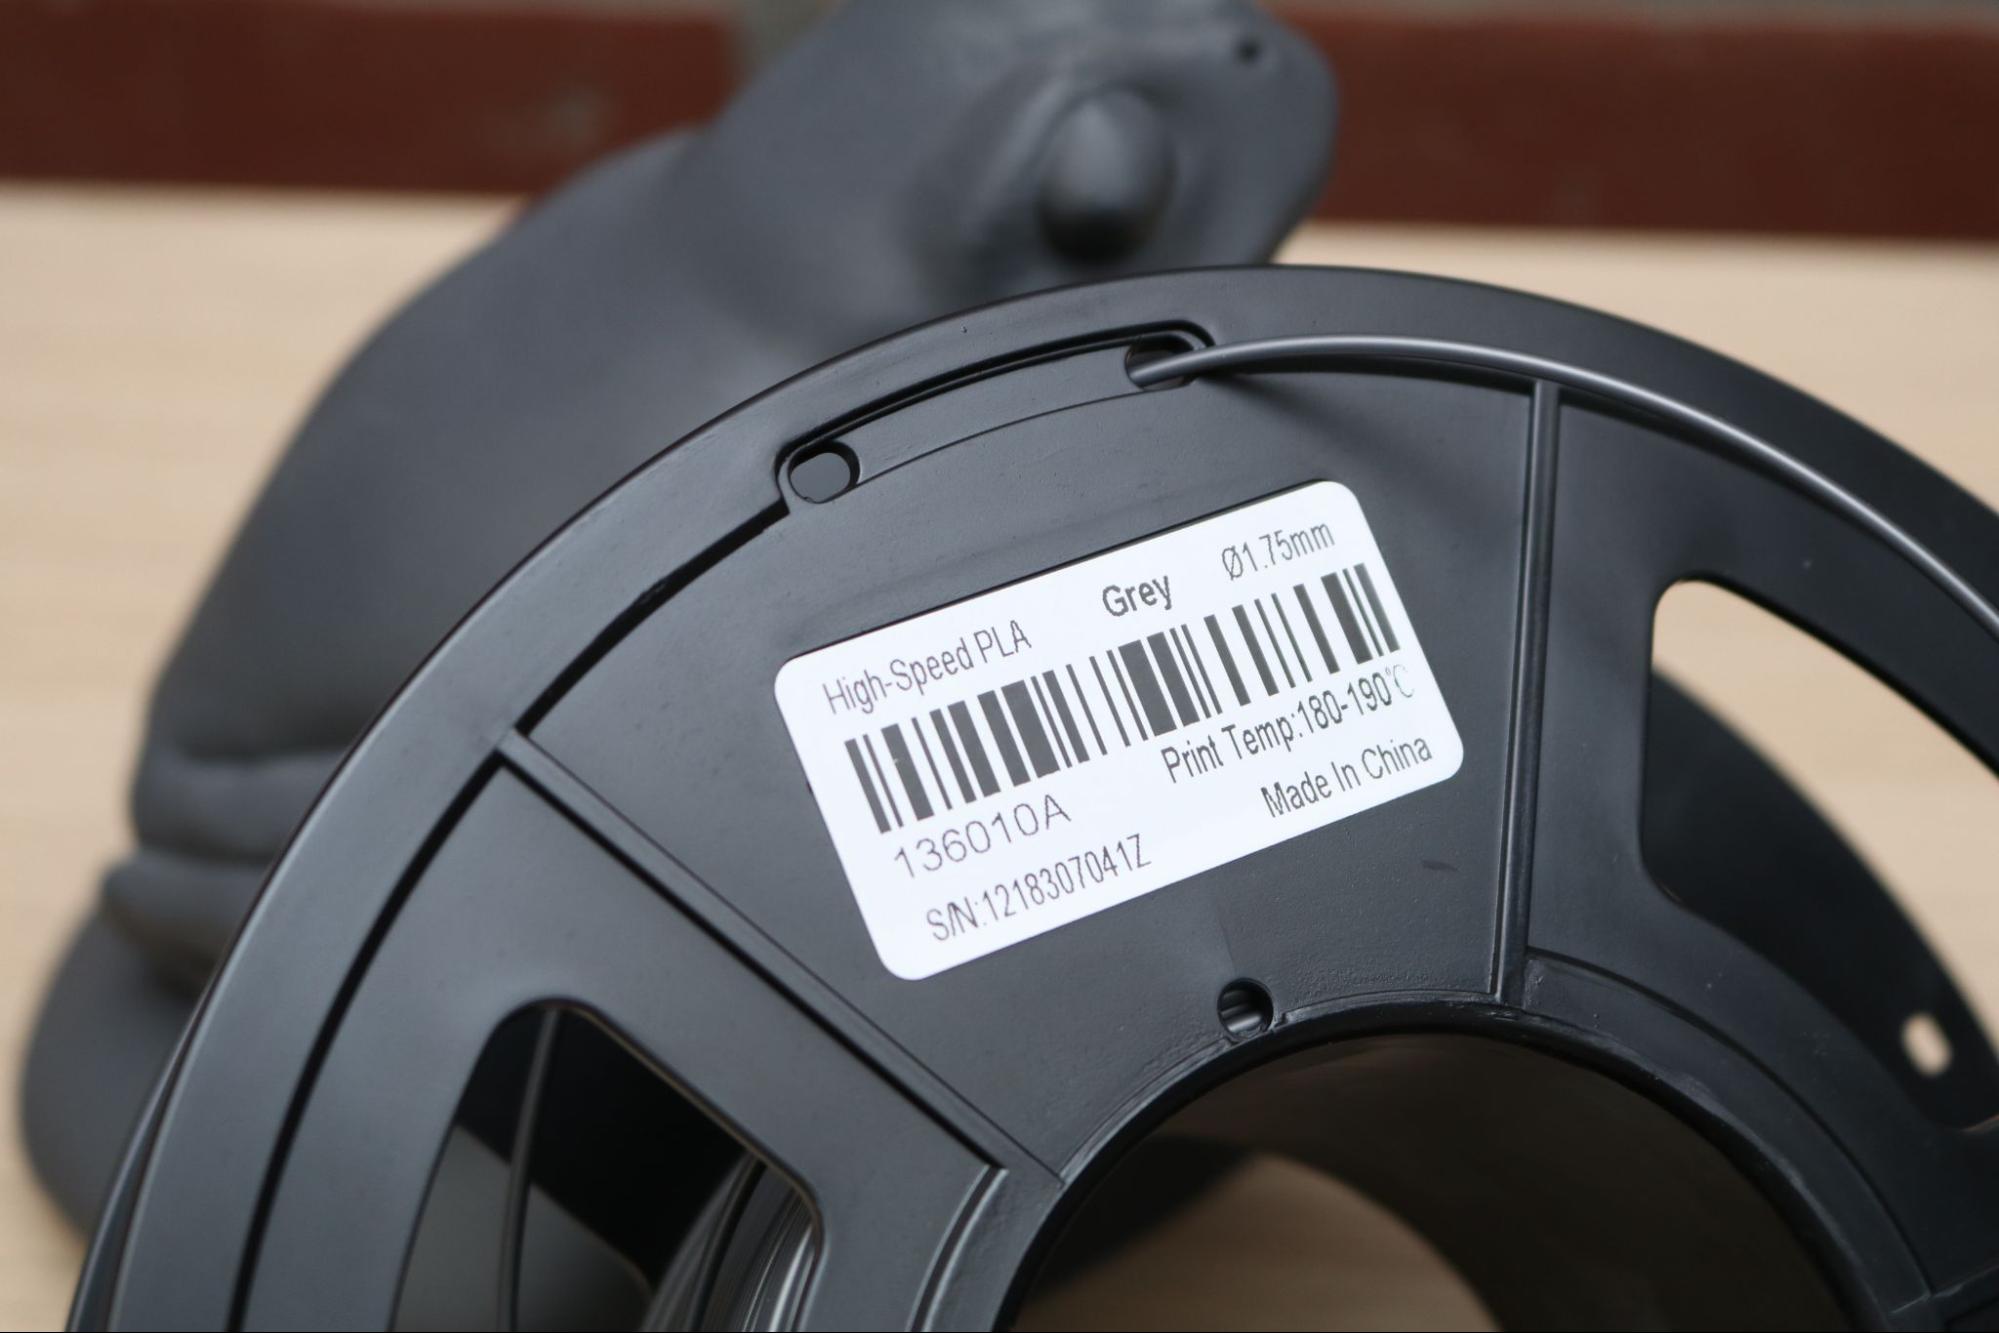
As printers continue to get faster and more efficient, filament manufacturers have responded by offering special “High Speed” variants of filament that are designed for these high-output 3D printers. The Adventurer 5M Pro offers very fast print speeds, so using these materials is a natural progression for users interested in decreasing print time as much as possible.
An example of this type of material is the High-Speed PLA from Sunlu, which is advertised as being designed specifically for high speed 3D printing. As of the writing of this review, “High Speed” is a unitless designation and there is no official consensus on what “High Speed” means or how these materials differ from their standard counterparts.
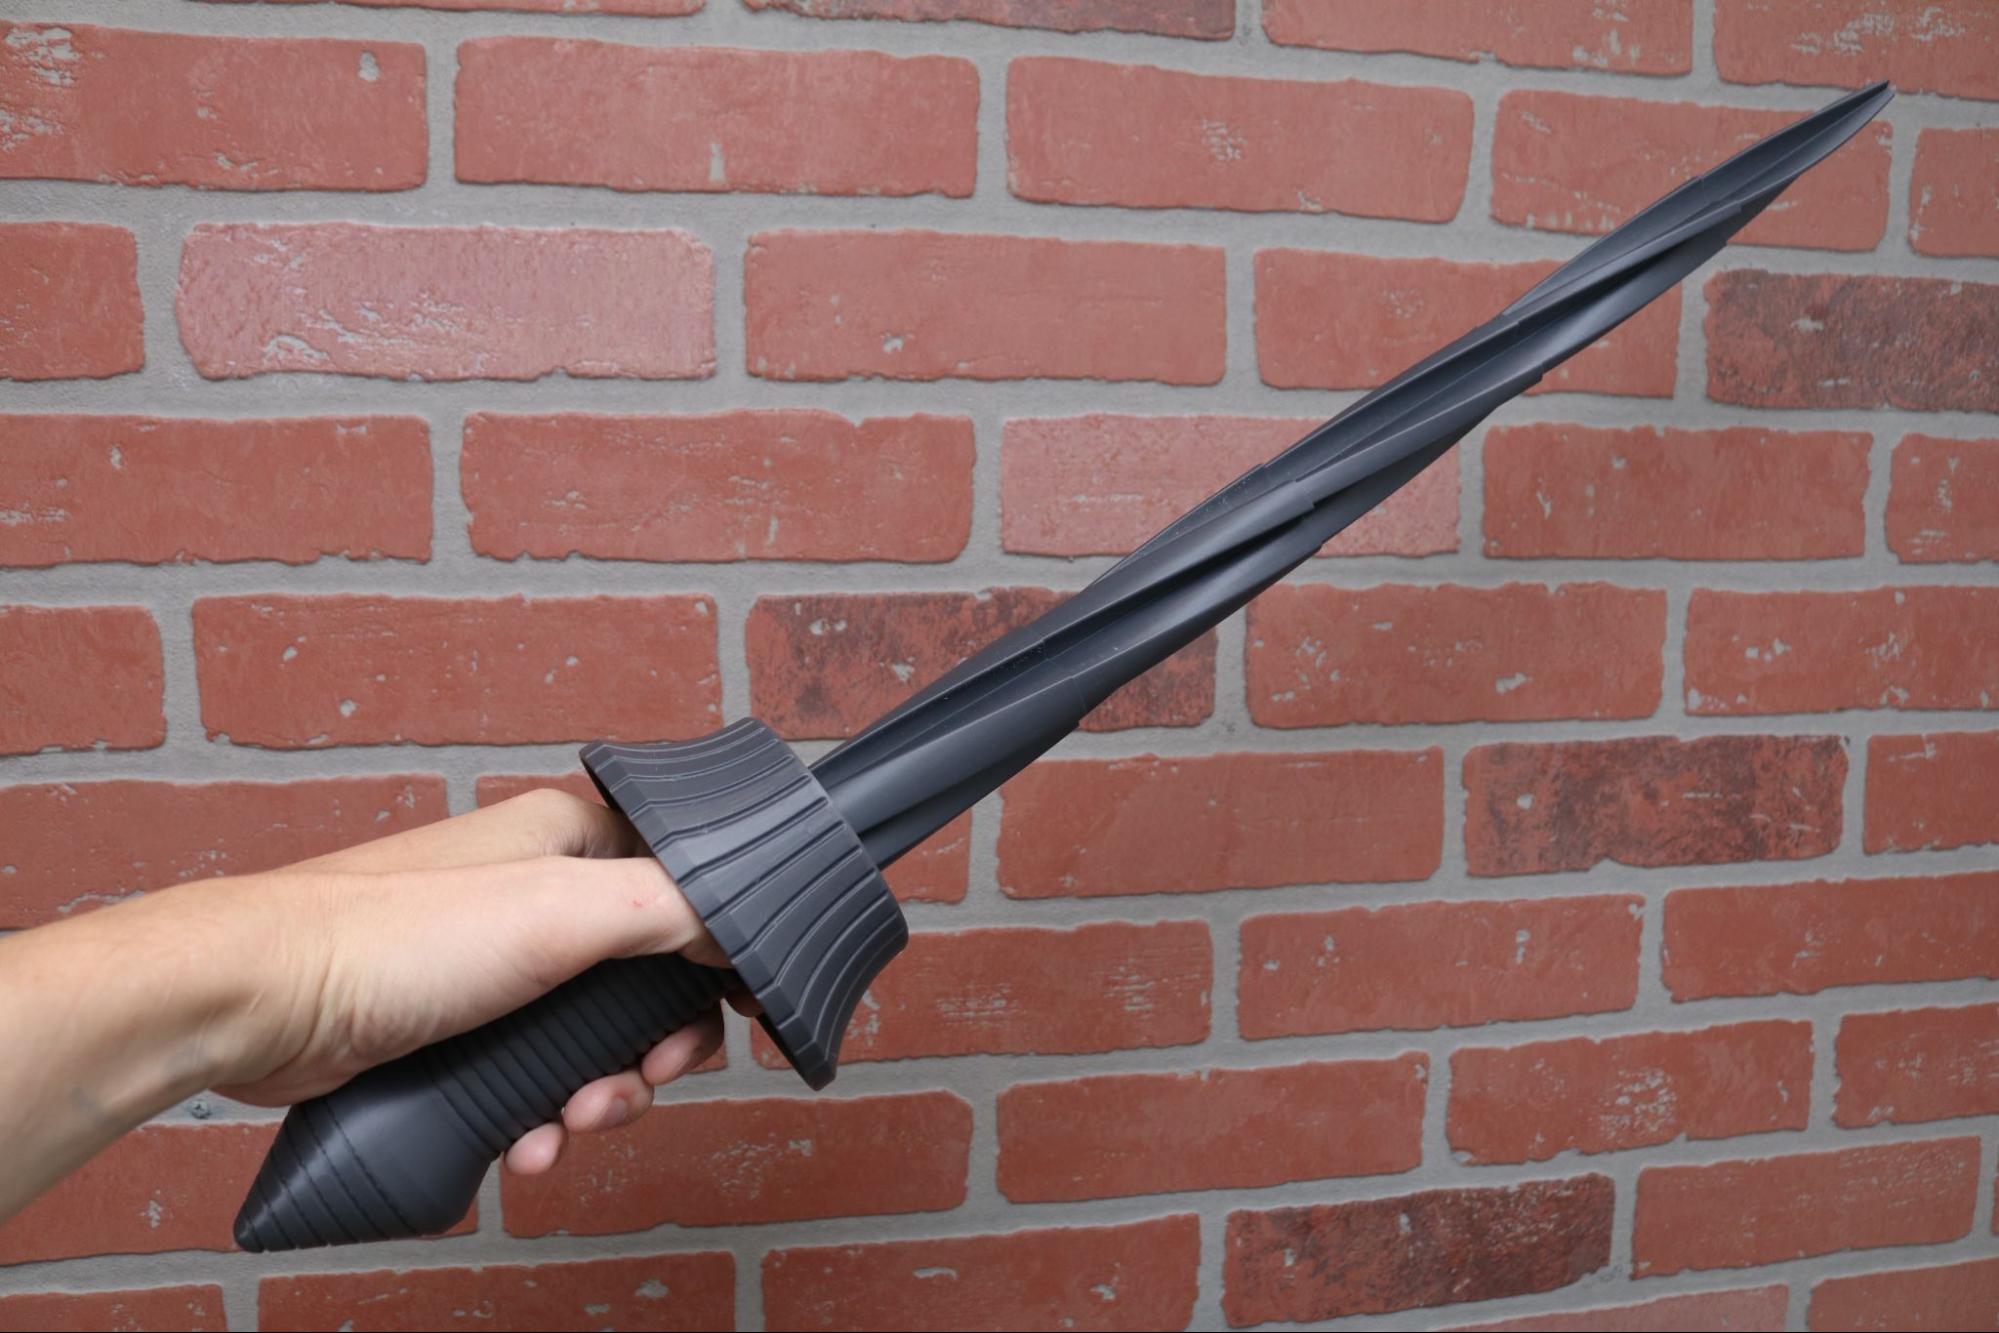
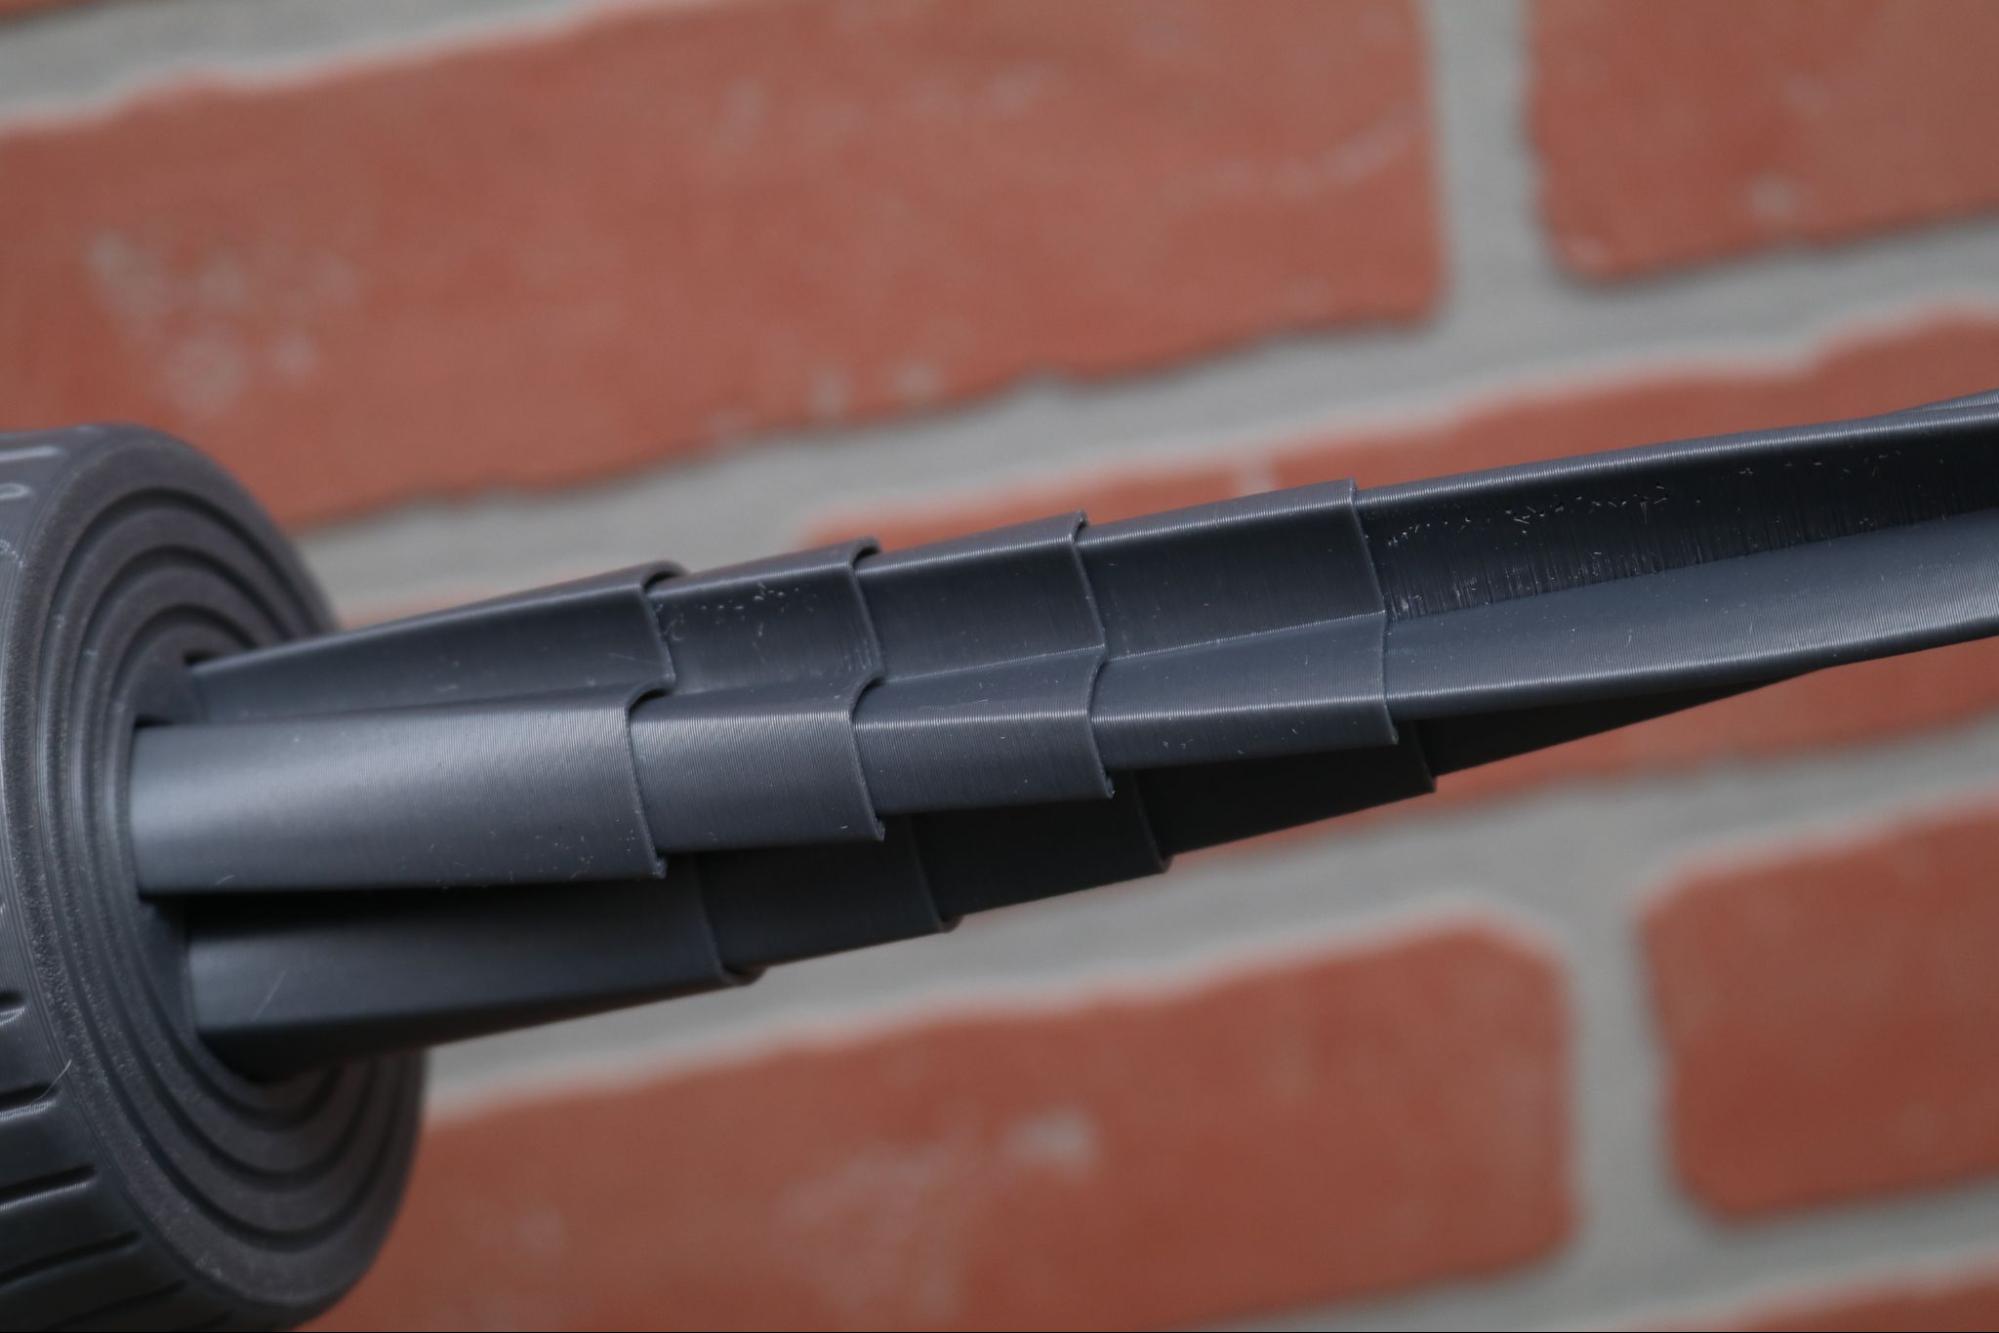
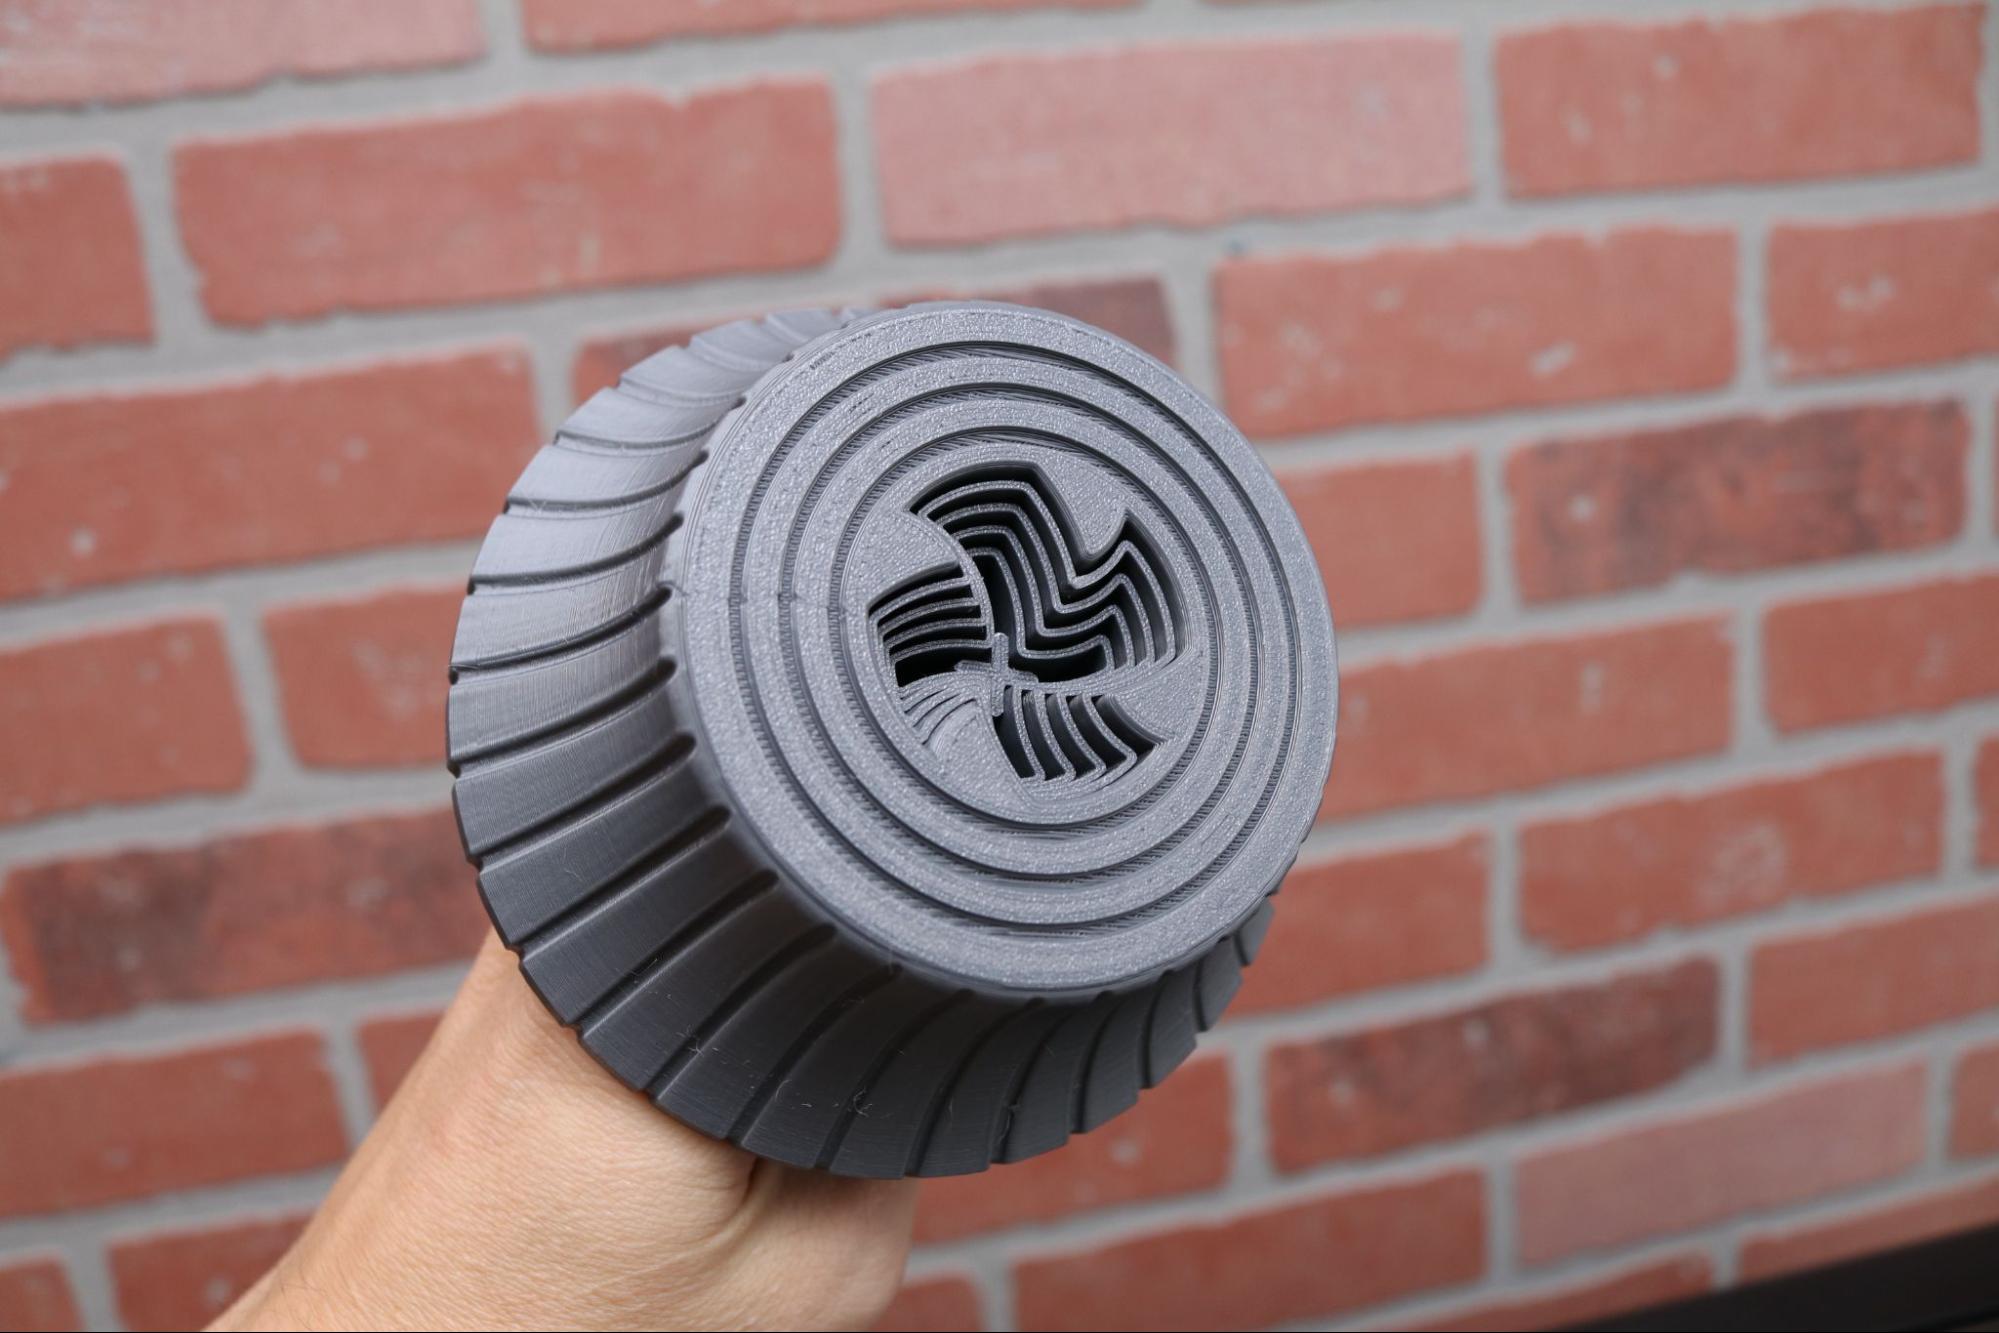
Using the 0.2mm Standard profile, the collapsing Drill Sword by 3D Printing World was printed using Sunlu High Speed PLA. This model features multiple nested pieces which require a high level of accuracy to prevent the walls from fusing together. Prints like this can be tricky if a printer isn’t dialed in, but the Adventurer 5M Pro was able to print it perfectly on the first attempt.
The individual segments all release smoothly with a satisfying ‘sshhk’ sound effect, and there are no bumps or catches on the blades to cause it to slow down during opening. I was impressed with the surface finish from the Sunlu 3D printing material, and the overall print time of just over 6 hours is undeniably impressive for a model of this size.
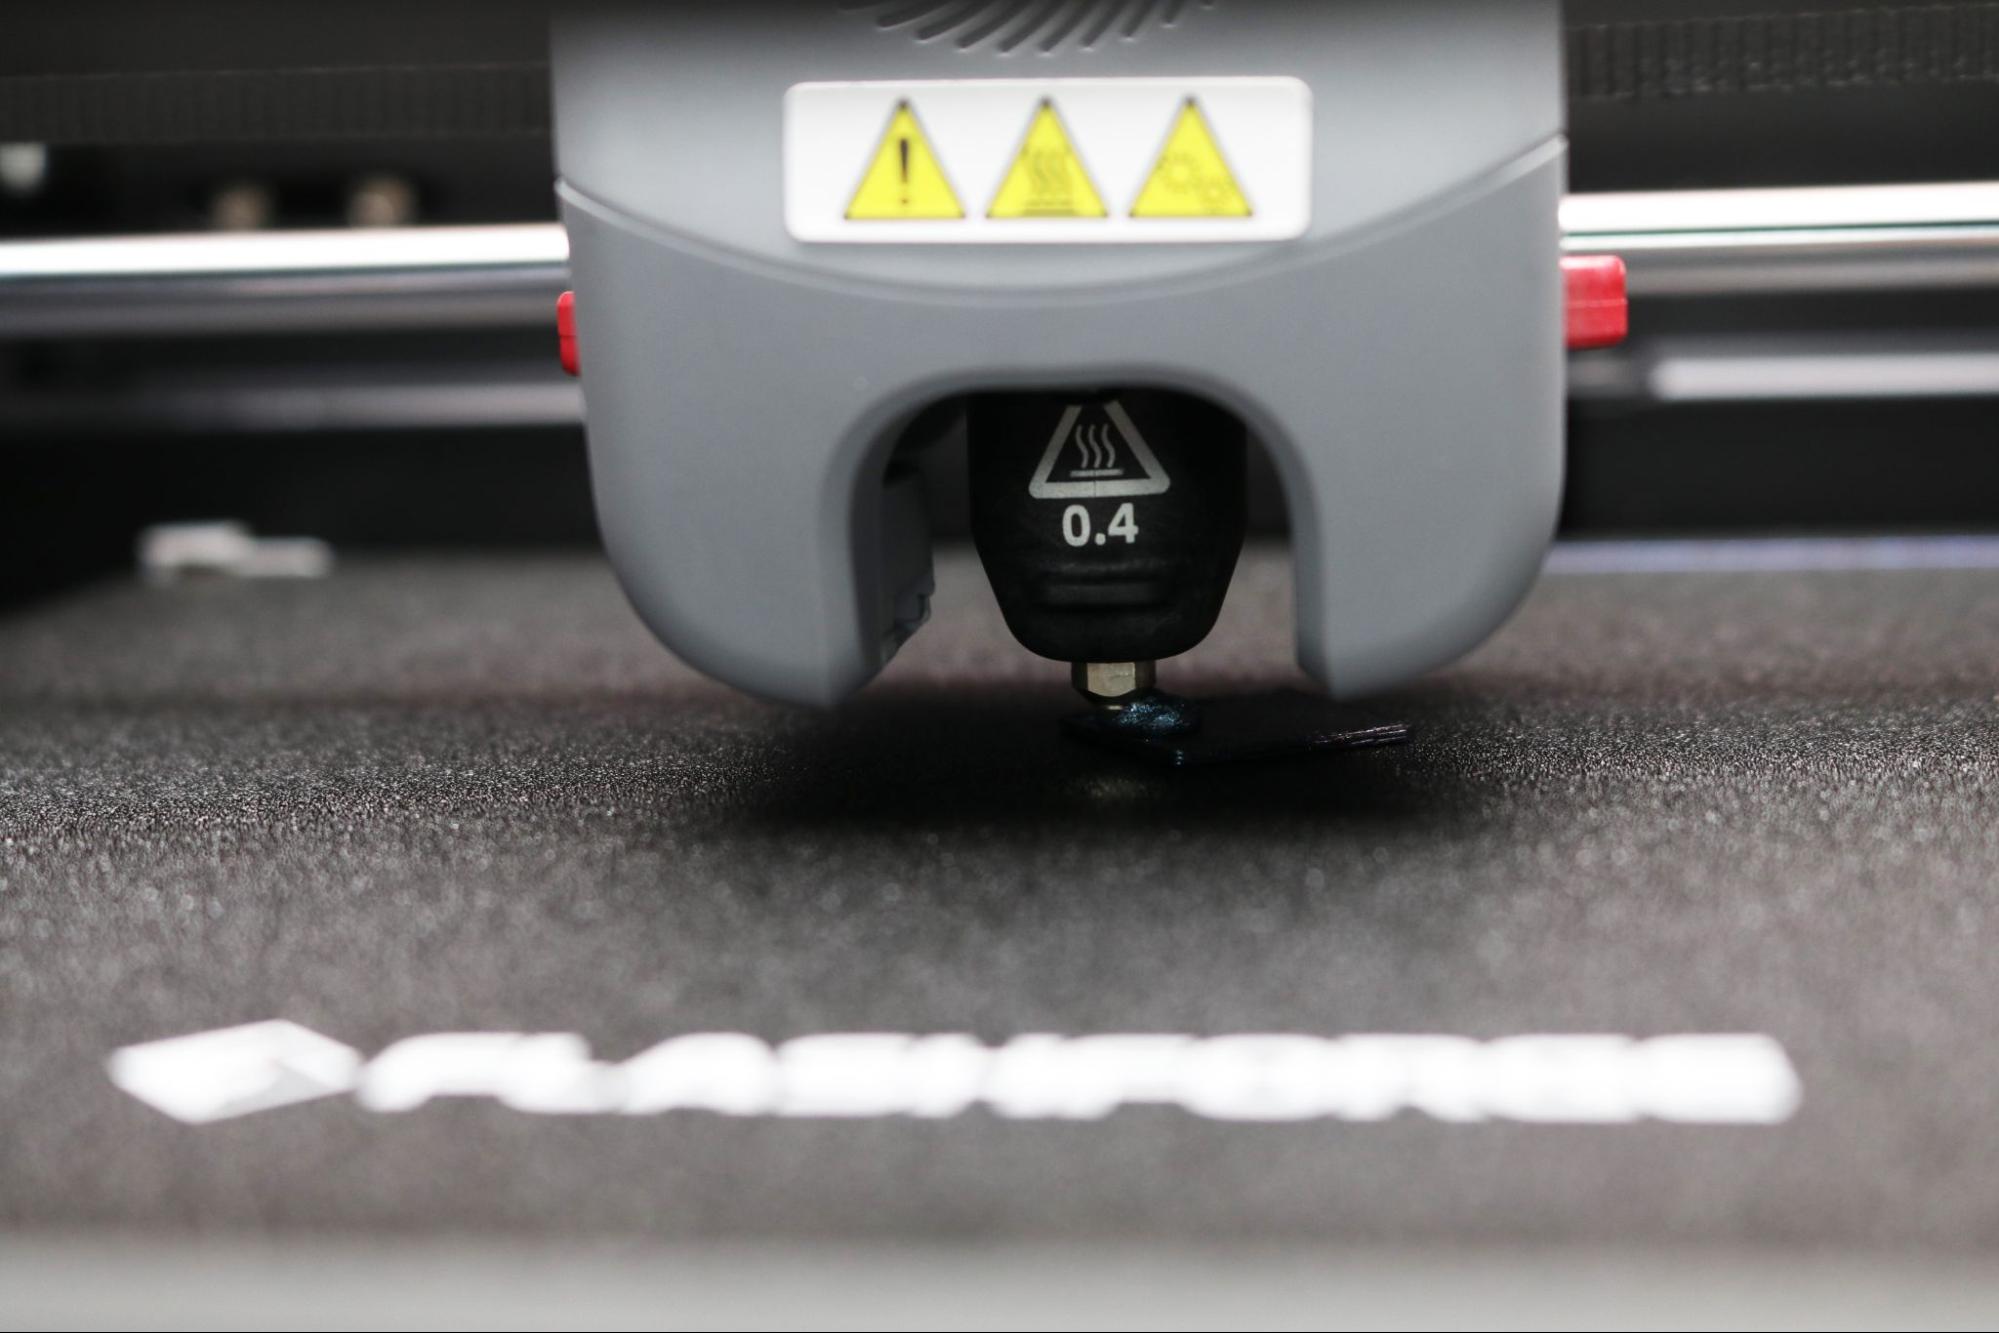
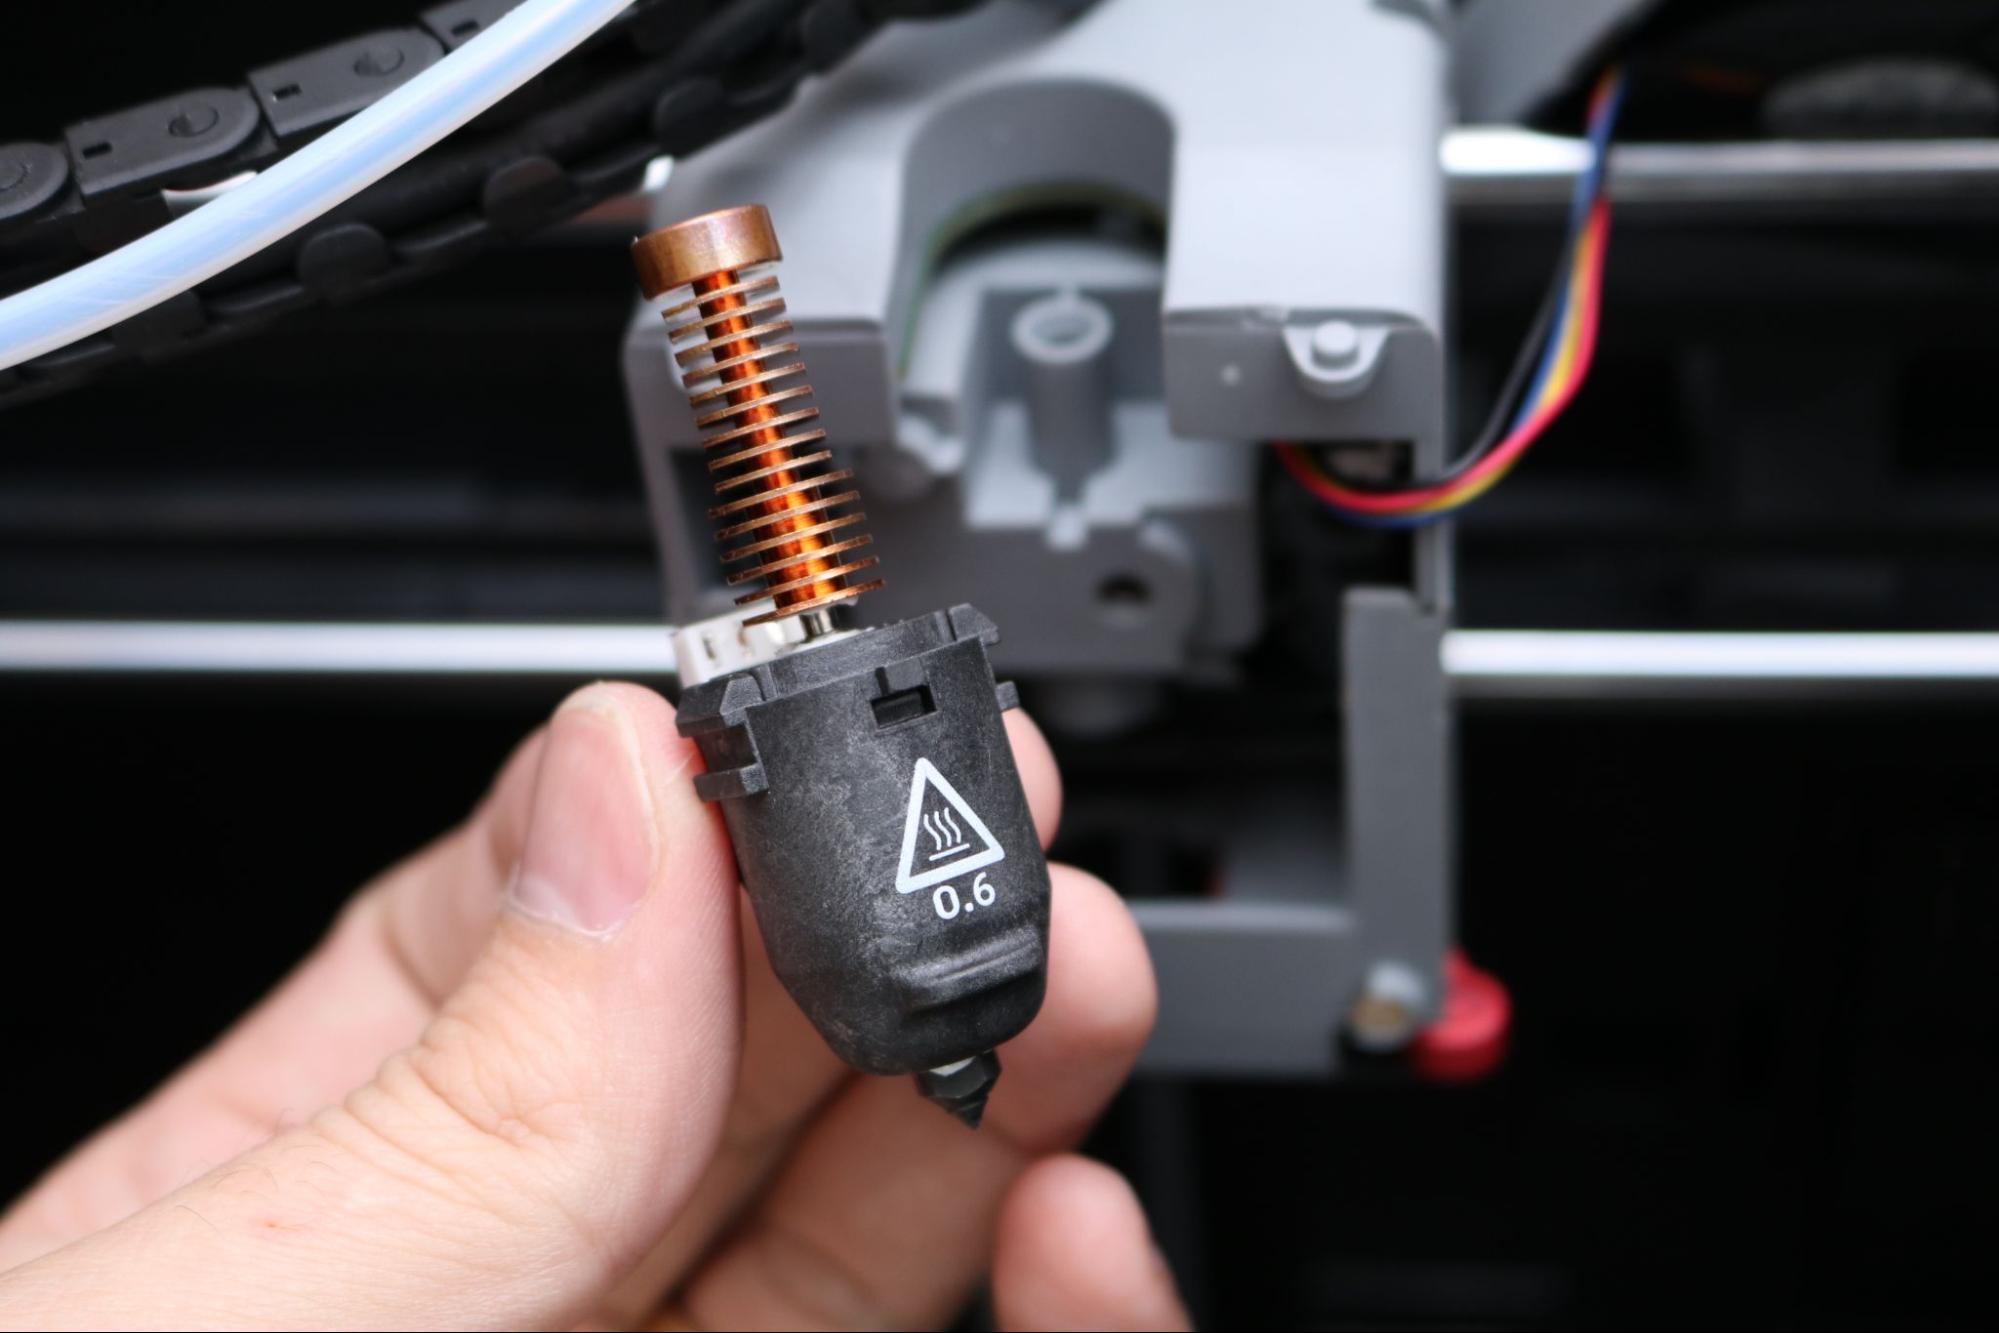
The Adventurer 5M Pro uses a quick-change nozzle system that makes changing nozzle sizes a painless process. The unit that was sent to me originally only included a 0.4mm nozzle, as the 0.6mm nozzle was experiencing delays in manufacturing. Flashforge later sent a 0.6mm nozzle, which I was able to install and use with the printer. Swapping the nozzle only takes a few minutes, but it’s important to recalibrate the build platform to account for any change in Z height after swapping.
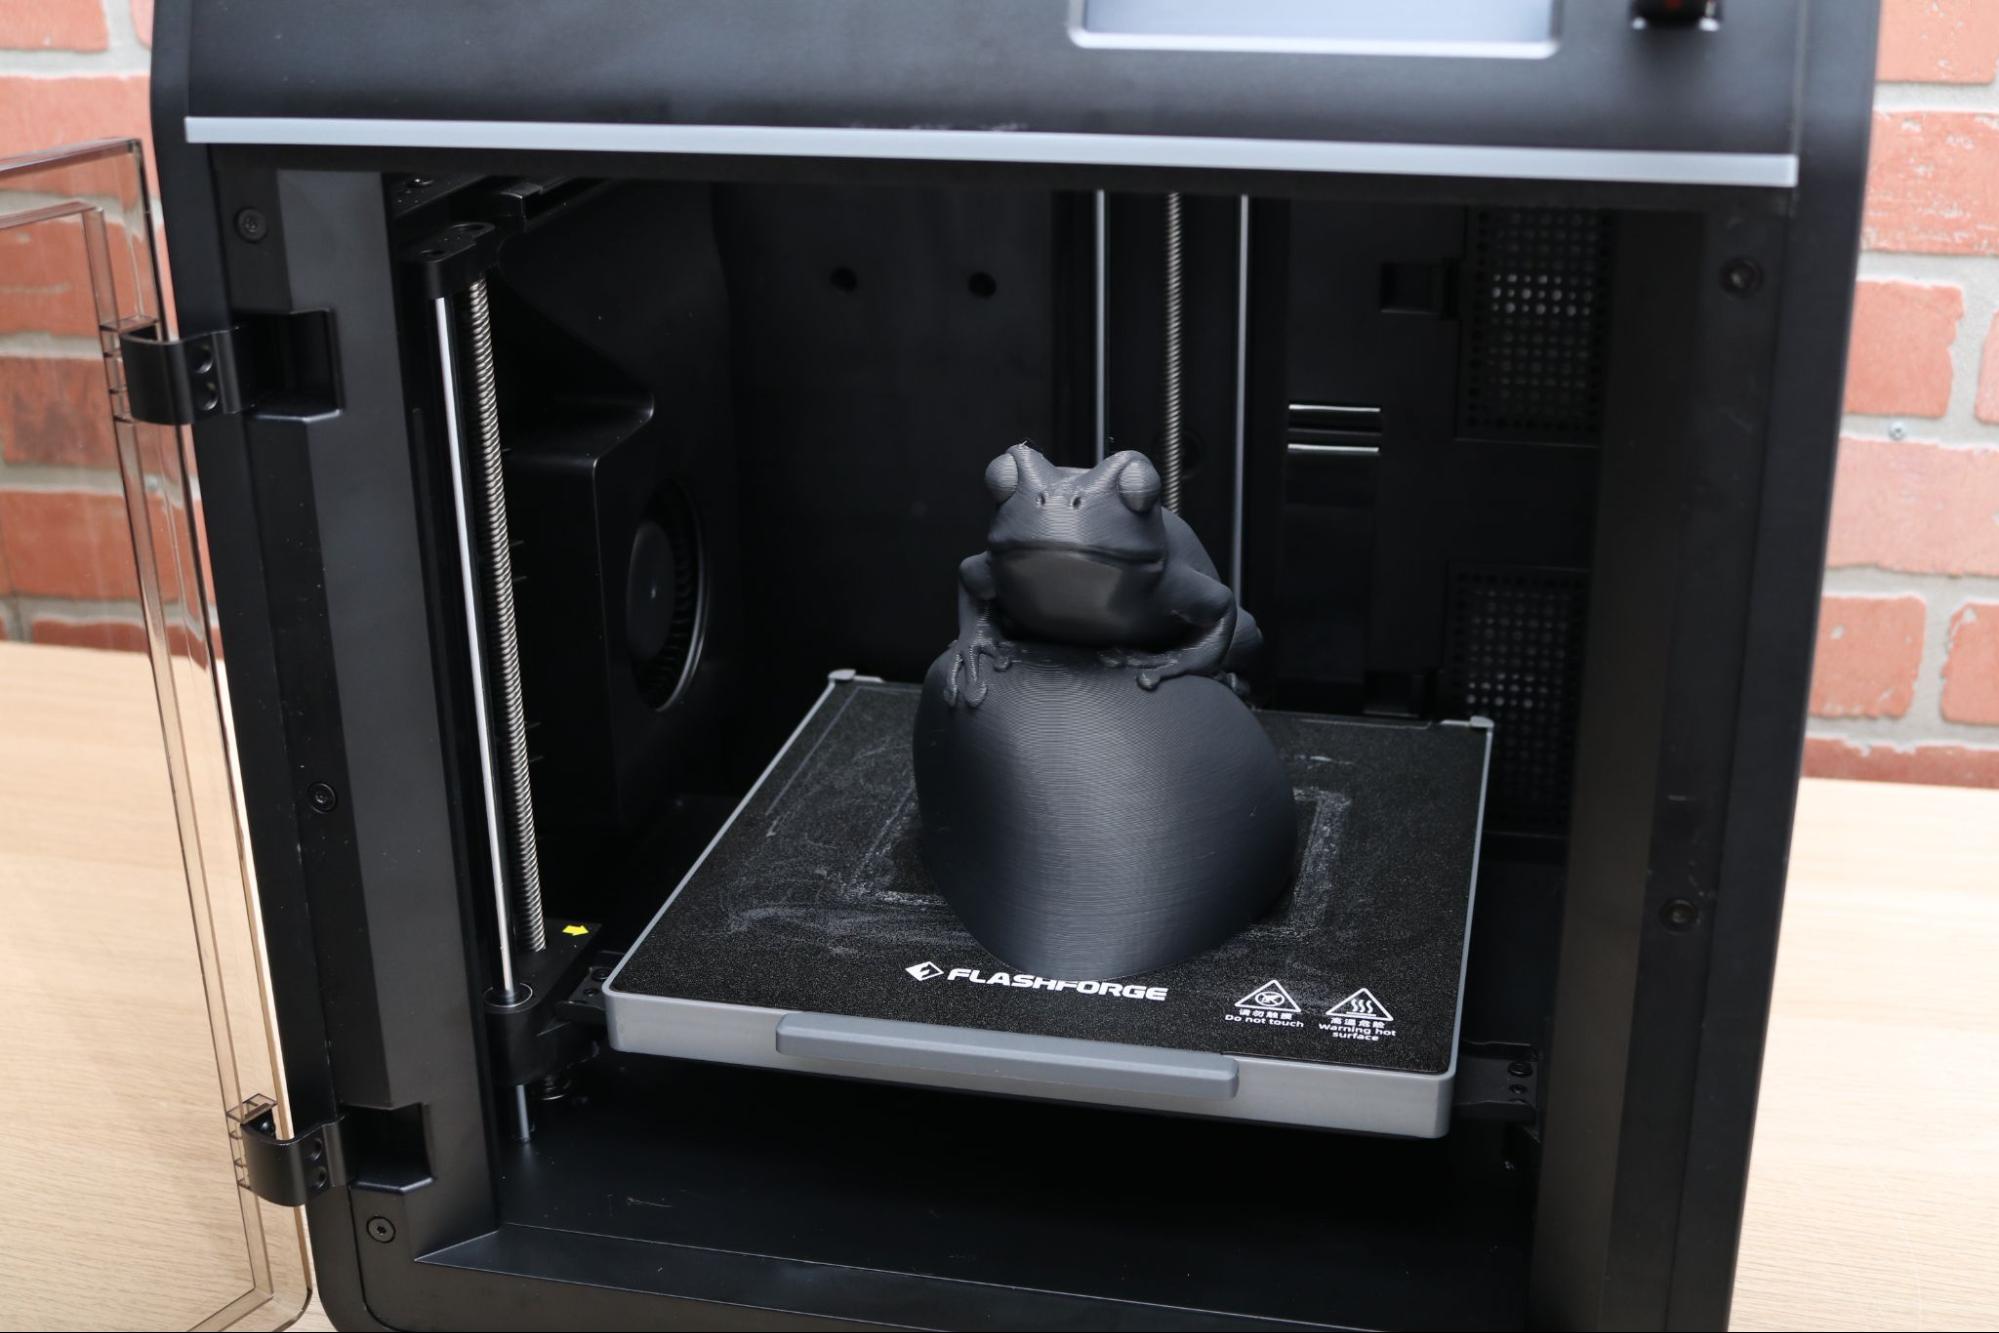
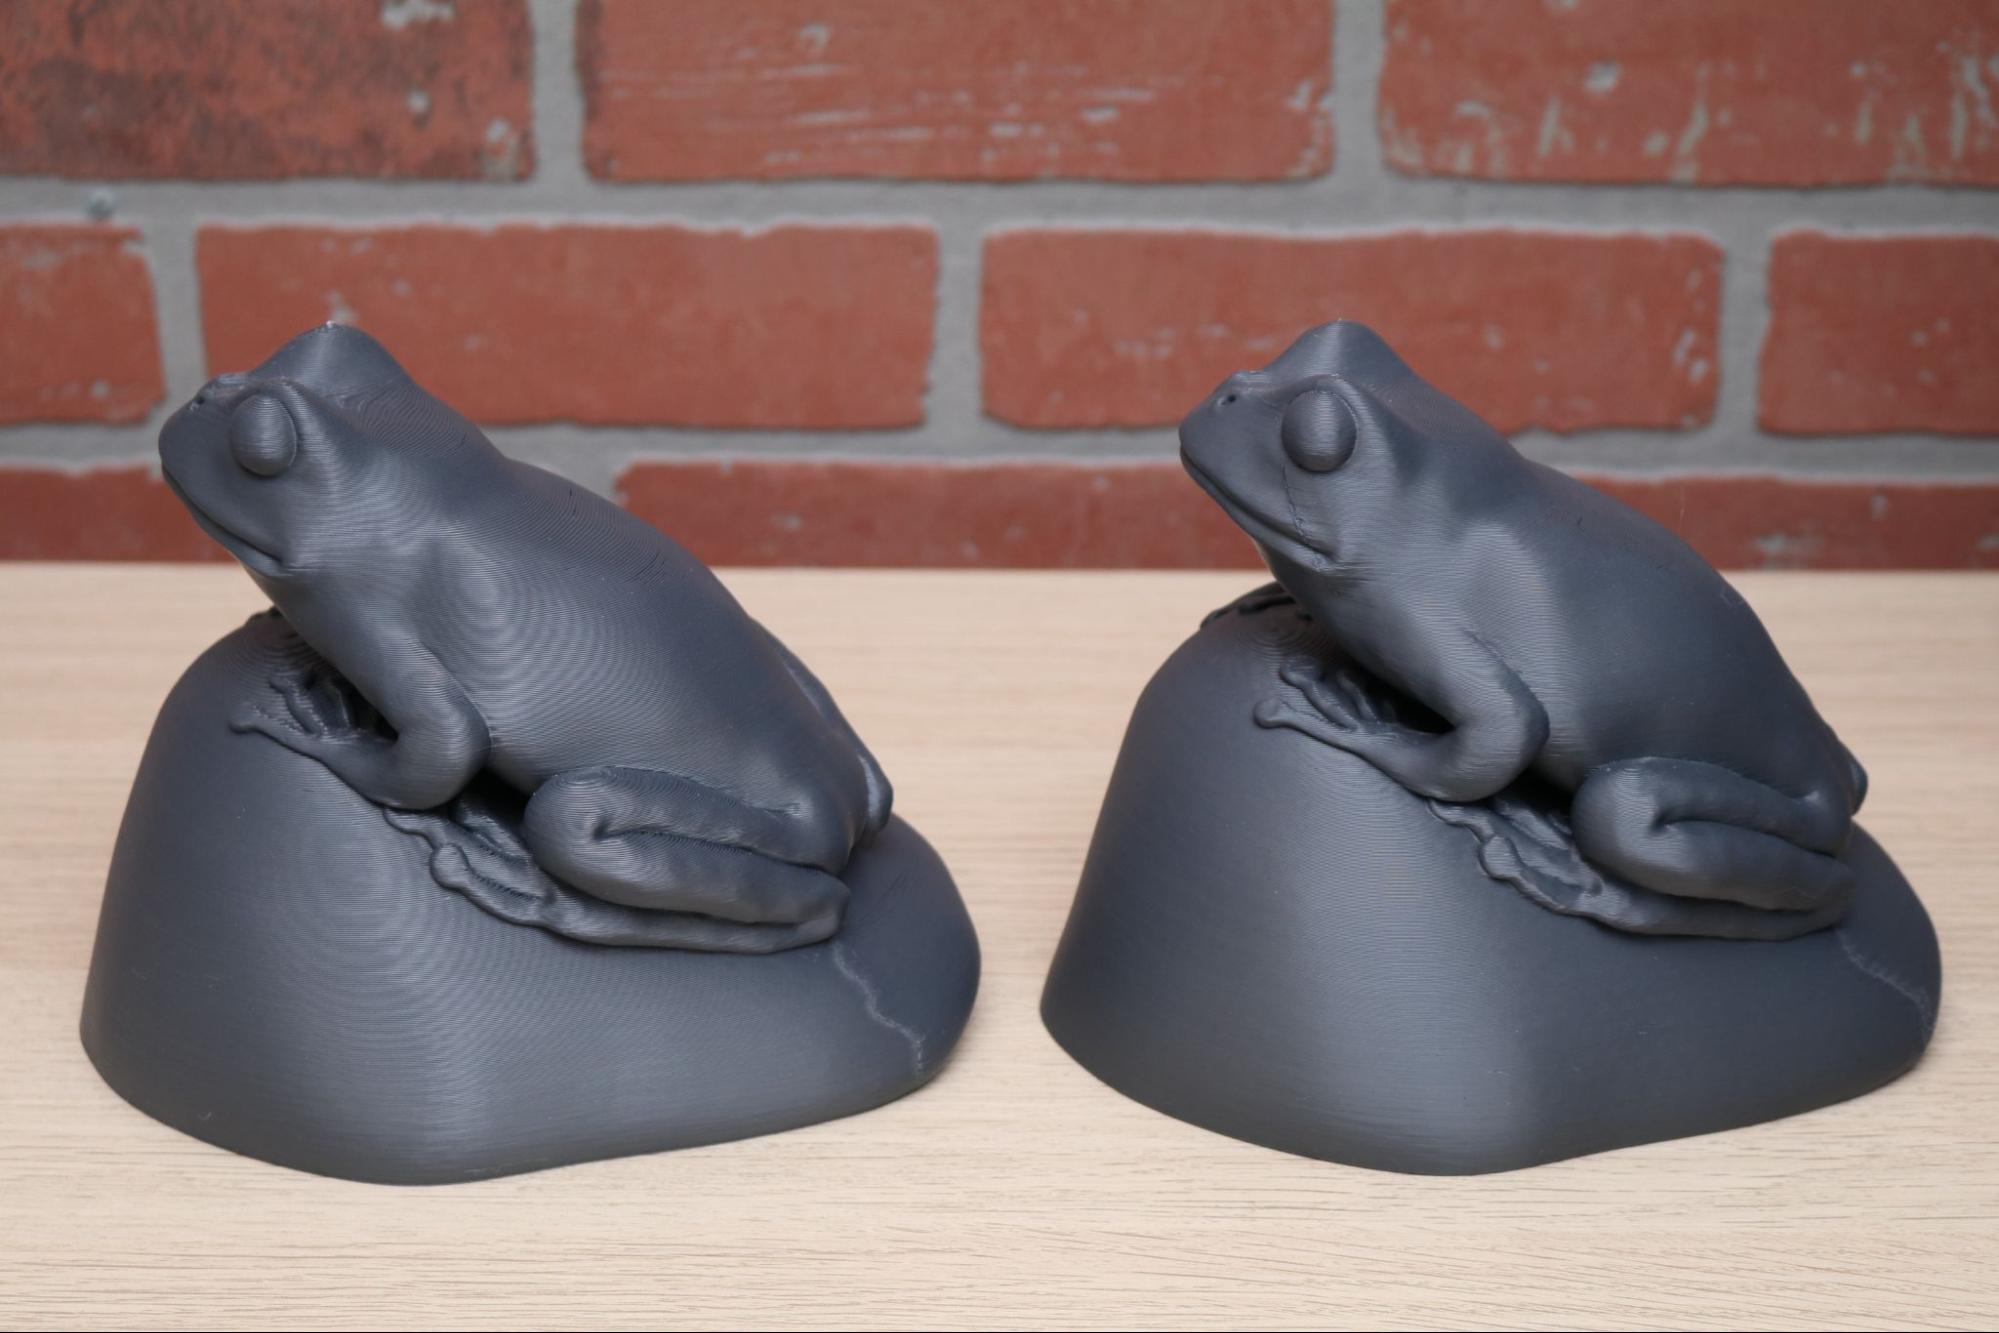
I scaled up the frog by Harald Andersson model to 250% and printed it using the 0.4mm nozzle, using the OrcaSlicer default 0.2mm profile. The model printed in 6 hours and 52 minutes, an impressively fast print given the large size of the model. The same model printed with the 0.6mm nozzle using the 0.3mm layer profile took just over 4 hours, cutting nearly three hours from the print time. For a printer that extrudes material as quickly as the Adventurer 5M Pro, the 0.6mm nozzle is an attractive option for printing large models quickly.
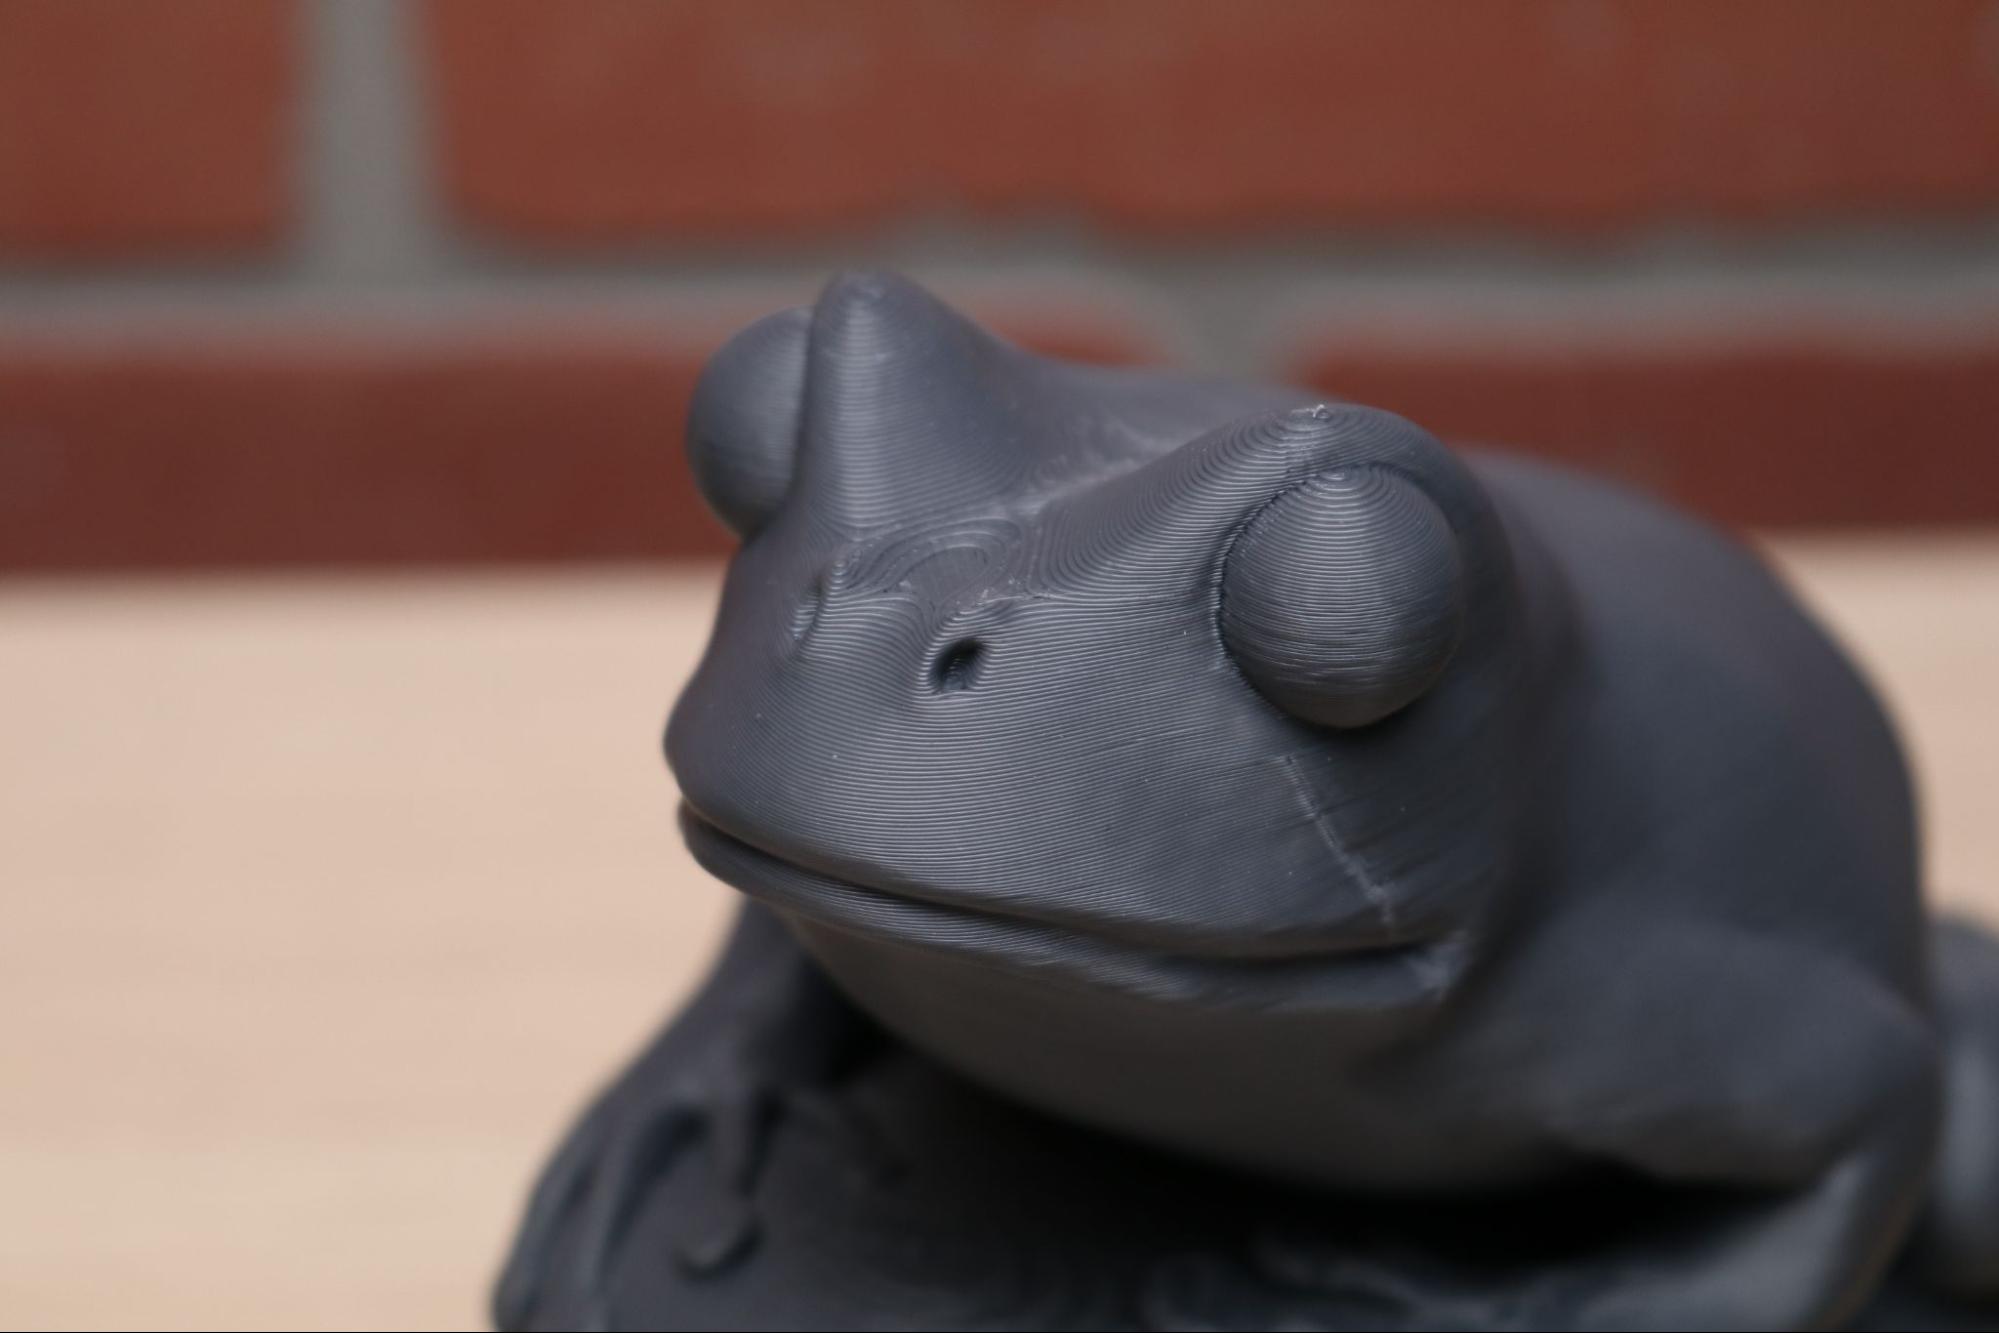
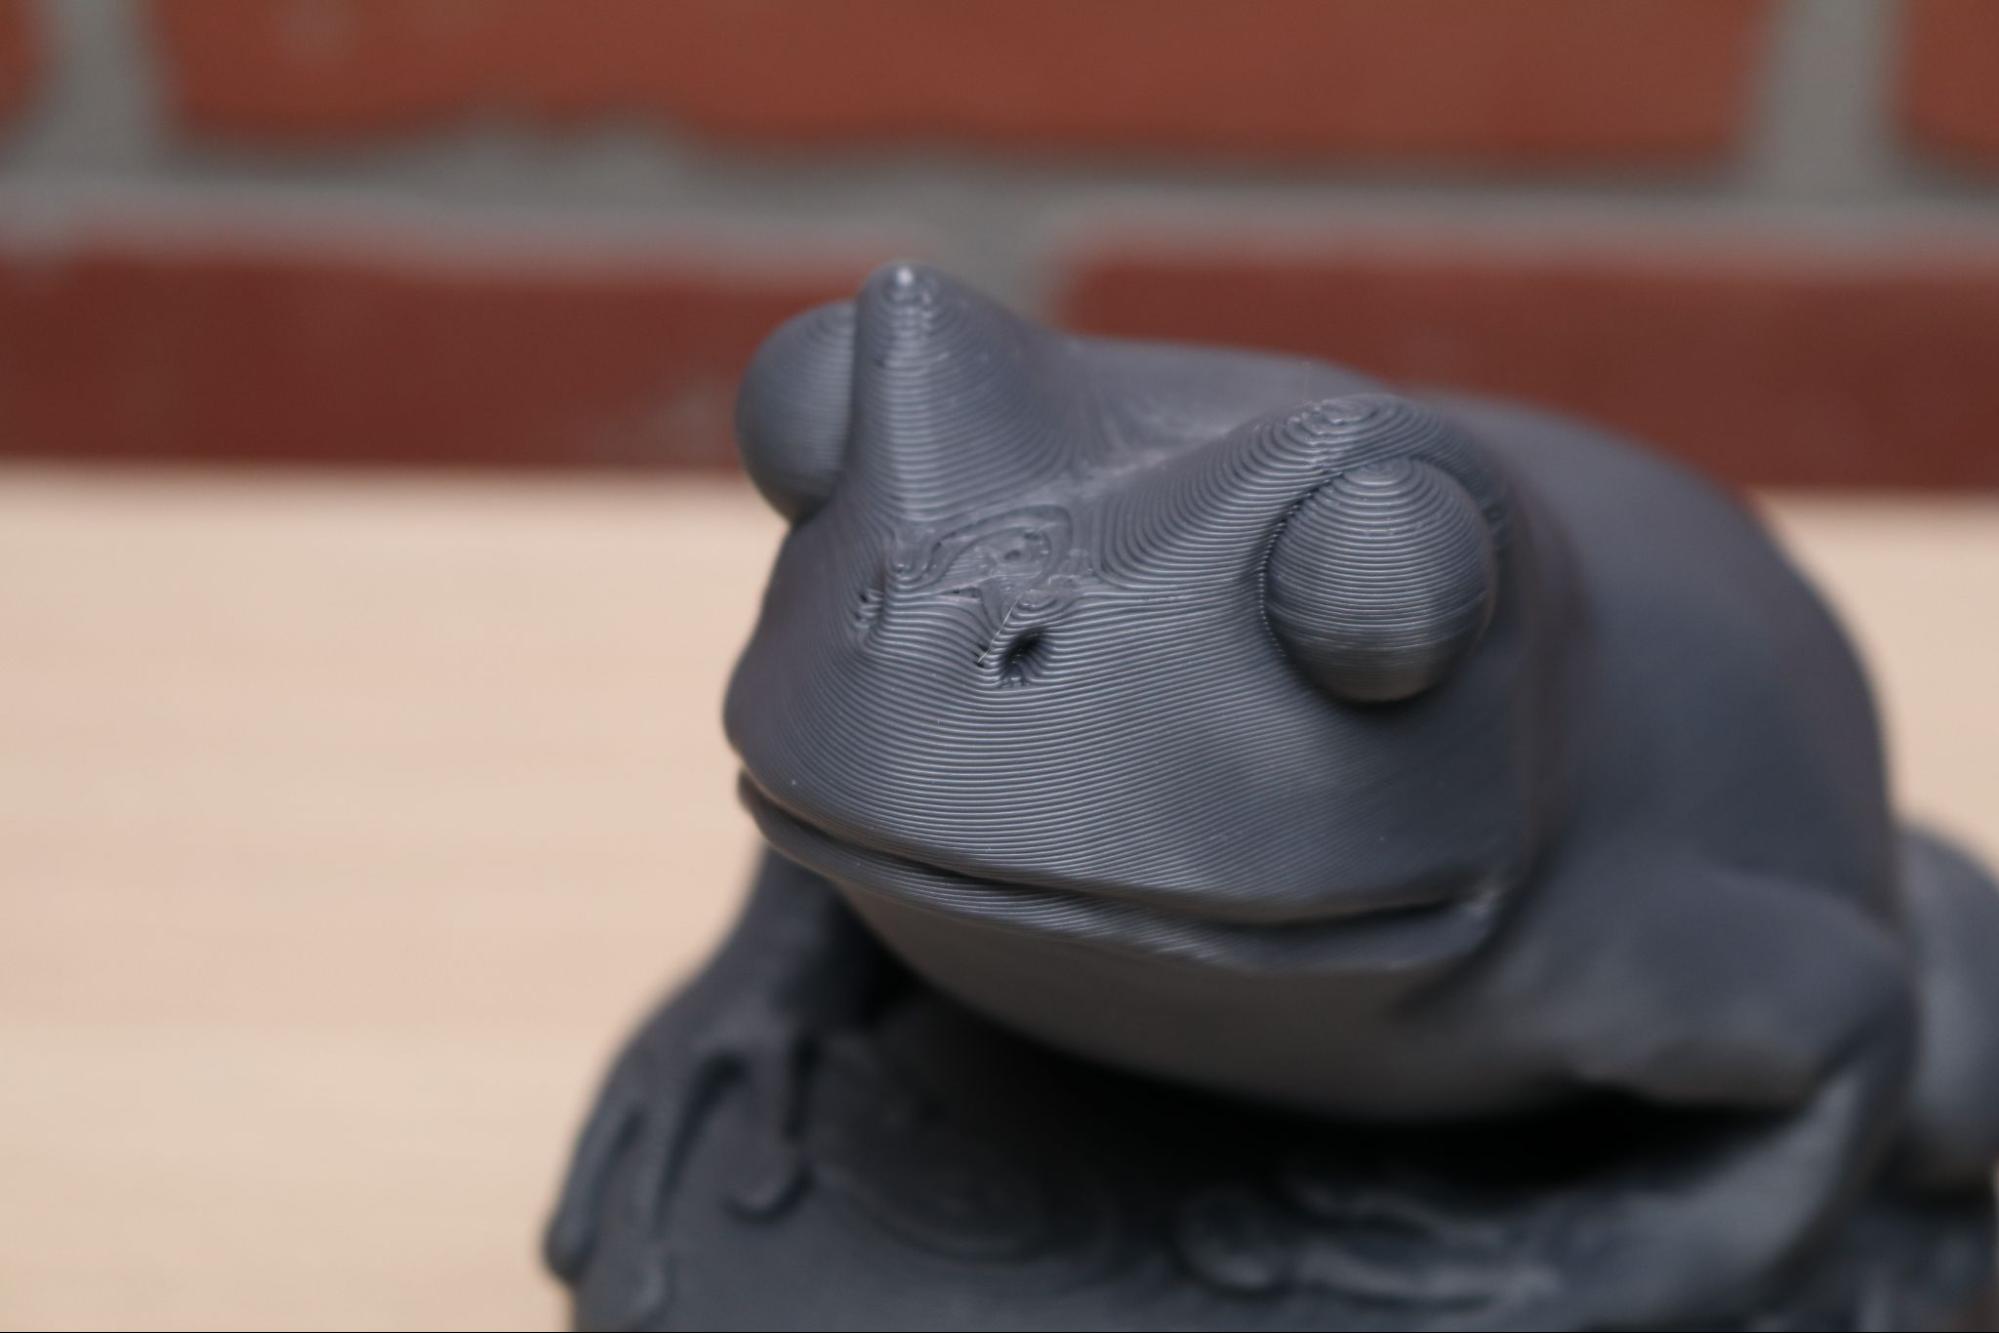
The difference in detail on the printed model is clear when looking up close, and the shallow curved top surfaces suffer the most from the larger layer height. For printing draft models or just trying to print a model for general fit and function, the larger nozzle makes sense as it can significantly decrease the amount of time for the build to complete.
Bottom Line
A clear competitor to high-performance 3D printers like the Bambu Lab P1P / P1S, the Adventurer 5M Pro offers lightning-fast print speeds at the expense of a less-than-stellar software experience. It’s easy to see the move away from the loose wires of early DIY 3D printer kits and a shift into a more polished experience for customers who just want to start printing as soon as possible once the printer is out of the box. Unfortunately, the FlashPrint 5 software is the weak link in this otherwise impressive chain.
Priced at $599 direct from Flashforge, the Adventurer 5M Pro is a prosumer desktop FDM 3D printer for users who don’t need multiple colors or materials in a single print. It’s worth noting that the Bambu Lab P1P (one of the best 3D printers) is the same price and offers a more streamlined out-of-the-box experience. The high speed capabilities of this printer are impressive, but the overall experience lacks polish. If you’re interested in printing multiple materials, a printer like the Bambu Labs P1S with AMS comes in at under $1,000. If you don’t need as large a build volume, the user-friendly AnkerMake M5C retails for $399 and provides fast print speeds and a stripped-down user interface.
MORE: Best 3D Printers
MORE: Best Budget 3D Printers
MORE: Best Resin 3D Printers

Andrew Sink first used a 3D printer in 2012, and has been enthusiastically involved in the 3D printing industry ever since. Having printed everything from a scan of his own brain to a peanut butter and jelly sandwich, he continues to dive ever more deeply into the endless applications of additive technology. He is always working on new experiments, designs, and reviews and sharing his results on Tom's Hardware, YouTube, and more.
