NZXT H440 Mid-Tower Case Review
Big changes are afoot at NZXT. The company's new H440 mid-tower chassis doesn’t have any bays for externally-facing 5.25-inch drives. The company assures us that there are plenty of features to take up that space and make your system look even better.
Installation
Power Supply Installation and Cable Routing
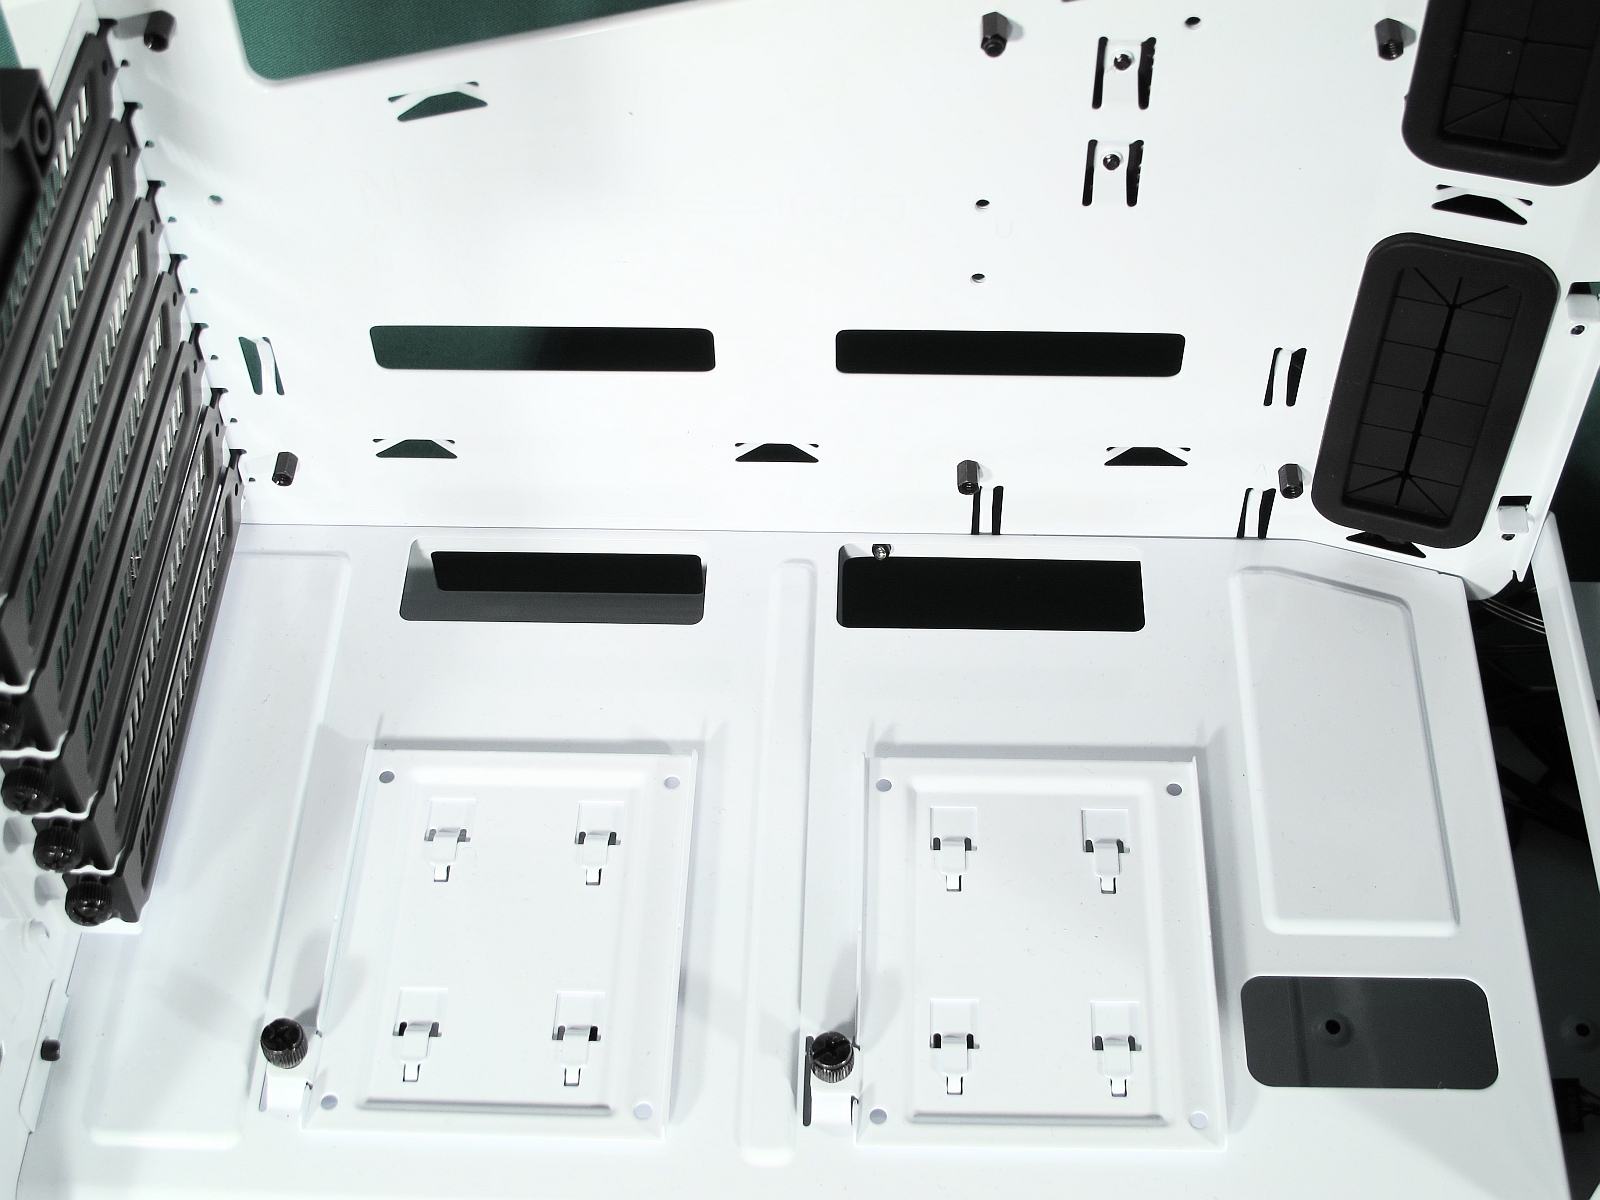
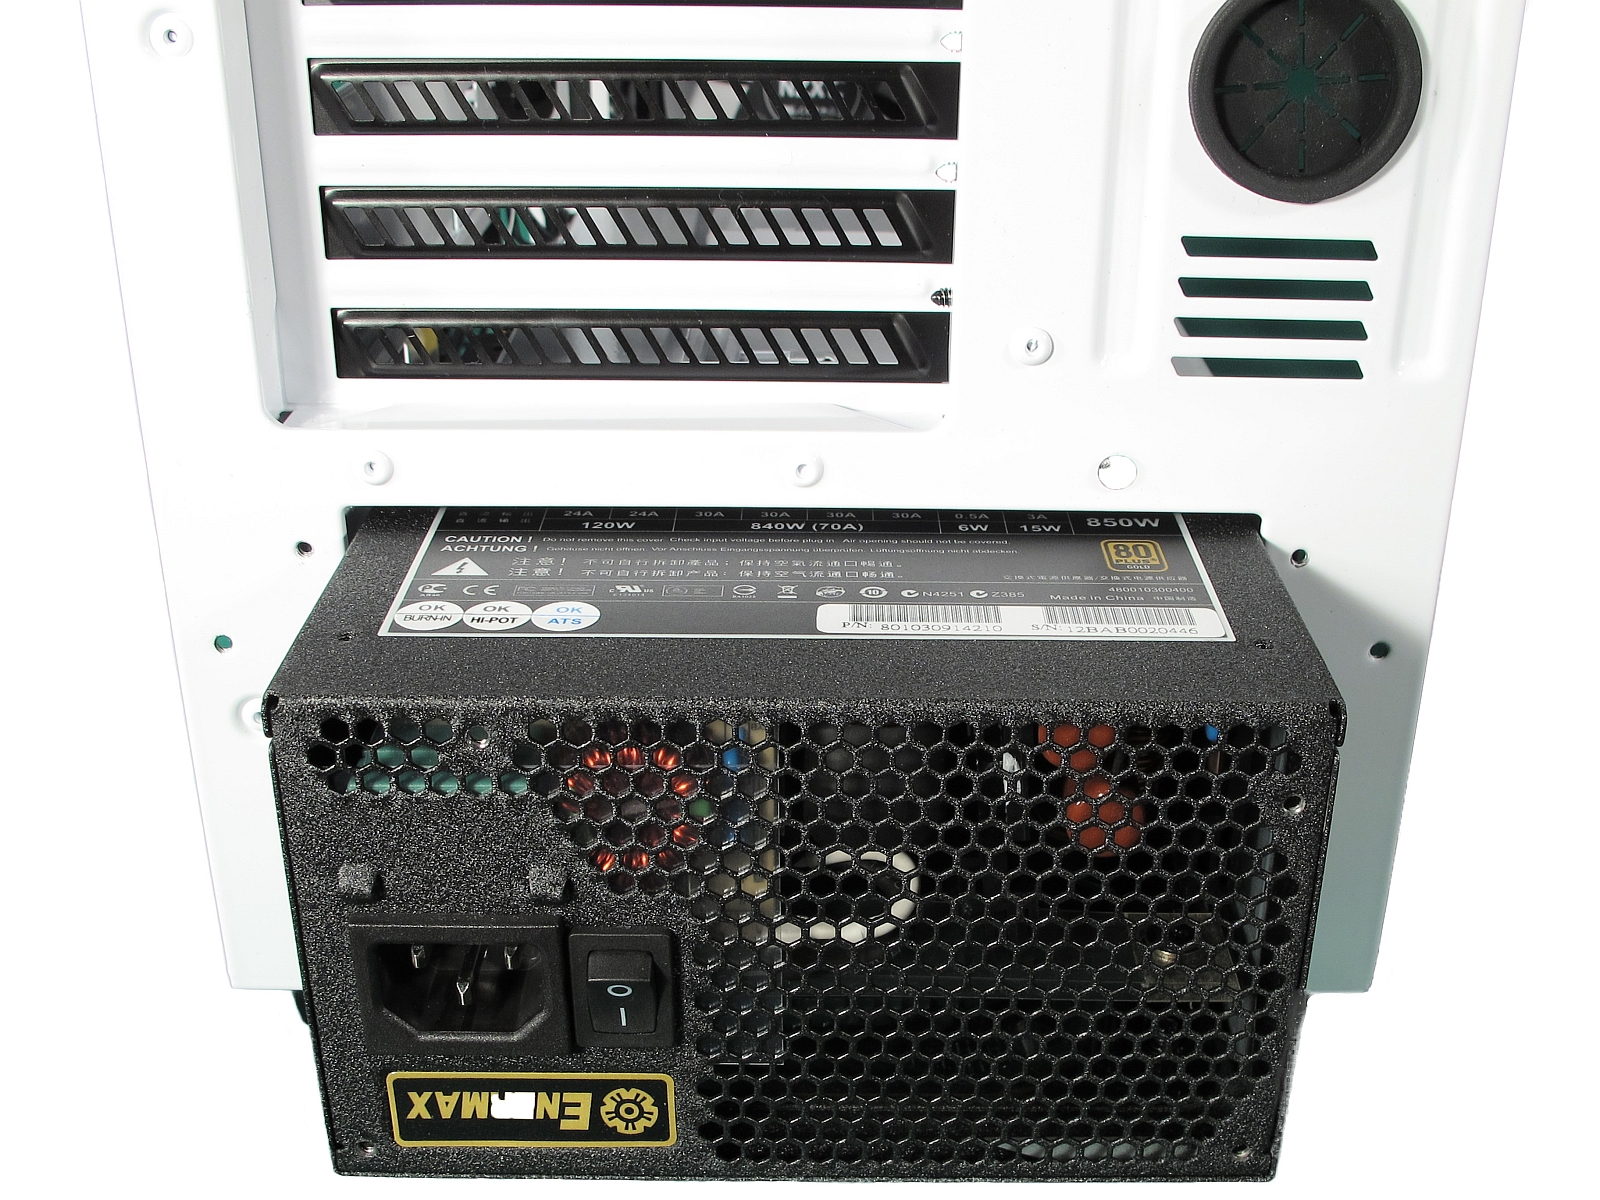
Power supply placement is one of the H440’s unique features. The PSU is installed on the case's floor, in its own compartment, hidden from view. This design decision gives the case two practical advantages. First, the entire bottom area can be used to hide unused cables, which makes for a tidy-looking system. Second, you can use some of the empty space above the PSU to hold two additional 2.5-inch drive bays.
The PSU isn’t decoupled from the case, which isn’t a big deal. Most modern power supplies don't require this anymore.
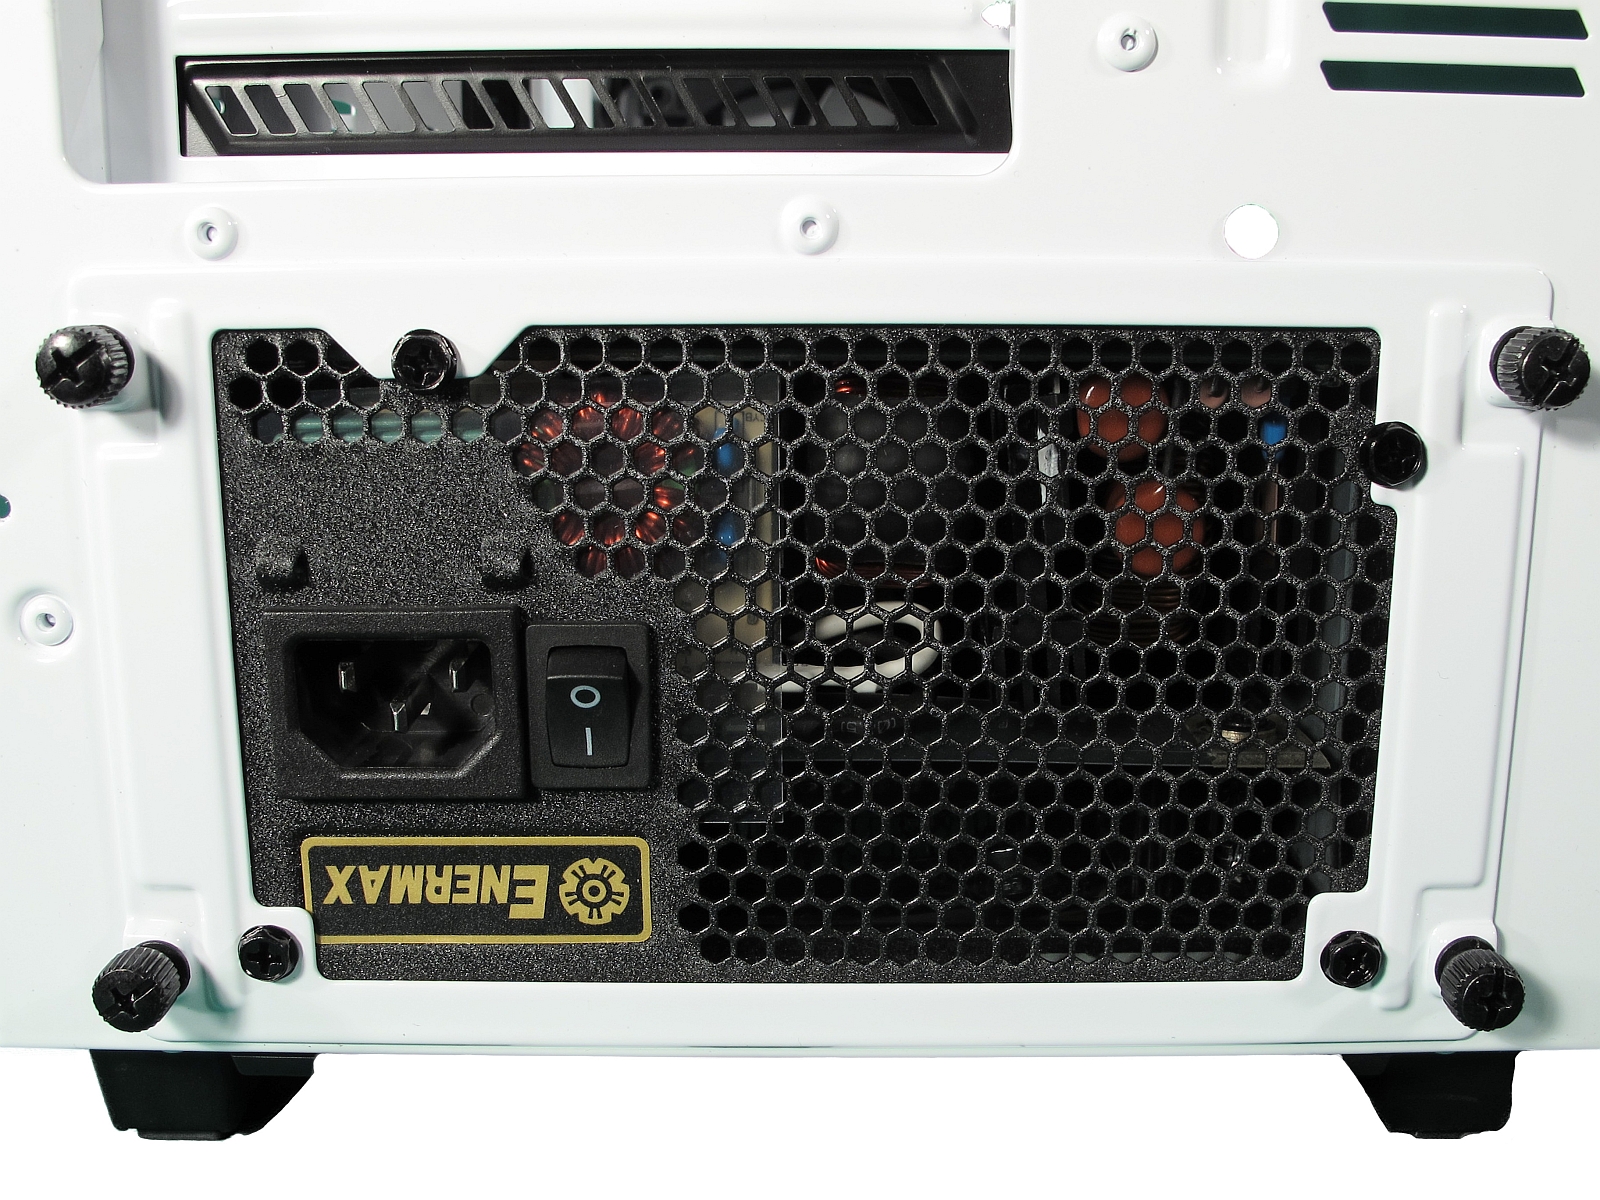
NZXT does make PSU installation easier, however, by implementing a frame around the power supply cavity. It's held in place by four thumb screws and, once you pull it off, the power supply slides right into the chassis.
Screw the frame back into place, then secure the PSU onto the frame. Everything's accessible externally, giving you plenty of room to work.
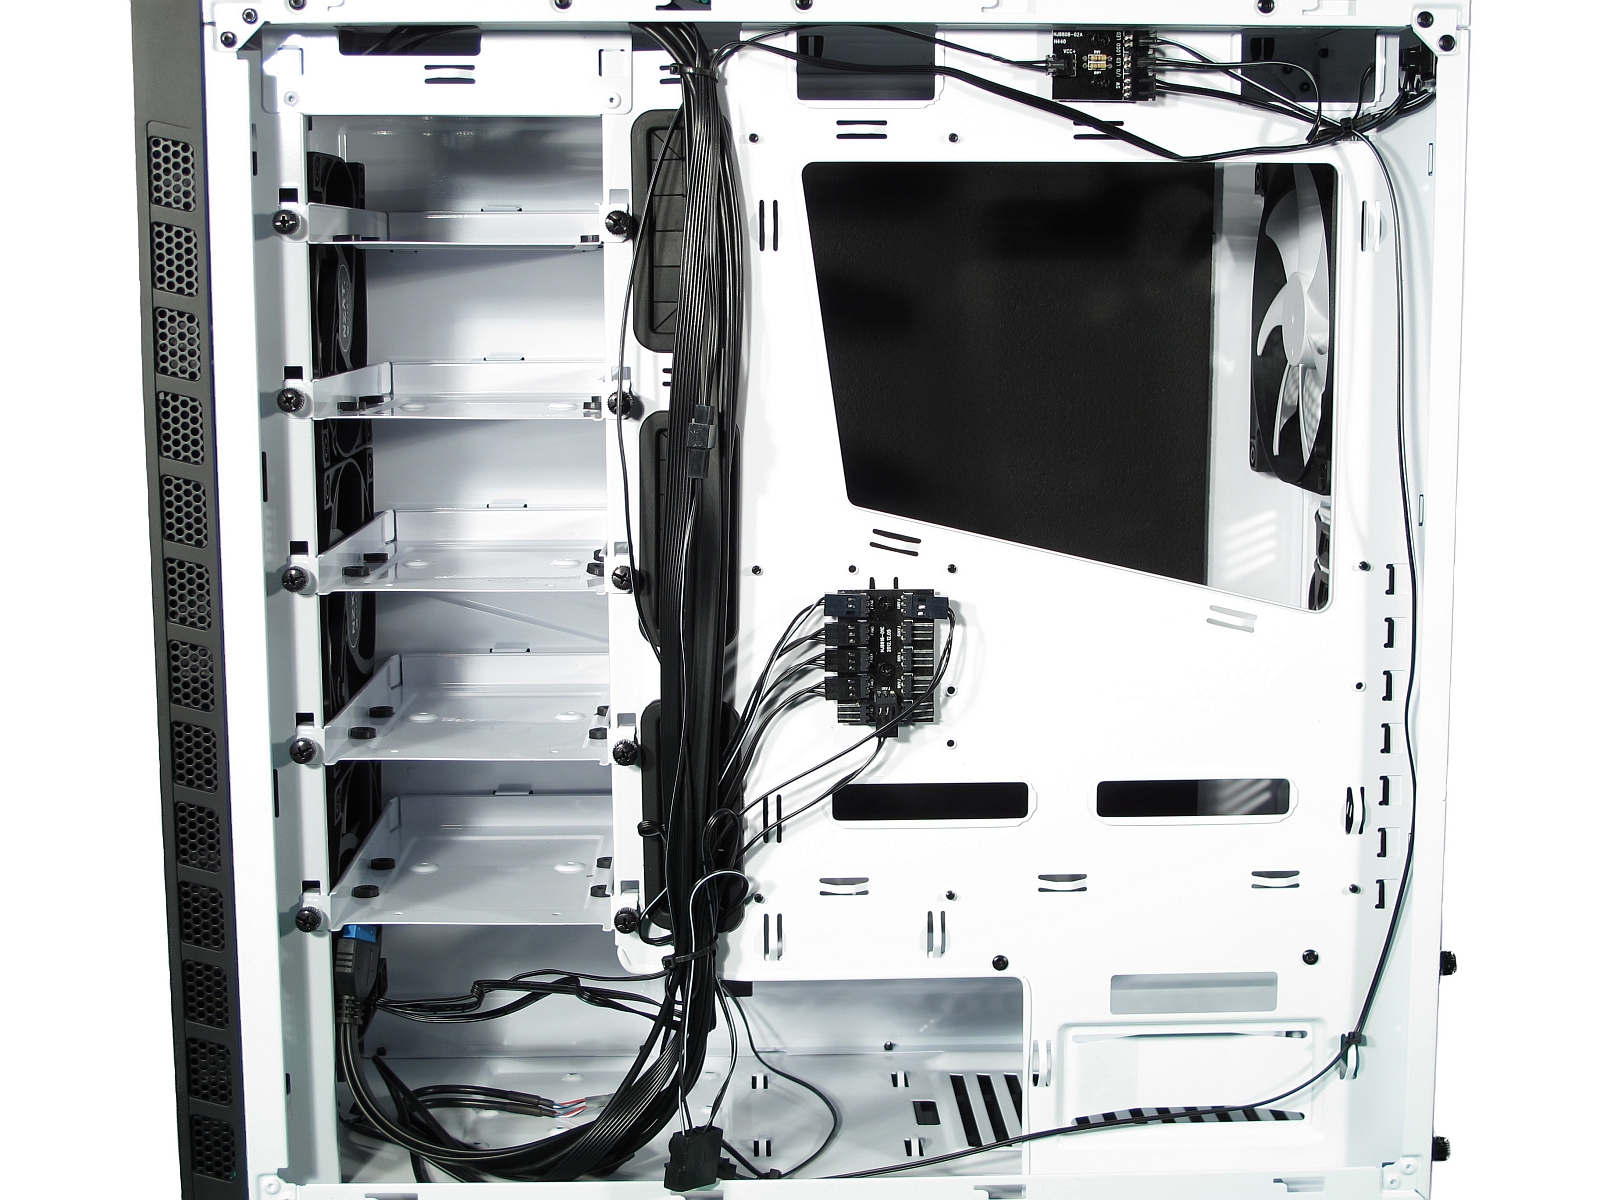
Tactful-looking cable routing is easy, too. Not only does NZXT include the usual rubber-framed cable openings, but also a number of extra smaller cut-outs in convenient places. Openings behind the 2.5-inch drive bays make it easier to hide the USB and HD Audio cables.
Two additional openings on the bottom of the motherboard tray are available if you use a microATX motherboard. Several openings toward the top allow the power cable and fan leads to be routed out of view, too.
Space for the PSU cables can be a bit tight due to the sound dampening material. NZXT does include a number of built-in cable clips to keep them neatly in place, though. In the area next to the rubber-framed cable openings, the motherboard tray is bent inwards to create some extra room. All of the cables that aren’t needed can be tucked away in the void next to the PSU.
Get Tom's Hardware's best news and in-depth reviews, straight to your inbox.
Rare is it that we're able to create a clean and tidy interior so quickly. NZXT's H440 makes a good-looking build possible for any level of enthusiast, though.
Hard Drive Installation
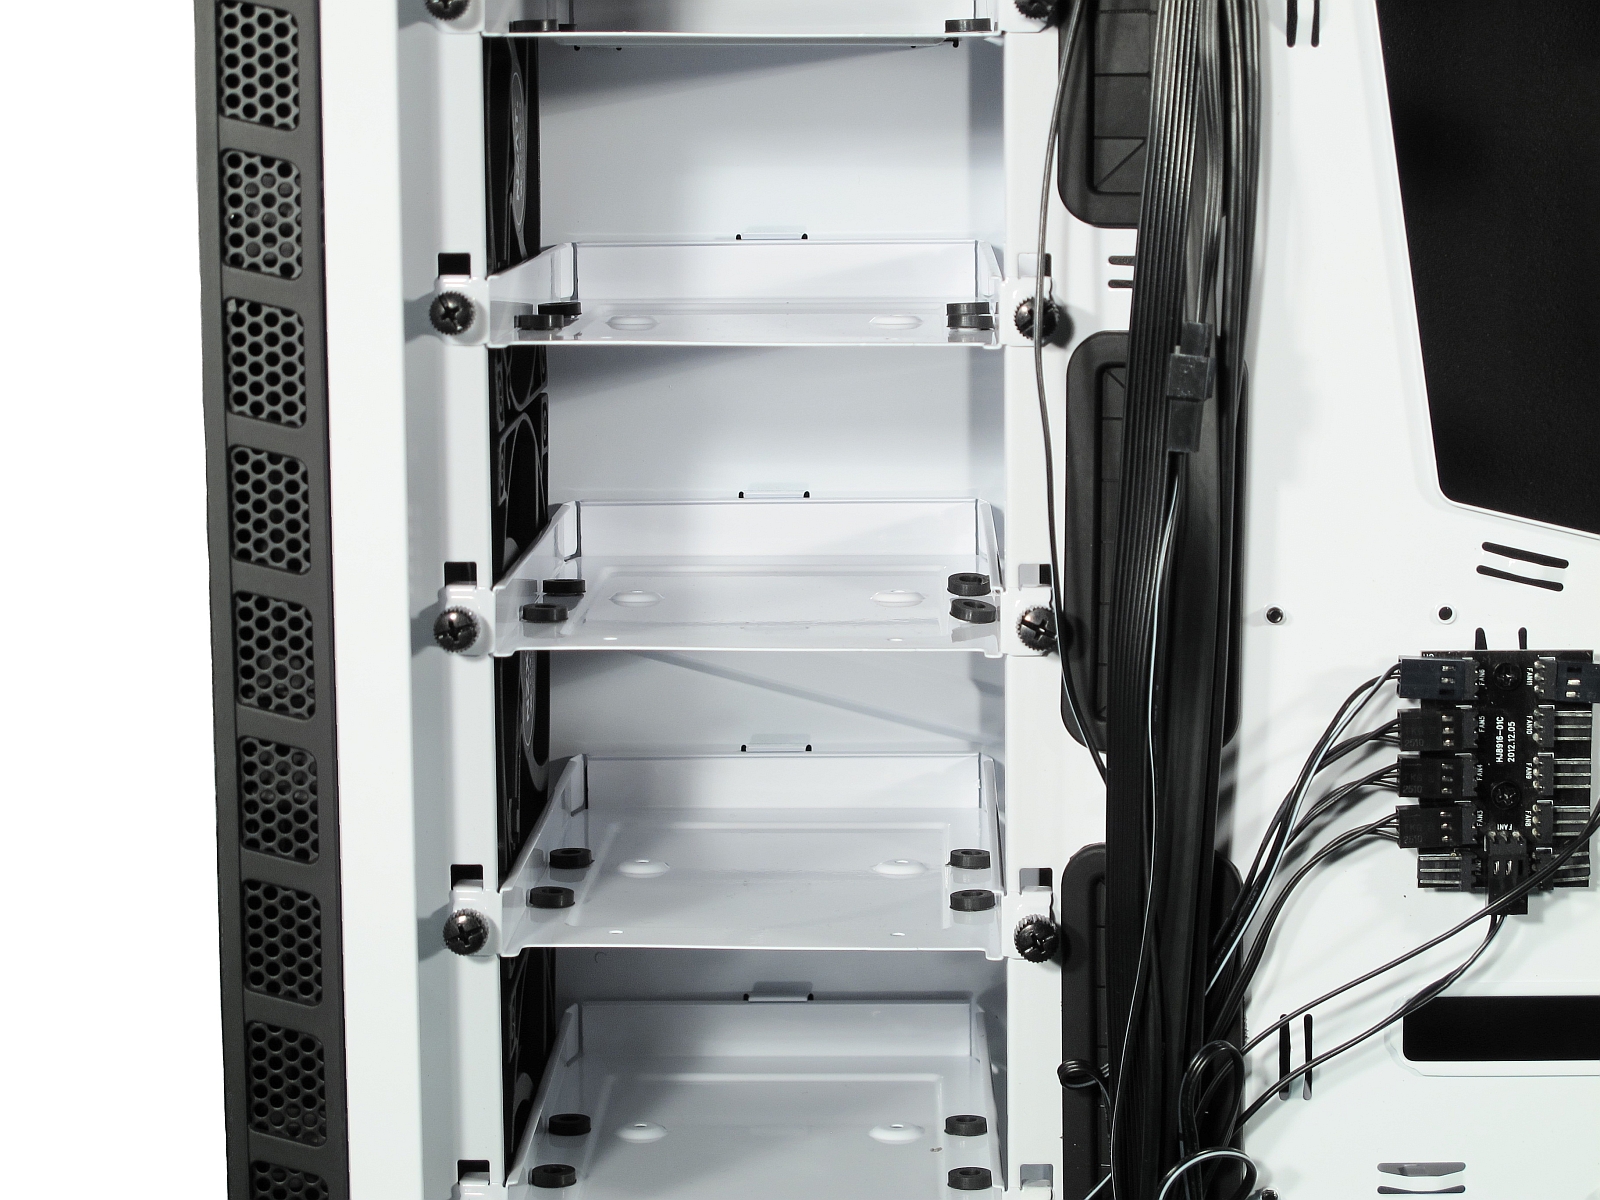
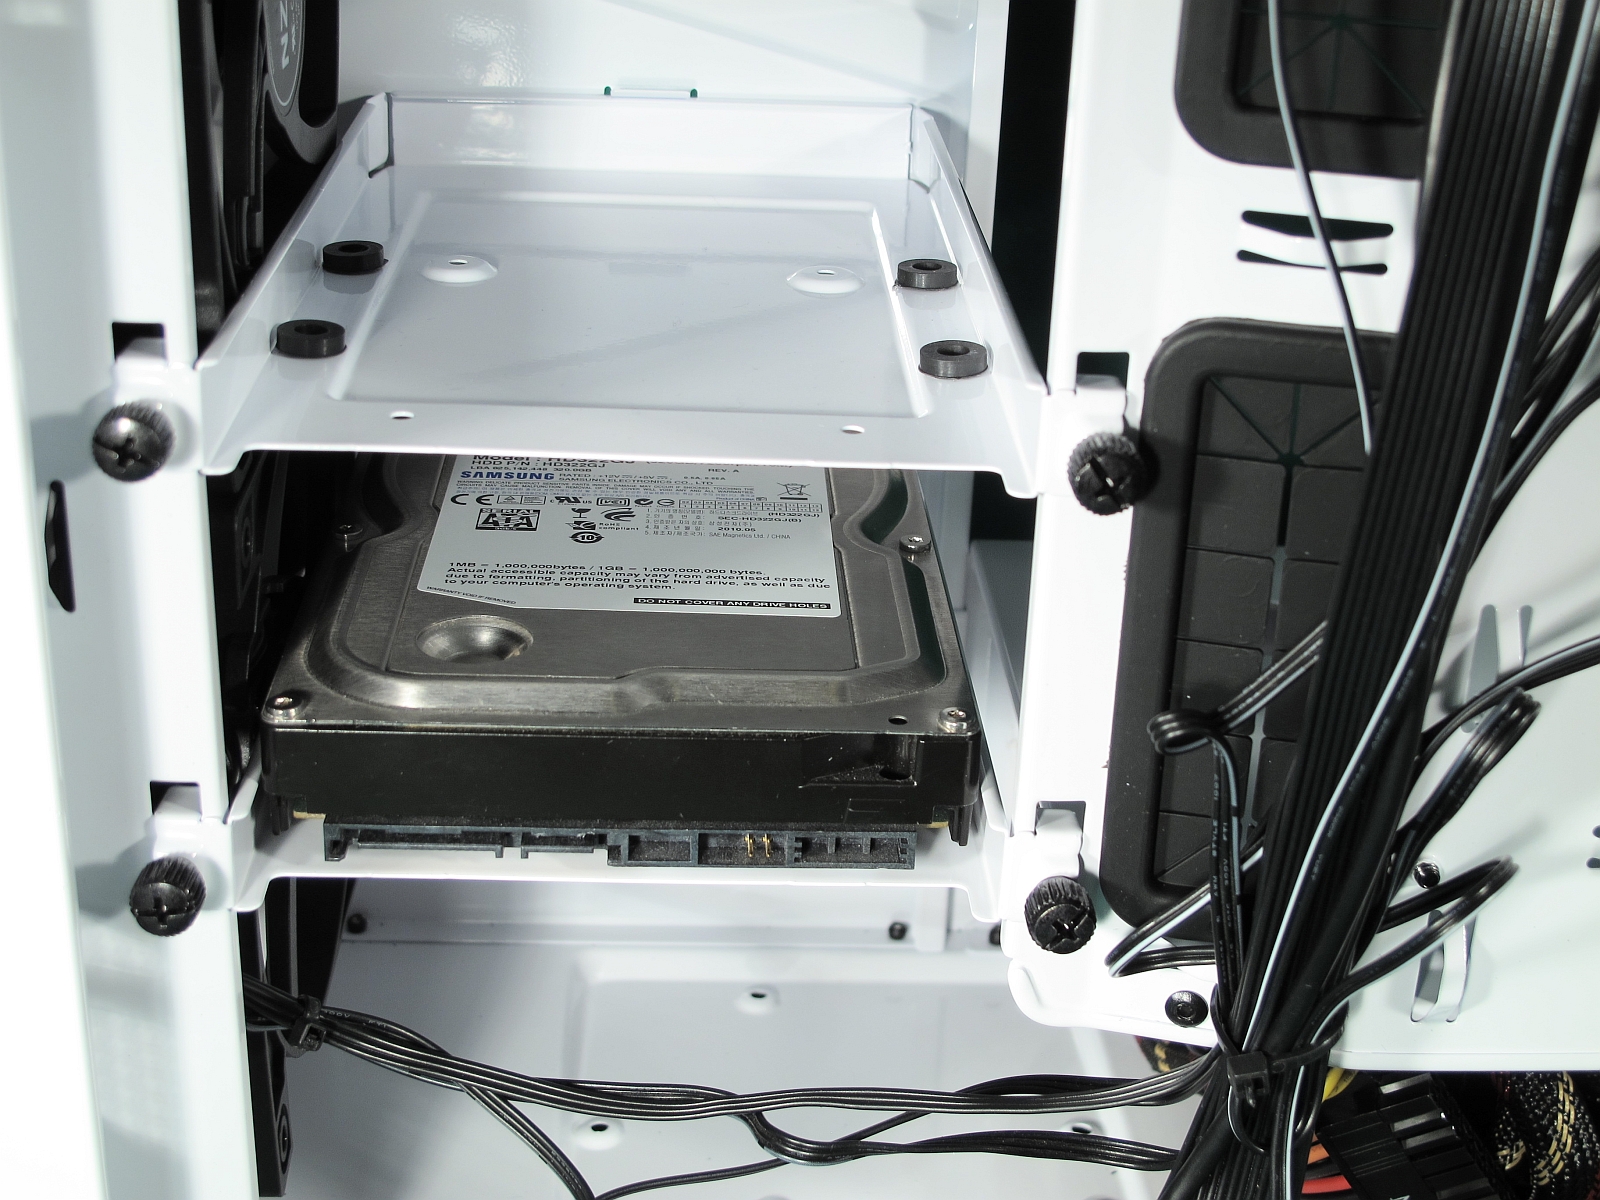
Most of the hard drives are installed on their own sledges. They’re accessed from the right side of the case, which is somewhat unique. The idea is that you want an area on the side of the case, next to the window, hidden by the side panel. Each sledge is screwed to the case separately. We had to tighten all their screws a little, but once that was done, they sat securely in place.
All five hard drive bays have small rubber grommets that are held in place by glue, but can be moved to accommodate 2.5-inch drives, for example. The advantage of this approach (at least compared to the drive cages we're accustomed to) is that each bay can be removed separately to create space for longer peripherals or cooling solutions.
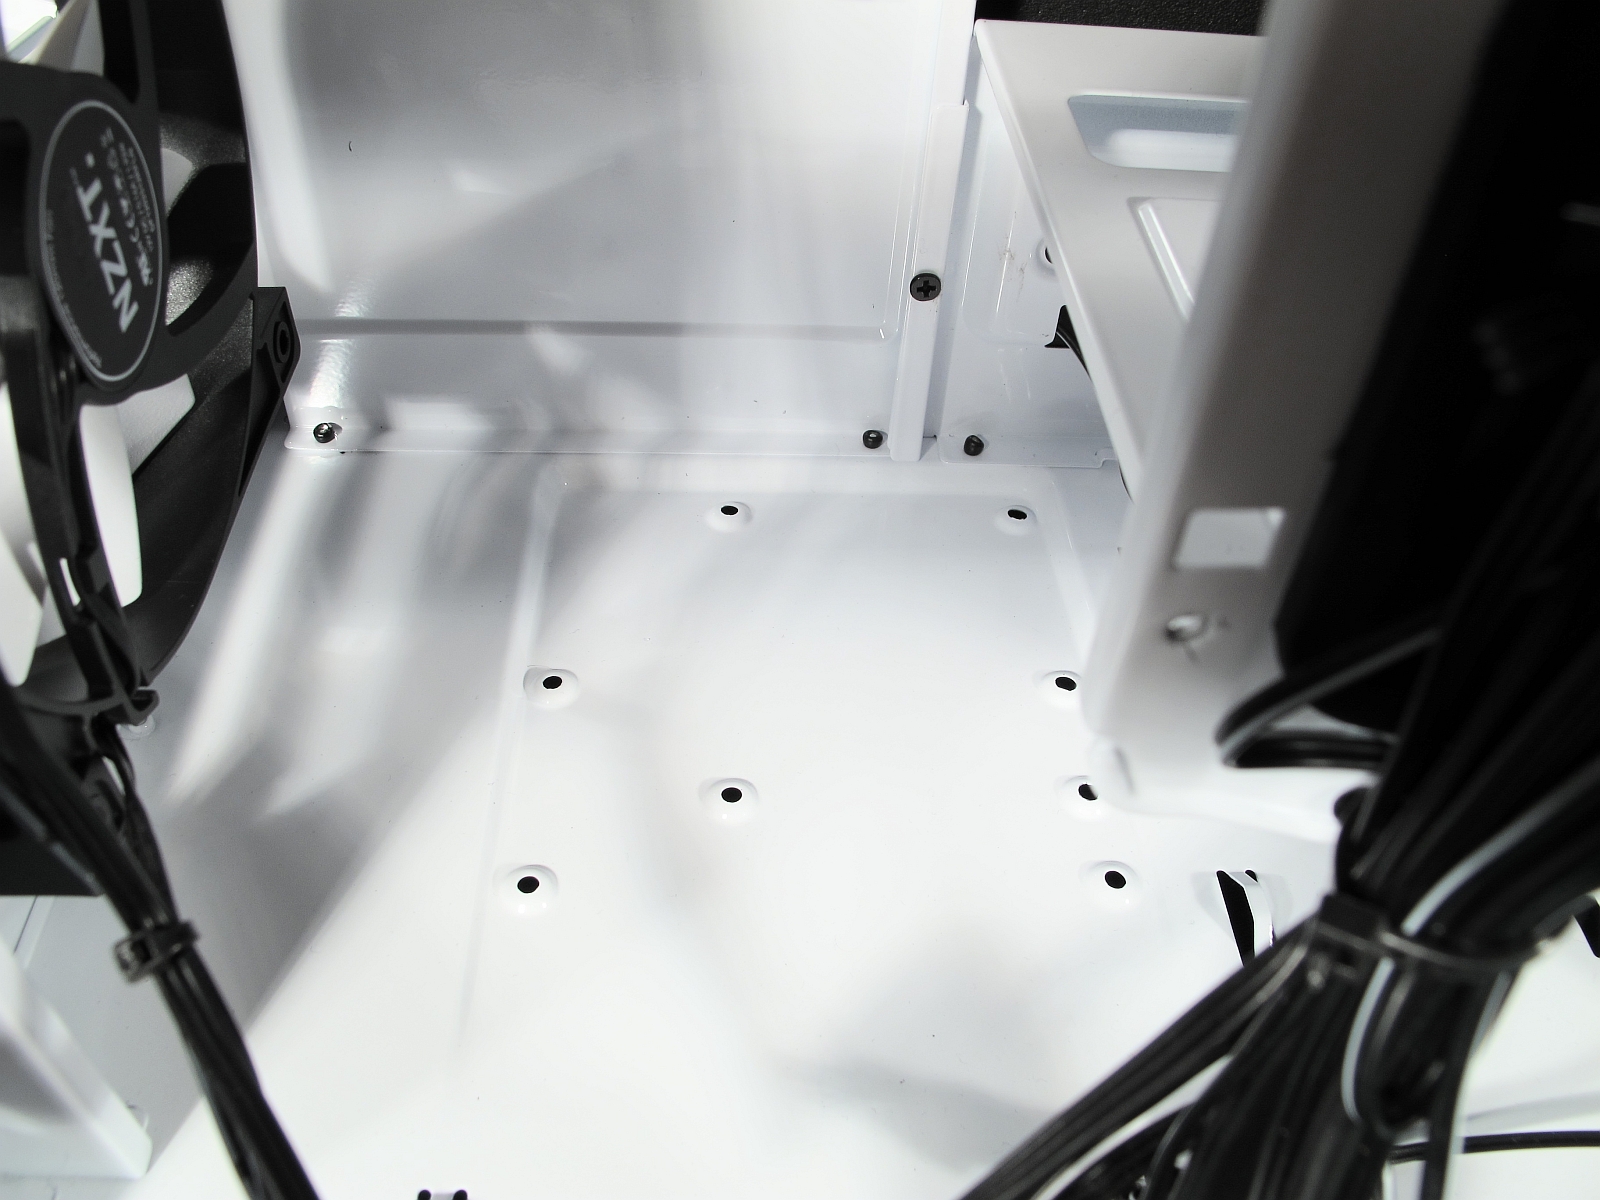
Even if you yank out every single hard drive bay to make room for a radiator or completely unobstructed airflow, there’s still the option of installing a 3.5- or 2.5-inch drive on the bottom of the case.
Additionally, two 2.5-inch drives can be installed in part of the empty space hidden from outside view, next to the PSU.
Motherboard, Graphics Card, and CPU Cooler
The motherboard spacers came installed from the factory, saving us the trouble of screwing them in ourselves. The H440 accommodates CPU coolers up to 18 cm-tall, which is enough for any model in our test lab.
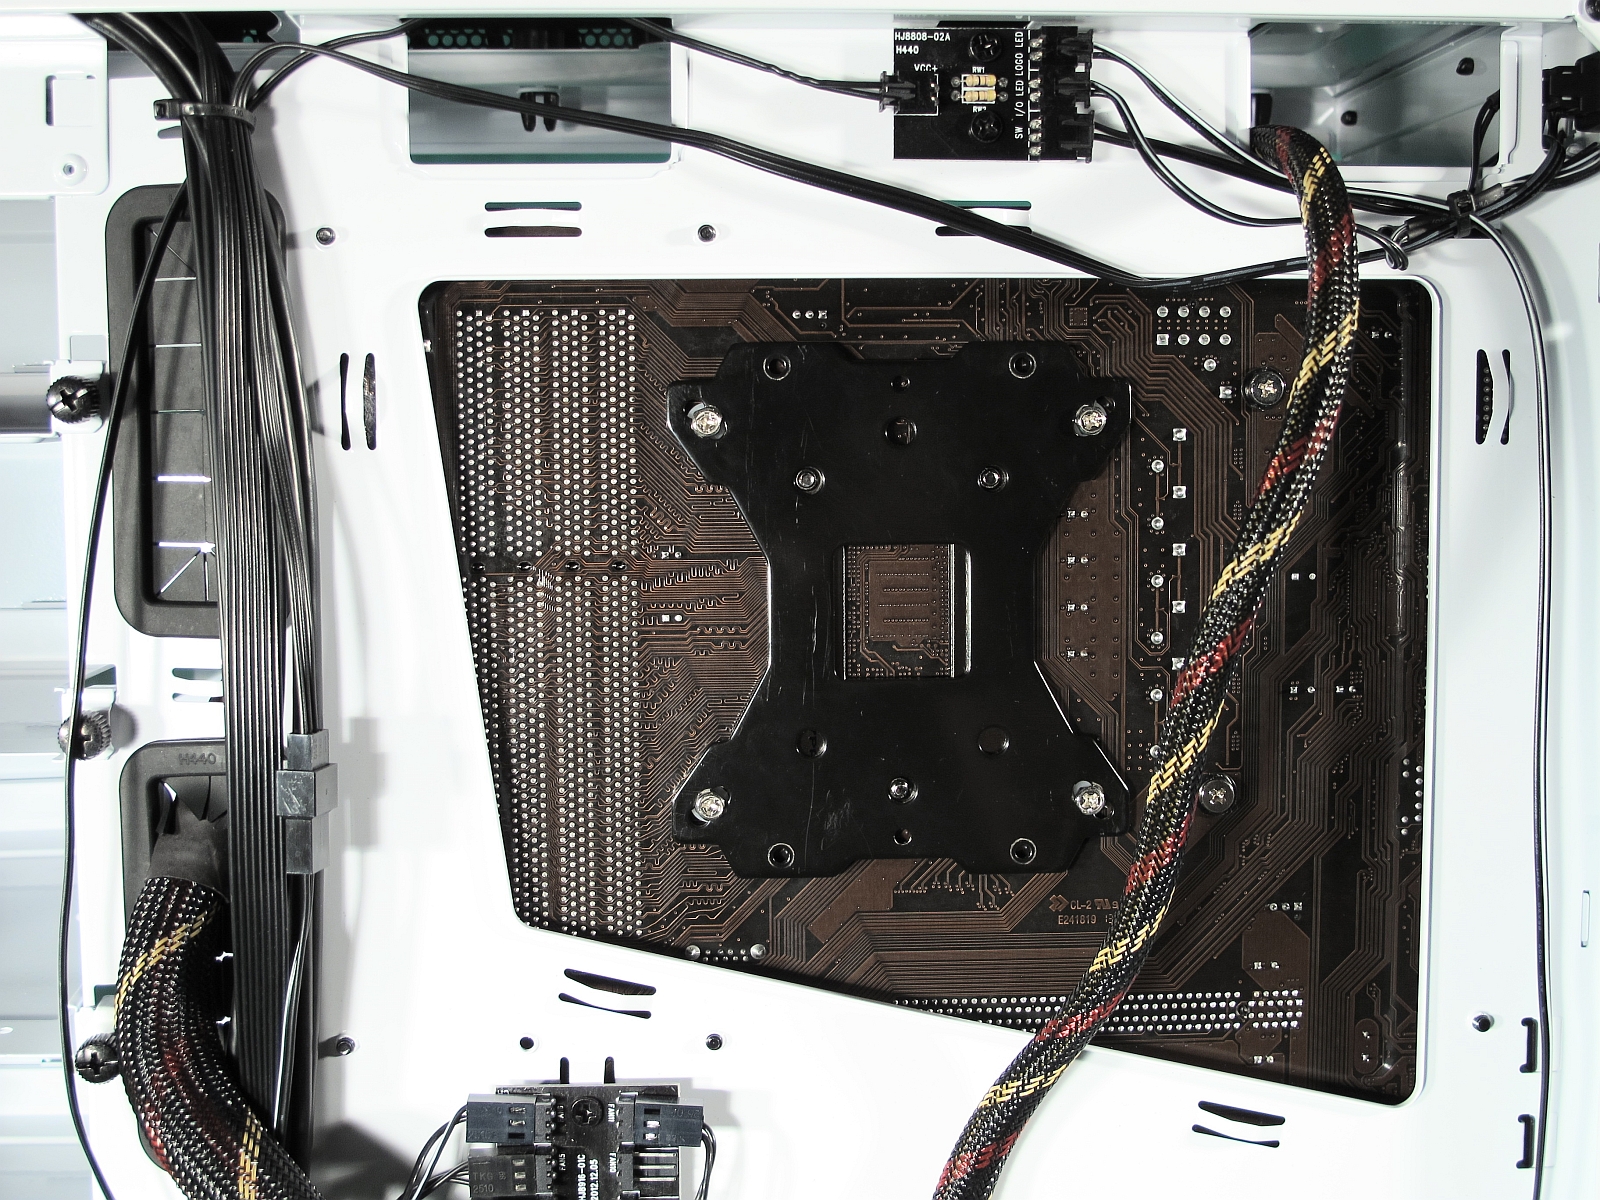
There's a big opening in the motherboard tray that makes switching out CPU coolers with backplates a breeze. You won't need to pull your platform out for a cooler swap.
As it ships, NZXT's H440 accommodates graphics cards of up to 30 cm-long. This number increases to 40 cm once you pull out the appropriate hard drive bay.
Current page: Installation
Prev Page Air Cooling, Dust Protection, And Noise Dampening Next Page Benchmark System And Conditions-
brarboy It really does give a look of home to pc peripherals that will be residing inside it. Another great recommendation for gaming pc. Thanks for the reviews ;)Reply -
Phillip Wager my 4670k has never gone above 50 degrees with my noctua in a fractal arc midi r2 even though this is a smaller heatsink 68 degrees at stock clocks is just .. wow.Reply -
ta152h No drive bay, because no one ever uses Blu-Ray drives, or DVDs? How this trash even gets made is a surprise, how it gets 'reviewed' is less of one. Being different, in a bad way, isn't good. I have a great idea, I'm going to make an ugly rectangular case out of polycarbonate, and it's going to have some great features - it won't have space for a motherboard of power supply, but it will have plenty of space for fans and lights. The nice thing is, regardless of the motherboard you have, it's right for you. You can just as easily not put your Mini-ITX in, as you can your E-ATX. No doubt, this will warrant very favorable reviews, due to this innovative and hipster approach, while maintaining the ugly rectangular shape. My motto? "It's now, it's wow" for the hipster dorks, and for the low-brow crowd, "Yo' mama so ugly, even I won't mount her". That's sure to bring in the degenerate, sub-human, buyer that was on the fence, or eating it.Reply -
tomfreak Perfect case with a few minor draw backs.Reply
1. It is a mid tower/ less expansion slot, only 7. putting 3rd double slot GPU will be a trouble.
2. Poor use of 3.5 HDD space. Could have easily house 10 HDDs while still have some gap for ventilation
3. while dropping 5.25 bay is a good thing since 5.25 optical ROM drive are pretty much obsolete now but there are still a lot of enthusiast front panel like fan controller are still on 5.25 bay. -
ubercake I really think NZXT makes the best cases out there right now. They really think when they design cases. They don't block the intake fans with nearly solid metal drive cage mounts like many other cases in all price ranges and drive cages and mounts are removable. They tuck SSDs neatly out of the way on the back of the motherboard tray or like with this case just above the PSU. They have the cutouts. They don't have too many 5.25 bays (if you're building a burn station, this might deter you). Fan power headers with variable speed switches right on the case (why the heck not???).Reply
They're just really easy cases in which to build a PC. They are the only company I've seen that's moved case design forward other than Corsair with the 350D (although you need a different type/amount of floor or desk space to accommodate this design). Every other case company seems to put out the same rectangular shape with intake fans blocked by nearly solid sheets of metal and tops too close to the top of motherboards so you can't push/pull your AIO cooler's rad, or case width too shallow for a decent air cooler and a fraction of a centimeter behind the motherboard tray by which you can't very well manage cables. -
Ozan Great review indeed. I (both) appreciate the trouble for making this lovely review and also the stylish design of the futuristic mid-tower case. Thank you Kai. Thank you nzxt endustrial designers and thank you nzxt engineers. I am considering to buy the H440...Reply -
Someone Somewhere Interesting thought: Why don't any cases put 5.25" bays at the bottom? No airflow issue because the PSU sits right behind it, and because they're rarely used it's not an issue if they're slightly harder to get to. Though on a desk drives at the bottom would actually be easier to access.Reply -
inveriti Can someone please explain to me how 5.25" bays are "obsolete" when you still need them to install your OS? I'm sorry, but most of us don't have a spare rig sitting around dedicated to mounting bootable ISOs onto a flash drive. Whoever thought this was a good idea should be put in stocks and publicly humiliated, and whoever OK'ed this as a "smart buy" should be fired.Reply
