Corsair Obsidian 900D Review: Making Room For High-End Gear
Corsair already offers a heavy tower case called the Obsidian 800D. Now, the company is one-upping itself with the Obsidian 900D. Is this a genuine high-end enclosure, a bomb shelter, or a mess of sheet metal? We put the case through our bevy of tests.
Get Tom's Hardware's best news and in-depth reviews, straight to your inbox.
You are now subscribed
Your newsletter sign-up was successful
Installing Hard Disks And SSDs
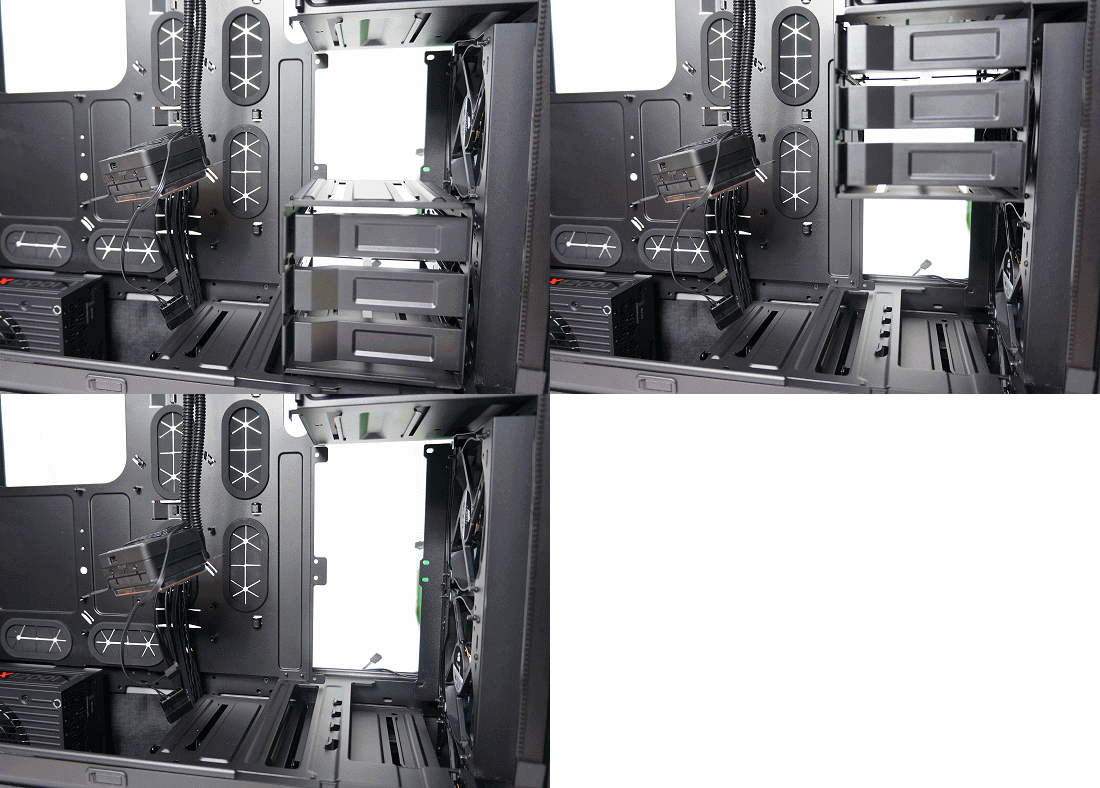
The Obsidian 900D sports a total of nine 3.5” bays. Drives are inserted from left to right, and thus sit perpendicular to the case. The uppermost cage can be removed and mounted below the external 5.25” bays or installed at the bottom of the case, in front of the power supply.
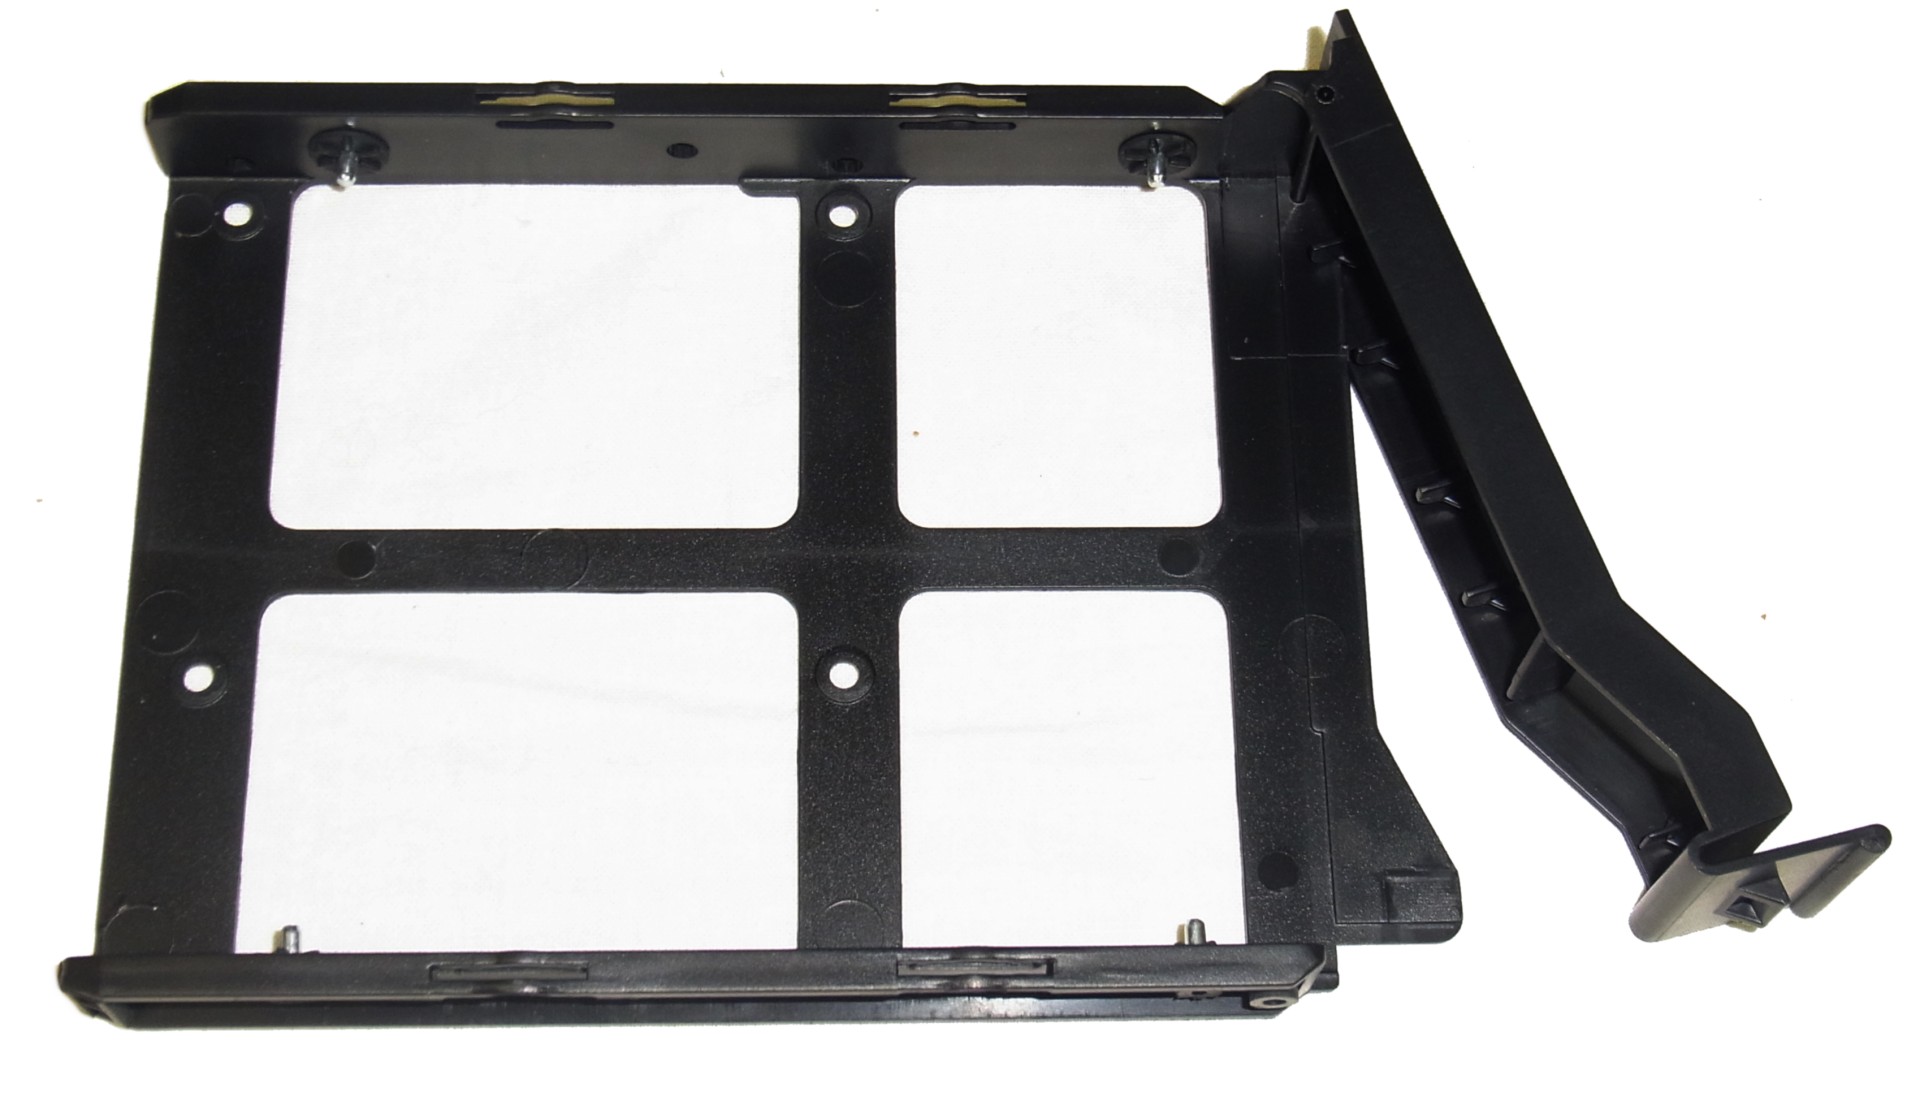
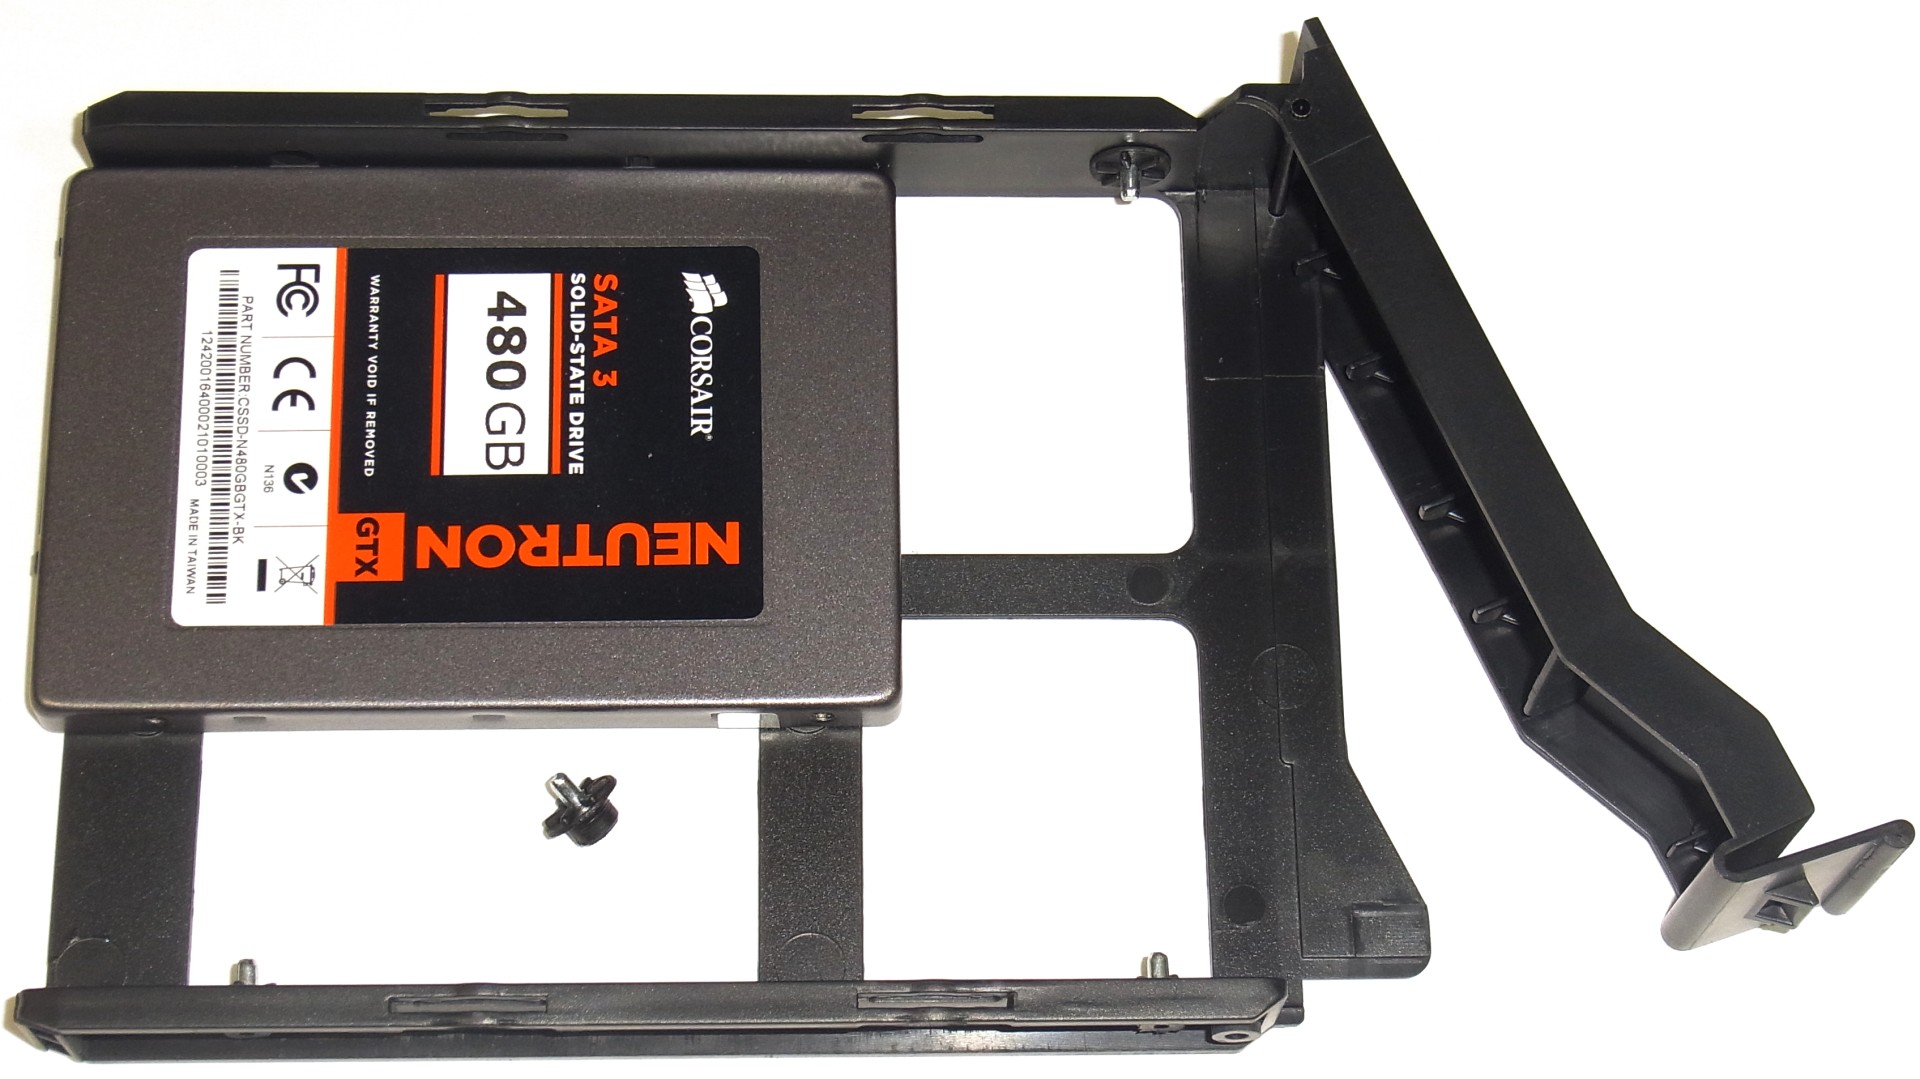
The caddies are made of plastic, and they allow tool-less drive installation. Locking or unlocking a loaded caddy into a cage is achieved with a lever that seems to work reliably (though empty trays are somewhat flimsy).
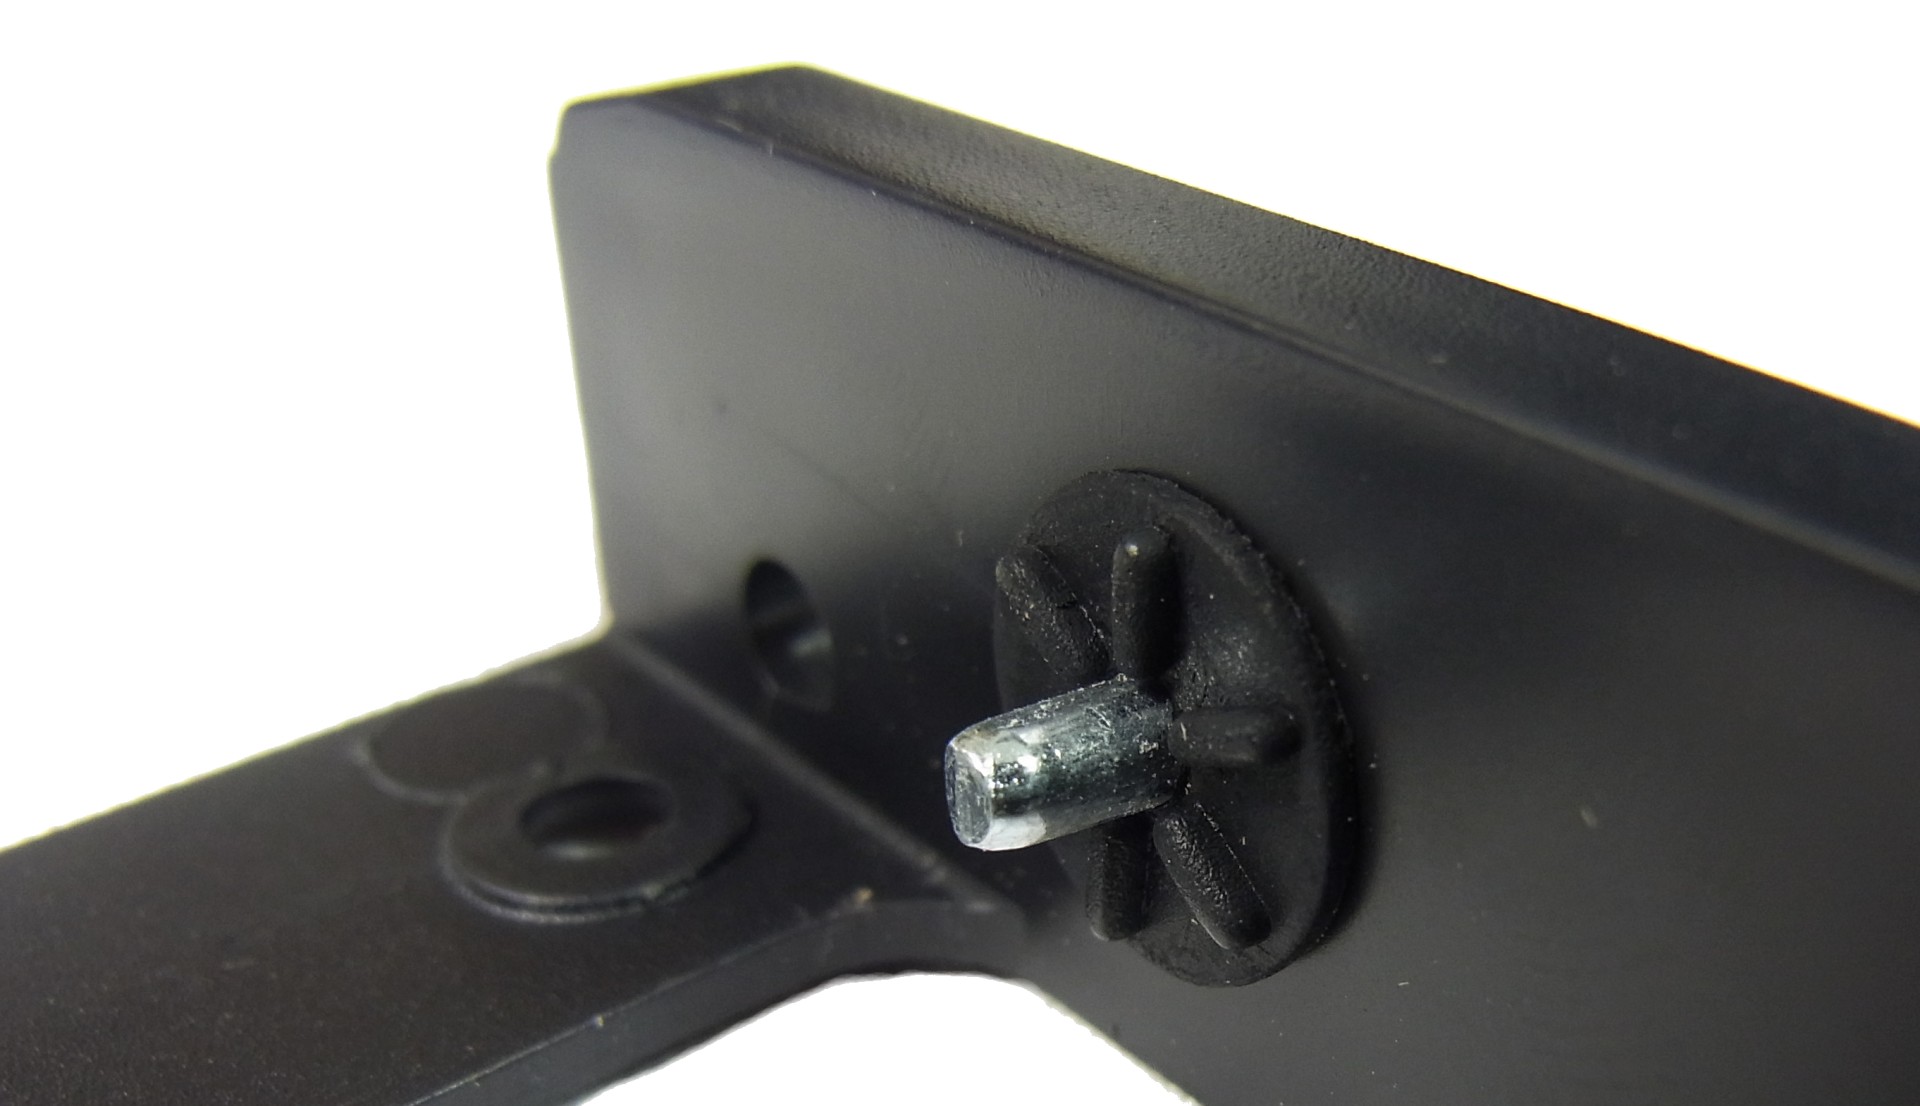
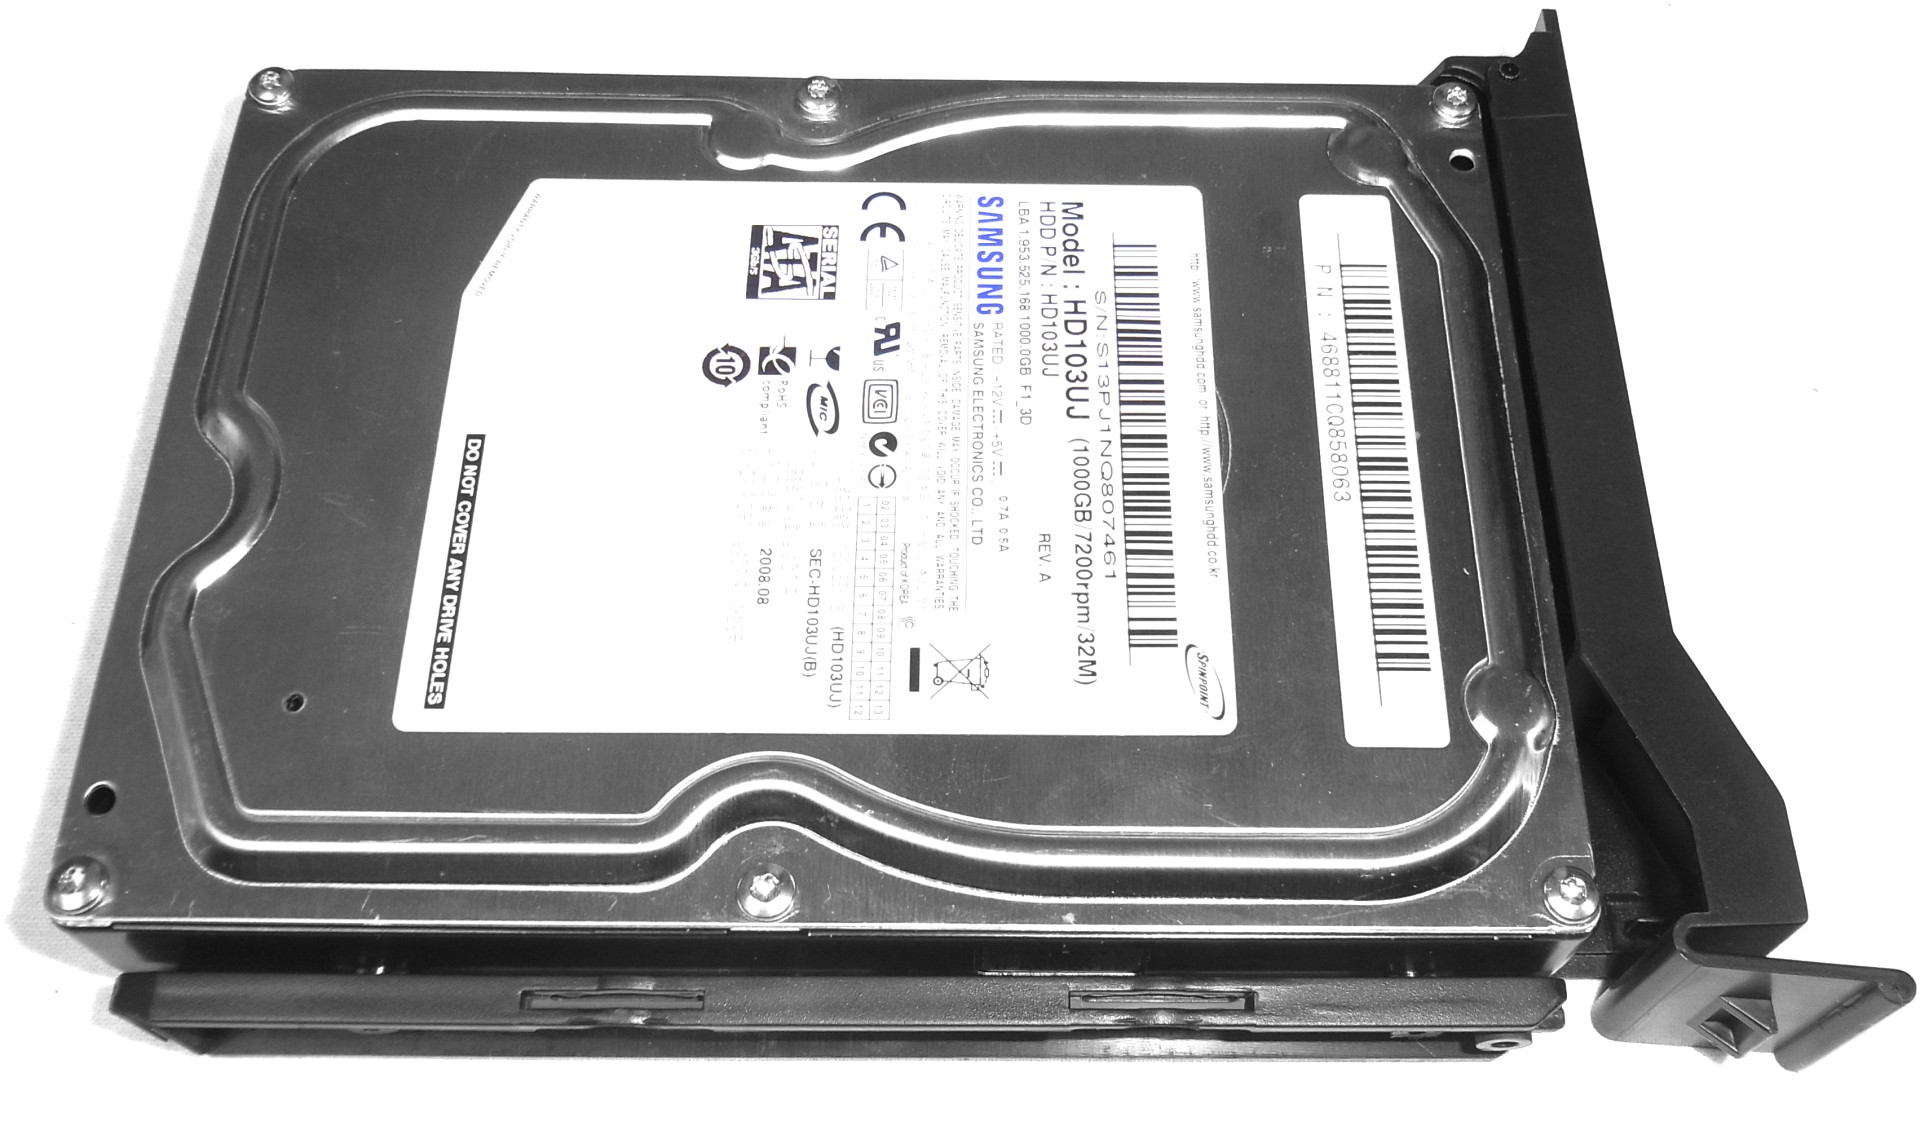
Each caddy sports rubber grommets that decouple mechanical disks from the tray, while holding the drive in place with a metal pin. The grommets do their job; my microphone didn't pick up any major vibration or audible resonance from the identical 1 TB Samsung Spinpoint F3s I used for testing.
In order to mount a hard disk in the tray, each of the caddy’s side rails needs to be bent slightly, allowing you to slide the locking pins into the drive's mounting holes.
Installing SSDs or 2.5” Hard Disks
SSDs and 2.5” hard disks are too small to work with the locking pins. Instead, they have to be mounted to the bottom of each tray using four M3 screws. In this way, SSDs and mechanical drives can be mixed and matched inside the Obsidian 900D. When I'm working with lighter aluminum cases, I typically mount heavy disks near the bottom for a lower center of gravity. But in the case of Corsair's big flagship, you can really put them wherever you want.
SATA Hot-Swap Bays
Get Tom's Hardware's best news and in-depth reviews, straight to your inbox.
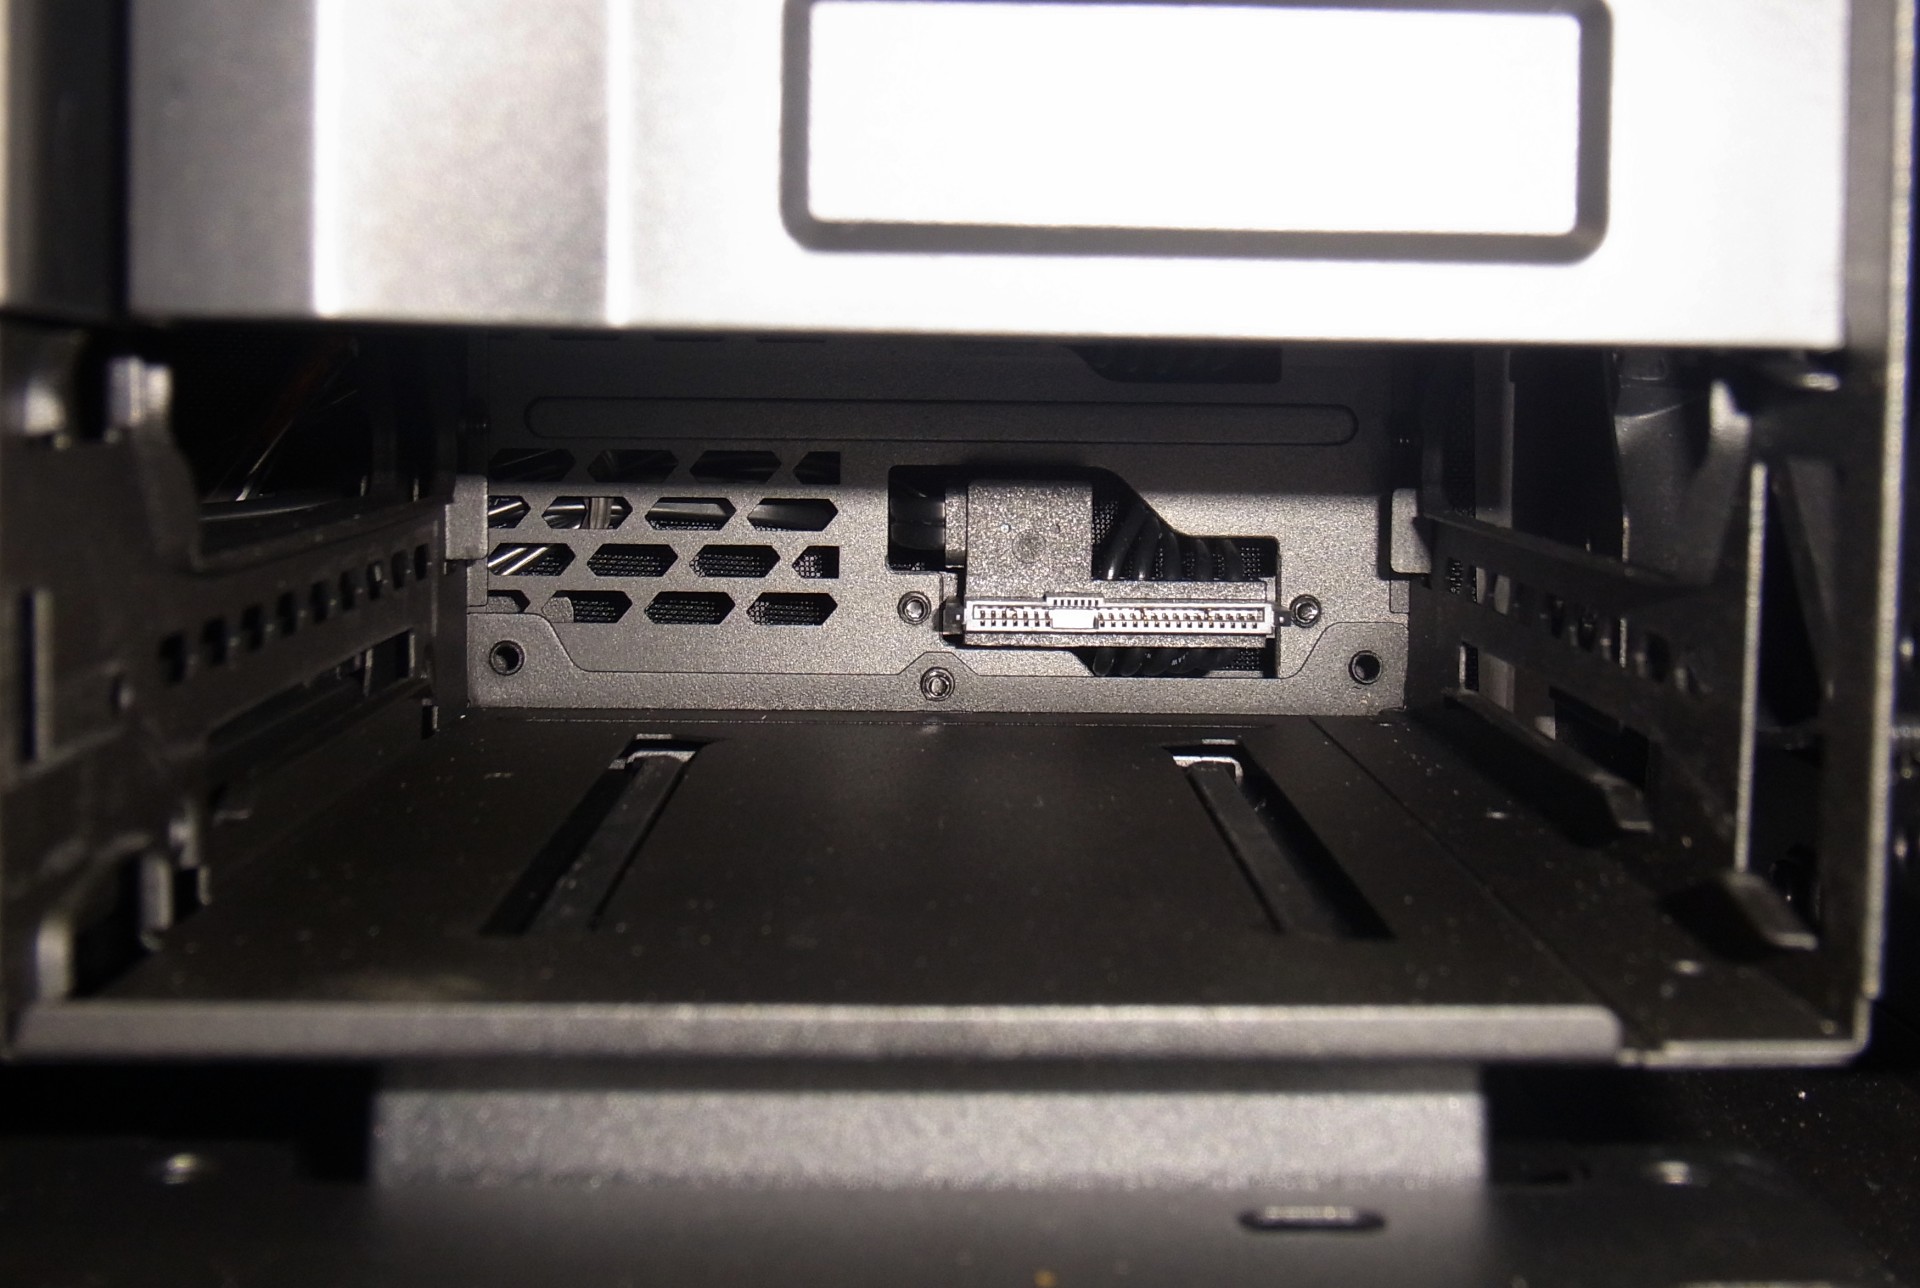
Hidden behind the lower lid are six fixed 3.5” drive bays. The three on the right are set up as hot-swappable SATA bays. They accommodate the aforementioned plastic trays, and upon insertion, engage with a factory-mounted SATA port. The power pins in the backplane all connect to a single SATA-style power plug.
Current page: Installing Hard Disks And SSDs
Prev Page Installing The Power Supply Next Page Installing Optical Drives
Igor Wallossek wrote a wide variety of hardware articles for Tom's Hardware, with a strong focus on technical analysis and in-depth reviews. His contributions have spanned a broad spectrum of PC components, including GPUs, CPUs, workstations, and PC builds. His insightful articles provide readers with detailed knowledge to make informed decisions in the ever-evolving tech landscape
-
slomo4sho Thanks for including the acoustics and temperature for a workhorse in addition to the gaming rig.Reply -
kitsunestarwind I am seriously waiting for this to be come available in Australia, I have the 800D , I love it, but I have no room left and I want/Need more liquid cooling Rad space without resorting to Case Mods, The Corsair 900D will do me perfectly and hopefully won't look so fullReply -
slicedtoad ^yeah, I've never seen any computer related benchmarks done in Fahrenheit , lol.Reply
Very nice review though, Corsair makes some sweet cases, second only to the custom suppliers (mountain mods and the others) but much cheaper. -
JJ1217 kitsunestarwindI am seriously waiting for this to be come available in Australia, I have the 800D , I love it, but I have no room left and I want/Need more liquid cooling Rad space without resorting to Case Mods, The Corsair 900D will do me perfectly and hopefully won't look so fullReply
Be prepared to fork out an extra $120 because of the simple fact we're from Australia.
-
Vatharian I don't fully understand your review. Workstation-class rig is up to the challenge for exploring 900D abilities, but gaming rig? You slap off-the-shelf closed loop watercooler on the midrange CPU (TDP wise), one simple GPU and call it 'watercooled system'? What's the point? Get two or three water coolled GPUs in addition to CPU, set up one loop and them evaluate if the case is suitable for serious LC&OC, and if it's possible to arrange radiators such way to get rid of the heat and not kill usability. Point is: for such class of case you put low-end gaming rig. It doesn't tell us will it perform if serious system is inside. If the case performs with high-wattage rig, it will do for any smaller one, but not necessarily the other way around.Reply -
Idonno My 800D preforms great with a high end system and there is every indication the 900D is even better.Reply
