NZXT Phantom 820 Case Review: Conceptualized By Enthusiasts
NZXT is extending its portfolio of high-end PC cases with a full-size tower called the Phantom 820. After an extended evaluation, it's clear to us that power users played a big part in defining this enclosure's specs. But the story isn't quite so simple.
Motherboard Installation
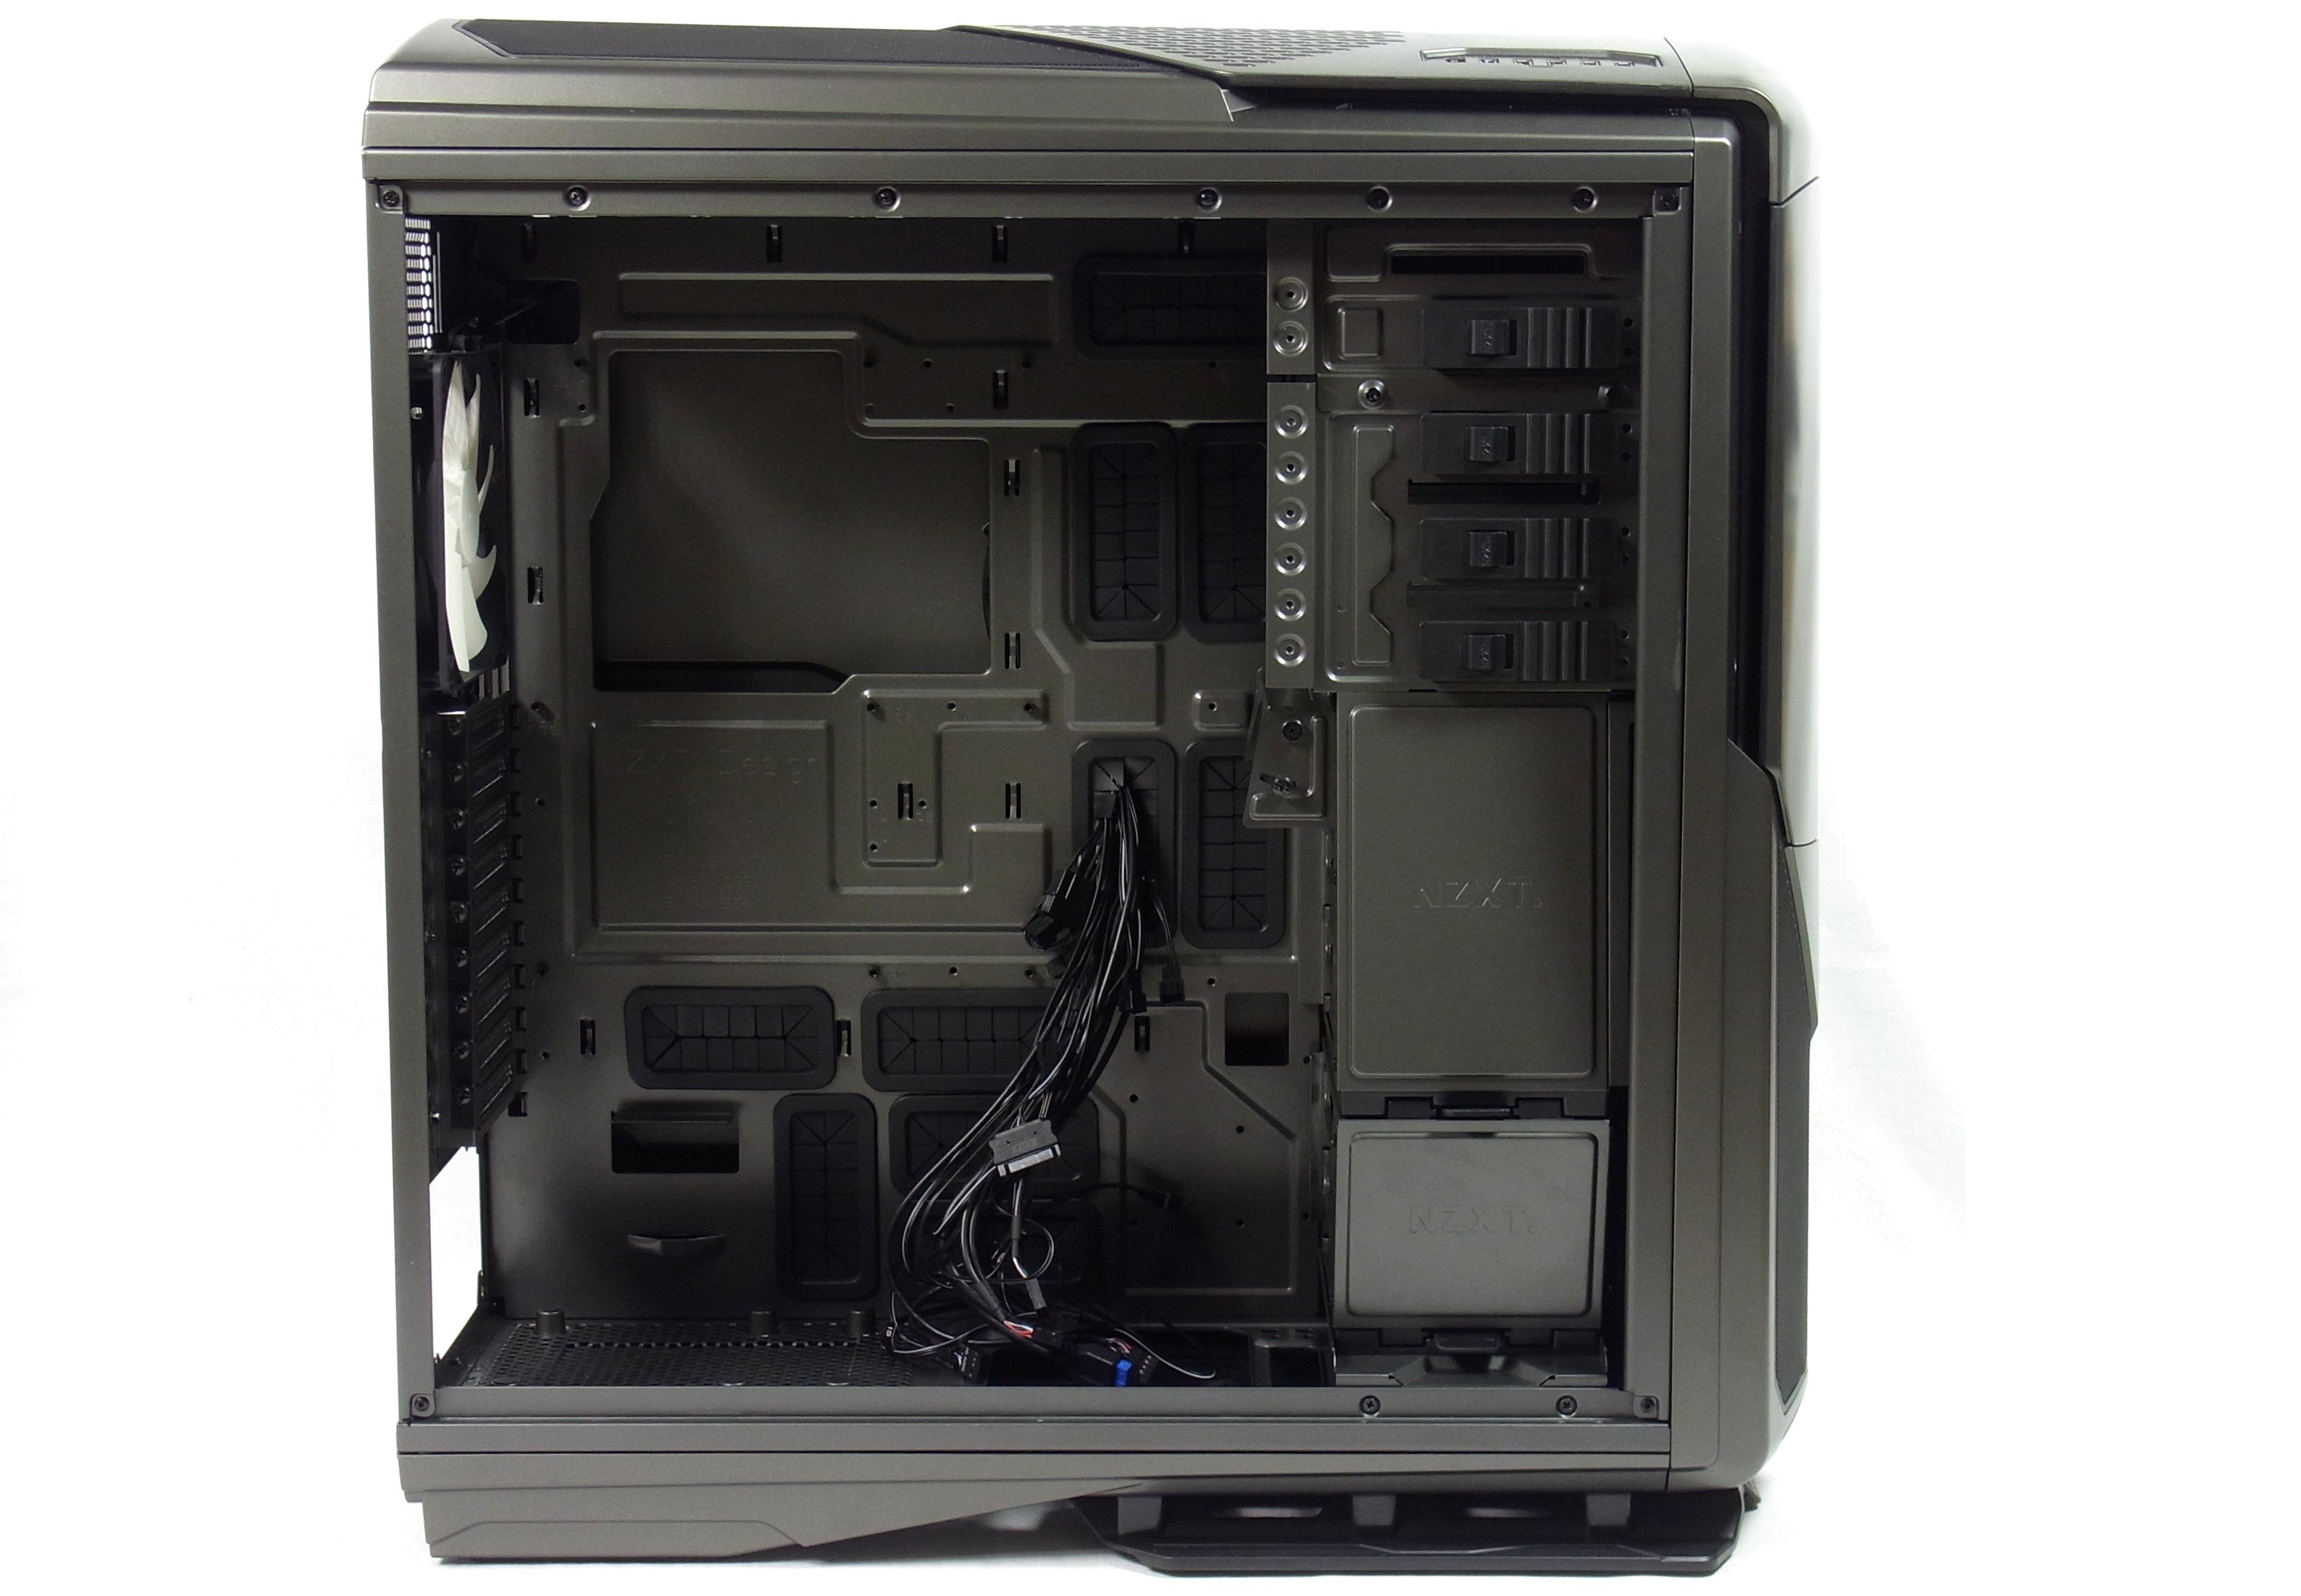
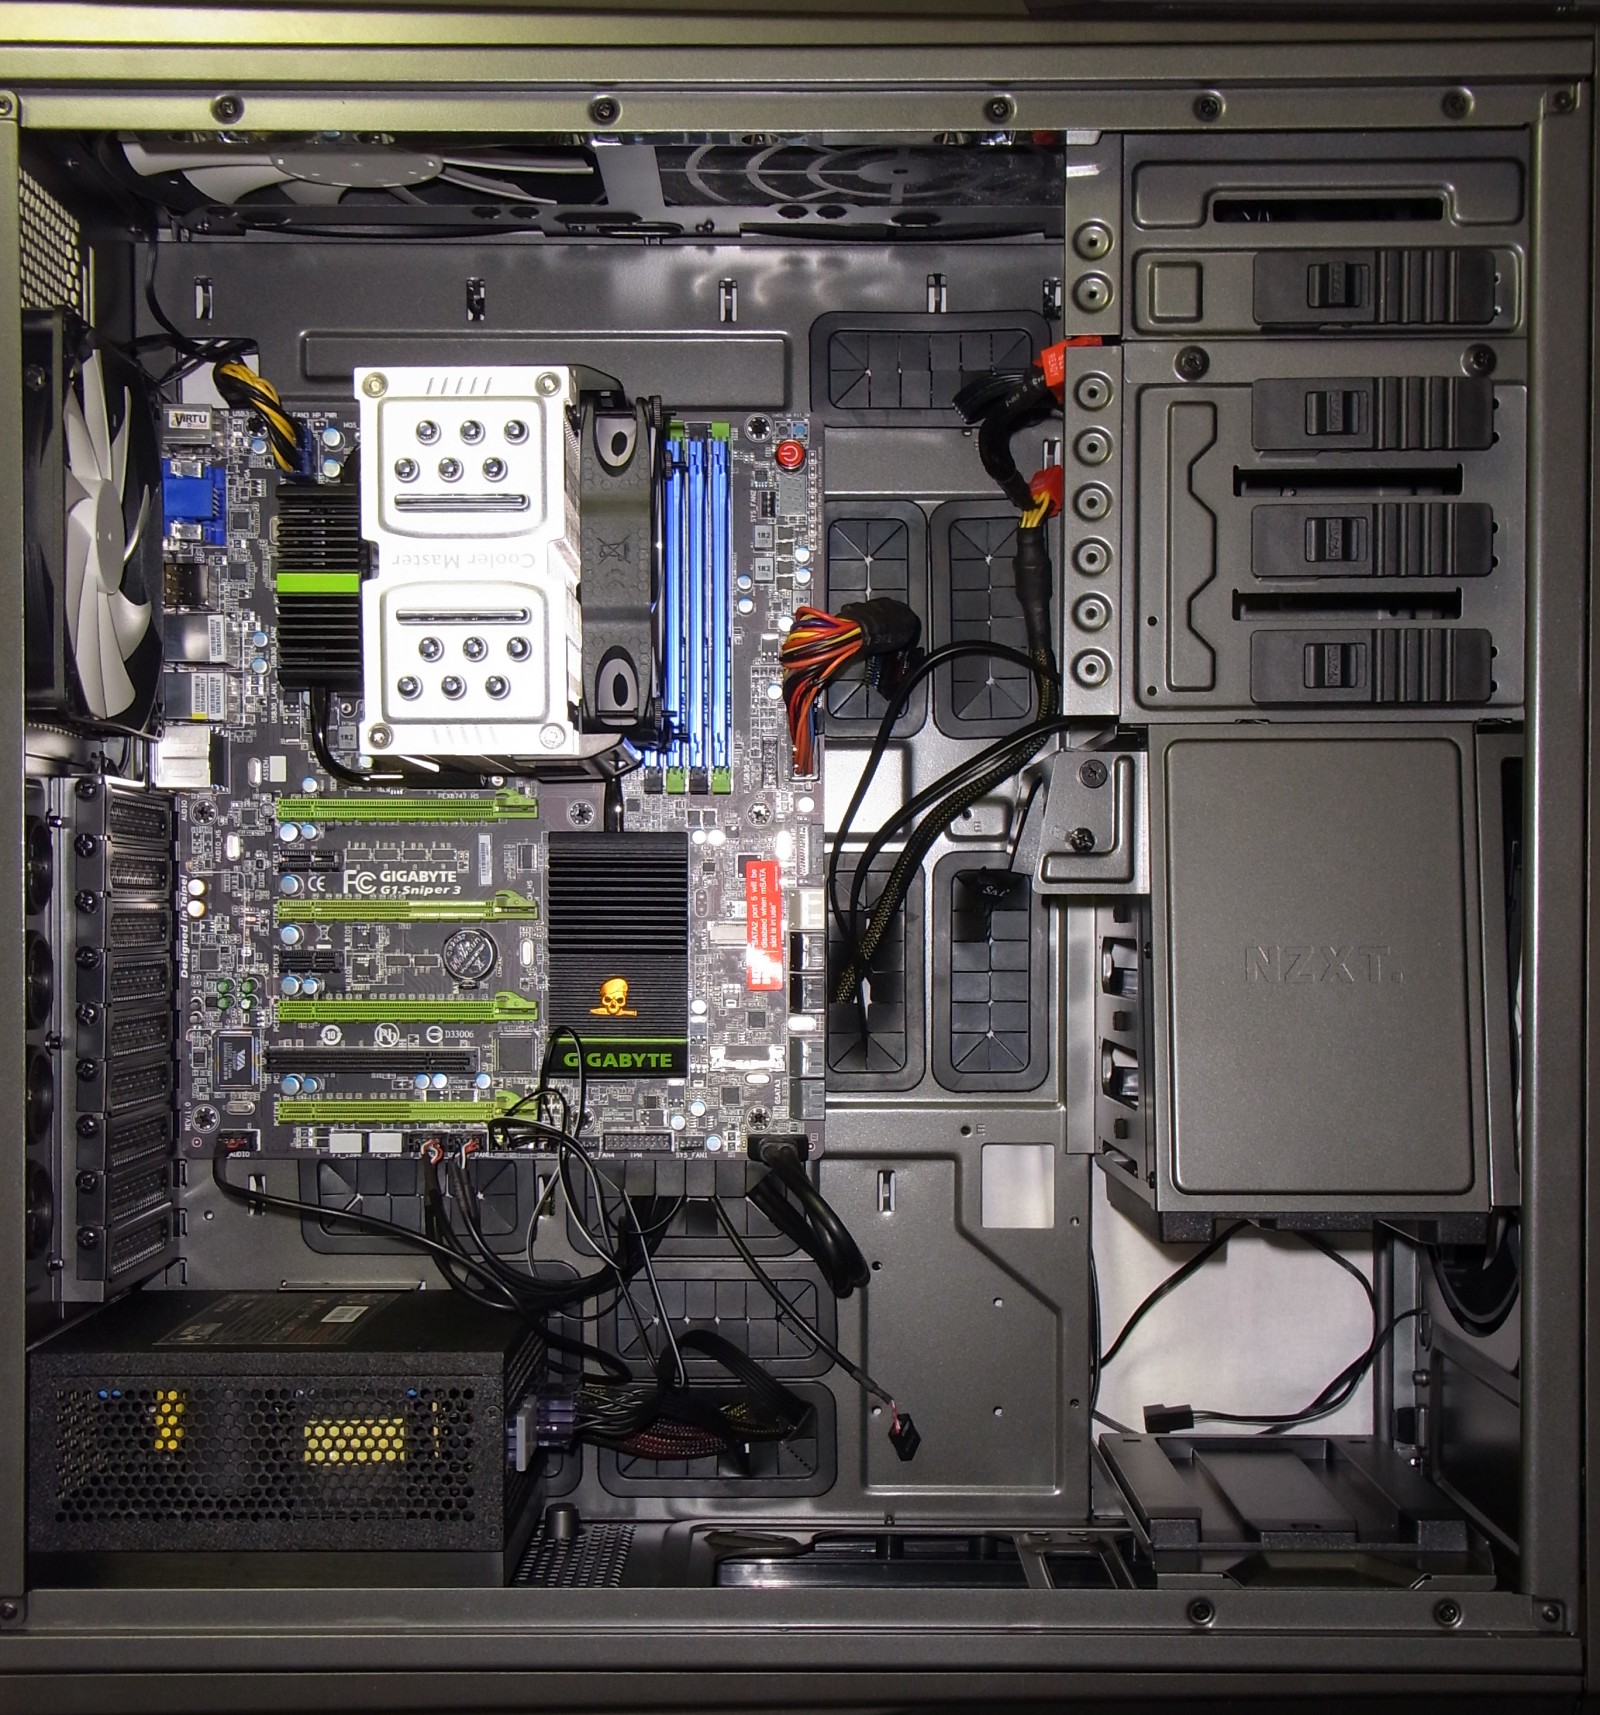
The Phantom 820 is plenty roomy, supporting XL-ATX and Extended ATX motherboards. As we've pointed out, the case's built-in cable management is a high point as well. Because it offers so much space, motherboard installation is really pretty easy.
Although we really like the fact that NZXT exposes two USB 3.0 and four USB 2.0 ports on the top of its case, those second-gen connectors have to be fed through a pair of USB 2.0 headers. Now, we're not sure how many modern motherboards include more than two of those headers, but if yours isn't one of them, you're going to have a hard time hooking up four USB 2.0 ports and the Phantom 820's built-in card reader. In our case, we used an adapter purchased separately to re-purpose a USB 3.0 header.
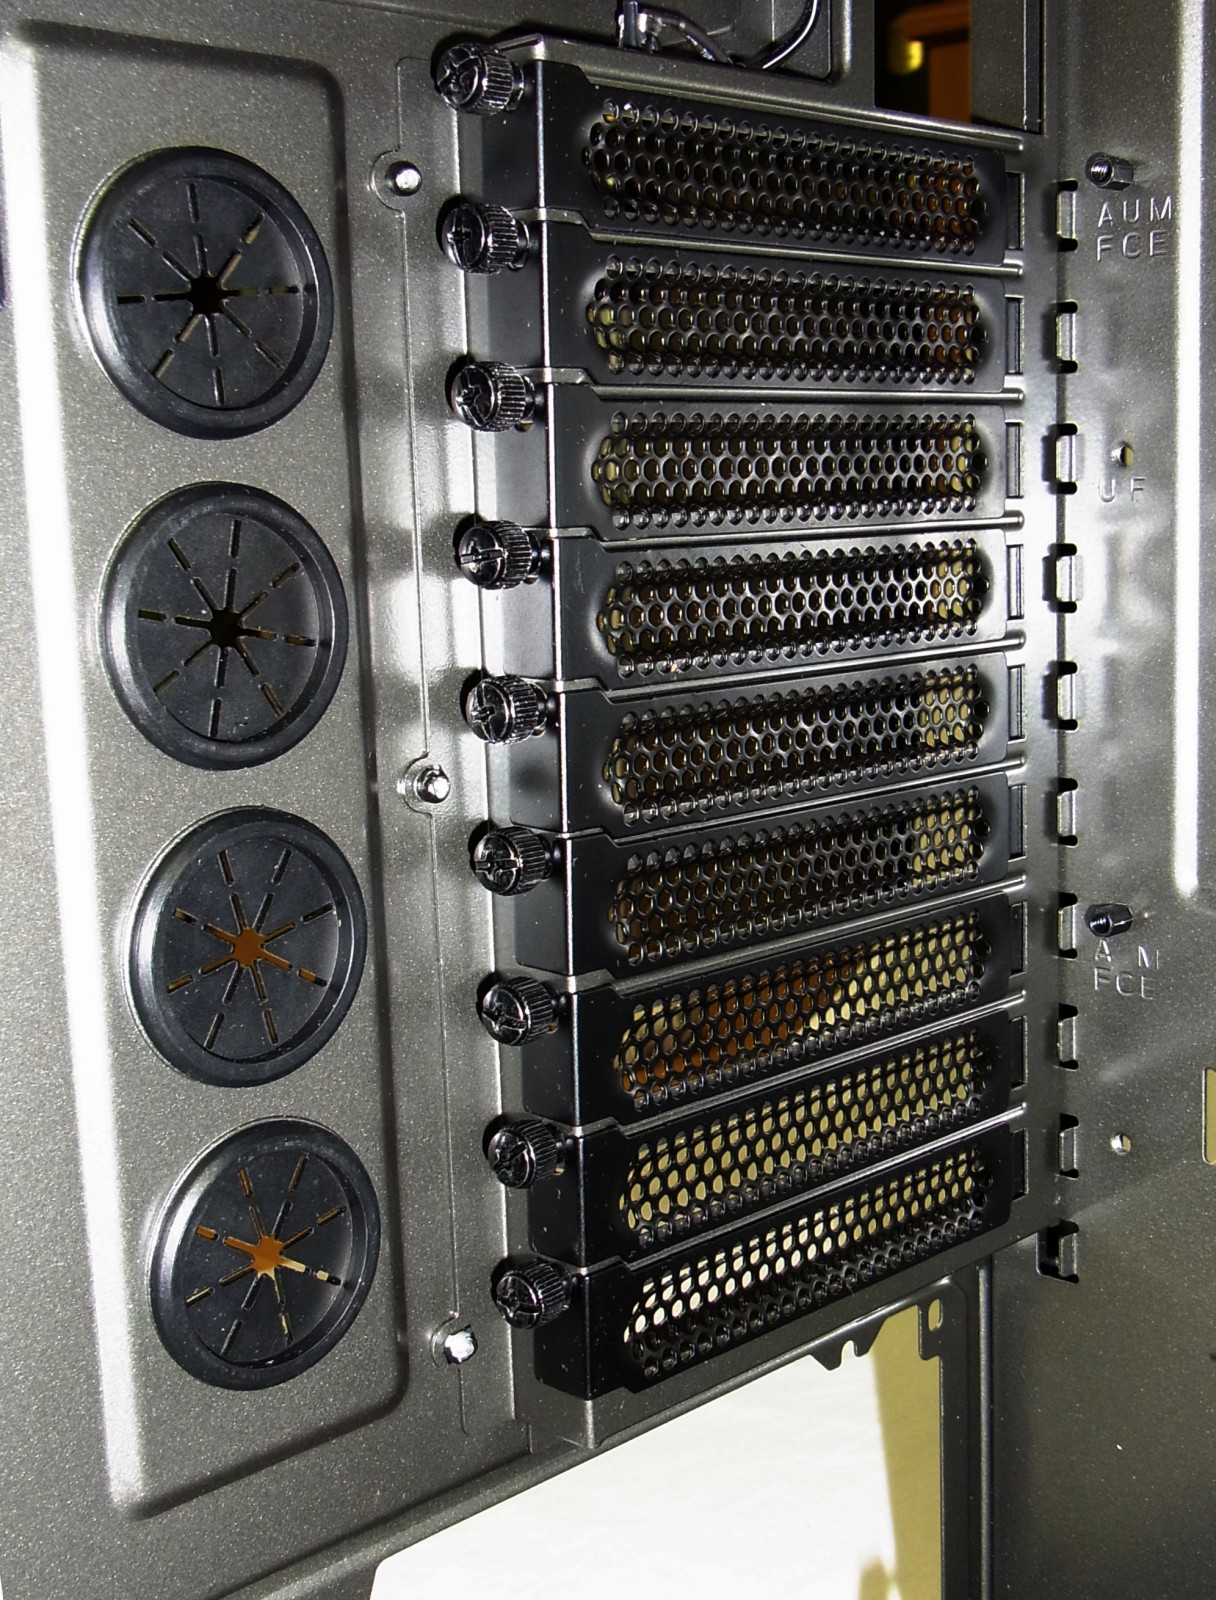
There are four openings for water cooling next to the expansion slots, and you'll find enough space under the Phantom's top panel for a 240 or 360 mm-long radiator. It can't be more than 60 mm thick, though. And even then, some parts of the top 5.25” drive bay need to be taken off first.
Frankly, most users don't need high-end water cooling systems with separate loops for the CPU and GPU. It's good to know that if you're one of the ones who can put such an intricate circuit to use, however, this case supports it.
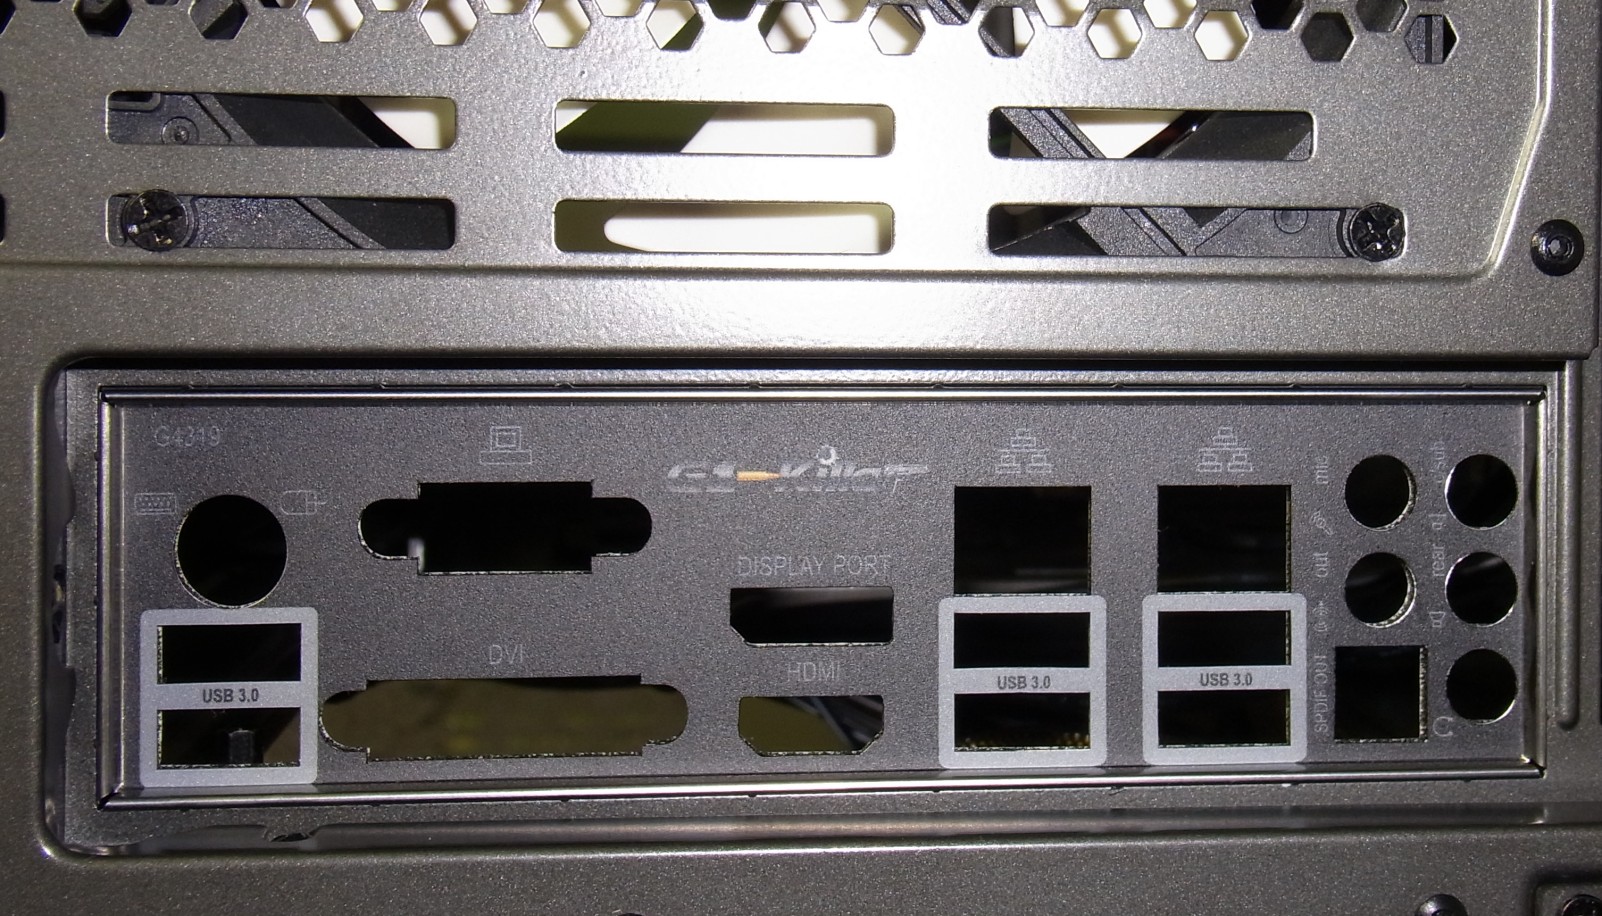
NZXT's Phantom 820 is one of the few cases that provides a perfect fit for the ATX back plate. Some enclosures are less than precise with this one point, and it's nice to have the I/O panel snap into place securely.
Look how roomy this thing is. Connecting cables is a piece of cake. You don't have to bend your hands or risk slicing your fingers on an unfinished edge. Holes in the motherboard tray are neatly covered in grommets so you don't see anything underneath. And plenty of room for larger platforms means the Phantom 820 could conceivably support four dual-slot graphics cards, though we'd probably recommend a couple of GeForce GTX 690s, if you really wanted to go that route.
Get Tom's Hardware's best news and in-depth reviews, straight to your inbox.
Current page: Motherboard Installation
Prev Page Storage Installation Next Page Factory-Installed Lighting
Igor Wallossek wrote a wide variety of hardware articles for Tom's Hardware, with a strong focus on technical analysis and in-depth reviews. His contributions have spanned a broad spectrum of PC components, including GPUs, CPUs, workstations, and PC builds. His insightful articles provide readers with detailed knowledge to make informed decisions in the ever-evolving tech landscape
-
ilysaml I like most of the cases out there, but the only major drawback is it's side look, some really like a pure glass window and some other just don't.Reply -
where is comparison(Temp Comparison) with other cases like antec df-85,silverstone raven & nzxt tempest etcReply
-
FormatC It can not be directly compared because each hardware component may deliver different results in different cases. I had once a Silverstone Raven myself - VGA cards with DHE works nice, some other cards with axial fans worse. This can't be an objective comparison.Reply -
cobra5000 Funny, I figured the people who write reviews for pc cases would know a little more about what is going on in the pc case world? The 820 is, CLEARLY, a blending of the NZXT Phantom and the Switch 810. The 810 was the first to pioneer the back panel led, not the 820 like the author notes. I was really, really liking this case on paper. It has the sharp looks of the Phantom and all of the great new features of the 810. The $250 price tag killed that! Also, this review makes it pretty clear that this case is really not on par with other cases in this price bracket. Disappointing, to say the least. At almost $100 less and a better fit and finish, get the 810. $150 less gets you a Phantom in any color of the rainbow. NZXT really got greedy on this one. $250 for sub-par fans and flimsy hard drive cages? I think not!Reply -
FormatC @cobra5000:Reply
The intro (and some other content) of my German orginal is different and refers to the Switch 810 (and Phantom). This was my fault as I proofread the translation. Sorry. -
JonnyDough I'm sorry but when I can get THIS: http://www.newegg.com/Product/Product.aspx?Item=N82E16811139011 for quite a lot less and it has USB 3.0, cable management, an adult look to it, and serves my purpose just fine - I see little reason to spend over three times more on a case that does little more than what this one does.Reply -
army_ant7 Hello again Igor! :)Reply
Nice, thorough review, though I was interested in how you guys do your 100Kg tests! I would've also liked to see you (who I assume was referred to as the author) standing or whatever on the case as was mentioned. :lol:
BTW, I'm not much of a chassis buff, but when I saw the Corsair Obsidian 850D I was amazed at its features. It's been my dream case, but I feel a bit half-hearted about that since I am aware that there are as you said, so many cases out there. I'm not sure if you've ever had your hands on it, but if you have, mind sharing your insights and observations of it, and maybe personally compare it to this or other notable cases. Thanks! :D -
FormatC At first:Reply
I'm waiting for the corsair Obsidian 900D. My own case is an Obsidian 800D and I've modified this case with USB 3.0 and a new SATA3 PCB. It will be interesting, what the new case can better (or not).
About the test:
Simply sit down (without the plastic crap on top) and try to sit on it one minute. After this I've used my water venture... I'm a typical 100 kg heavy-weight reviewer and this is really enough to destroy something (some cases were mess after this). -
ckholt83 I hate the stupid looking plastic foot at the front of the case, it looks like a tacked on afterthought.Reply -
army_ant7 Reply
If that's the case, I'll be looking forward to a review of it (900D)! Also yeah, side notes by you on how it does compared to older models. :D9539960 said:At first:
I'm waiting for the corsair Obsidian 900D. My own case is an Obsidian 800D and I've modified this case with USB 3.0 and a new SATA3 PCB. It will be interesting, what the new case can better (or not).
About the test:
Simply sit down (without the plastic crap on top) and try to sit on it one minute. After this I've used my water venture... I'm a typical 100 kg heavy-weight reviewer and this is really enough to destroy something (some cases were mess after this).
Oh, so the two tests are one and the same. Hehe... I see... I hope you haven't gotten into any accidents by doing that with any cases. Ripped up pieces of metal can be nasty...
In your opinion, are Corsair Obsidians (or at least the one you have) the best you've seen? (I value your opinion because I bet you've gone through a lot of cases, or at least reviews of them.) :)


