Tom's Hardware Verdict
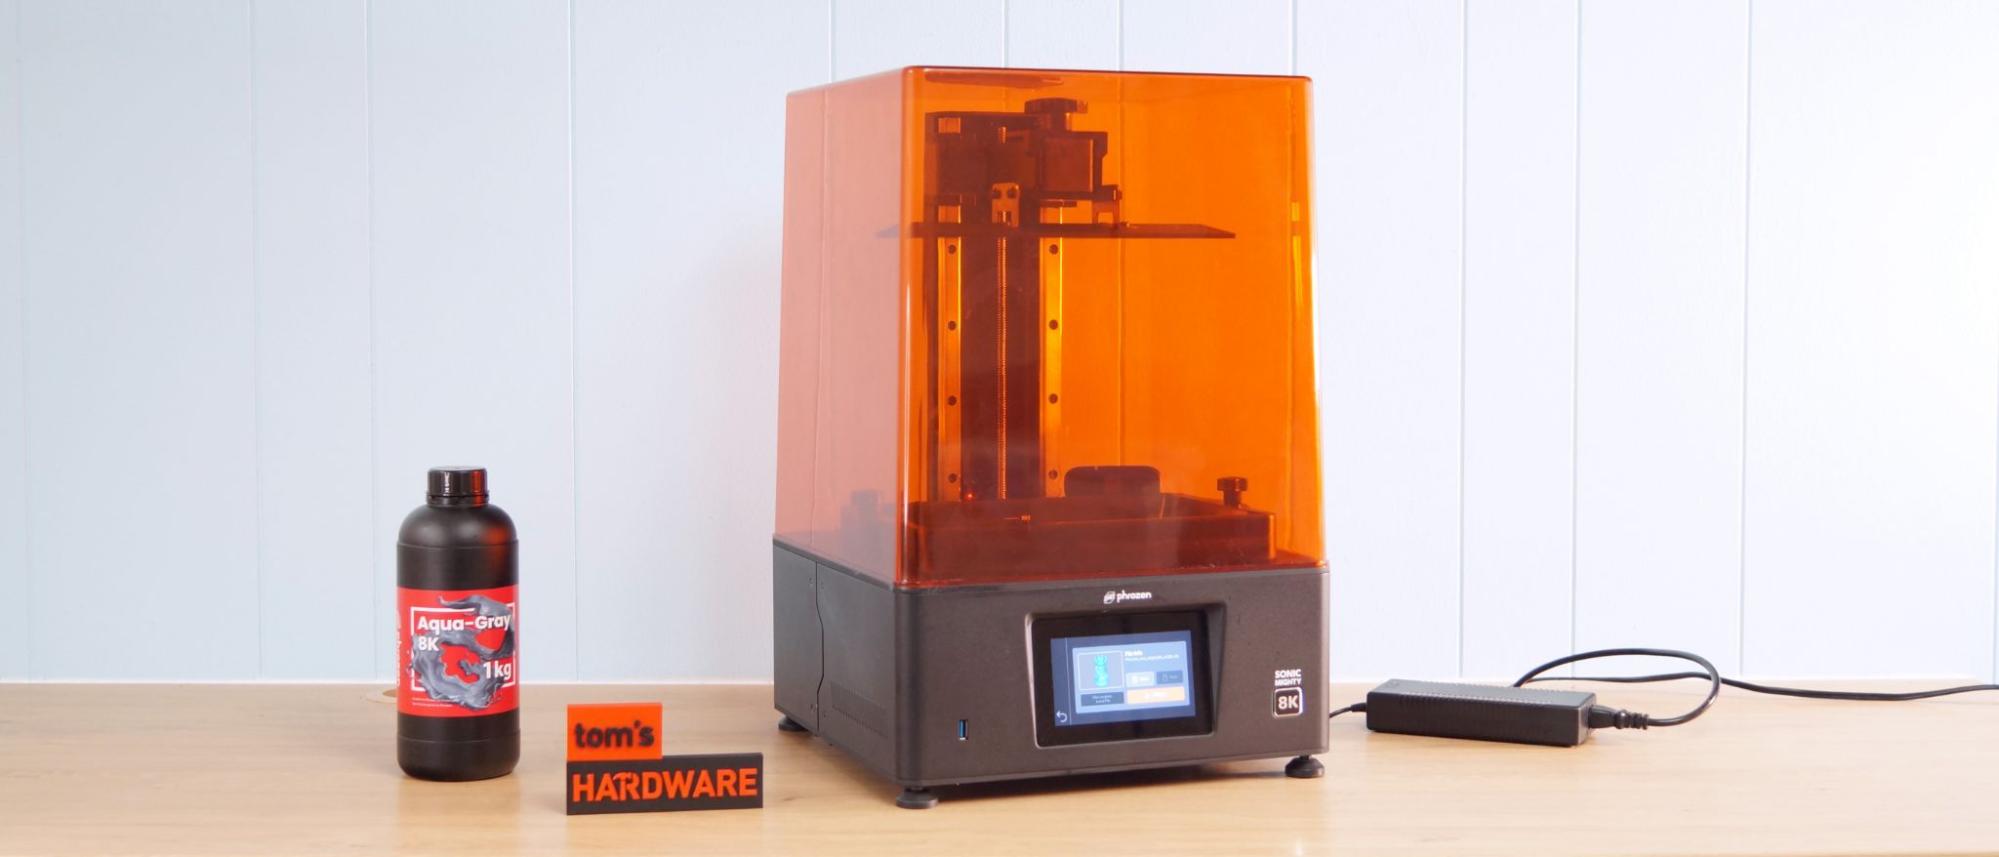
Phrozen’s Sonic Mighty 8K delivers incredible details with a huge build volume that still fits on your desk.
Pros
- +
Detailed 8K prints
- +
Large build volume
- +
Effortless print removal
- +
Wi-Fi
Cons
- -
4 Bolt leveling platform
- -
Ships with a non-functional camera
- -
Expensive
Why you can trust Tom's Hardware
Phrozen’s Sonic Mighty 8K is a large, easy-to-use desktop resin 3D printer with the ability to reproduce very fine details. Its roomy 218 x 123 mm build plate can accommodate an army of gaming miniatures or a good-sized model without the need to slice and dice it. If you could only own one resin printer, this one is well worth investigating.
Priced at $899, the Phrozen Sonic Mighty 8K is not exactly cheap but it is ready to compete with the best resin 3D printers on the market. What do you get for the money? First, there’s 8000 pixels stuffed inside the monochrome LCD screen with an incredible 28 microns of detail. The Sonic Mighty 8K also has an easy release build plate, built-in WiFi and a camera. Its touch screen is large and easy to navigate – and the processor is smart enough to let you change exposure settings after you’ve sliced a model.
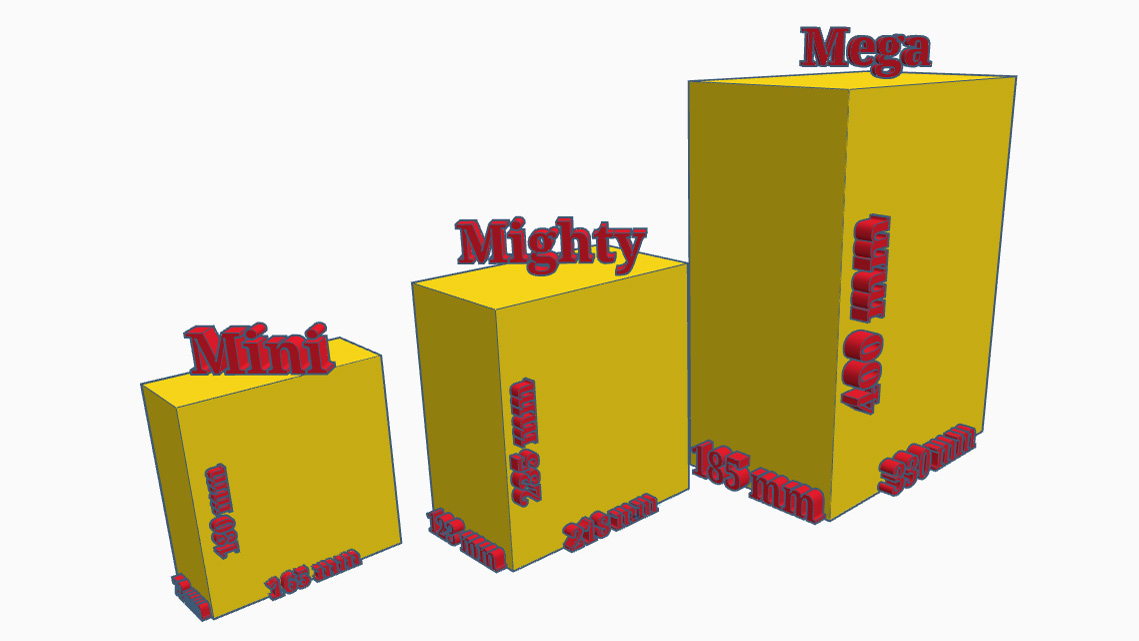
The Sonic Mighty 8K stands in the middle between Phrozen’s other high resolution printers, at least when it comes to build size, if not price. The petite $700 Sonic Mini 8K has a slightly higher resolution at 22 microns, and the enormous $2900 Sonic Mega 8K has 43 microns of resolution. If that’s confusing, understand that the “8K” label refers to how many pixels are contained along the X-axis of the screen. The bigger the screen, the more the pixels are spread out. But when you consider that a human hair can clock in at 75 microns, the Mighty 8K’s 28 micron resolution is incredibly fine. Still confused? VOG has an excellent explanation of resin printer resolution here.
Specifications: Phrozen Sonic Mighty 8K
| Machine Footprint | 337 x 337 x 516 mm (13.25 x 13.25 x 16.75 inches) |
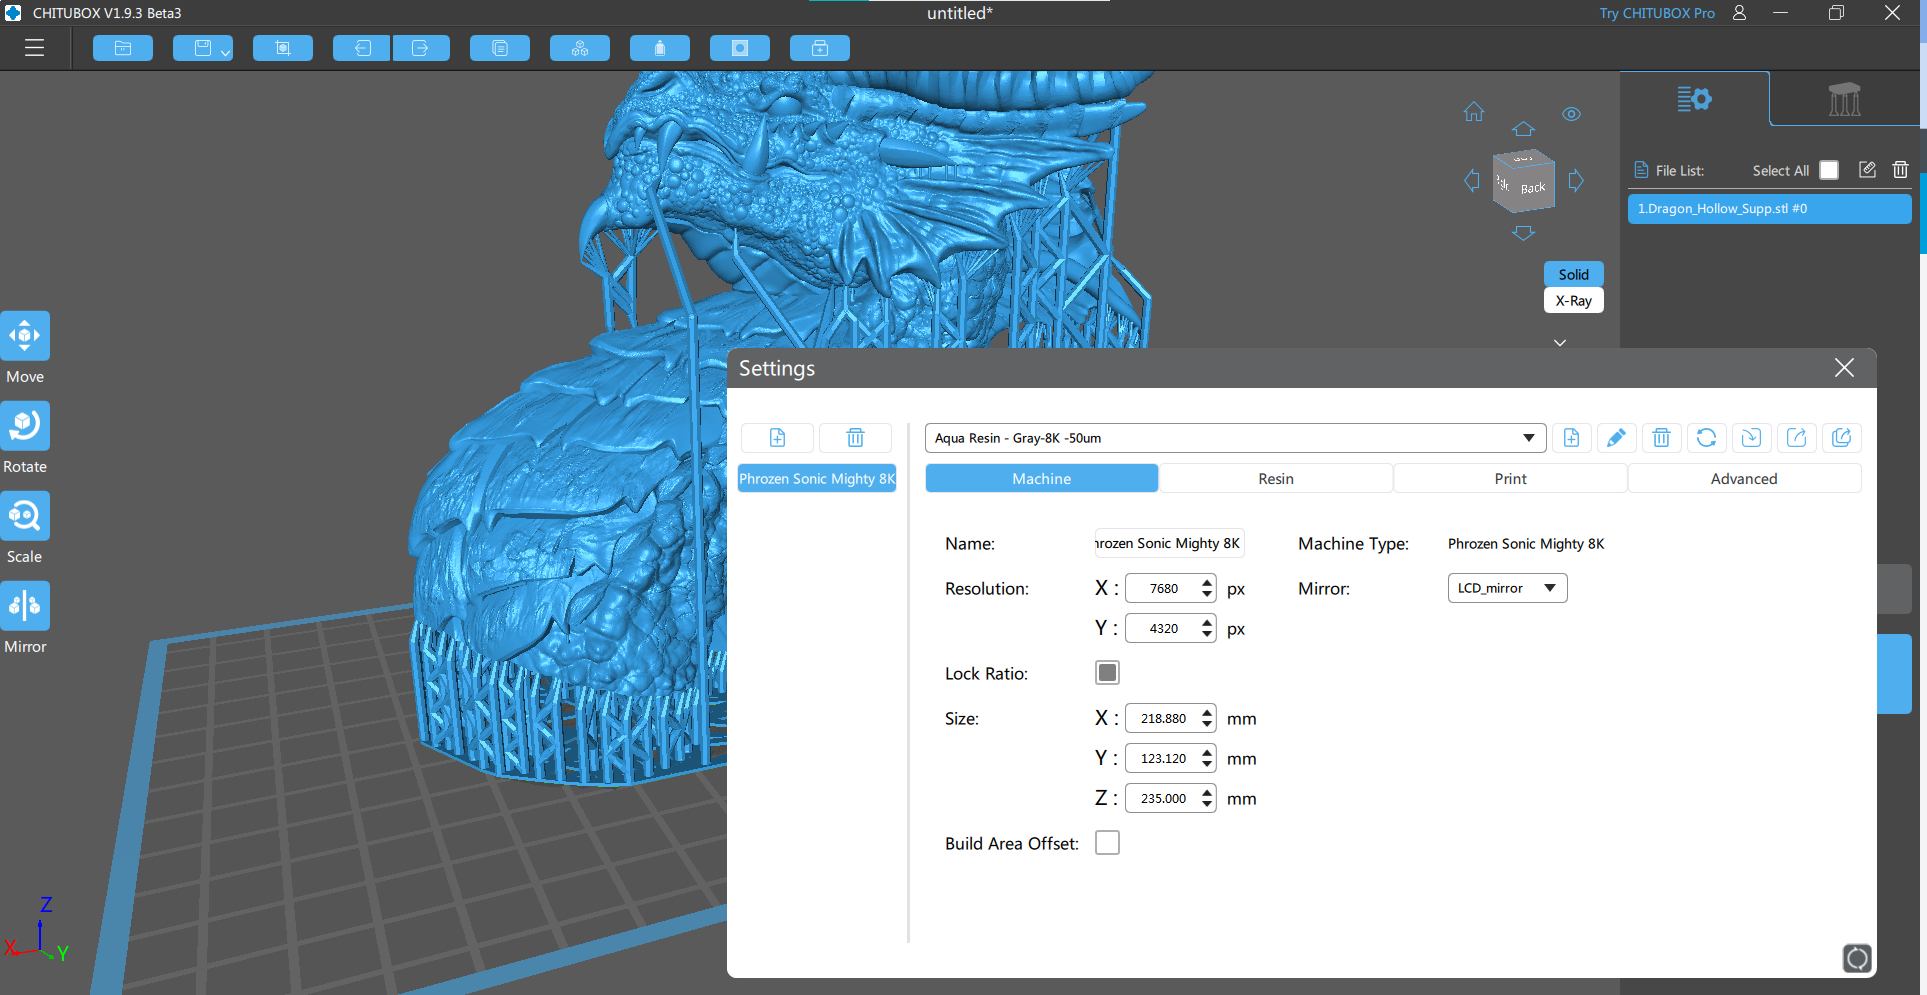
| Build Volume | 218 x 123 x 235 mm (8.5 x 4.8 x 9.25 inches) |
| LCD Screen | 10'' Monochrome |
| Light Source | Linear Projection LED |
| XY Axis Resolution | .028 mm |
| Normal Exposure Time | 2 seconds |
| Interface | 5" Touch Panel |
| Connectivity | USB, Ethernet, Wi-Fi |
| Machine Weight | 14.3 kg (31.5 lbs) |
Included in the Box: Phrozen Sonic Mighty 8K
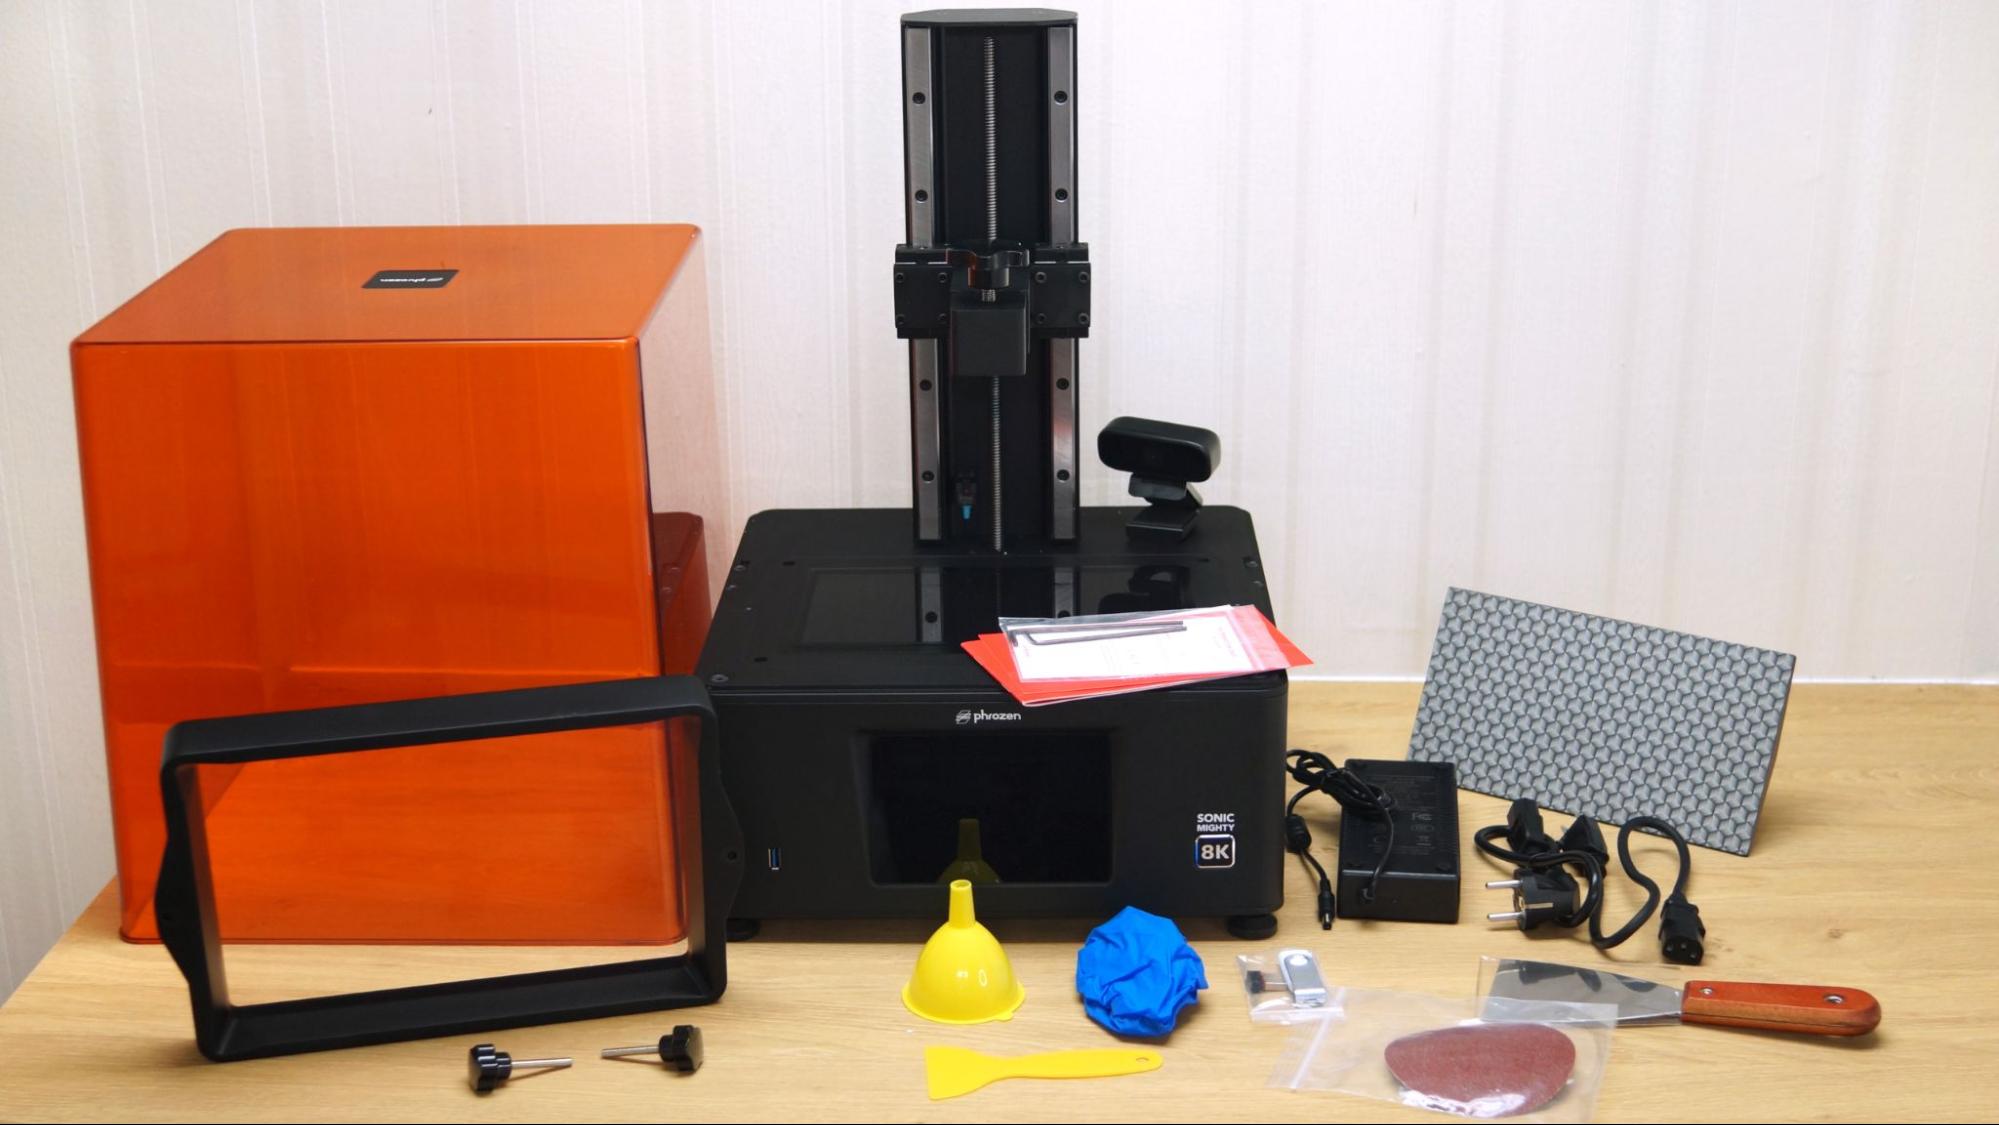
The Phrozen Sonic Mighty 8K includes everything you need to get started – except resin, which you will need to purchase separately. Phrozen sent a bottle of its Aqua-Gray 8K resin for this review, which is specifically made for finely detailed prints.
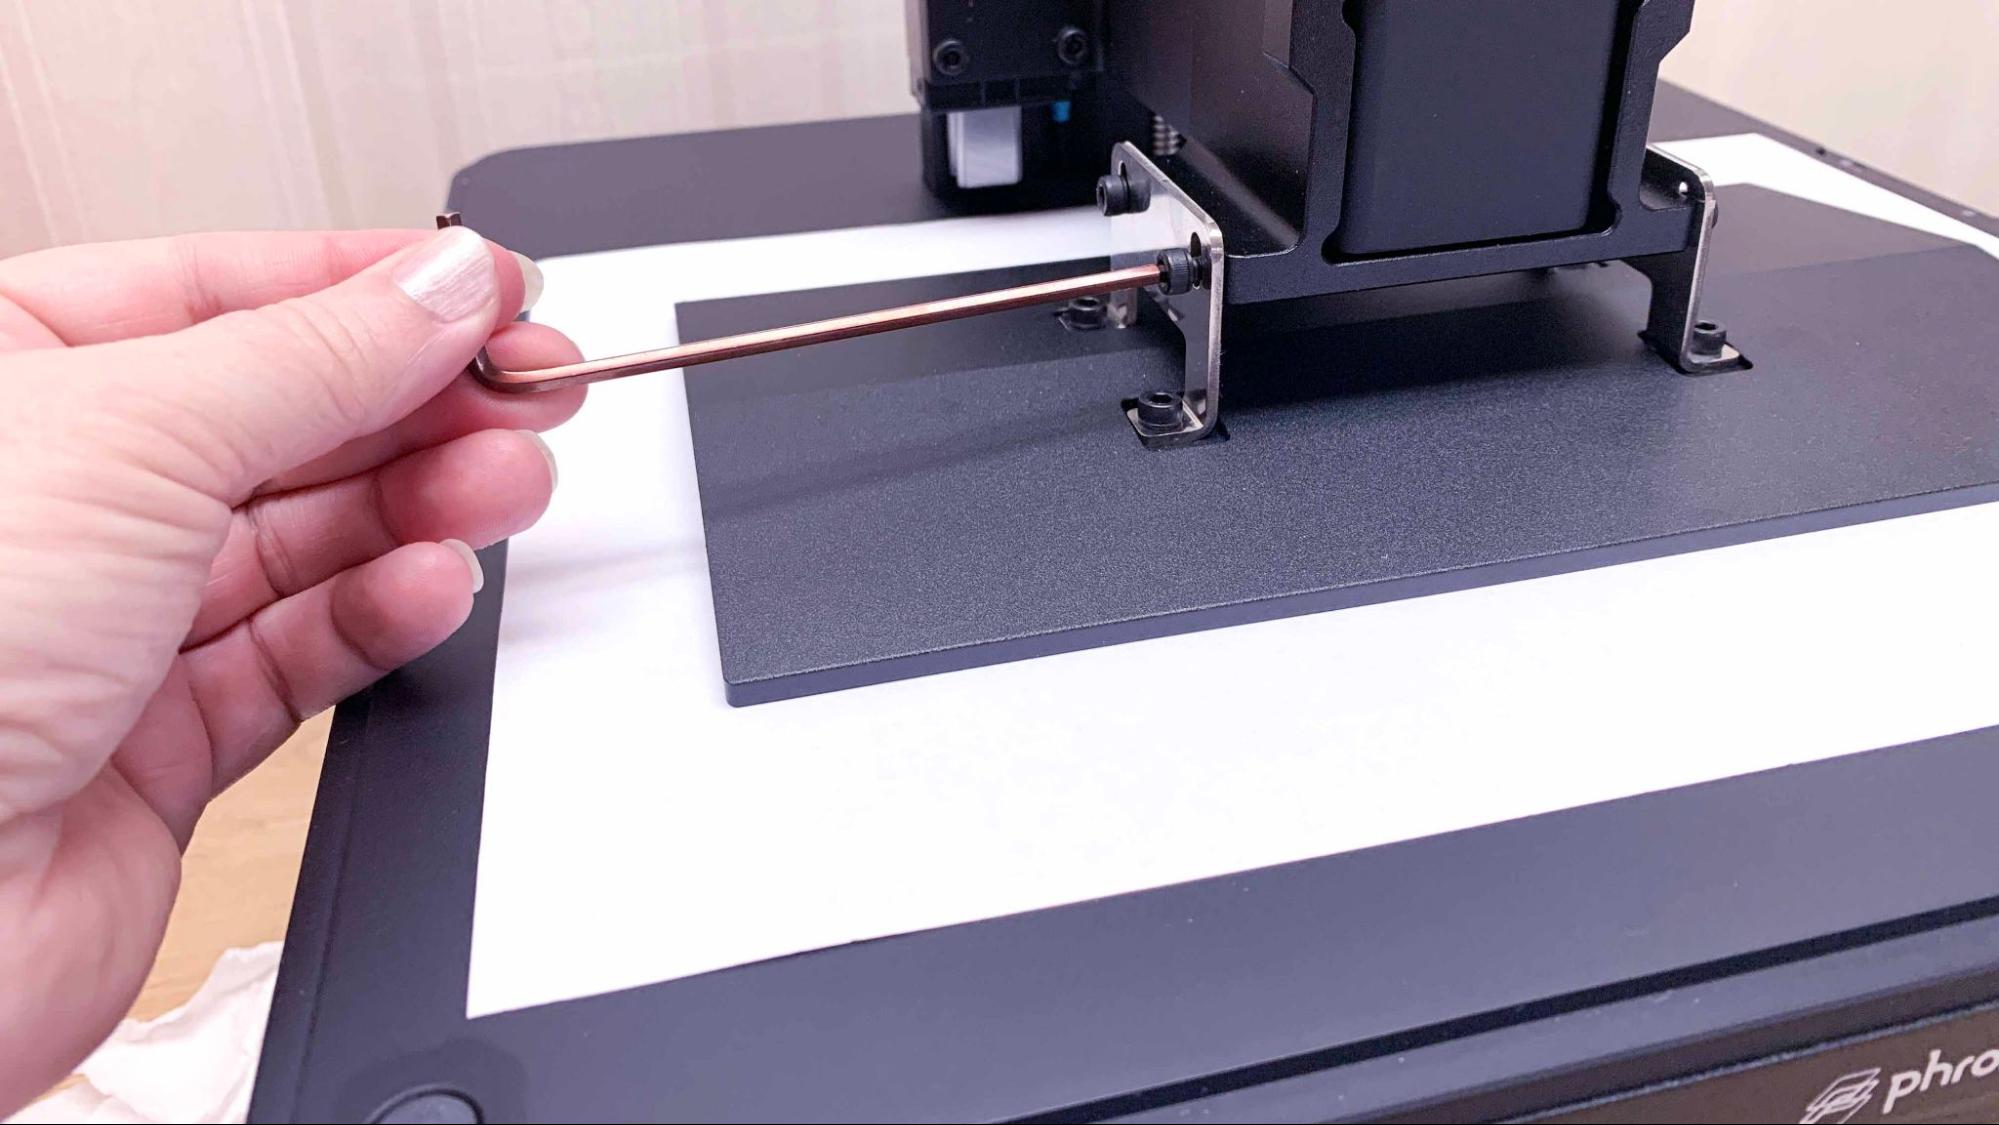
The machine does include a metal scraper for the build plate, a plastic scraper for the FEP film, a plastic funnel, disposable gloves, disposable masks, sand paper, a set of Allen keys, a power cord with adapter and a printed manual.
Also in the box is a USB thumb drive preloaded with both Lychee and Chitubox slicing software, a PDF of the manual and a pre-sliced test print. A dongle is included to access your local Wi-Fi.
Printing Safety with Phrozen Sonic Mighty 8K
The Phrozen Sonic Mighty 8K requires the same safety precautions as other resin printers. Uncured resin is dangerous, and the solvents used to clean your prints can be irritating to the skin. Use gloves and safety glasses when pouring resin and handling uncured prints.
Get Tom's Hardware's best news and in-depth reviews, straight to your inbox.
Make sure the room you use your resin printer in is well-ventilated to avoid inhaling fumes. Spilled or dripped resin should be immediately cleaned with 99% isopropyl alcohol. After printing, make sure to wipe down your printer and bottles to remove smudges of uncured resin. Always keep your resin tightly sealed and safely stored out of reach of pets and children.
Assembling the Phrozen Sonic Mighty 8K
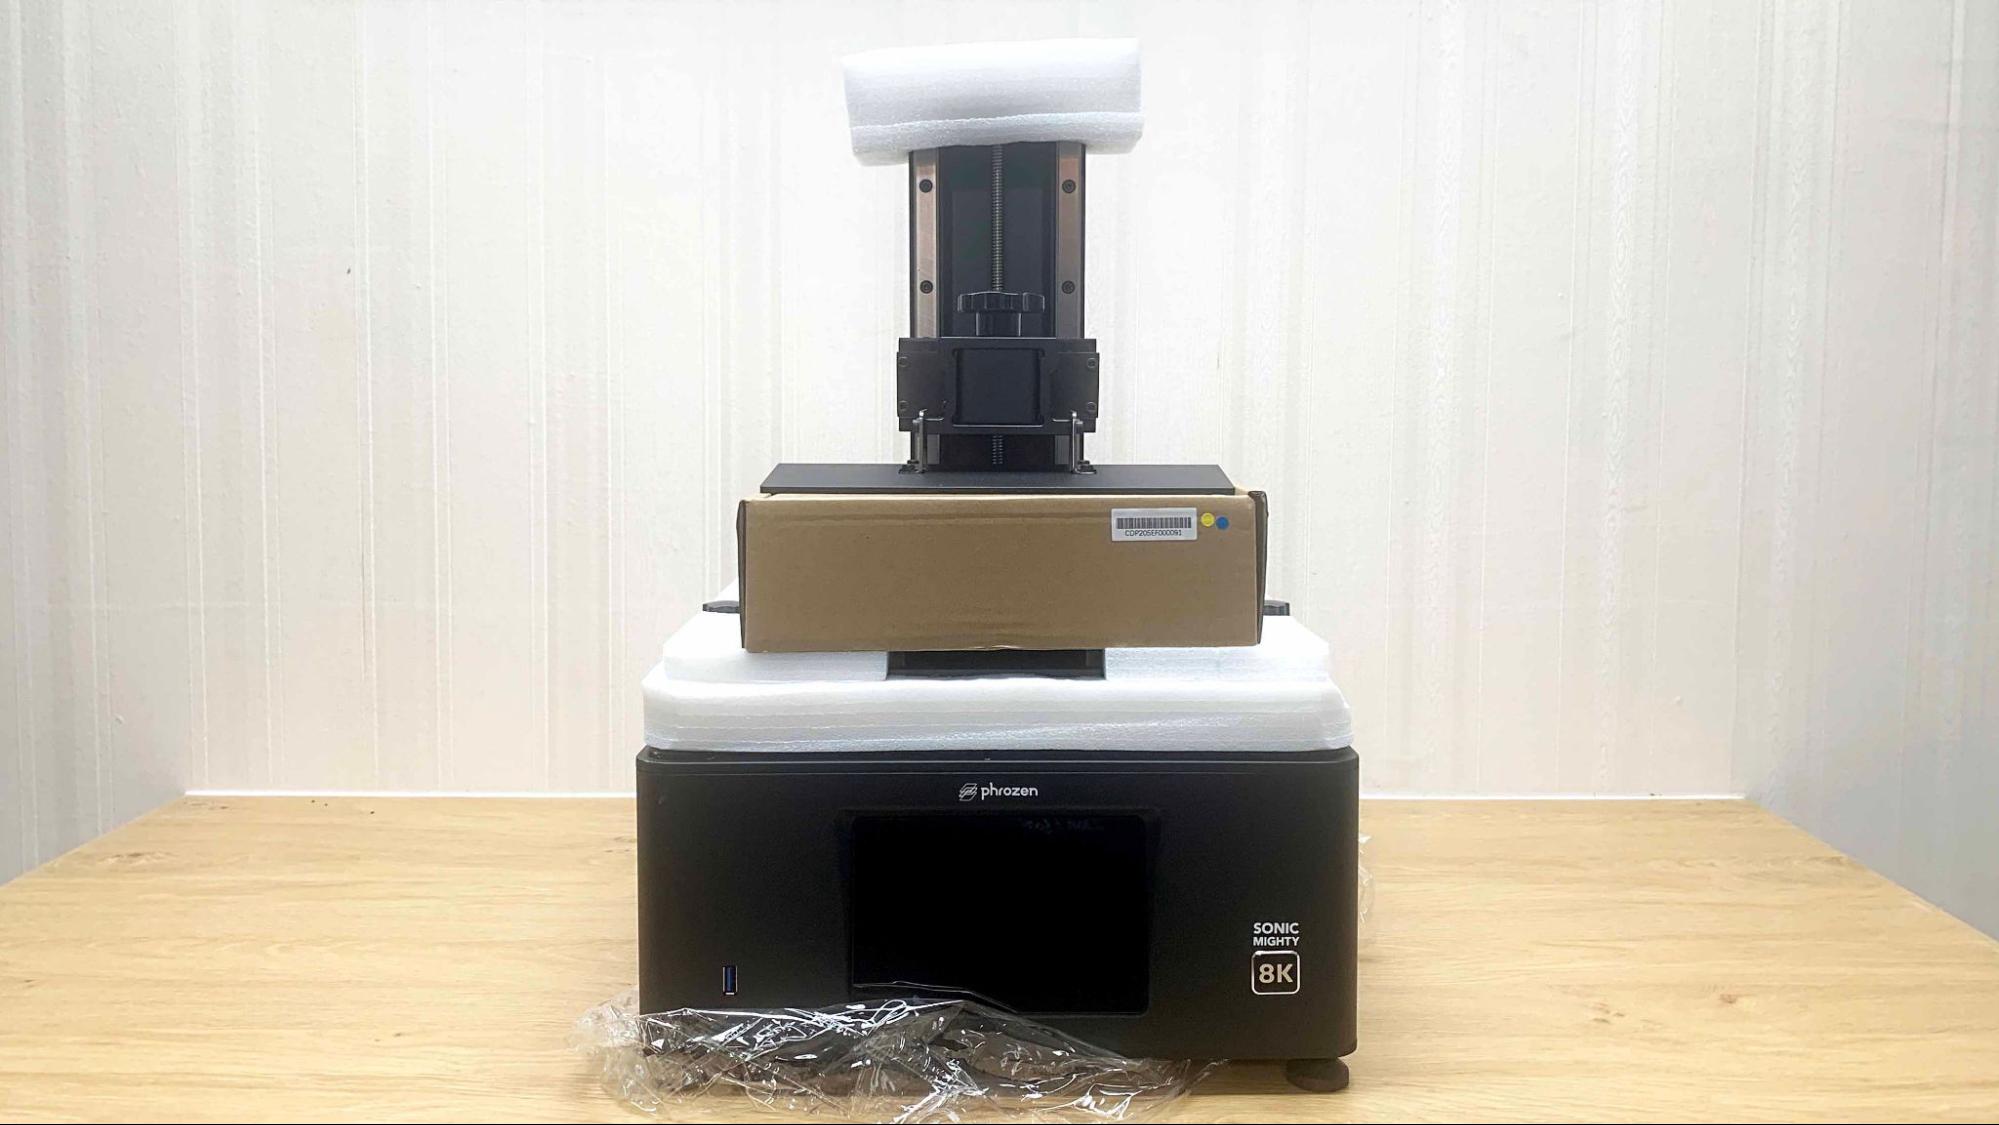
The resin 3D printer arrives fully assembled and only needs to be unpacked.
Calibrating the Build Plate on the Phrozen Sonic Mighty 8K
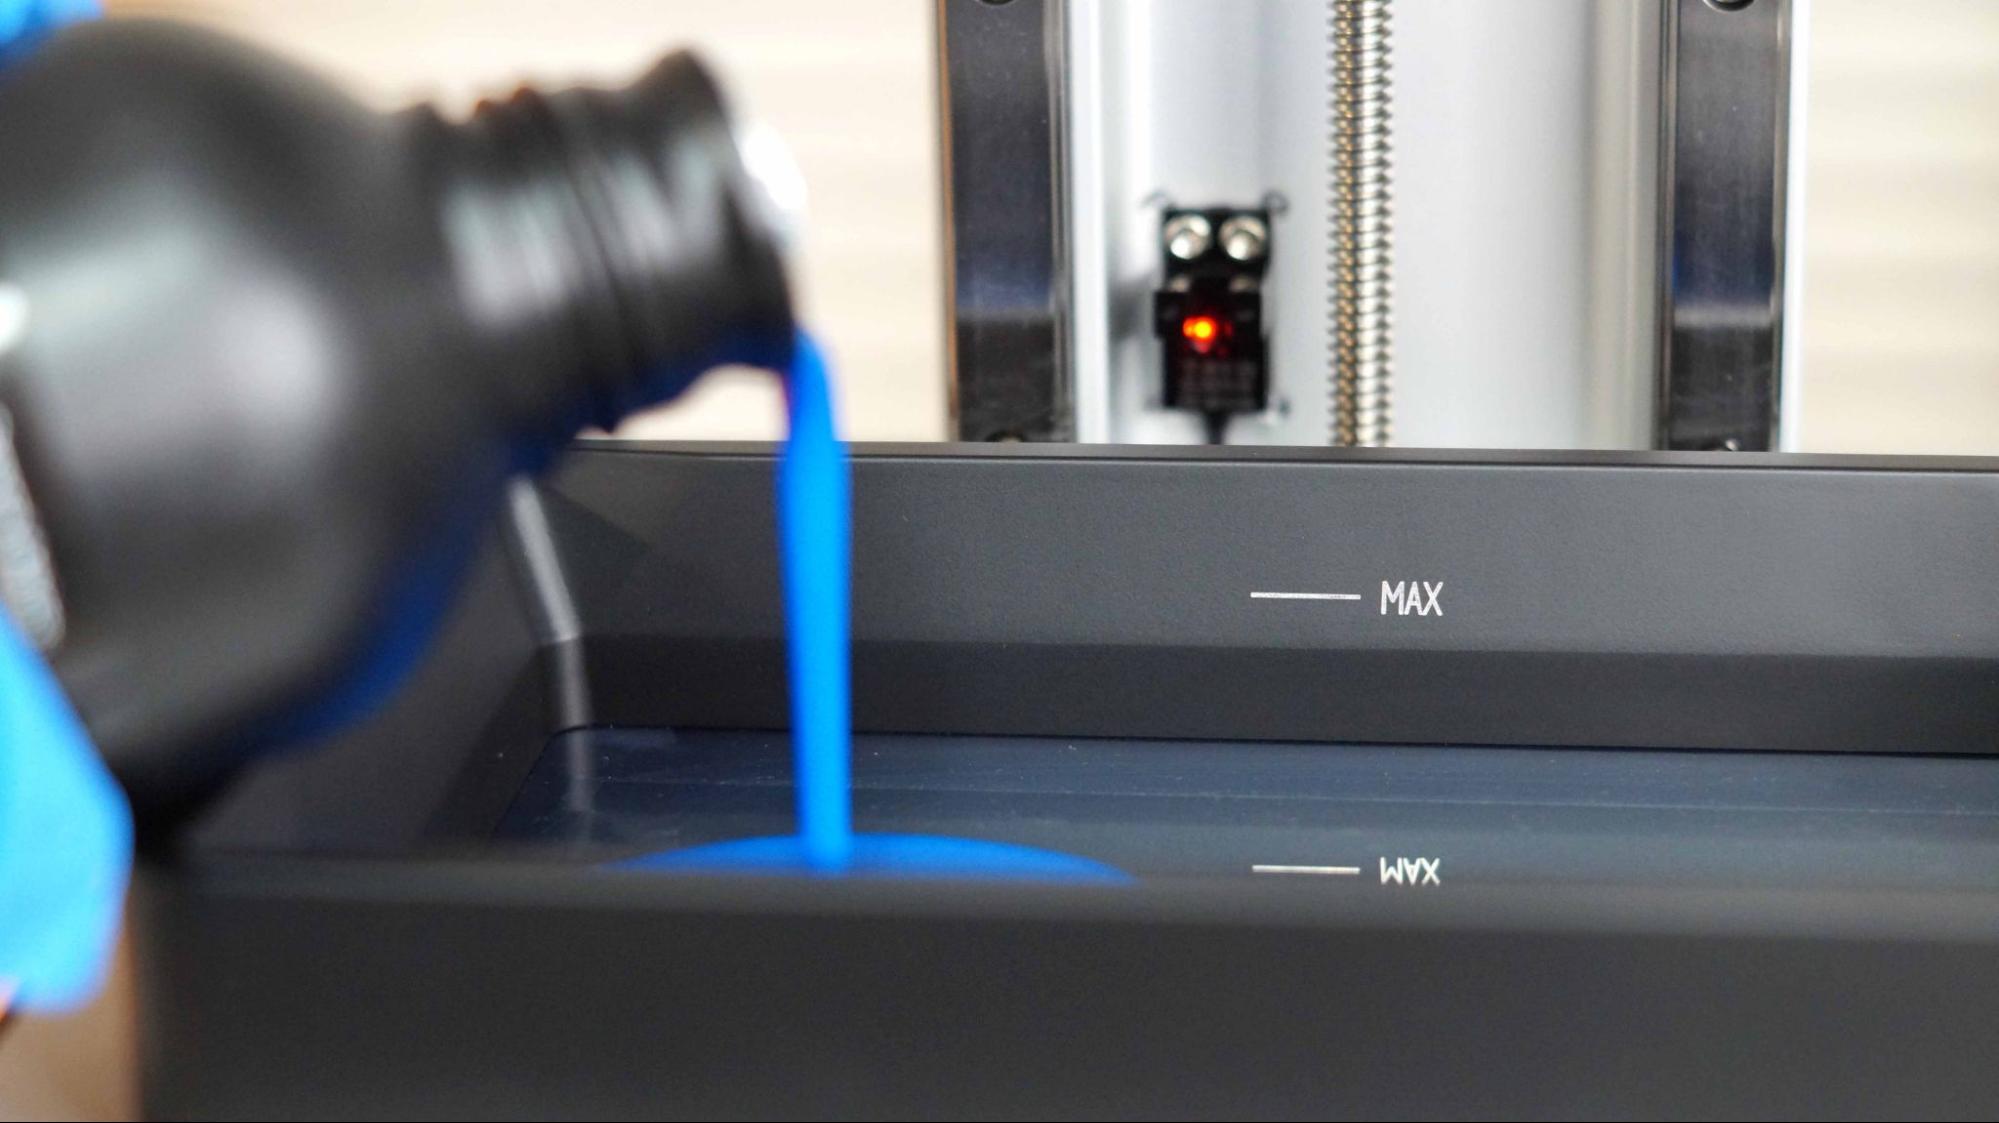
The Phrozen Sonic Mighty 8K has an on screen tutorial to walk you through the set-up process the first time you turn the machine on. It will test the lights, help you do the Z-axis calibration and then tell you how to perform the first exposure test. The file is already loaded, so you only need to follow the directions, fill the vat with resin and push the buttons.
If you speed pass the guided tutorial, directions on how to run the tests and level the bed are included in the PDF file.
Design of the Phrozen Sonic Mighty 8K
The Phrozen Sonic Mighty 8K has a design typical of most desktop resin printers. Its base is made of black metal with adjustable feet to prevent wobble and keep the vat level. The bright orange hood protects the build area from UV light and lifts off the top of the machine.
The vat is metal with two screws to hold it onto the printer. The Z-axis is quiet and runs on 2 widely spaced rails for extra stability.
The power switch is on the back, along with a port for a network cable if you want to use it. There are two USB slots, one in front and one in back. They both work the same, but it makes more sense to put the Wi-Fi dongle in the back and keep the front open for transferring files. My Wi-Fi is terrible in the workshop, so I used the front port and transferred files manually.
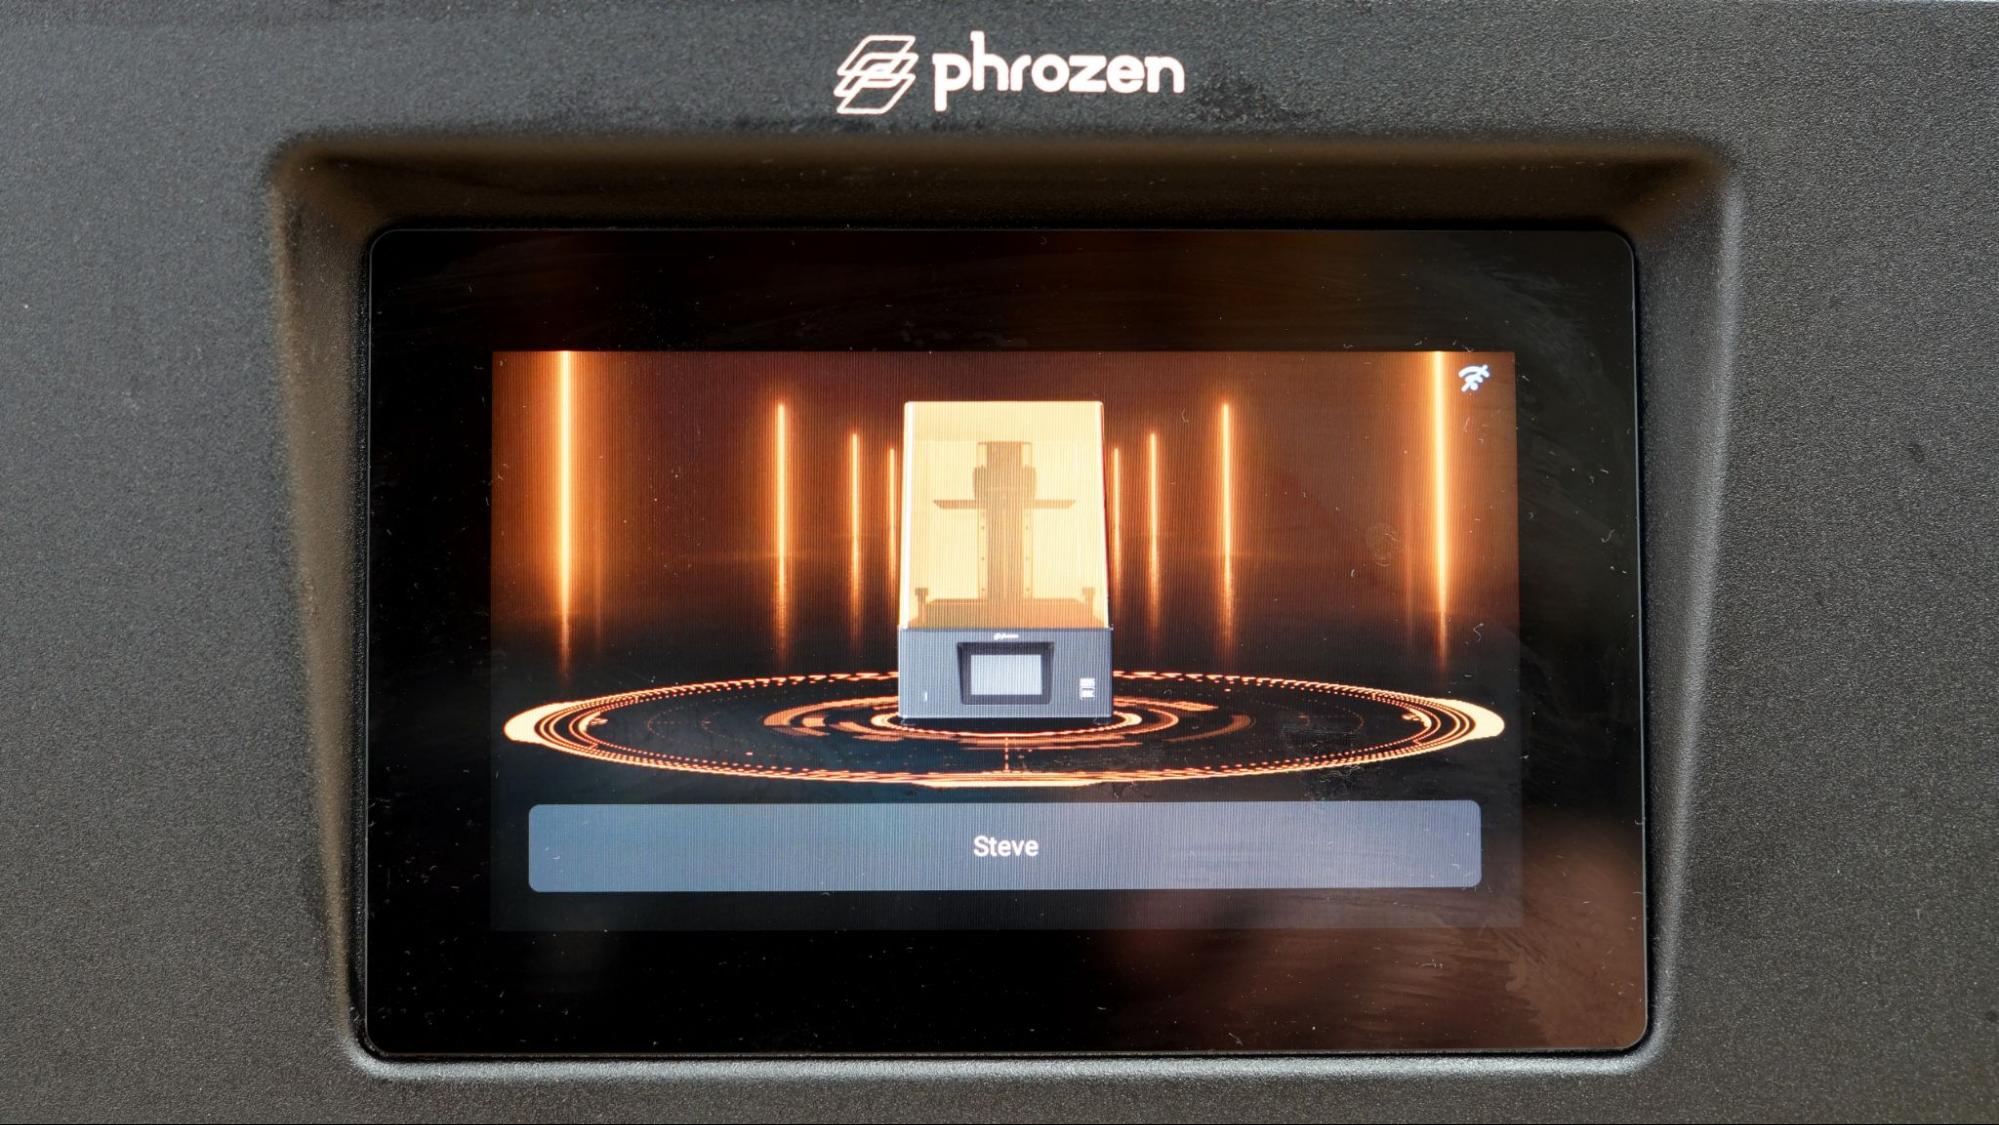
The Sonic Mighty 8K has 3.5 GB of internal memory to store files and data, great for Wi-Fi users. When setting up your printer, you can choose to rename it. This one was renamed “Steve.”
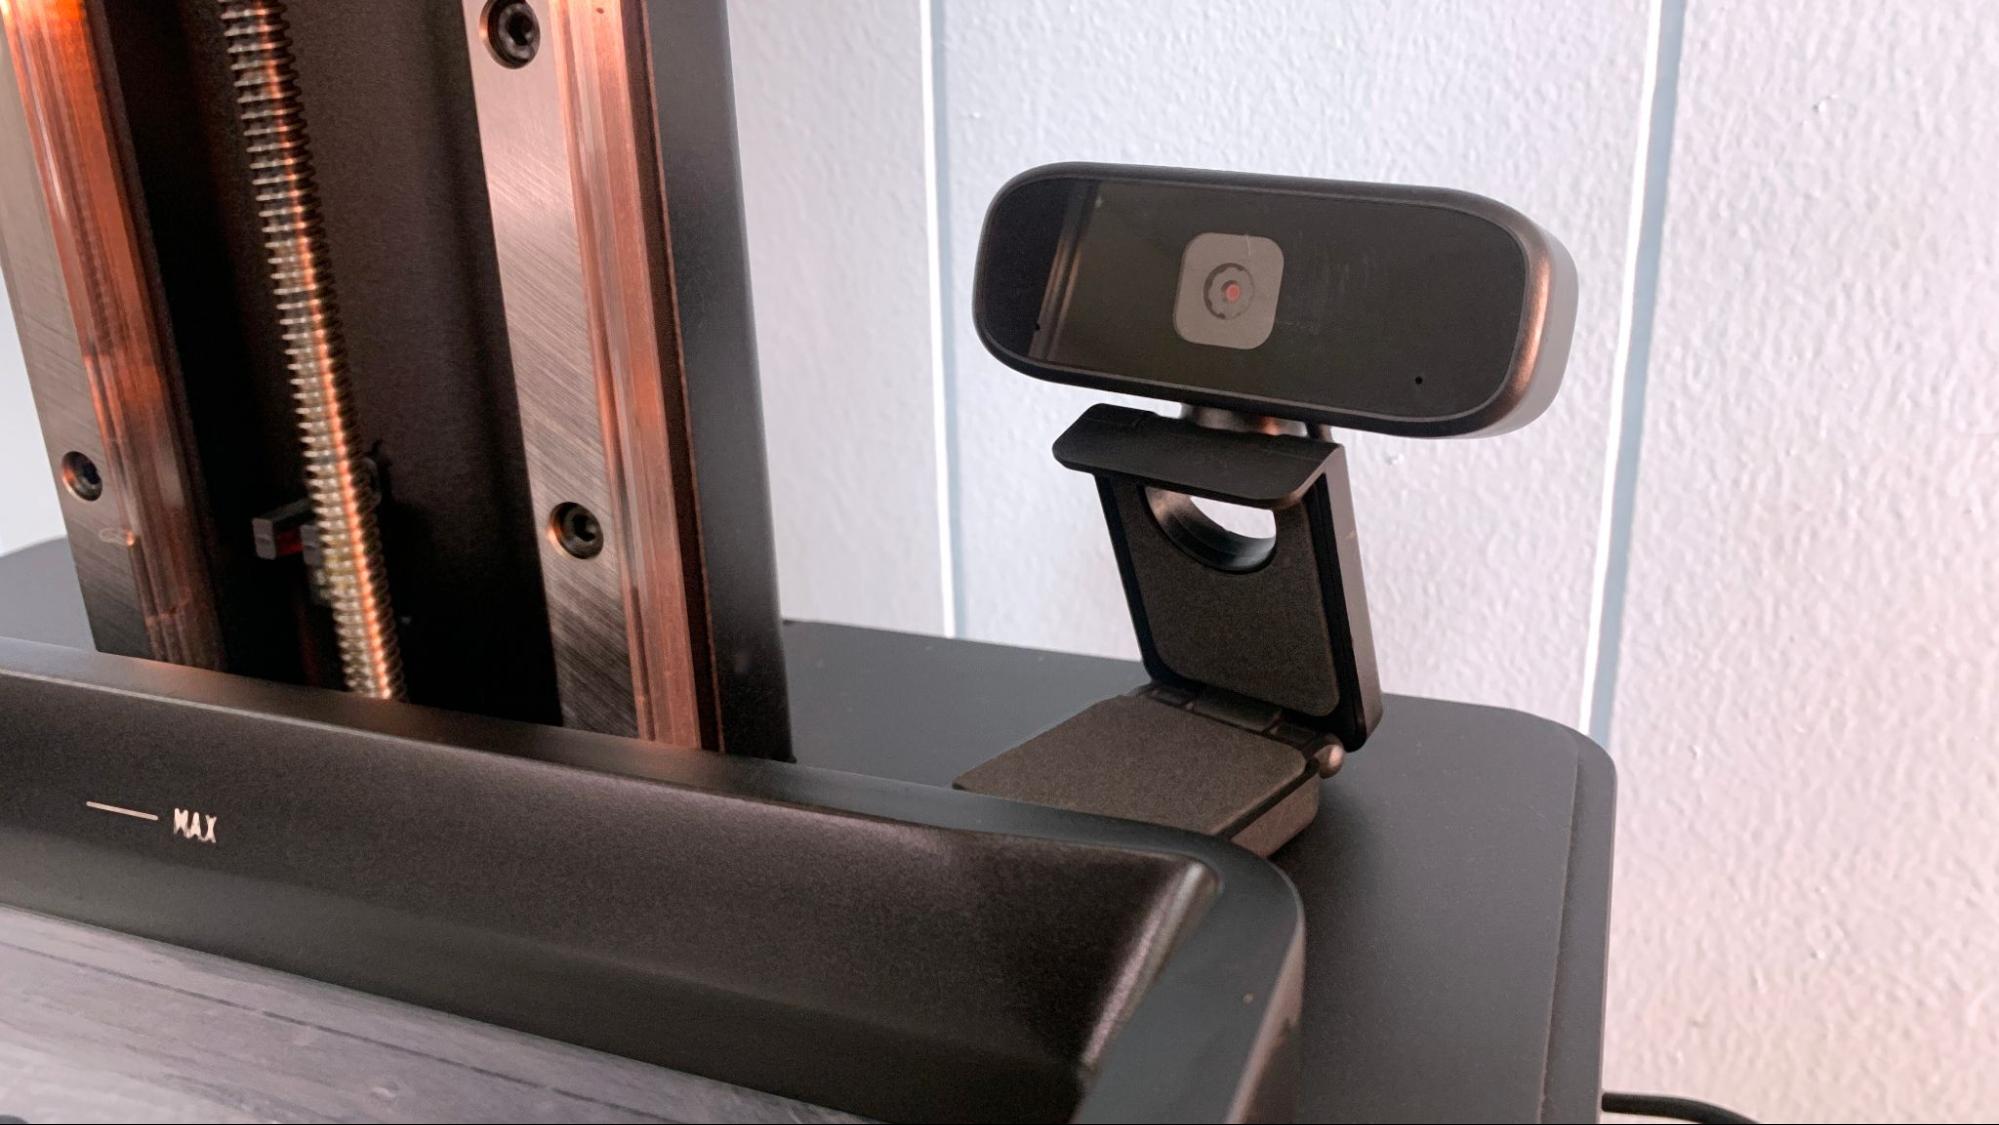
My test printer came with a non-functional camera mounted near the Z-Axis. Phrozen has stated that the camera is included with all production machines as a “bonus” as it was left out of their media photos. They further promised a firmware update later this year to activate the camera. When ready, it should let you monitor prints and even create time lapses. There’s no way to access the camera at the moment, so I will know if it works when future users do as well.
The build plate is laser etched for just the right amount of grip, and I had no problems removing prints with the metal scrapper provided. The top of the plate slopes to let resin drip off, but the bolts are recessed and can collect puddles of resin. You’ll need to clean this out with Isopropyl alcohol when you change resin colors.
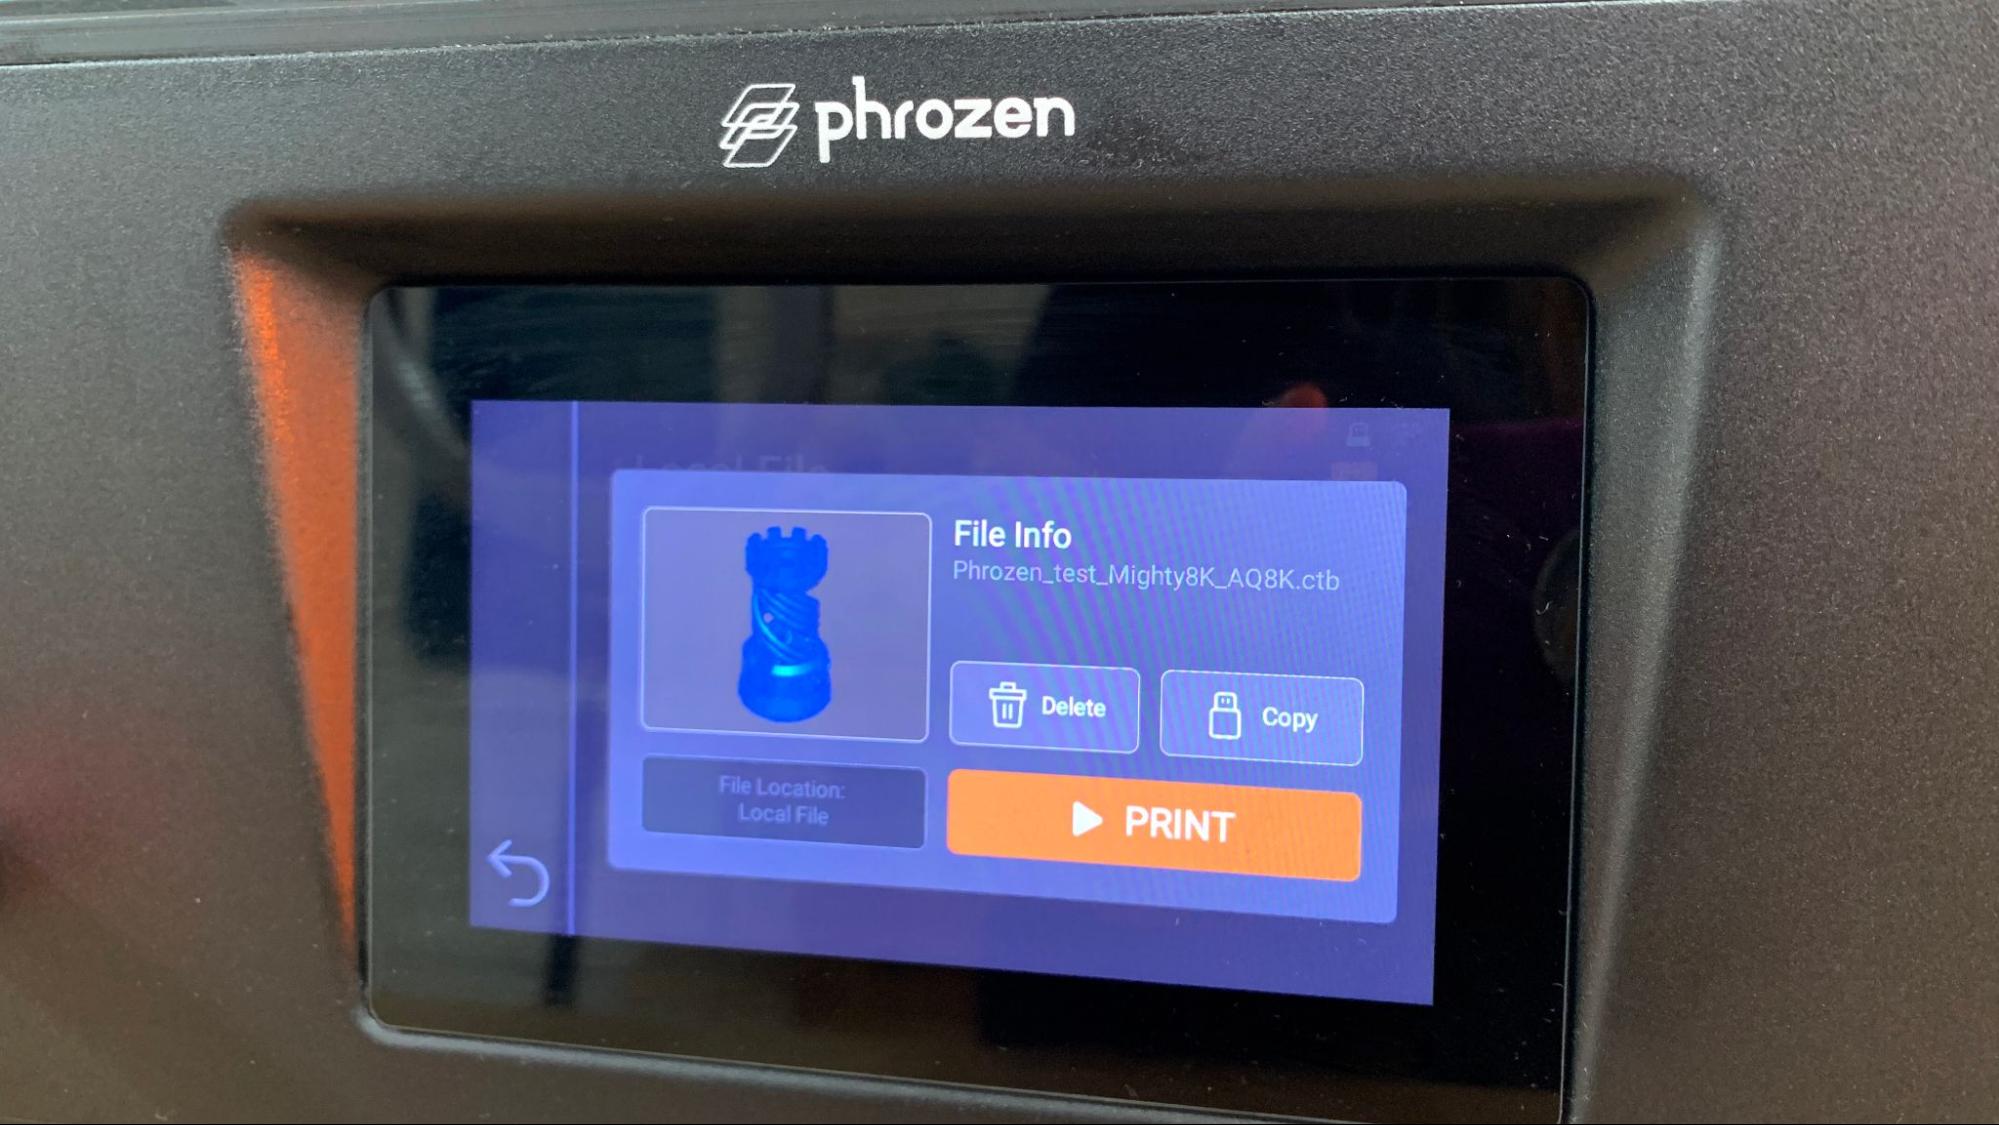
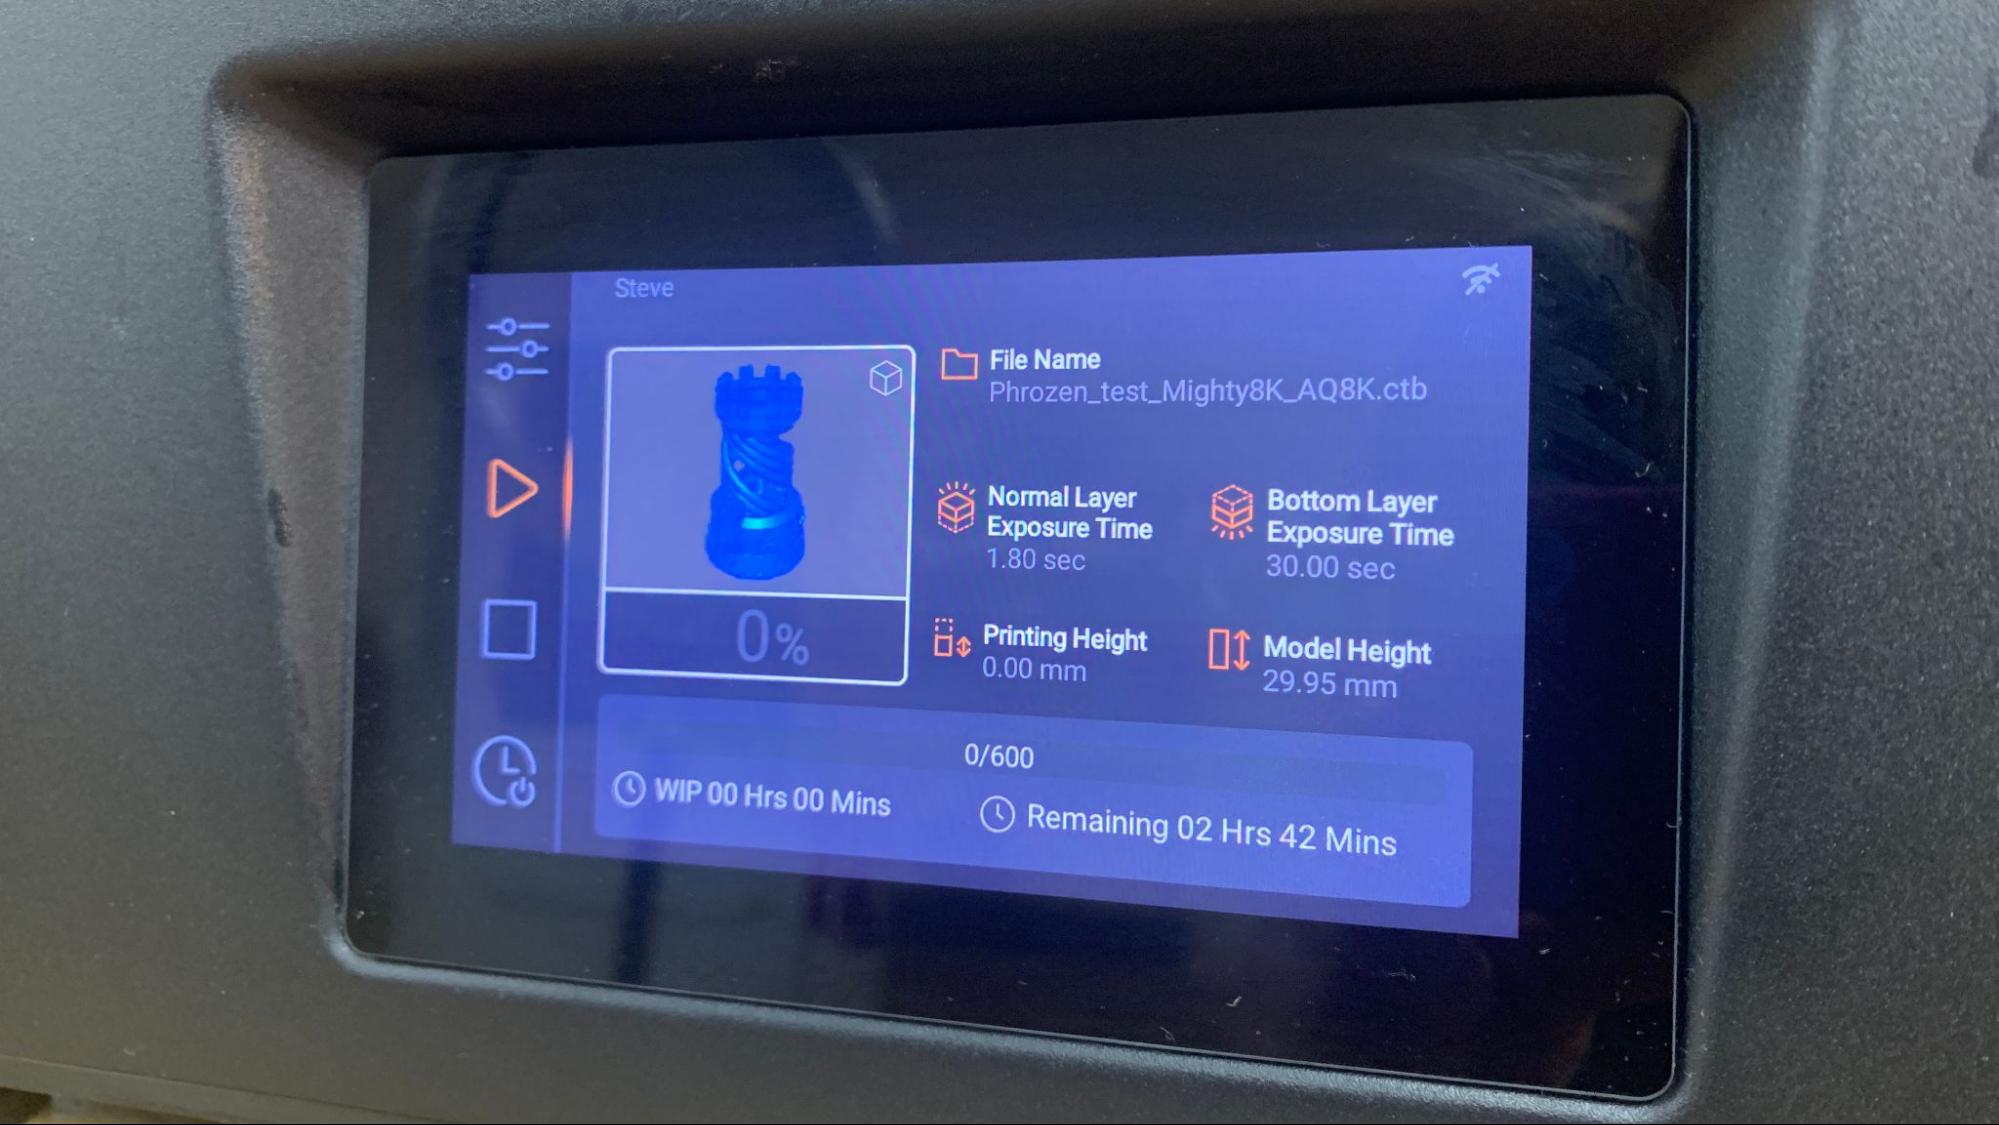
Navigating the touch screen menu is very straight forward, with a graphic toolbar on the left side leading you to further options. When prints are selected, a thumbnail appears making it easy to pick the right file.
You can tweak the settings of your print without having to reslice it – something very handy when trying to zero in on the perfect exposure settings. You can adjust things like exposure time, number of bottom layers, retraction and lift speed.
Slicers Compatible with the Phrozen Sonic Mighty 8K
The Phrozen Sonic Mighty 8K ships with free versions of both Chitubox (Mac/Windows) and Lychee (Mac/Windows/Linux) slicers. Both work equally well and it comes down to personal preference as to which you choose.
I did find the free version of Lychee slicer a bit awkward as it makes you sit through a 20-second ad break before rendering your file. Most of the ads were unoffensive pitches to upgrade to pro or buy designer’s stl files, but one X-rated ad hawking models of naked demon ladies feasting on human flesh was not safe for work, children or the slightly squeamish.
Printing Workflow on the Phrozen Sonic Mighty 8K
All slicing software for resin 3D printers gives you the ability to add supports, hollow your model and add drain holes – which is much needed to save on expensive resin.
Always run an exposure test to find the best settings for your printer setup as brand and type of resin, plus room temperature are all variables. A good test can be found at Siraya Tech’s website.
Washing and Curing Your Prints
Before you can admire your prints, you’ll need to wash them with Isopropyl alcohol and cure with UV light. I like to give prints a 30 second hand rinse in a container of 95% Isopropyl alcohol, then a 2-minute rinse in a wash and cure unit, which you’ll need to buy separately. Wash and cure machines have a container for Isopropyl alcohol that’s agitated with a spinning device, then a UV light and turntable for controlled exposure. These units do not have to match your printer’s brand, and I’m currently using this one by Anycubic.
Completely dry the print with a hair dryer on cool – IPA left on the print will turn white. You can also let the print air dry in a place away from sunlight.
Supports are easier to remove before curing because they are softer. Clip the supports off with side cutters and use tweezers to remove stubborn supports. Remember to always wear gloves while handling uncured prints.
Then place the print in a UV curing station for 15 minutes, or outside in bright sunlight for a few hours.
Your IPA should never be flushed down the drain, especially after being contaminated with uncured resin. Instead, keep using the resin until it’s too dirty, then leave the container open to evaporate. The remaining sludge can be cured with UV light or the sun before being thrown away.
Supports should also be cured before being thrown away.
Sample Prints on the Phrozen Mighty 8K
I ran several prints in different kinds of resin to test the Phrozen Sonic Mighty 8K. The machine produced smooth models with crisp details. The problem with testing a machine with this kind of resolution is finding models that are designed with tedious detail in mind. Older models were made when 2K resin printers were common, and many are made with FDM printers in mind.
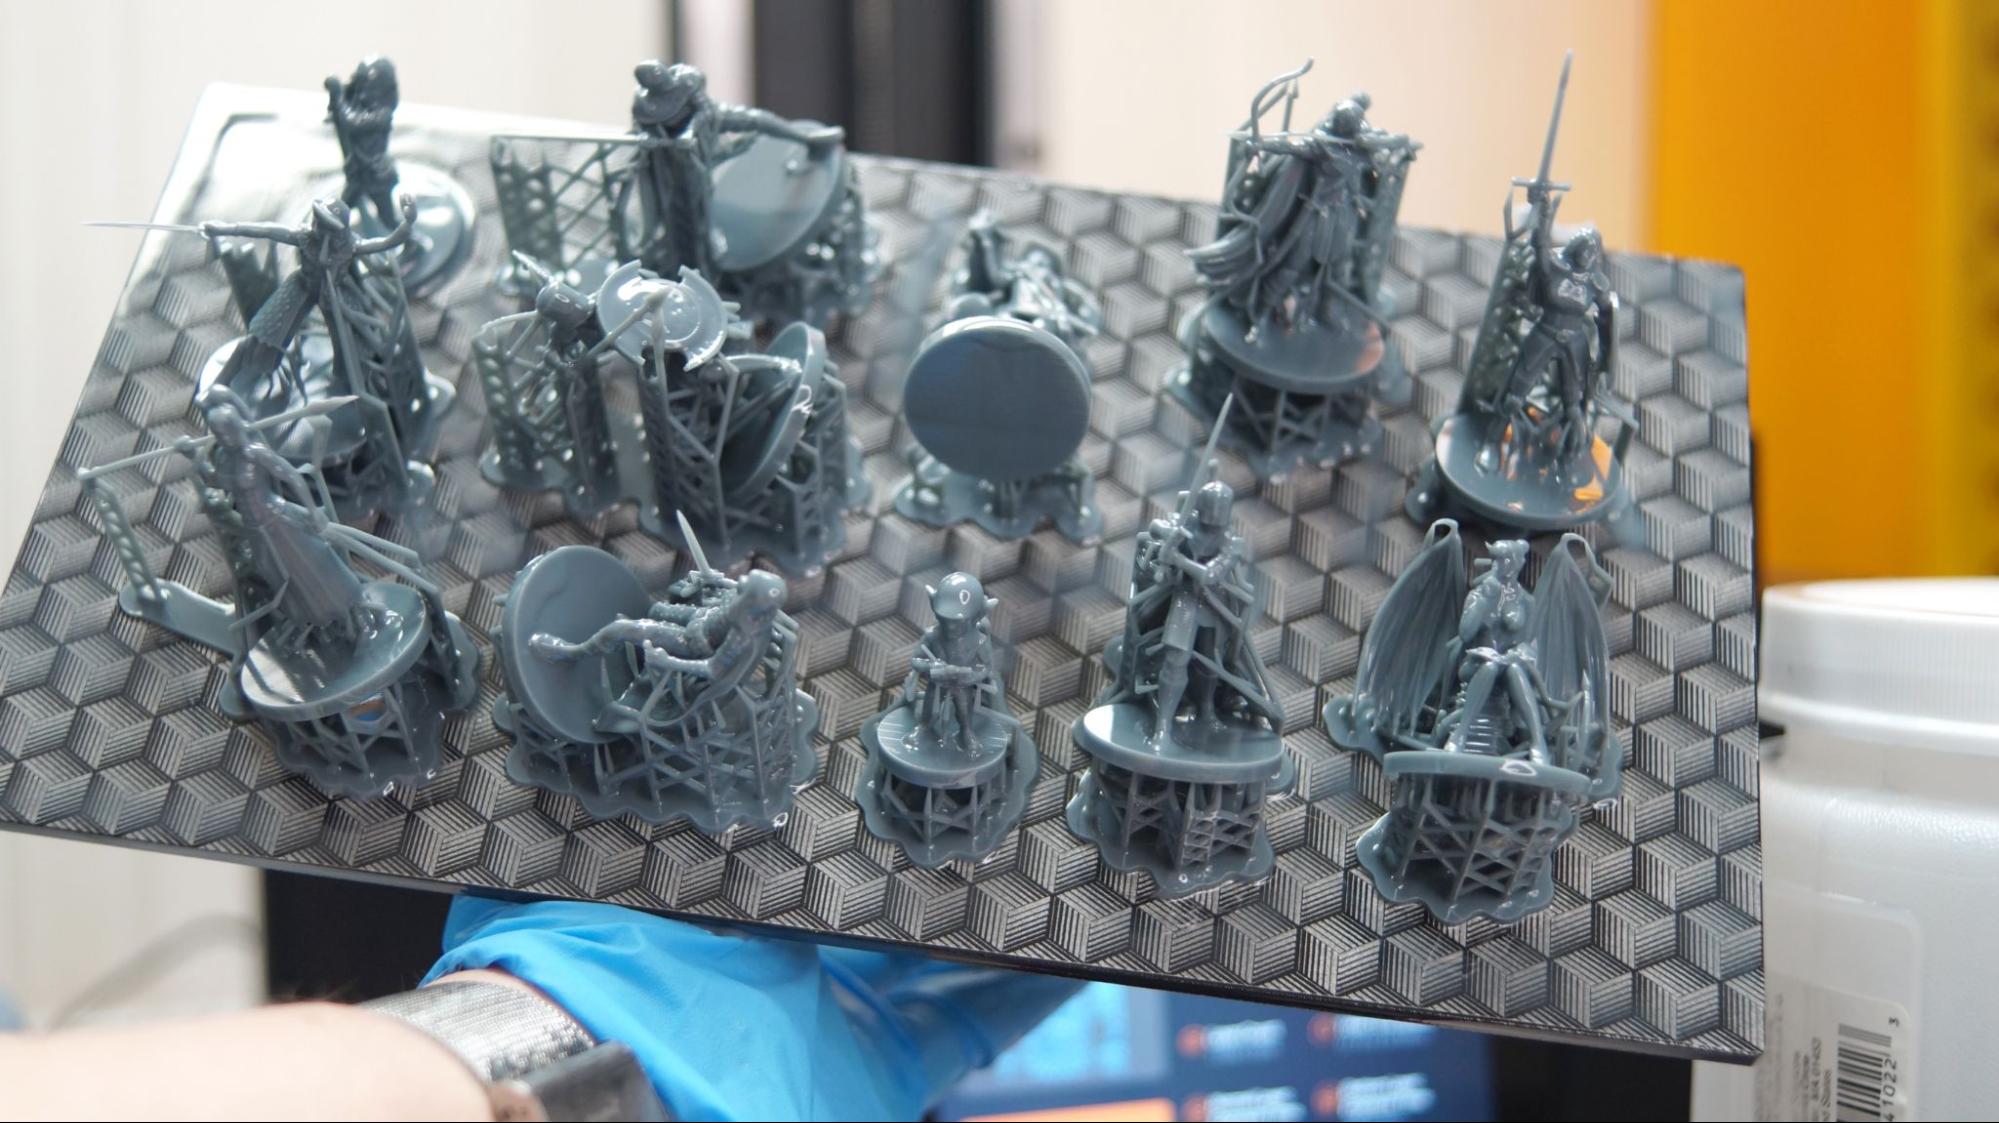
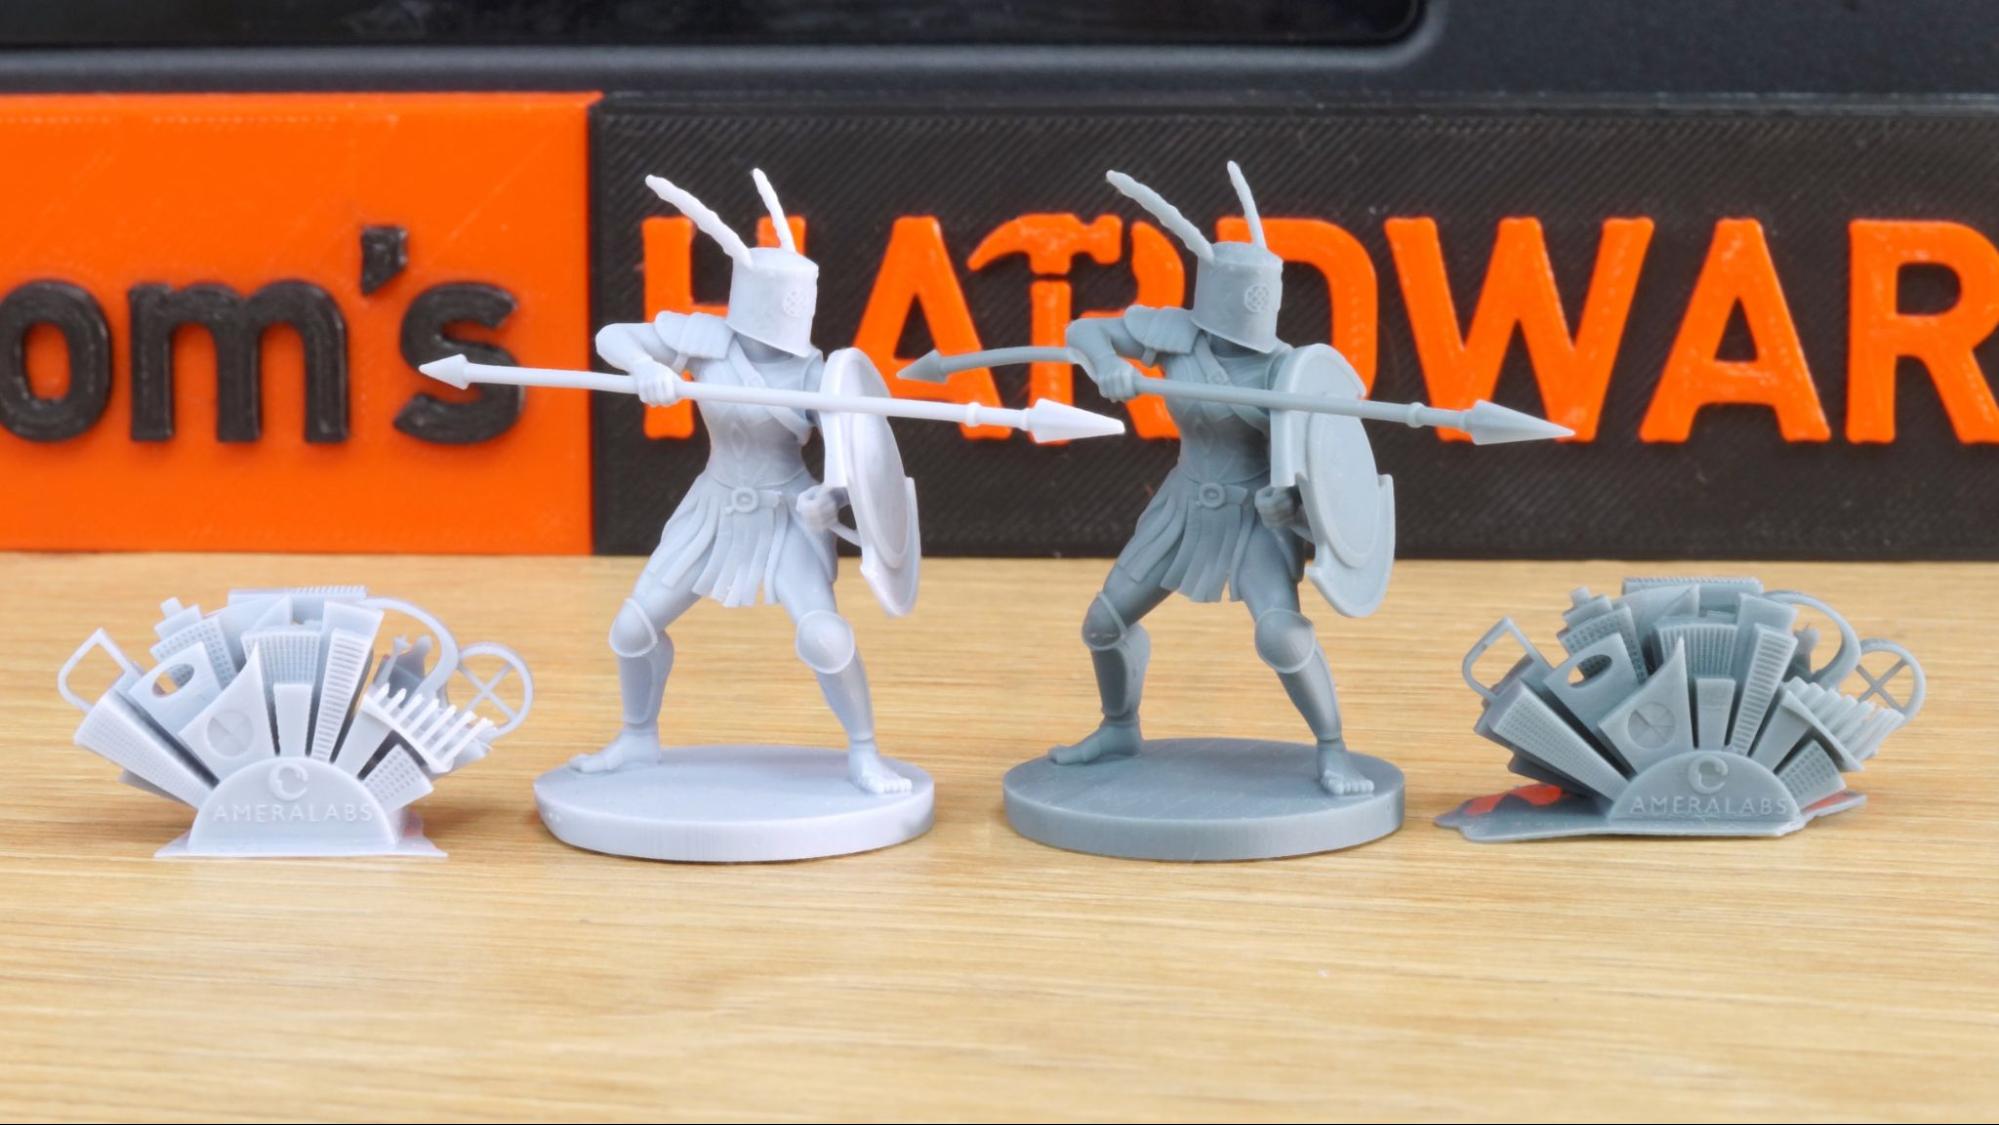
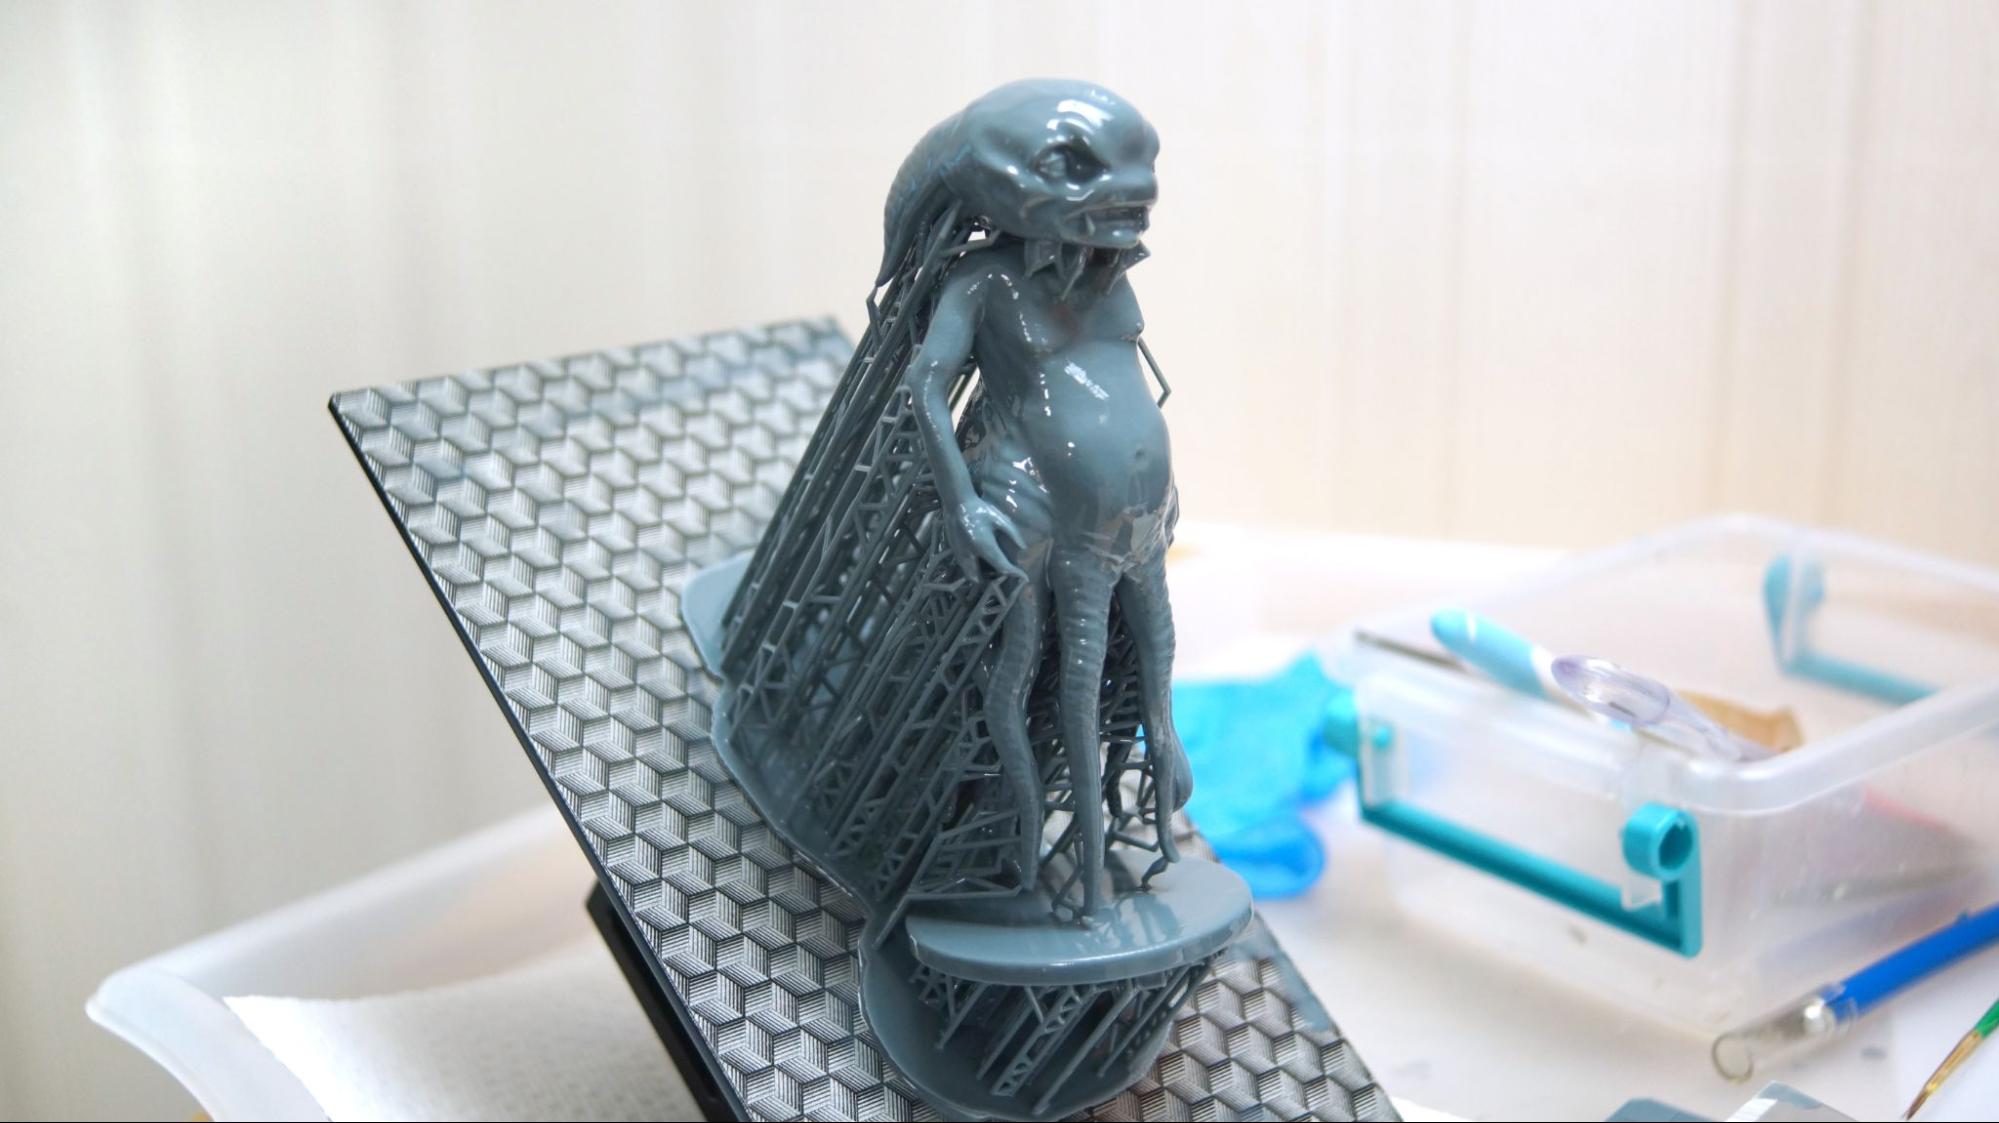
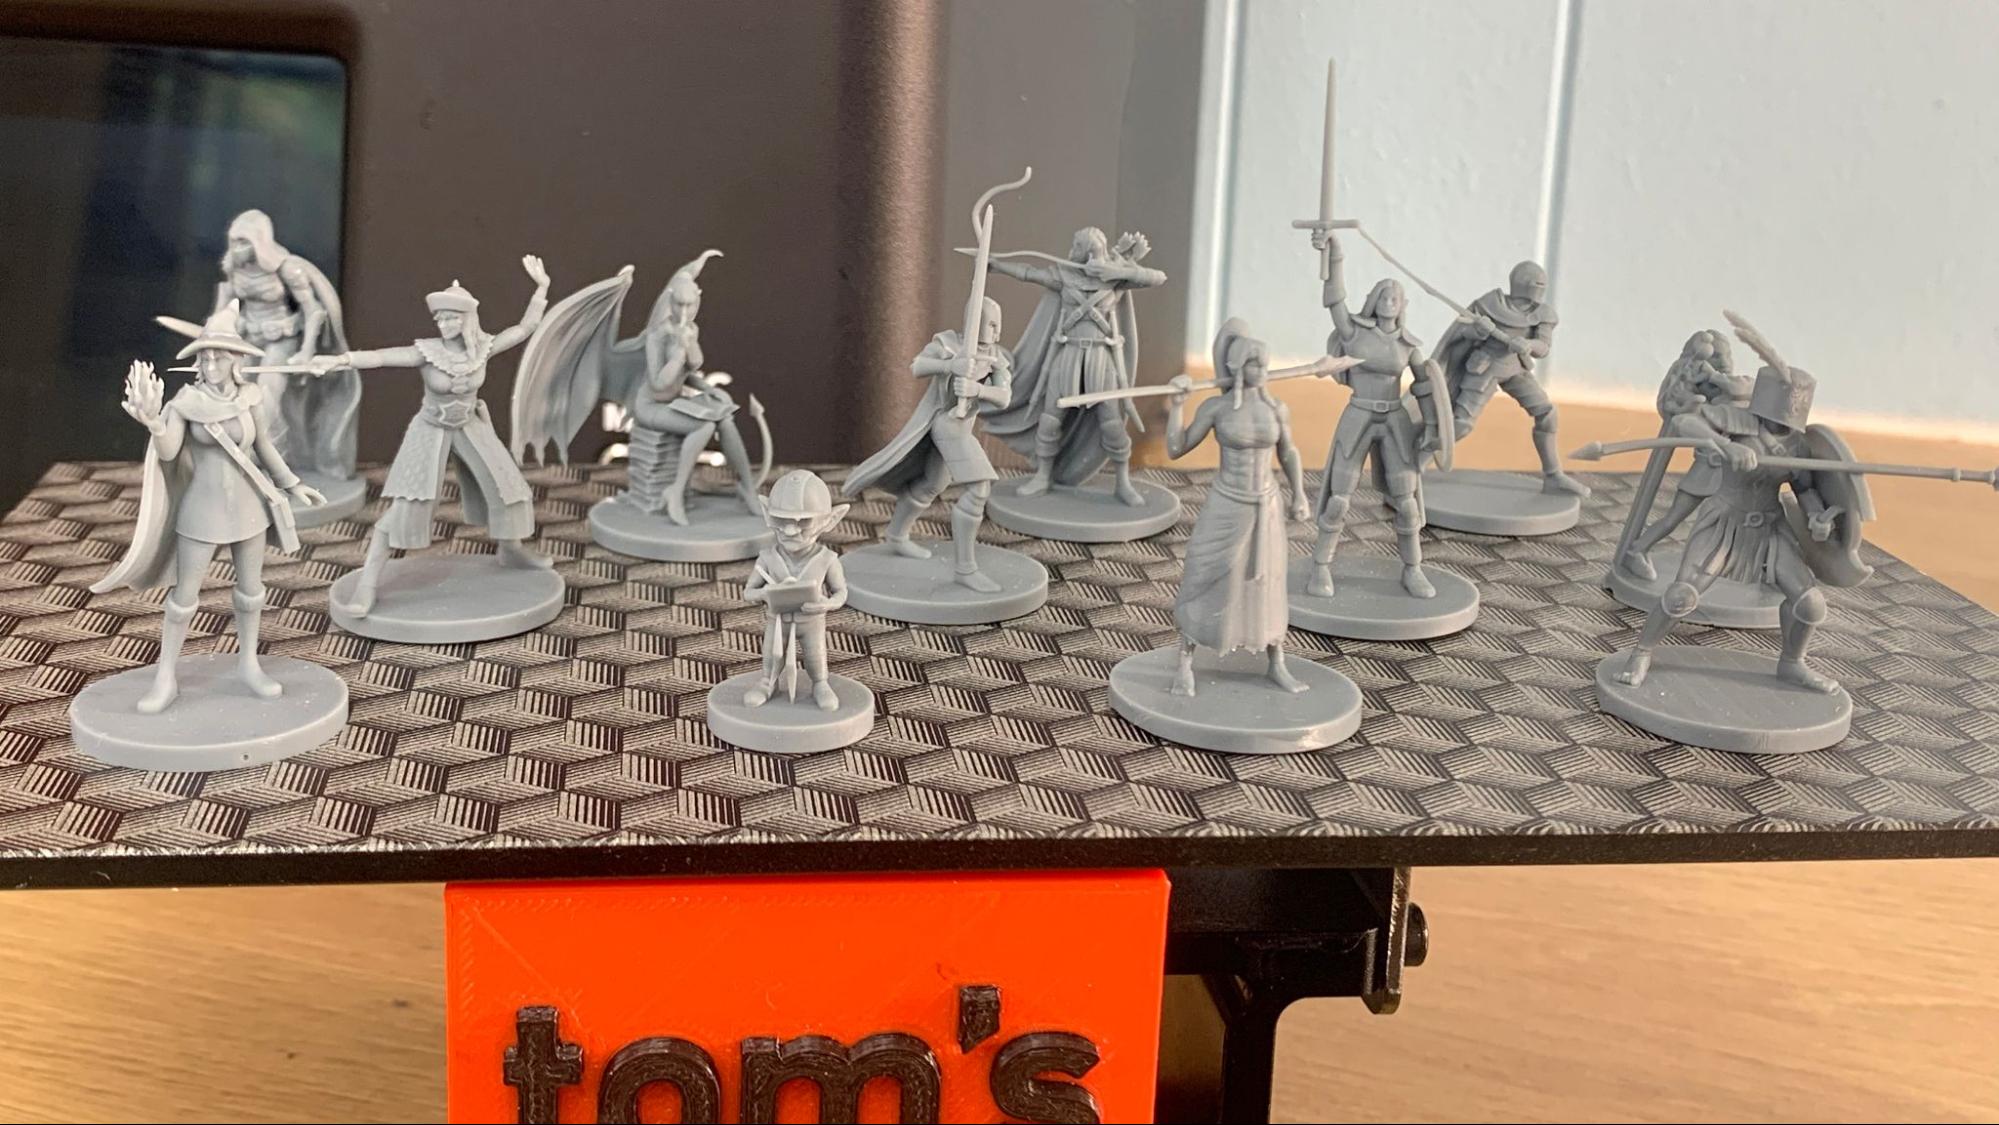
The large build plate is great for printing many small objects at once, like gaming miniatures. Since each layer only takes 2 seconds using premium resin, a dozen minis print in the same time it would take one. The figures below are photographed after being washed and cured, but all 12 did print on the same plate – see the photo above regarding cleaning resin to see them with supports in place.
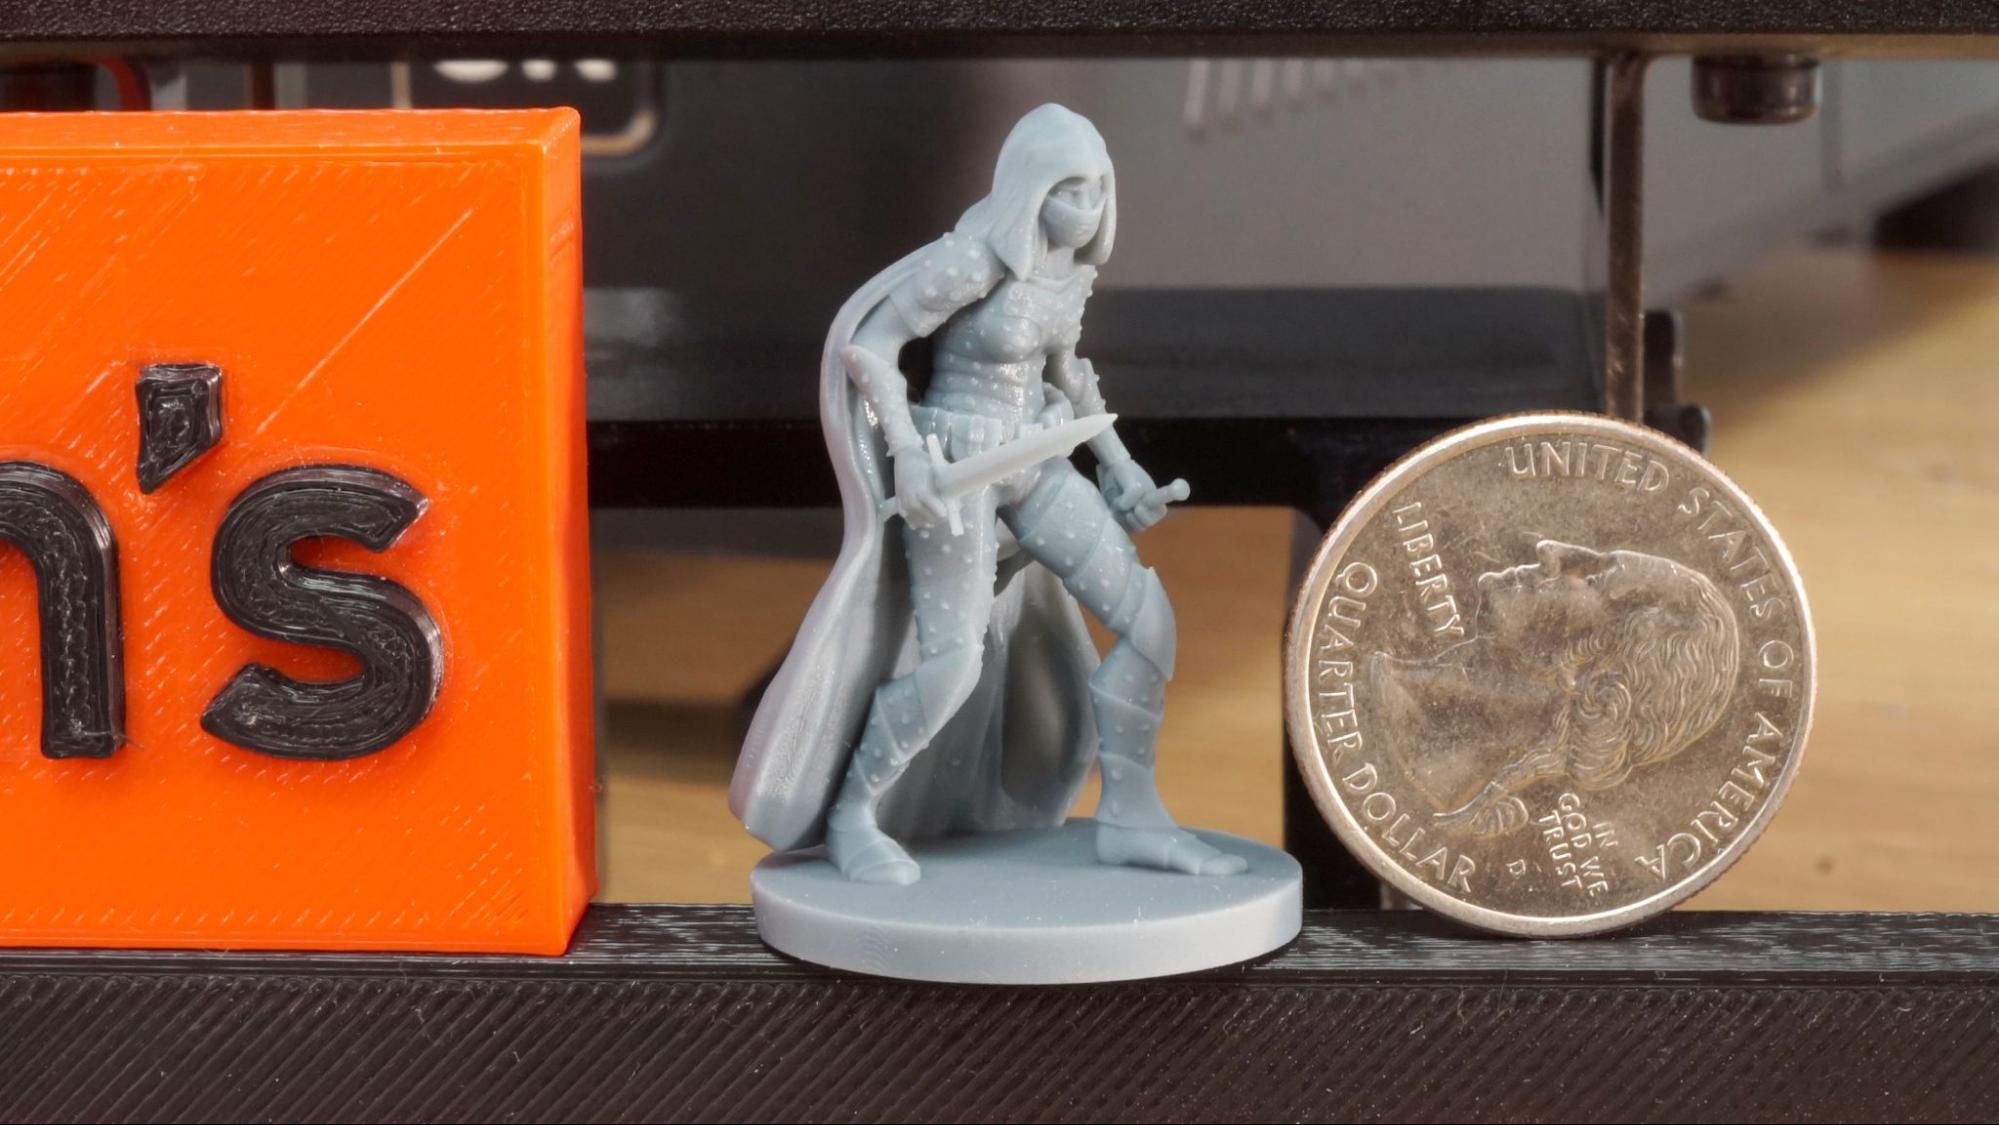
Taking a closer look at one of these models and you can see perfectly crisp studs on her armor, wrinkles in the mask and the furrow of her brow.
All twelve models took 4 hours and 2 minutes to print at 2 seconds per layer. These were printed in Phrozen’s Aqua-Gray 8K Resin, which is formulated to bring out details in high-res prints.
I also ran a batch of minis in Anycubic’s gray Craftsman Resin, which has a lighter gray color. The details are just as good – in fact, the spear on this gladiator printed better in the Craftsman than it did in the Aqua-Gray. Next to the figures is the AmeraLabs Test Print, a popular calibration tool for resin. This is one of the best I’ve seen.
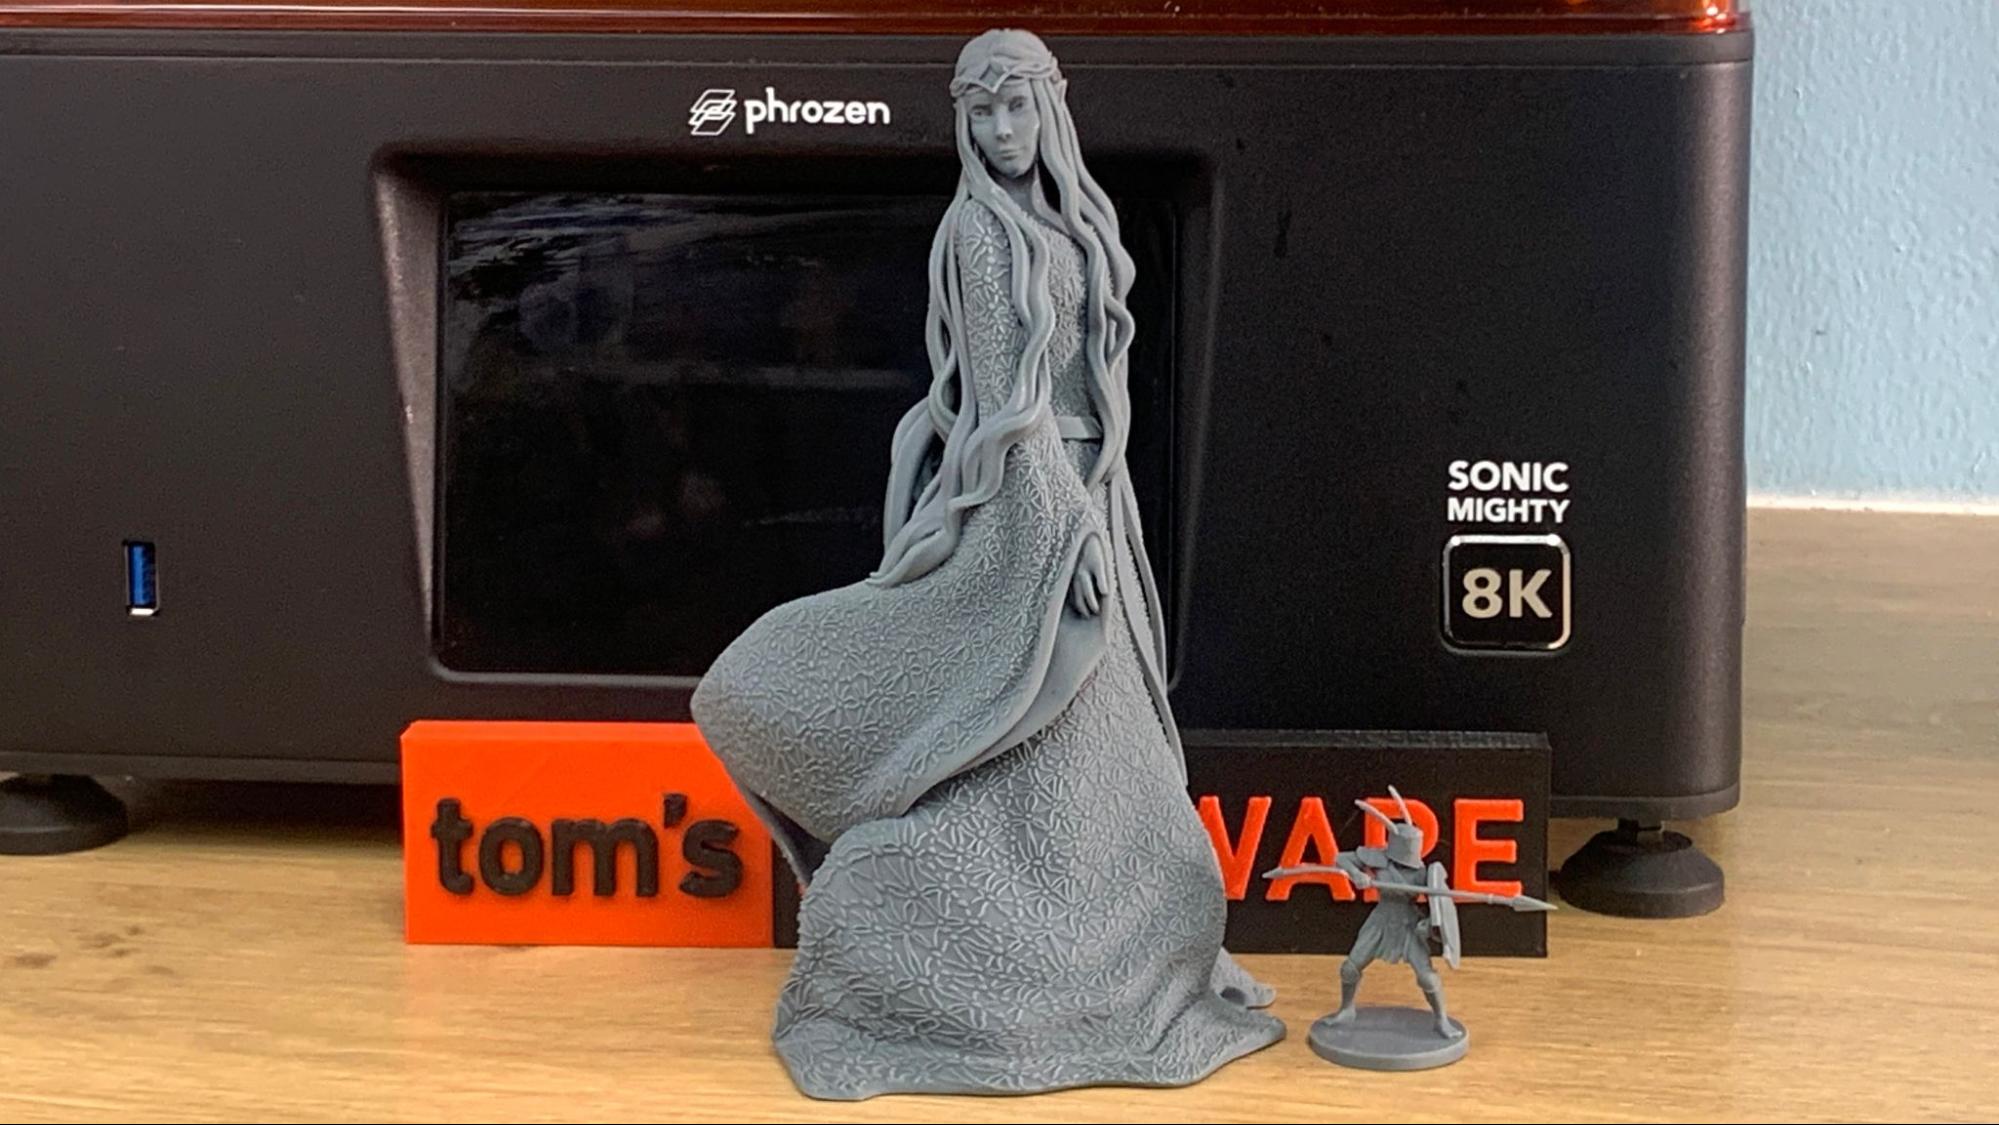
I was looking for a larger model with fine details and found it in this free print by Jukka Seppanen, called the Lady of Light. There’s no visible layer lines and the print of her dress is plain as day. Standing 160mm tall, this print took 15 hours and 18 minutes to print with a print speed of 2 seconds per layer. I used Phrozen’s Aqua-Gray 8K Resin.
Fun fact: it would take an Ender 3 S1 Pro 29 hours to print this model at a .12 layer height, running at 65mms with 20% infill…and it wouldn’t look as good.
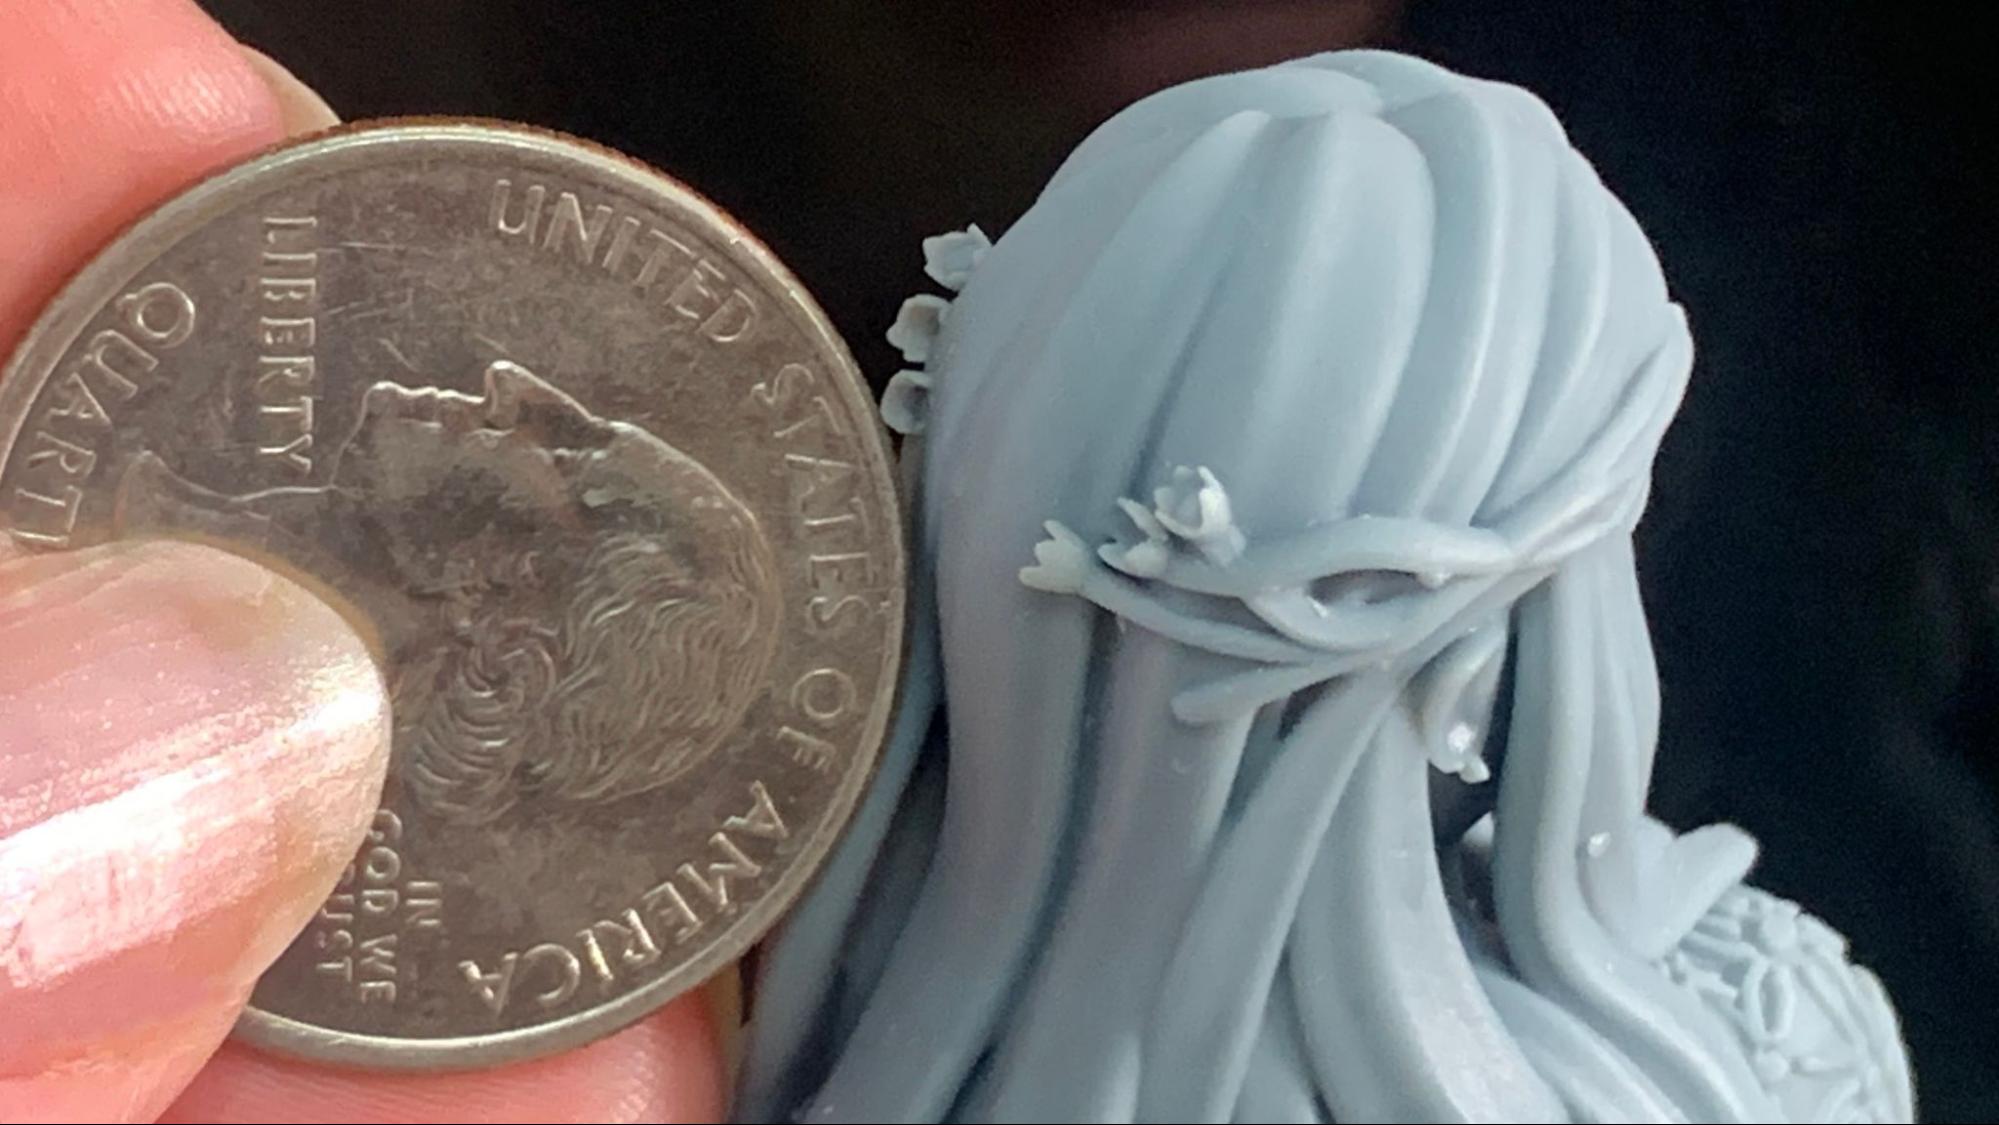
Check out the flowers in her hair, about the size of the lettering in an American quarter.
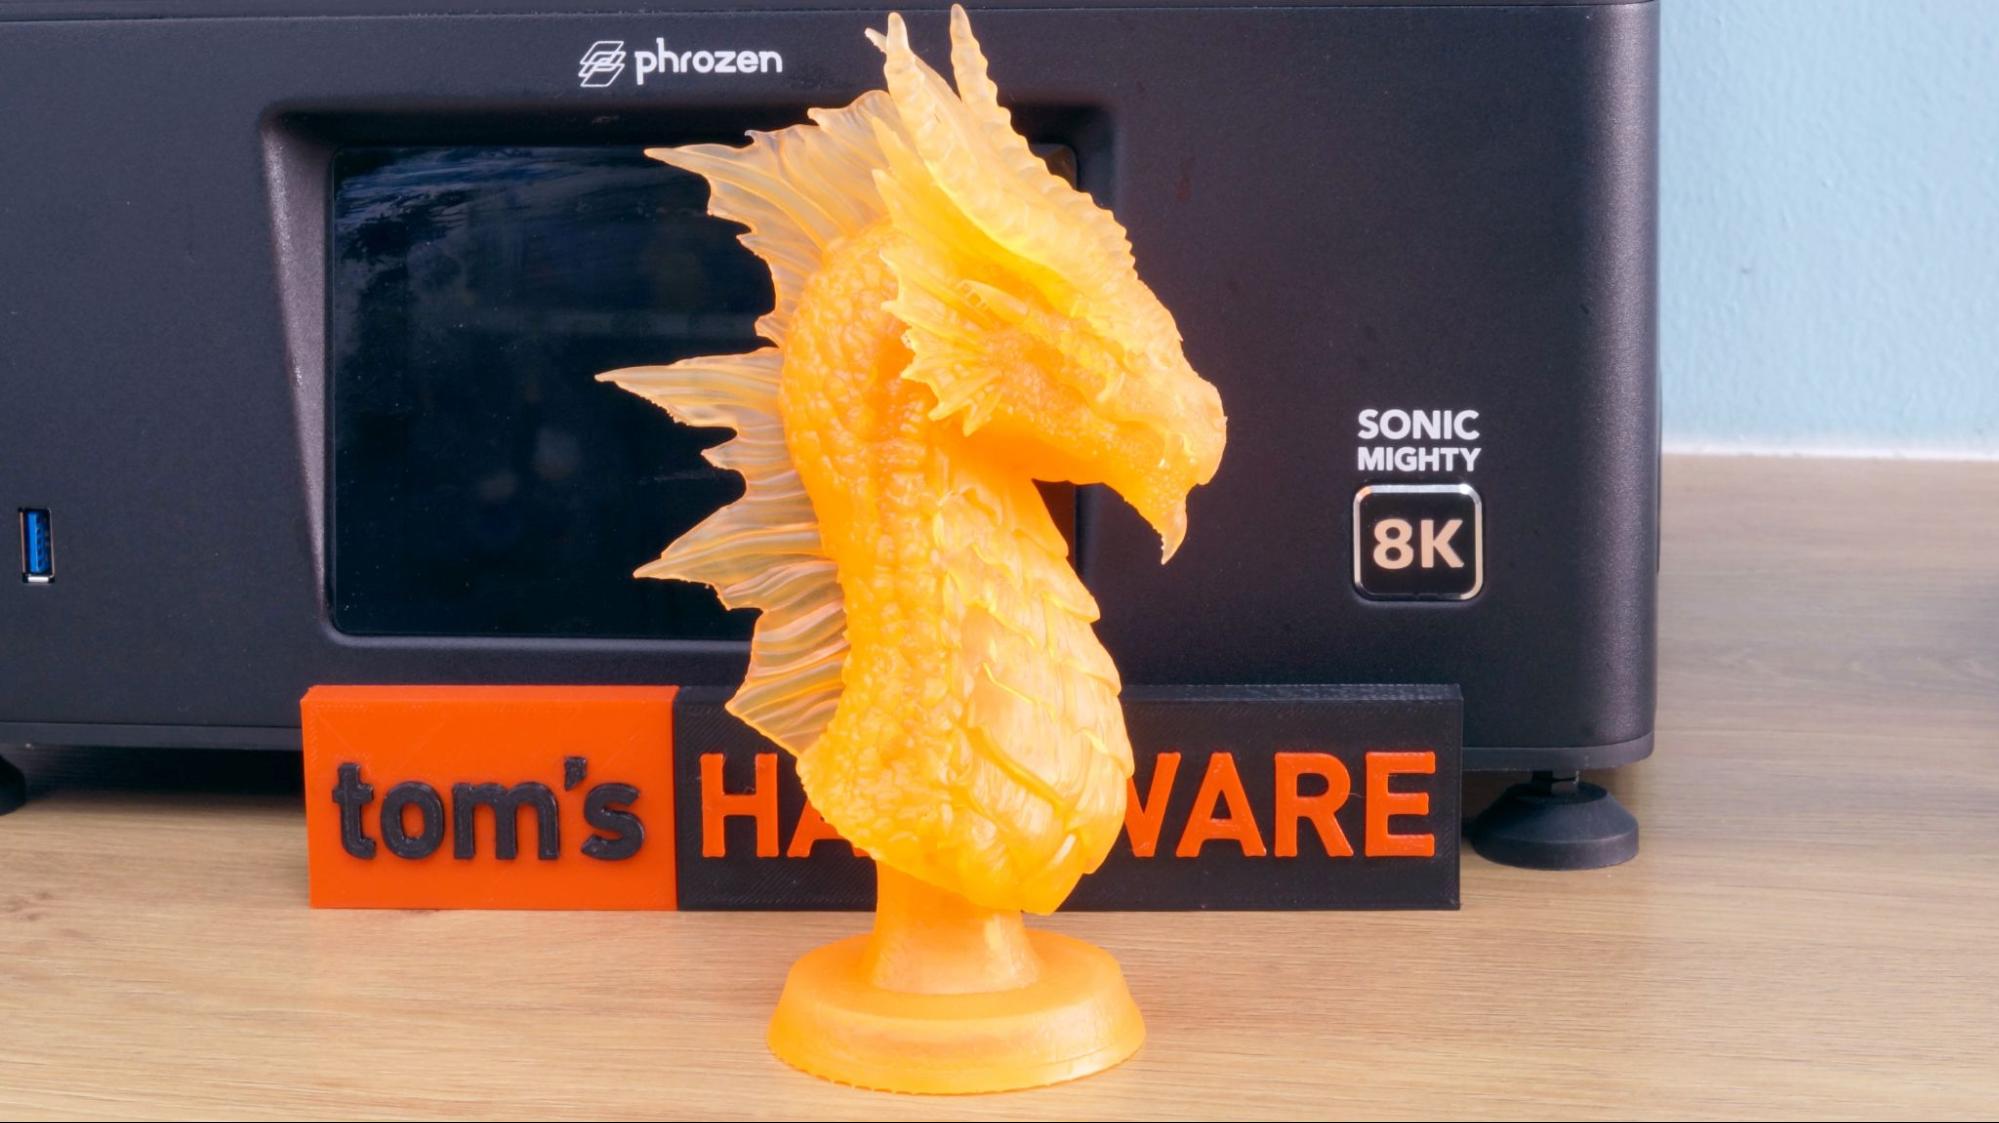
This last print was difficult to photograph, since it’s transparent. This is Fotis Mint’s Red Dragon, printed in Matterhacker’s Build Series Orange resin. This is an epoxy-free resin, and needed a little longer exposure – 3 seconds per layer. It took 10 hours and 25 minutes to print. The details are still incredible, but they are easier to see in person.
Red Dragon, by Fotis Mint.
Bottom Line
The Phrozen Sonic Mighty 8K is a well-built 3D printer that delivers on its promise of high-res quality. It's midsize for a resin printer without being awkward to operate and has a build volume closer to what we see in FDM printers. The quality and extra wiggle room would be a worthwhile investment for someone running an Esty shop or an artist wanting to showcase their work.
Priced at $899, it’s not what we think of as “entry level,” but is so dead simple to use that a beginner will have no trouble with it. The menu is easy to follow, and the fact that it saves your history and lets you adjust exposure settings on the fly is very useful when tuning in a new resin. The built-in Wi-Fi is really useful – if it works on your network – and the soon-to-be released camera update sounds like a premium feature I’d love to have.
Speaking of the camera – I’m disappointed that it was released for review before it was functional. The printer is ready to purchase today – currently with a five week lead time – so it’s possible that regular users will get this before the camera firmware is complete.
While the quality is impressive, and a definite contender for our best 3d printers list, average users might be satisfied with a less expensive 4K machine. The $400 Anycubic Photon M3 is our pick for Best Resin 3D Printer Overall and has outstanding quality. Elegoo’s Saturn 2 8K offers a similar build volume with fewer bells and whistles for about $300 less.
MORE: Best 3D Printers
MORE: Best Resin 3D Printers
MORE: Best Filaments for 3D Printing

Denise Bertacchi is a Contributing Writer for Tom’s Hardware US, covering 3D printing. Denise has been crafting with PCs since she discovered Print Shop had clip art on her Apple IIe. She loves reviewing 3D printers because she can mix all her passions: printing, photography, and writing.
-
stlDenise3d Doh! Sorry I didn't get into the math. They're calling it 8k because, as I said, "how many pixels are contained along the X-axis of the screen." As in, one line of the screen. It's a number that sings to us because we can try to compare it to our TV sets and computer screens. There's over 33 million pixels in the whole LED module, which is why Phrozen likes to simplify resolution to 28 microns for this printer.Reply
