Six Low-Noise, Performance-Oriented Cases, Tested
We recently illustrated the features of our six low-noise cases, and today we get to find out how those features help them perform. We provide further detail on the hardware installation process before delving into heat and noise comparisons.
Building With The Antec Sonata IV
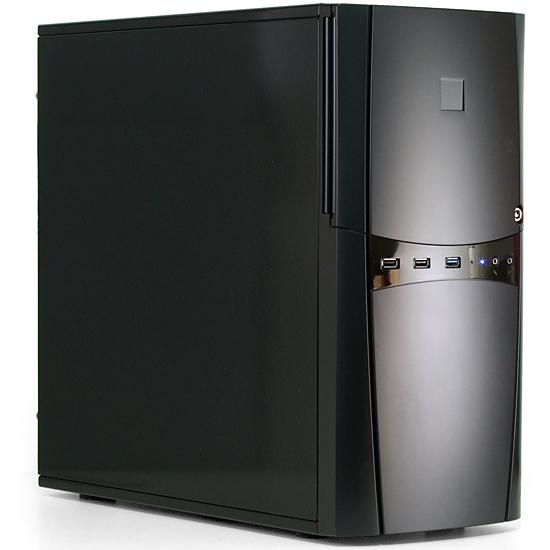
The finished Sonata IV looks pretty good for a steel-and-plastic model, even though we did not apply the one-inch-square logo sticker to the appropriate place on its door (designed to hold standardized builder logos of yesteryear).
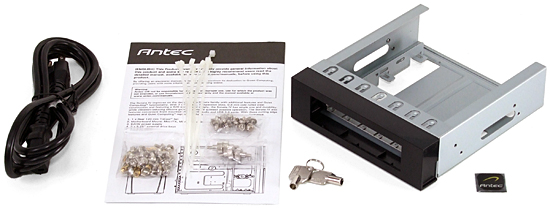
Getting to this point was fairly easy with a support kit that consists mainly of screws. Antec also adds a 3.5” bay adapter, power cord, cable ties, and door panel keys.
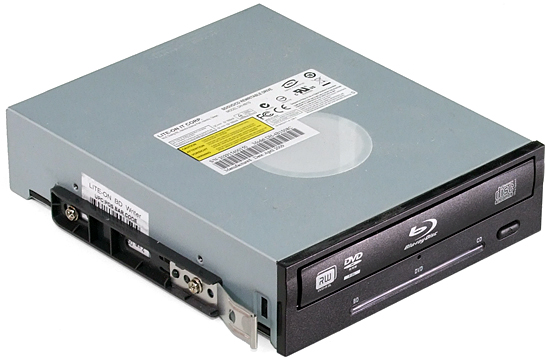
Optical drive rails are stored inside the cover of each bay, preventing loss. The rails make it easy to remove and reinstall drives, but they still require four screws.
Note that each rail has several holes at the center and a slot at the rear. The below rail alignment provides a flush fit between the optical drive’s face and the case panel’s face.
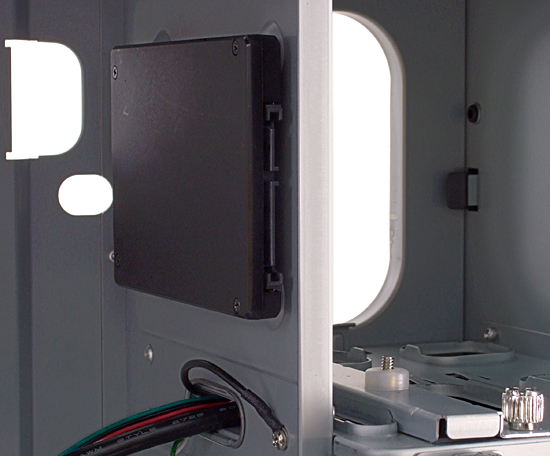
Antec includes four M3-0.50 thumb screws for attaching a 2.5” drive directly to the side of the 3.5” drive cage. While that part of the build worked fine, it was impossible to attach cables to the drive. This is because the folded edge of the drive cage protrudes directly into the path of the cable, directly beneath the end of its connector. We left our 2.5" SSD attached for looks, without cables, during testing.
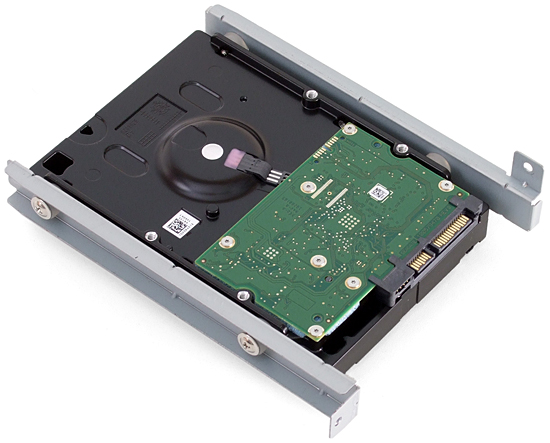
Also notice in the above photo that the 3.5” drive bay rails are already screwed into their bays. Removing the thumb screws allows these to be attached to the drive via shoulder screws, which are also factory-installed within silicon grommets to dampen vibrations.
The optical drive slides into its bay until a “click” is heard from its latches, and the hard drive rails slide back into place with the hard drive attached. From there, we simply followed the steps outlined in our How To Build A PC guide.
Get Tom's Hardware's best news and in-depth reviews, straight to your inbox.
One thing not covered in our how-to guide is the installation of the USB 3.0 pass-through cable, which connects to the motherboard’s I/O plate. We’re certain that anyone who has come this far knows how to plug in a USB cable.
Also notice that we changed power supplies from Antec’s included unit. Today’s heat and noise results demand that we use the same power supply in every build, so we decided to grab our latest standardized part.
Current page: Building With The Antec Sonata IV
Prev Page Helping Define The High-End Experience Next Page Building With The BitFenix Colossus-
the rv03 is out at less $$$ you guys should do a rv02-E vs rv03 round in the cooling side and thats because the rv03 has more fansReply
-
dragonsqrrl Using a SilverStone Fortress Series FT02B-W here. Basically identical interior design, except in my opinion the exterior is more aesthetically pleasing. Glad to confirm the excellent cooling characteristics.Reply
http://www.newegg.com/Product/Product.aspx?Item=N82E16811163161&cm_re=ft02_b-_-11-163-161-_-Product
Another big plus with the Fortress 2 is the inclusion of sound dampening foam on every panel, but to be entirely honest with you, due to the open nature of the case, I'm really not sure how much sound it's actually dampening. -
xmaswraith 34.5 gigahertz? 34.5 gigahertz? Great Scott!Reply
Marty, I'm sorry. But the only power source capable of generating 34.5 gigahertz of electricity is a bolt of lightning... (begin back to the future theme song!) -
JOSHSKORN henryvalz34.5 Ghz...Hell, yes! About time, pushing those extreme overclocks!I bet they were overclocking from Pluto.Reply -
killerclick JOSHSKORNI bet they were overclocking from Pluto.Reply
Didn't you watch the news? Astronomers sent a dwarf in a rocket to remove Pluto so it doesn't exist anymore. -
madsbs Yet, as a gaming case, the Raven 2 Evolution may not fulfill the aesthetic or storage needs of some computing professionalsReply
