Six Low-Noise, Performance-Oriented Cases, Tested
We recently illustrated the features of our six low-noise cases, and today we get to find out how those features help them perform. We provide further detail on the hardware installation process before delving into heat and noise comparisons.
Building With The BitFenix Colossus
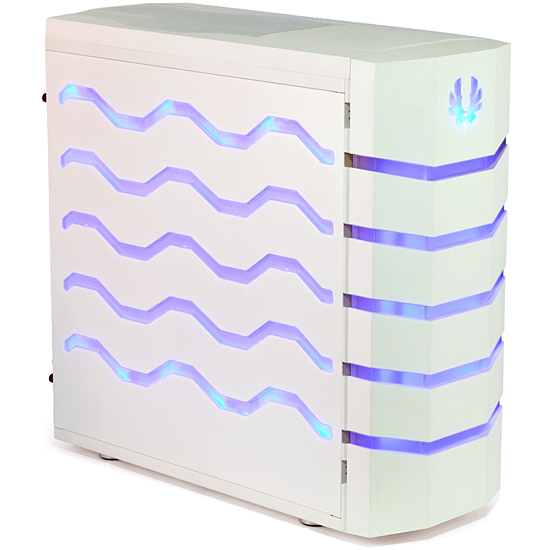
Double panels give BitFenix more than just noise reduction; they also add a place for LED lighting. The light controller allows users to select soft red or gentle blue, slow pulsating or constant brightnes, and of course off.
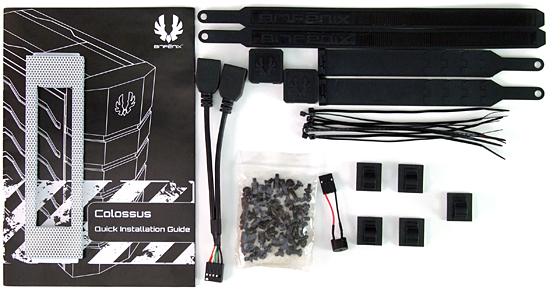
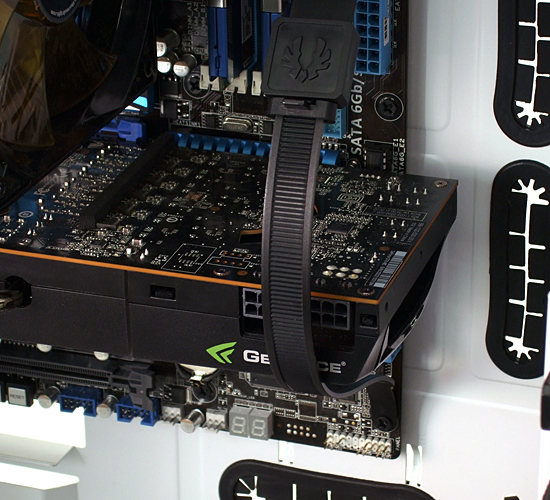
A few screwless installation features mean fewer screws in the Colossus installation kit. The kit also includes two three-piece hold-down straps for expansion cards.
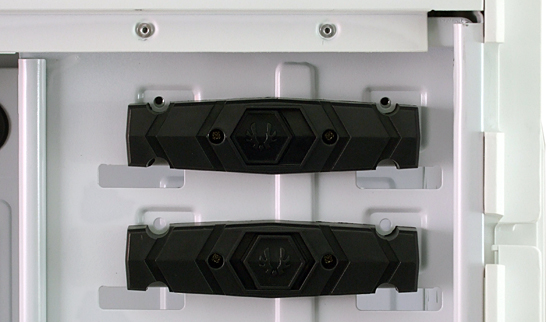
Some readers will need to adjust the brightness and contrast of their monitors to see how BitFenix’ optical drive latches work. Pushing the latch button in forces drive engagement, and sliding it to one side locks the engaged position. BitFenix leaves the drive’s second set of screw holes accessible.
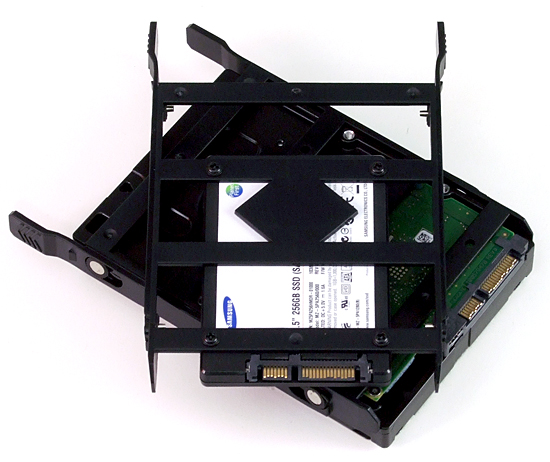
The Colossus includes seven slide-out drive trays with grommet-mounted location pins. Spreading the rails of the tray allows a 3.5” drive to be inserted, while 2.5” drives like our test SSD rely instead on screws.
The Colossus' card-holding straps wouldn’t fit our hardware, no matter how we tried to install it, as various other components (such as the CPU cooler and the graphics card’s power connectors) were in the way. We didn’t feel a big loss by not using these, however.
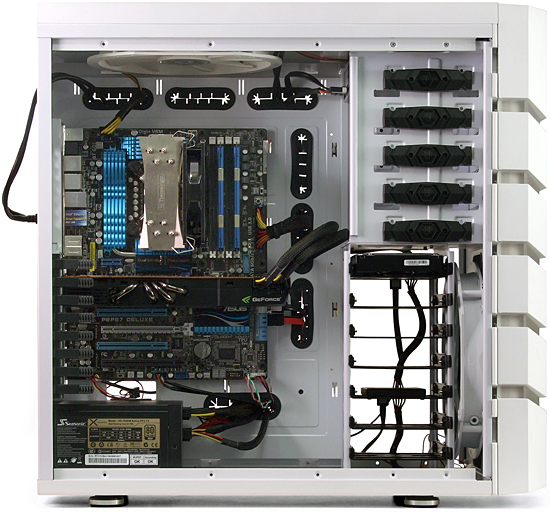
Remaining component installation followed the layout of our How To Build A PC guide, with exception of the USB 3.0 pass-through cable. We were forced to run that through one of the case’s four liquid-cooling egress holes before plugging it into the motherboard’s I/O panel.
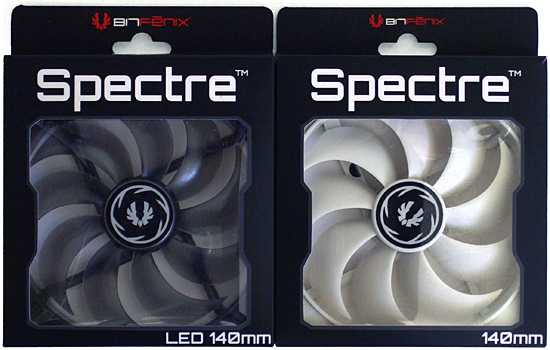
One of the few modern cases that doesn’t include a fan on its rear-panel mount, BitFenix added a pair of its quiet 140 mm fans to its shipment for additional evaluation. As an alternative configuration, the LED fan mounts as a rear-panel exhaust, while the white fan acts as a bottom-panel intake.
Get Tom's Hardware's best news and in-depth reviews, straight to your inbox.
Current page: Building With The BitFenix Colossus
Prev Page Building With The Antec Sonata IV Next Page Building With The Fractal Design Define XL-
the rv03 is out at less $$$ you guys should do a rv02-E vs rv03 round in the cooling side and thats because the rv03 has more fansReply
-
dragonsqrrl Using a SilverStone Fortress Series FT02B-W here. Basically identical interior design, except in my opinion the exterior is more aesthetically pleasing. Glad to confirm the excellent cooling characteristics.Reply
http://www.newegg.com/Product/Product.aspx?Item=N82E16811163161&cm_re=ft02_b-_-11-163-161-_-Product
Another big plus with the Fortress 2 is the inclusion of sound dampening foam on every panel, but to be entirely honest with you, due to the open nature of the case, I'm really not sure how much sound it's actually dampening. -
xmaswraith 34.5 gigahertz? 34.5 gigahertz? Great Scott!Reply
Marty, I'm sorry. But the only power source capable of generating 34.5 gigahertz of electricity is a bolt of lightning... (begin back to the future theme song!) -
JOSHSKORN henryvalz34.5 Ghz...Hell, yes! About time, pushing those extreme overclocks!I bet they were overclocking from Pluto.Reply -
killerclick JOSHSKORNI bet they were overclocking from Pluto.Reply
Didn't you watch the news? Astronomers sent a dwarf in a rocket to remove Pluto so it doesn't exist anymore. -
madsbs Yet, as a gaming case, the Raven 2 Evolution may not fulfill the aesthetic or storage needs of some computing professionalsReply
