Tom's Hardware Verdict
Anycubic’s latest resin 3D printer offers exceptionally fast high resolution printing, with a roomy build volume and easy operation.
Pros
- +
Eye-popping 14K prints
- +
High-speed printing
- +
Heated Vat
- +
Factory Leveled build plate
- +
Auto refill system
Cons
- -
Heater makes vat awkward to handle
Why you can trust Tom's Hardware
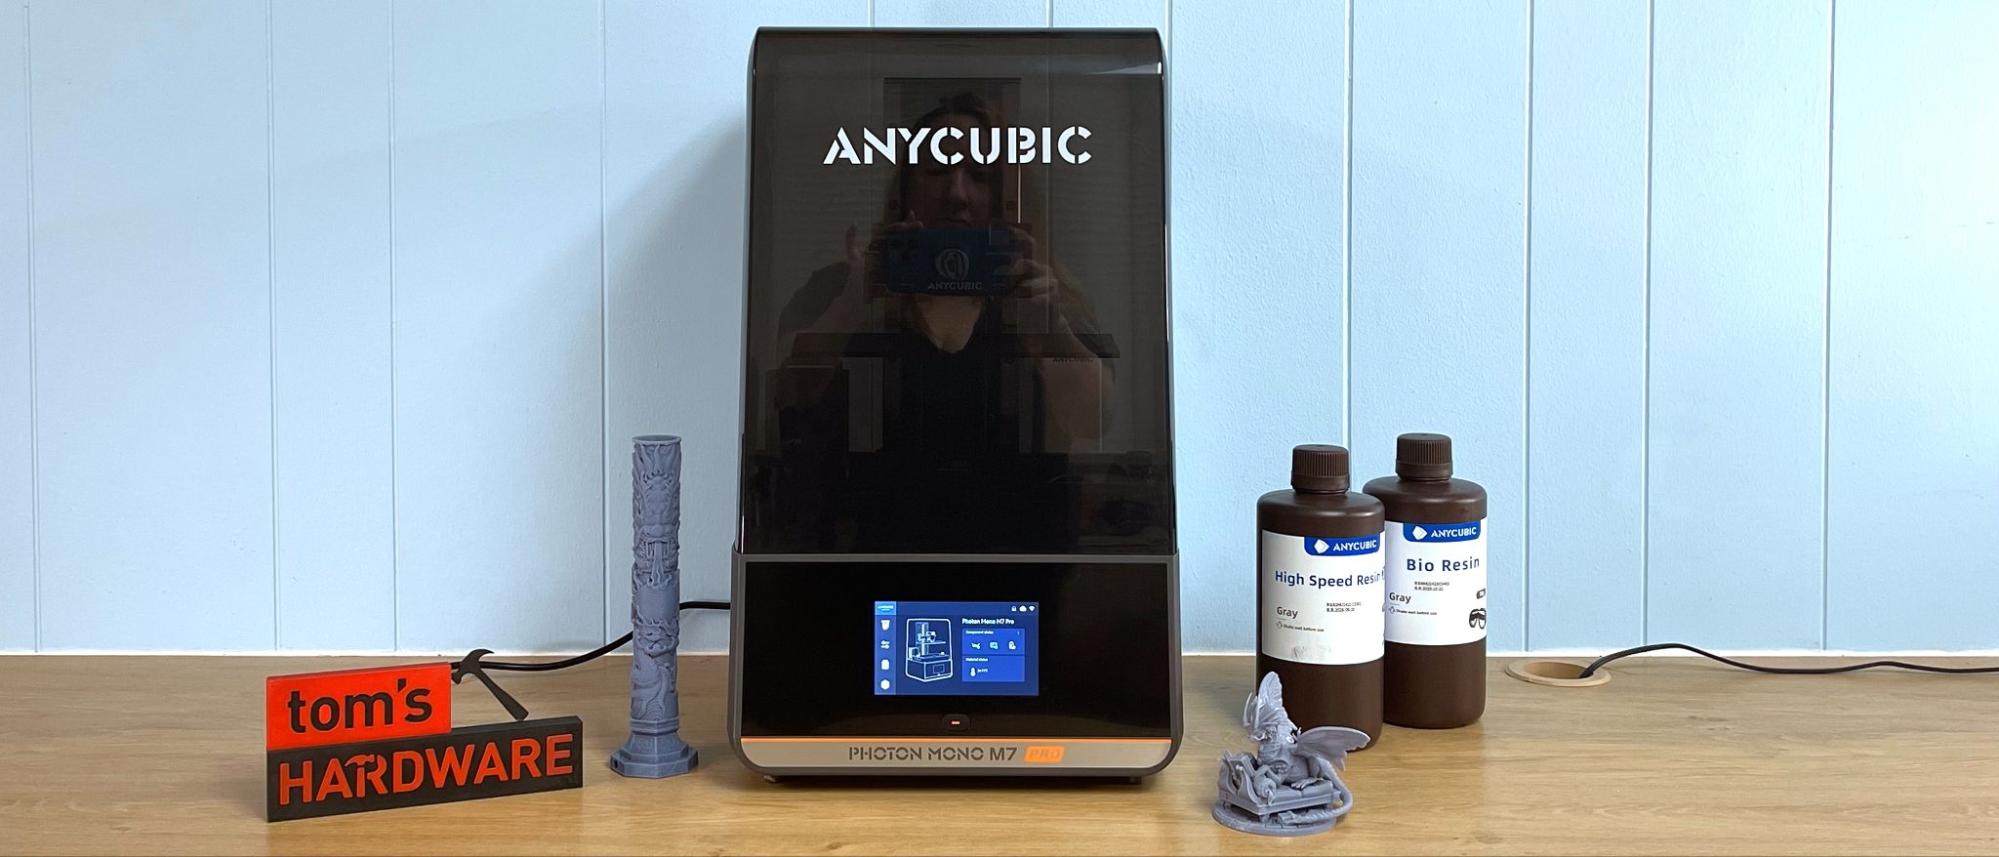
Anycubic’s newest Photon Mono M7 Pro is a step up from the previous Anycubic resin machines. It’s smarter, a lot faster and somehow has even more resolution for super crisp details. However, with a pixel size of only 16.8 x 24.8 microns (roughly the size of a white blood cell), we’ve reached a level of detail where the human eye would have difficulty distinguishing the difference.
One improvement that I really enjoyed is its speed. It uses a specialized film in the vat that seems sturdier than what Anycubic has used before. This film should deliver 45,000 layers before needing replacement, compared to the Photon Mono M5s, which could tear after 30,000 layers. It’s also quite a bit quicker, printing a three-inch model in 35 minutes, compared to the M5s doing the same in 53 minutes.
The M7 Pro will track the lifespan of your vat’s film and deliver a reminder when it needs changing. It can also detect print failures and low resin levels. It comes with an auto refill system, however, this wasn’t functional on our test unit and couldn’t be reviewed. The build plate comes factory-leveled, with manual leveling available should you need it.
The secret to Anycubic’s lightning speed is a combination of thin “high speed” resin and larger-than-normal layer heights. This results in prints that are surprisingly good for a high speed printer. In fact, when compared to its normal printing speed, we had a hard time telling the prints apart.
Currently on sale for $549, the Photon Mono M7 Pro is well worth the price for a high resolution, mid-size printer and is one of the best resin 3D printers on the market today.
Specifications: Anycubic Photon Mono M7 Pro
| Build Volume | 223 x 126 x 230 mm (8.7 x 4.9 x 9 inches) |
| LCD Screen | 10.1" Monochrome |
| Light Source | COB (Chip On Board) with Fresnel Lens |
| X/Y Axis Resolution | 16.8 x 24.8 microns |
| Normal Exposure Time | 1.3/1.7 seconds |
| Interface | 5” Touch Panel |
| Connectivity | USB, WiFi |
| Machine Footprint | 310 x 315 x 520 mm (12.2 x 12.4 x 20.4 inches) |
| Machine Weight | 12.8 KG (28.2 lbs) |
Included in the Box: Anycubic Photon Mono M7 Pro
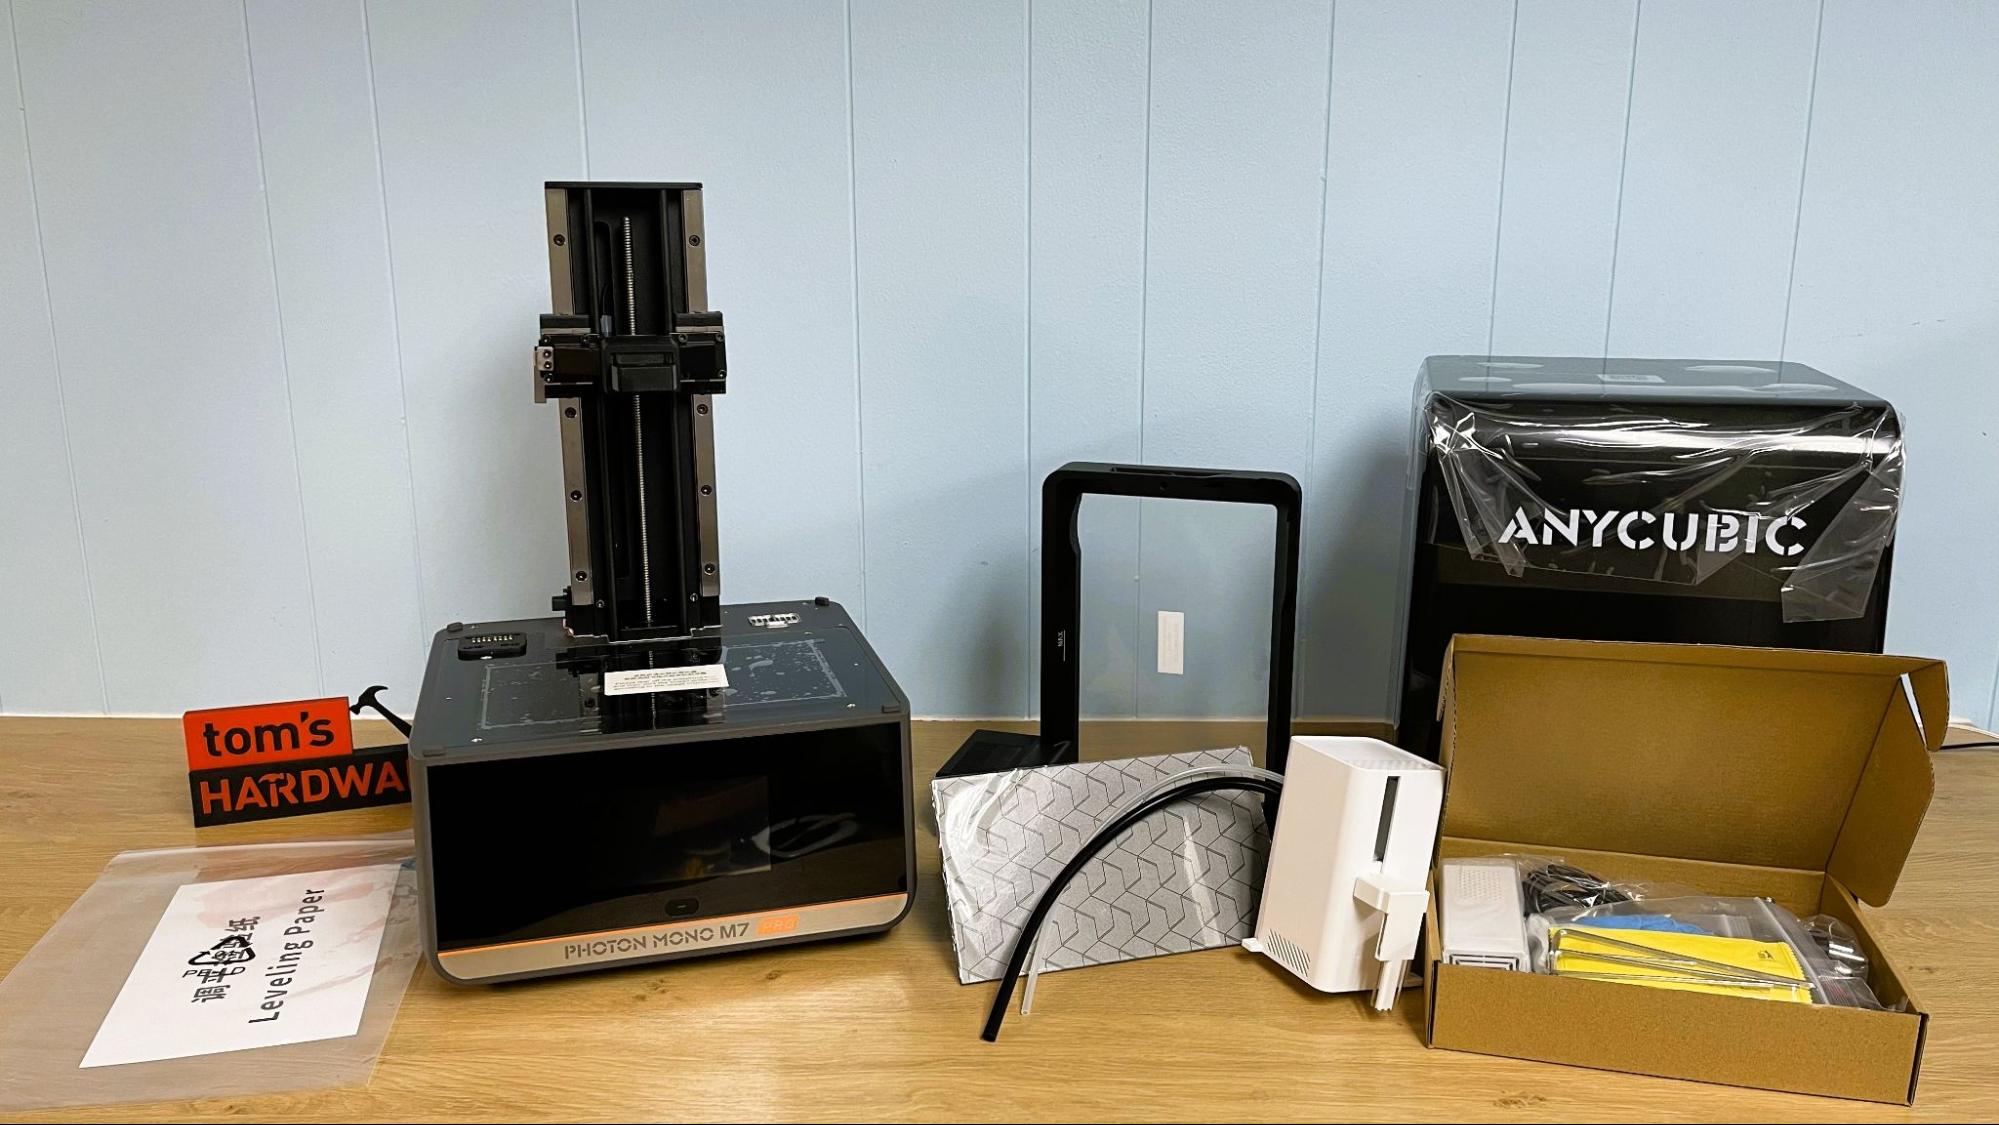
The Anycubic Photon Mono M5s includes everything you need to get started as soon as you unbox the printer. You get a metal scraper for the build plate, a plastic scraper for the release film, a large screen protector, paper funnels, disposable gloves, disposable masks, a set of Allen keys, a power cord with adapter, and a printed manual.
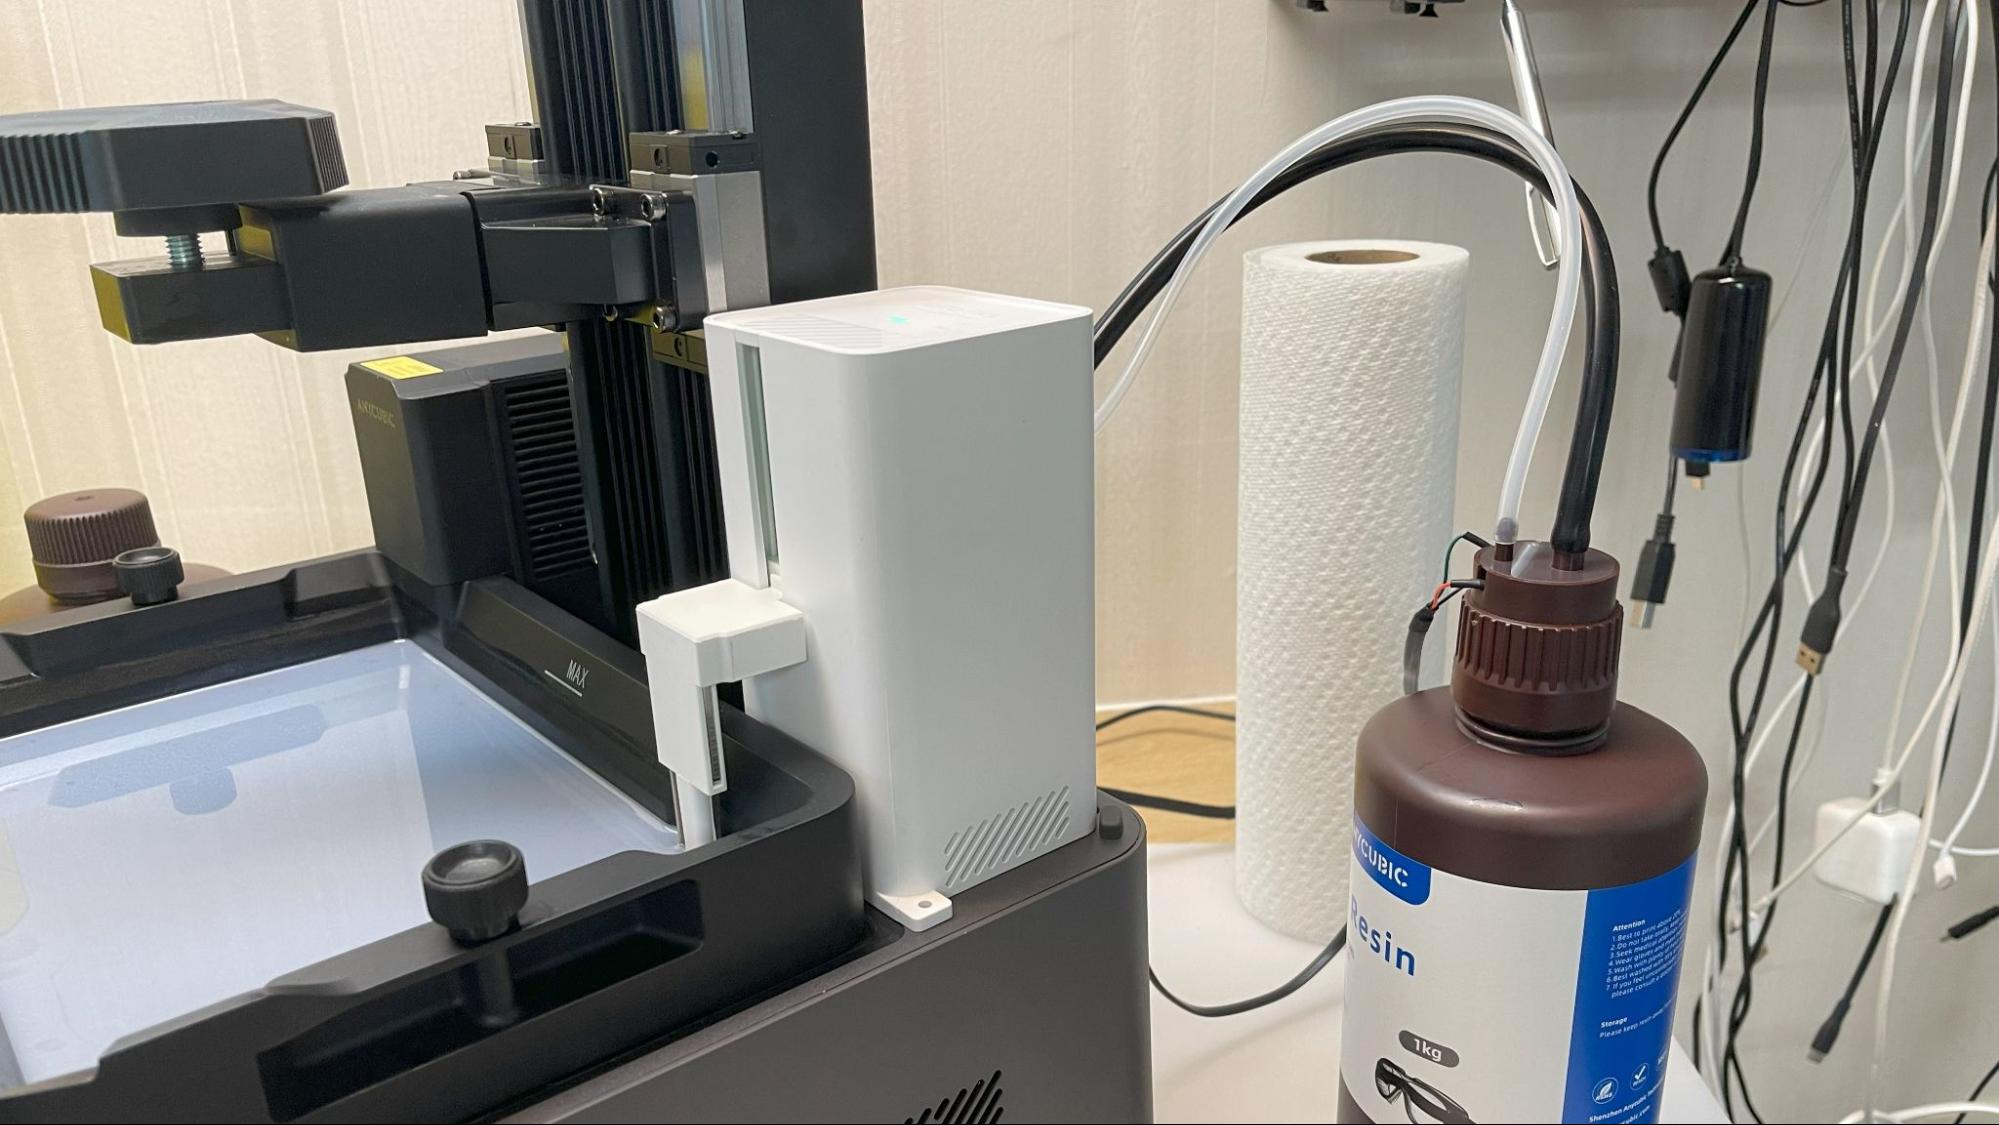
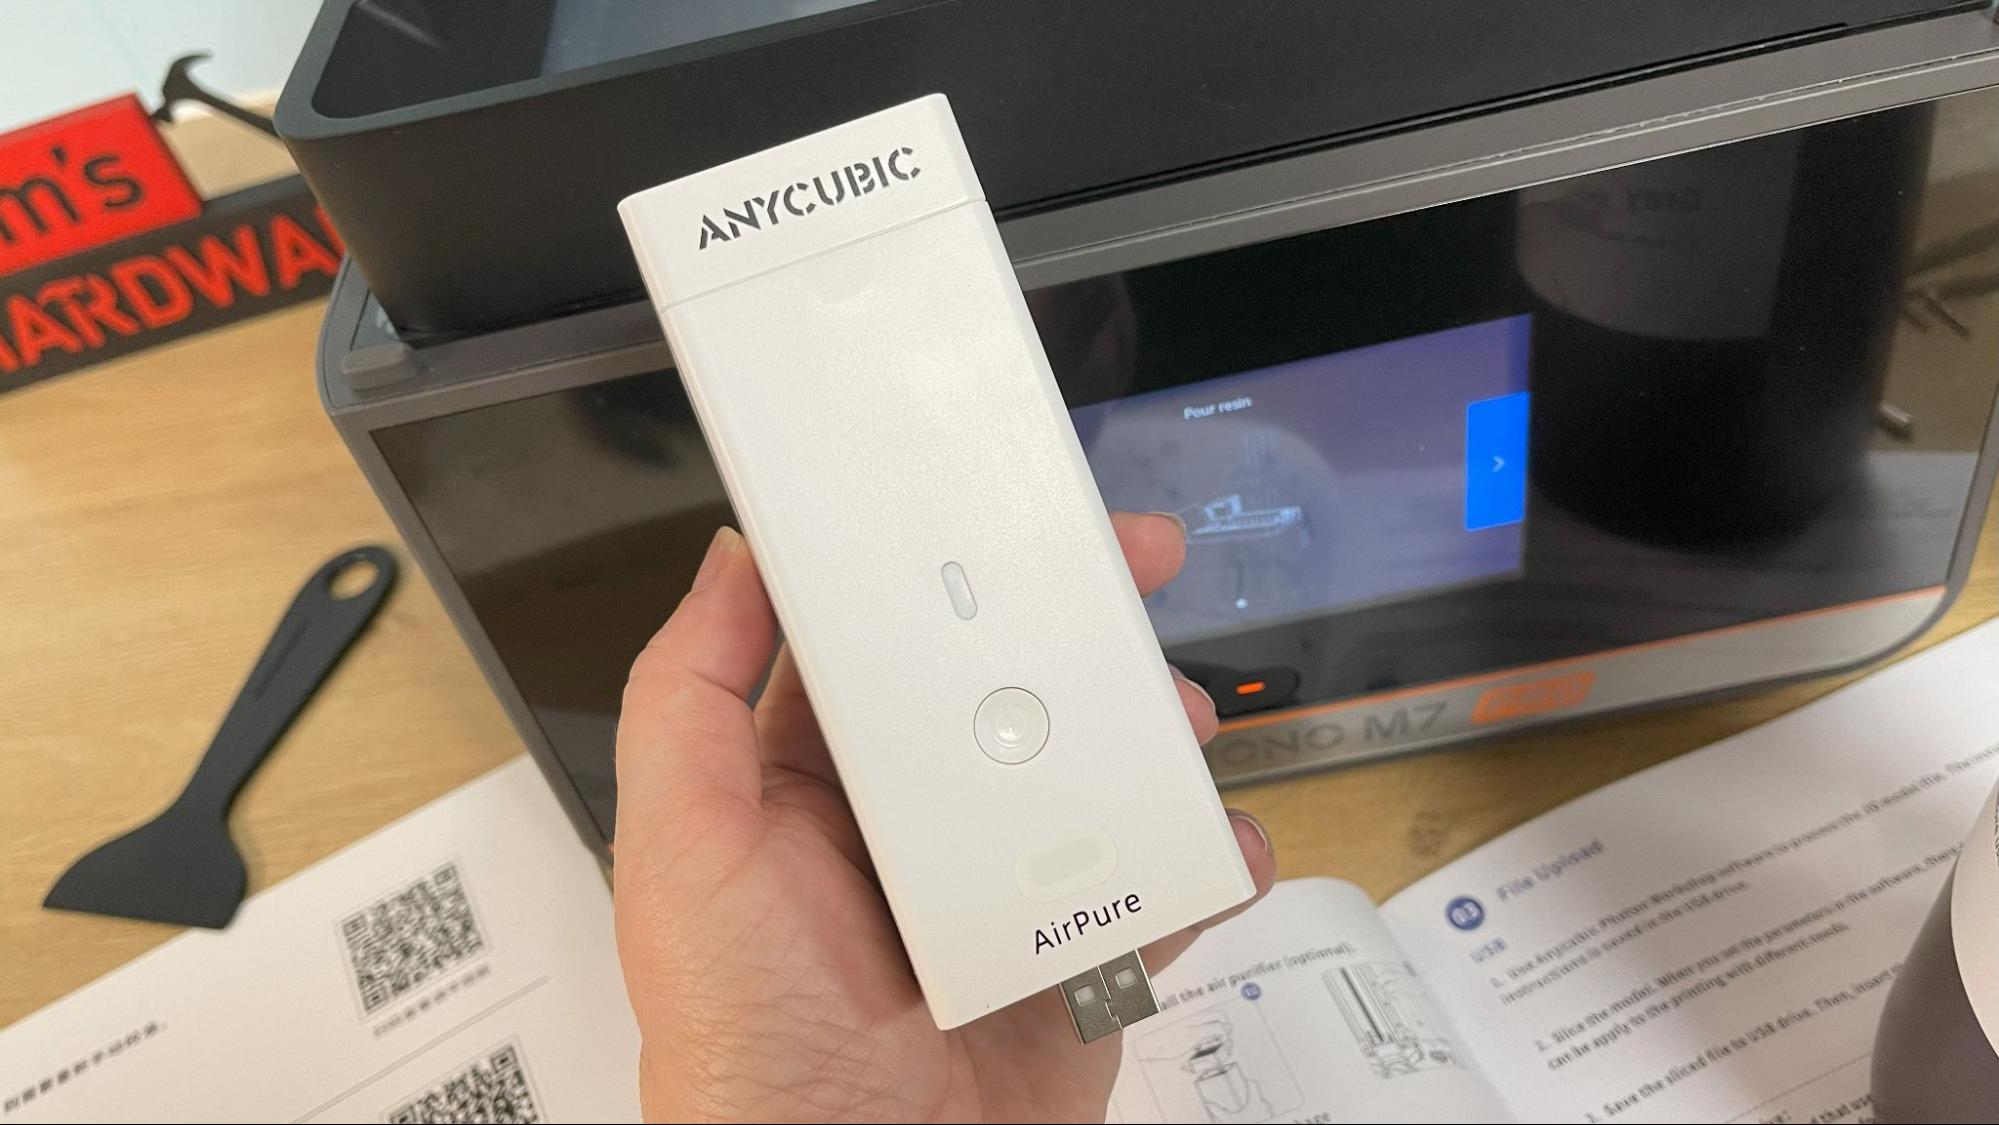
This machine also comes with a resin pump and a powered air filter.
Get Tom's Hardware's best news and in-depth reviews, straight to your inbox.
The box includes a USB thumb drive loaded with Anycubic’s Photon Workshop slicing software, a PDF of the manual, and two pre-sliced test prints.
Printing Safety with Anycubic Photon Mono M7 Pro
The Anycubic Photon Mono M7 Pro requires the same safety precautions as other resin printers. Uncured resin is dangerous, and the solvents used to clean your prints can be irritating to the skin. Use gloves and safety glasses when pouring resin and handling uncured prints.
Make sure the room you use your resin printer in is well-ventilated to avoid inhaling fumes. Spilled or dripped resin should be immediately cleaned with 99% isopropyl alcohol. After printing, make sure to wipe down your printer and bottles to remove smudges of uncured resin. Always keep your resin tightly sealed and safely stored out of reach of pets and children.
Assembling the Anycubic Photon Mono M7 Pro
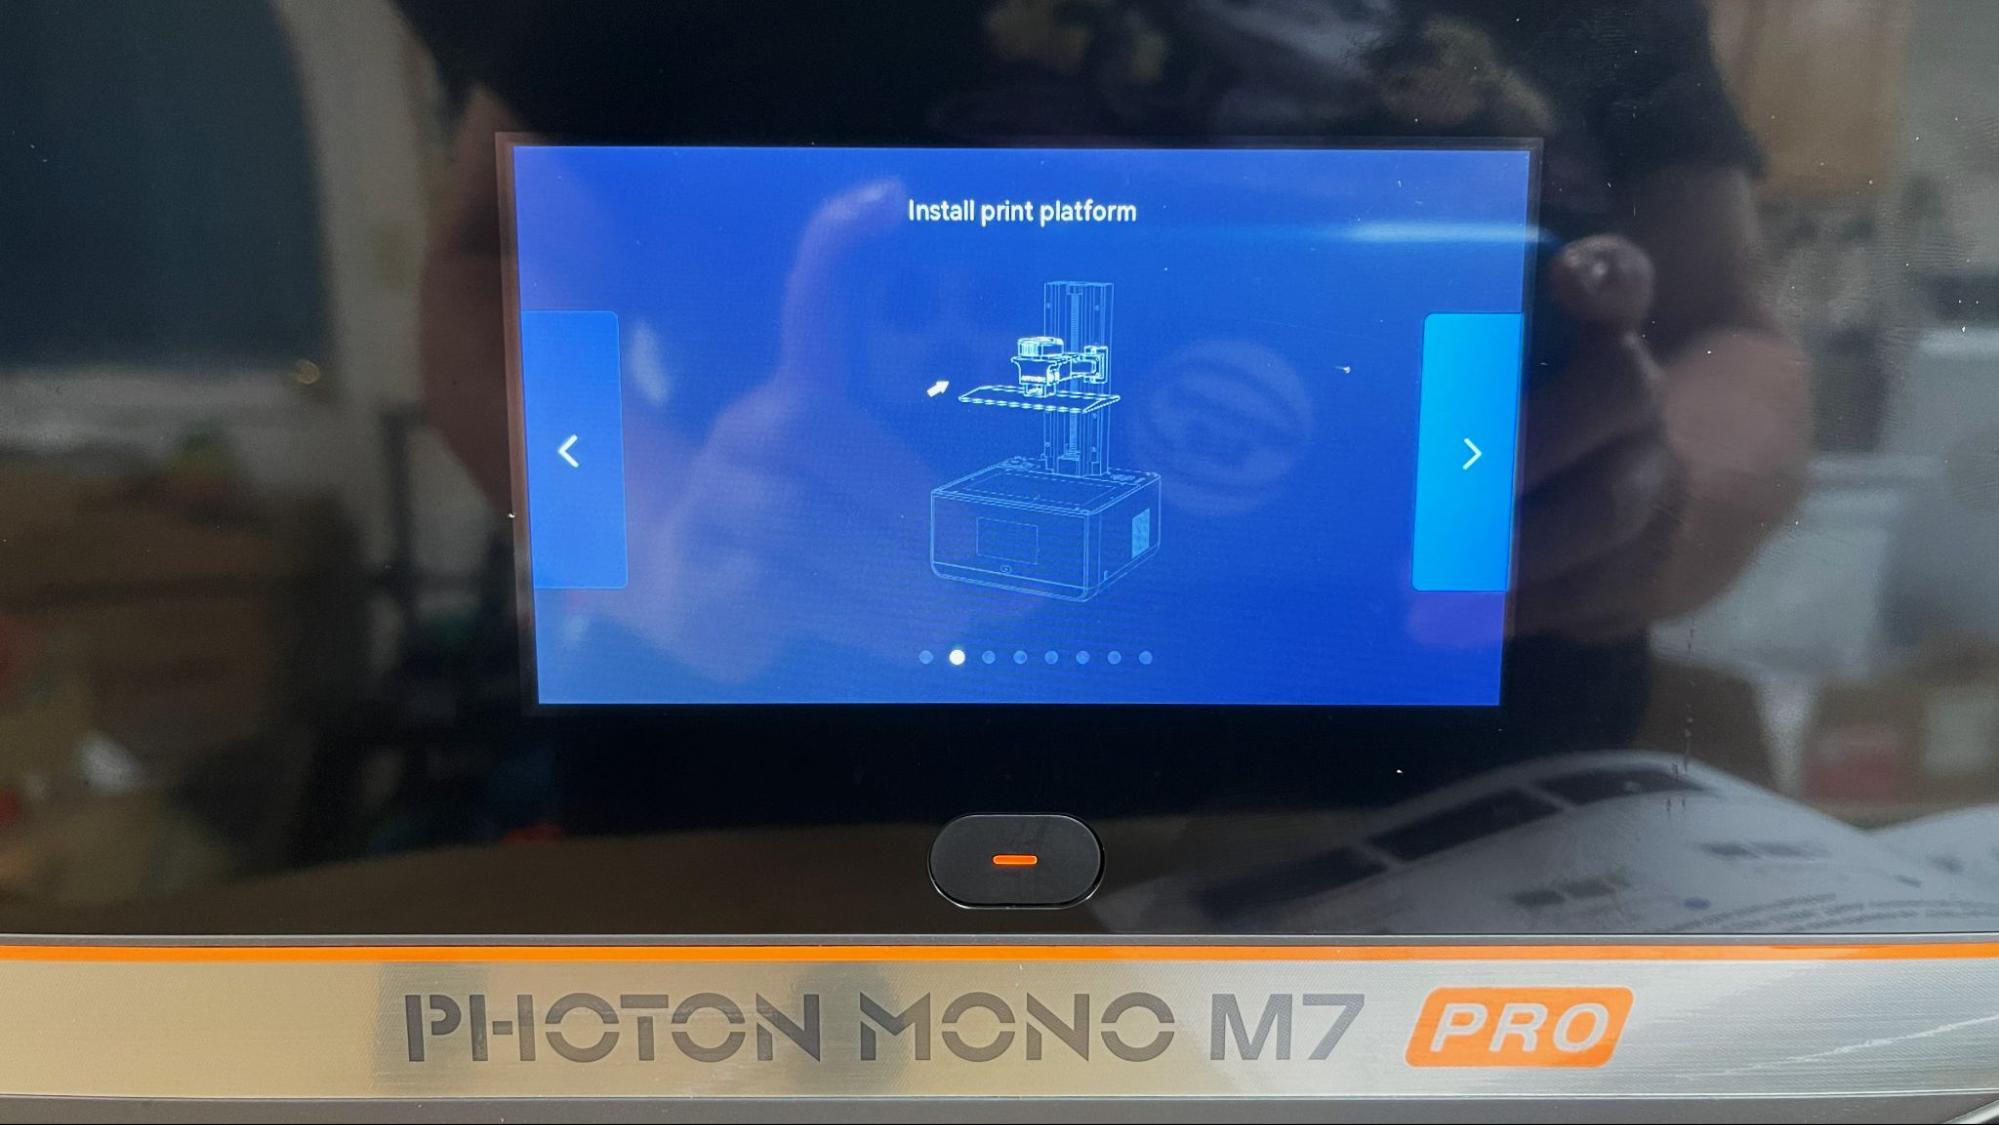
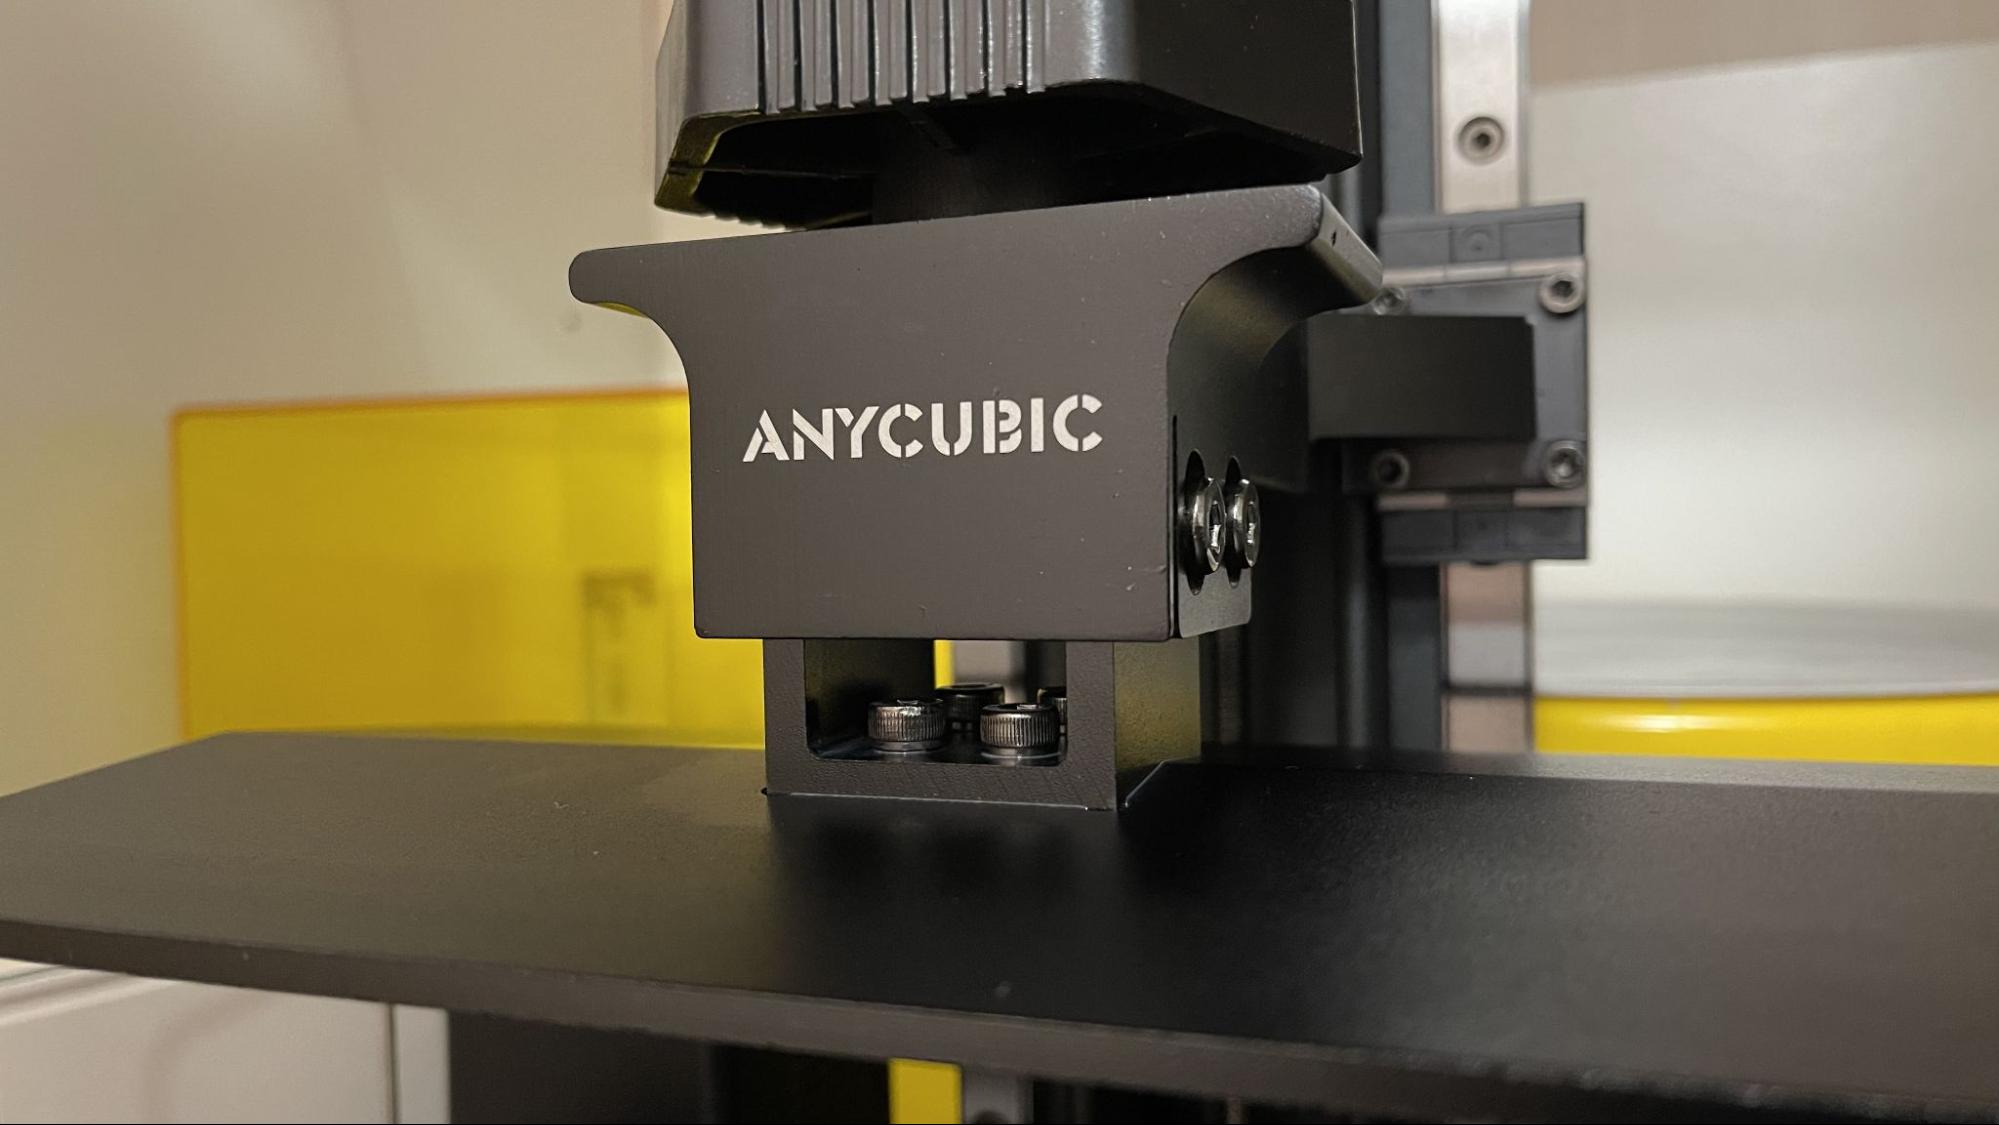
The printer comes fully assembled. You only need to remove the LED screen protector used for shipping, screw in the vat and build plate, then you’re ready to start printing.
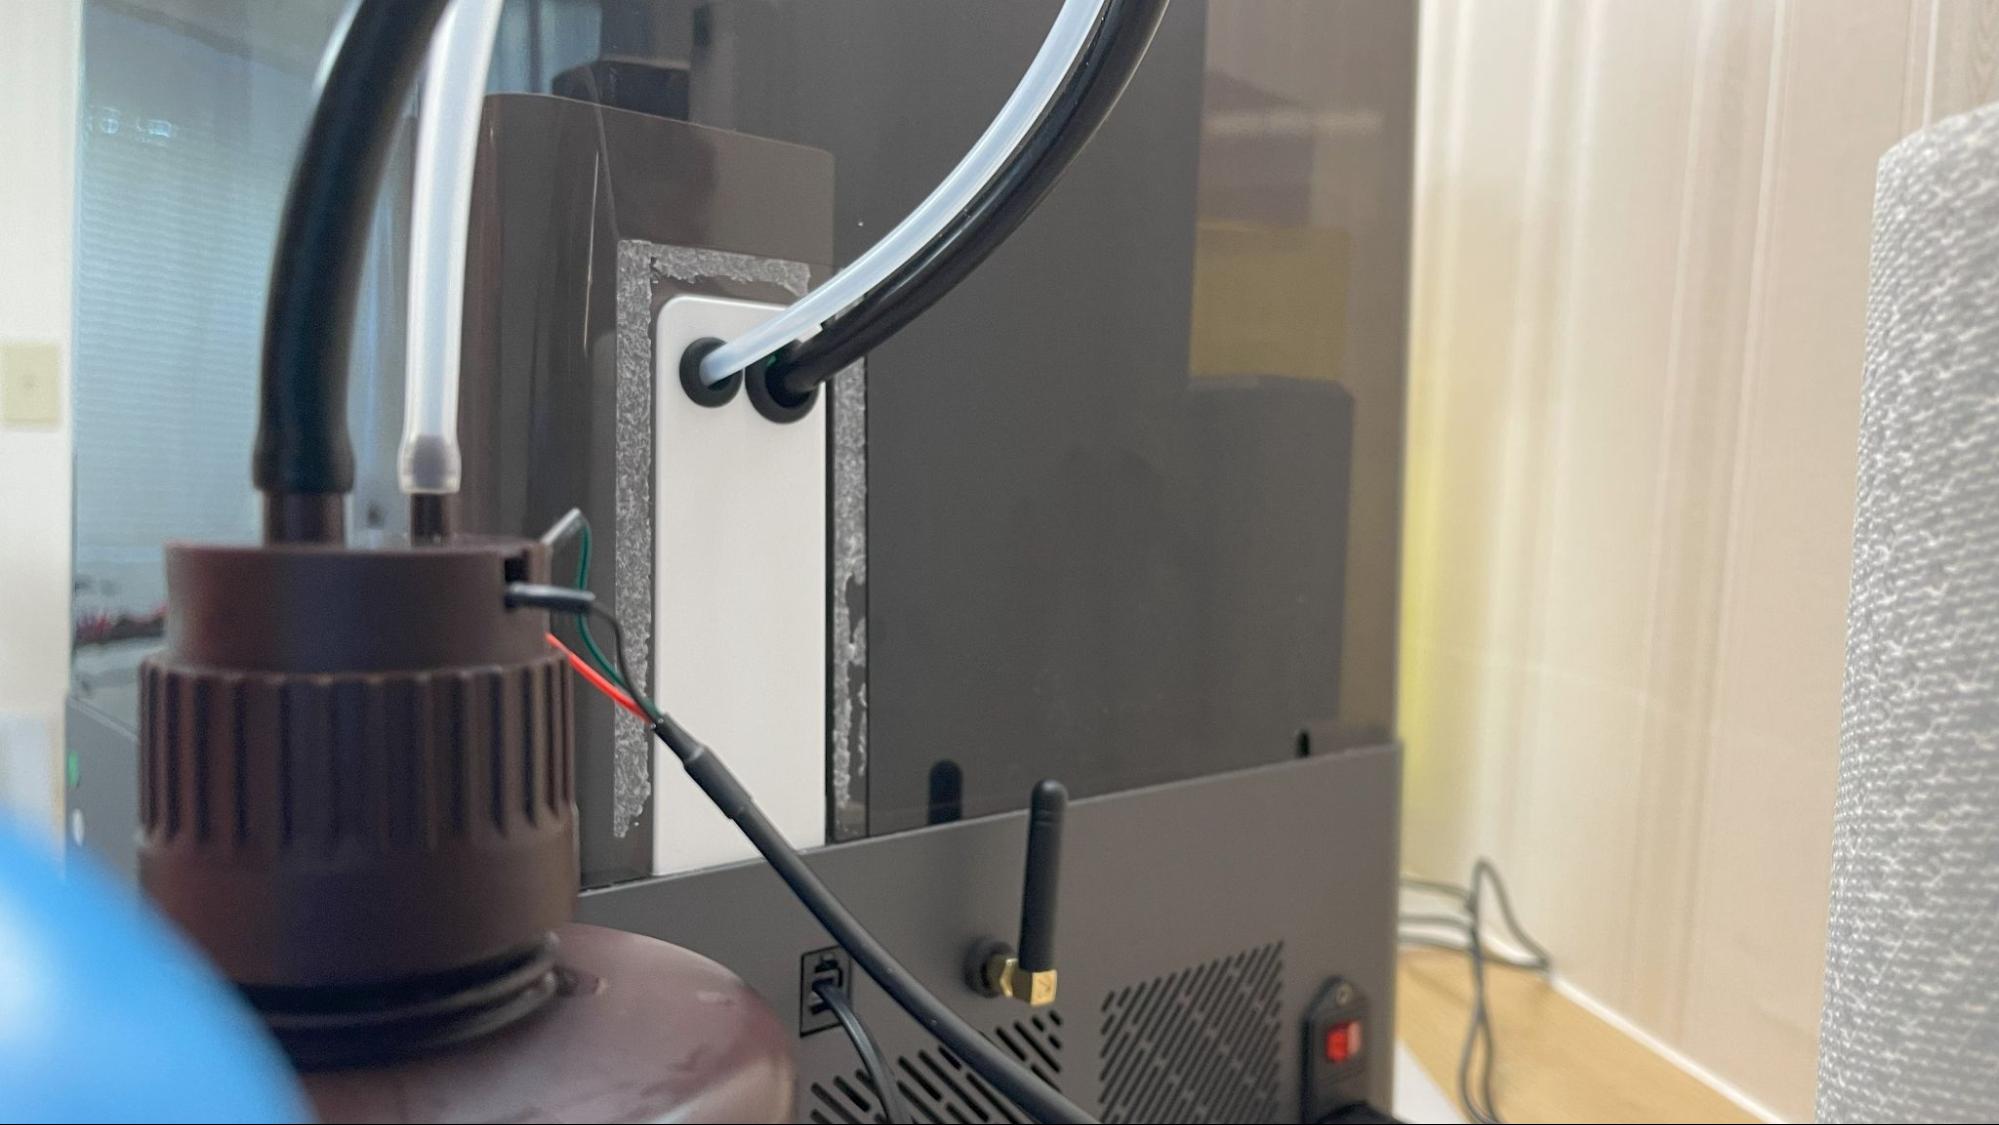
The printer comes with both a resin pump and powered air filter, which plug into the machine with a USB port. Unfortunately, it’s an either/or situation, and you’ll have to choose which to use. If you opt for the pump, you will need to remove a small section of the UV hood. The cutout section of the hood is taped in place, so it can be replaced if you choose.
Calibrating the Build Plate on the Anycubic Photon Mono M7 Pro
Unlike older resin printers, the Photon Mono M7 Pro ships factory-leveled. Simply put the build plate in place and you’re ready to go. Manual adjustment is available should you need it.
Design of the Anycubic Photon Mono M7 Pro
The Photon Mono M7 Pro is a mid-sized resin printer with a sophisticated black-on-black color scheme. The sleek black UV hood is still of the lift-off variety, which is frustrating to use after the joy of discovering tilt back lids from the competition.
The first thing I want to point out is the power, which is provided with a standard appliance plug without an annoying power brick. However, the system will not turn on if you only flip the switch in the back. You also have to push (and hold) a button in the front. I thought for sure the whole printer was damaged, as this method was unexpected.
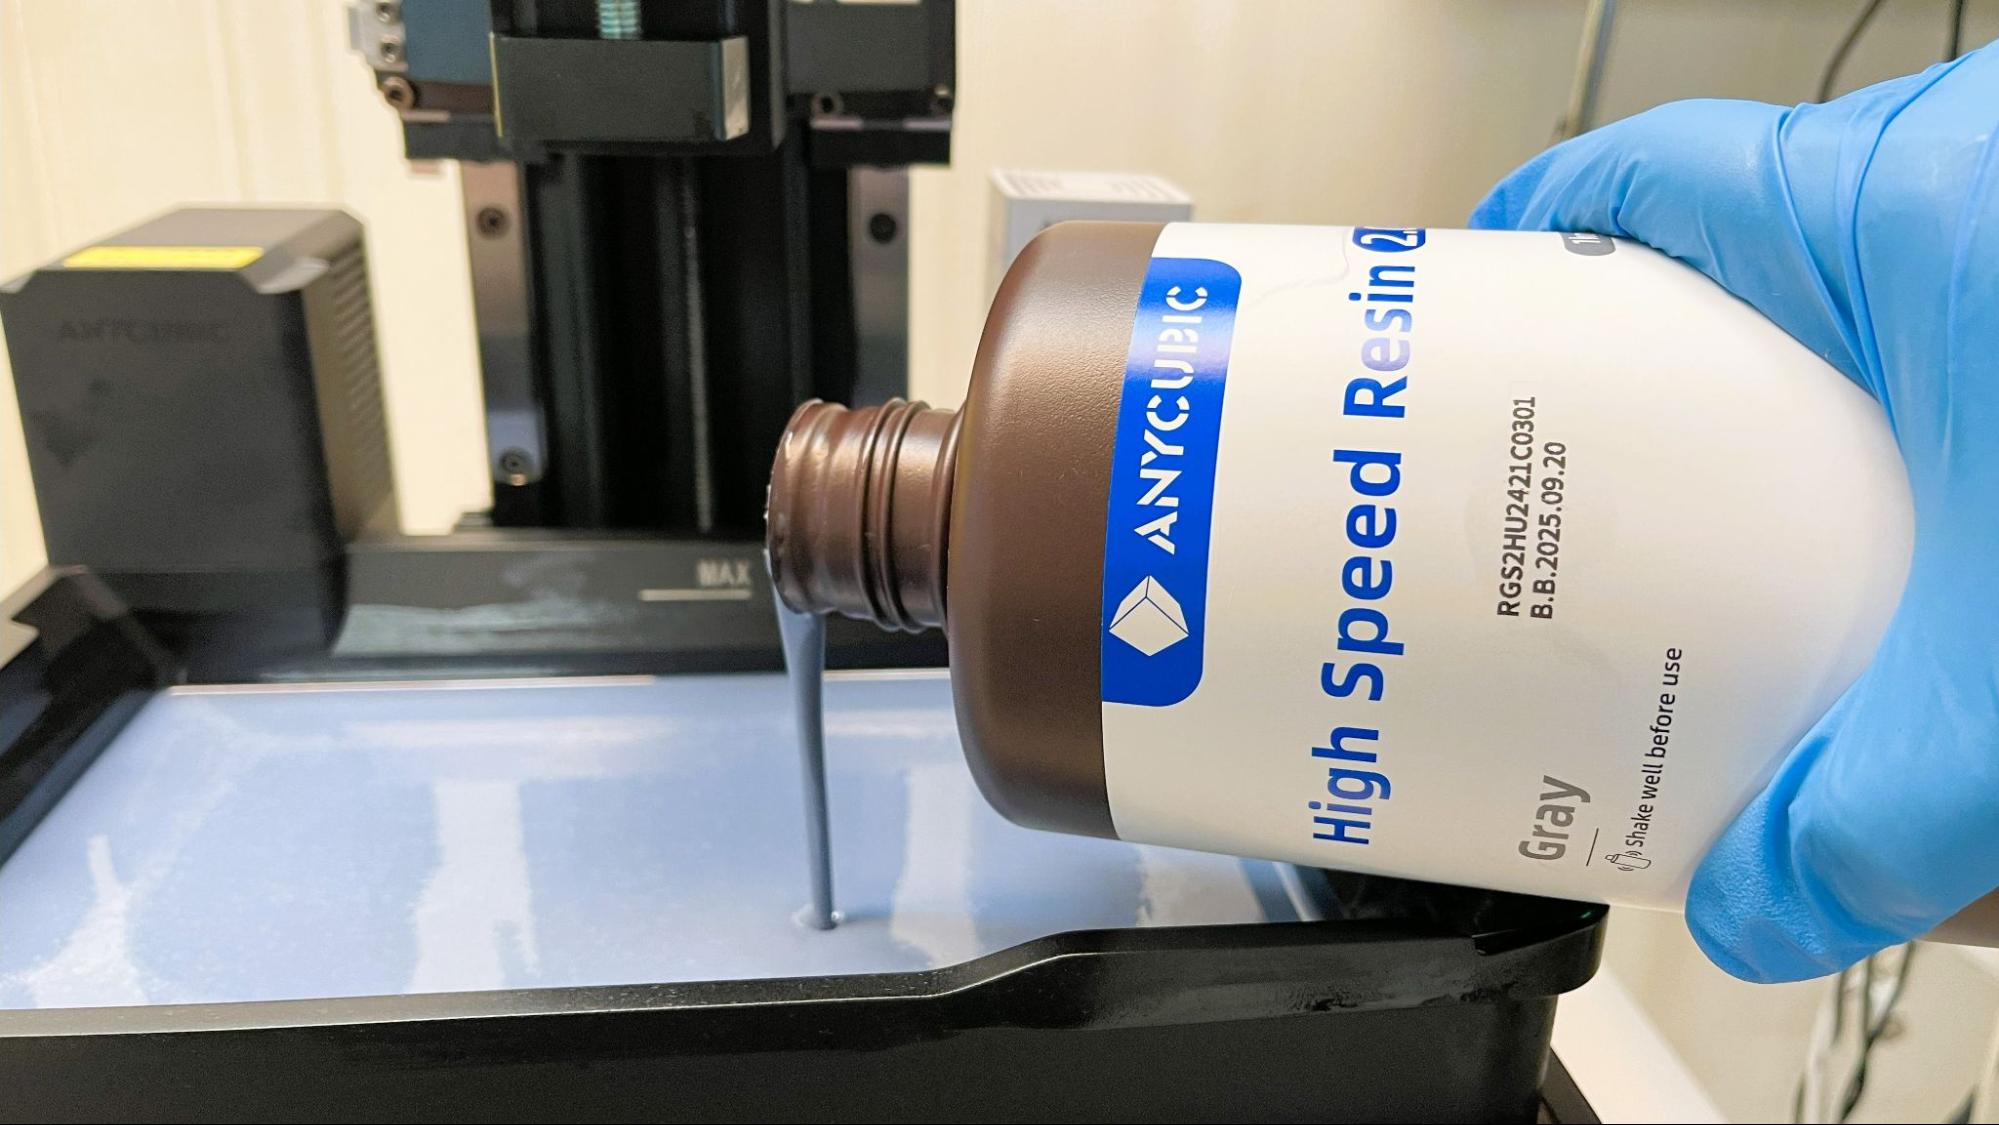
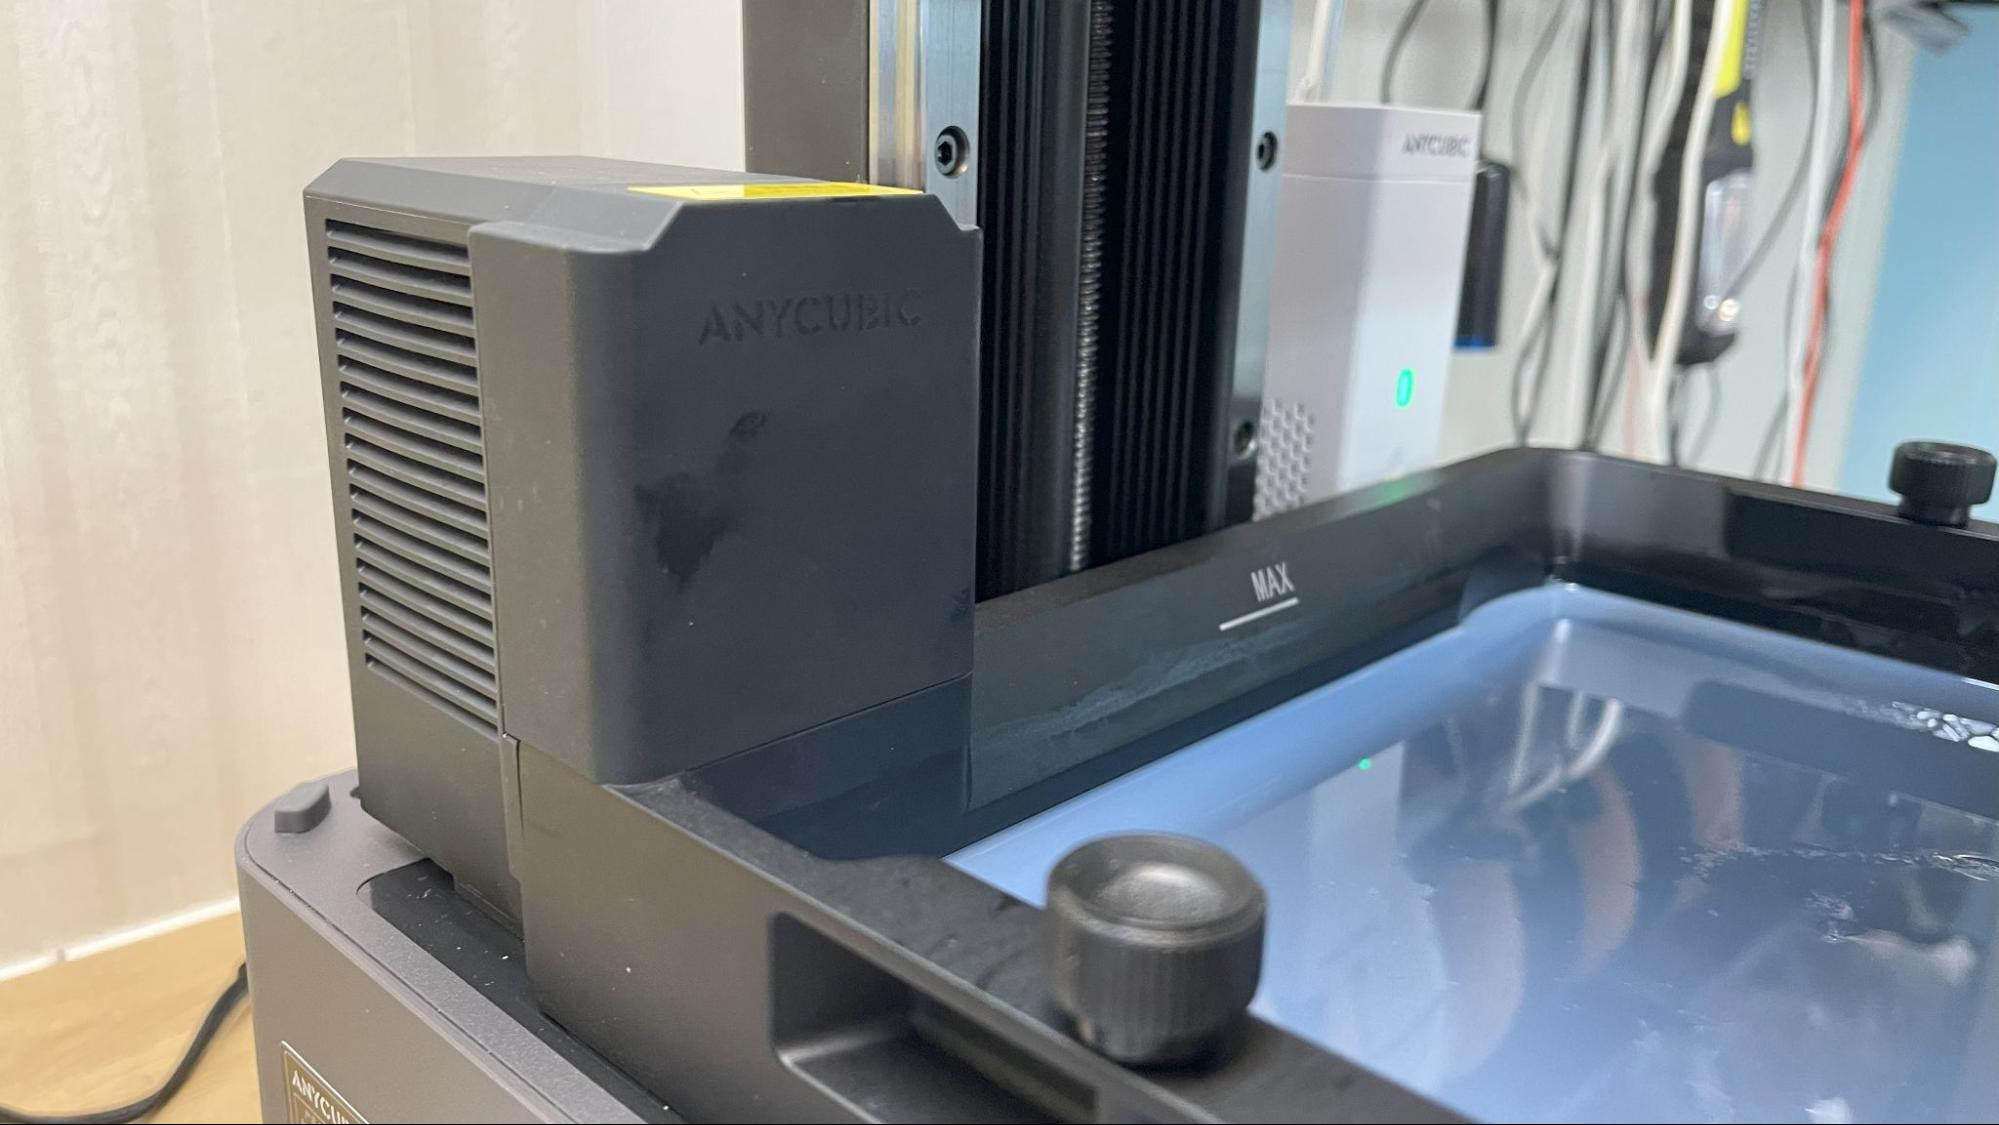
The printer is incredibly sturdy, and at 28 pounds, very solid. The vat is enormous and can hold more than a full-sized bottle of resin. The vat itself weighs several pounds due to its material, large size and the awkwardly mounted heater pump permanently attached to the back corner. This makes it off balanced when you’re trying to pour out leftover resin from the single spout located on the front right corner.
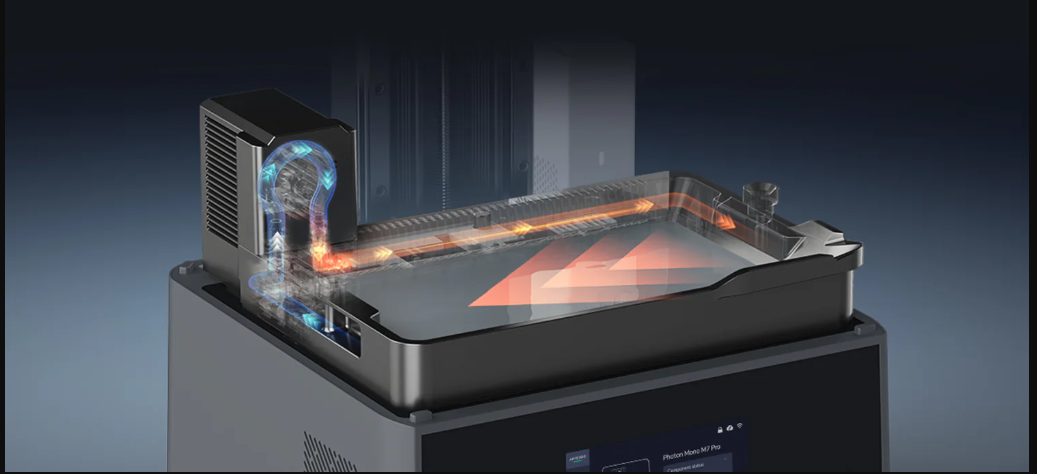
The purpose of the heater is to speed up the print time, as warm resin is thinner (thus faster) than cold. I’ve not seen a heater quite like this one. It’s actually a pump that sucks up the resin from a channel around the edge of the vat. It pulls resin in, warms it, and then pumps it back out.
This slowly circulates the resin around the vat as the printer works but doesn’t seem to interfere with layers as they cure. It’s also not strong enough to really stir the resin, so you’ll still want to get in there and manually stir the resin if you’ve let it set a day or two.
The pump works as a cleaning aid after you’ve dumped the resin out and refill the vat with a cleaning agent like isopropyl alcohol. In fact, you HAVE to use the cleaning cycle if you switch resin types or colors and don’t want contamination. The resin will get trapped in the pump and those channels, so cleaning it with just a paper towel is not an option. And of course, you can not clean the vat by submerging it in a bucket of IPA due to the electronics in the pump.
I wasn’t able to test out the other pump, which is designed to fill the vat with resin and keep it topped off. The pump plugs into the back right corner and has a cap designed to fit Anycubic resin bottles. It has sensors to measure the amount of resin in both the vat and the bottle, and should be able to transfer resin in and out. Mine did neither.
If you don’t like the idea of a pump – and I’m not sure if I’d want to try to clean it – you can drop an air purifier in that same corner. You have to pick one or the other, as they both fit in the same spot.
The big secret to the M7 Pro’s speed is a little cheaty. Like the M5s before it, the fastest mode actually combines shorter exposure times with thicker .1 mm height layers. This setting is designed specifically to work with high speed resin, which is super thin. We’ll get more into this when we look at the test prints.
The Photon Mono M7 Pro has an insane 14K resolution (13,312 x 5120) on a 10.1 inch monochrome LCD screen. I would like to point out that when you get into this level of resolution, you’re only going to get out as much detail as you put in.
The build plate on the M7 Pro is laser-etched, which grabs onto prints to keep them safe, but isn’t too difficult to scrape off. The top of the plate has enough slope to allow most of the resin to drain back into the vat. There’s still a spot where the screws are that catch some resin, which makes cleaning the plate a little annoying.
This 3D printer can take files off a USB thumb drive or over WiFi – if you don’t mind running it through Anycubic’s phone app and Cloud system. I’m not a big fan of phone apps for my printers, so I didn’t test it out.
The touch screen is well thought out and easy to use, with large graphics to help you along the way.
Slicers Compatible with the Anycubic Photon Mono M7 Pro
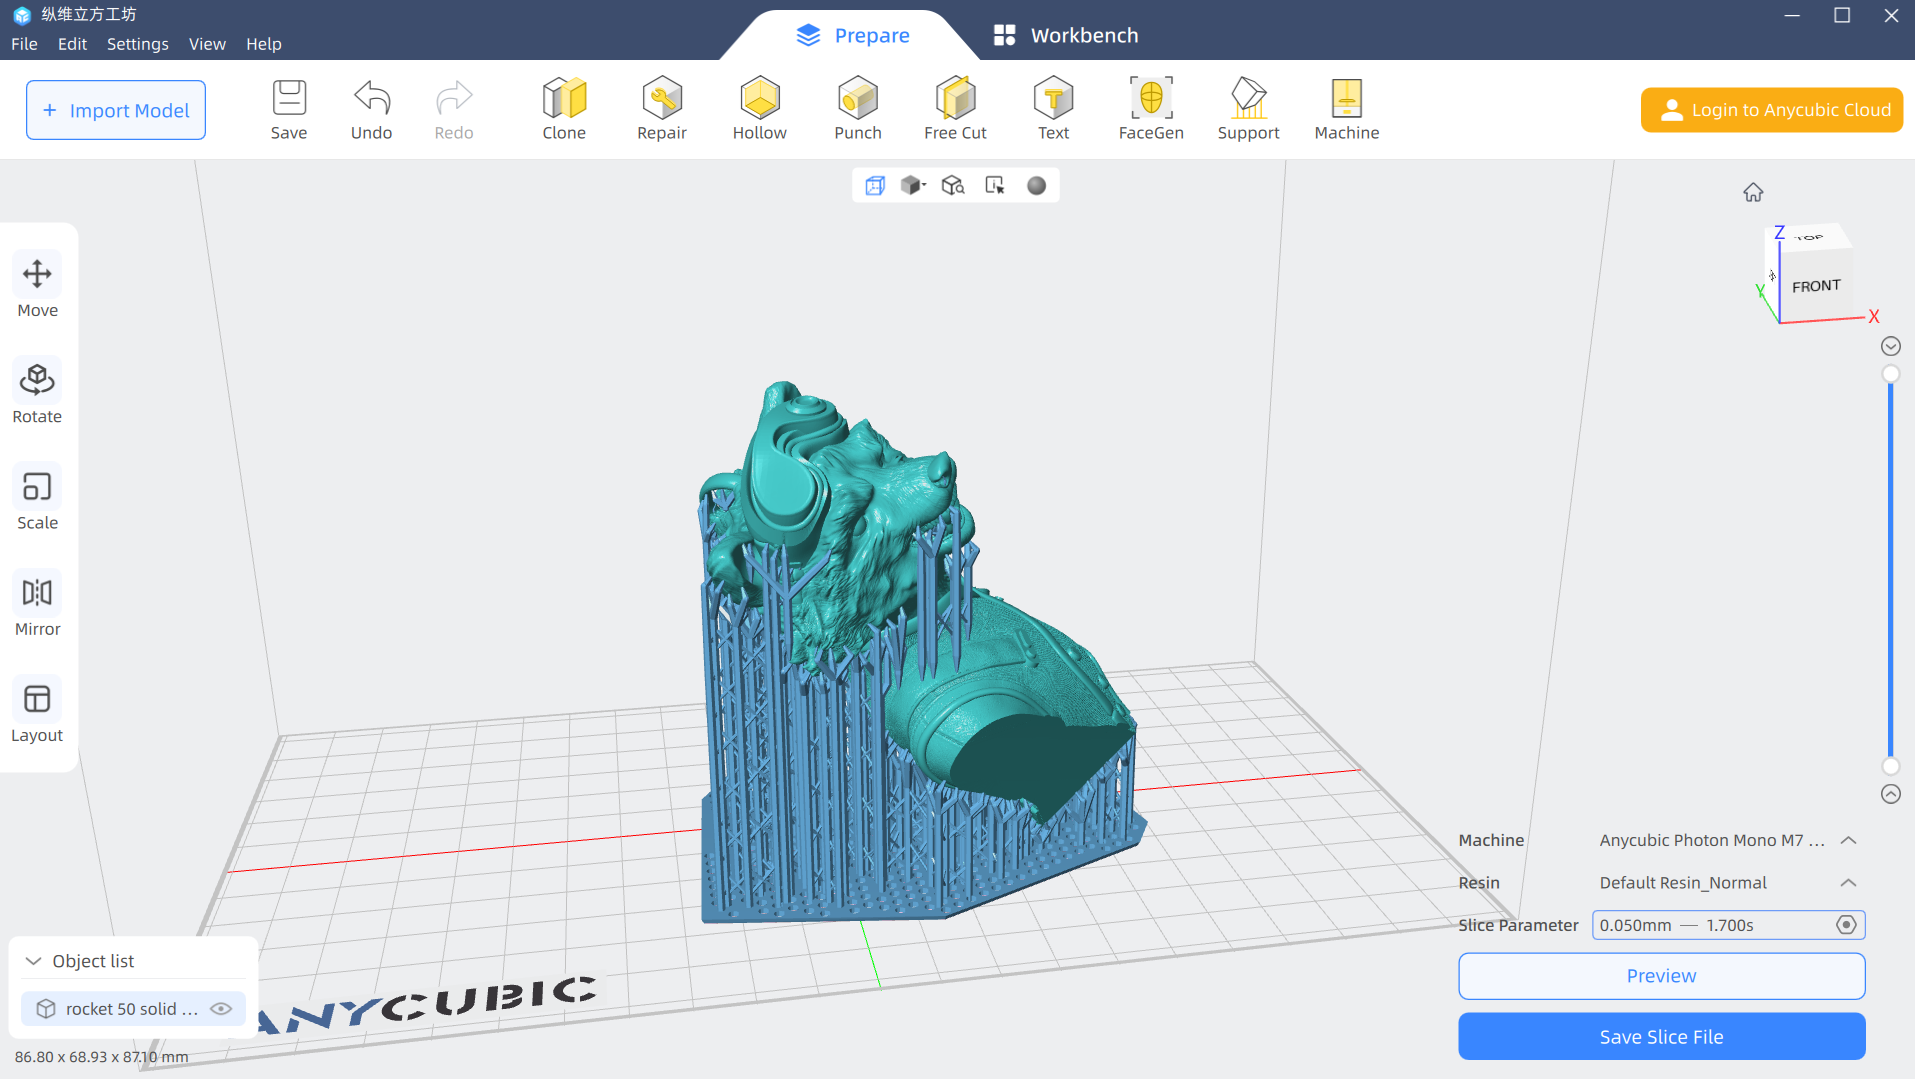
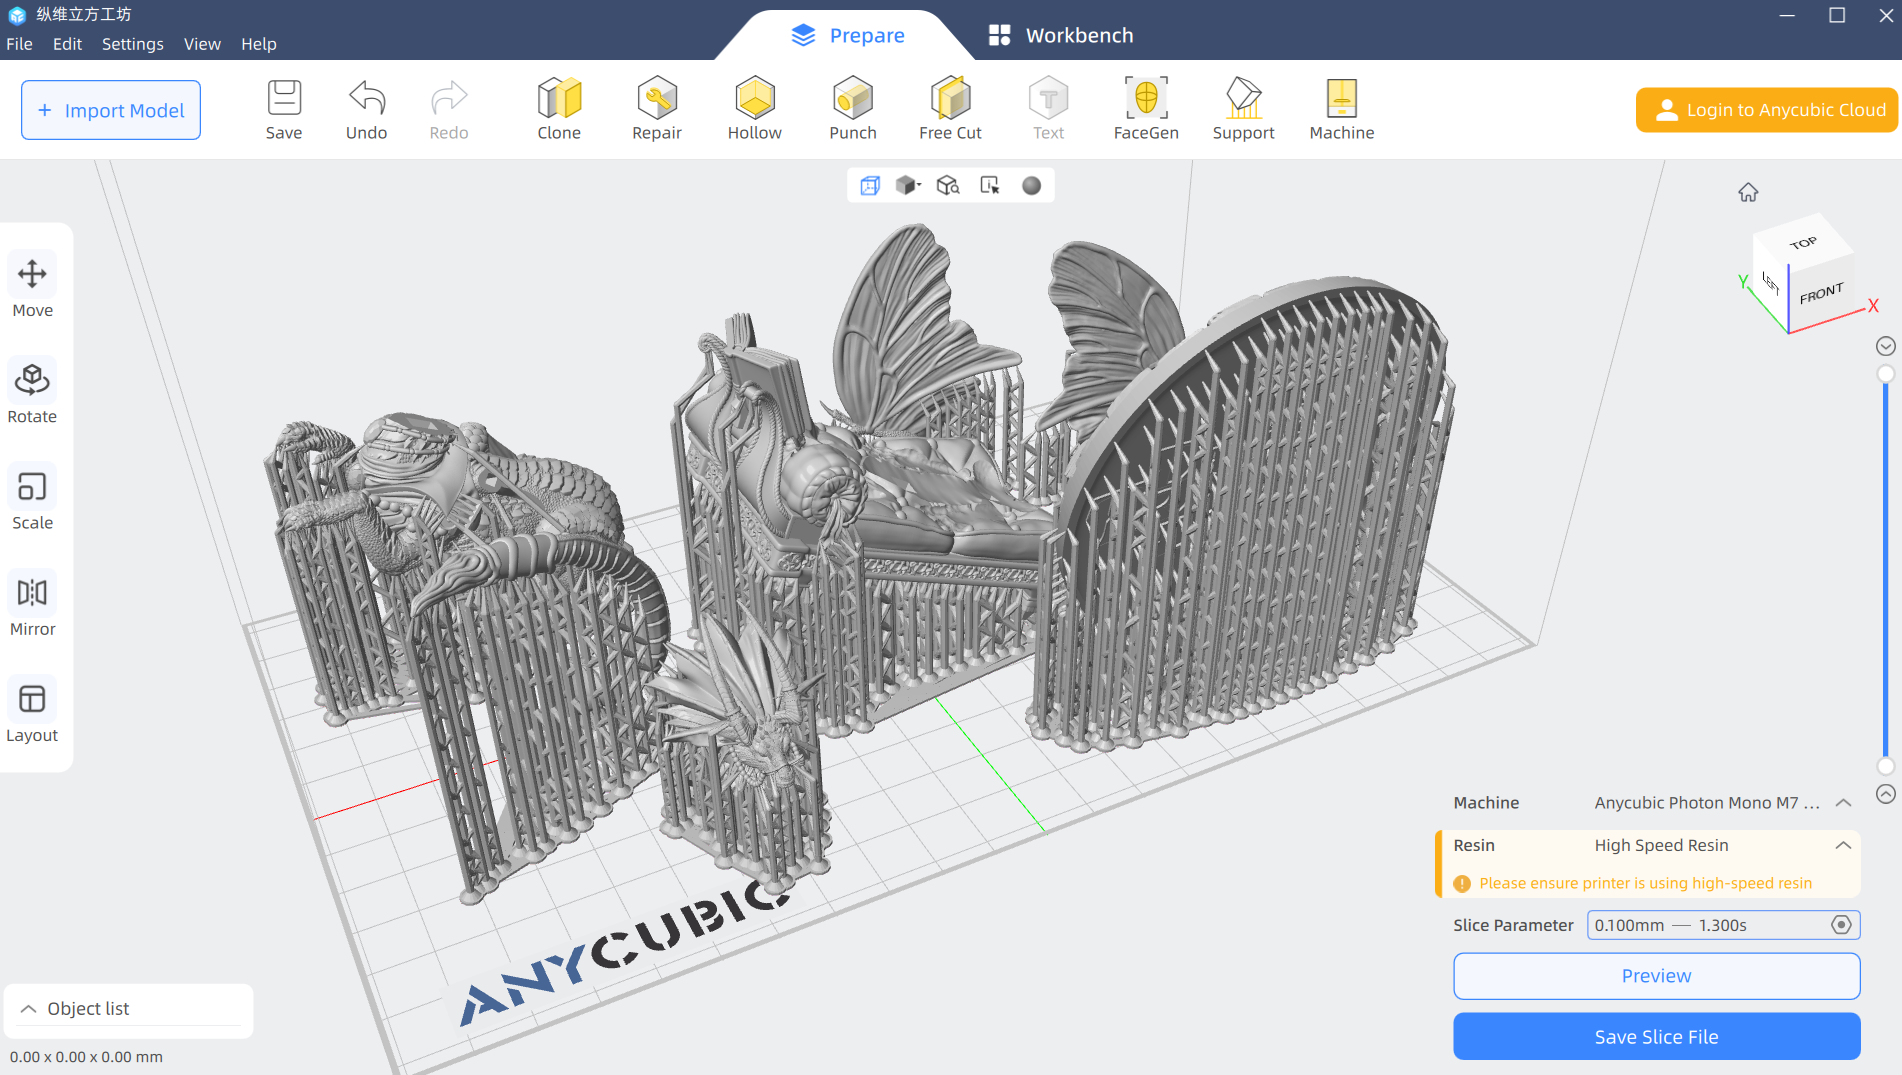
The Anycubic Photon Mono M7 Pro ships with a copy of Photon Workshop, its custom slicer. The slicer has improved greatly over the years and I didn’t have any problems using it. It can add good supports automatically, has tools for hollowing the model - and adding drainage holes so you can conserve resin.
The M7 Pro can be used with Chitubox, but we’re still waiting for Lychee Slicer.
Washing and Curing Your Prints
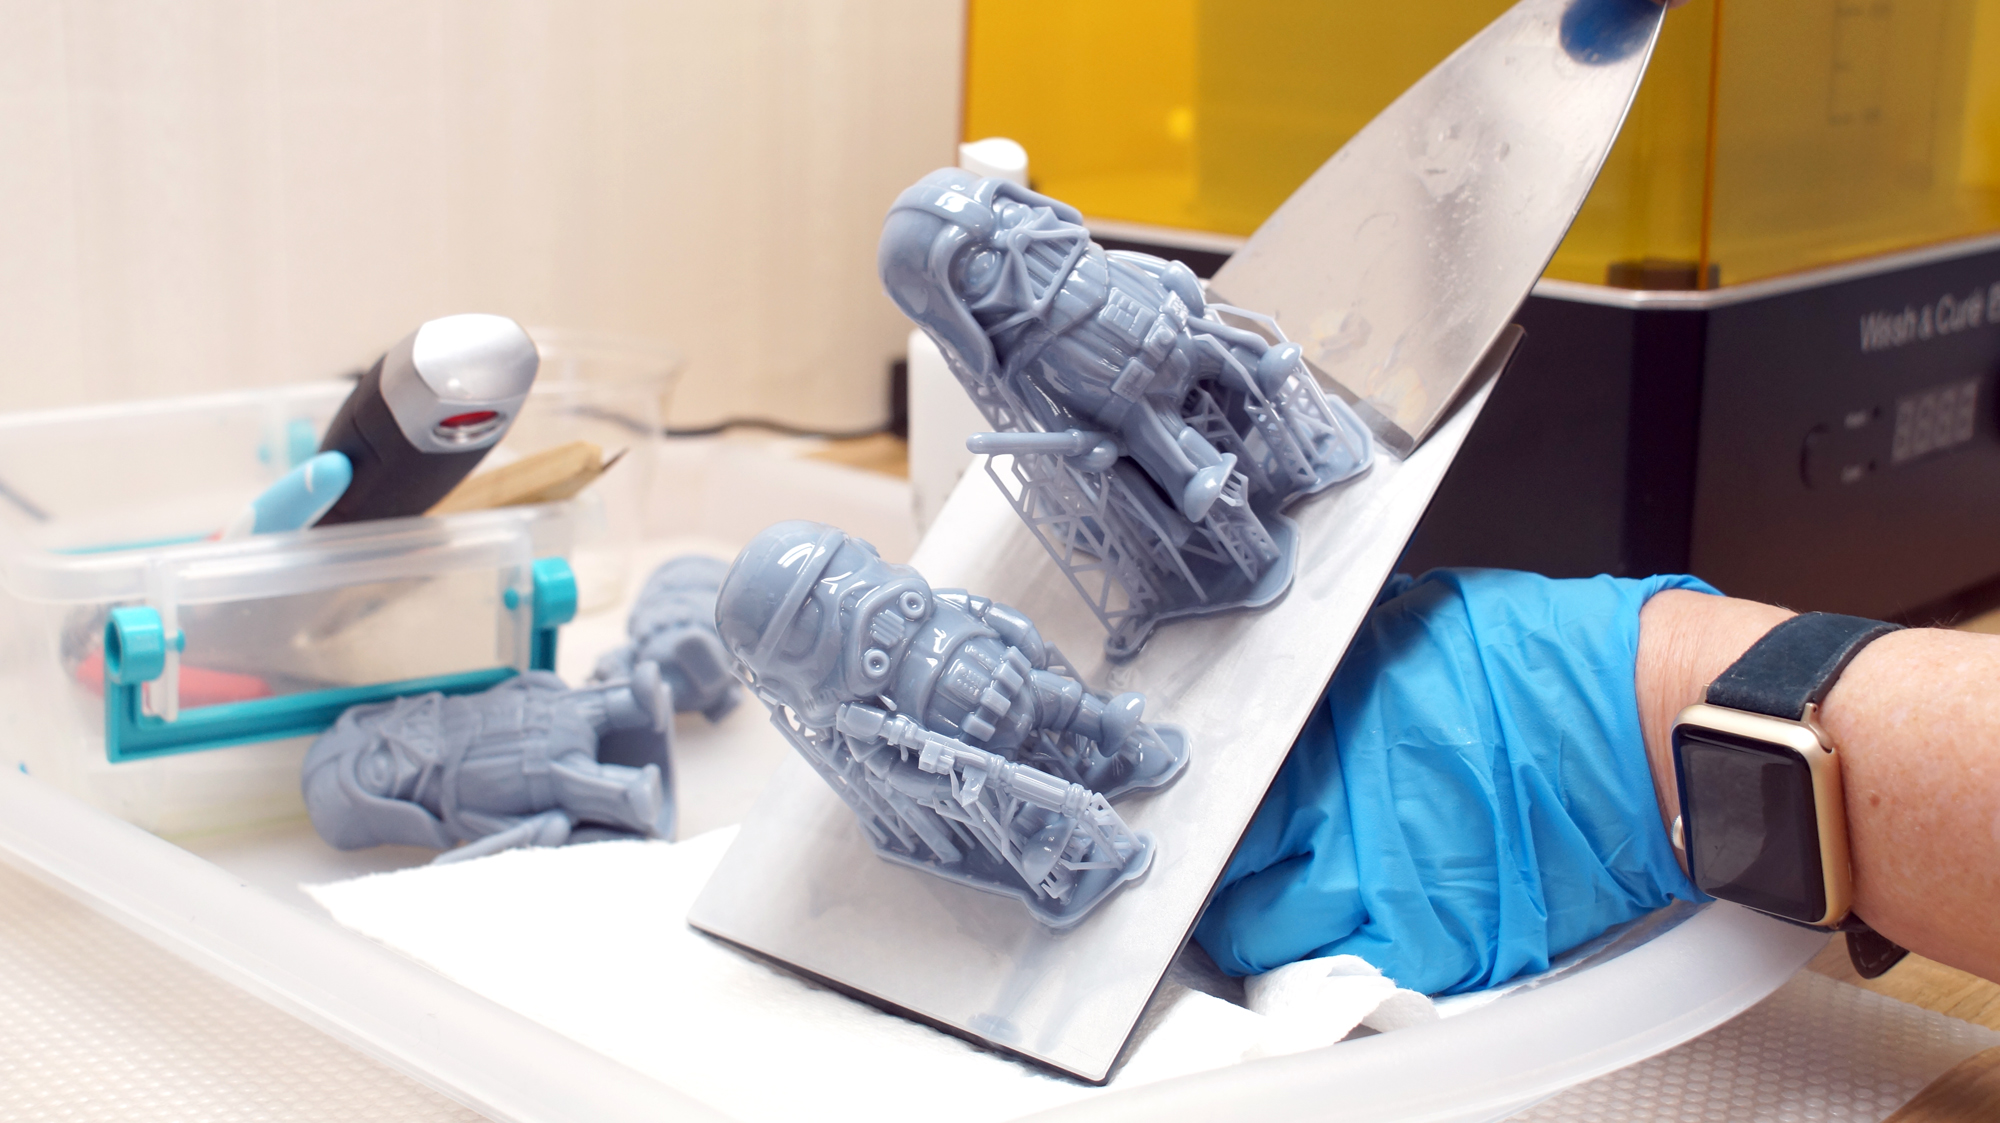
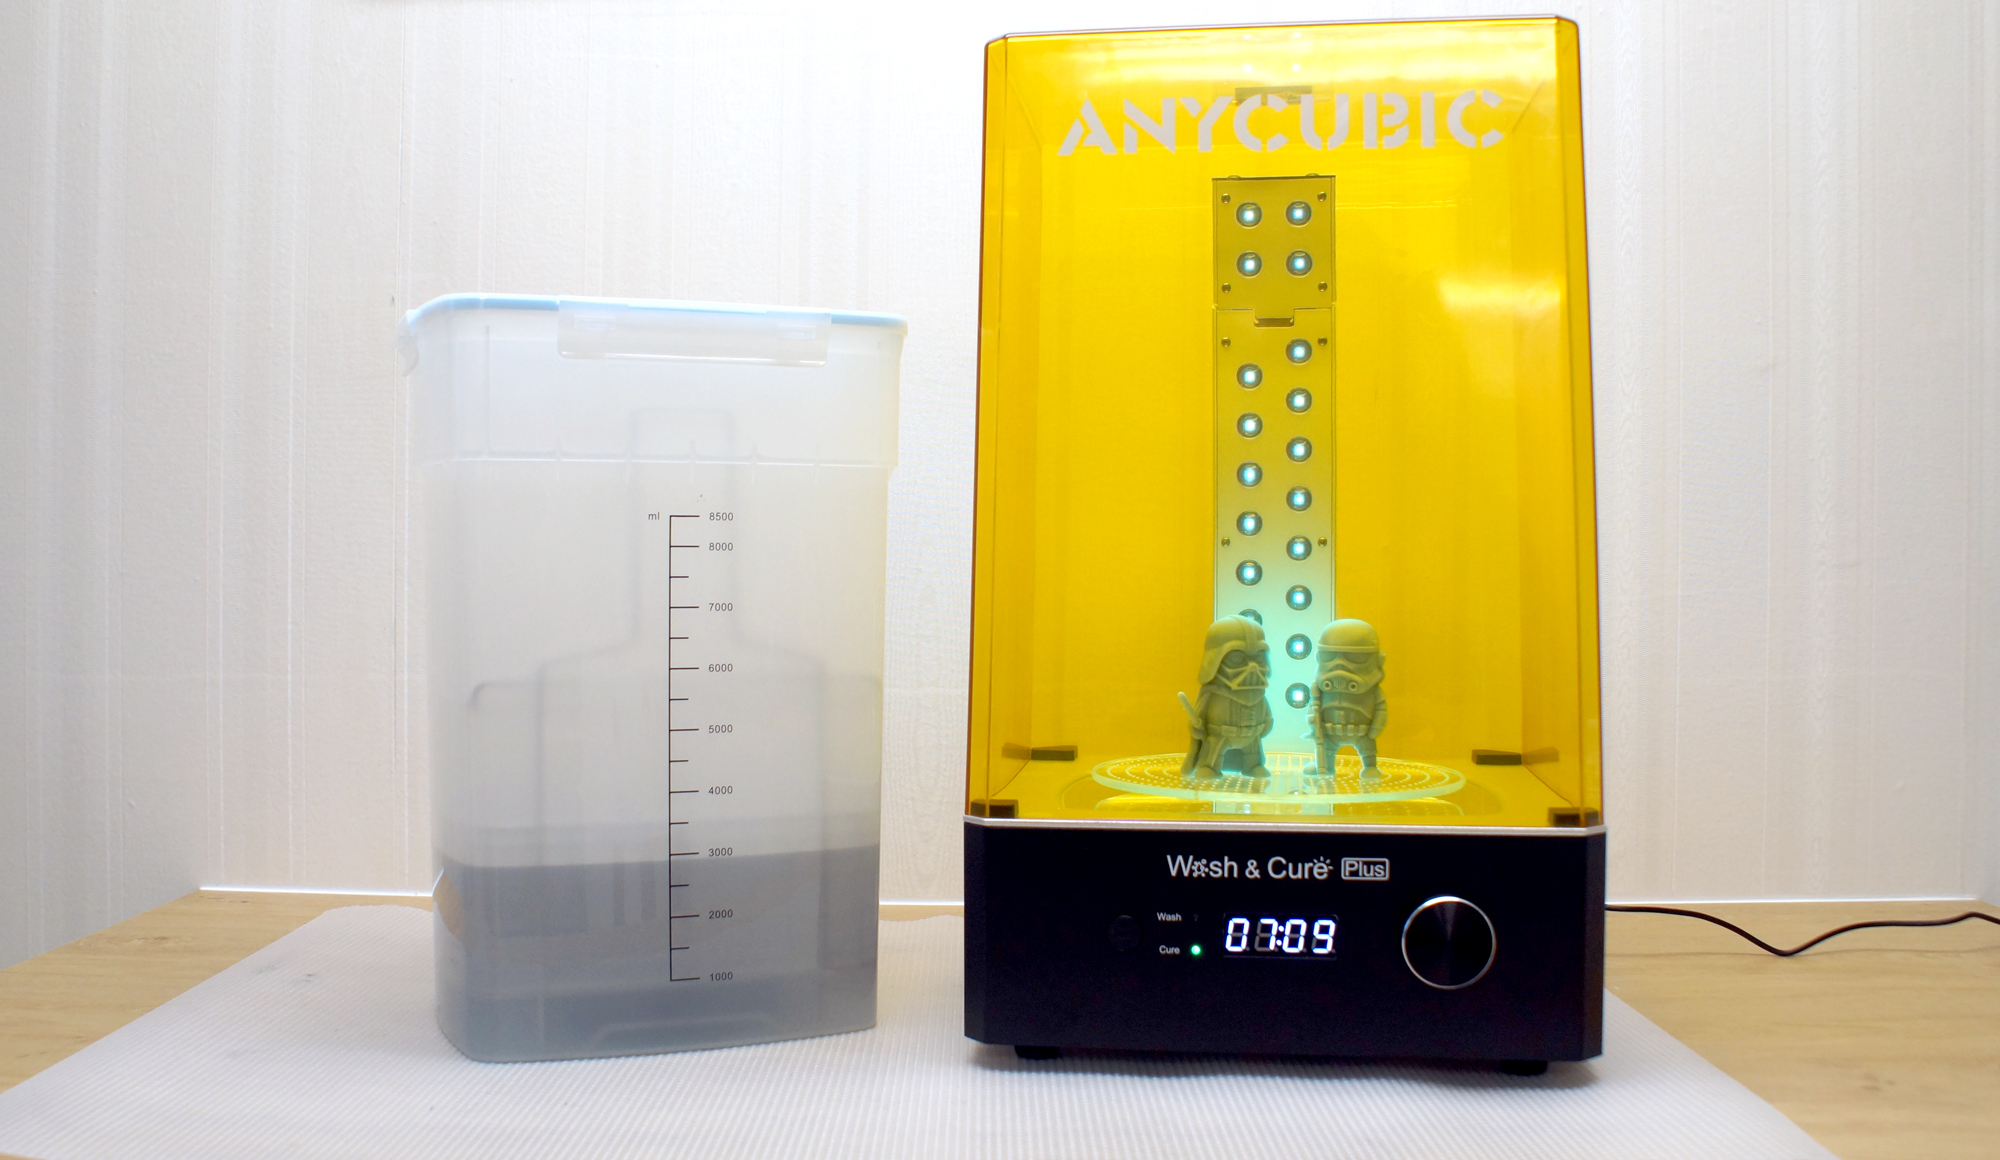
Before you can admire your prints, you’ll need to wash them with isopropyl alcohol and cure with UV light. I like to give prints a 30-second hand rinse in a container of 95% Isopropyl alcohol, then a 2-minute rinse in the Anycubic Wash and Cure, which is sold separately and retails for $249 at Anycubic.com.
Completely dry the print with a hair dryer on cool – IPA left on the print will turn white. You can also let the print air dry in a place away from sunlight.
Supports are easier to remove before curing because they are softer. Clip the supports off with side cutters and use tweezers to remove stubborn supports. Remember to always wear gloves while handling uncured prints.
Then place the print in a UV curing station for 15 minutes, or outside in bright sunlight for a few hours.
Your IPA should never be flushed down the drain, especially after being contaminated with uncured resin. Instead, keep using the resin until it’s too dirty, then leave the container open to evaporate. The remaining sludge can be cured with UV light or the sun before being thrown away.
Supports should also be cured before being thrown away.
Sample Prints on the Anycubic Photon M7 Pro
The Anycubic Mono M7 Pro has three settings within its custom slicer:
High Speed/Fast Resin: .1mm layer and 1.3 second exposure
High Speed/Standard Resin: .1mm layer and 2.1 second exposure
Normal Speed/Standard Resin: .05mm layer and 1.7 second exposure
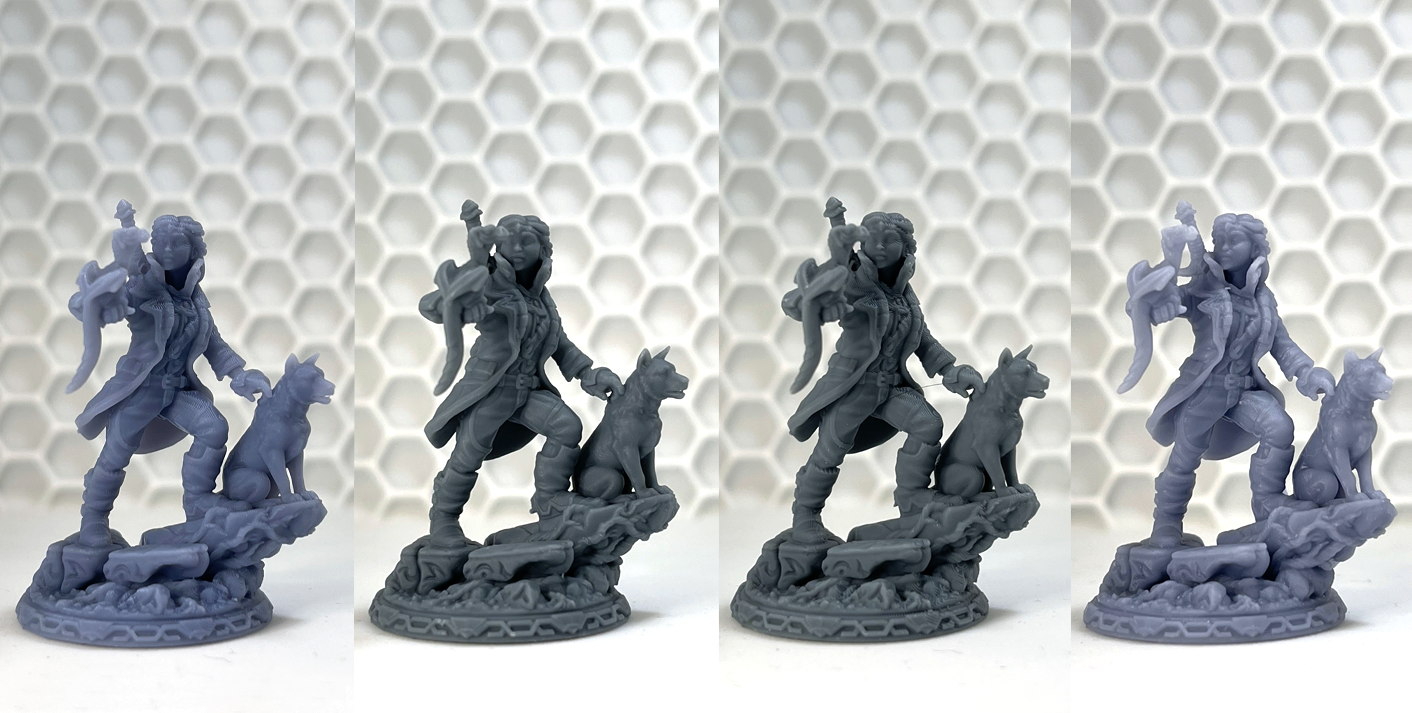
All three speeds produce quality prints, with the fastest setting being just a little bit softer on the details. As I mentioned before, when you use the fast/normal mode and high resolution resin, you’ll get the best results. Considering the cost of resin, and the amount of trouble to switch materials, I think keeping your M7 Pro stocked with a quality “normal” speed resin is the best mix of quality and speed.
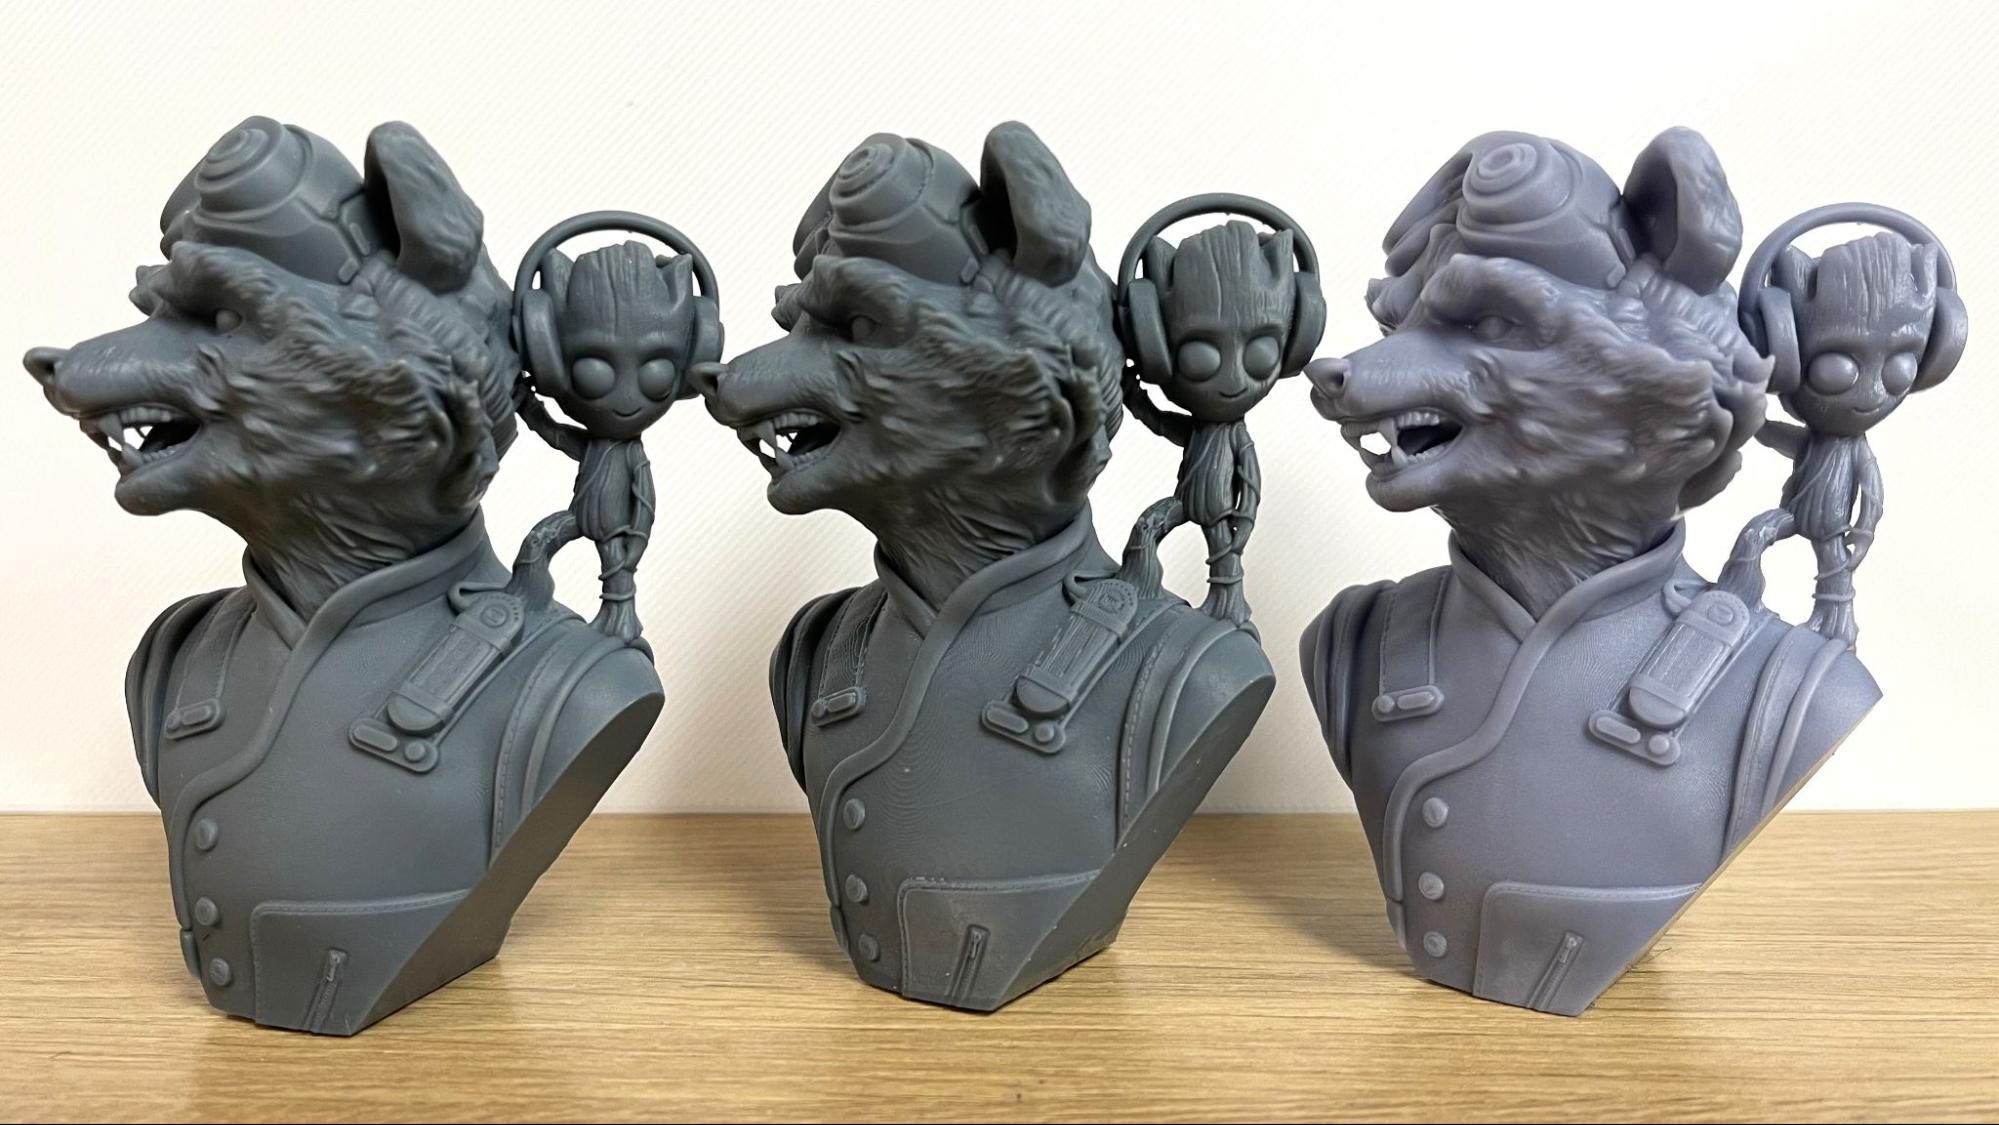
You can see from the sample below that all three prints look very nice and sharp, but the fast resin (on the right) is just a tiny bit softer. The fast “normal” resin resulted in good quality, and you can only see the layer lines on Rocket’s jacket when the light hits it at the right angle.
The difference between fast and normal mode on the test prints below is over 90 minutes without a significant lost of detail.
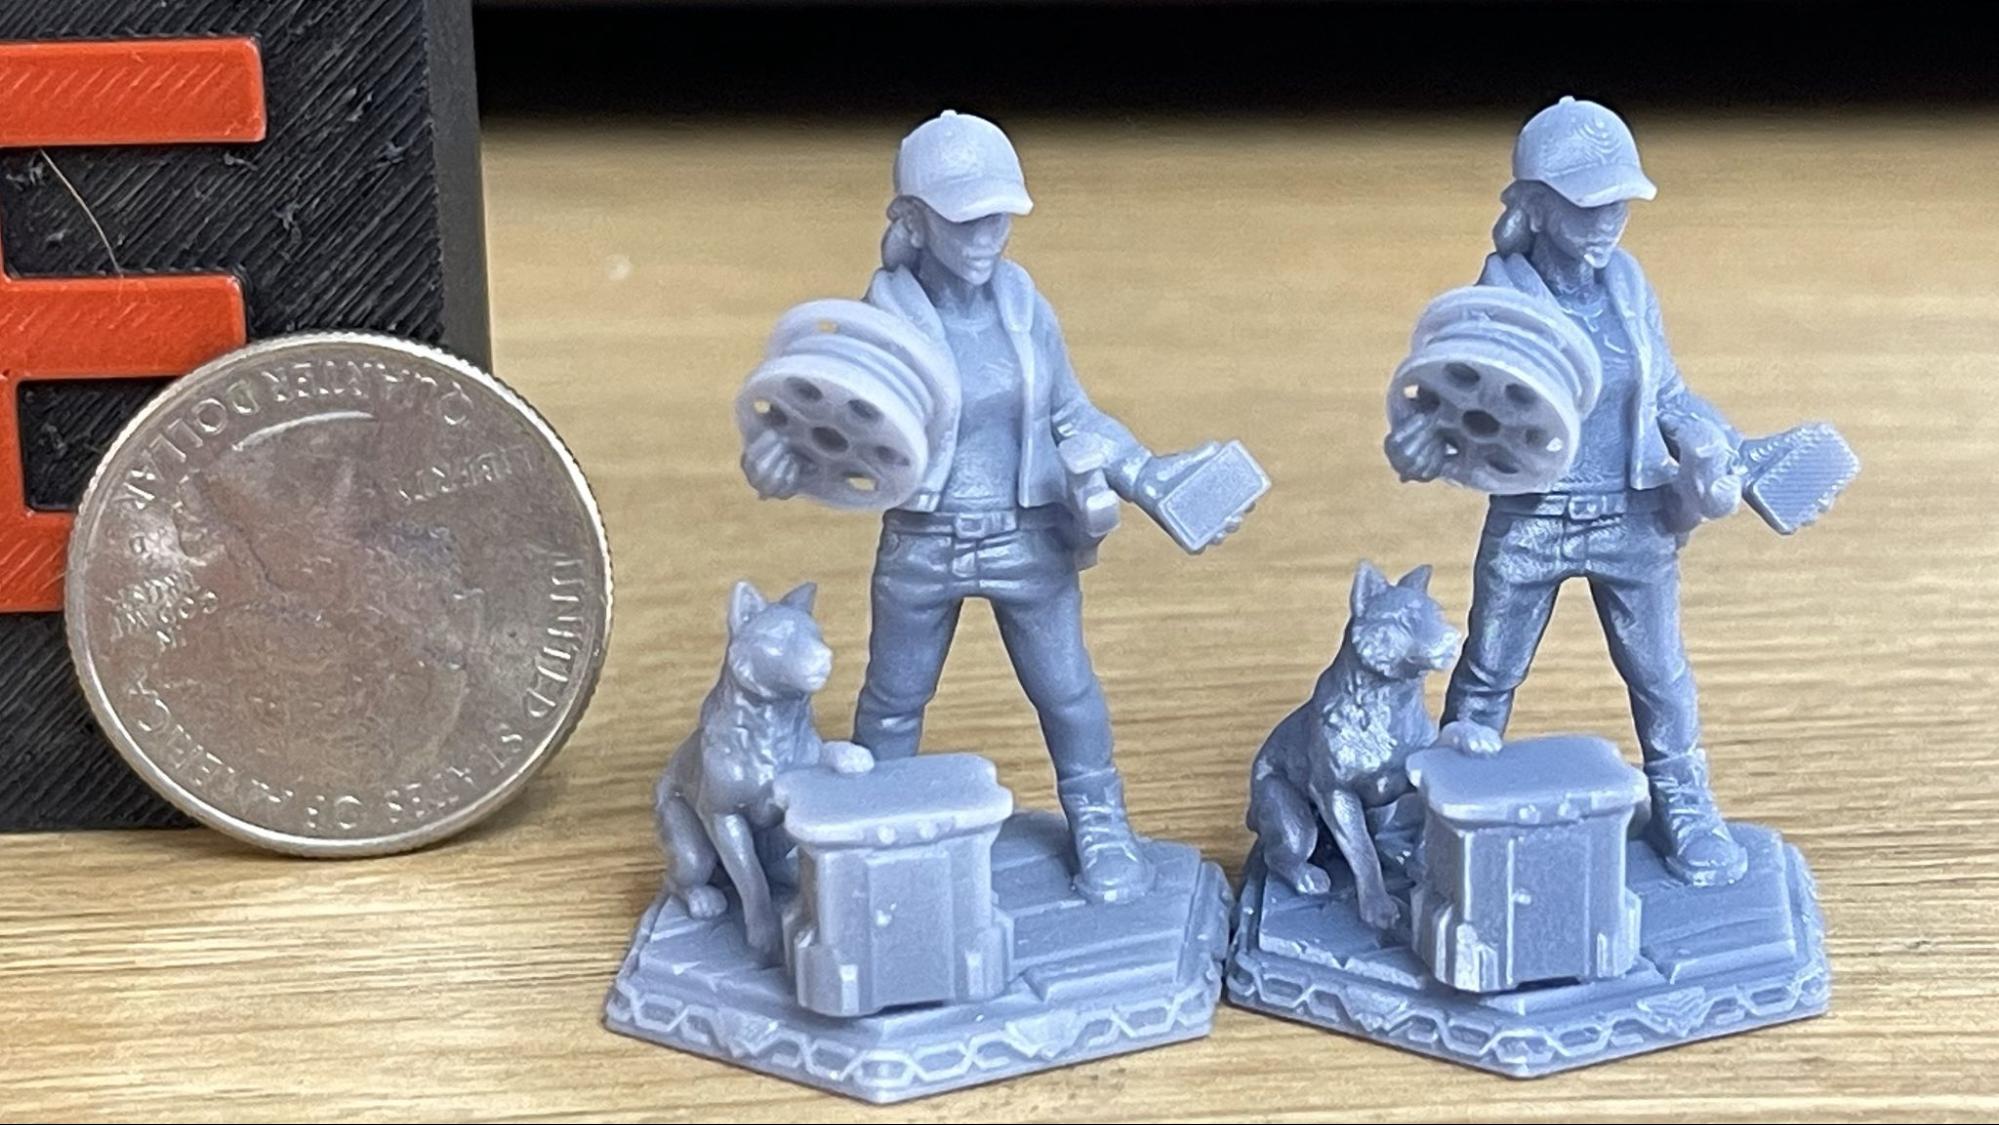
Resin printers are very popular with table-top gamers, so I purchased a couple custom figures from HeroForge to test out. These are printed at 100% and are 1/60 scale, standard for Dungeon and Dragons type miniatures, and stand 35mm tall.
The figure on the left is made with Anycubic’s Fast Resin and fast settings, and the one on the right is using Anycubic (normal) Bio Resin and Slow settings. The slow resin has just a tiny bit more detail, and when you zoom in this close, you can notice more layer lines. Oddly enough, the fast setting blurs the layers lines and looks cleaner.
I was surprised that printing in fast mode did not lose much detail at all. Let’s look at some more gaming figures. These HeroForge custom figures are also printed at 100%, and stand approximately 40mm tall. They are also a typical size for Dungeon and Dragons type miniatures. The level of detail is remarkably similar despite being printed in three different resins.
They are, from left to right:
Anycubic High Speed resin, Fast mode, .1mm layer, 19 minutes
Phrozen 8k Aqua, Fast Mode, .1mm layer, 25 minutes and 23 seconds
Phrozen 8K Aqua, Normal Mode, .05mm layer, 1 hour, 14 minutes, 3 seconds
Anycubic Bio, Normal Mode, .05mm layer, 1 hour, 14 minutes, 3 seconds
Overall, I think the Phrozen resin looks better because its flat finish looks crisper. Both Anycubic resins were translucent where the figure was thinner – at the dragon’s head and dog’s ears. Printing at top speed with fast resin only saved about three and half minutes compared to using a normal resin at fast speed. Printing these gaming miniatures at normal speed did not increase the quality by any noticeable amount.
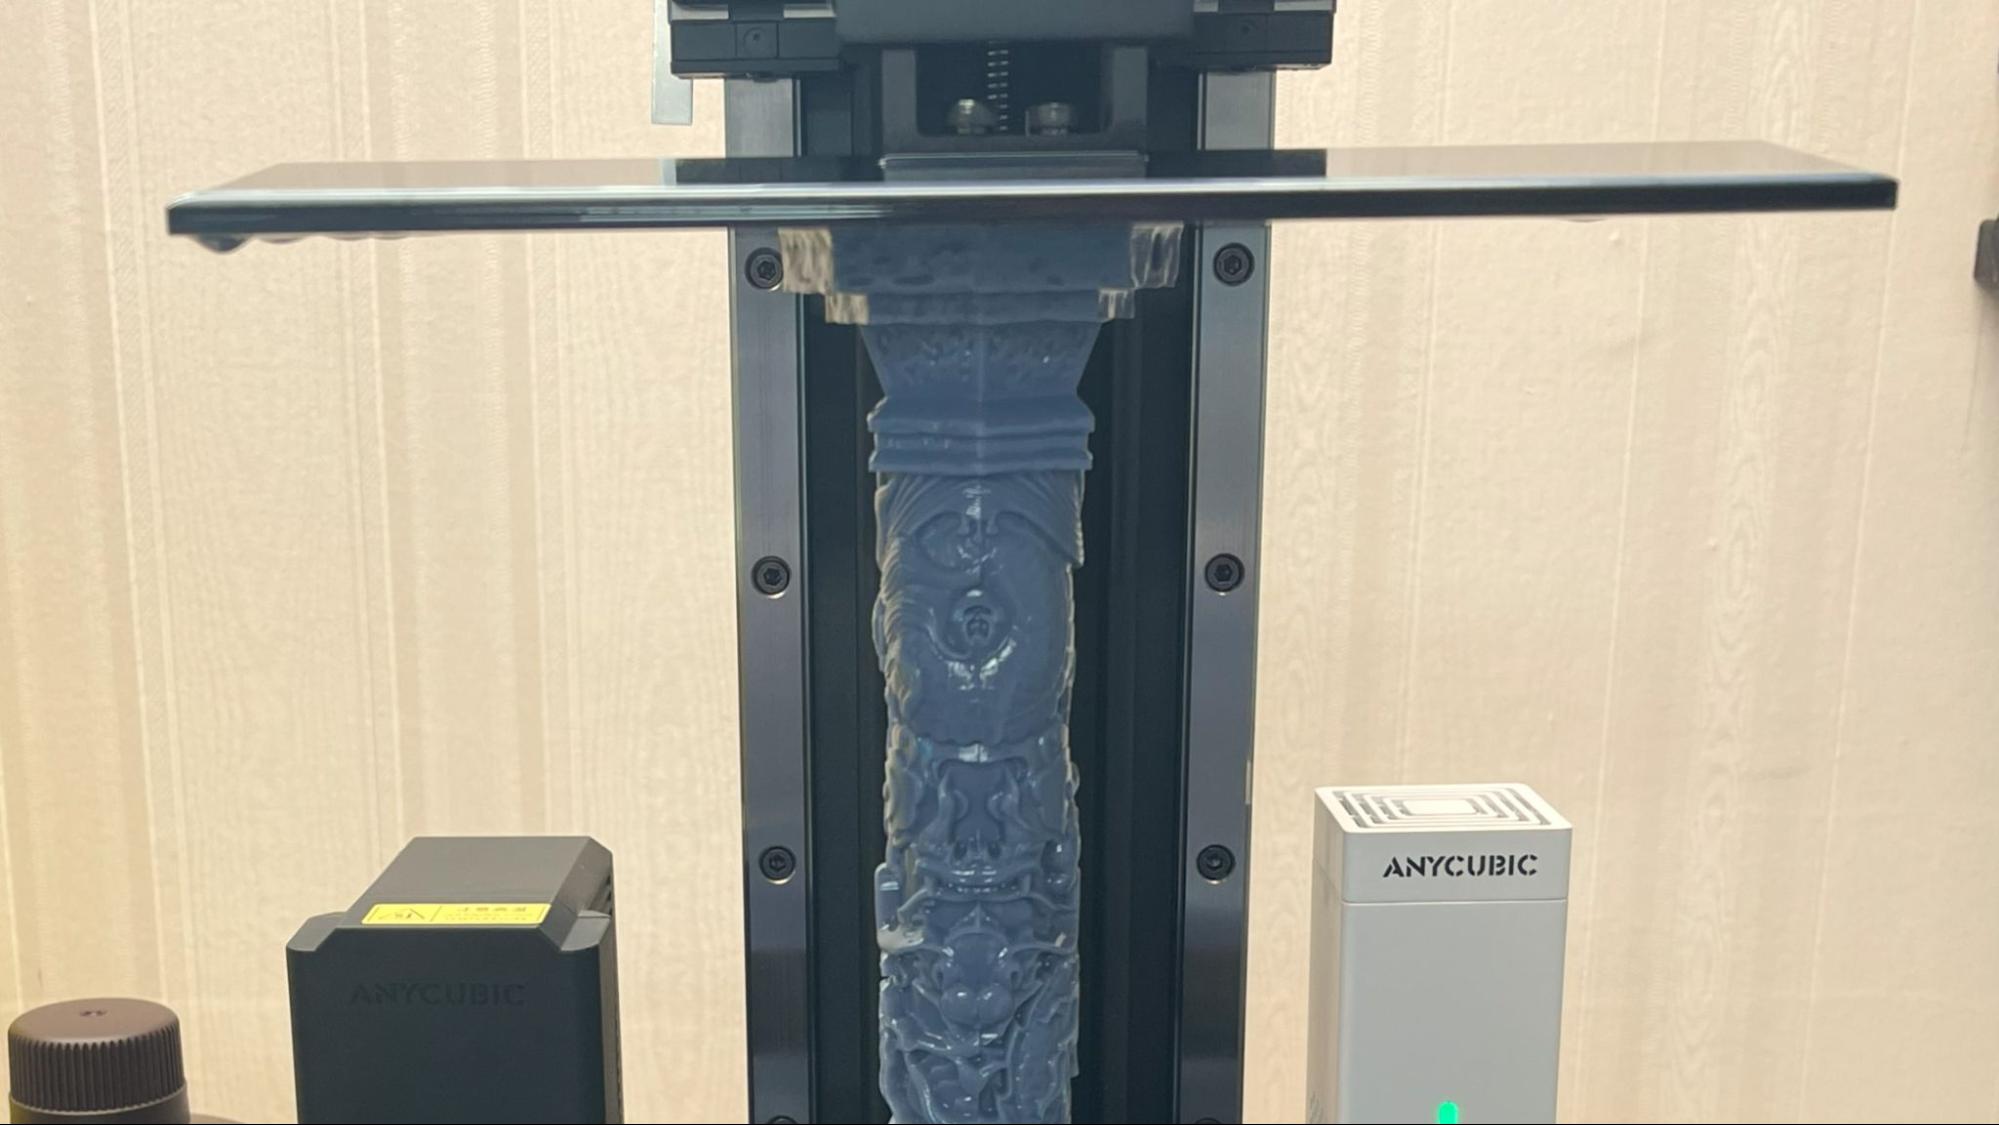
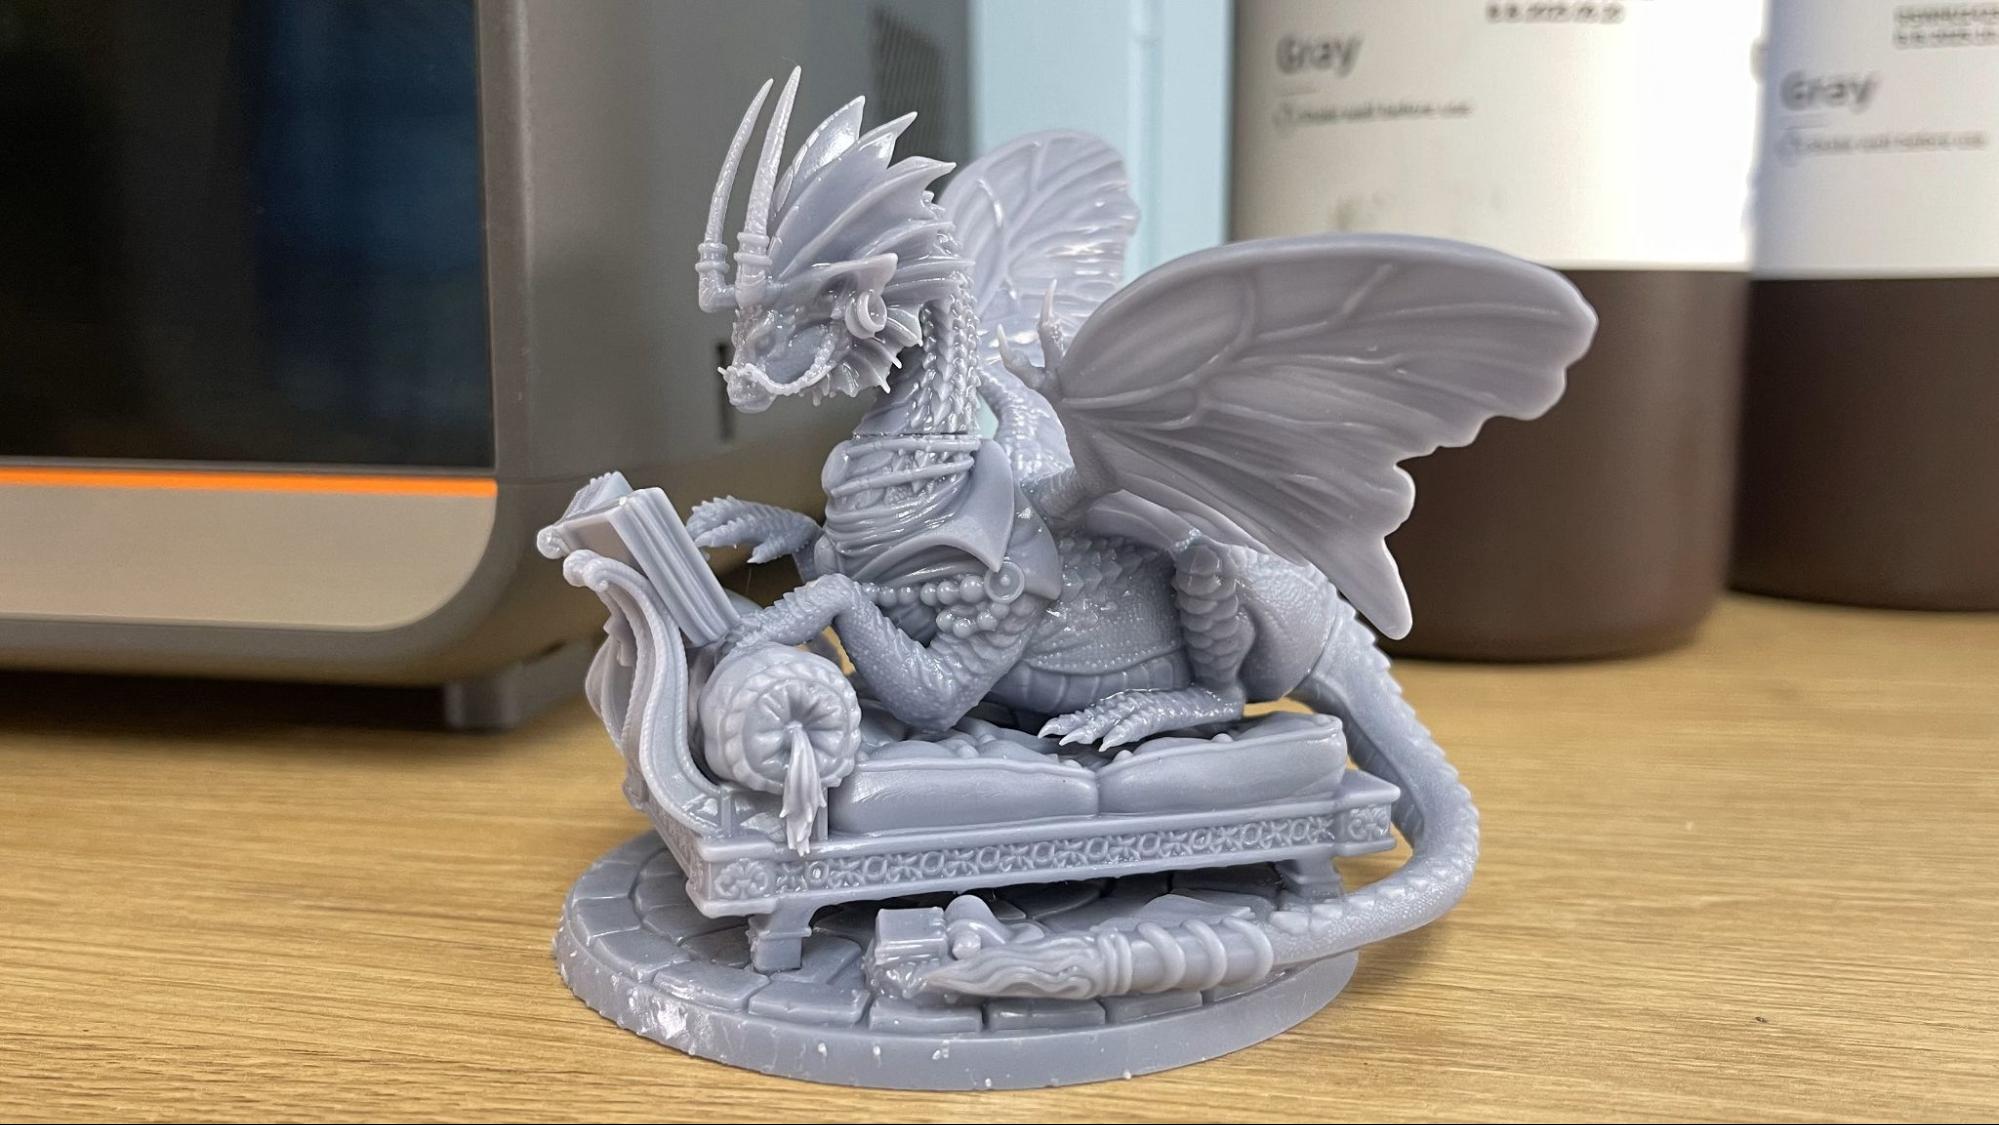
I also printed a complex dragon model from Dragon Trappers Lodge. This model was in several pieces and needed to be assembled with glue. It took only 35 minutes and 32 seconds to print using Anycubic’s fast resin with the fast settings. It’s remarkably detailed and delicate, and all seven pieces fit on the build plate. There are little spots from the supports, which can be sanded off without problem. Otherwise, this model is flawless.
Bottom Line
The Anycubic Photon Mono M7 Pro is freaky fast even when using normal resin and has no noticeable loss of detail when cranked up to max speed. At 16.8 x 24.8 microns of resolution, we’ve gone way past a level of detail you can truly appreciate with the naked eye. The machine is easy to use and packed with features – and even though the resin pump didn’t work on my test unit, I didn’t feel like I was missing out on anything. The heater makes the vat a bit awkward to handle while cleaning, but seems like an acceptable trade-off for this machine's speed.
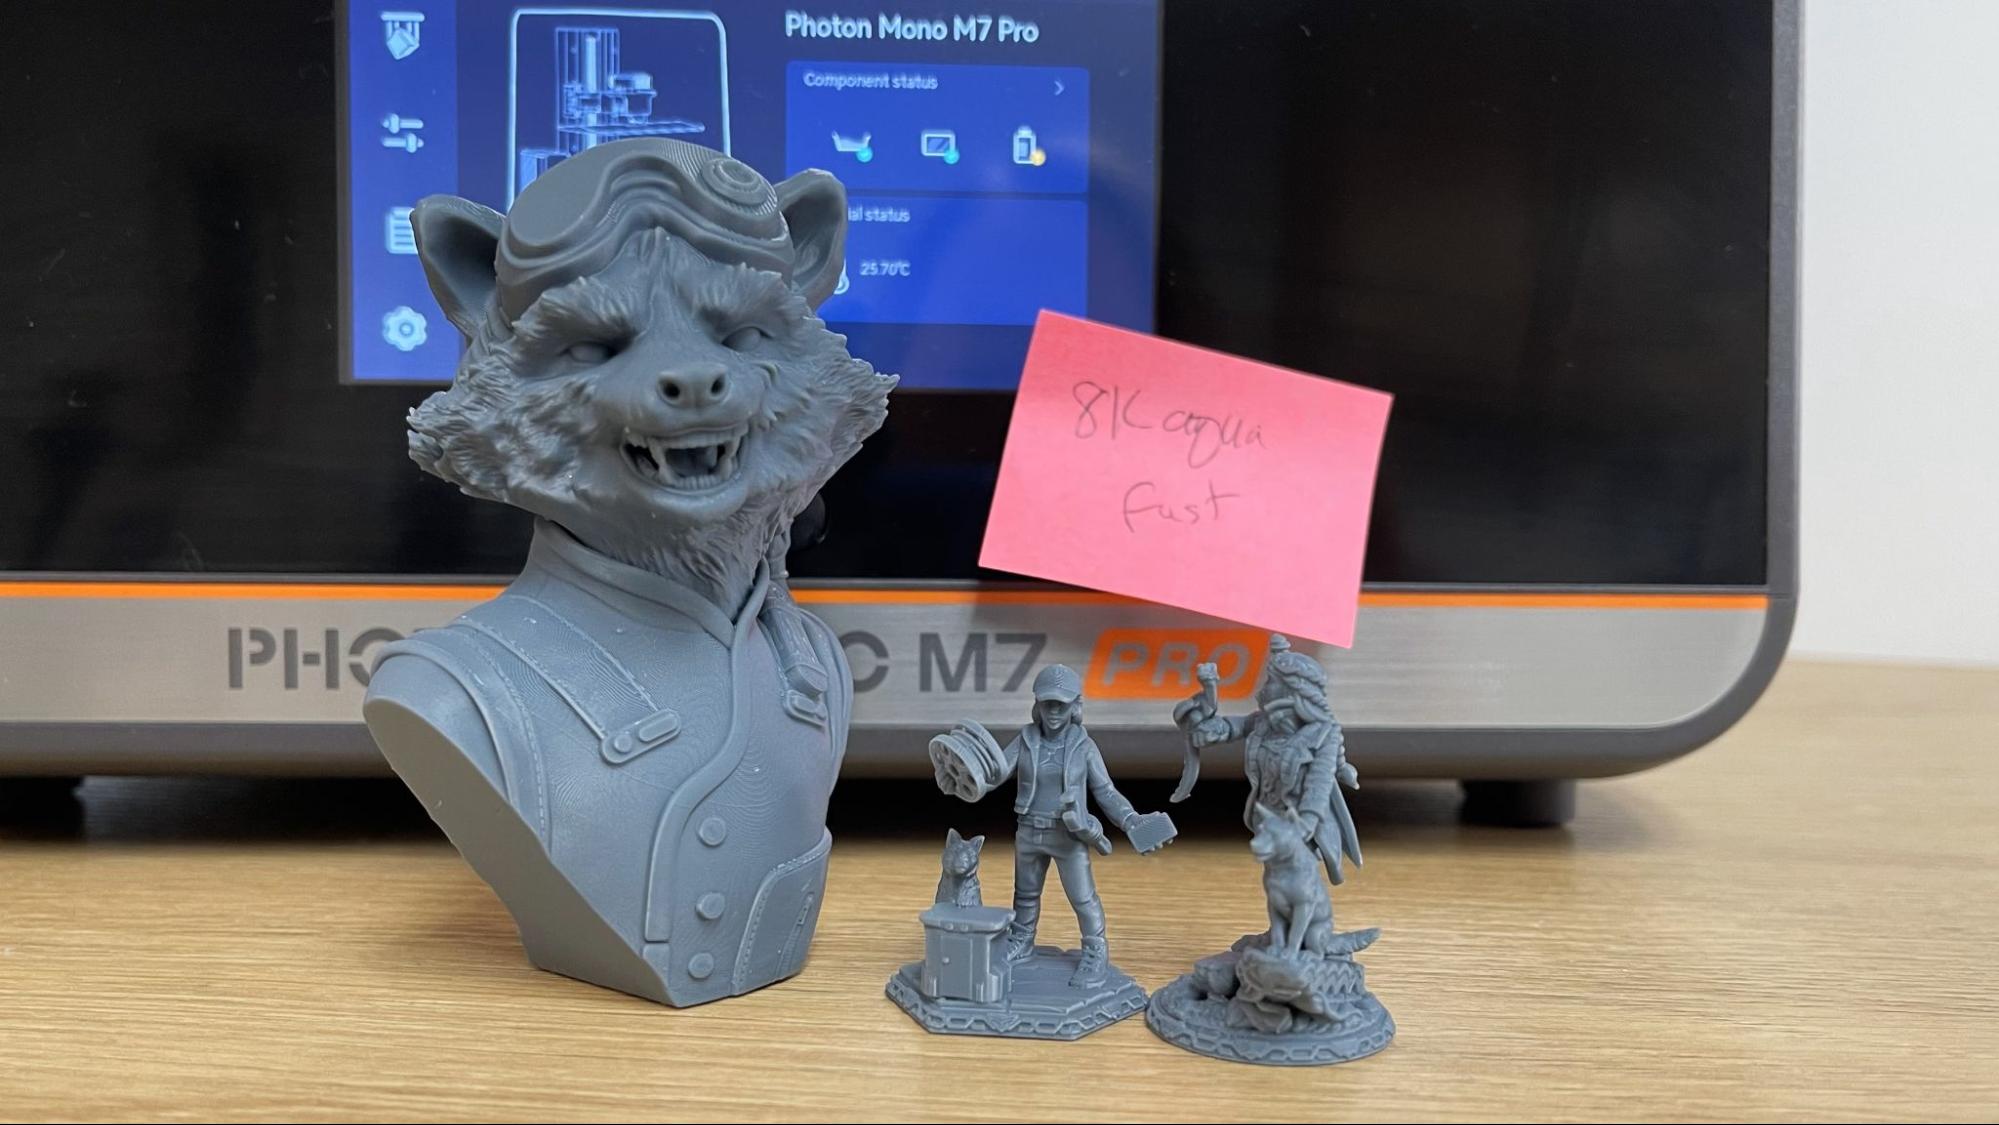
I went back and checked the last high-speed resin from Anycubic that I reviewed, which was the Mono M5s. It has similar features, but it took five hours to print the Rocket Raccoon test model in normal mode with a high-resolution resin. The M7 Pro cut that time in half taking 2 hours and 25 minutes to print the same model using similar resin and the same .05 layer height.
I’m very pleased that Anycubic is able to make a resin 3D printer that is superfast while using a release film that only costs $10 a sheet to replace and will last a good 45,000 impressions. If you’re printing miniatures, that means you can get at least 100 batches of prints from a single sheet of film.
Priced at $669 (and currently on sale for $549), the Anycubic Photon Mono M7 Pro is not exactly cheap for a resin printer. But you’re definitely getting some value for your money with all its stellar speed and smart features.
If you’re looking for a resin printer that delivers the same quality at a slower speed and cheaper price, check out our favorite medium-sized resin printer, the Anycubic Photon Mono X2, which is on sale for $179. That's a fantastic deal! You might also want to look at our pick for the best resin 3D printer for beginners, the Anycubic Photon Mono 2, which has dropped to $159.
MORE: Best 3D Printers
MORE: Best Budget 3D Printers
MORE: Best Resin 3D Printers

Denise Bertacchi is a Contributing Writer for Tom’s Hardware US, covering 3D printing. Denise has been crafting with PCs since she discovered Print Shop had clip art on her Apple IIe. She loves reviewing 3D printers because she can mix all her passions: printing, photography, and writing.
