Tom's Hardware Verdict
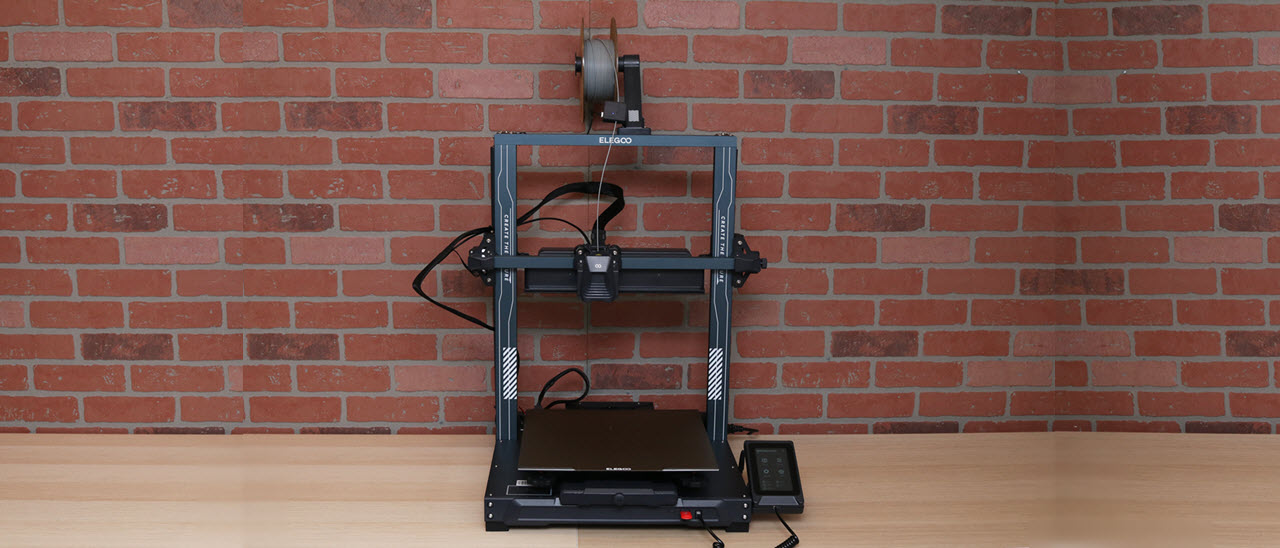
The Elegoo Neptune 4 Plus takes the previous generation Neptune 3 Plus and brings it to the next level with high speed capabilities, integrated Wi-Fi, and exciting Klipper features.
Pros
- +
400W PSU for rapid nozzle and bed heating
- +
Integrated Wi-Fi
- +
Powerful part cooling fan module
- +
Silent stepper drivers
- +
5.2:1 dual gear direct drive extruder
- +
Klipper firmware
Cons
- -
Custom nozzle size currently not available
- -
Semi-automated leveling system lags behind comparable machines
Why you can trust Tom's Hardware
The Elegoo Neptune 4 Plus cuts through the crowded market of desktop 3D printers by offering a jaw-dropping list of features while keeping the price at a budget-friendly $350. The Neptune 4 Plus may look similar to the previous generation Elegoo Neptune 3 Plus, but it’s a worthy successor that brings many new features to the table while keeping the price the same.
Sitting between the smaller Neptune 4 Pro and the larger Neptune 4 Max, the Elegoo Neptune 4 Plus offers the best compromise between size, speed, and price that we’ve ever seen in a desktop filament 3D printer. With a 320 x 320 x 385 mm build volume, a brand new part cooling fan assembly, Klipper firmware, dual gear 5.2:1 direct drive extruder, sensorless homing, and much, much more, the Neptune 4 Plus is a clear addition to our list of the best 3D printers.
Specifications of Elegoo Neptune 4 Plus
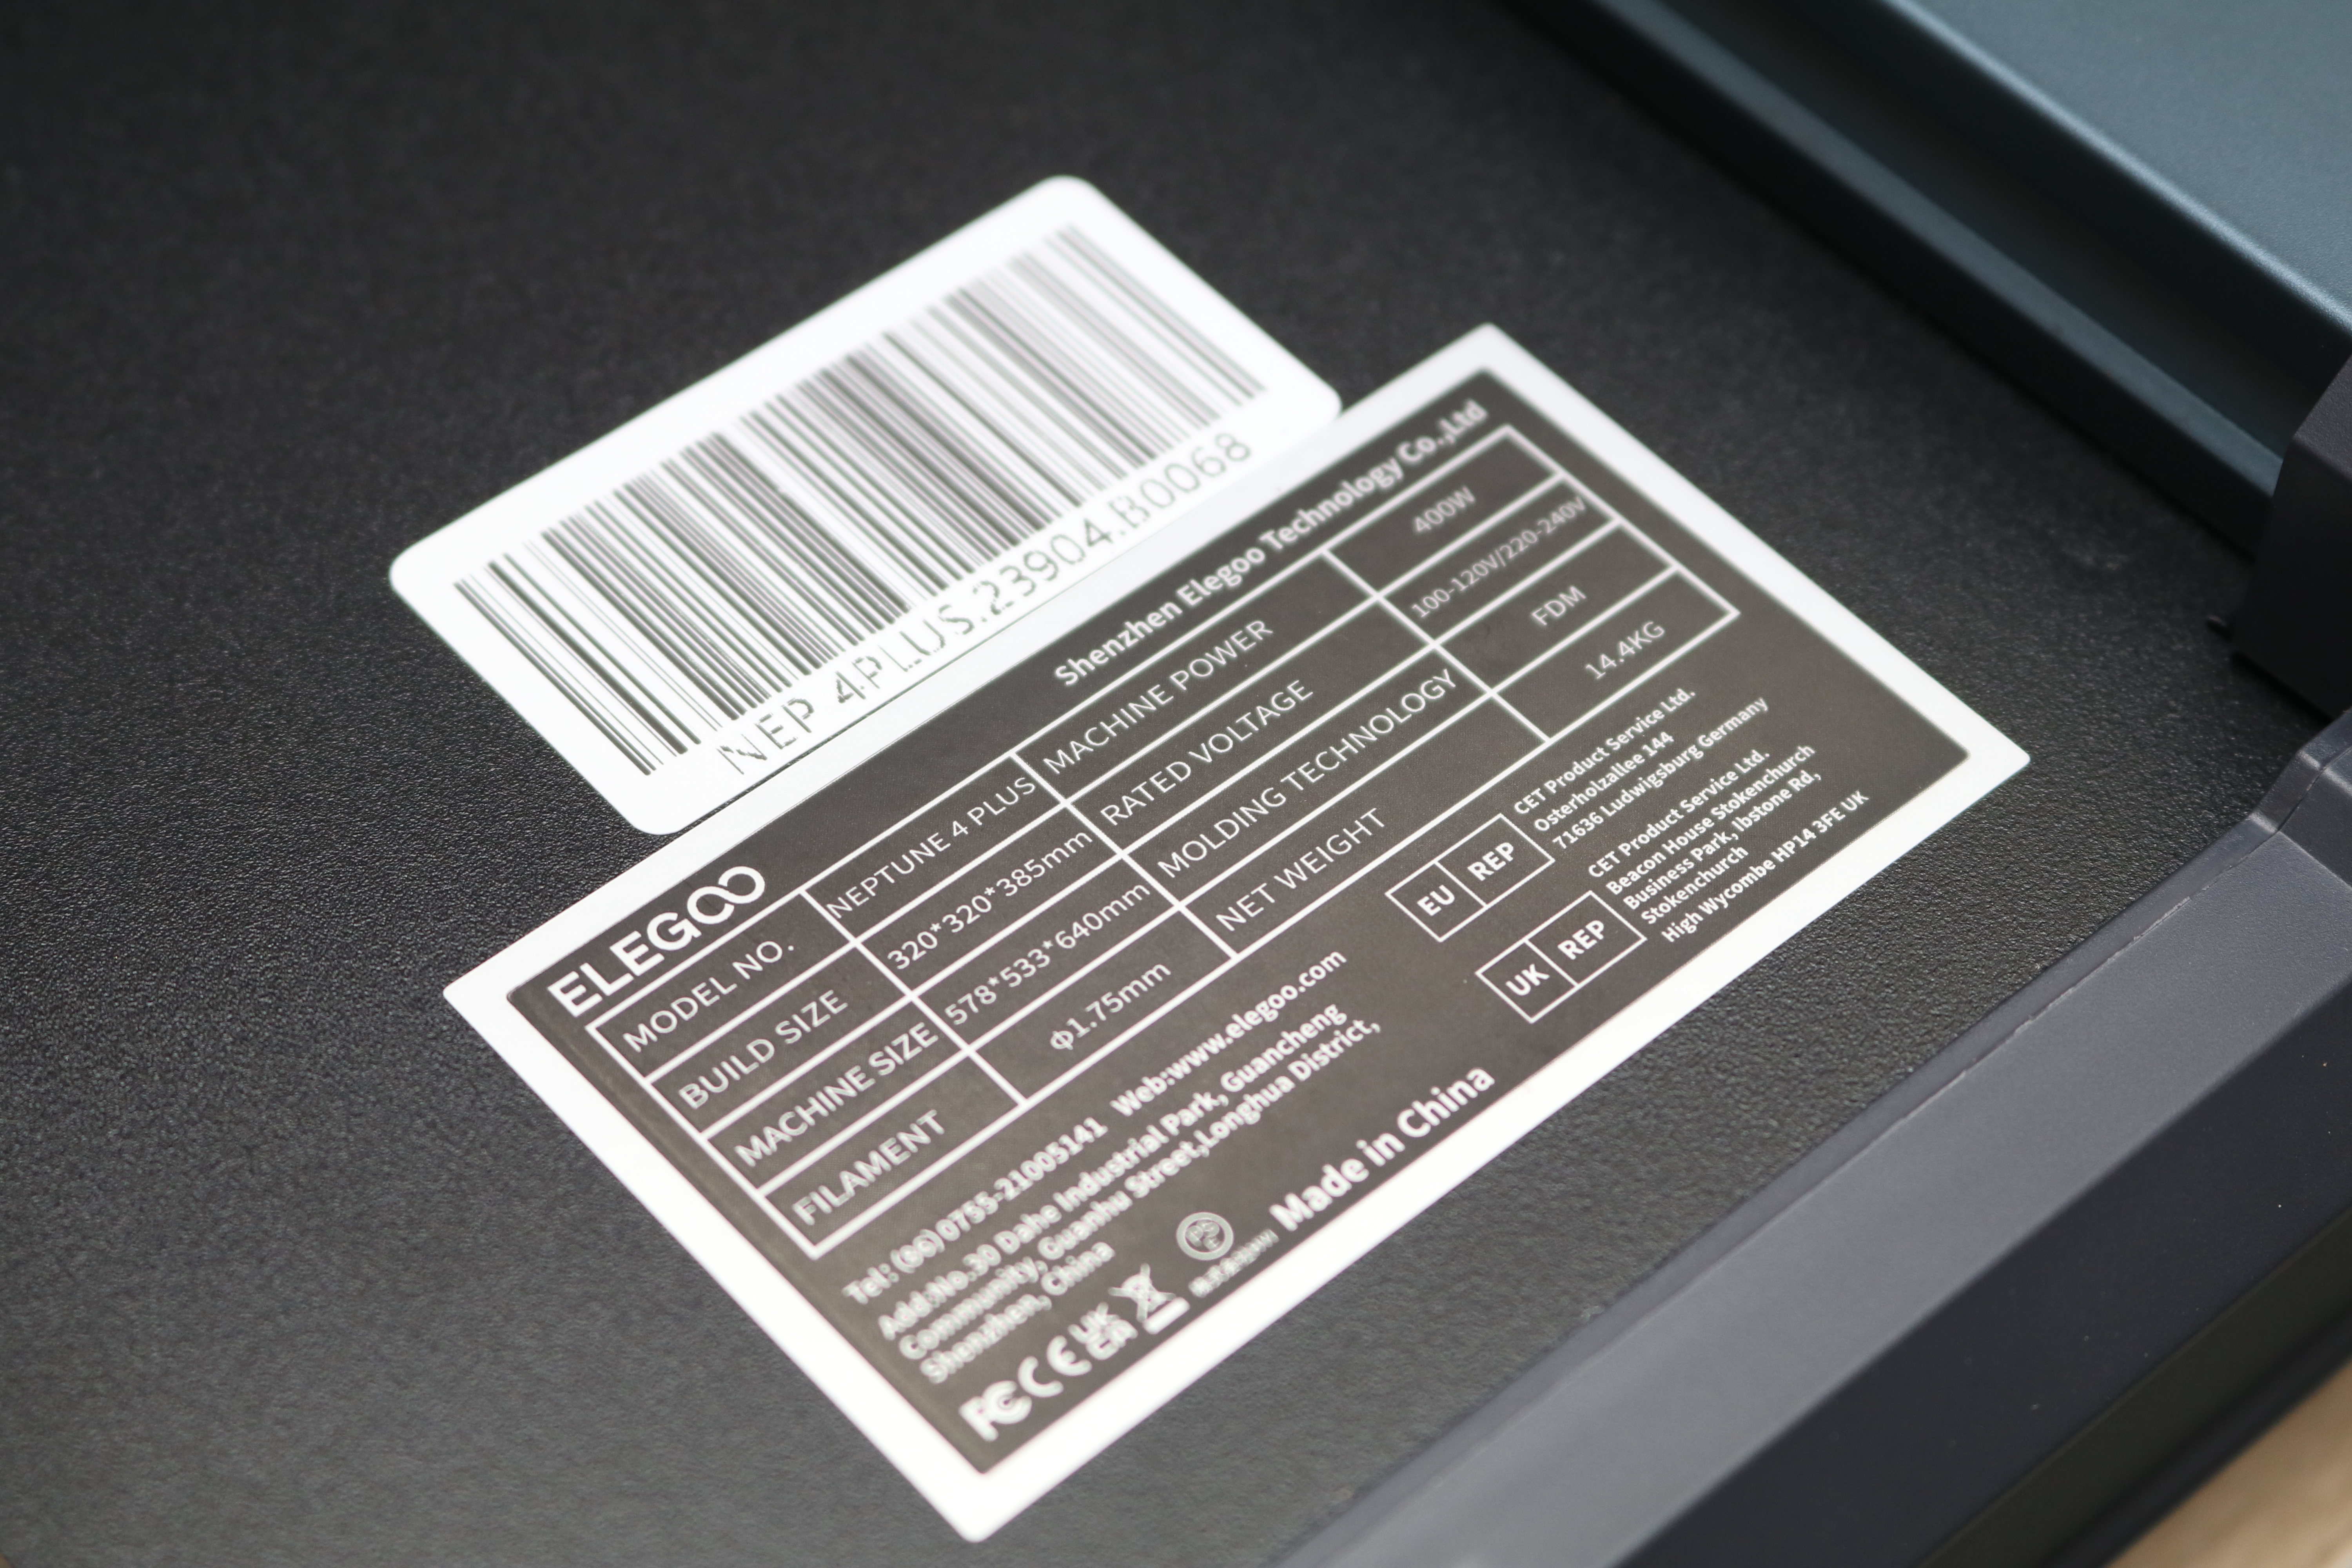
| Machine Footprint | 20.98 x 20.35 x 25.19 inches (533mm x 517mm x 638mm) |
| Build Volume | 12.6 x 12.6 x 15.16 inches (320mm x 320mm x 385mm) |
| Material | 1.75mm PLA, PLA+, TPU, PETG, Nylon, ABS |
| Power Supply | 400W |
| Bed Leveling | 121-Point Automatic Mesh Leveling |
| Nozzle | .4mm |
| Max. Nozzle Temperature | 300°C / 527°F |
| Max. Bed Temperature | 110°C / 230°F |
| Printing Speed | 30-500mm/s (Suggested Speed: 250mm/s) |
| Build Platform | Magnetic Flexible Removable PEI Platform |
| Connectivity | USB, microSD, Wi-Fi |
| Interface | 4.3-inch Color Touchscreen LCD |
Unpacking and Assembling the Elegoo Neptune 4 Plus
The Elegoo Neptune 4 Plus ships with a full set of tools and accessories for printing including a USB cable, zip-ties, Allen keys, and other components used in the assembly. The motors, threaded rods, and wiring harnesses are already assembled and attached and the printer is as close to assembled as it can be while still shipping in a package that’s only 10 inches thick.
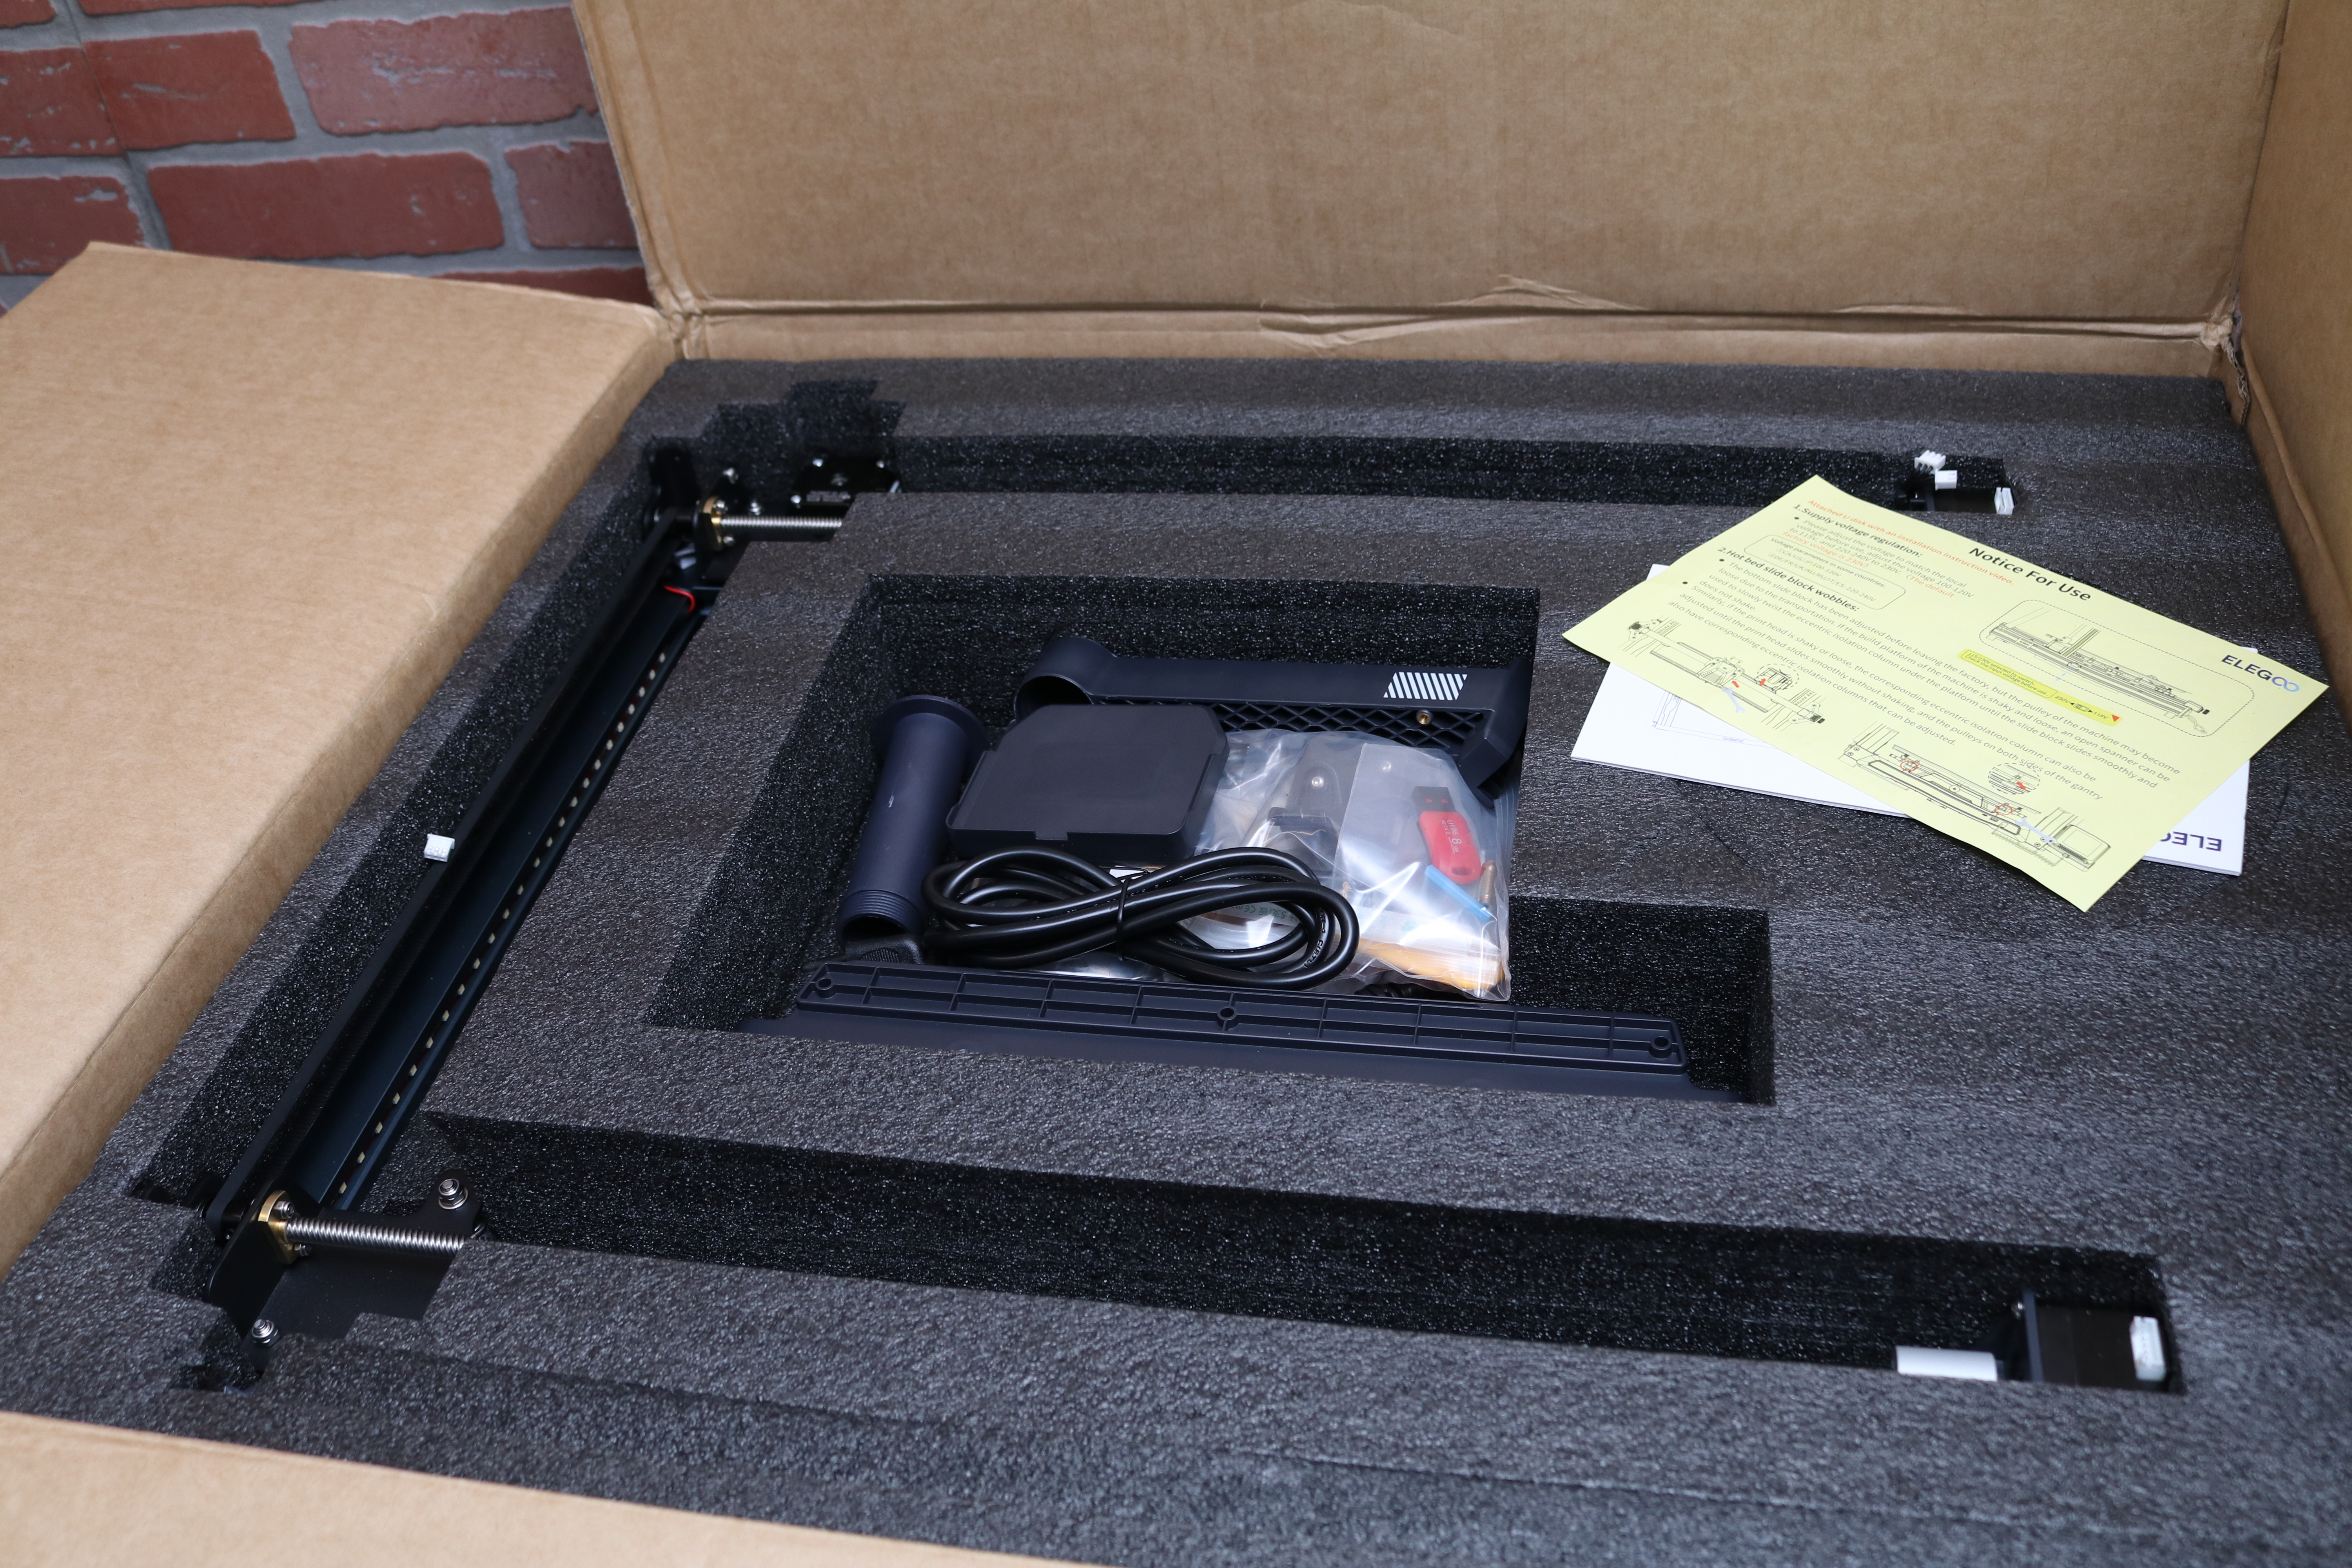
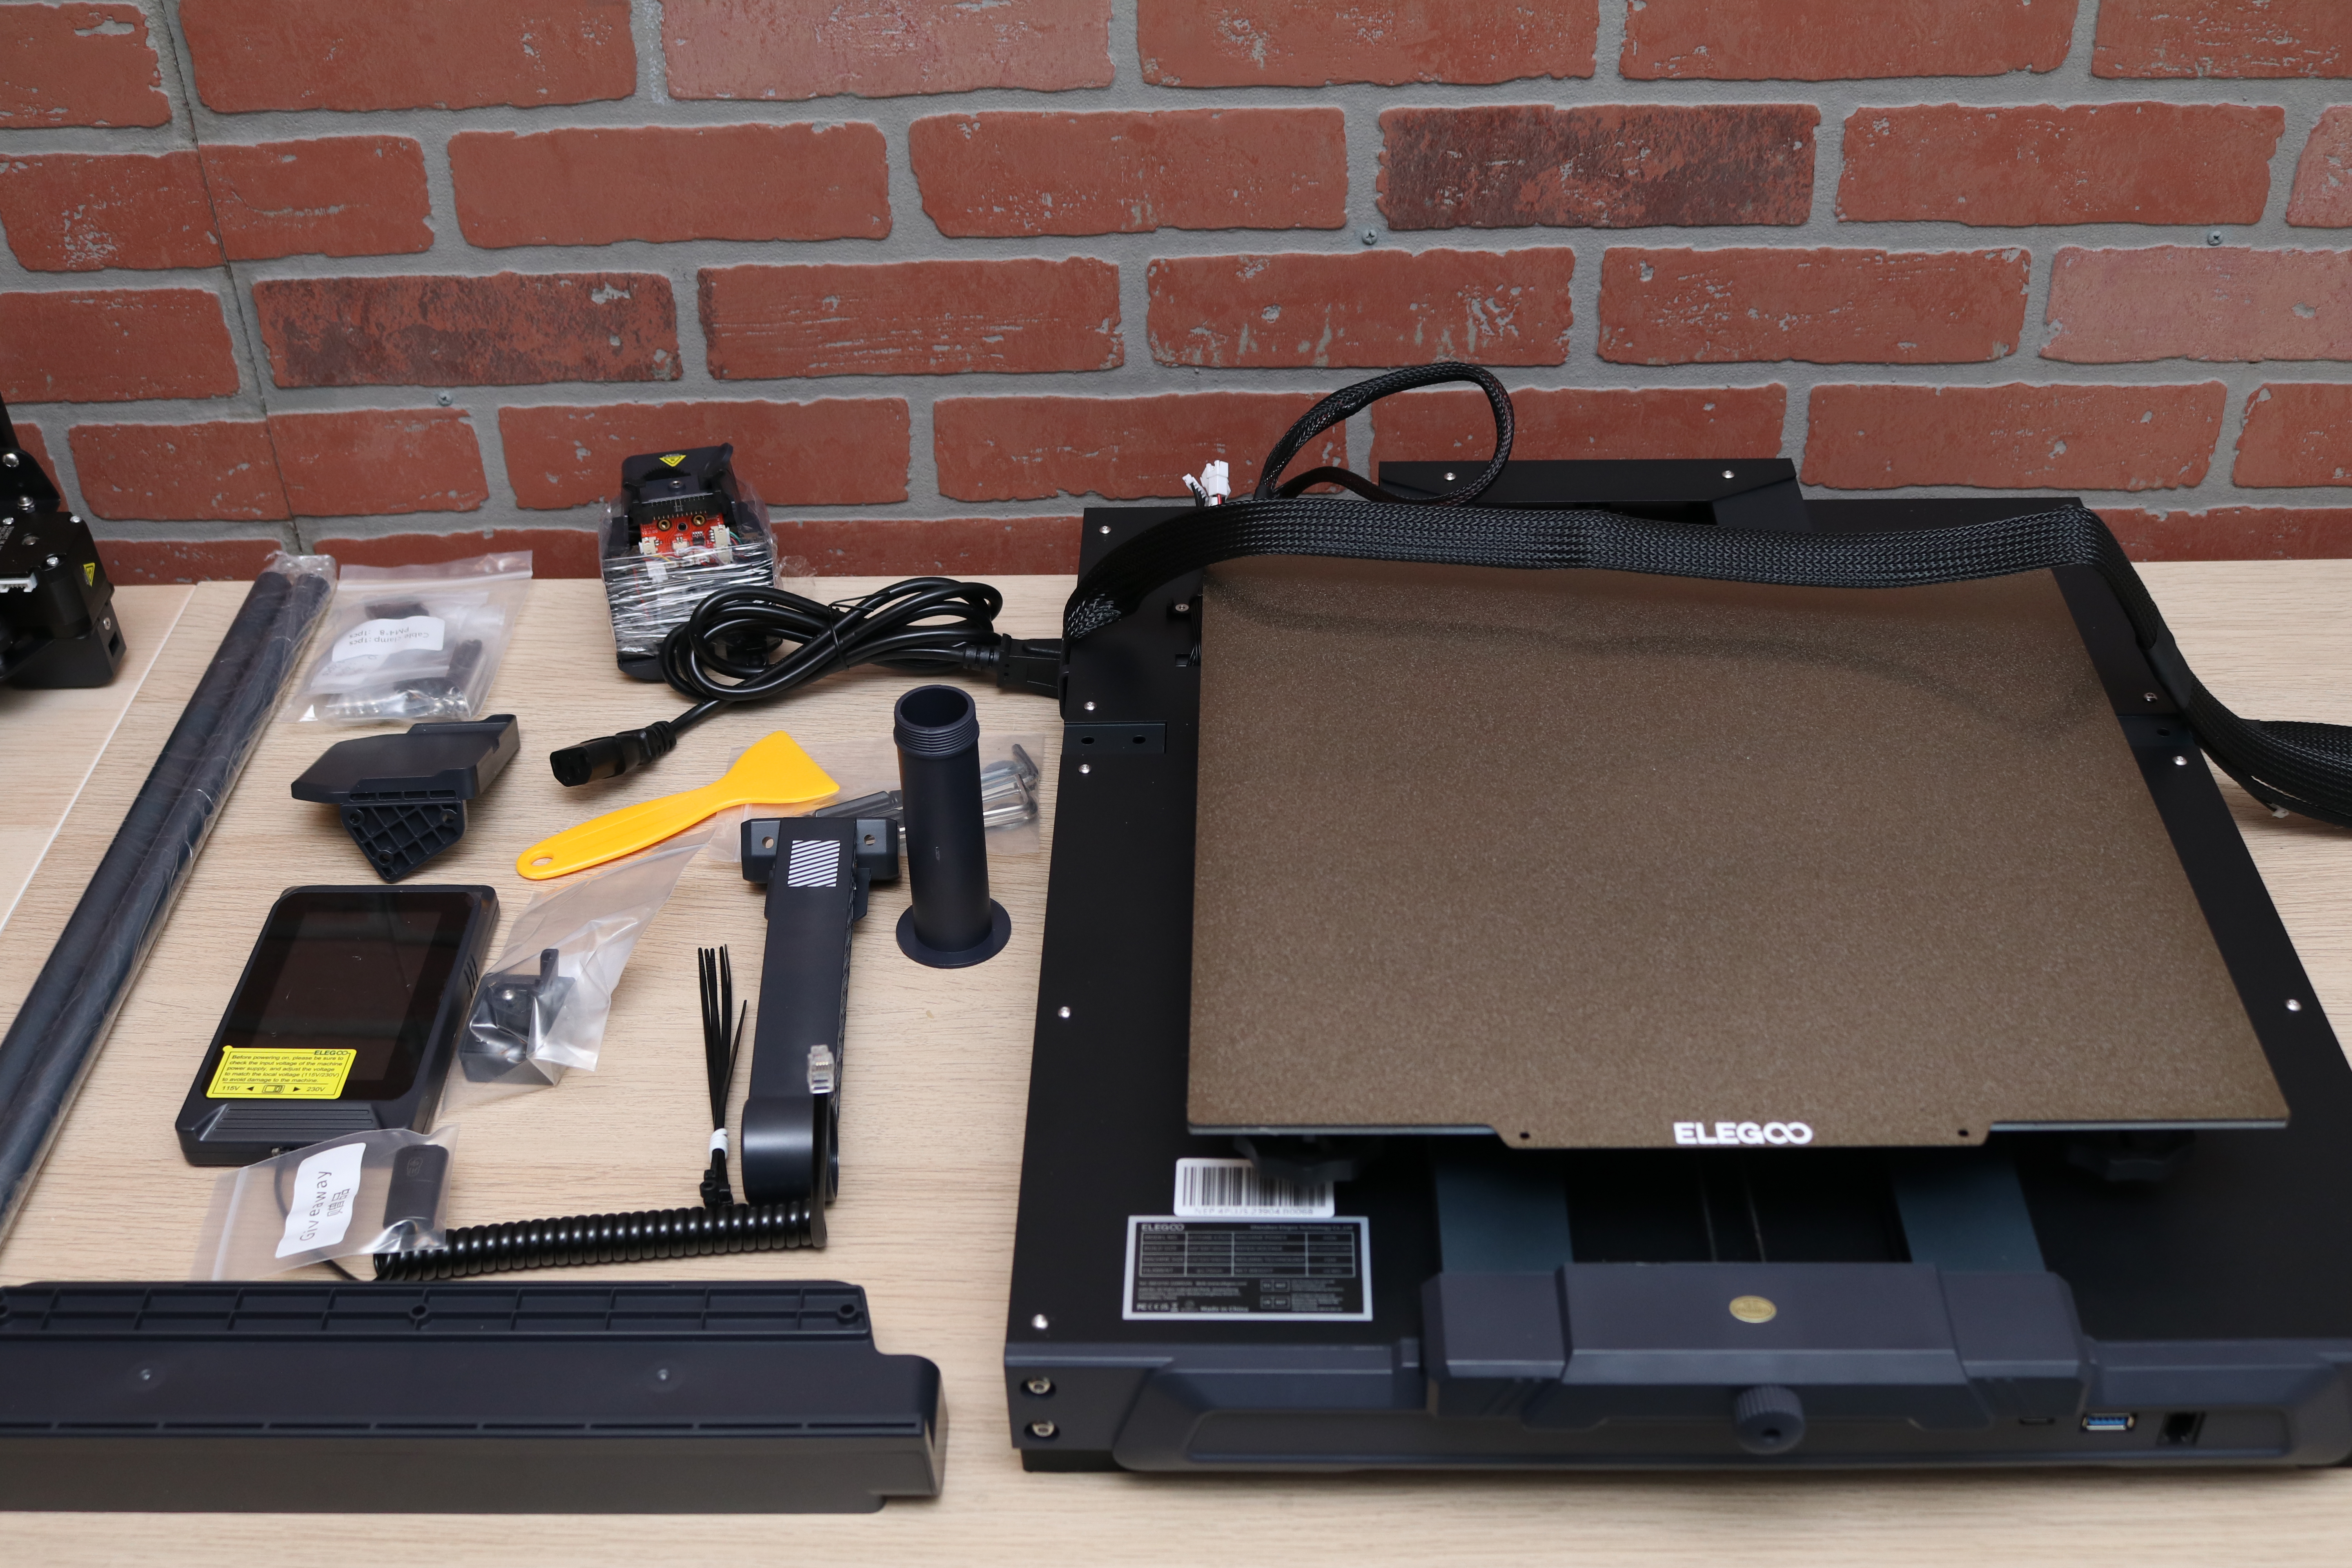
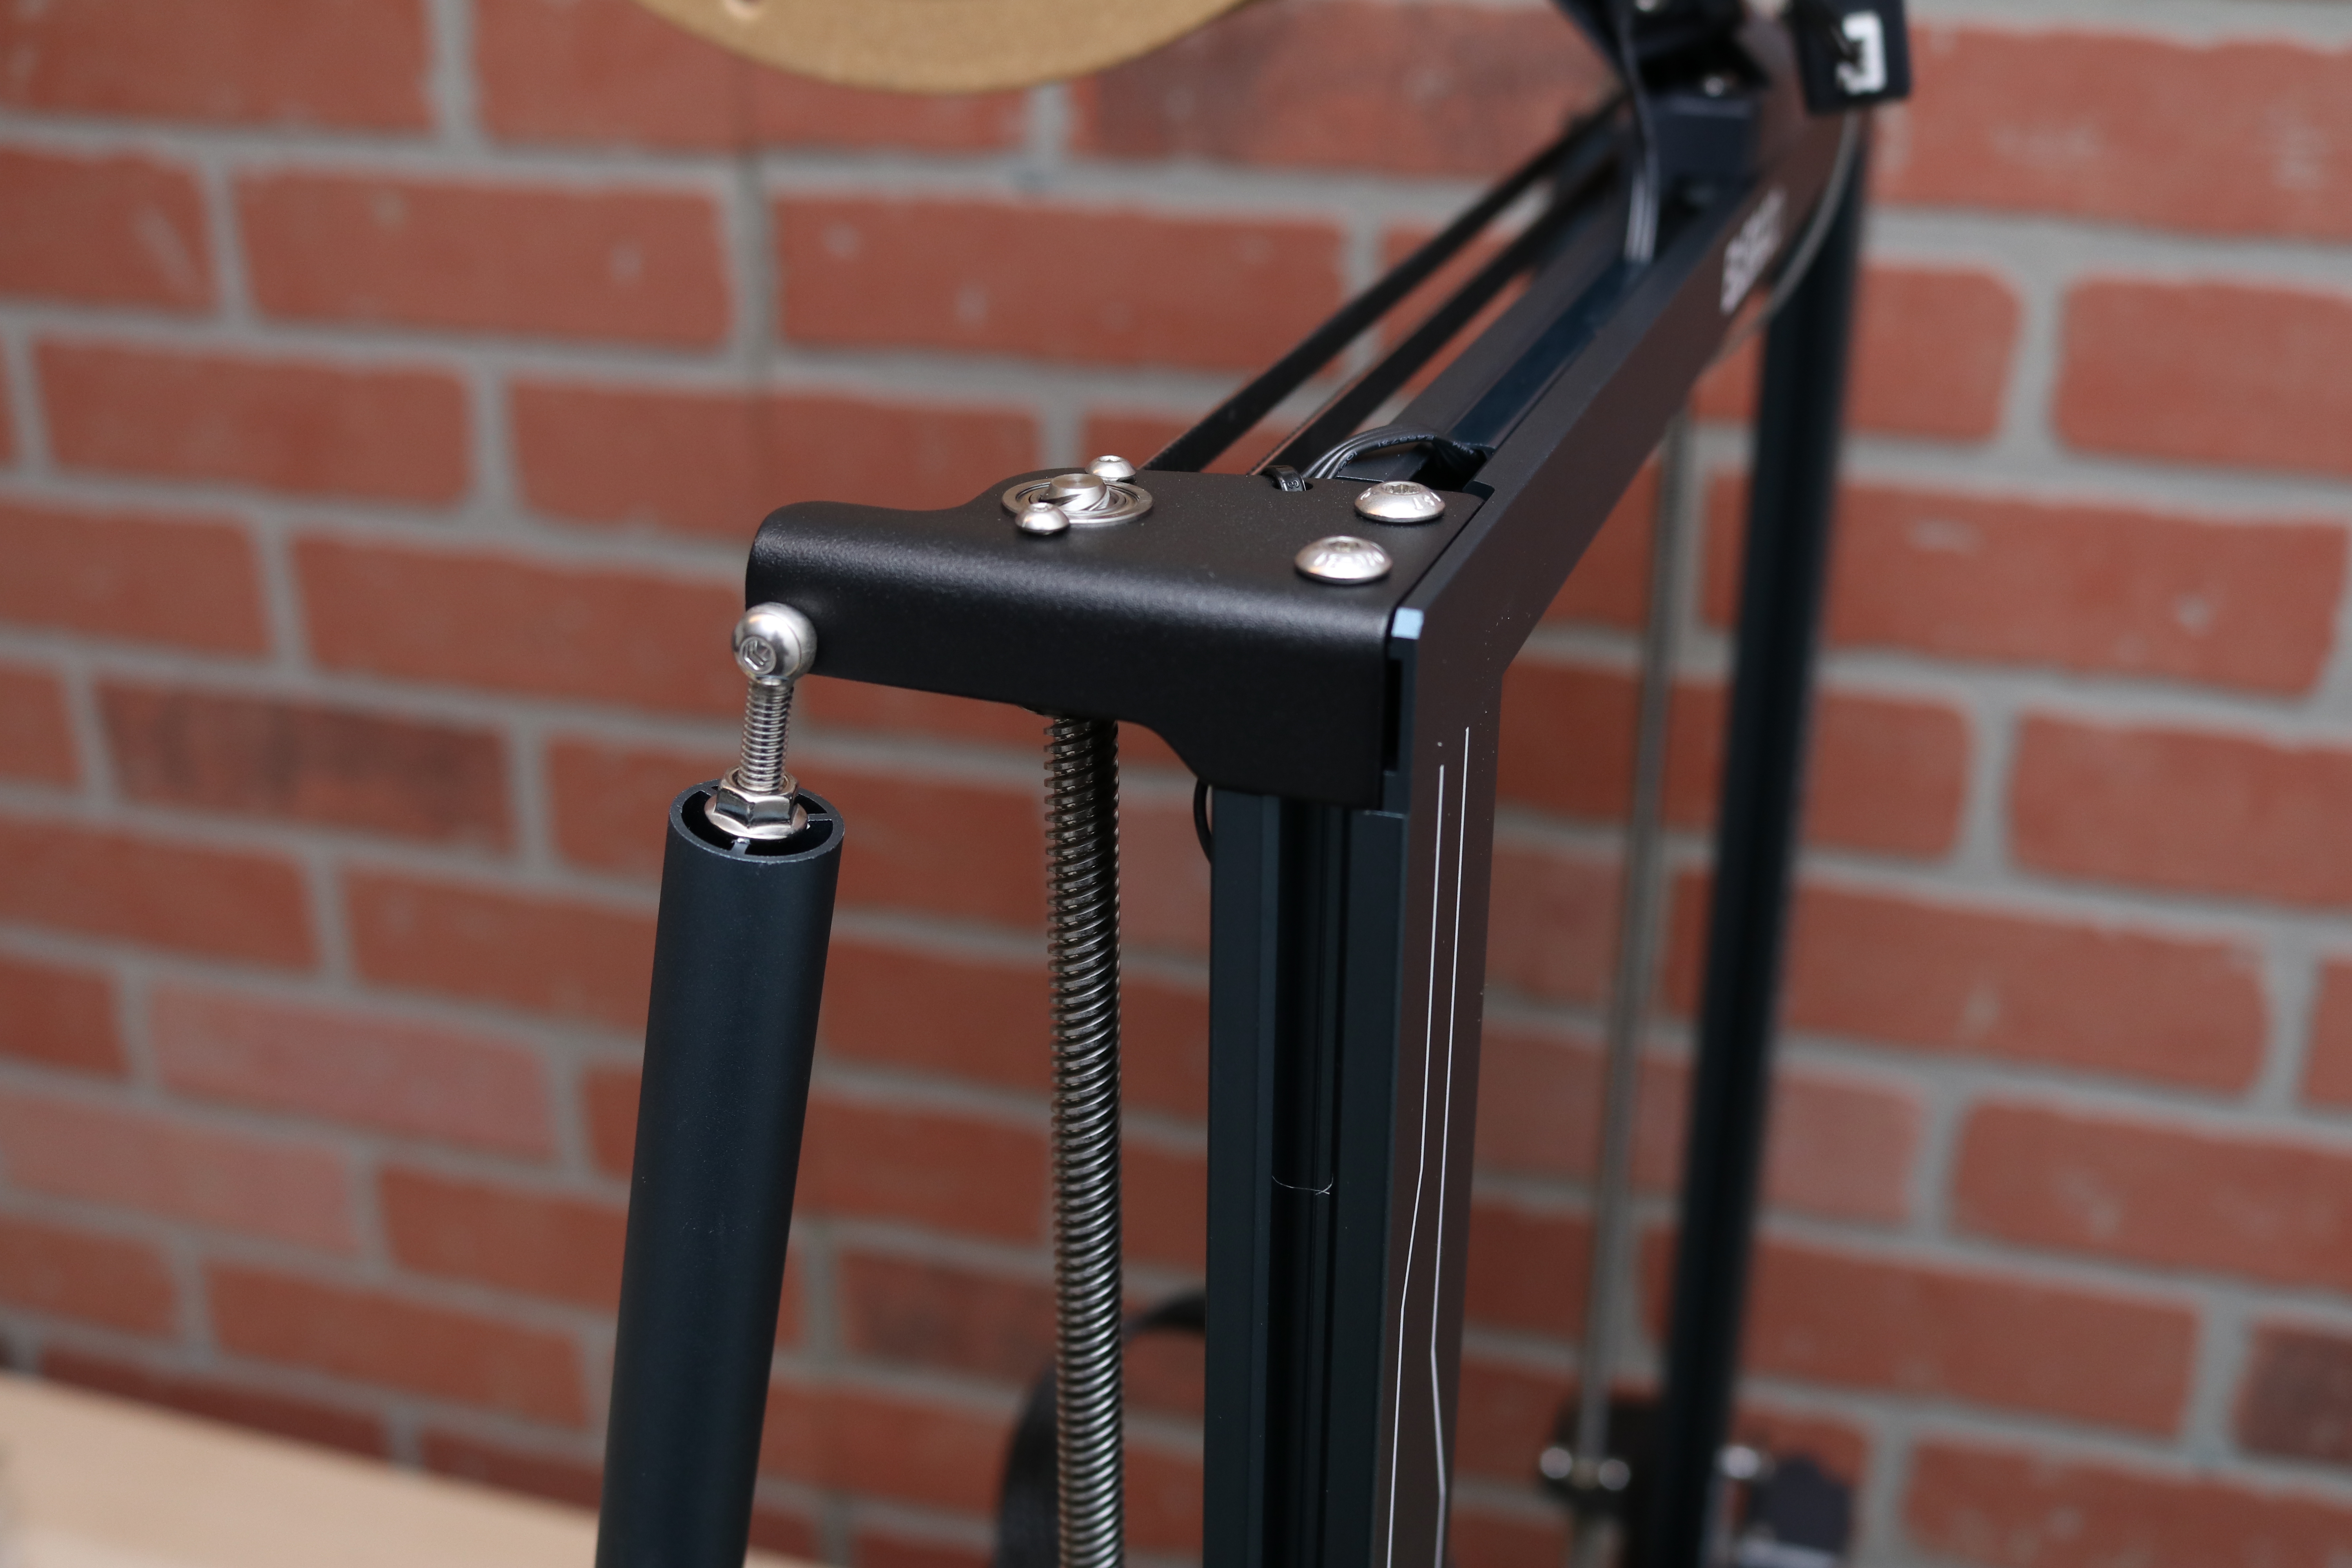
The Neptune 4 Plus uses a pair of stabilizing rods that attach to the top of the Z-axis frame and run all the way down to the base of the printer. These rods add stability to the frame during taller prints and keep the motion system rigid even when extending to the top of the build volume. It’s not a difficult assembly, but between bolting the frame to the base and attaching the stabilizing rods, an extra set of hands will make this process a much easier one.
Design of Elegoo Neptune 4 Plus
From across a room, the Elegoo Neptune 3 Plus and the Neptune 4 Plus would be difficult to tell apart, and it’s not until getting them side-by-side that the differences become more apparent. The part cooling mounted to the rear of the X-axis is the primary distinguishing characteristic; the printers look identical otherwise.
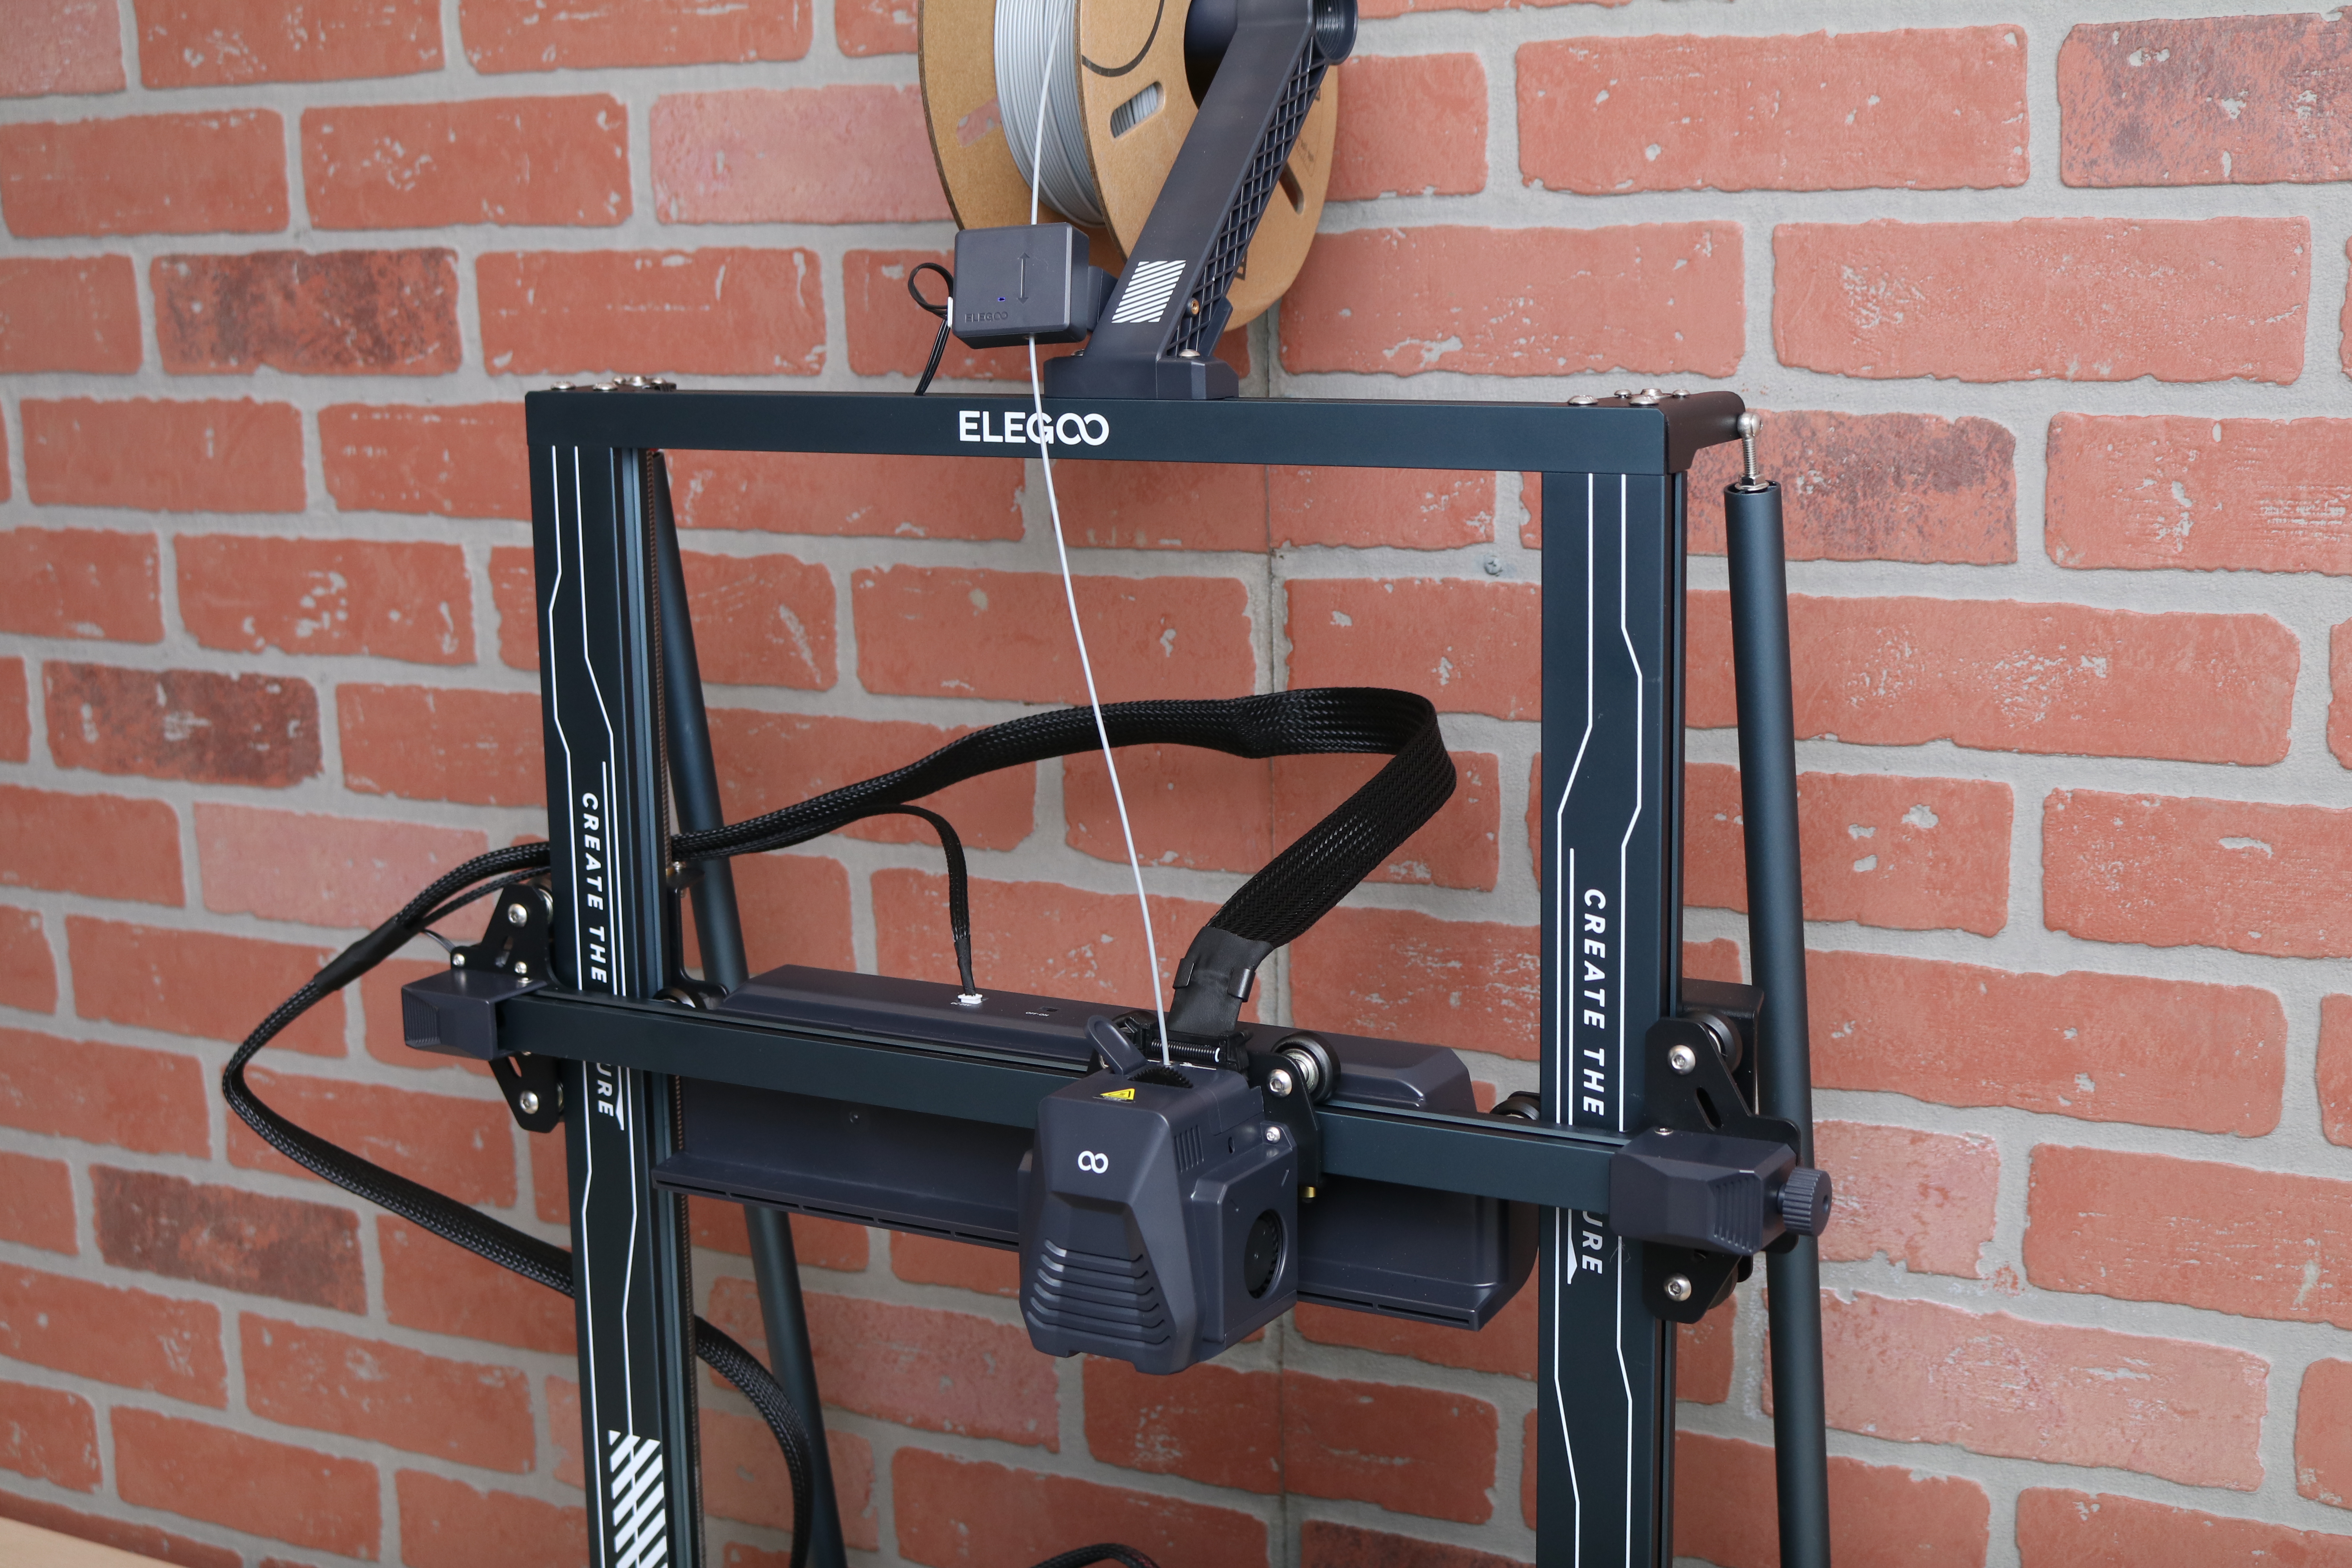
The Z-axis uses dual lead screws with a synchronizing belt, and there are a pair of stabilizing bars that give the Z-axis frame additional stability when making tall prints. The total available Z height is 385mm, a slight decrease from the 400mm build height featured on the previous Neptune 3 Plus.
The frame bolts to the base with only a few electrical connections before the printer is totally assembled and ready for printing. The filament run-out sensor is bolted to the top aluminum extrusion, and filament passes straight through to the direct drive extruder module.
Get Tom's Hardware's best news and in-depth reviews, straight to your inbox.
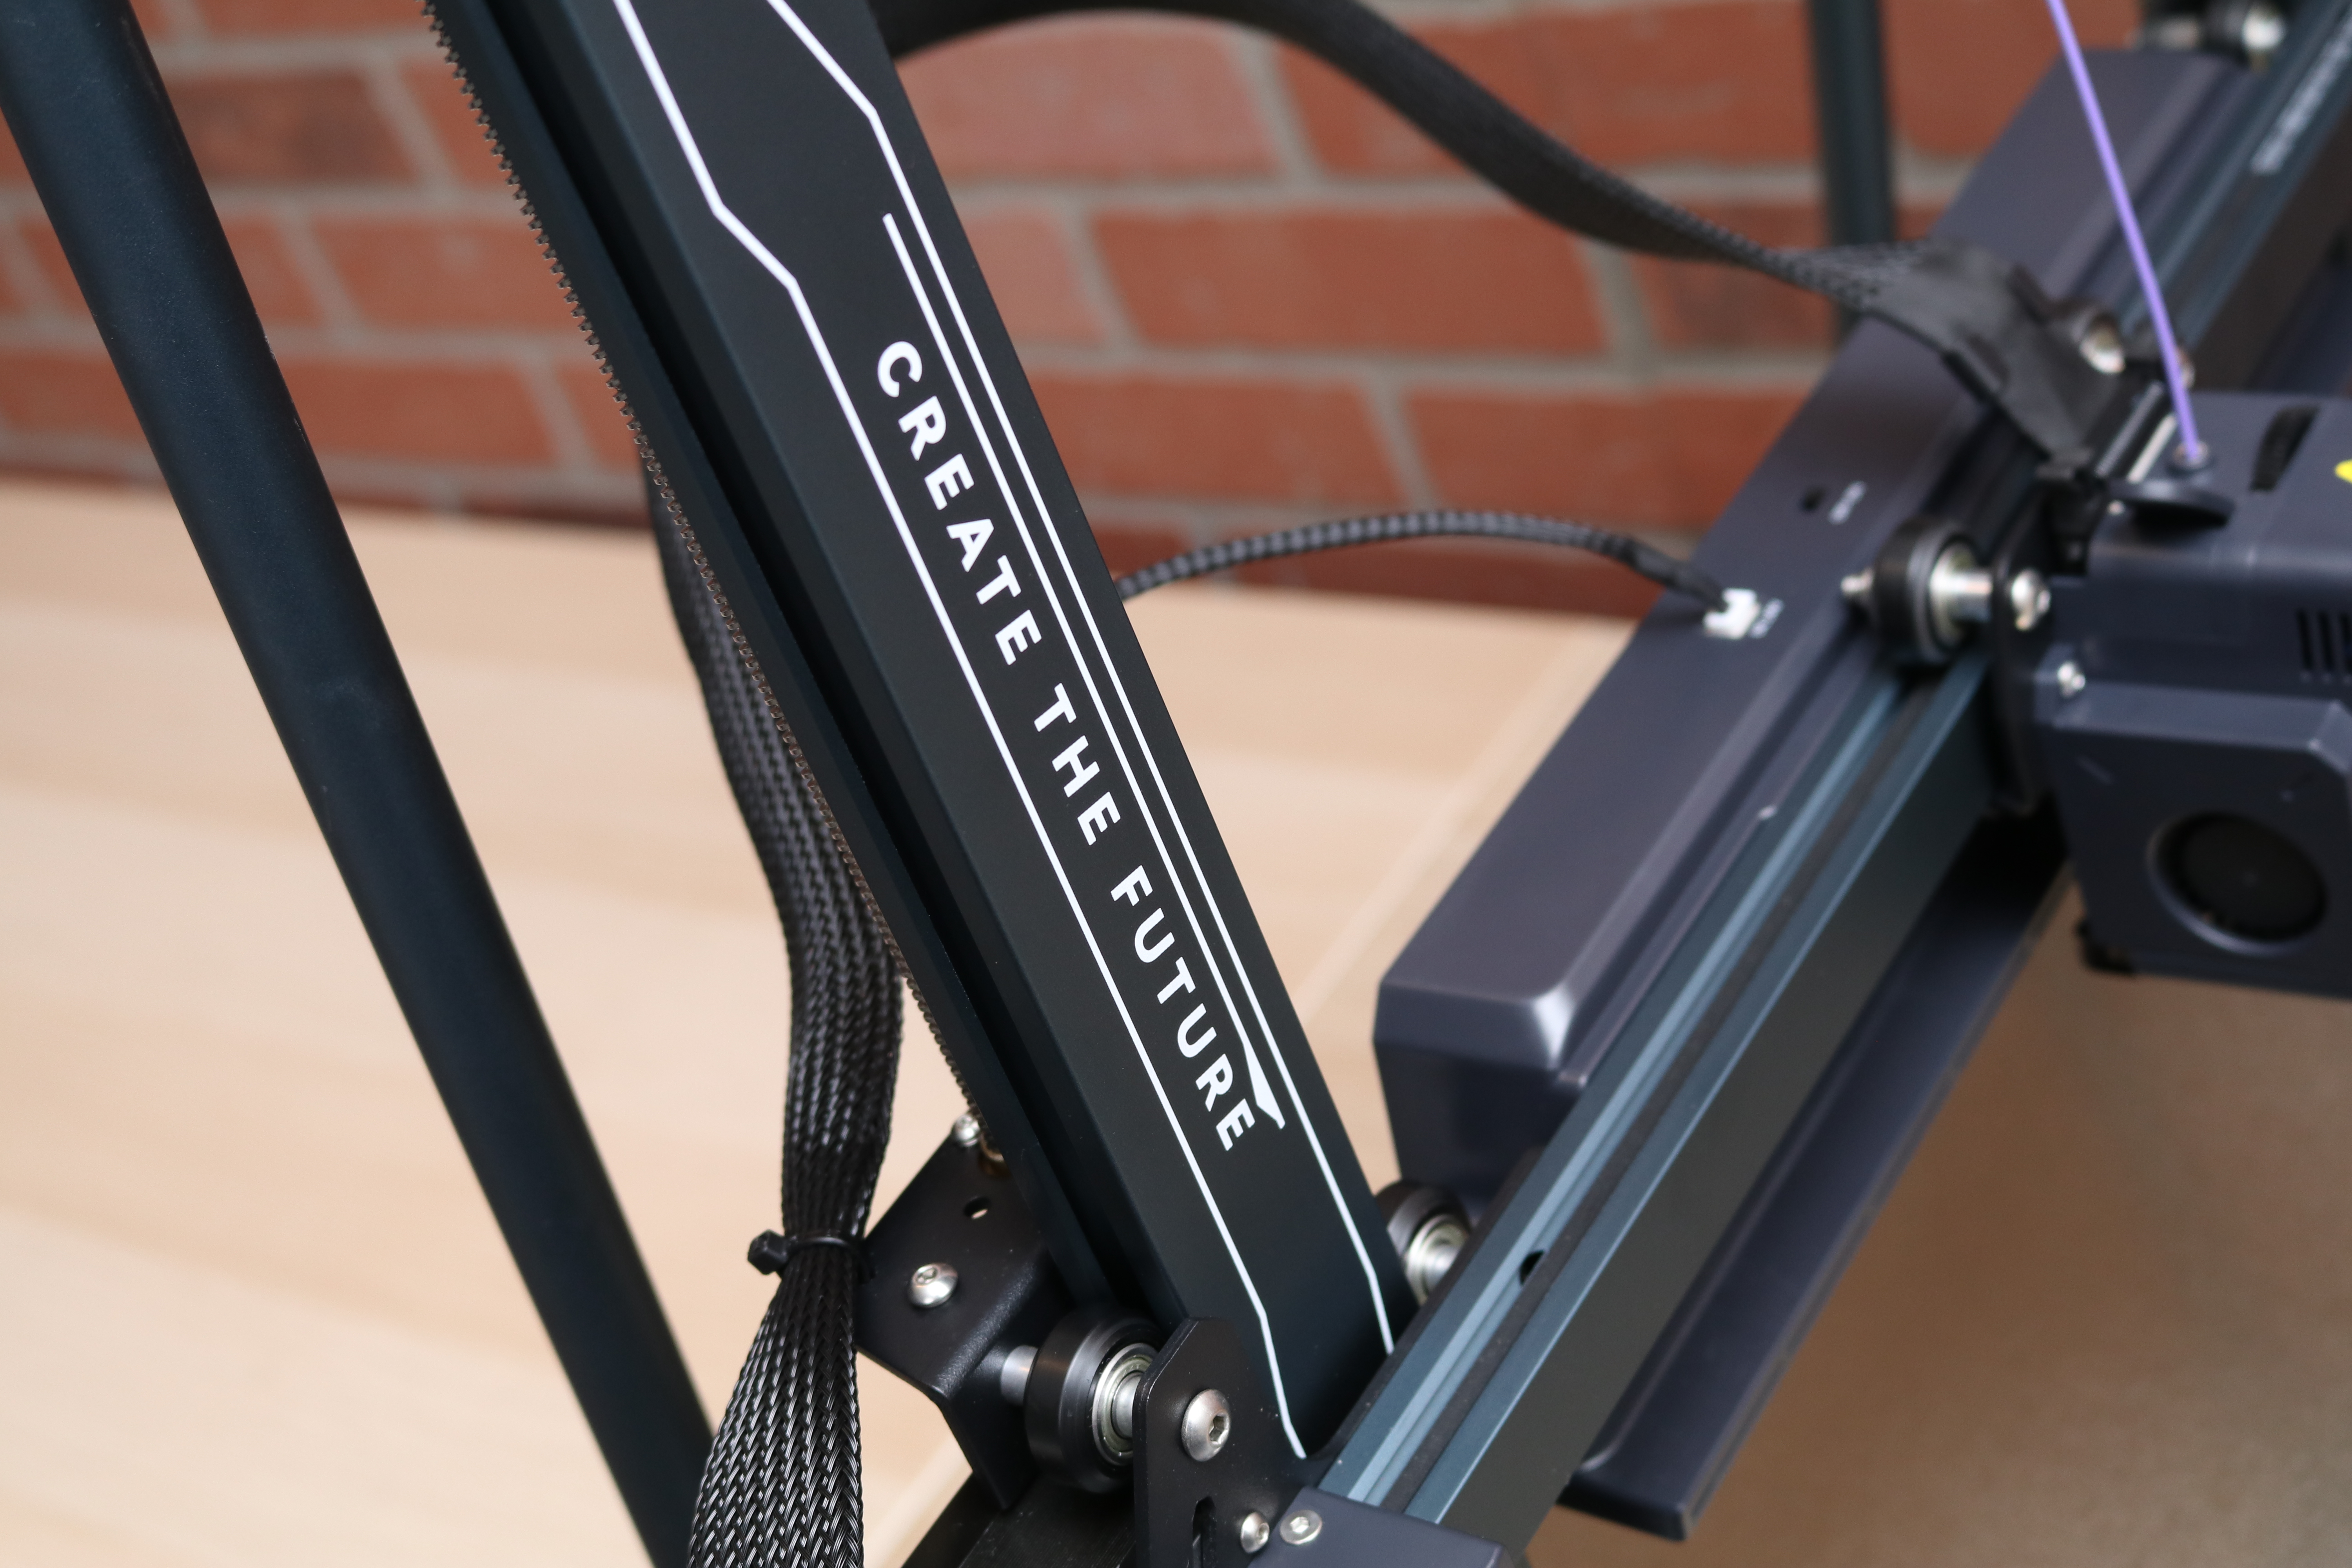
The Neptune 4 Plus features the same highly stylized printing on the aluminum extrusions, including the “CREATE THE FUTURE” text emblazoned on either side of the frame. This is a signature of the Neptune 3 and Neptune 4 families of printers, and it can be a polarizing one. The top bar features an integrated LED light source, but with nearly a foot and a half of distance between the LED strip and the build platform, it doesn’t provide much lighting outside a general ambient glow.
The Neptune 4 Plus is designed with sensorless homing, which translates to a lack of endstops on the axes (interestingly enough, you can still see the hole from the now-missing endstop connection on the plastic cover of X axis motor). This has led to some users encountering a “grinding” noise during homing, something that can be solved by adjusting the homing speed parameter in the firmware of the printer as noted by The Feral Engineer on YouTube. I didn’t notice a grinding sound during homing when I was using this printer, but some users have reduced the homing speed via the Fluidd Klipper interface to resolve this issue.
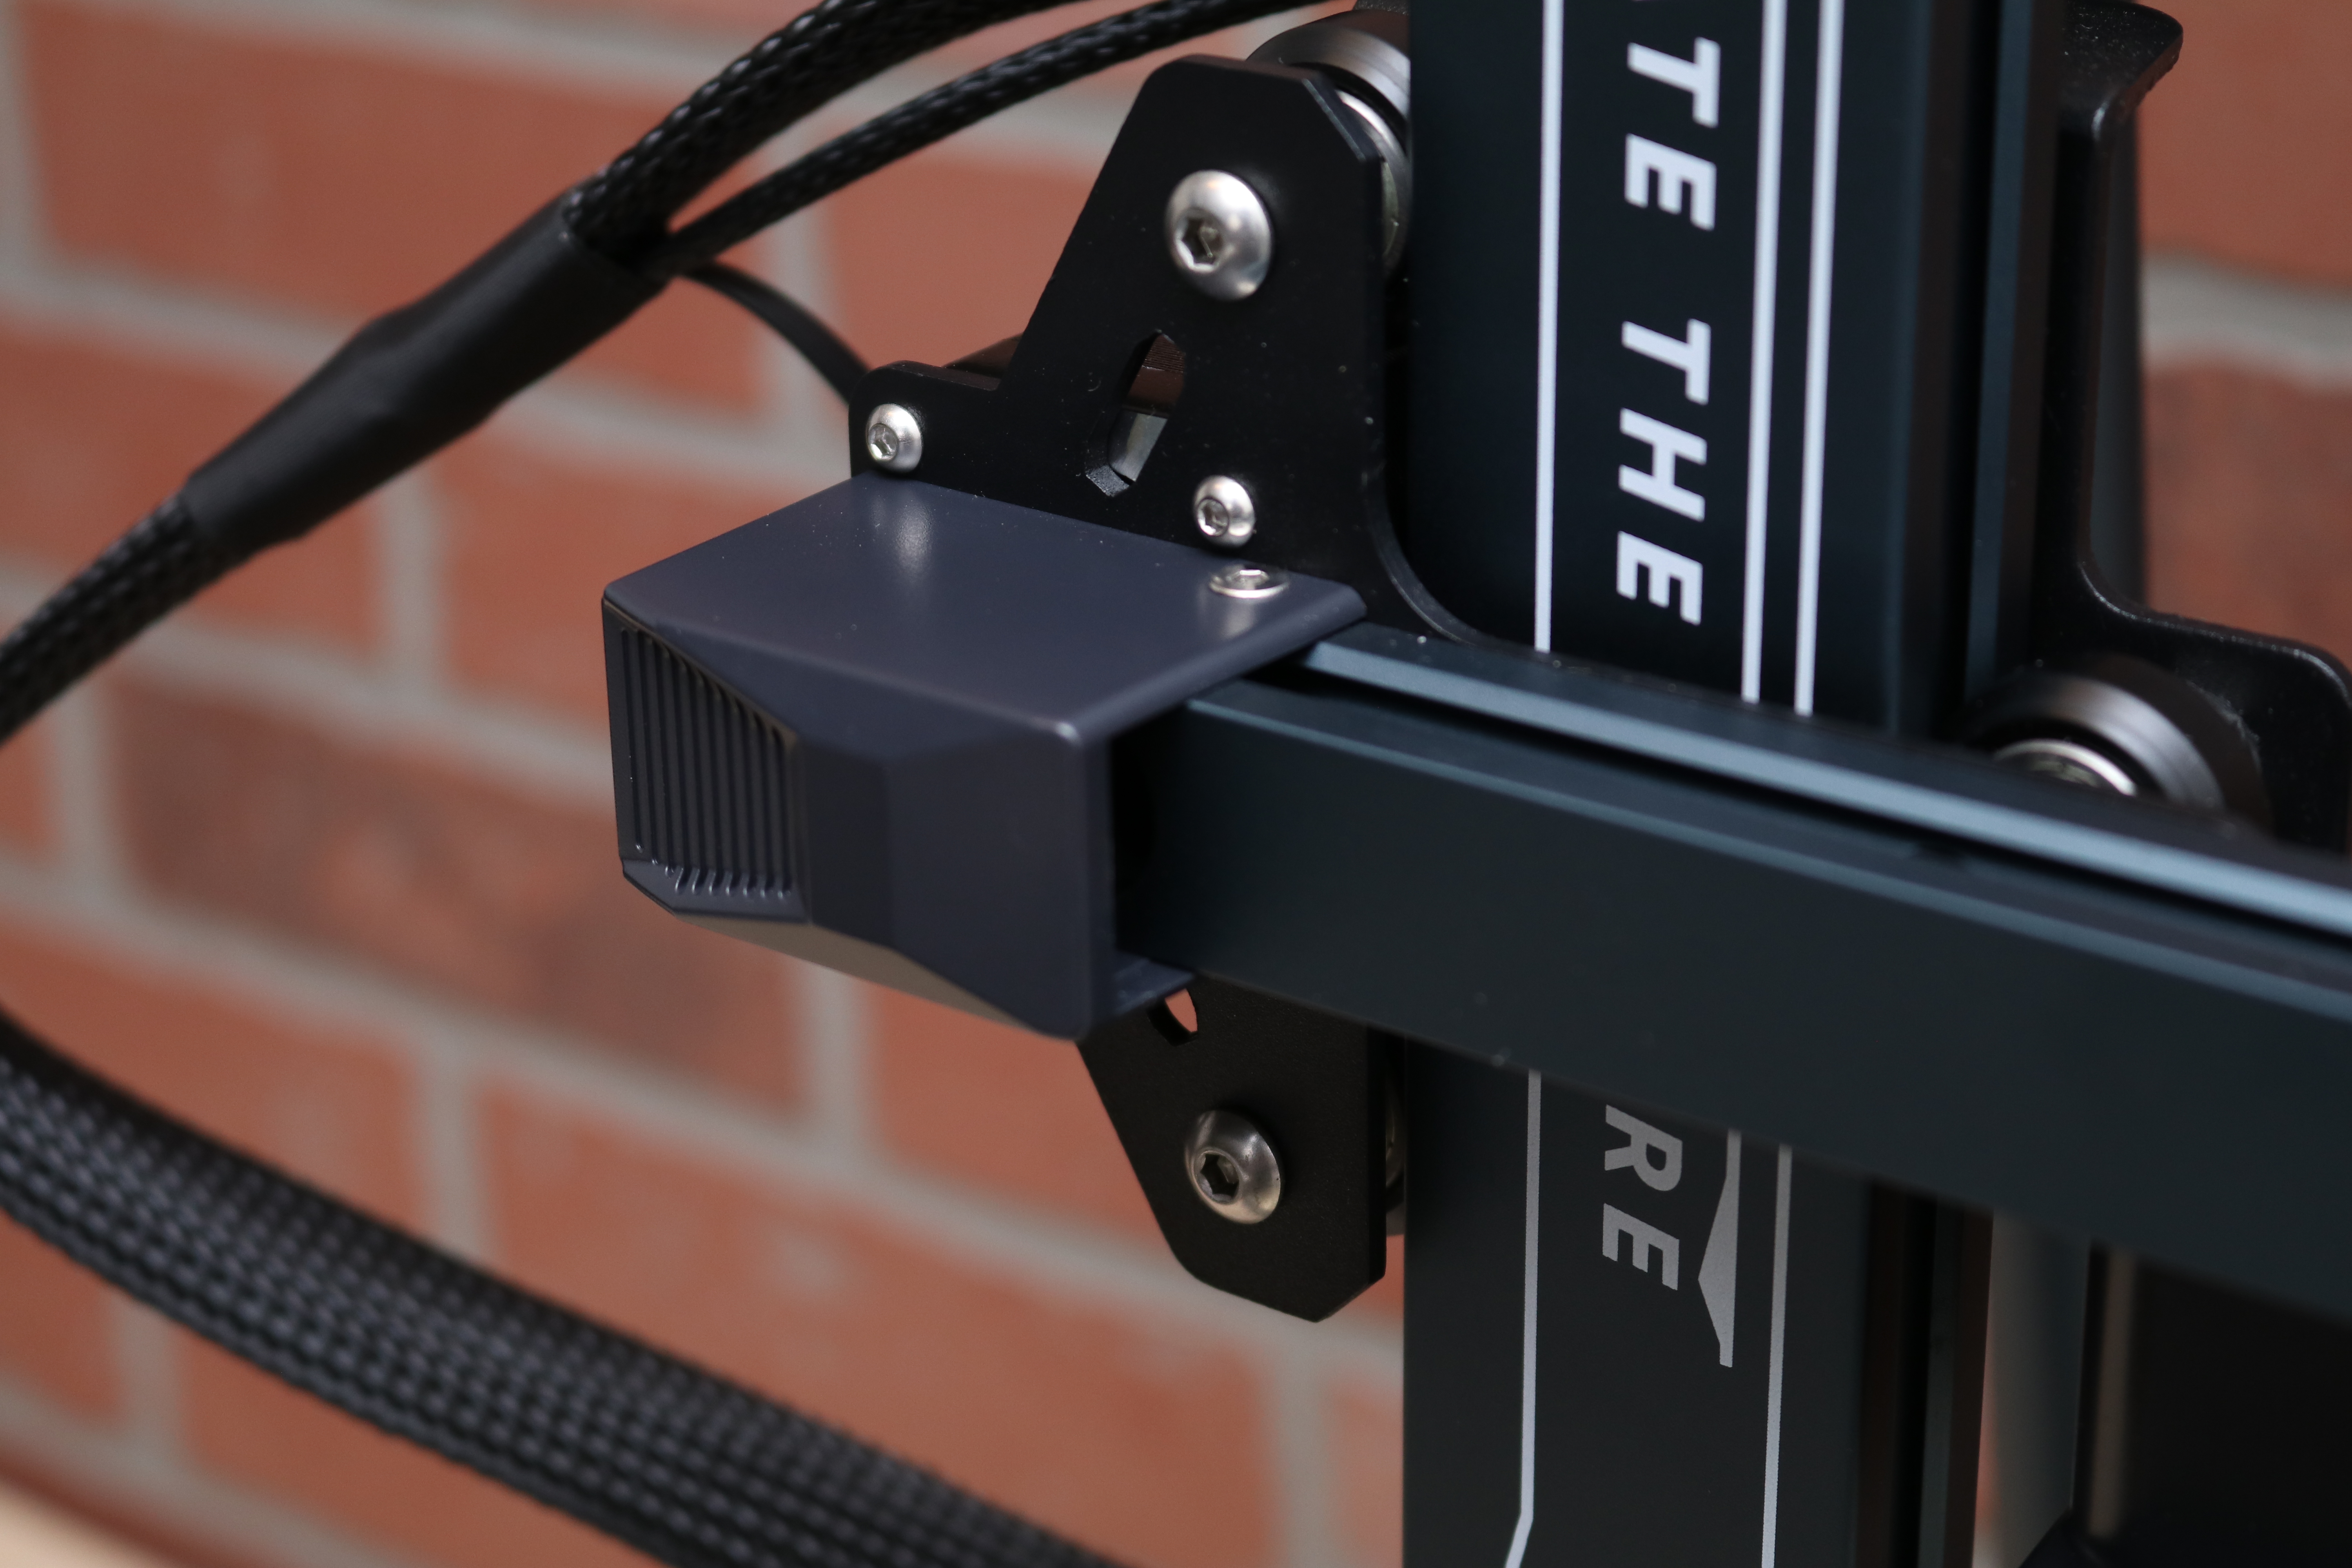
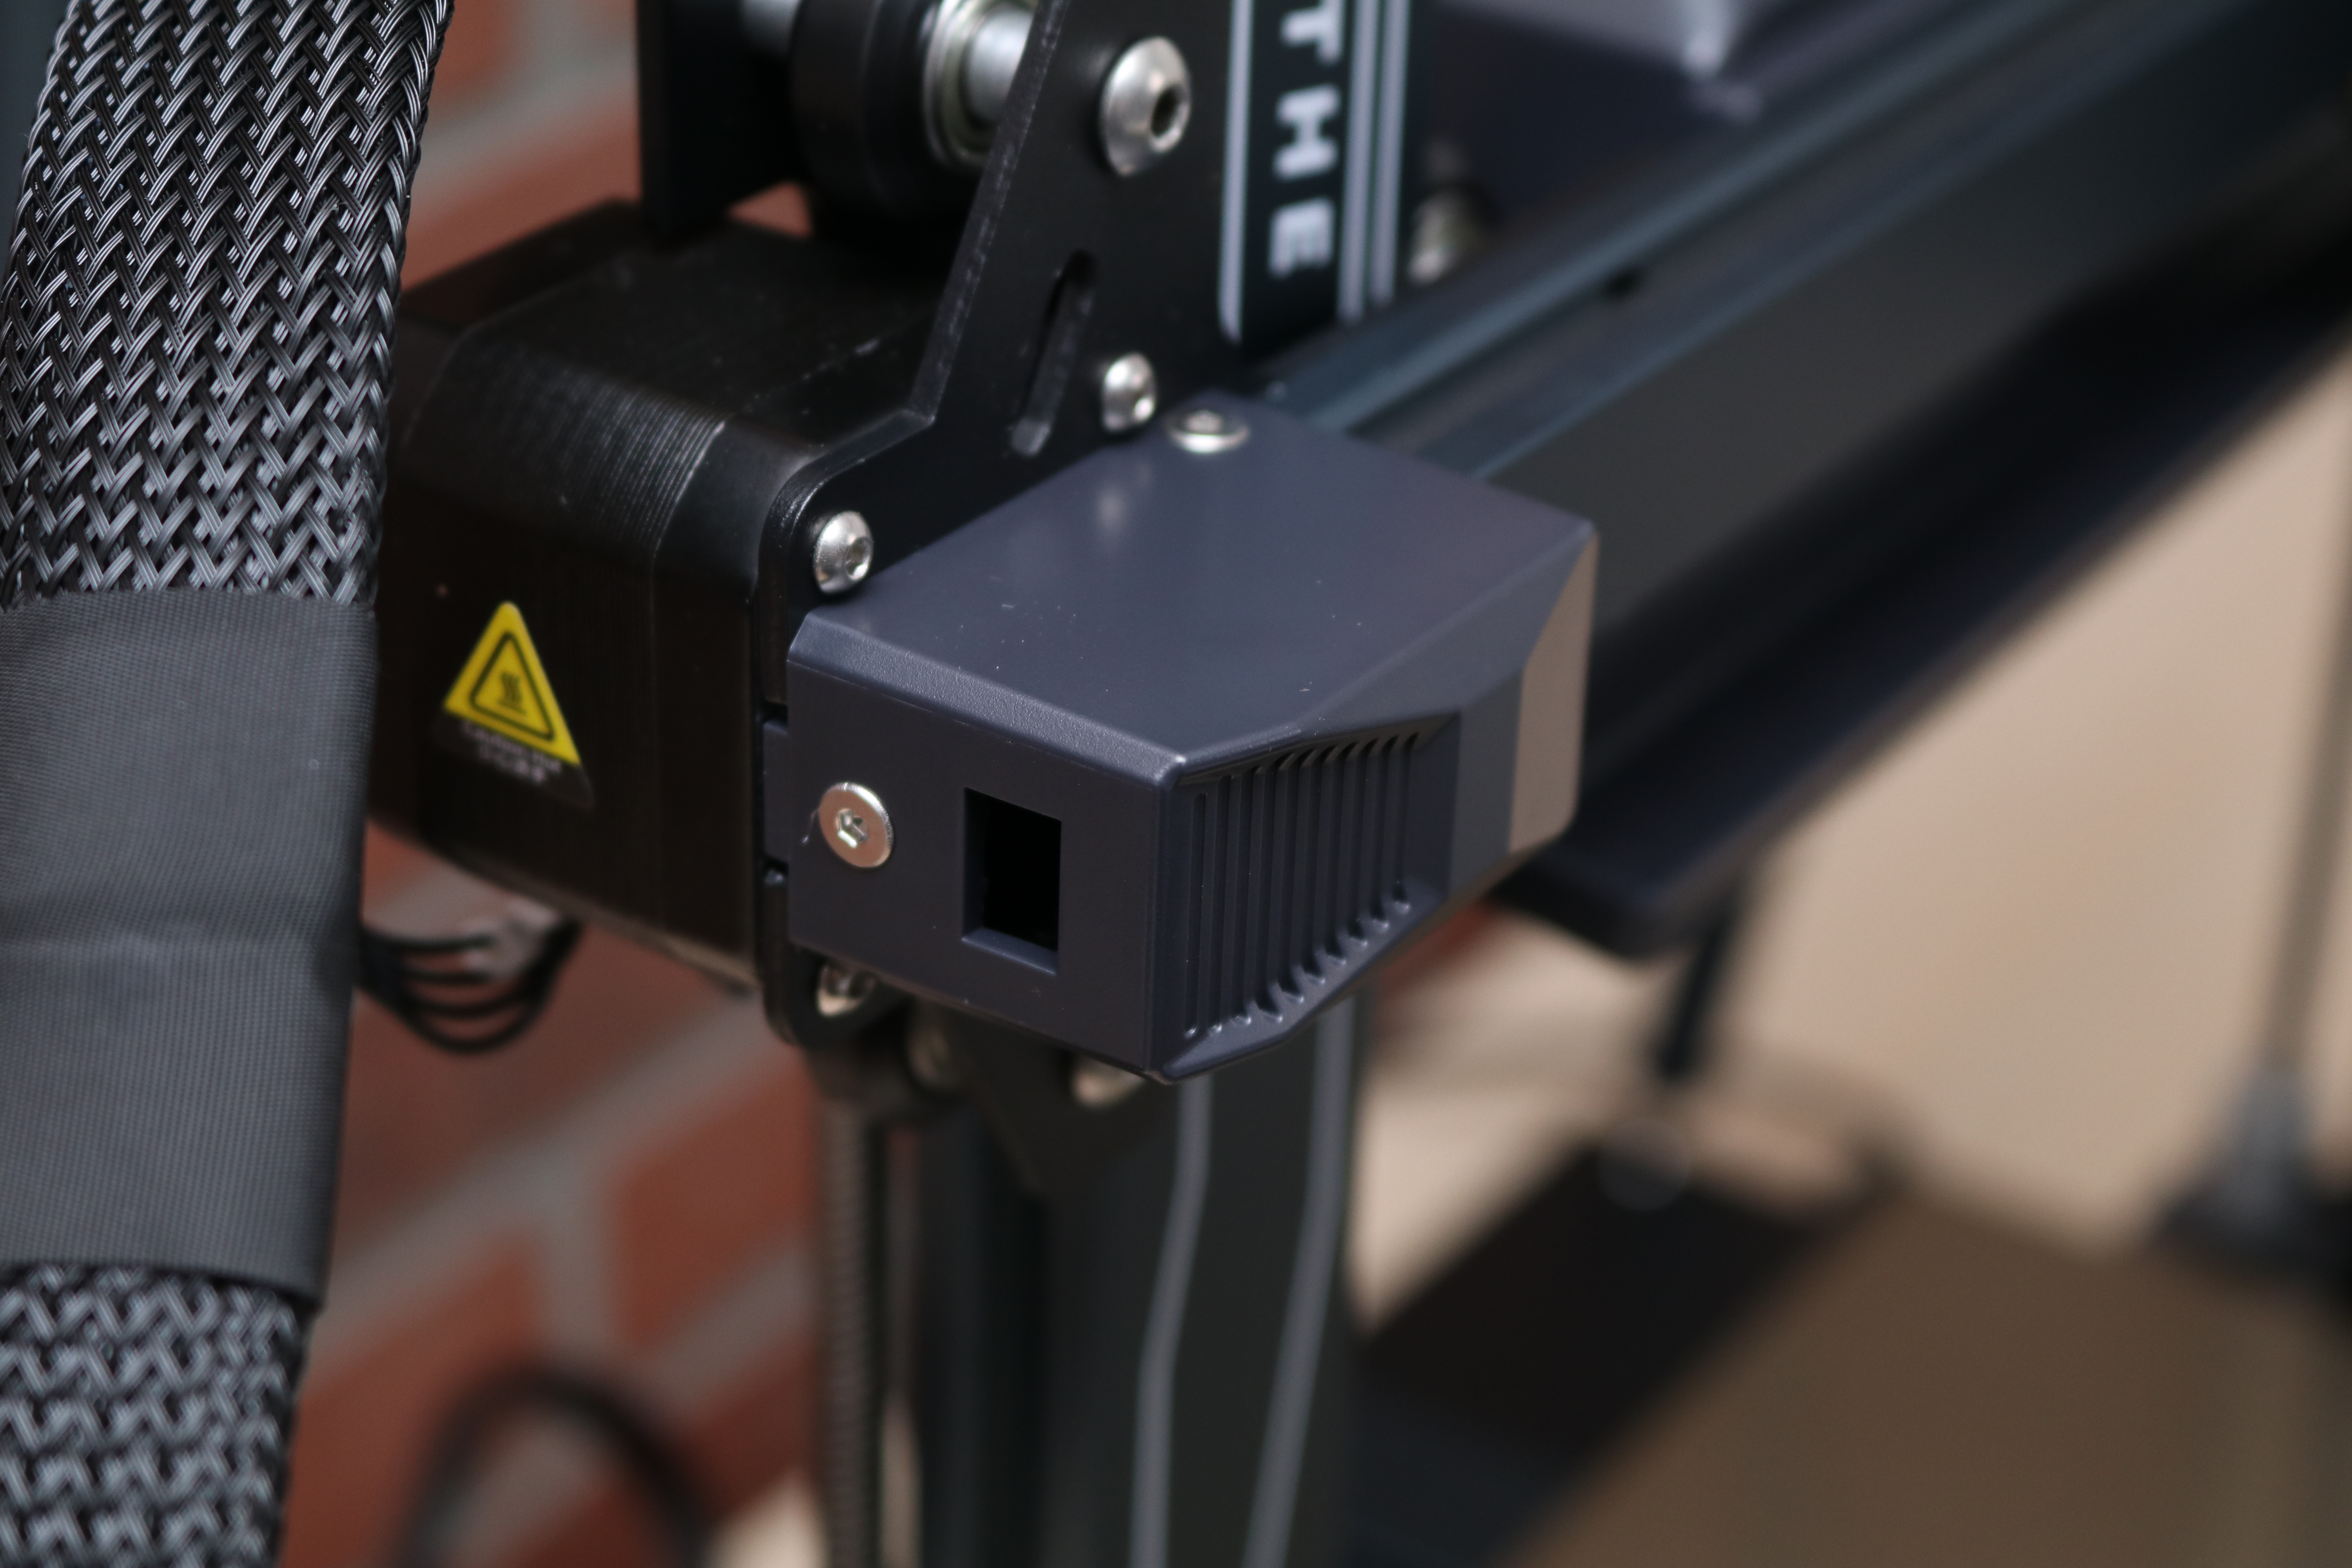
Unlike the Neptune 4 Pro, which uses a segmented heating element that provides power to either only the center or the entire area, the Neptune 4 Plus heats the entire platform for every print. Given the size difference of these printers, it would be logical that this feature be switched, as not every print on the Plus will take up the entire area of the print bed. Despite the large build area, the Neptune 4 Plus heats up the platform to 110C in under a minute thanks to the powerful 400W power supply.
User Interface on Elegoo Neptune 4 Plus
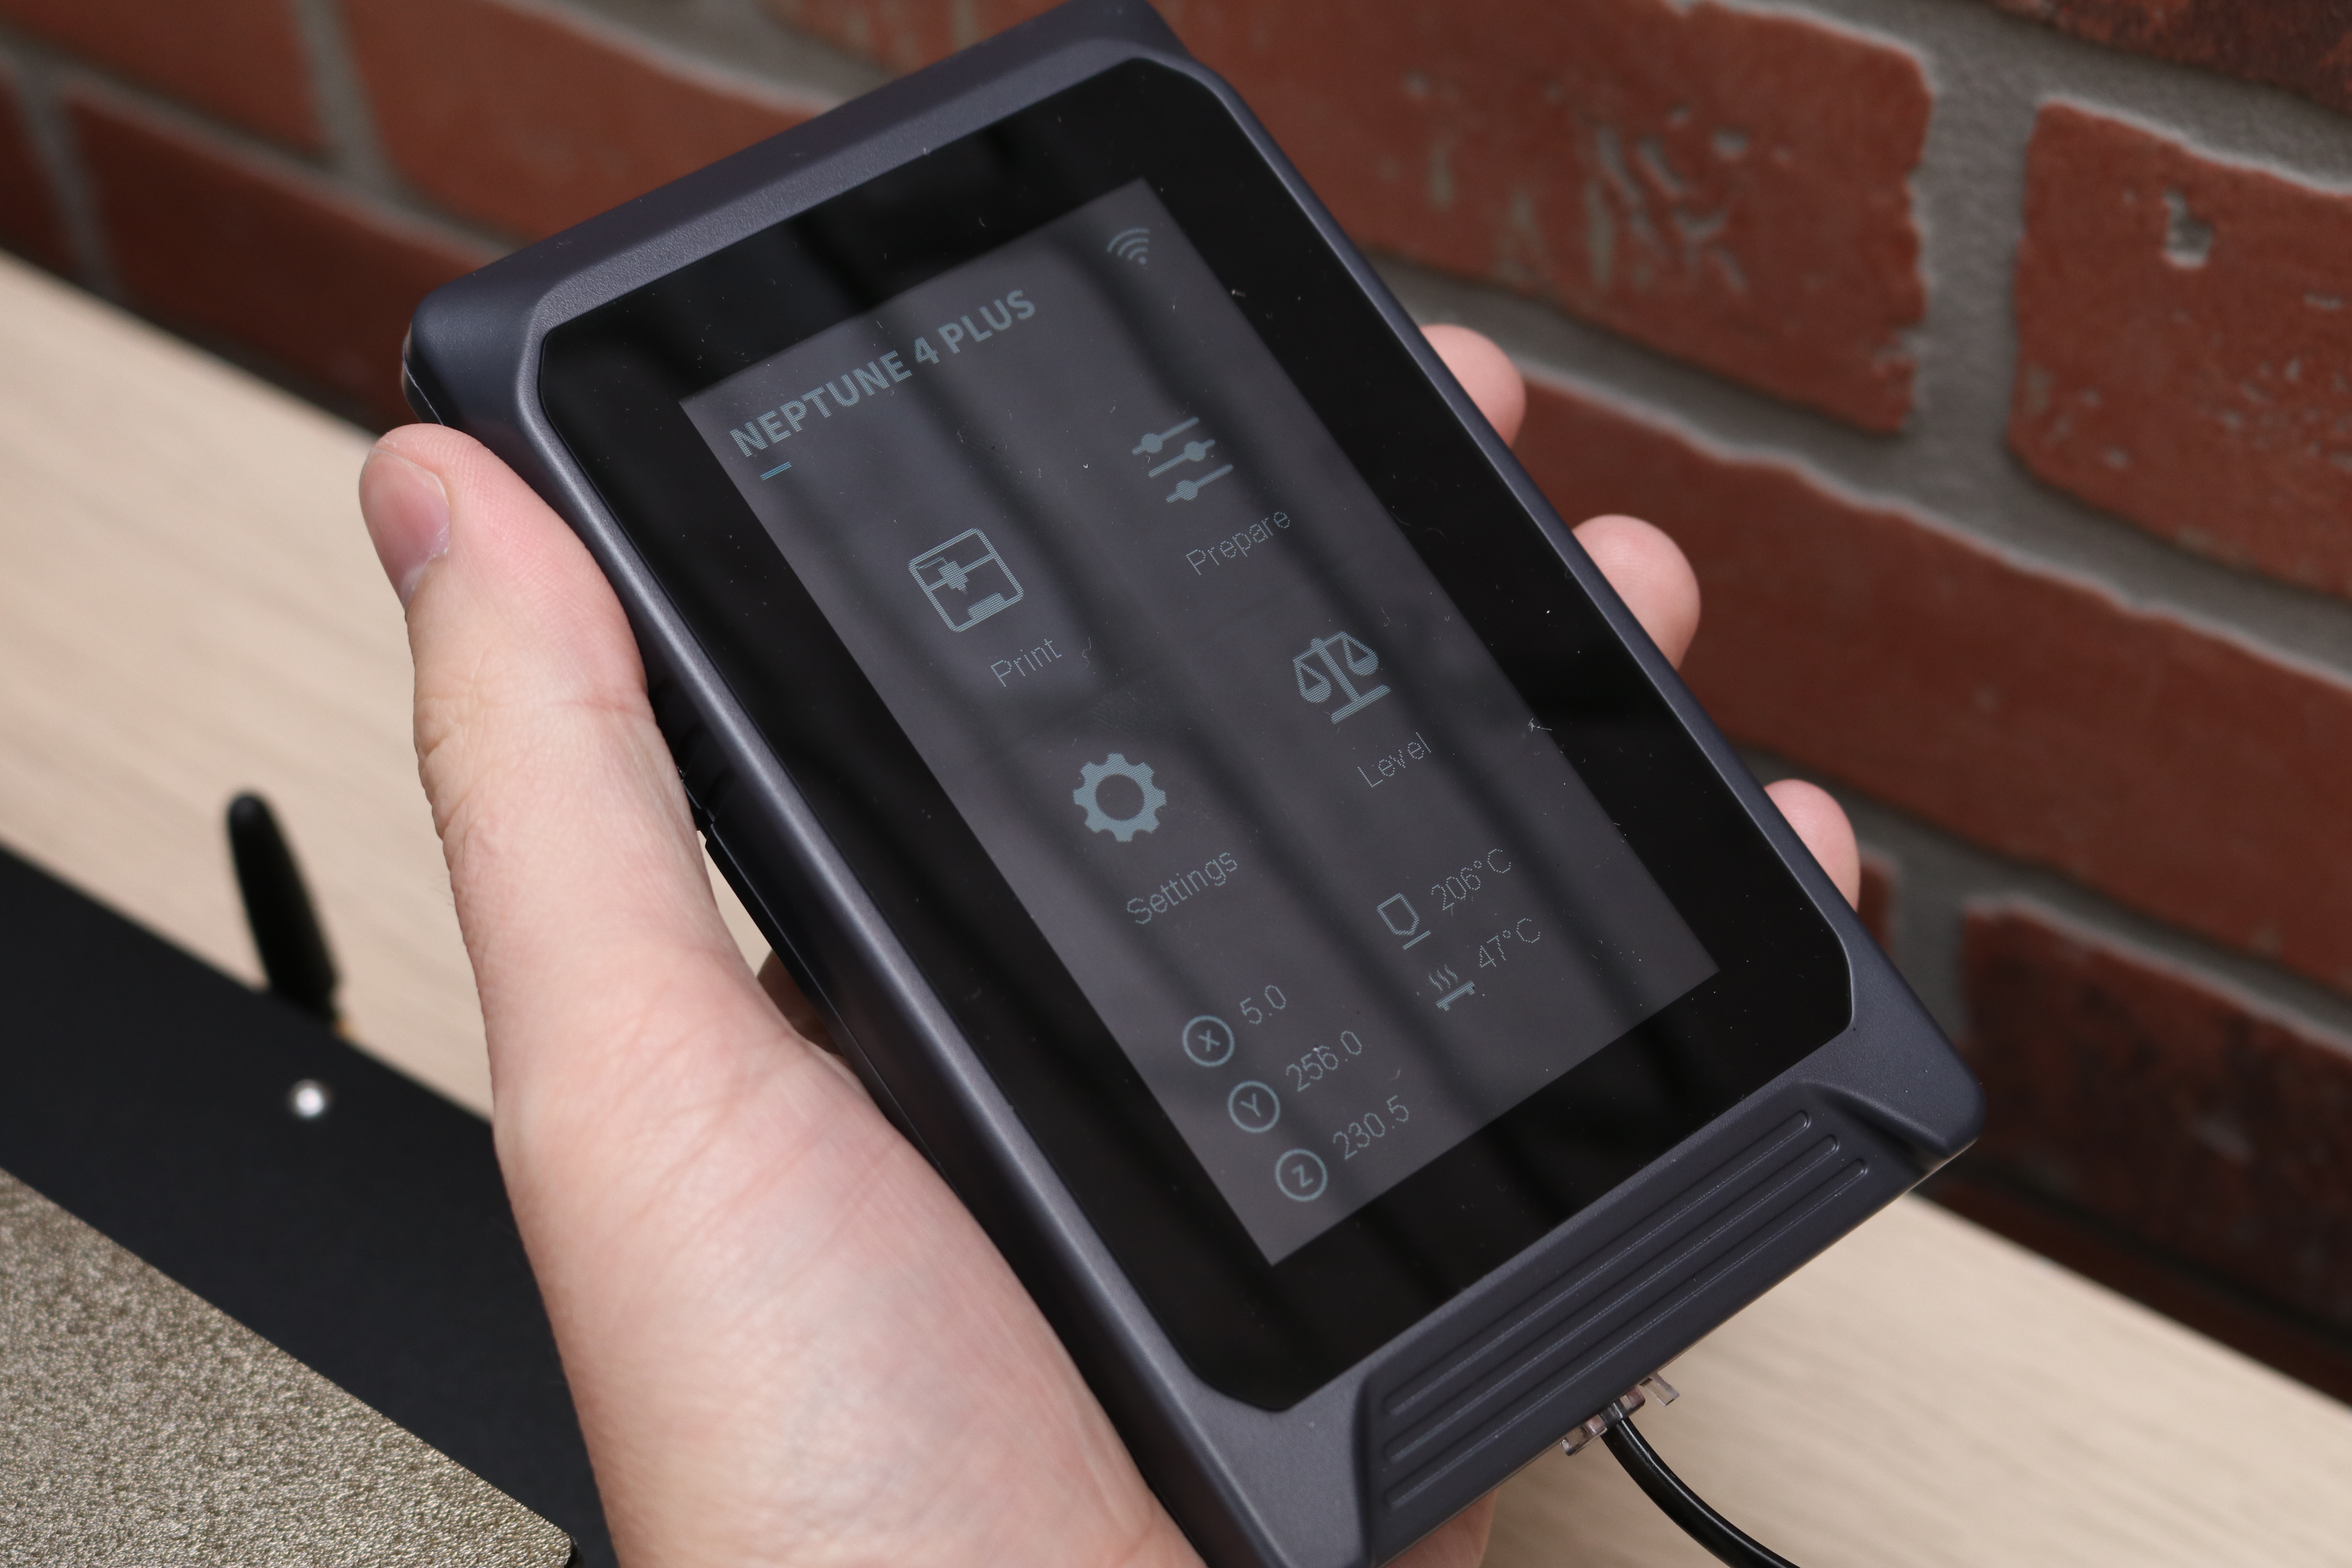
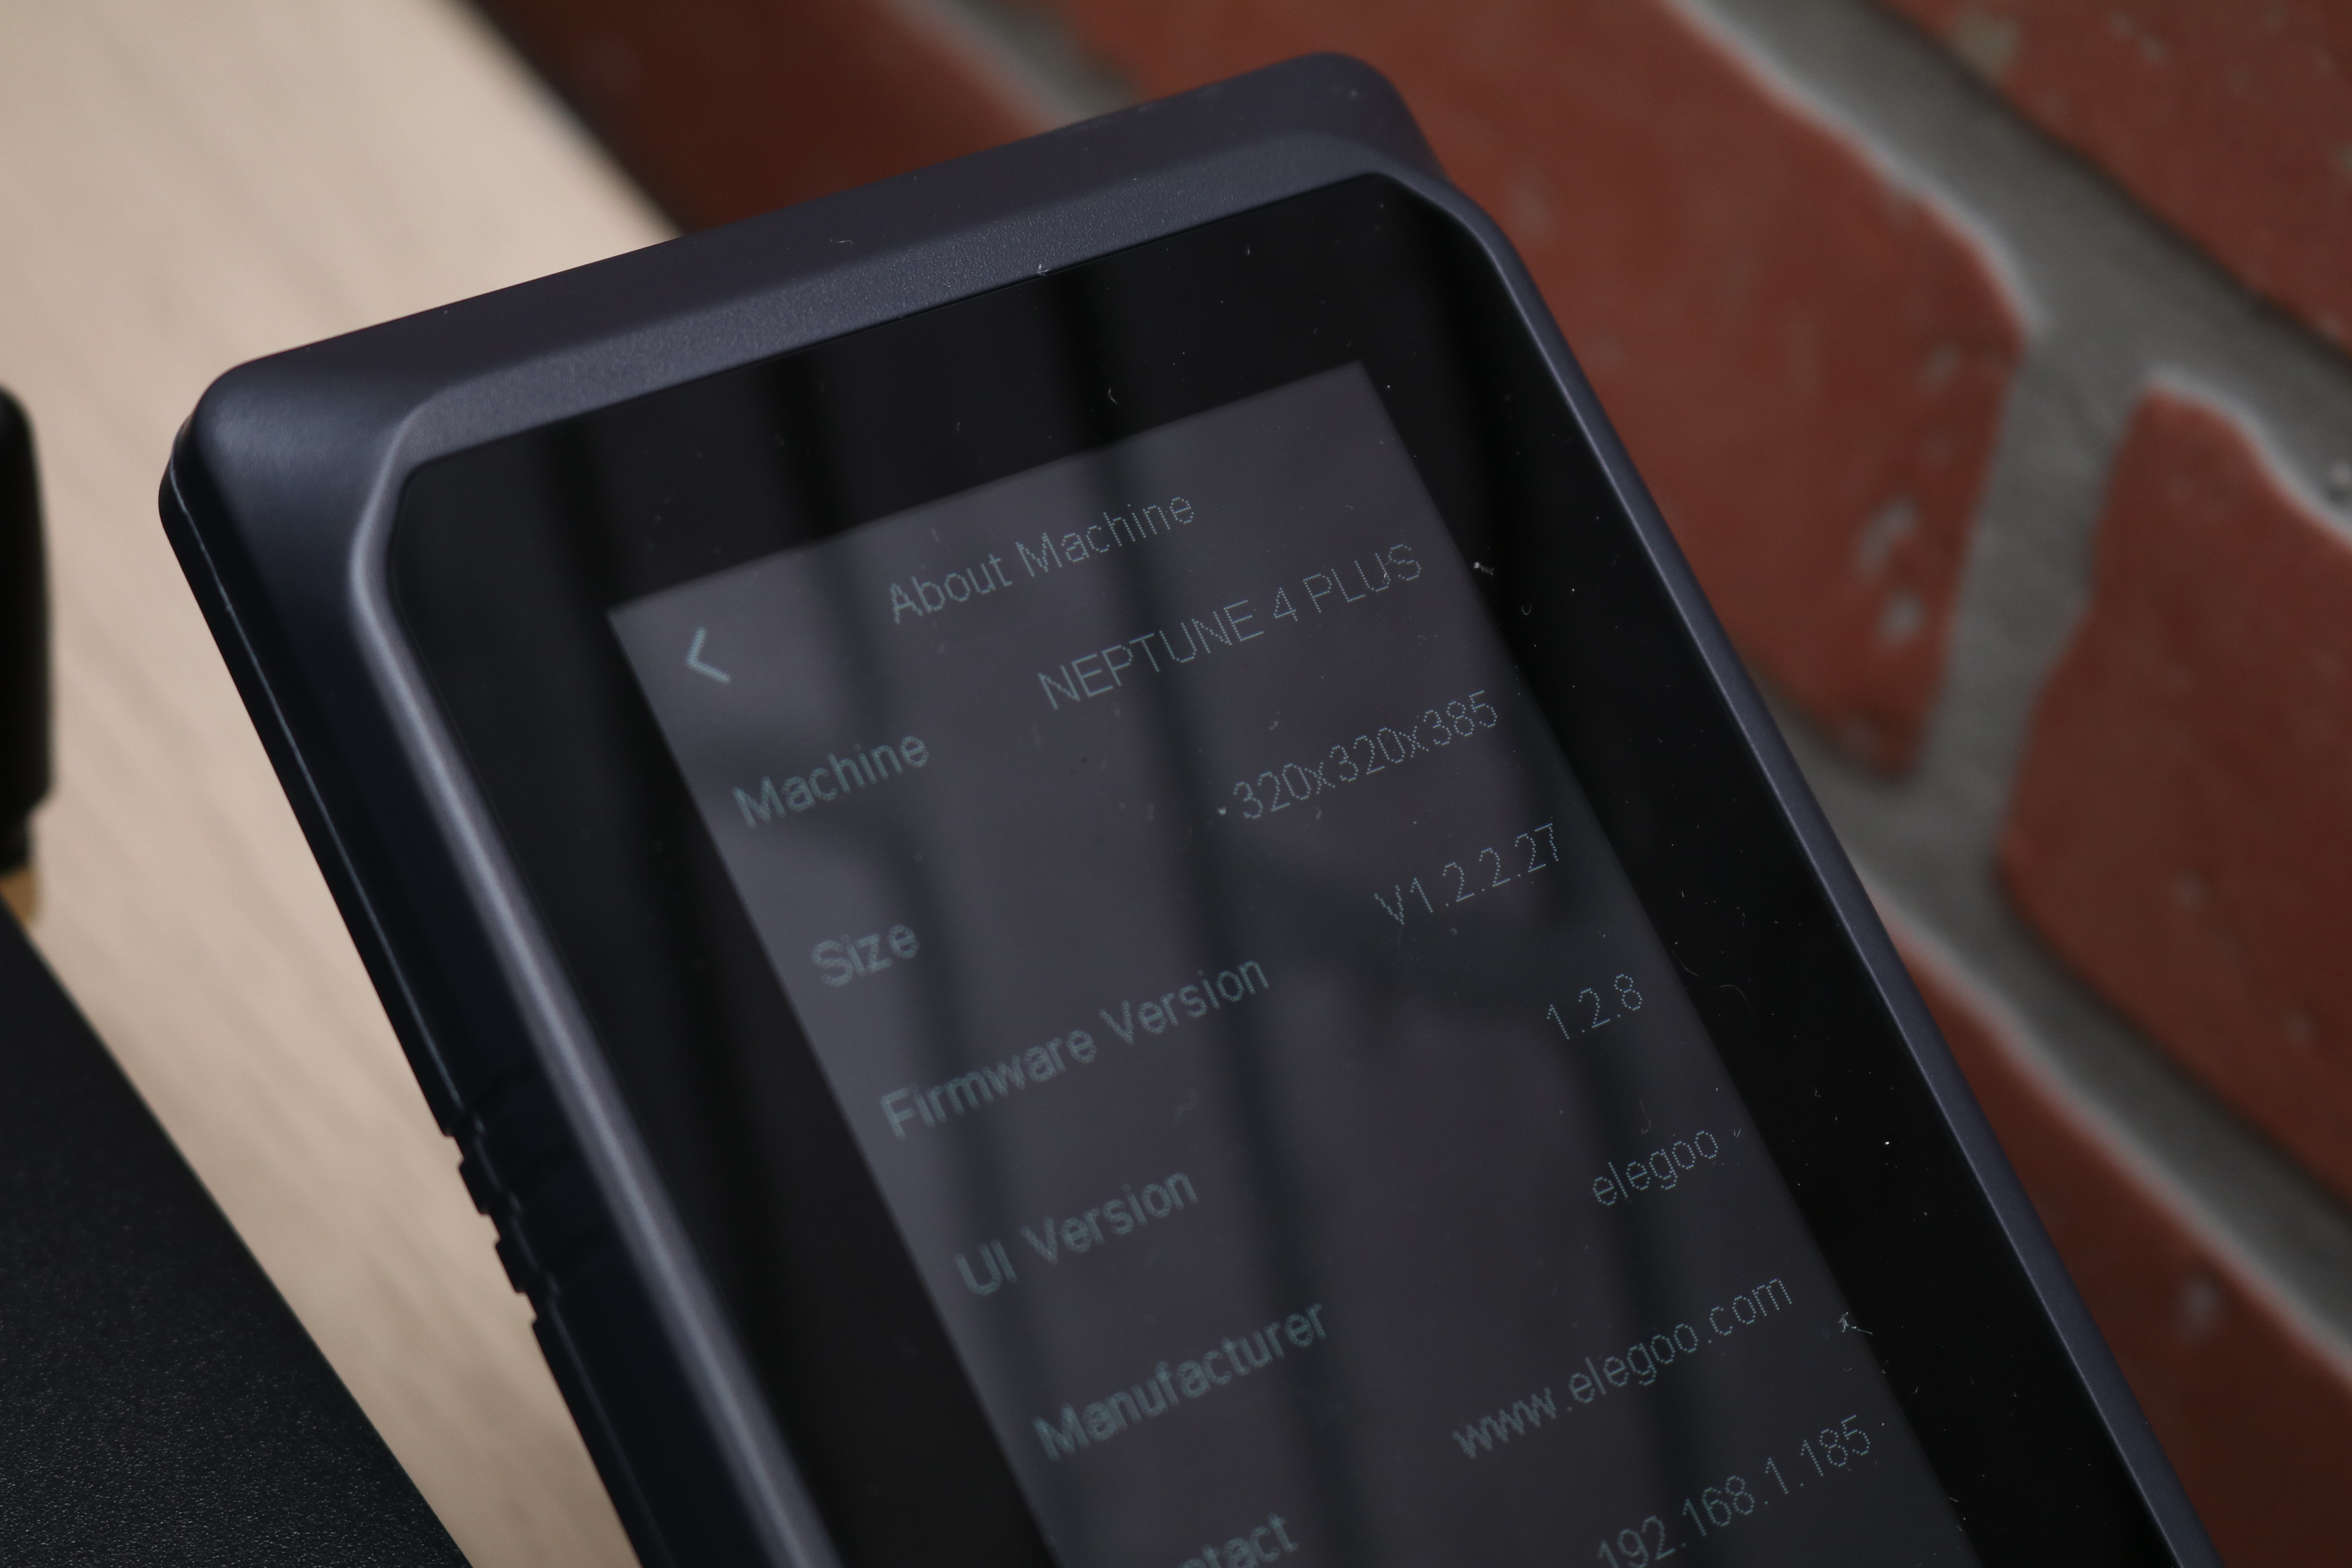
The primary user interface on the Neptune 4 Plus is the 4.3-inch color LCD touchscreen, which is tethered to the printer by way of a curly cord and can be removed from its magnetic base. Holding this LCD feels similar to holding an old Palm Pilot PDA or other chunky cell phone. It’s surprisingly satisfying to remove it from the base, make some adjustments to the print via the UI, and leave it on the work surface when finished.
The user interface on the Neptune 4 Plus is clean and simple, and only has a few minor changes from the rest of the Neptune line. The interface is nearly identical to that of the Neptune 3 Plus, a Marlin firmware-based printer that does not use Klipper.
The accelerometer built into the X and Y-axes allow users to run the Klipper acceleration calibration function directly from this menu, which can result in a more dialed-in print with less artifacts caused by the high-speed printing process. PID tuning for the 300°C hot end can also be run directly from this interface, a benefit for users looking for advanced Klipper functionality without using command line prompts.
Integrated Wi-Fi on Elegoo Neptune 4 Plus
Integrated Wi-Fi on Elegoo Neptune 4 Plus
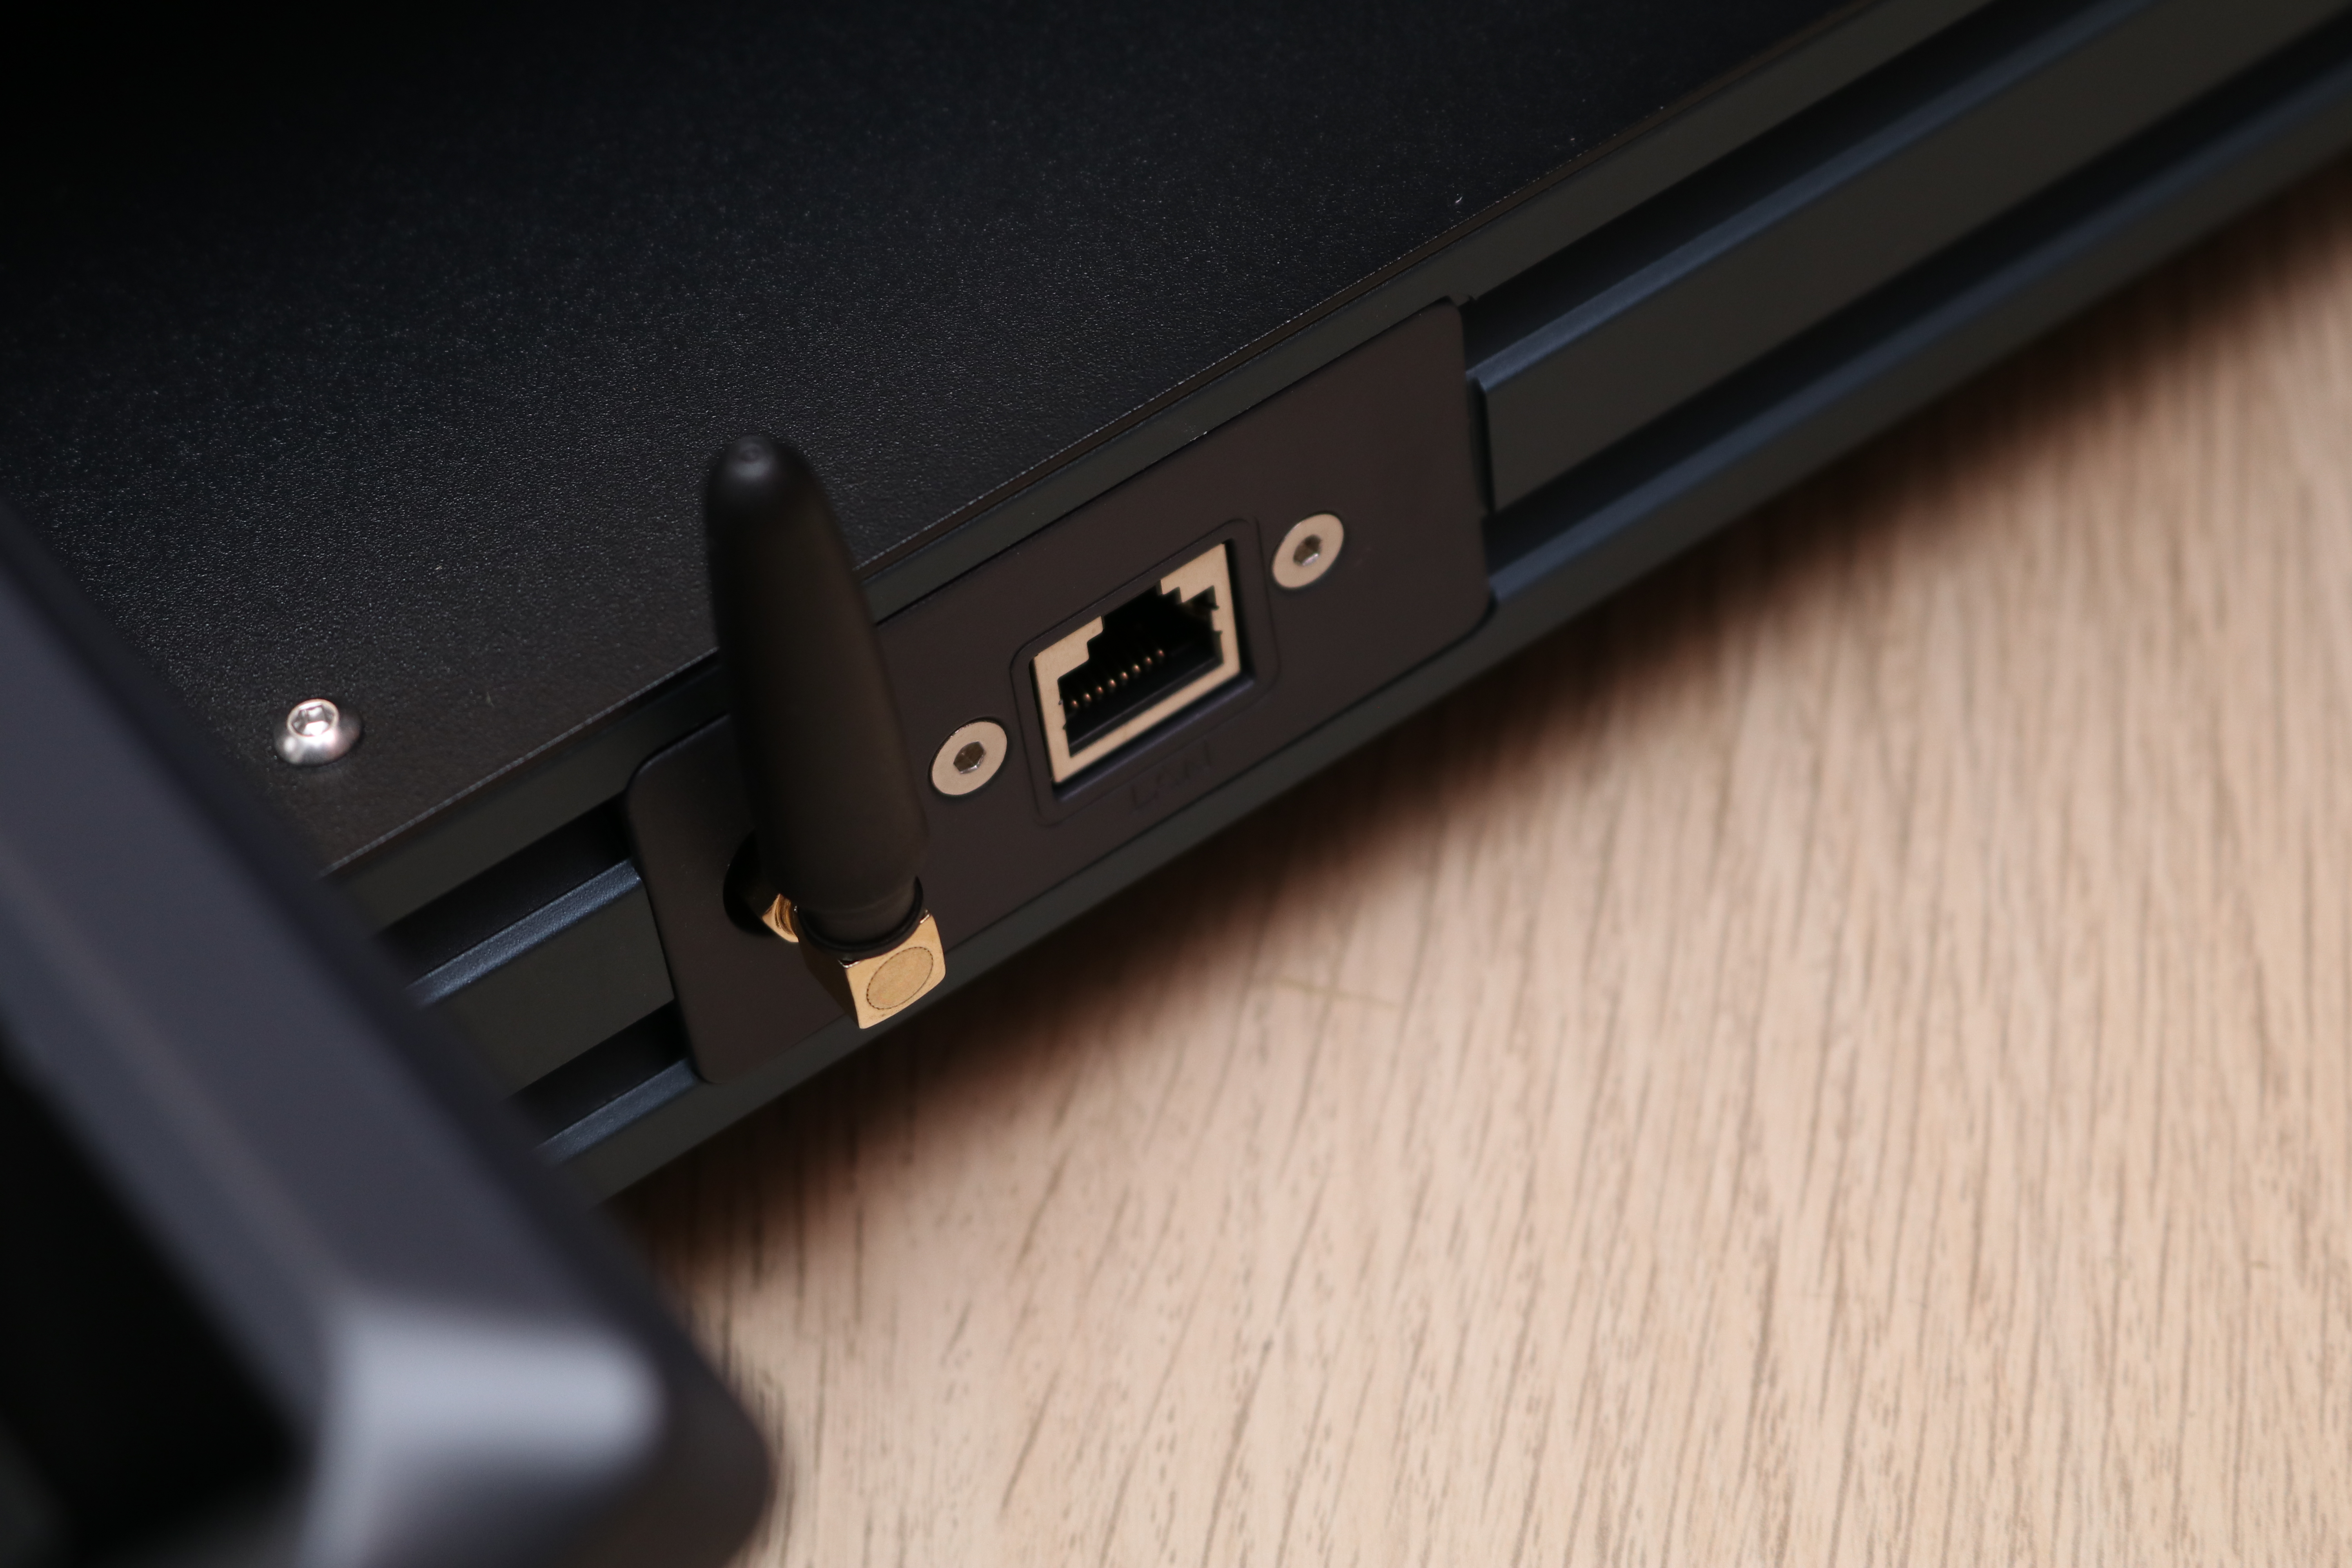
Printing via Wi-Fi offers several advantages (remote start, monitoring, etc.) over starting a print with a USB thumb drive, and the Neptune 4 Plus includes native Wi-Fi directly on the machine. The Neptune 4 Plus includes a terminal to plug the included Wi-Fi antenna in on the side of the machine, and the antenna can be tightened using the included hex wrench.
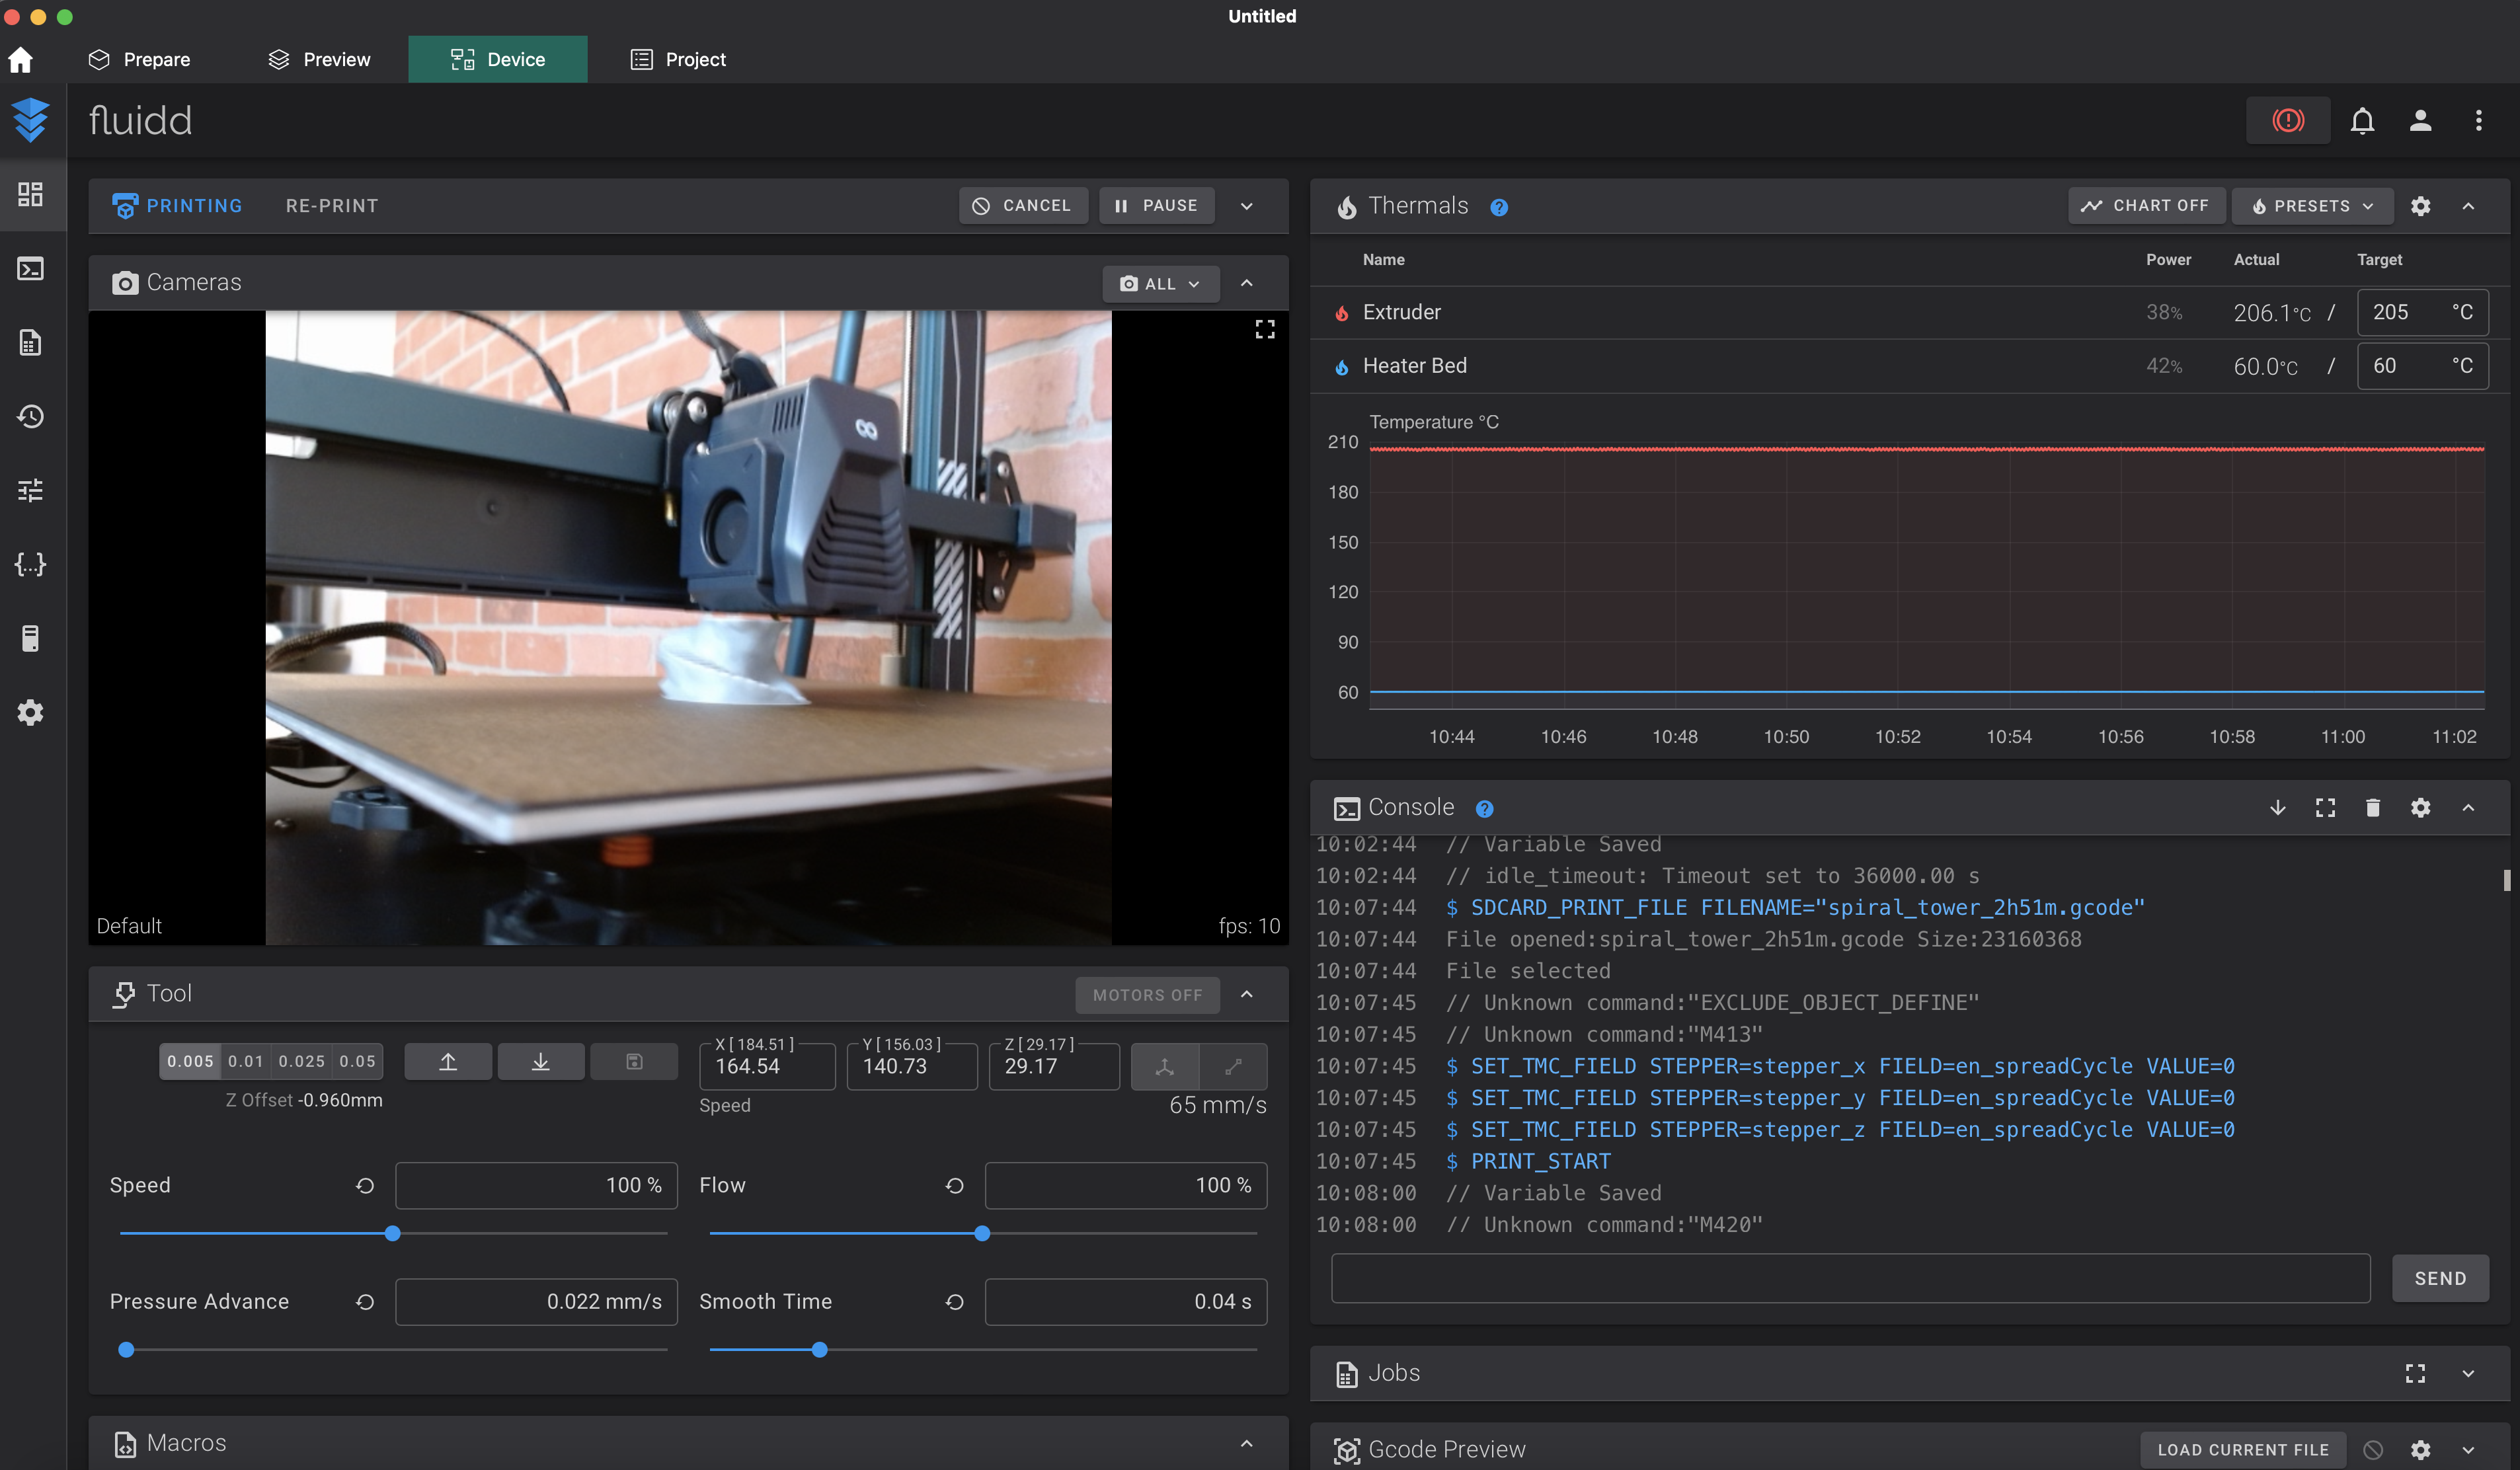
After connecting to the Wi-Fi network from the Neptune 4 Plus, the printer can be accessed from the OrcaSlicer interface under the “Device” tab. The Fluidd interface offers direct monitoring and control over several parameters via the Klipper firmware directly from OrcaSlicer. Nozzle and bed temperature, print speed, and various other parameters have individual windows where they can be accessed, and the print can be monitored by plugging a USB webcam directly into the Neptune 4 Plus.
Calibrating and Leveling Elegoo Neptune 4 Plus
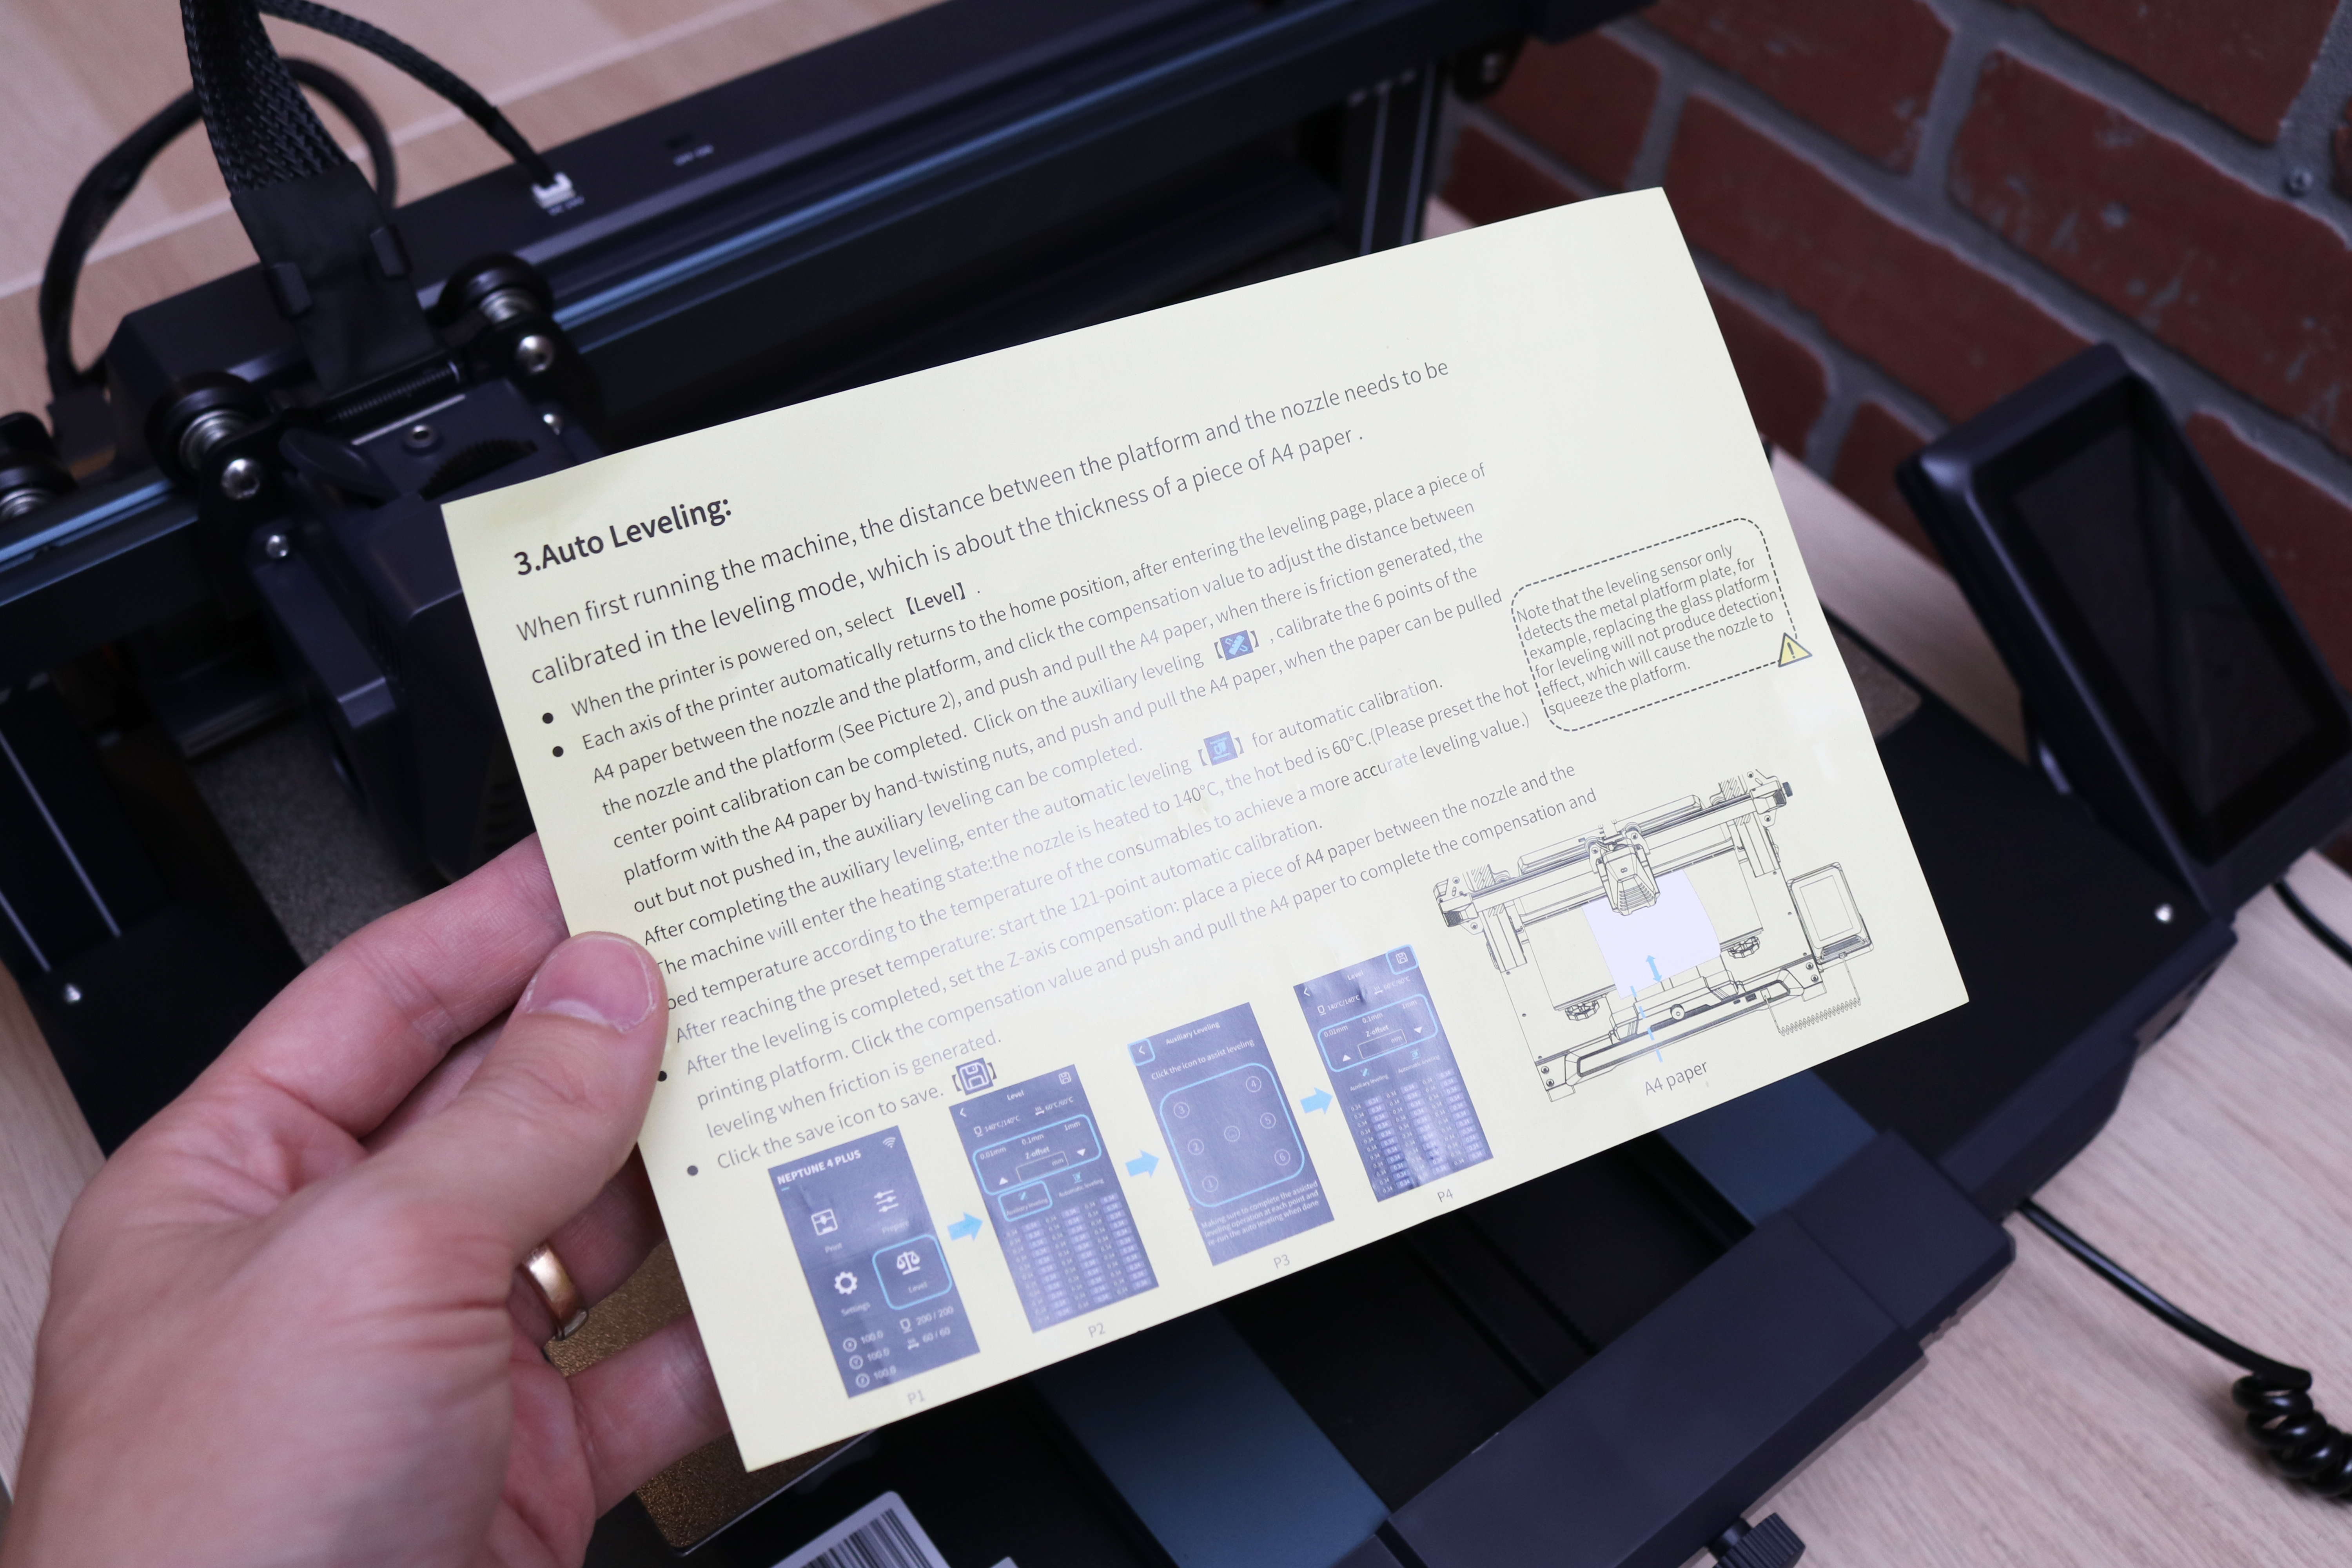
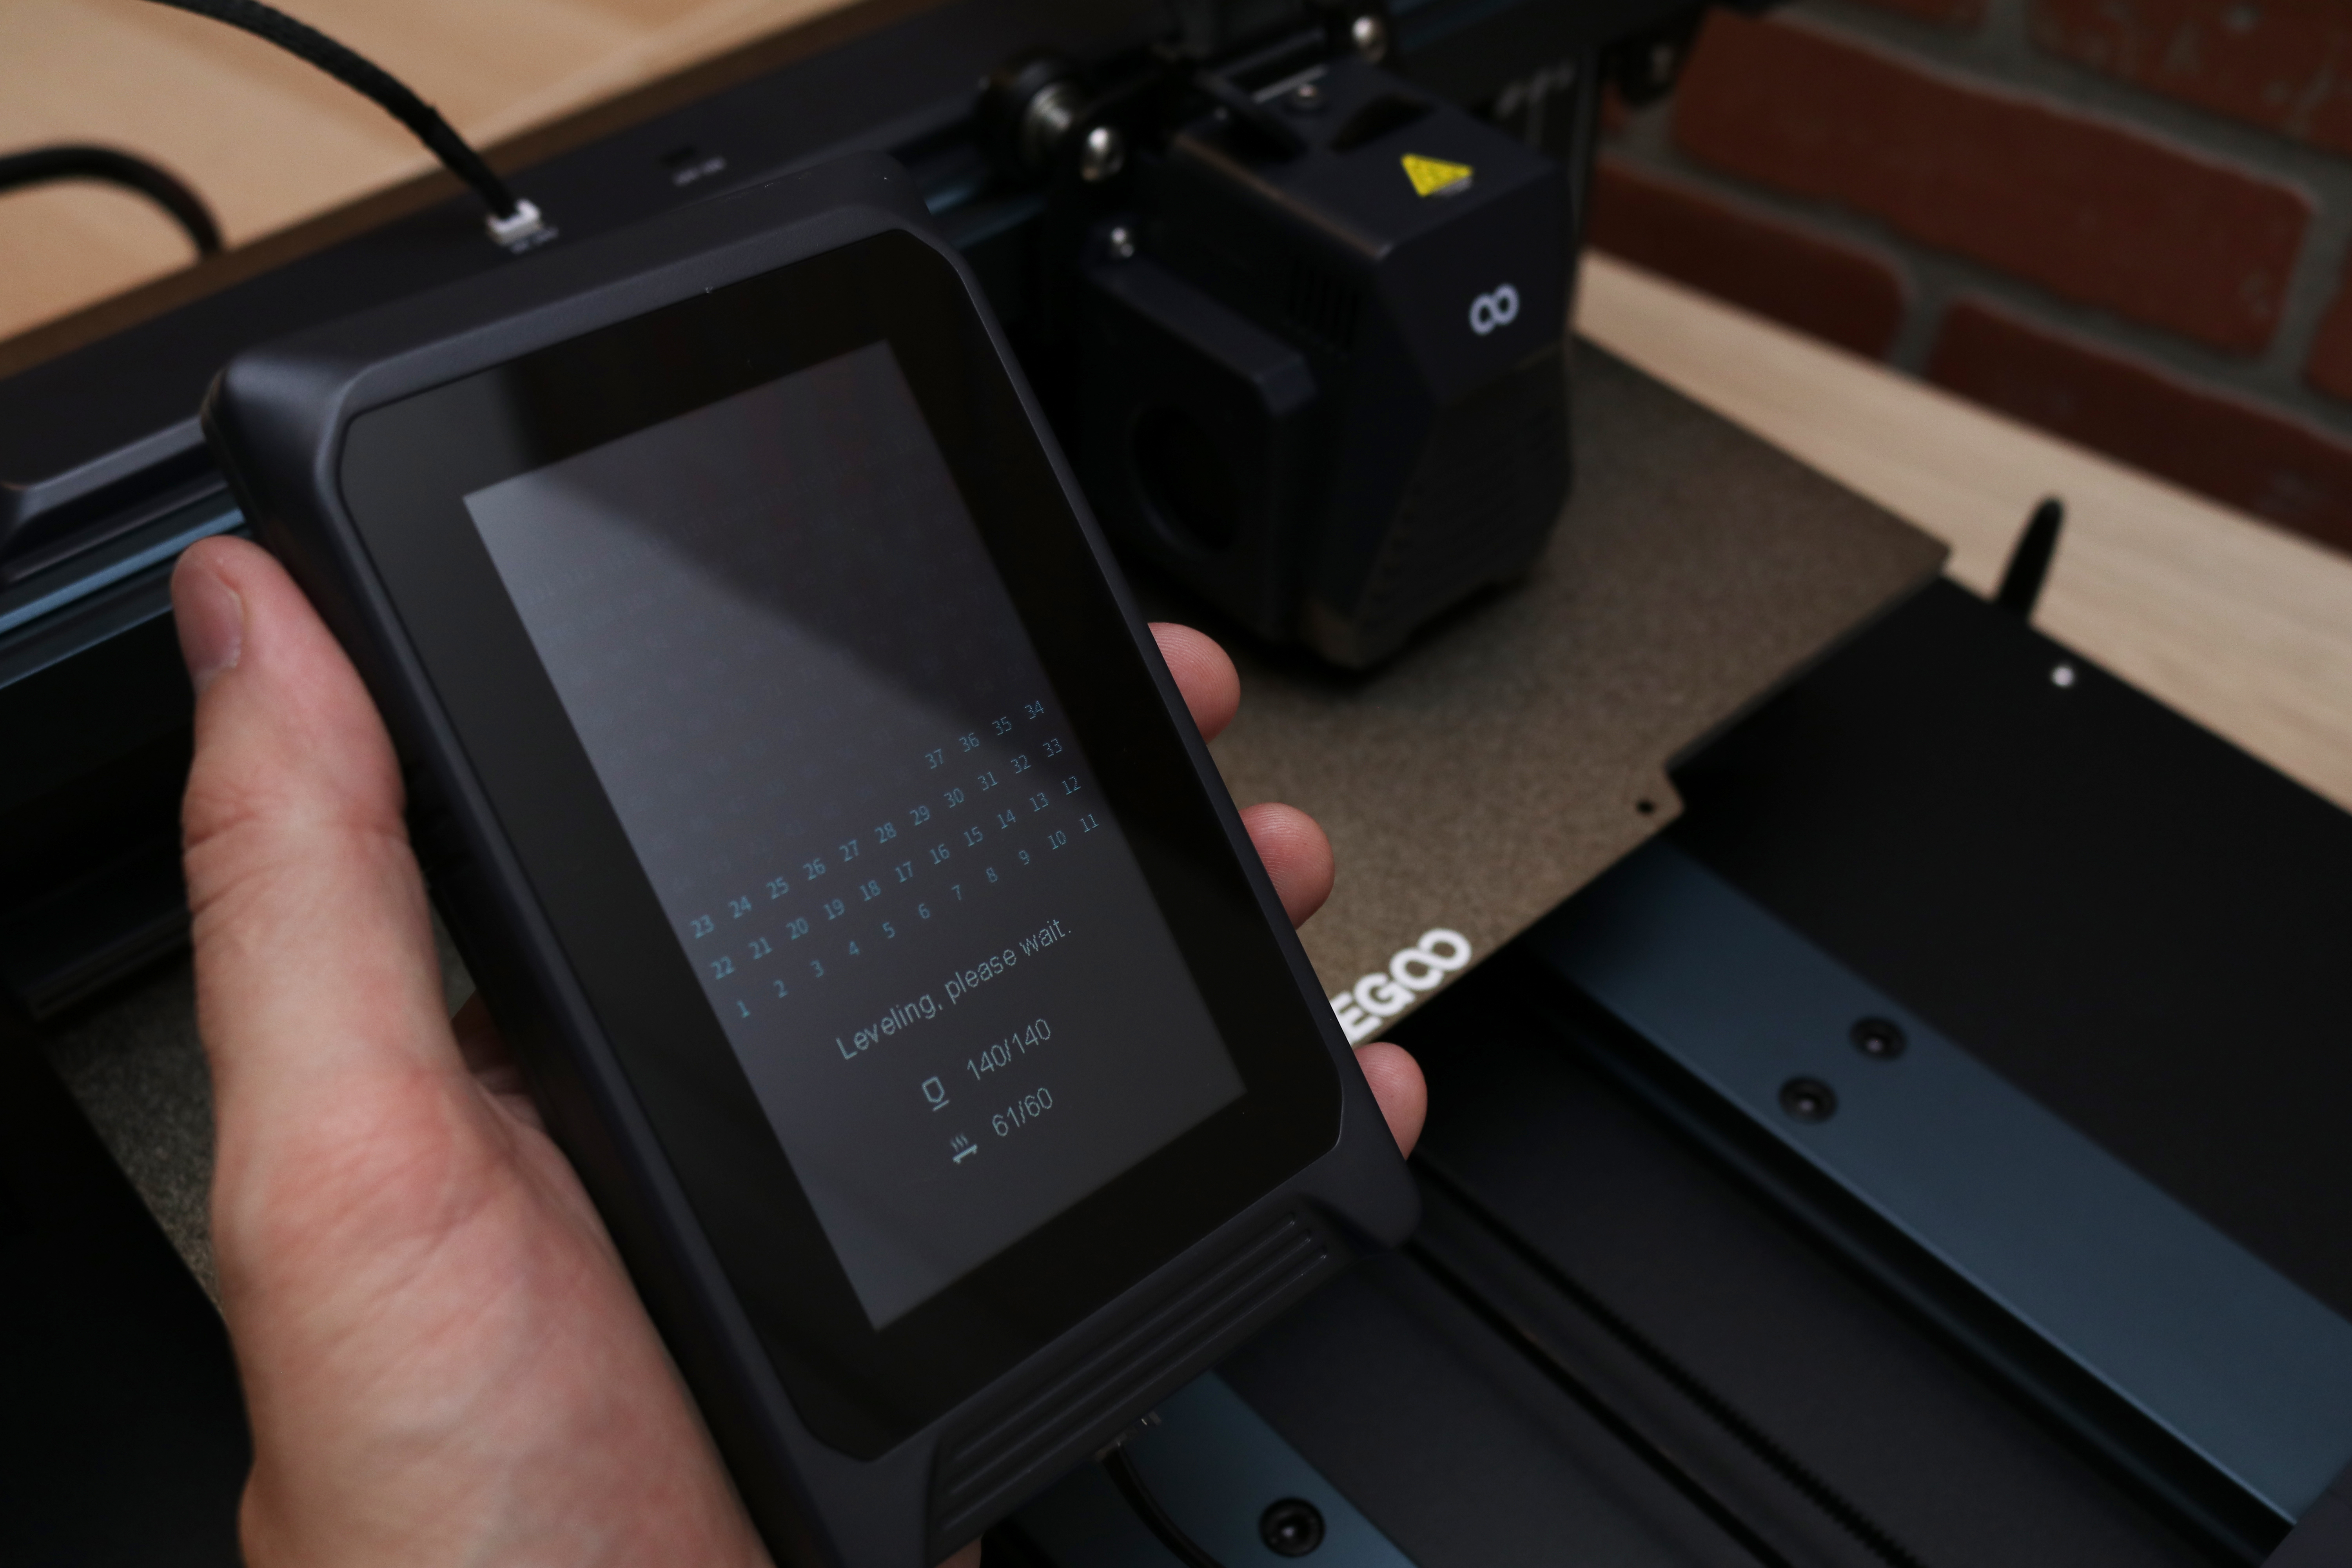
The Neptune 4 Plus uses an 11x11 point grid to accurately measure the nozzle offset at 121 points across the build platform. Unfortunately, taking these measurements is not the only step required to complete a calibration of the build platform and the process can be a tedious one. The included “Calibration Quick Start Guide” is a solid wall of text that will likely be overwhelming to users expecting a single click “CALIBRATE” operation in the menu.
Performing a full bed calibration requires three individual steps, and these steps may need to be repeated depending on how much calibration is required. The first step is the “Manual” calibration on the Printer UI, which will bring the nozzle to various points on the platform and prompt the user to manually adjust the thumbscrews to set the offset of the nozzle. Next comes the “Automatic” calibration, which will take a more precise measurement using the probe mounted to the hot end to measure the offset at all 121 points. Finally, the Z-Offset can be set, which offers a global offset applied in addition to the local offsets.
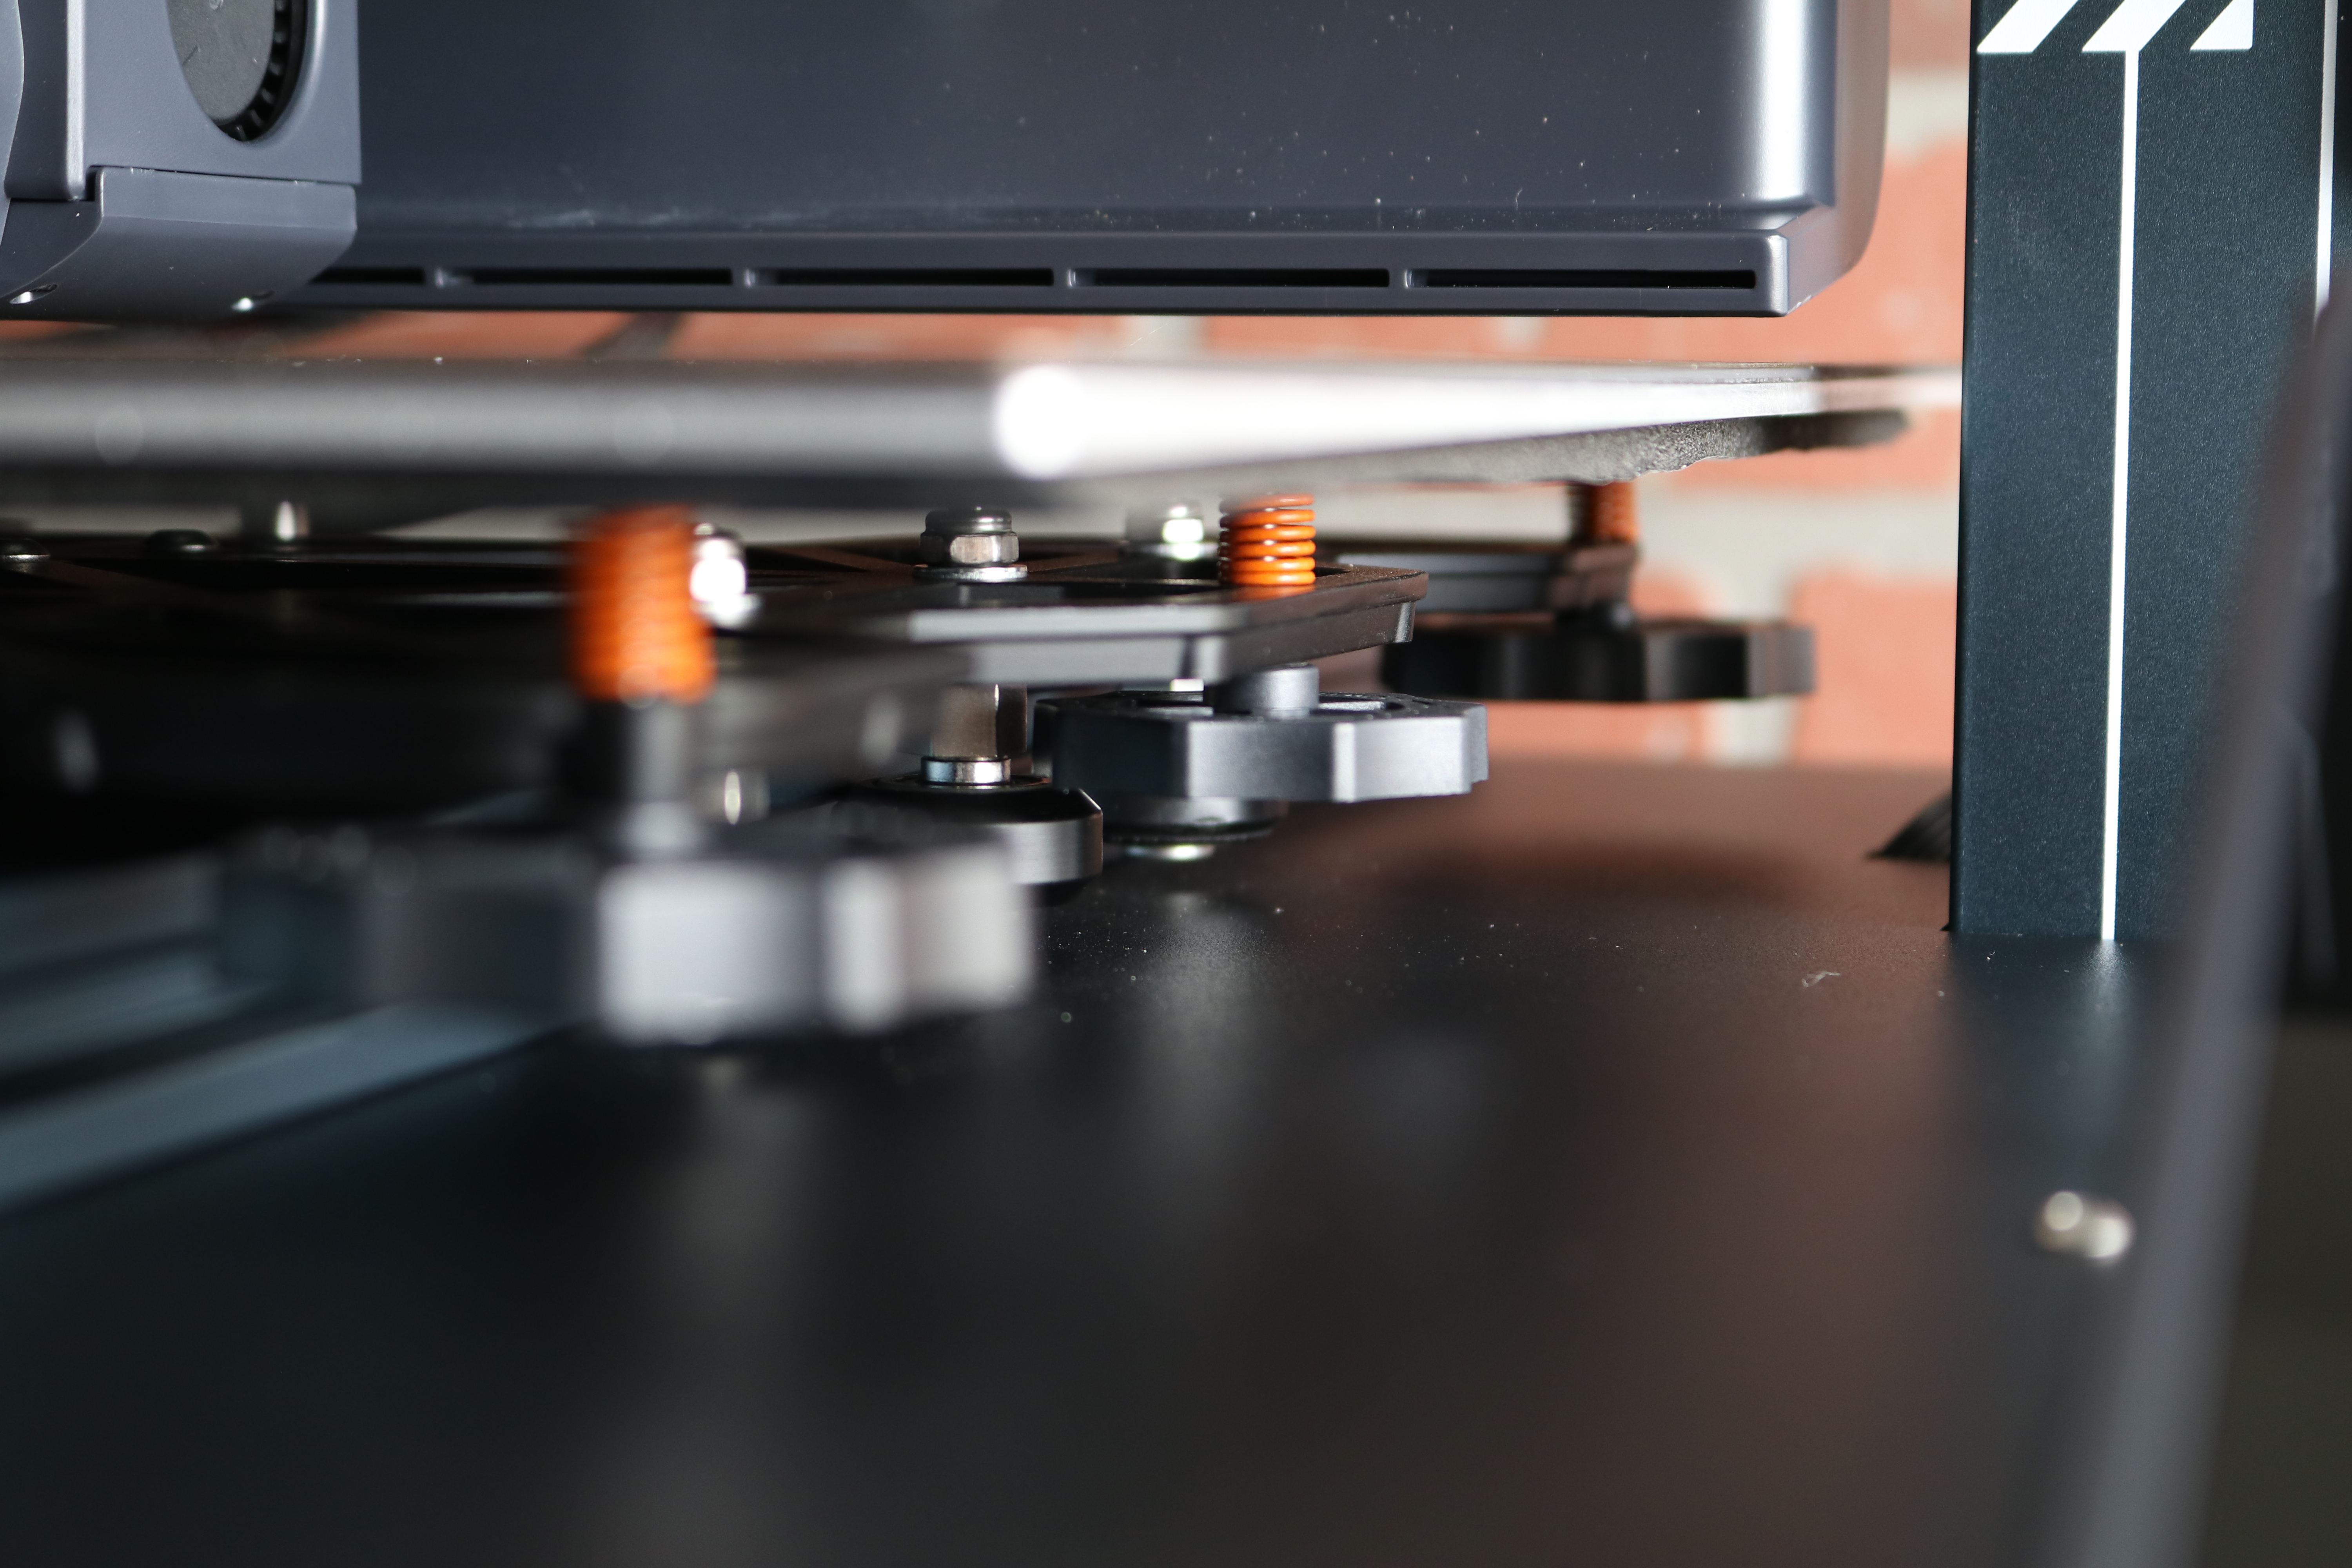
Just like its predecessor, the Neptune 4 Plus has six wheels underneath the build platform that are used for leveling. These six wheels are used to level the bed at their respective points, with the global Z-offset ideally being a fixed number that keeps the nozzle at a consistent position relative to the platform at all points. As you can imagine, the more complex the leveling system on a printer, the more likely it is that users will struggle to achieve a good first layer.
Given the endstop-free nature of the X and X-axes, it’s a little confusing as to why the Neptune 4 Plus doesn’t have a similarly-high level of automation in the bed leveling process. Adding thumbwheels pushes some of the more tedious work on the user, while the probe sensor is already on the printer and ready to provide instant feedback. The hybrid automatic / manual process (which was acceptable in the recent past) is rapidly phasing out as printers ship with progressively more automated leveling technology.
Build Platform on Elegoo Neptune 4 Plus
The dark gold textured PEI build platform of the Neptune 4 Plus is practically the Platonic ideal of a print surface. It provides excellent adhesion during printing while simultaneously allowing effortless part removal after cooling. 3D printing is the process of building a part in layers, and these layers need to remain attached to the build platform during printing, but also need to be removed after printing. The large size of the Neptune 4 build platform and the strong magnetic pull of the base means most parts can be removed by just bending the front of the platform and allowing the part to pop off.
Printing on glass typically requires an adhesive to keep the part attached, which can be difficult to remove once the print is completed. Printing on textured PEI, however, allows the extruder material to grip the surface tightly while heated. Once printed, the build platform cools down and the part will practically pop off with nearly no effort. A hallmark of this process is the gritty, textured surface left on the platform-facing side of the printed part, something that may be undesirable as opposed to a flat, mirror-shine surface.
Blower Fans on Elegoo Neptune 4 Plus
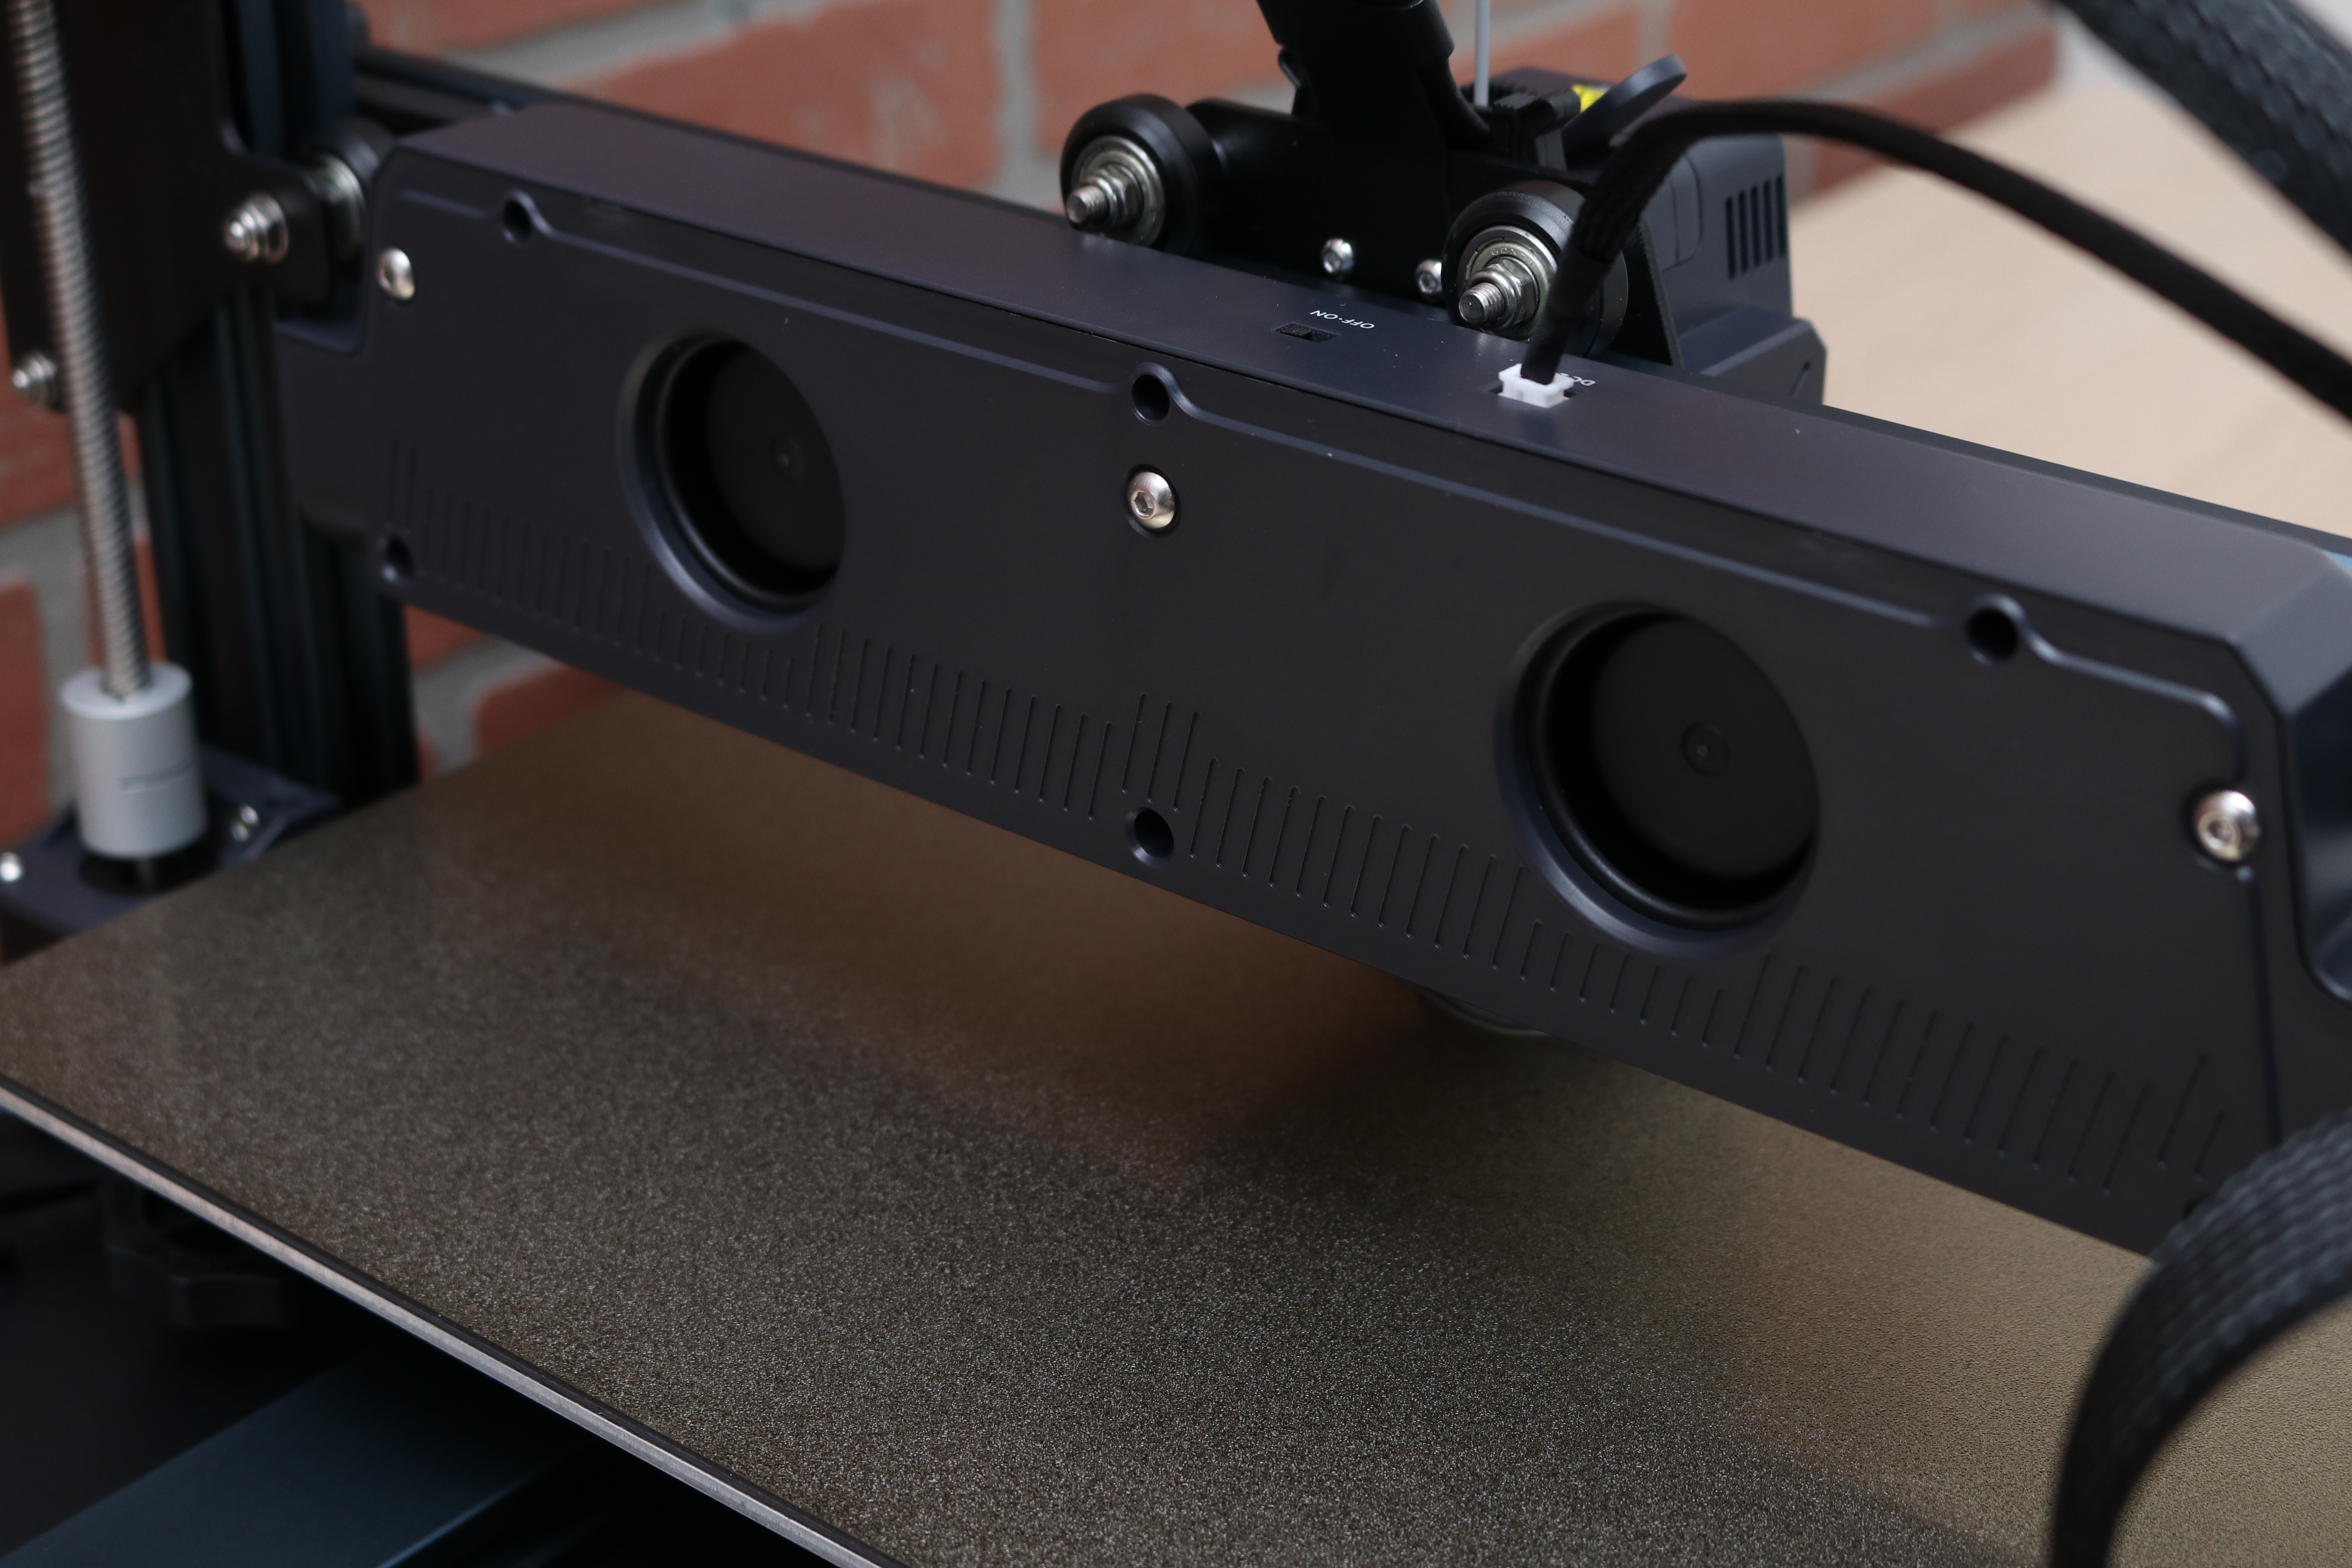
Just like the Neptune 4 Pro and Neptune 4 Max, the Neptune 4 Plus is equipped with a row of blower fans mounted to the rear of the X-axis that blast air across parts as they are being printed. This increased air flow allows for ambitious overhangs and fine details to cool rapidly after printing, something that is desirable in a printer that deposits material as quickly as the Neptune 4 Plus.
The Neptune 4 Plus uses 6025 ball bearing fans, while the Neptune 4 Pro uses 4020 ball bearing fans in the assembly. Unlike the Neptune 4 Pro, the Neptune 4 Plus only has a pair of fans mounted in this assembly and not four. Despite using fewer fans, the overall level of airflow can be overwhelming when set to “Sport” mode, the most aggressive of the three available levels.
Printing Demo Models on the Elegoo Neptune 4 Plus
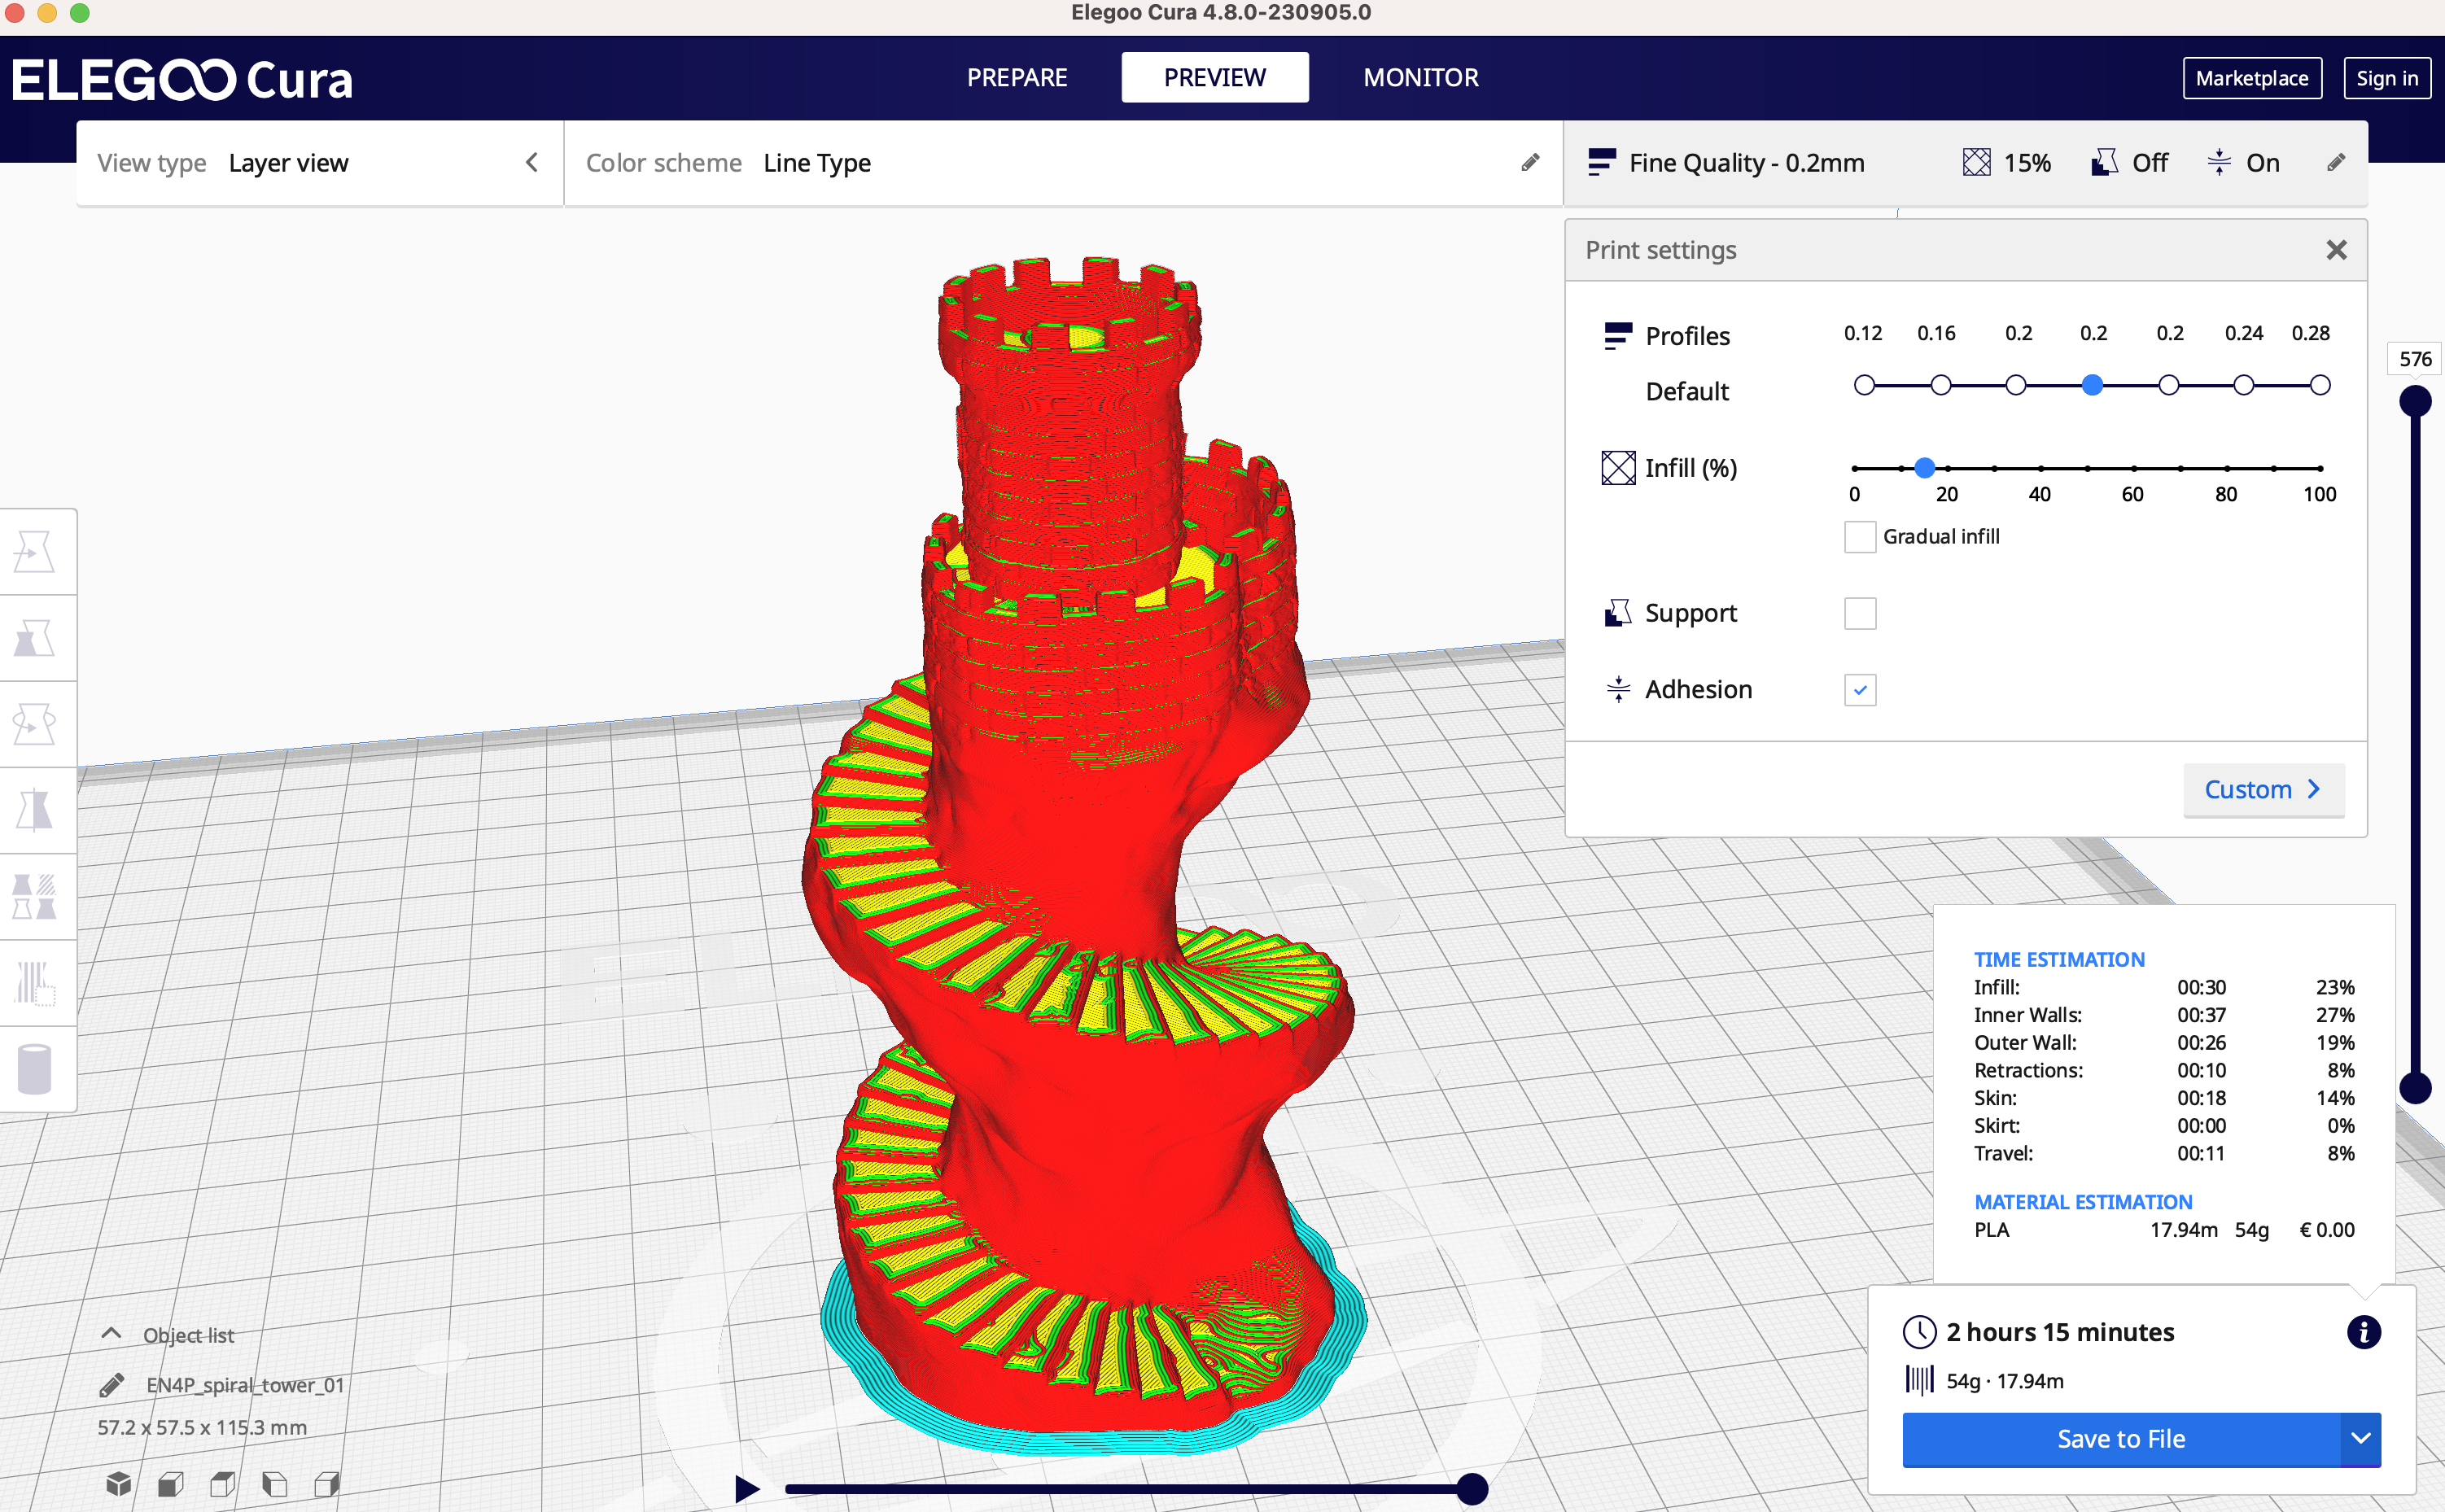
“If it ain’t broke, don’t fix it” is a motto that must bounce around the halls at Elegoo, because the Neptune 4 Plus includes the same Buddha 3D model that has been included on all Elegoo FDM machines in recent memory. Taking a look at the .gcode reveals that this file was sliced using the Elegoo Cura 4.8.0 software using the Neptune 4 Plus profile, so it’s clear that Elegoo is not simply shipping a “known good” .gcode file but is instead preparing the model for each printer.
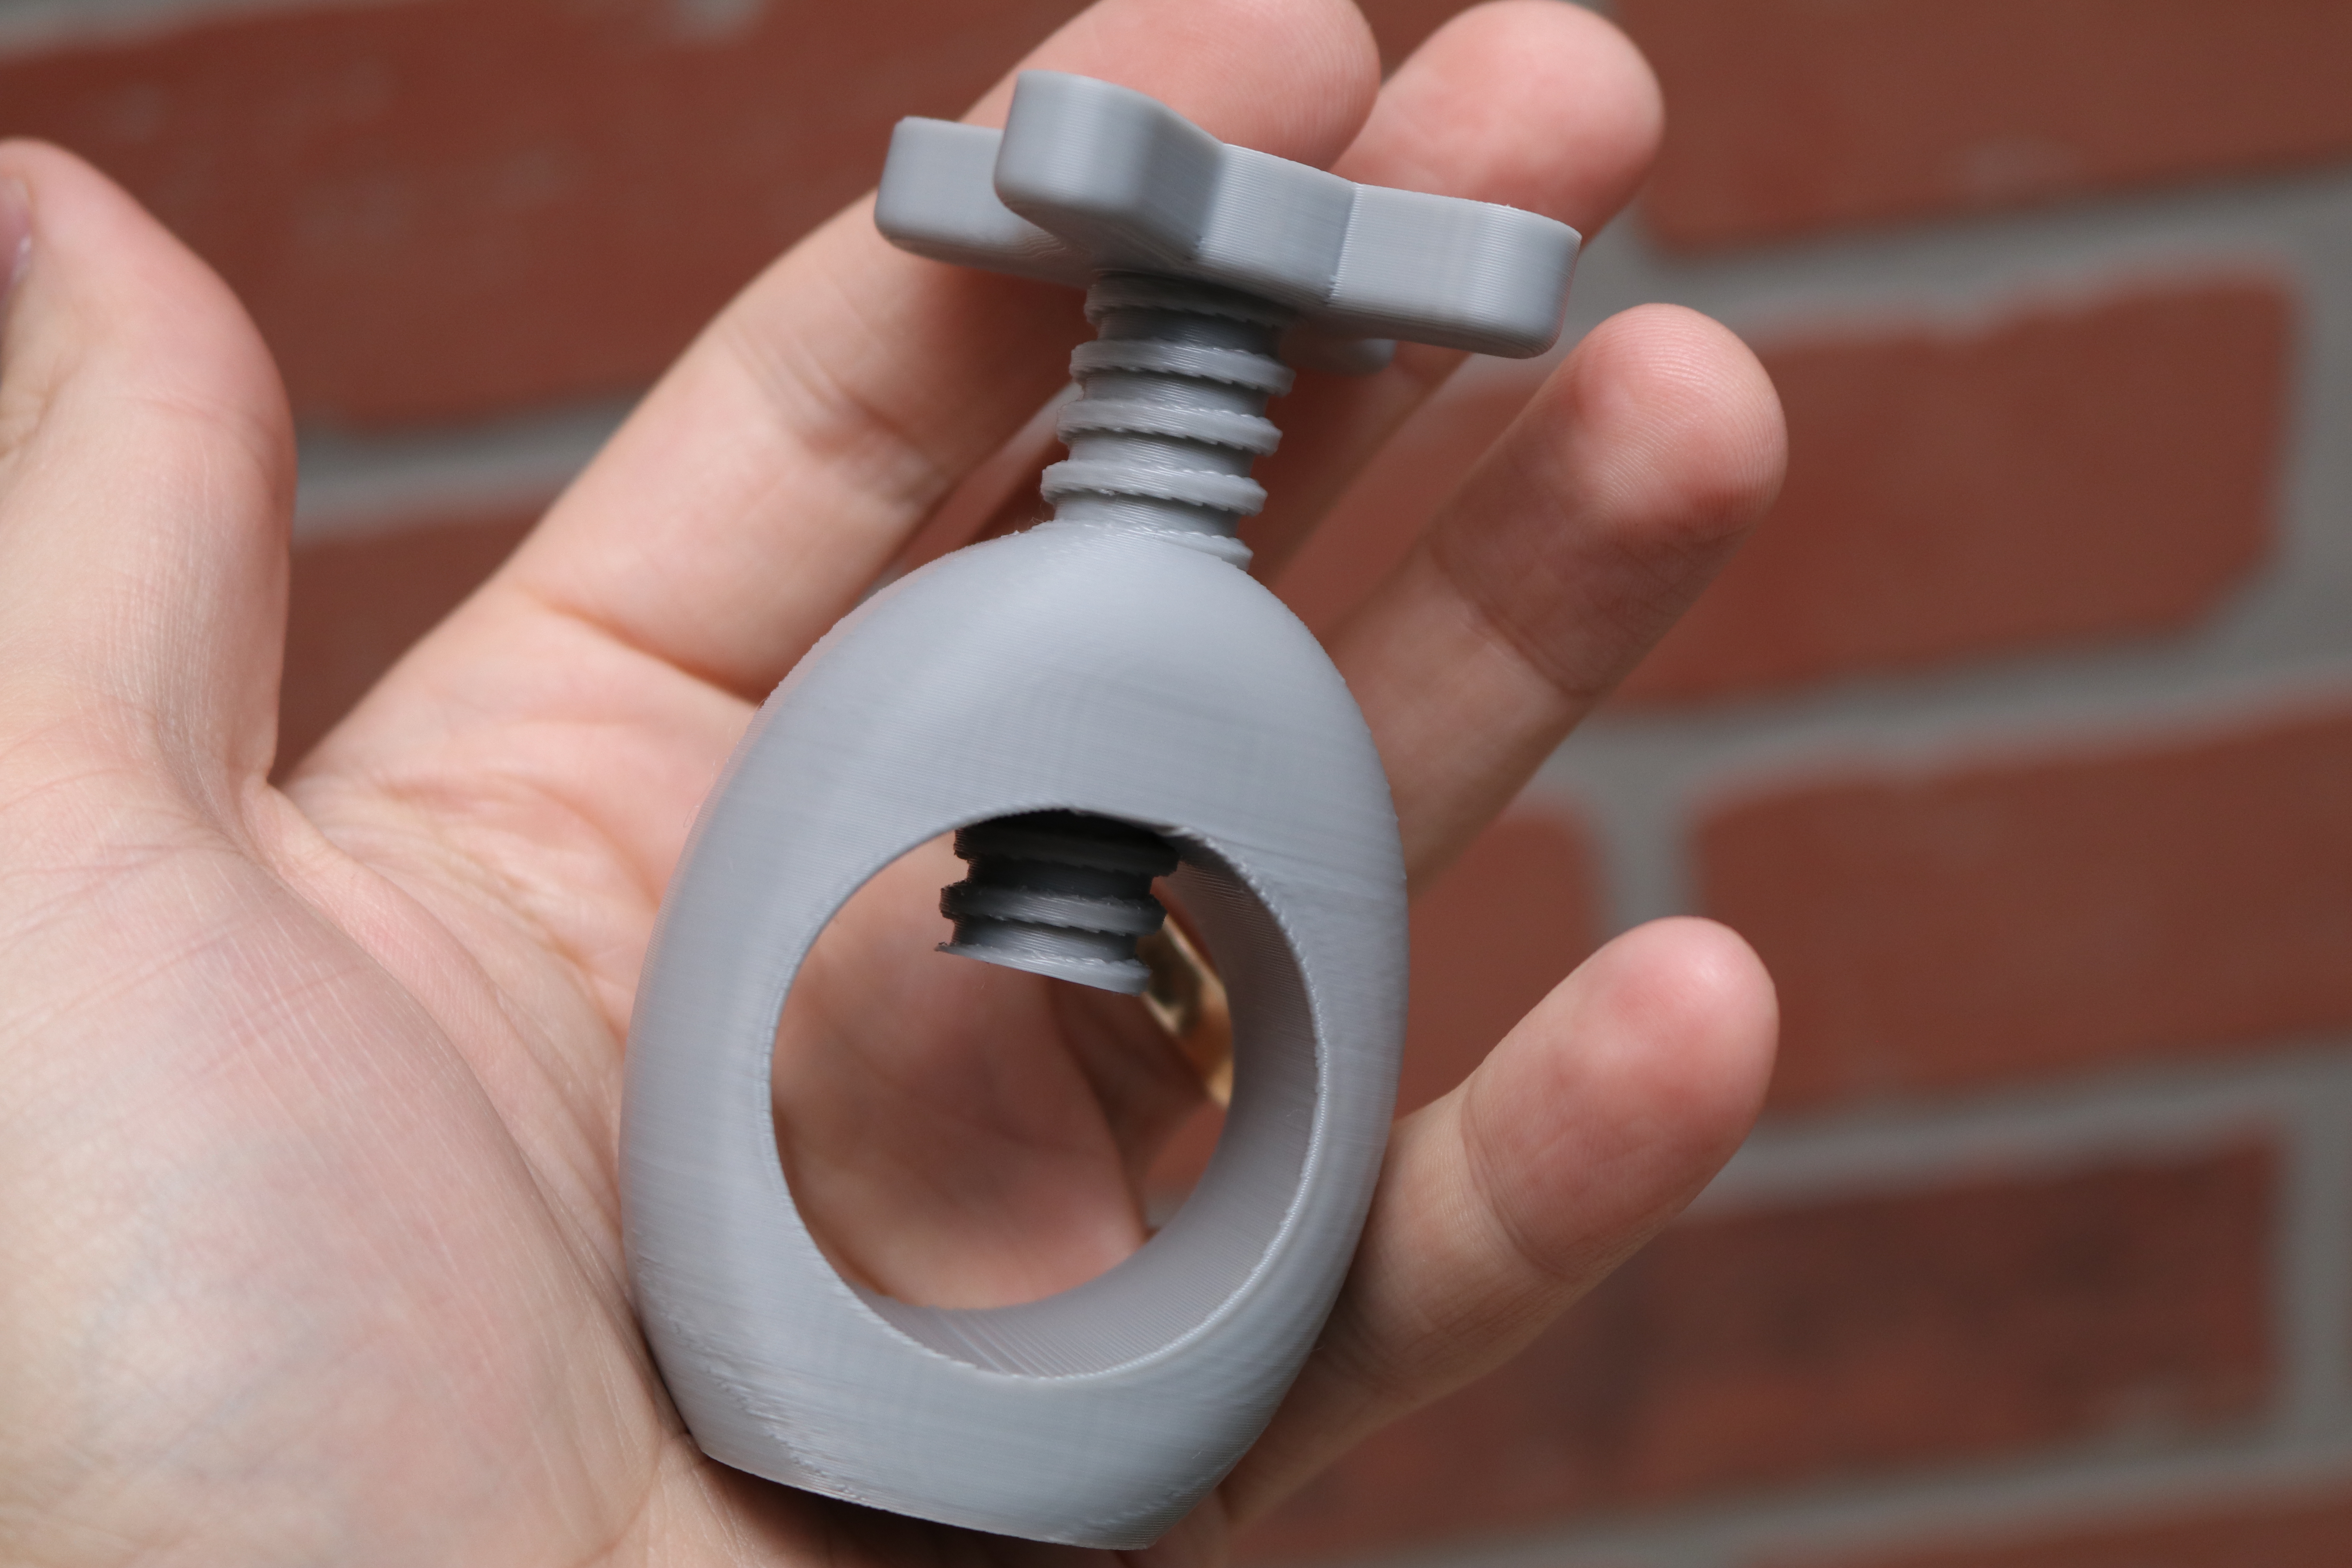
The Neptune 4 Plus also includes the same nutcracker model as the Neptune 4 Pro, a fun and functional model that prints in two pieces and screws together. This model demonstrates that the Neptune 4 Plus is capable of printing threads, as well as printing multiple models simultaneously without stringing or warping issues related to cooling. Elegoo also includes a .png image of the nutcracker in use, in case you need a quick refresher on how to crack open a walnut.
Slicing Software for Elegoo Neptune 4 Plus
Just like the other printers in the Elegoo Neptune 4 family, the Neptune 4 Plus ships with a copy of Elegoo Cura 4.8.0. This slicer includes machine profiles for the Neptune 4 as well as the Neptune 4 Pro, Plus, and Max. Cura is an excellent starting point for beginners, as the simplified interface isn’t overwhelming, but more advanced features can still be accessed by toggling between ‘Recommended’ and ‘Custom’ in the UI.
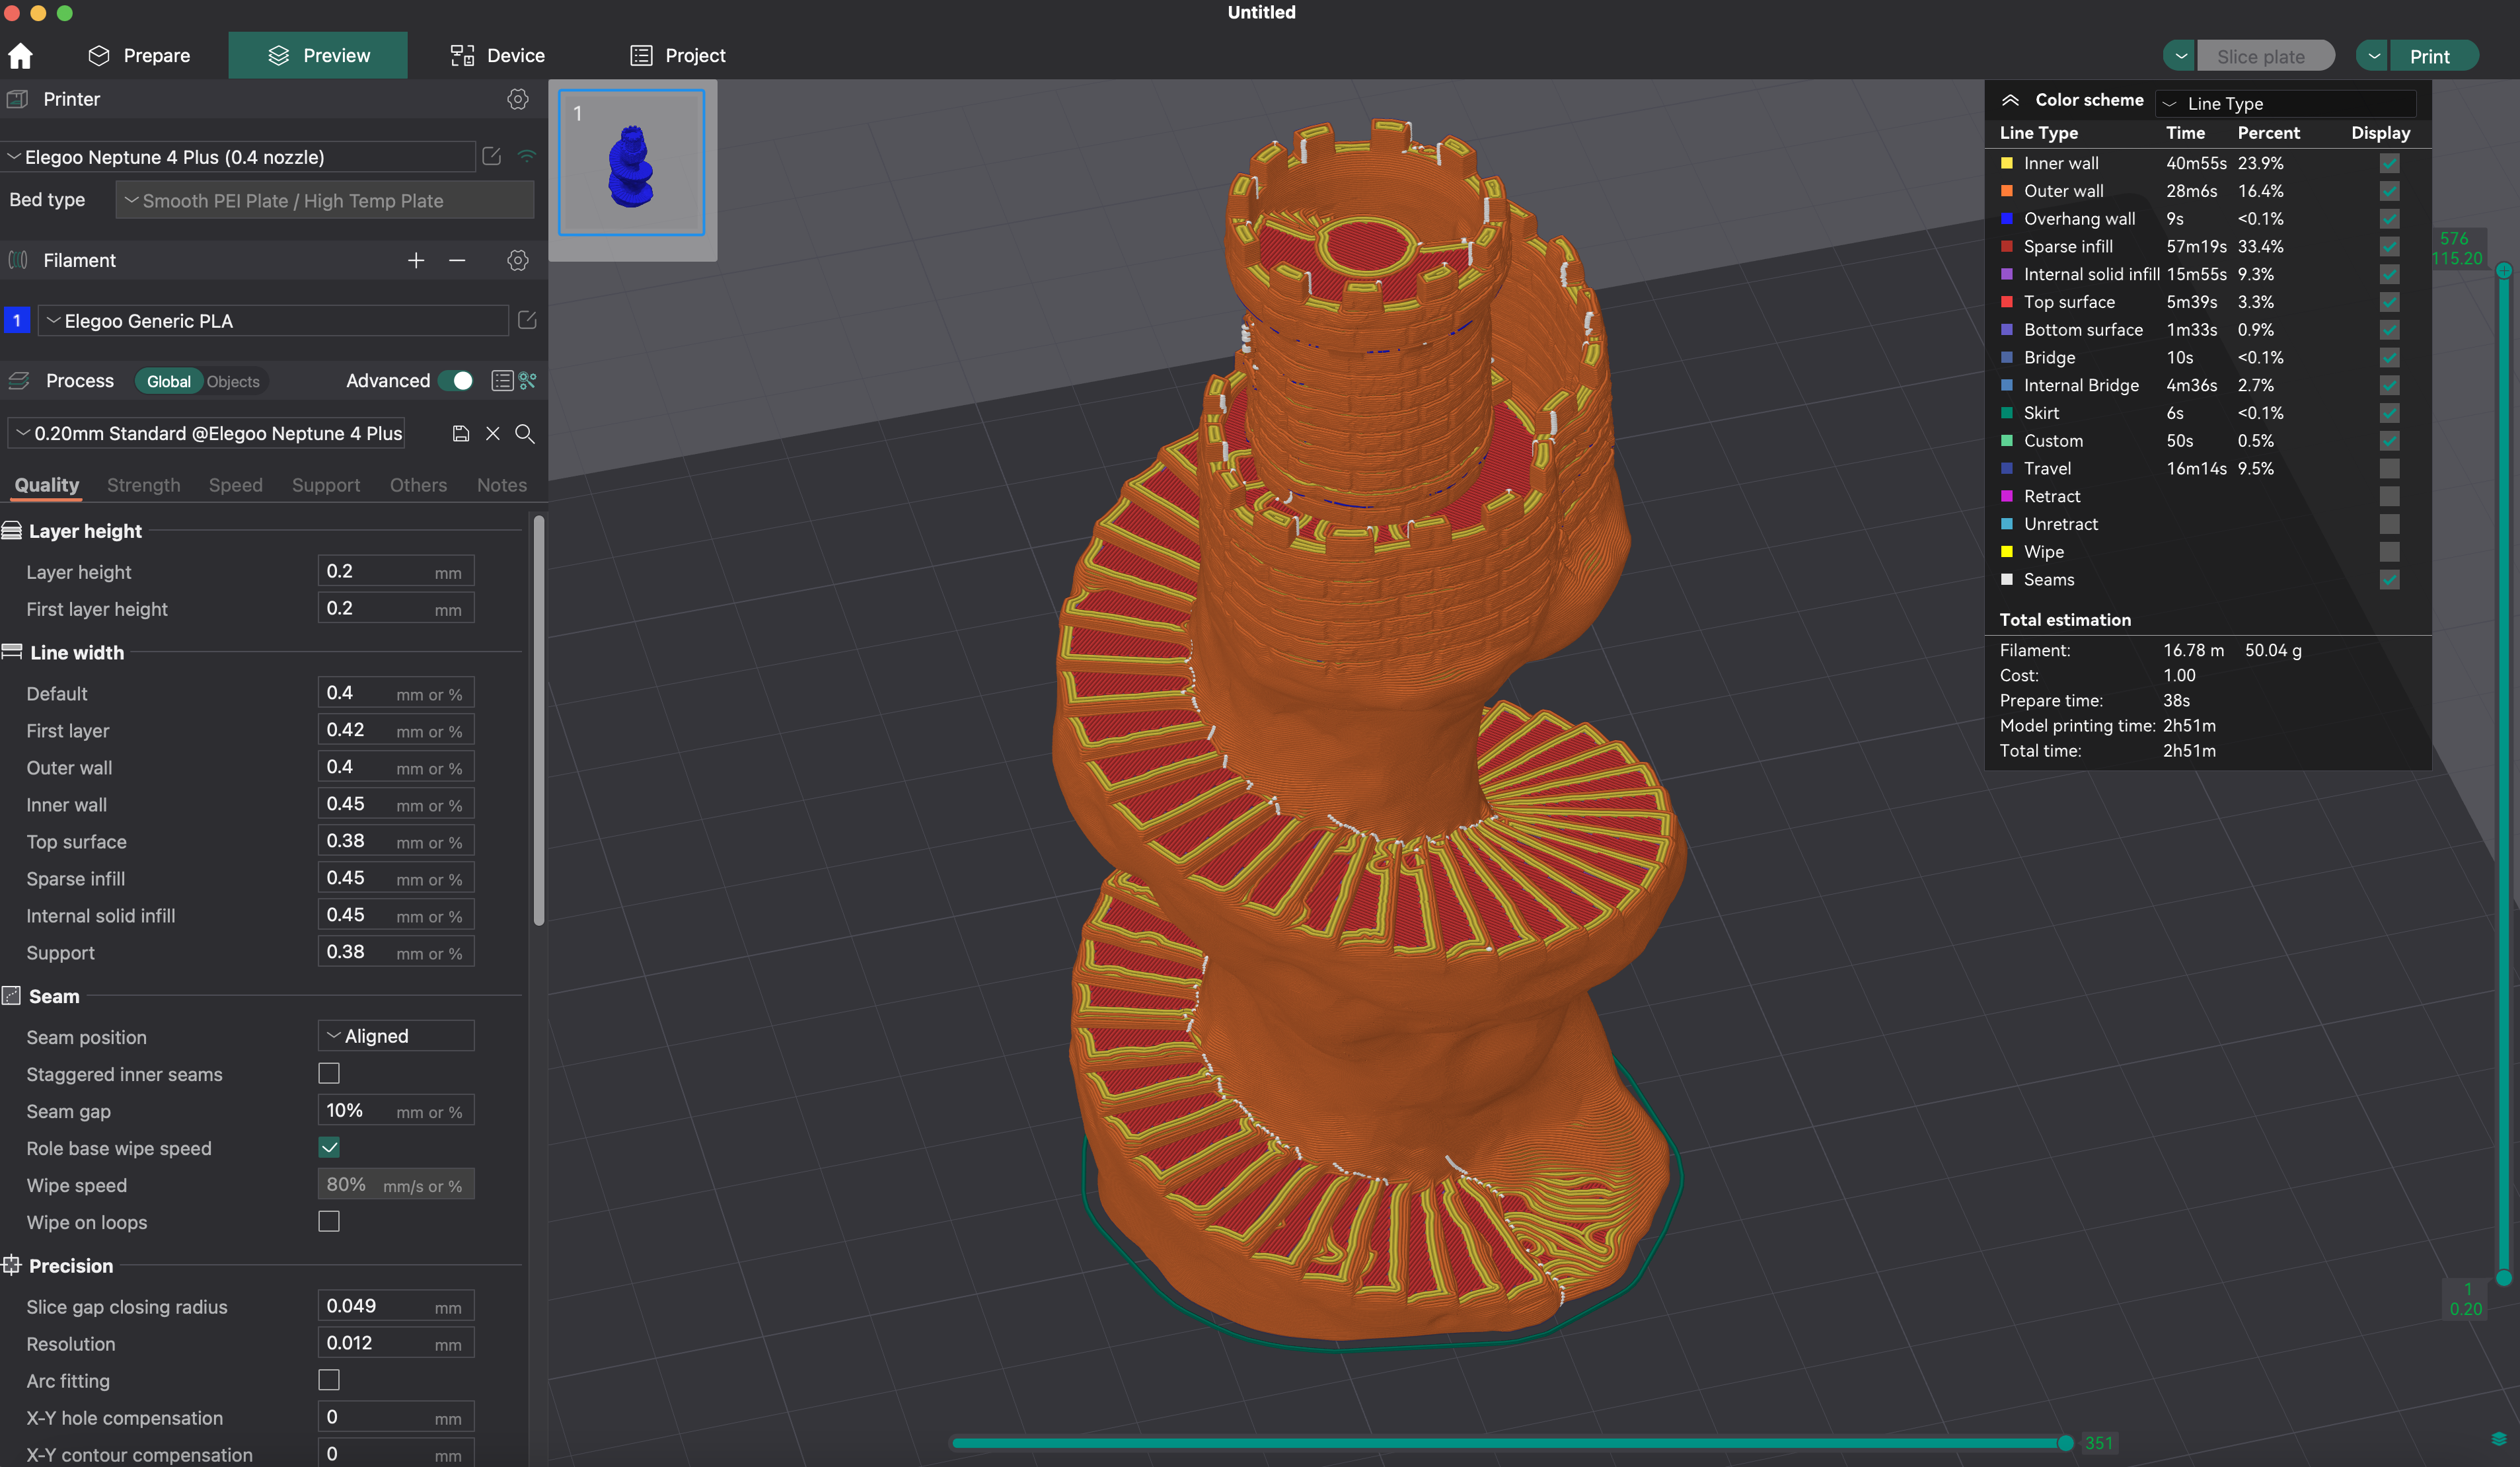
Considering the Neptune 4 Plus is equipped with Klipper and native Wi-Fi, some advanced users may want to use a more configurable slicer like OrcaSlicer. While the current release of OrcaSlicer (1.8.0 beta) does not include a default profile for the Neptune 4 Plus, the time spent creating a profile is well spent considering the Fluidd interface monitoring offered through the slicer.
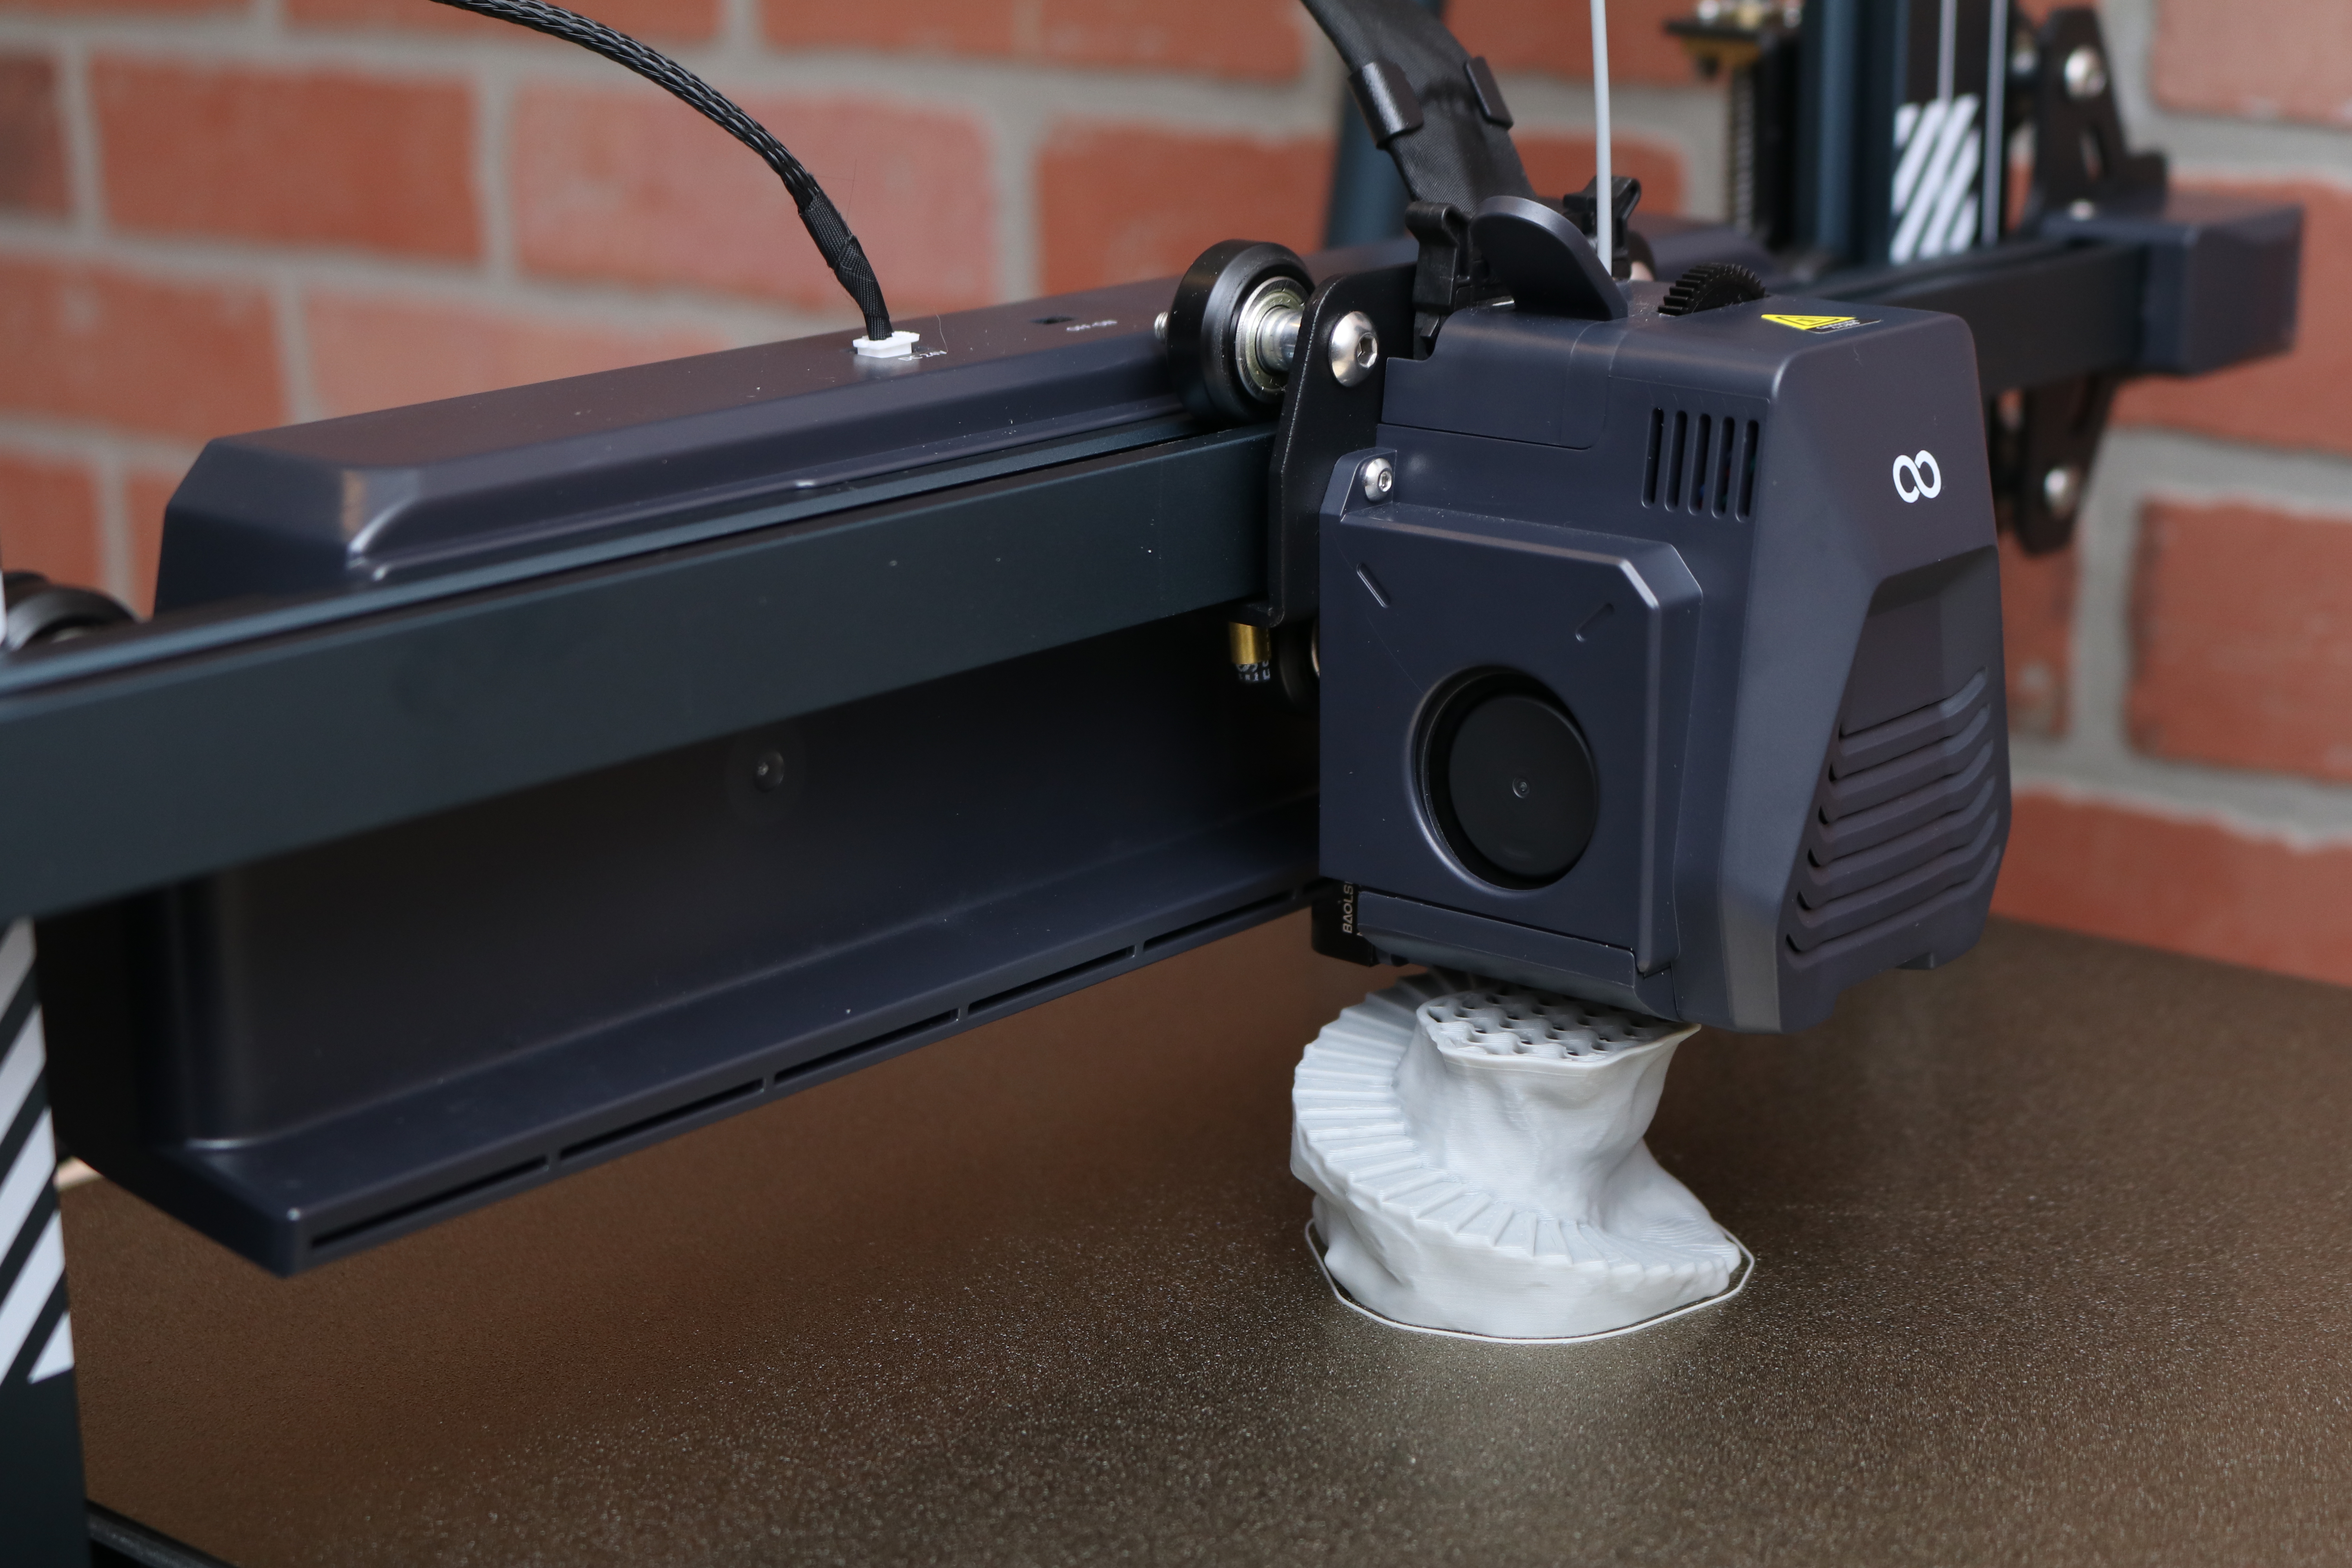
Using Elegoo Grey PLA, the Spiral Tower by Kijai printed free of defects and a surprising amount of detail was resolved on the tiny bricks. Considering the overall size of the Neptune 4 Plus, it’s impressive to see such fine detail on a small model. Sliced with OrcaSlicer using a 0.2mm quality profile, the model printed in 3 hours and 7 minutes.
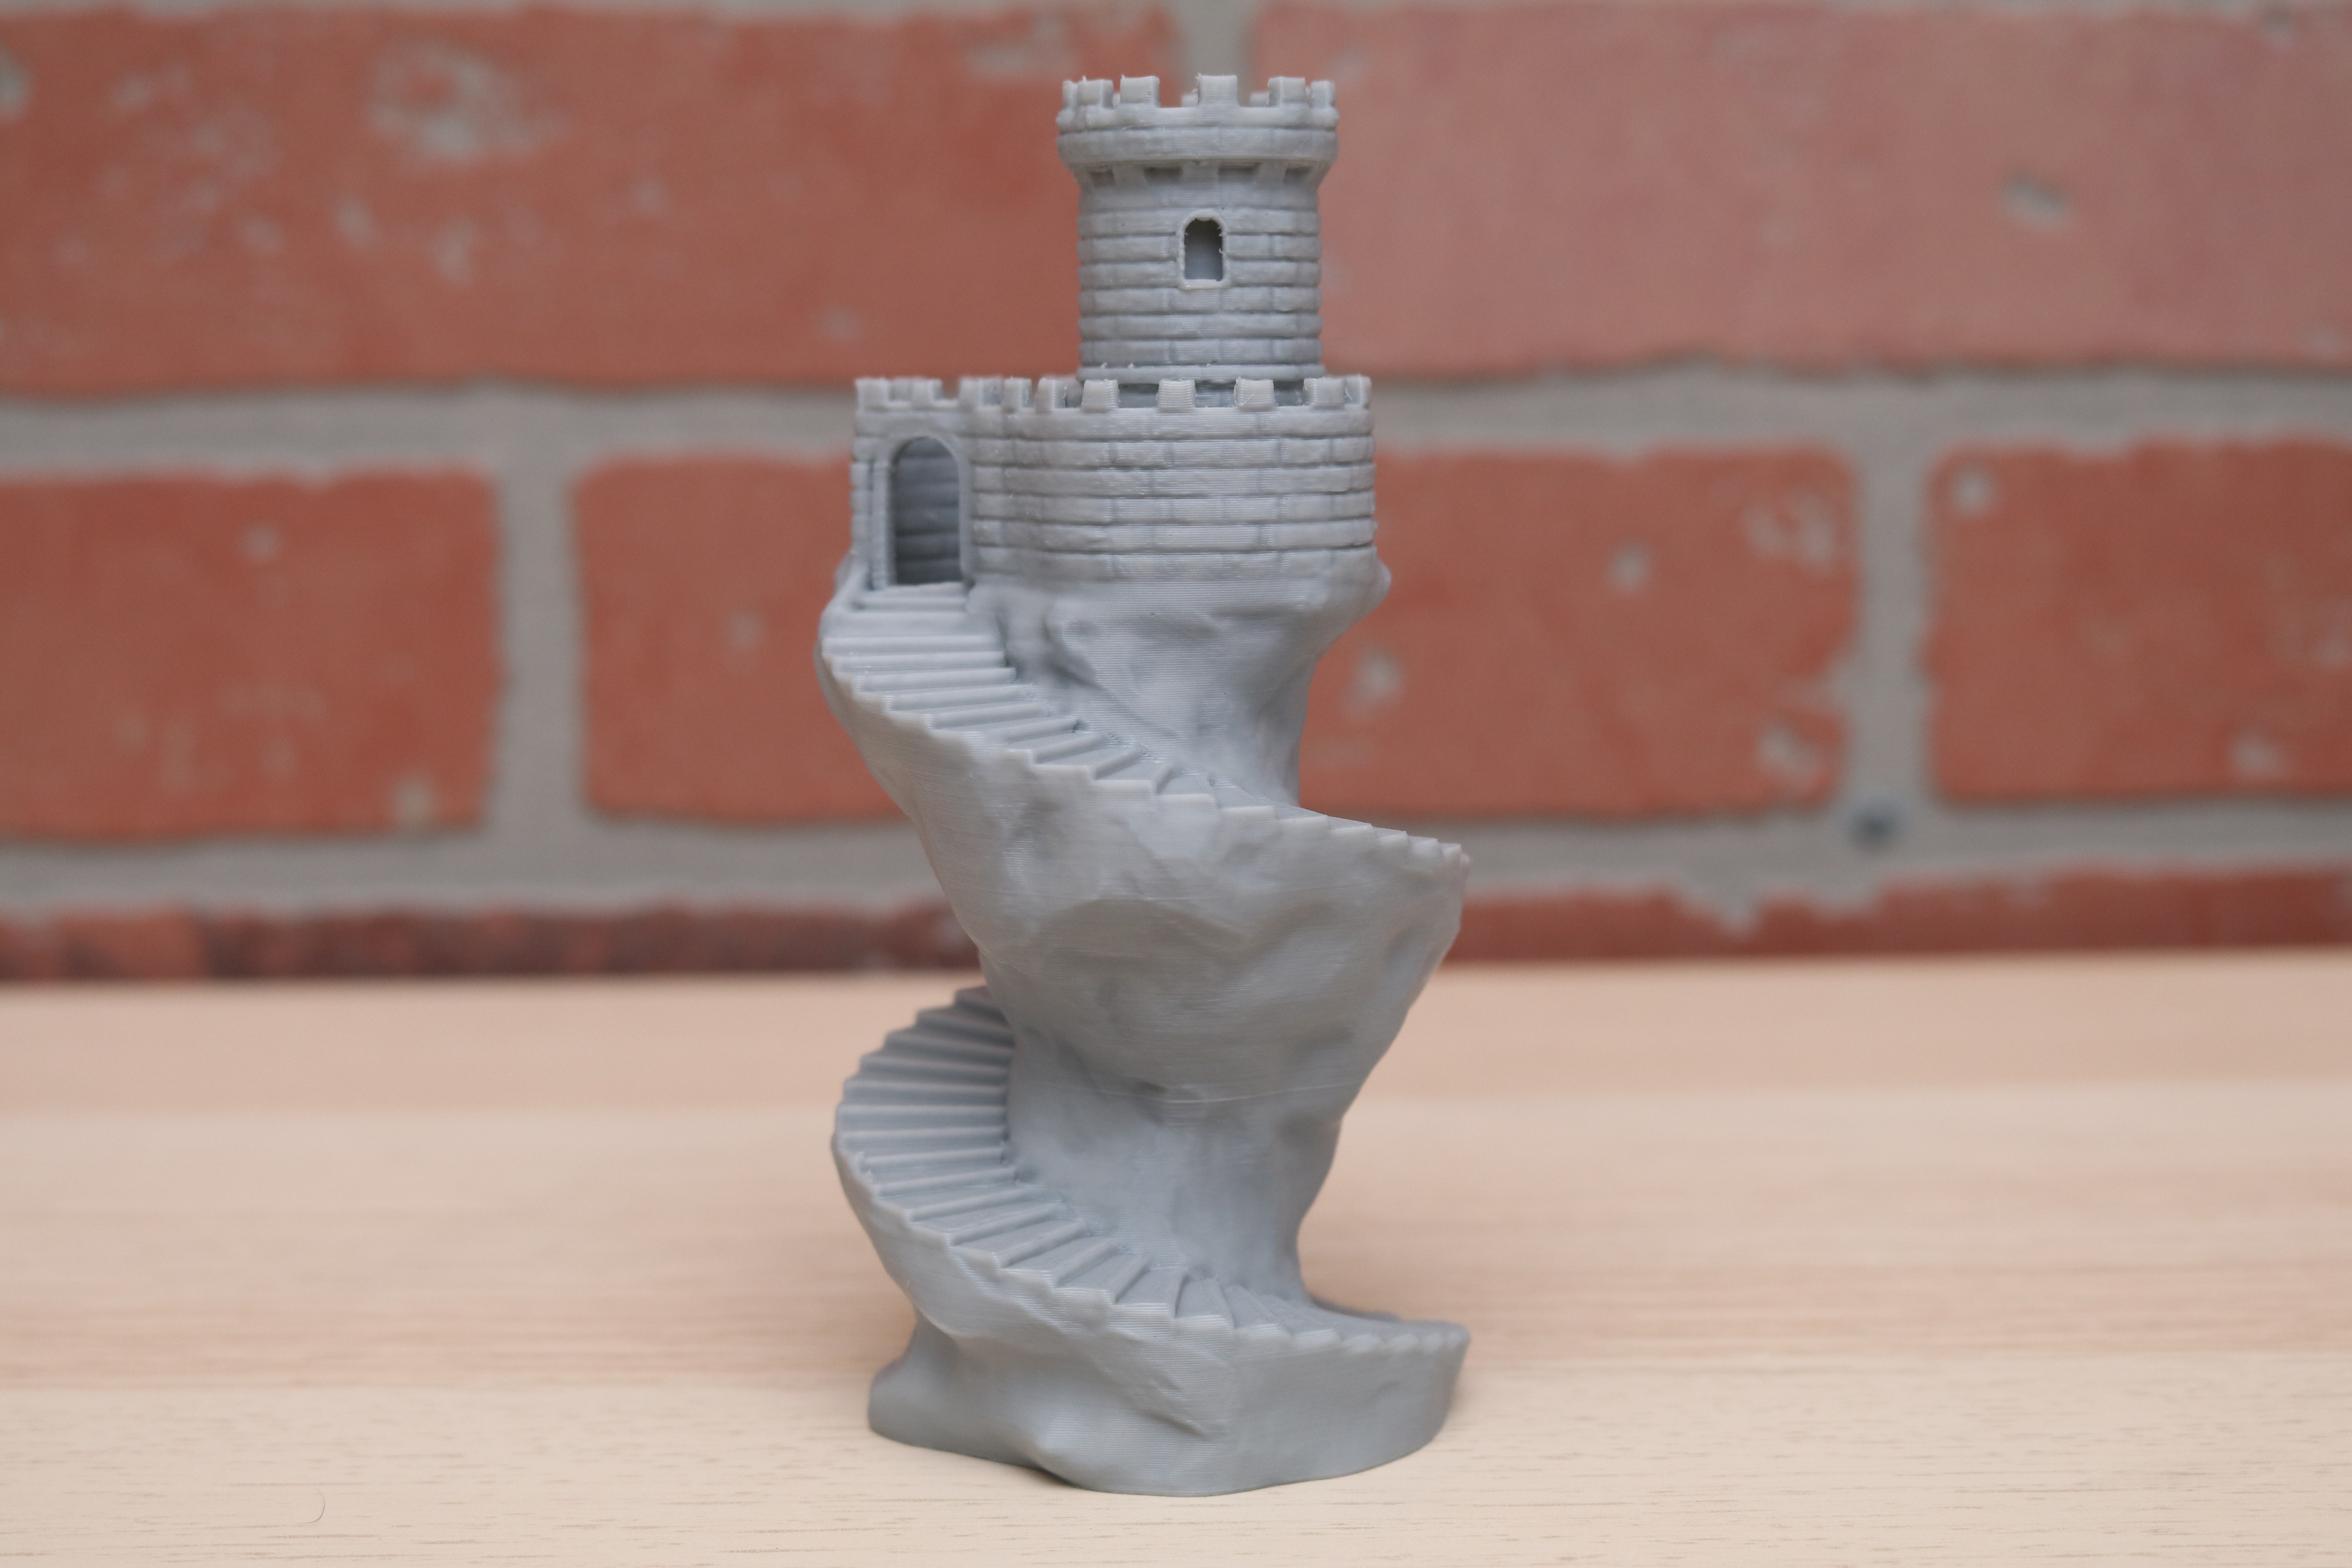
Model: Spiral Tower by Kijai
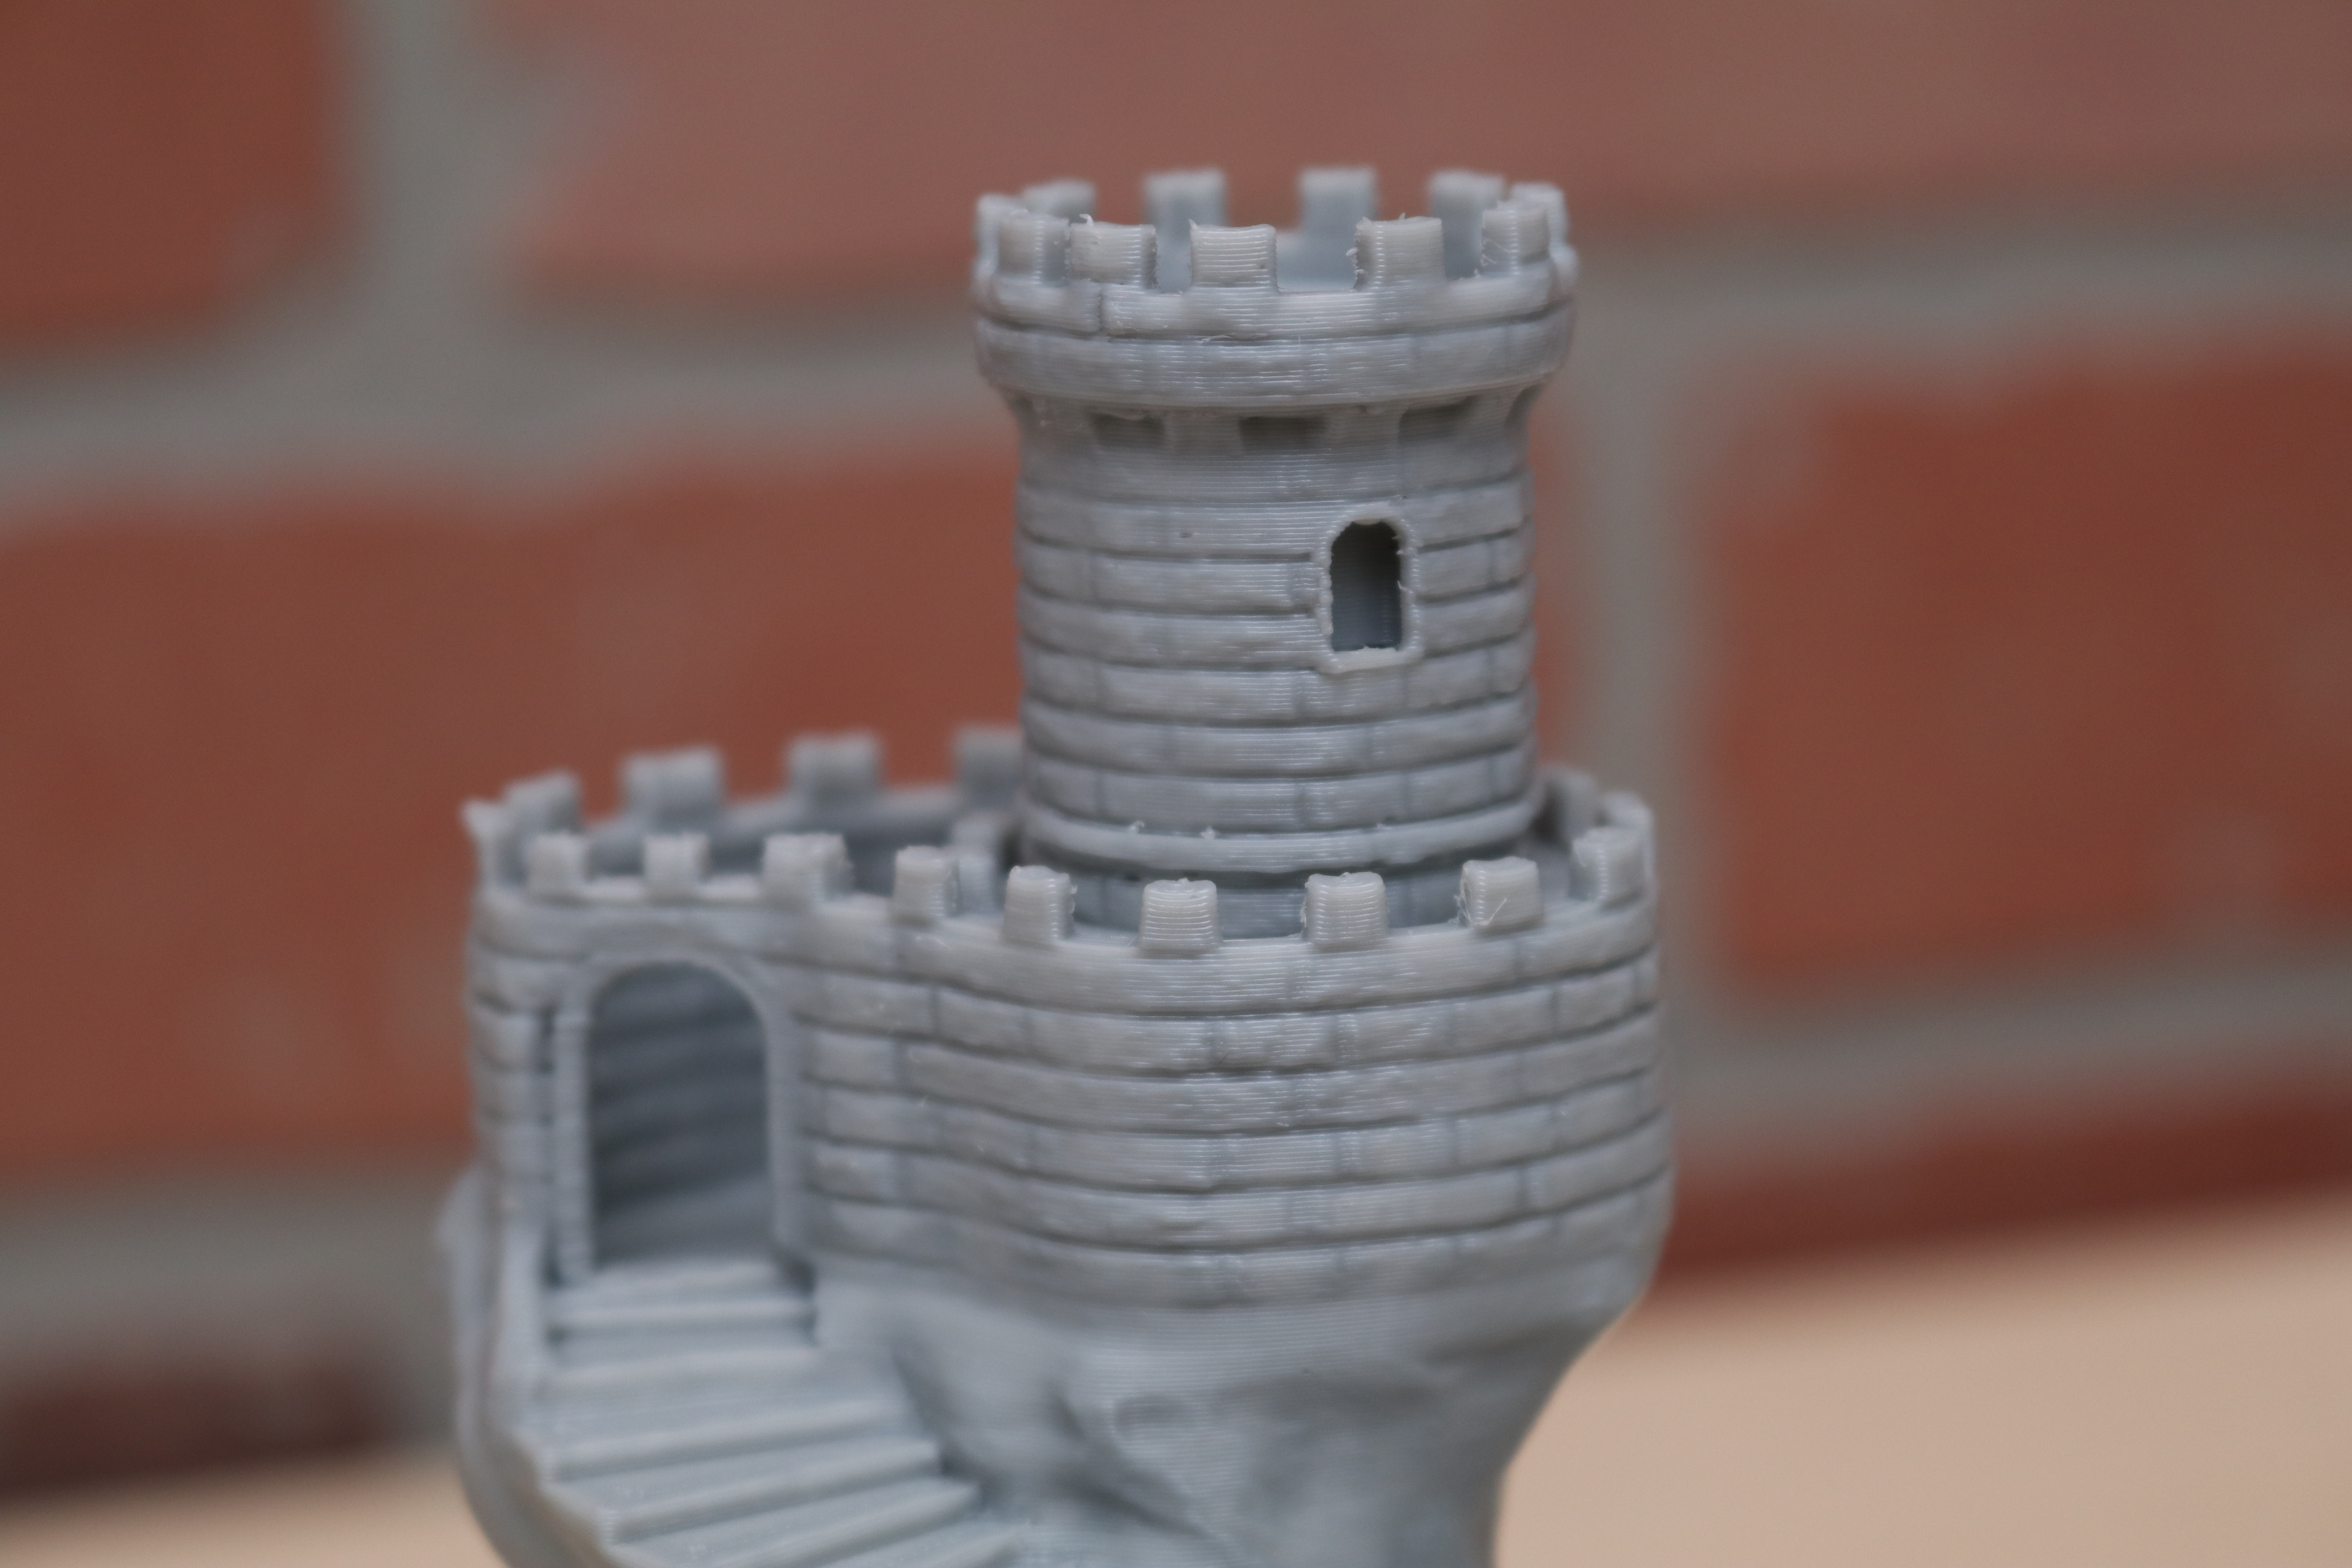
Model: Spiral Tower by Kijai
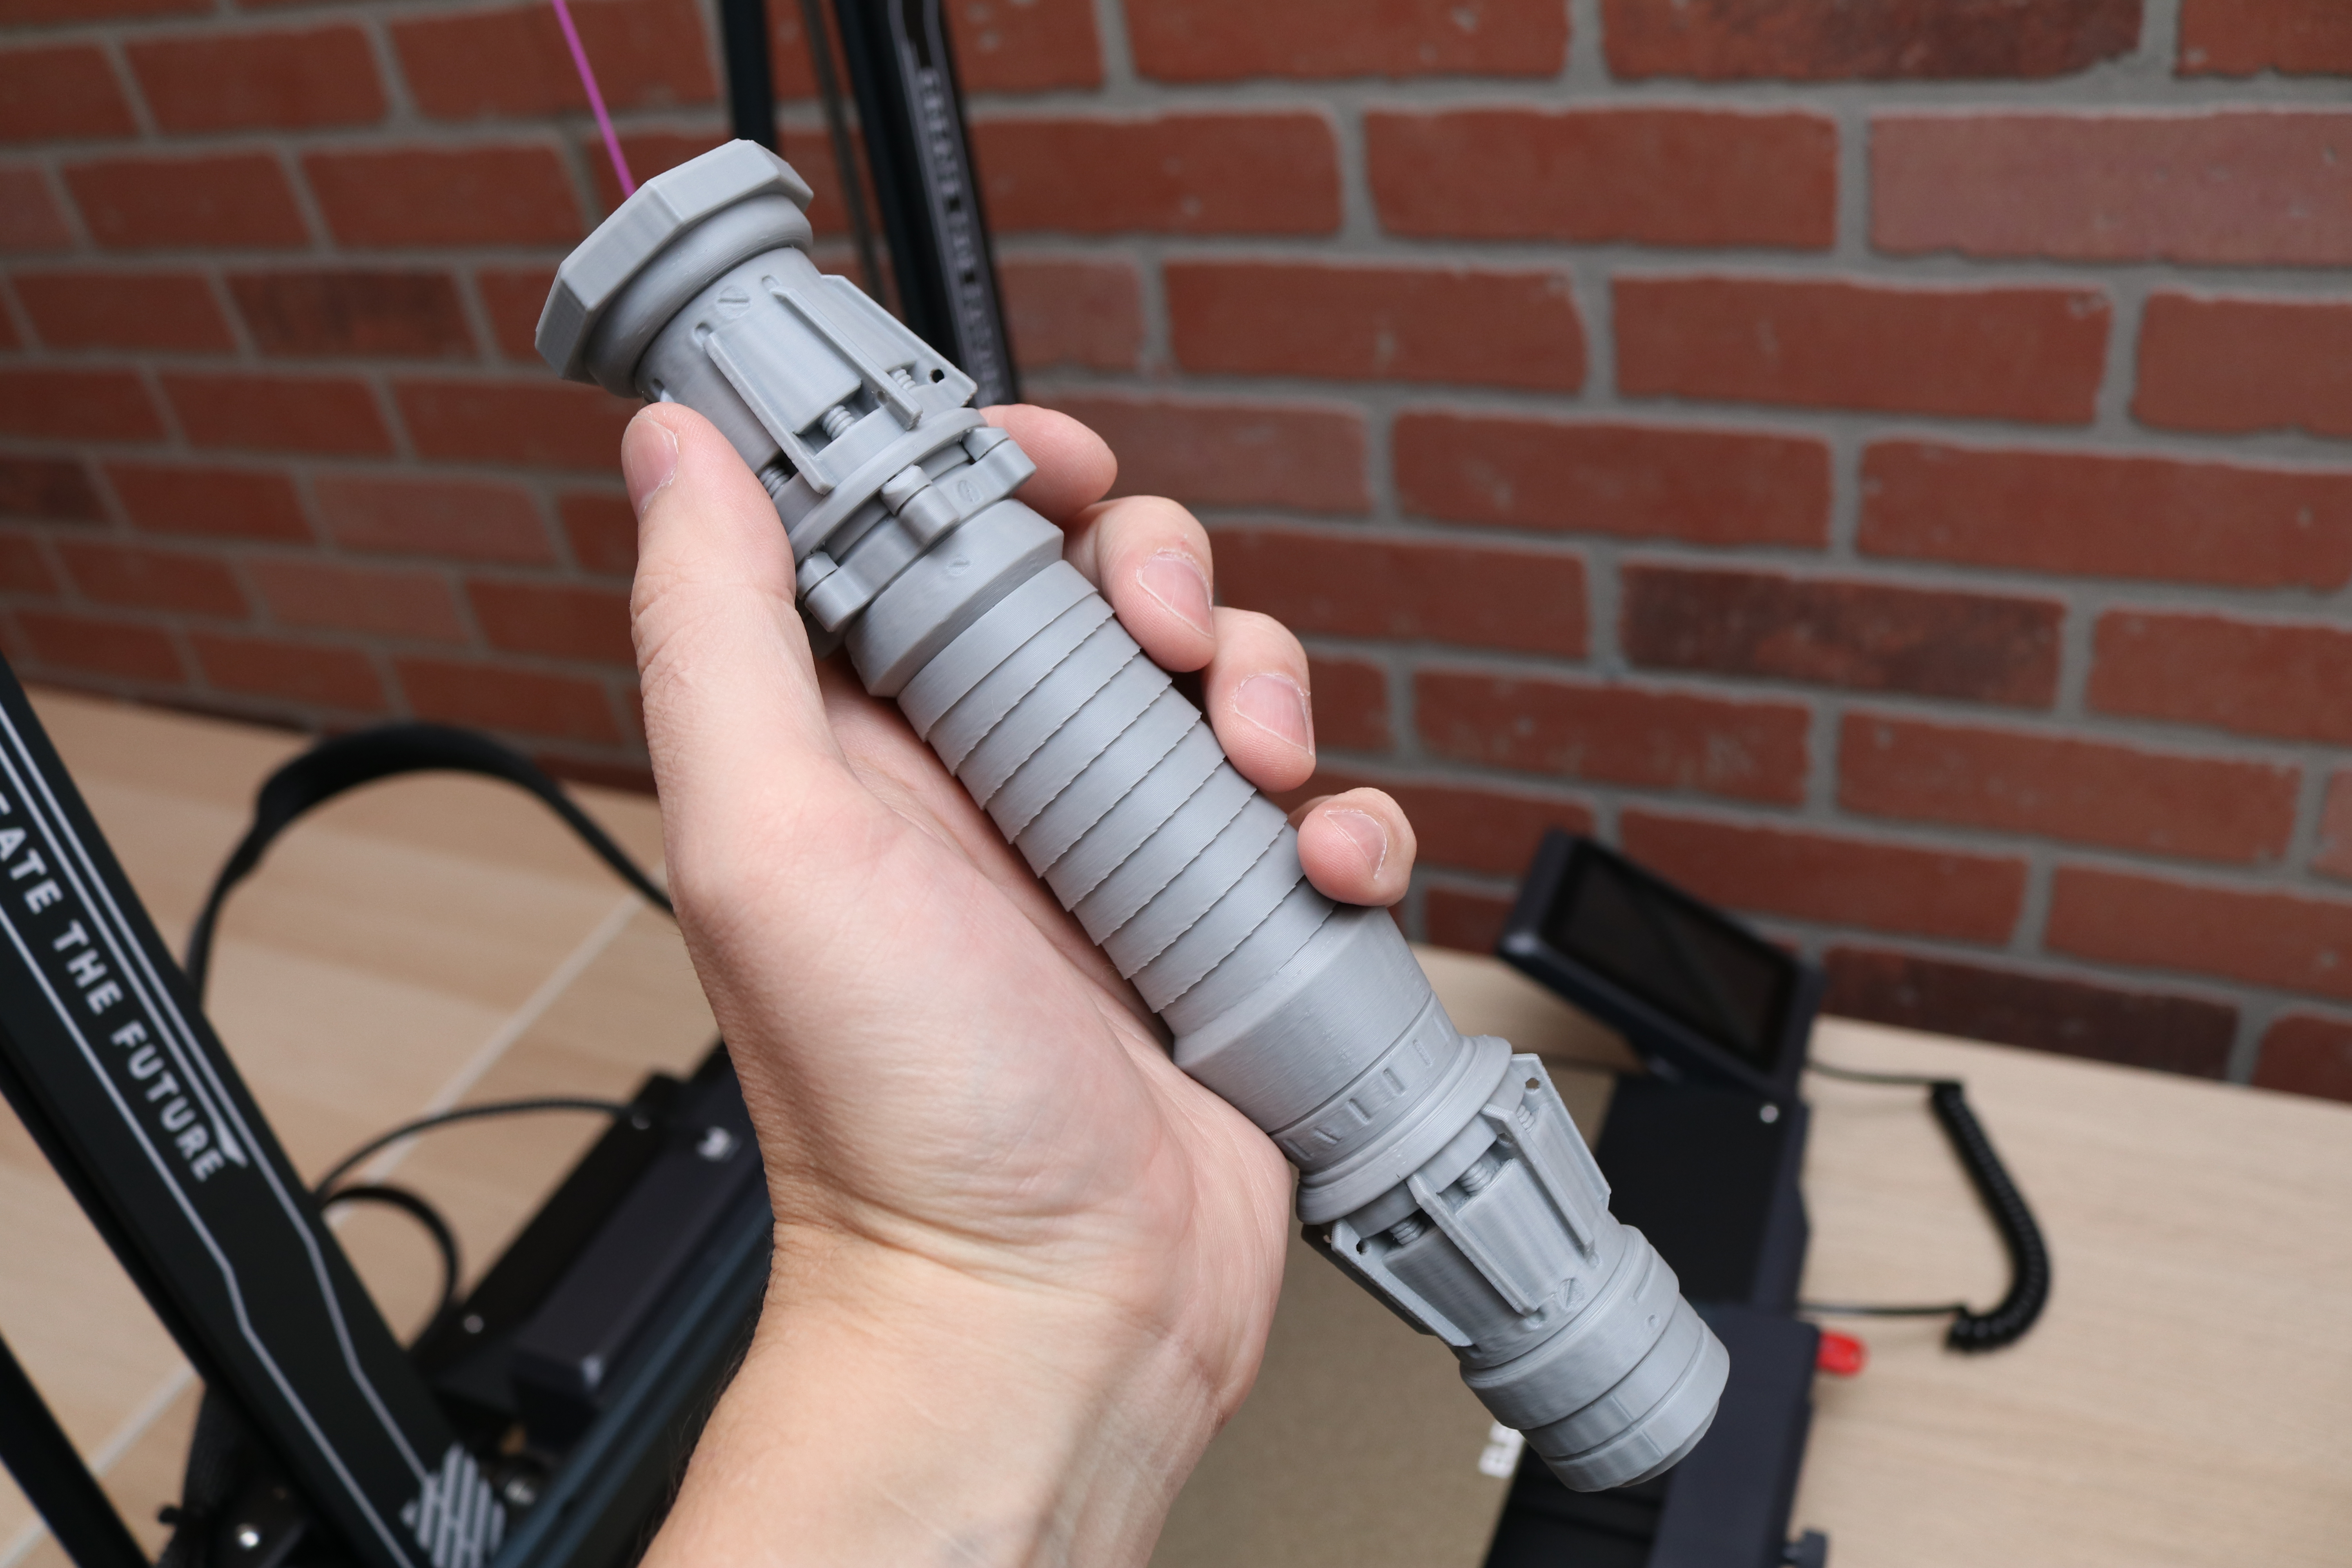
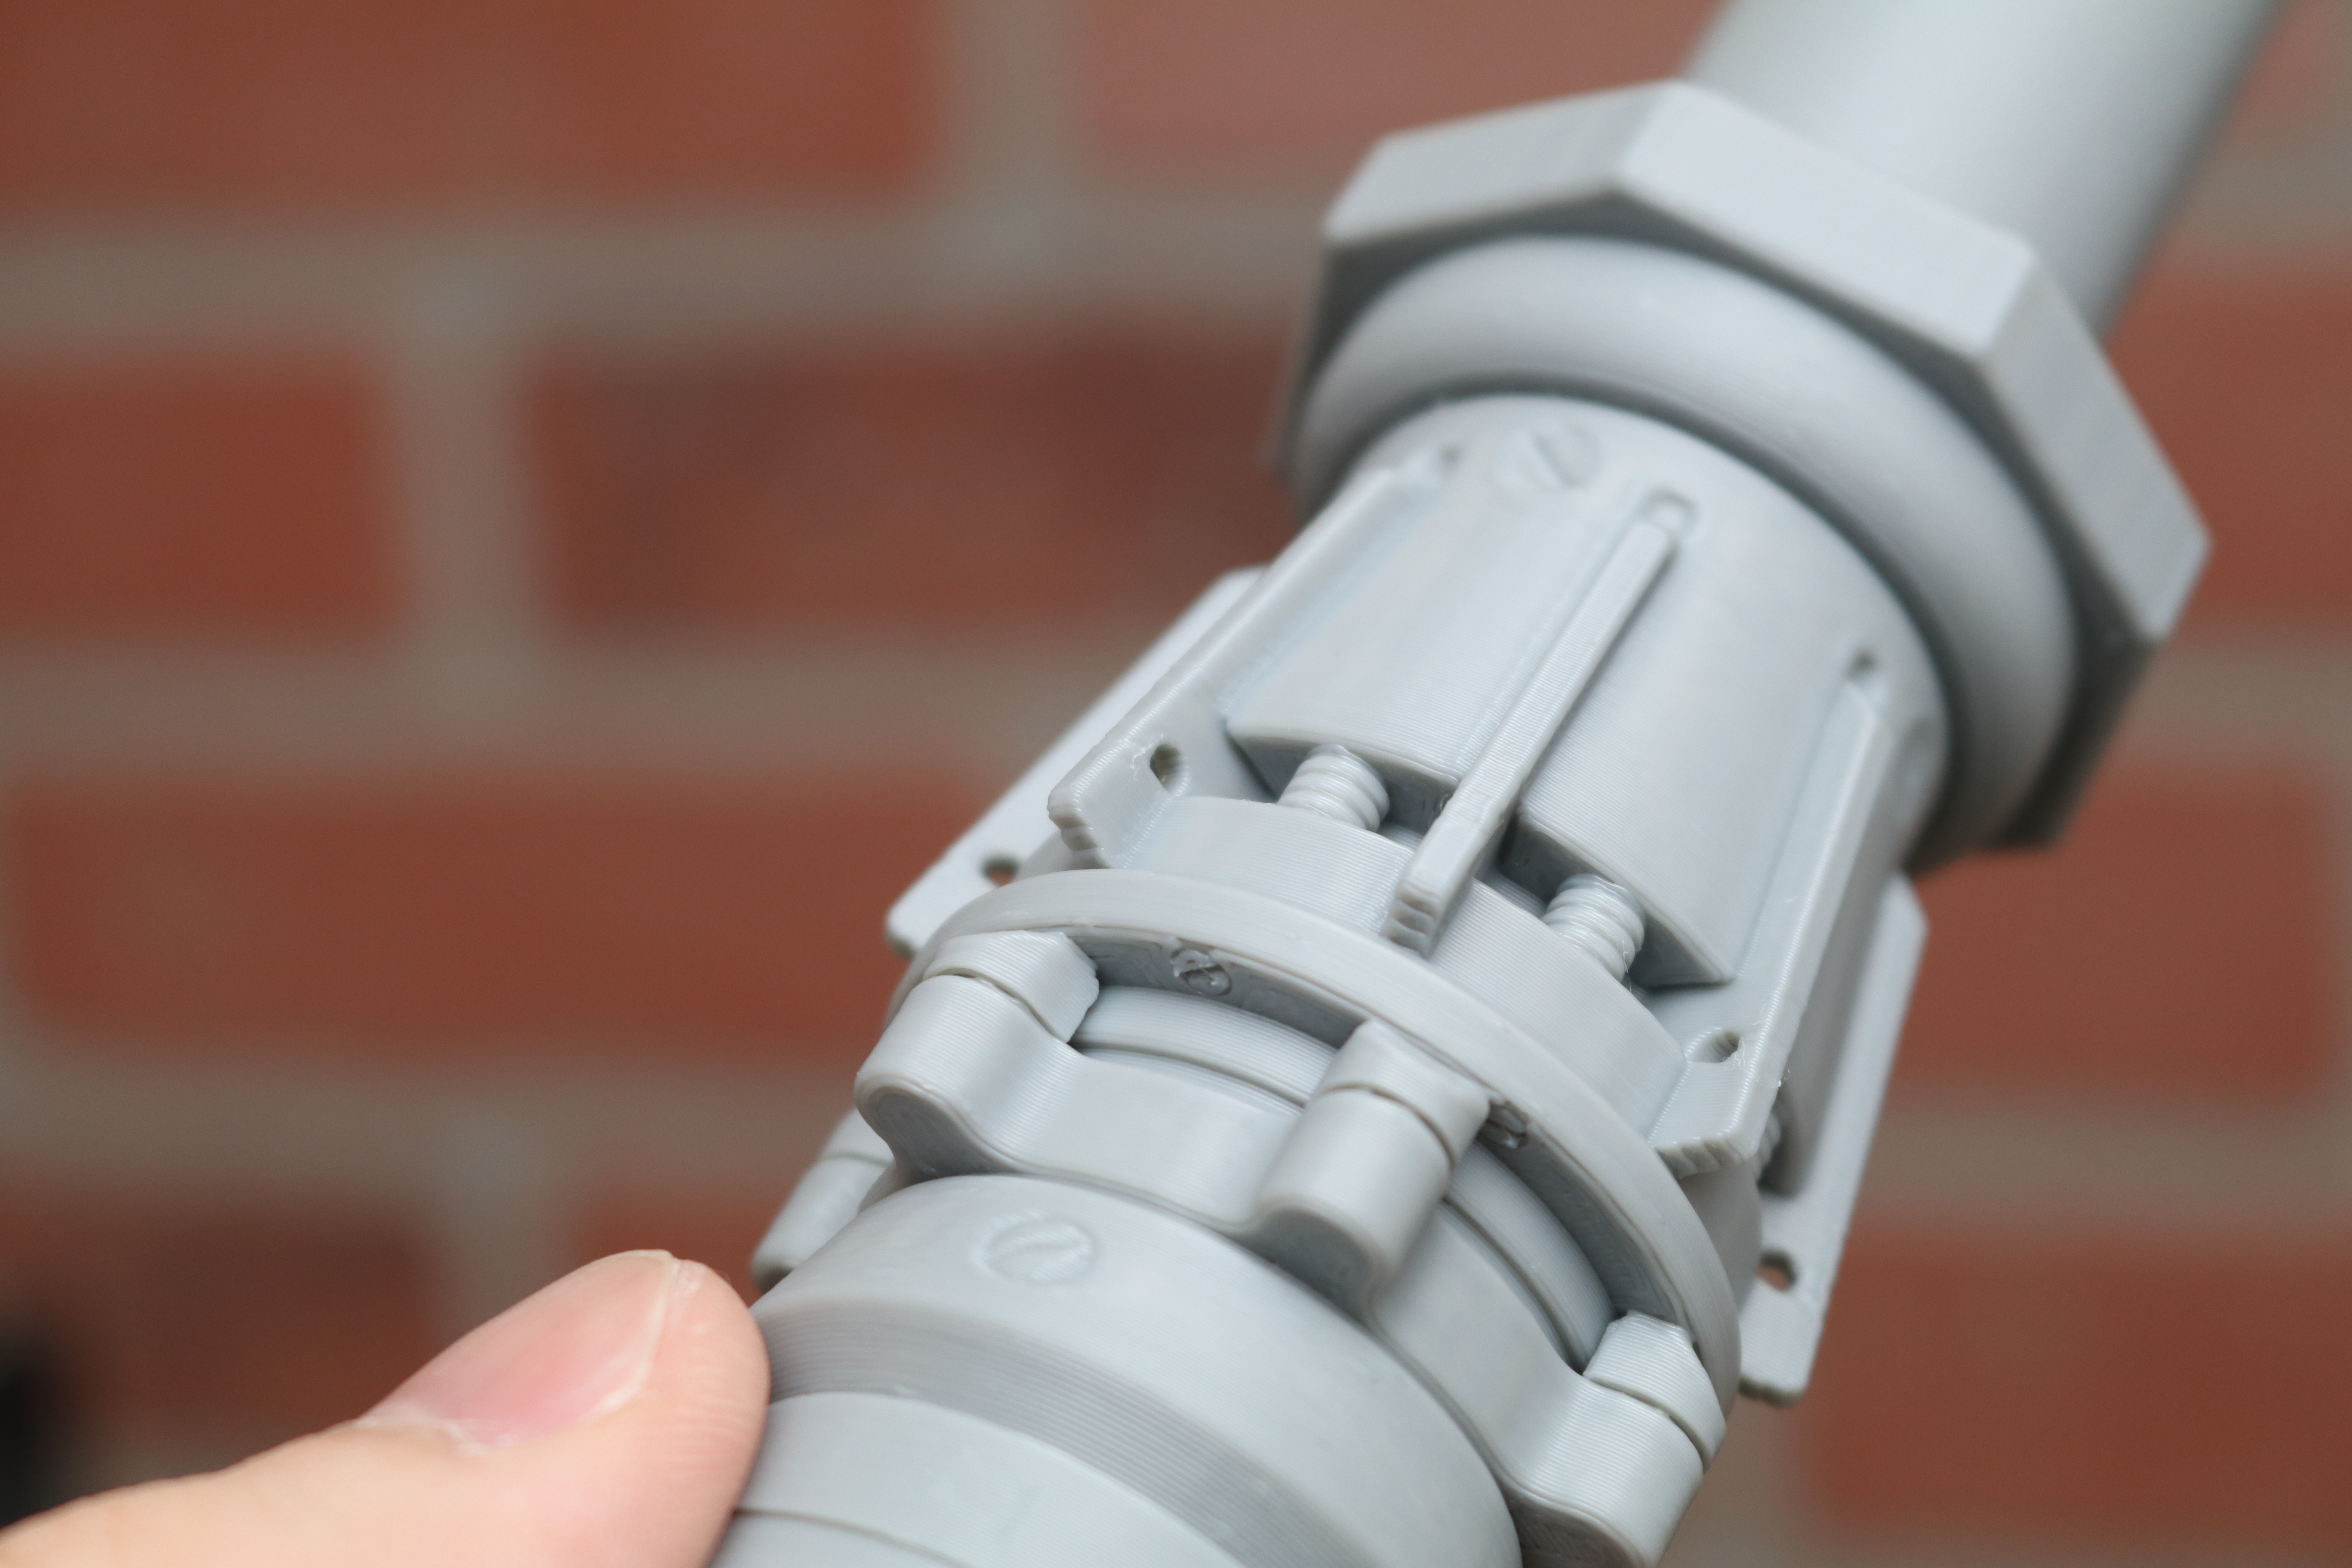
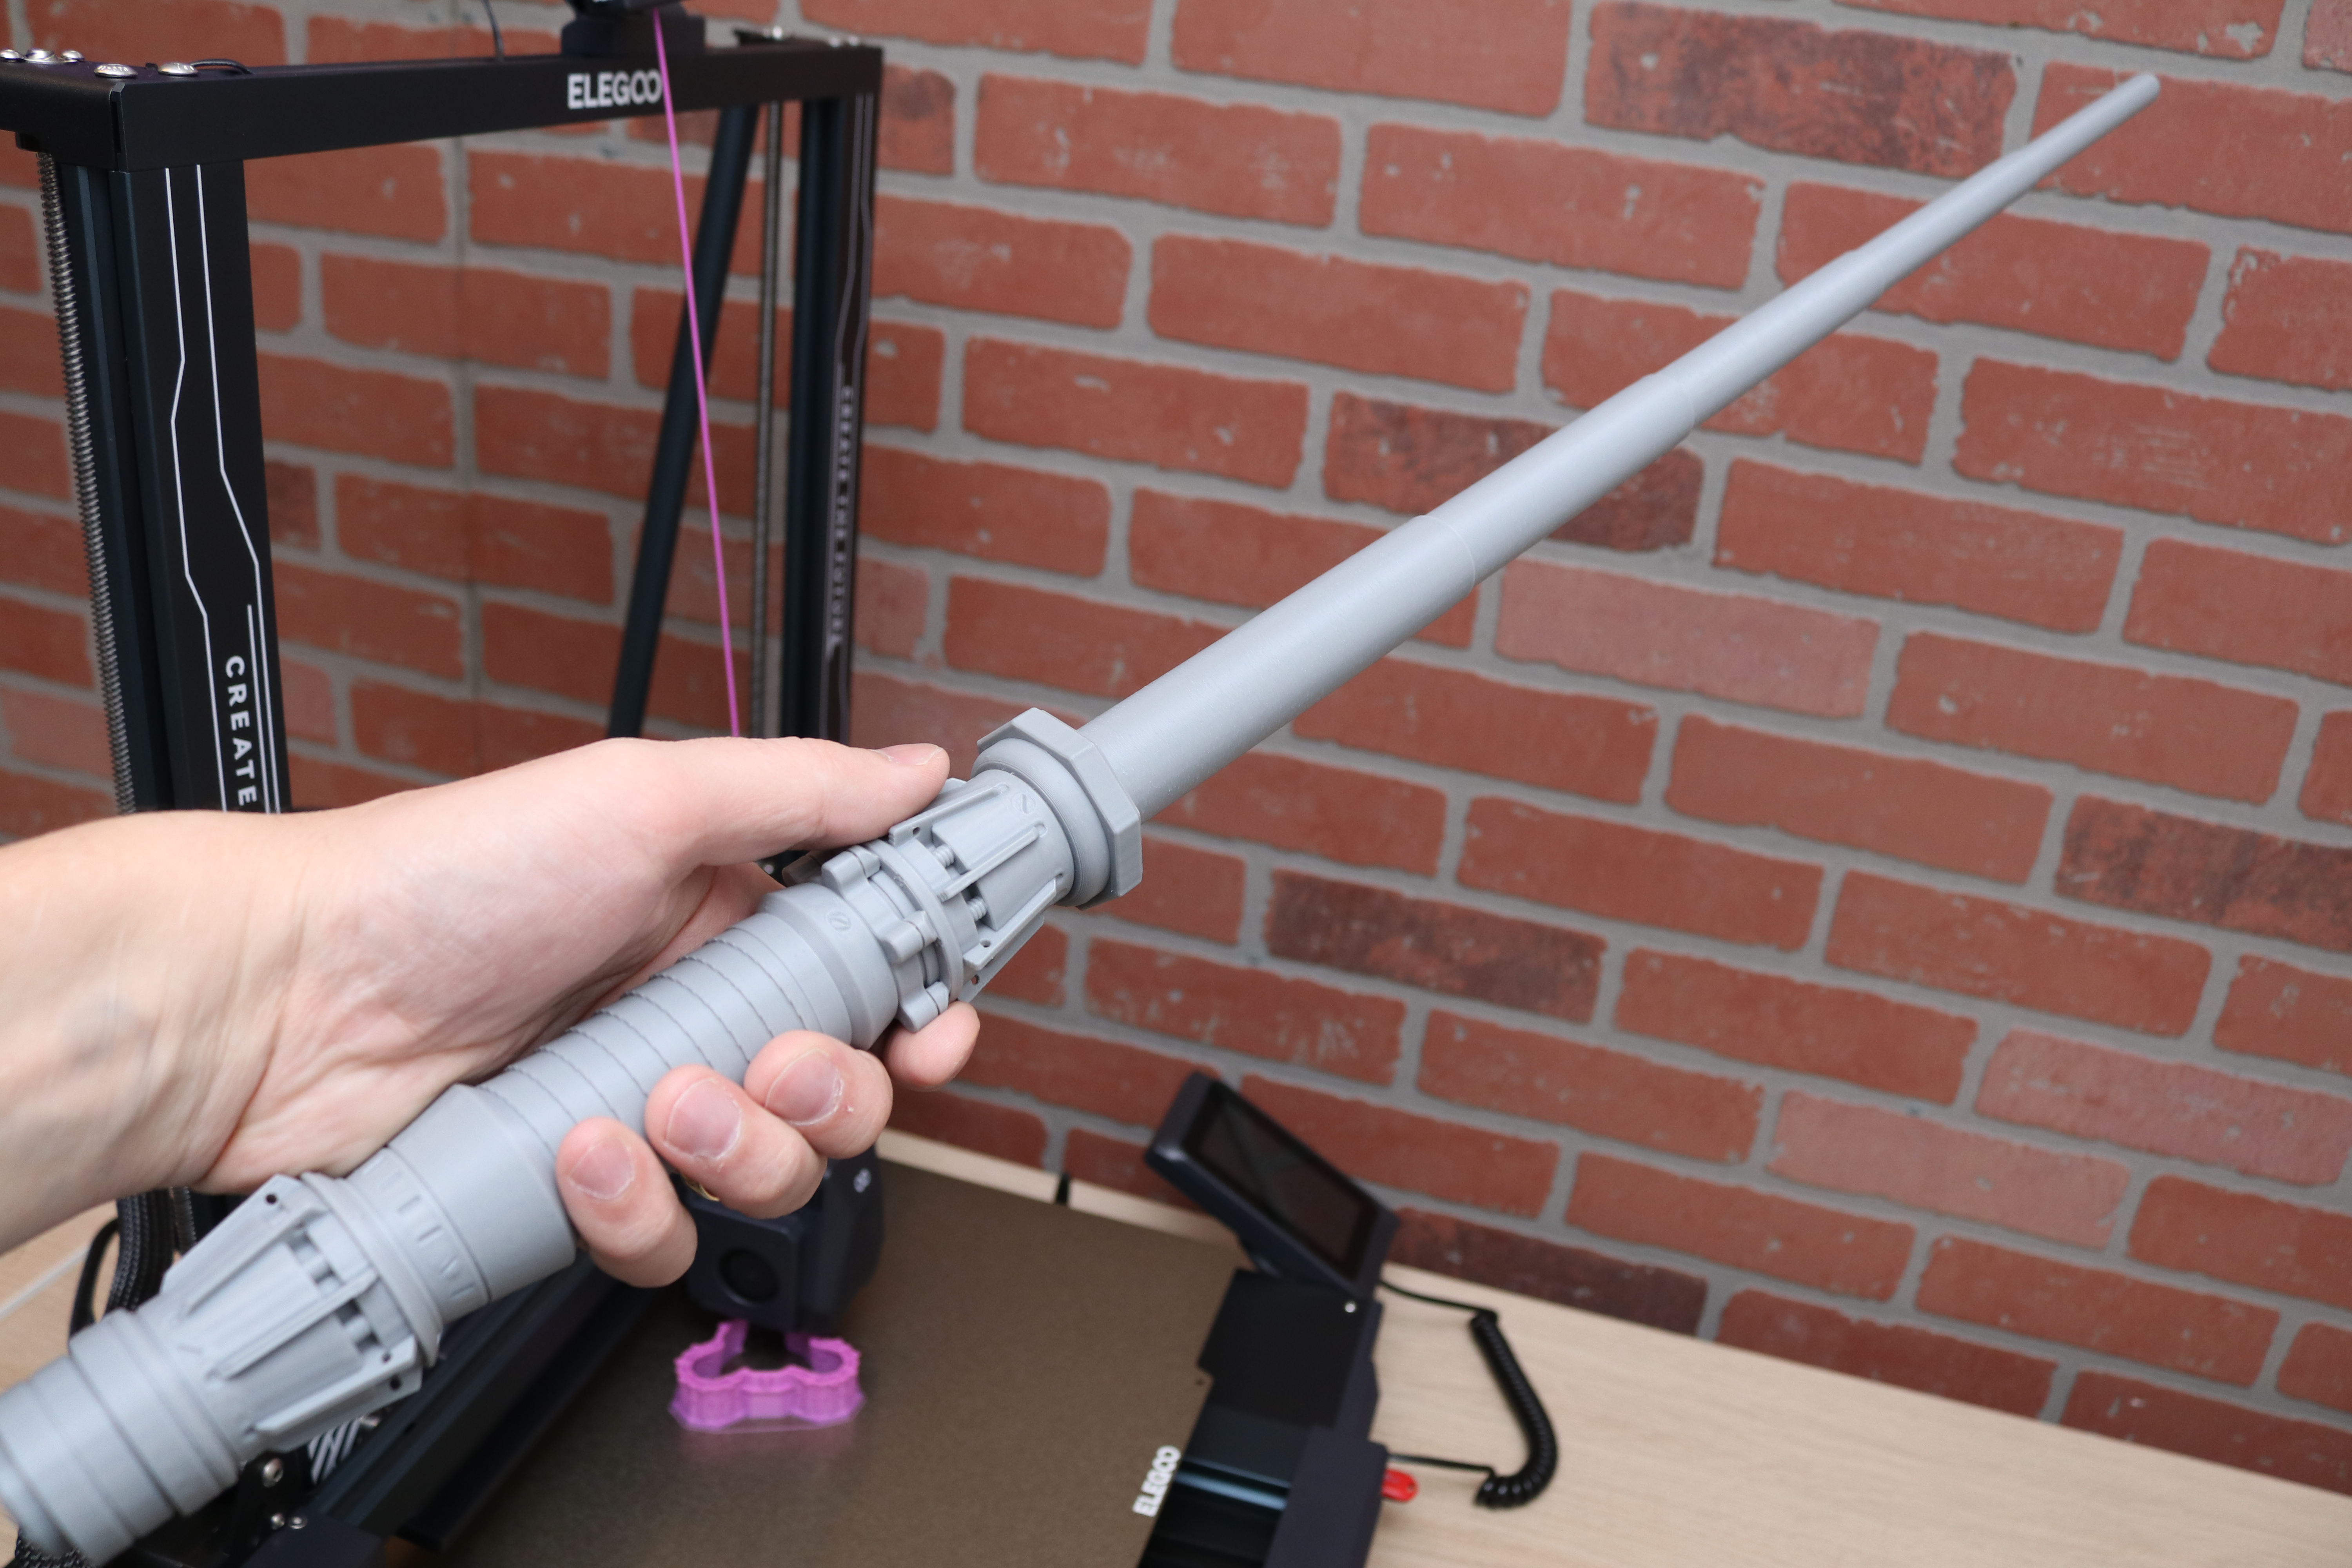
Printed using a 0.2mm Elegoo Cura profile with a 250mm/s print speed, Rey’s Print-in-Place Collapsing Lightsaber by 3D Printing World printed in 5 hours and 18 minutes and was able to fully articulate after printing. This mode contains multiple nested shells with only a minor gap between them, so any issues with printer calibration can cause the individual segments to stick together. Each segment has only a small surface in contact with the build platform, so this print can prove to be challenging for most printers. Despite these known hurdles, the Neptune 4 Plus handled this challenge with ease.
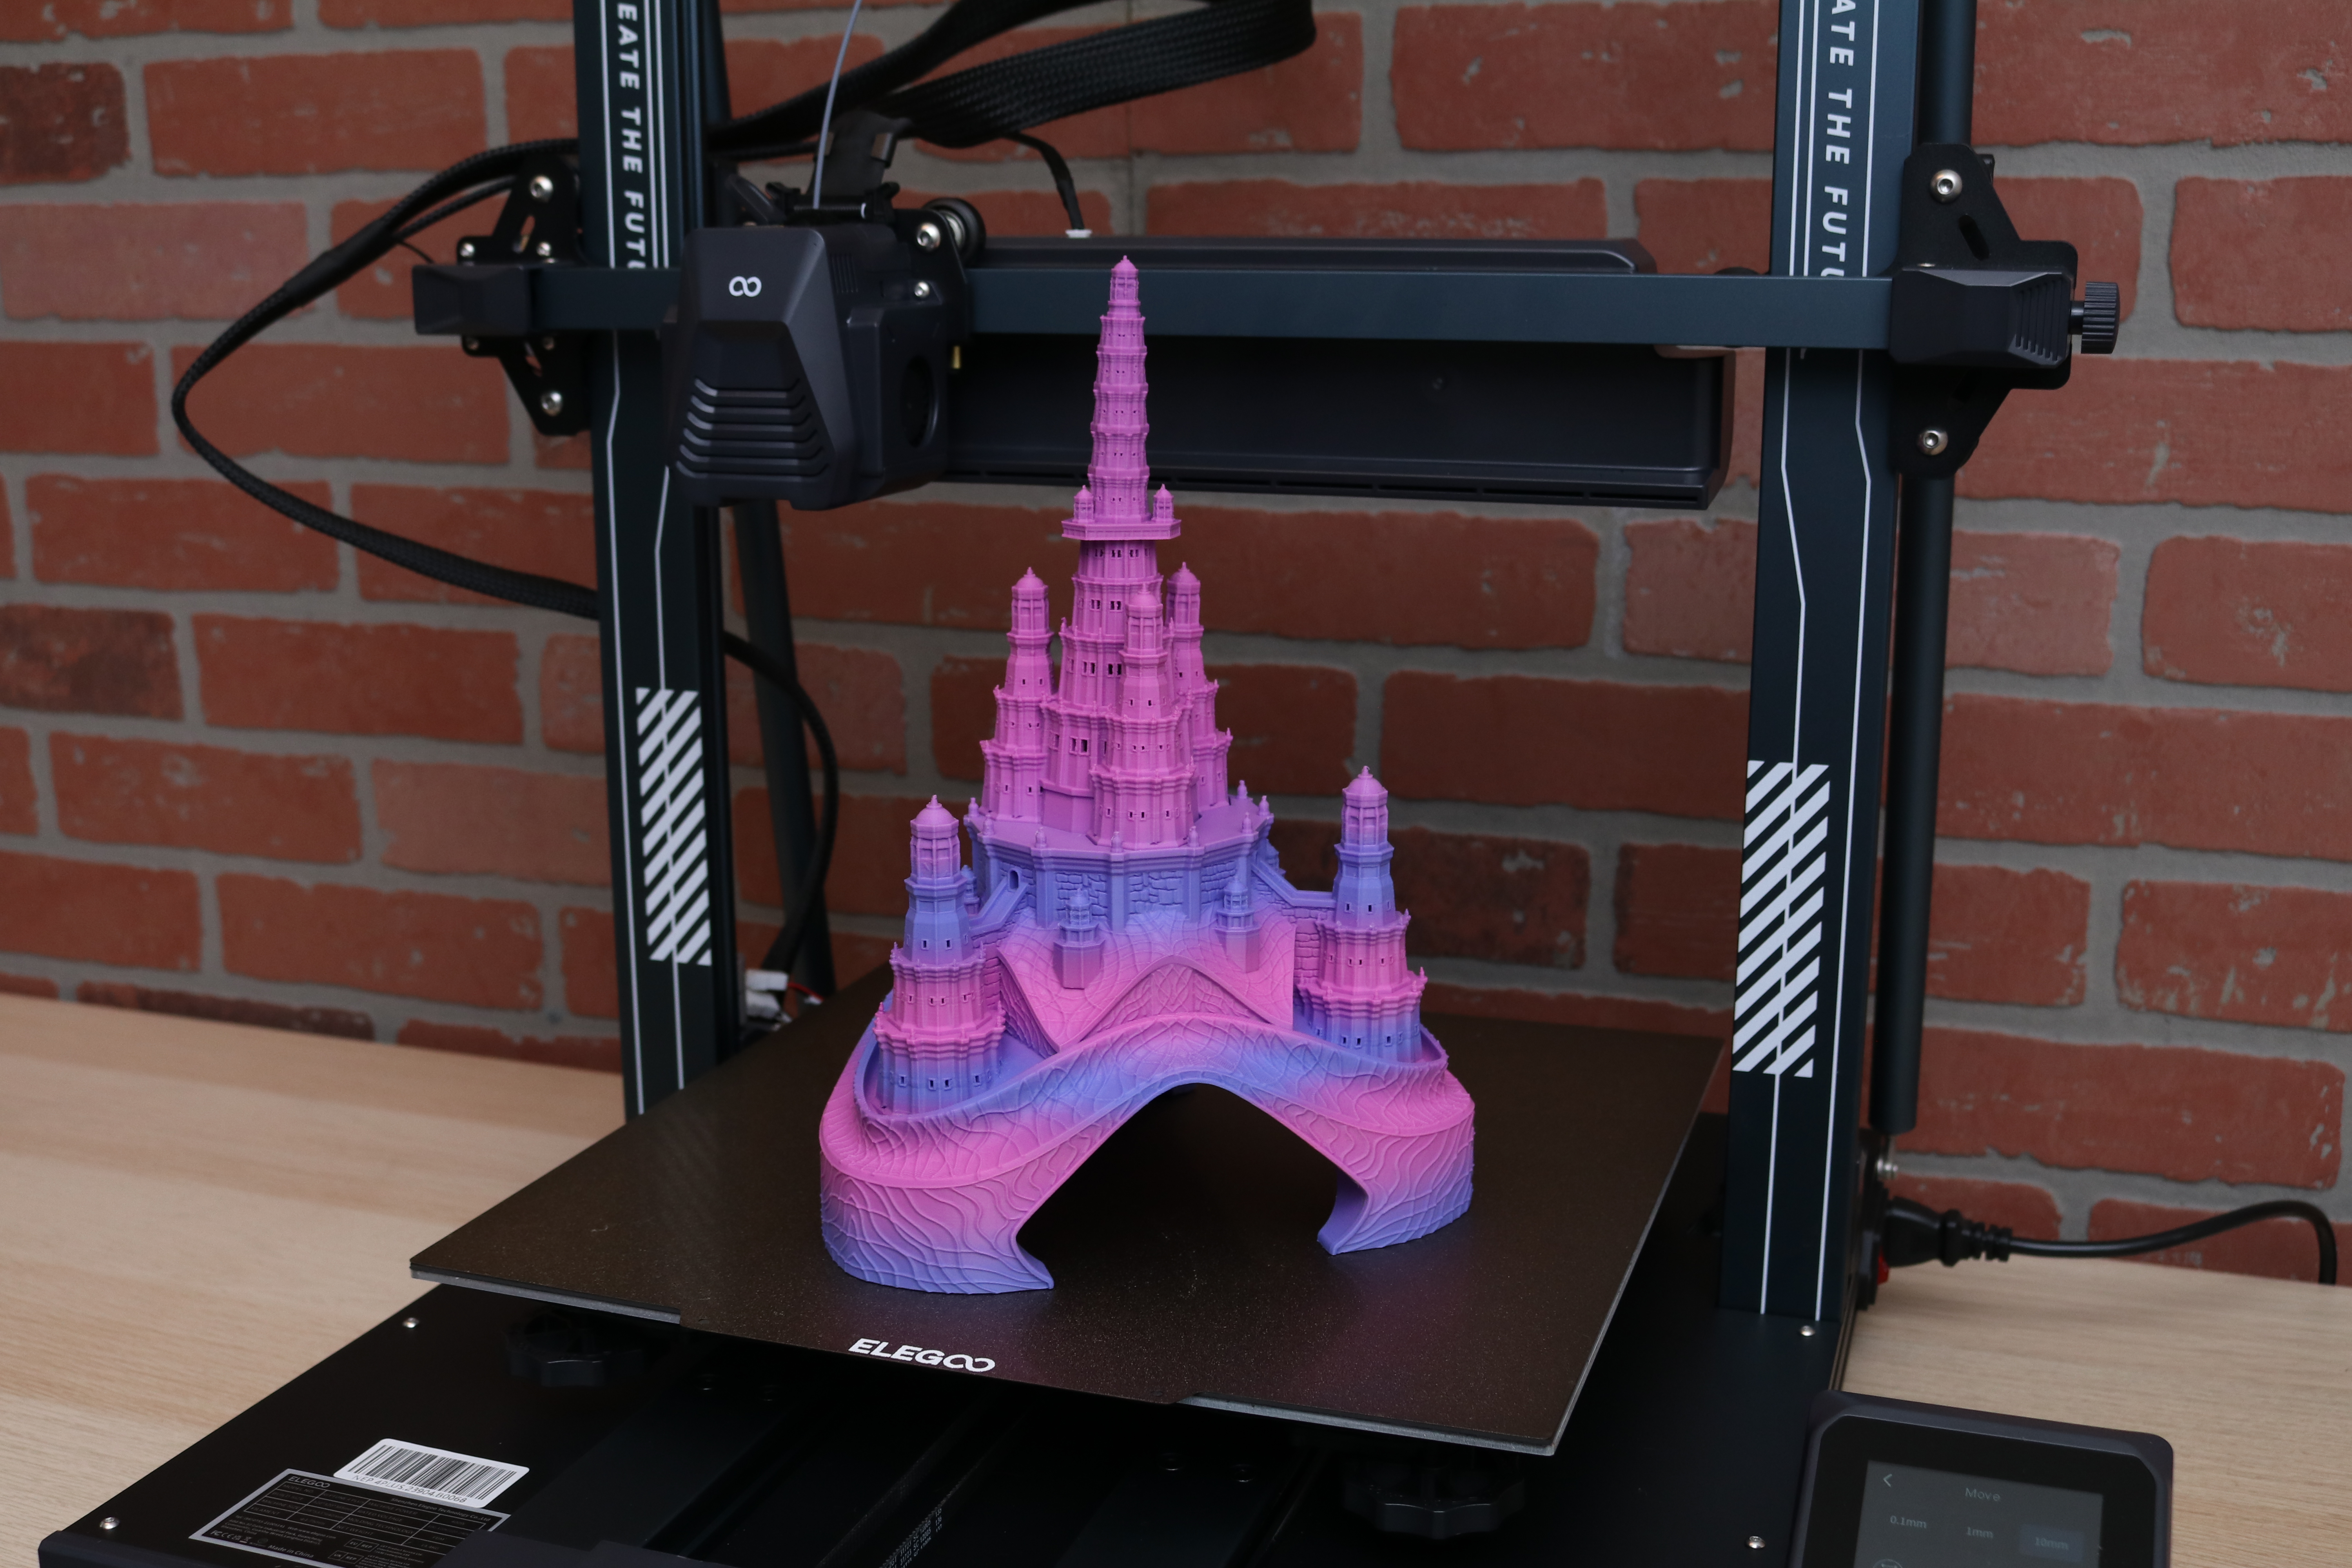
Printed in three parts with a total build time of 21 hours and 3 minutes, the Ceporah Tower model by Kijai is an impressively large model with multiple fine features and an abundance of detail. The SliceWorx Magic Shrooms purple-blue transition PLA gives the model an extra layer of depth, and the color transitions seamlessly from the bottom as the castle was printed from the bottom model up.
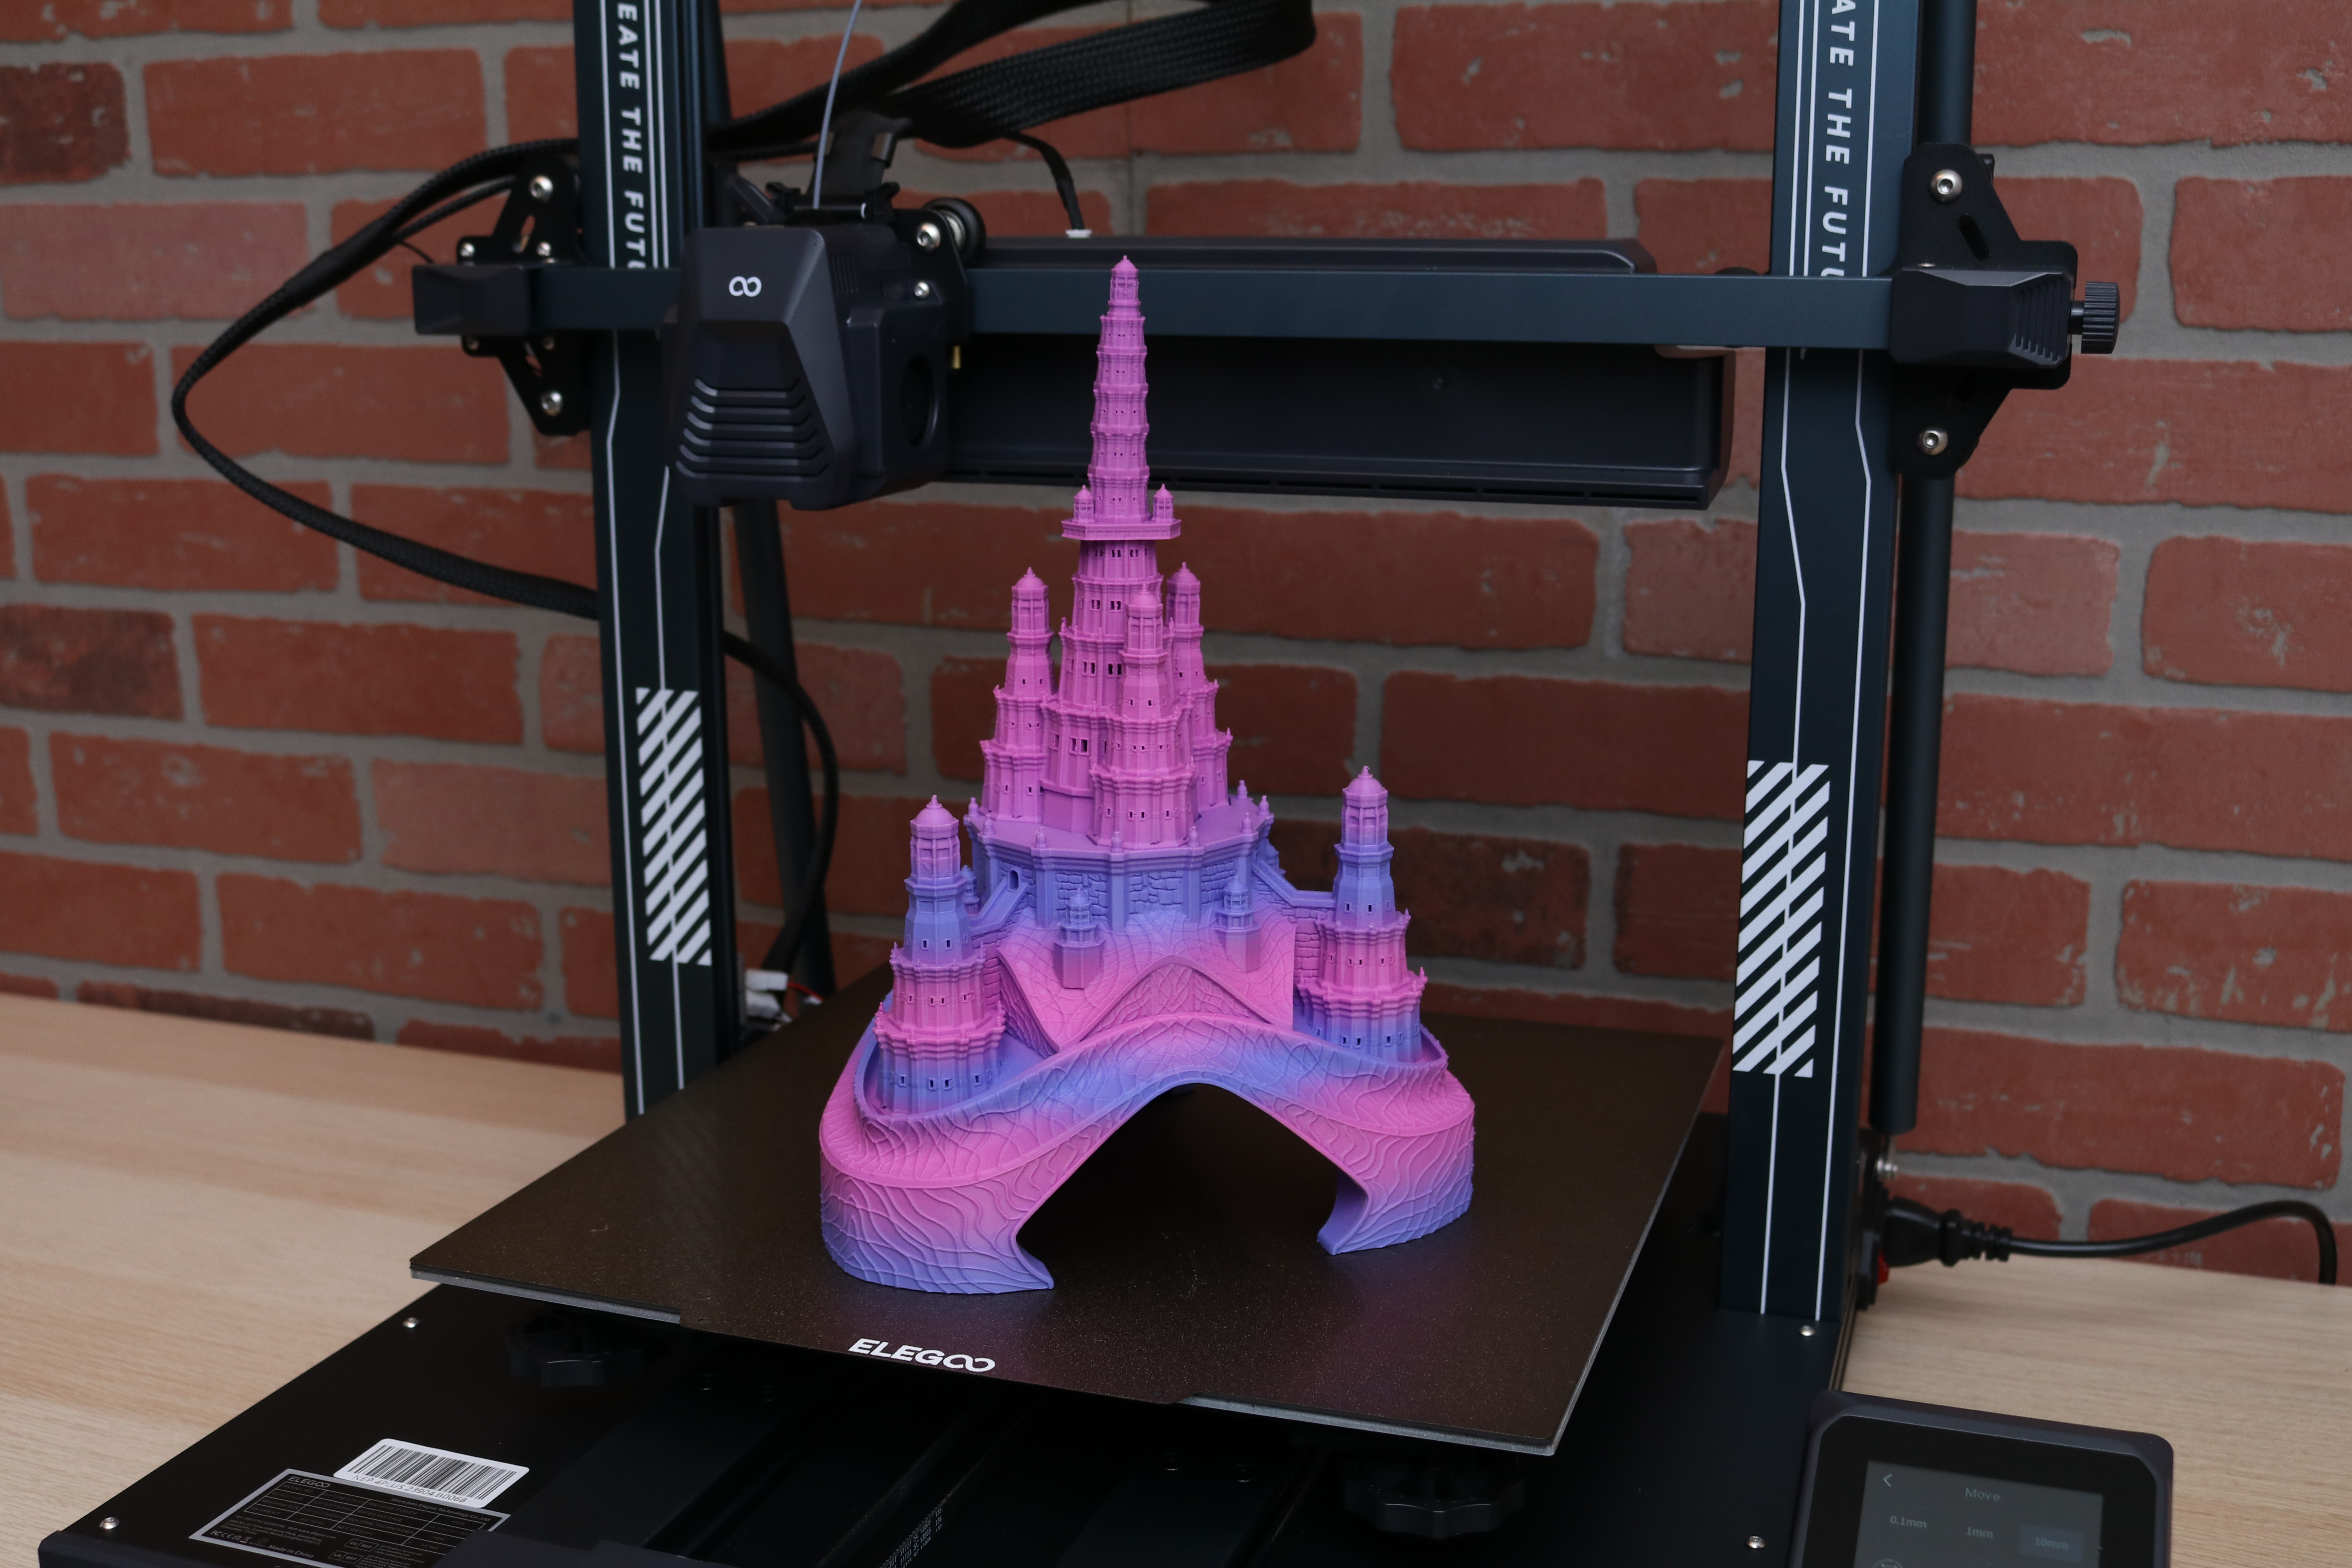
Model: Ceporah Tower by Kijai
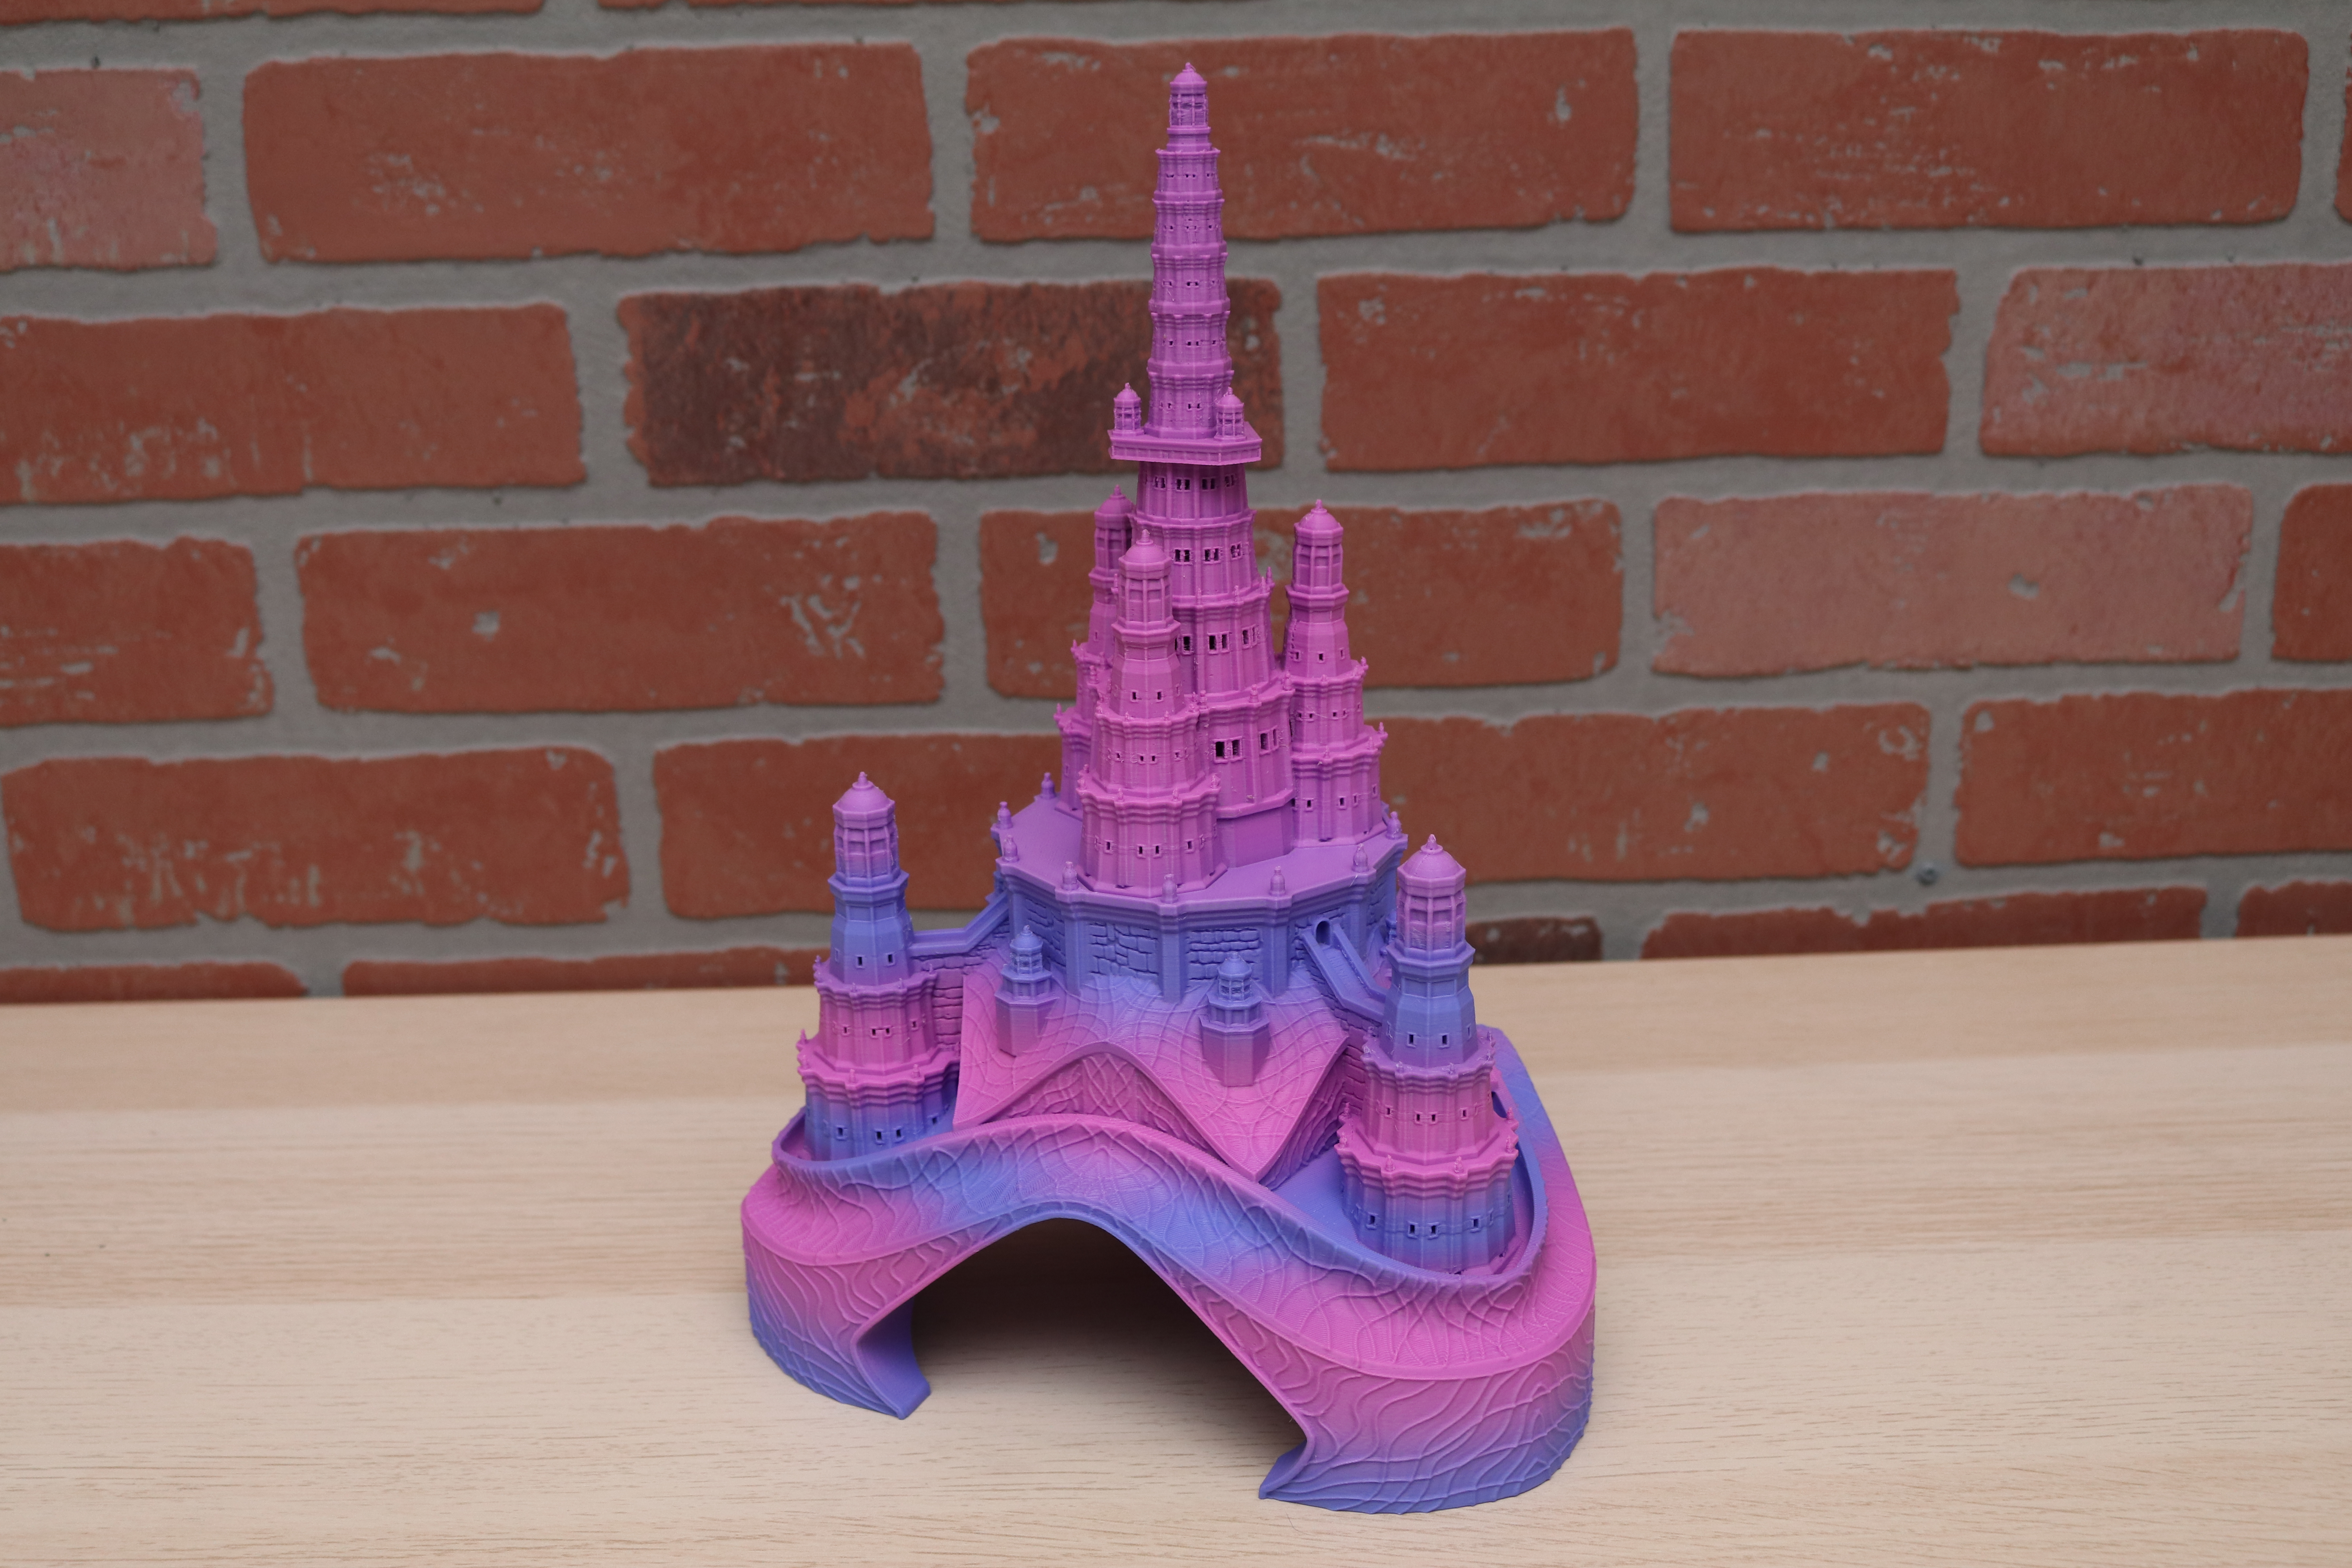
Model: Ceporah Tower by Kijai
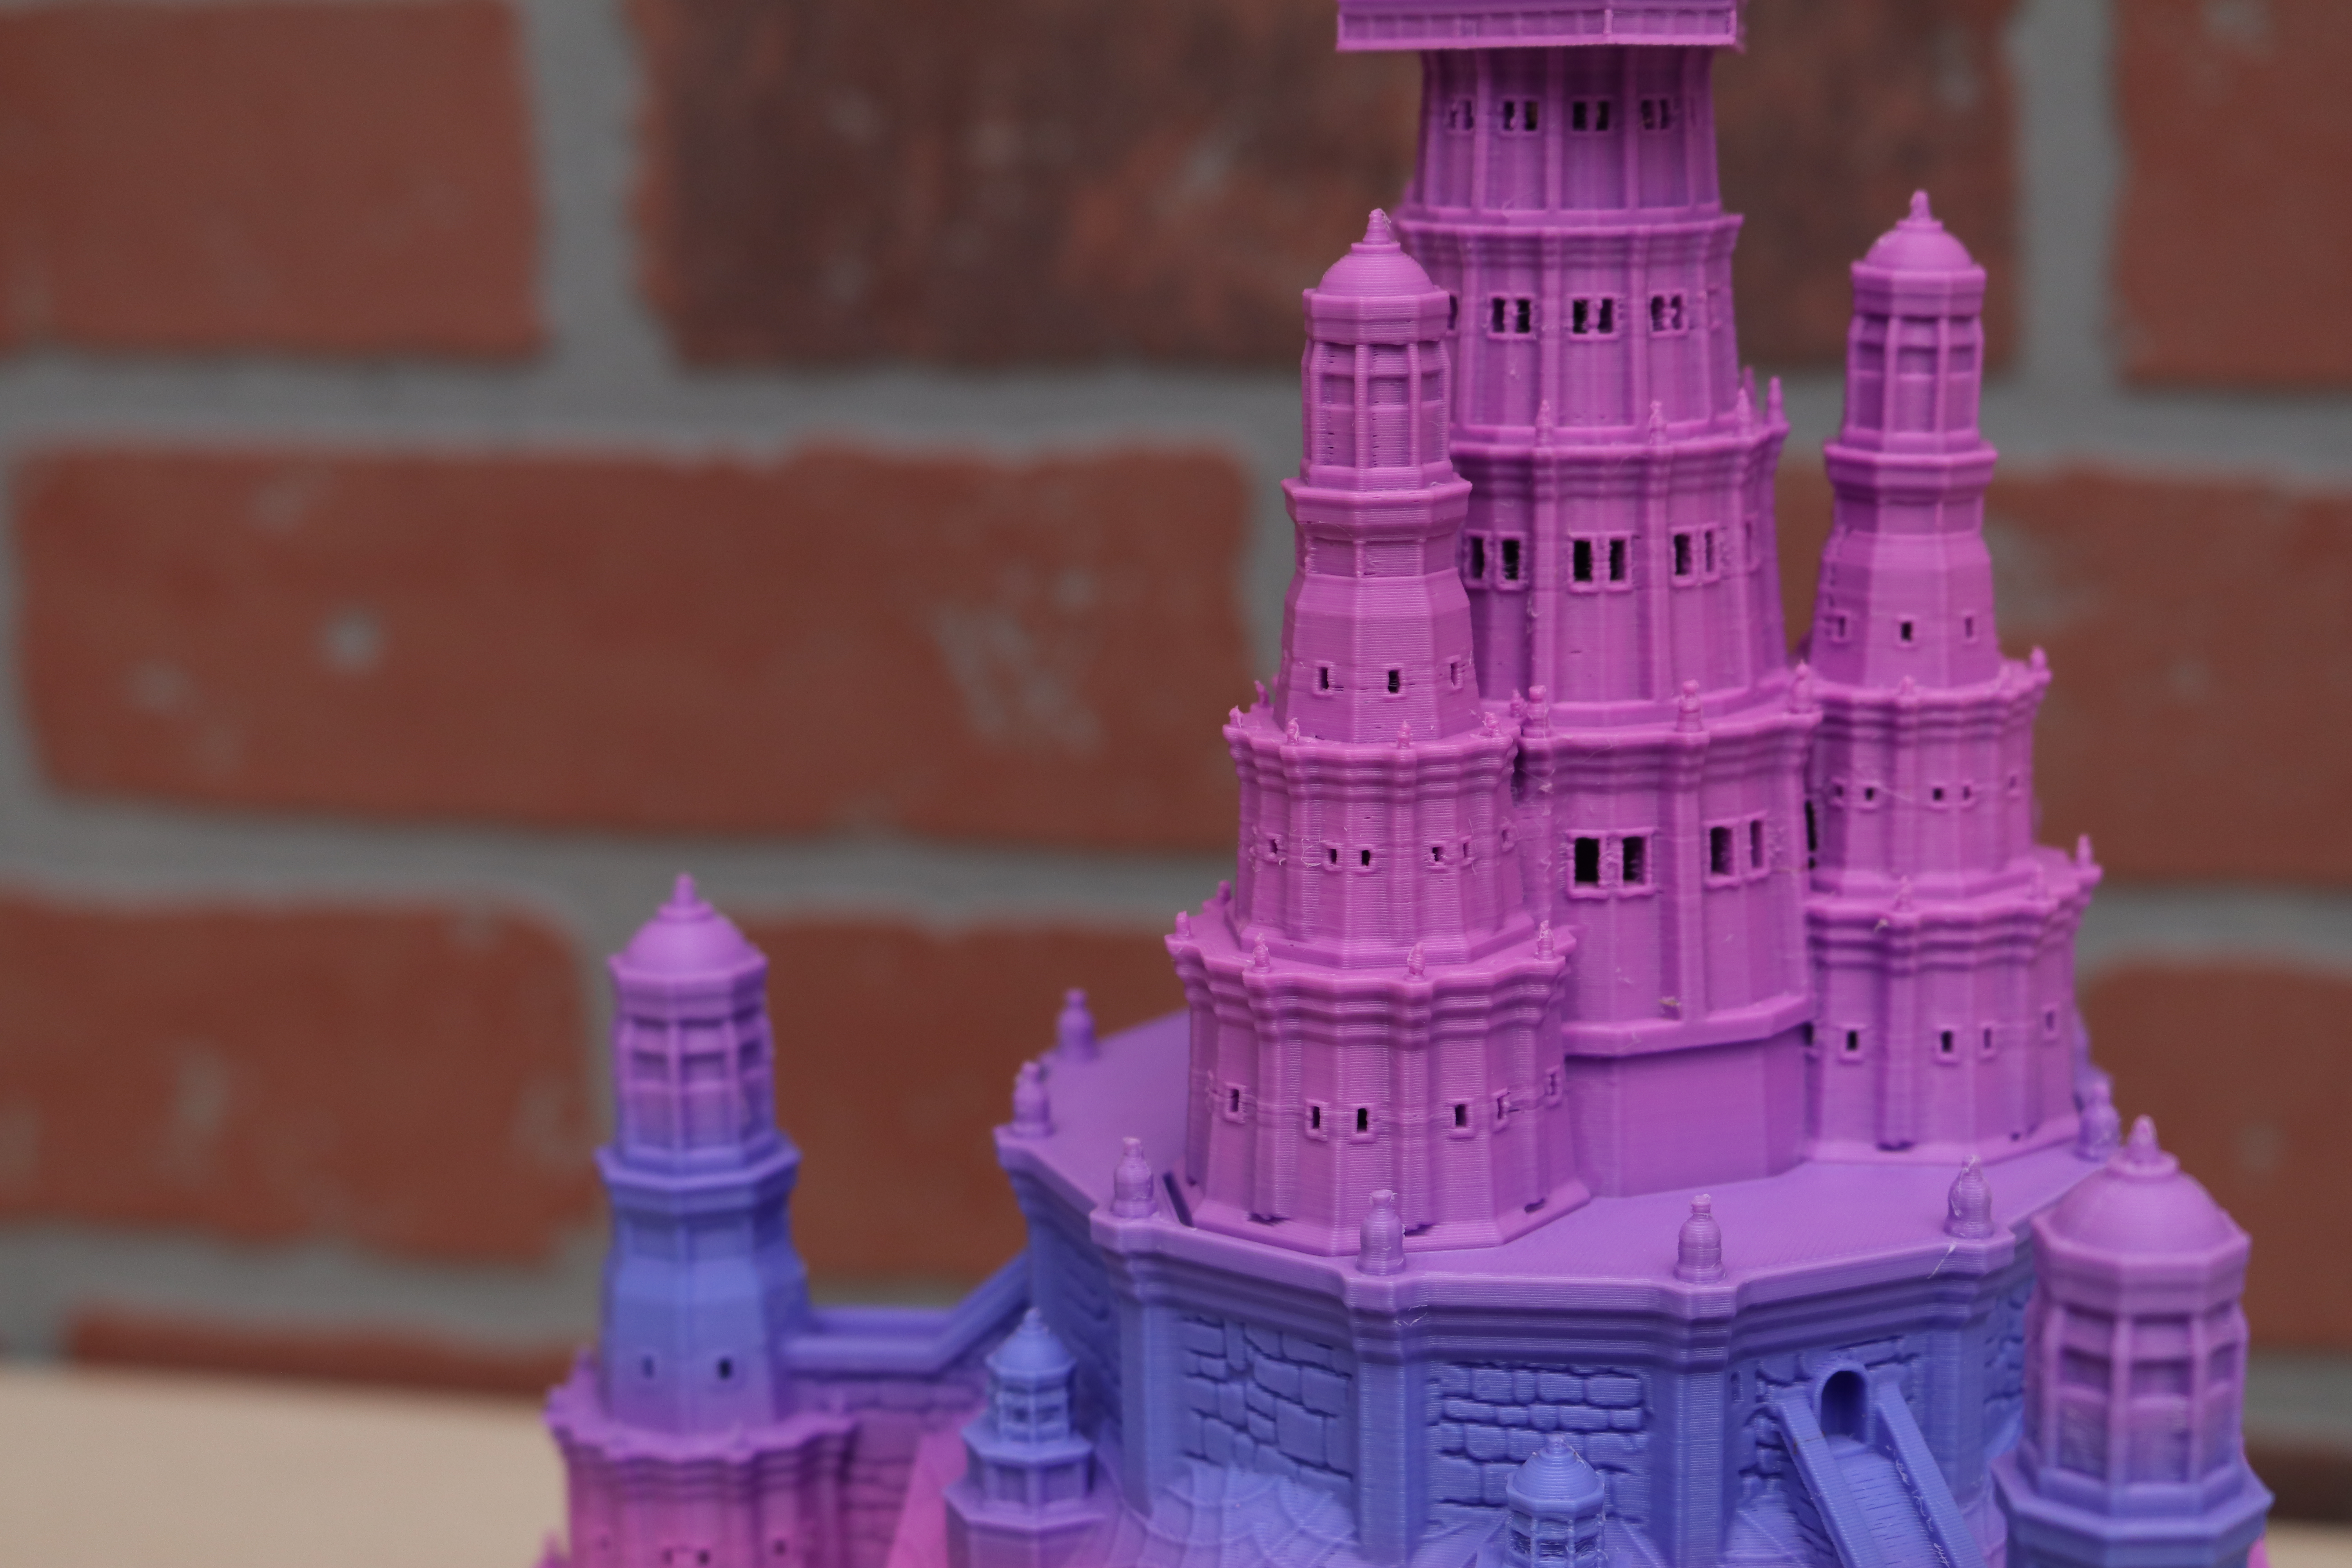
Model: Ceporah Tower by Kijai
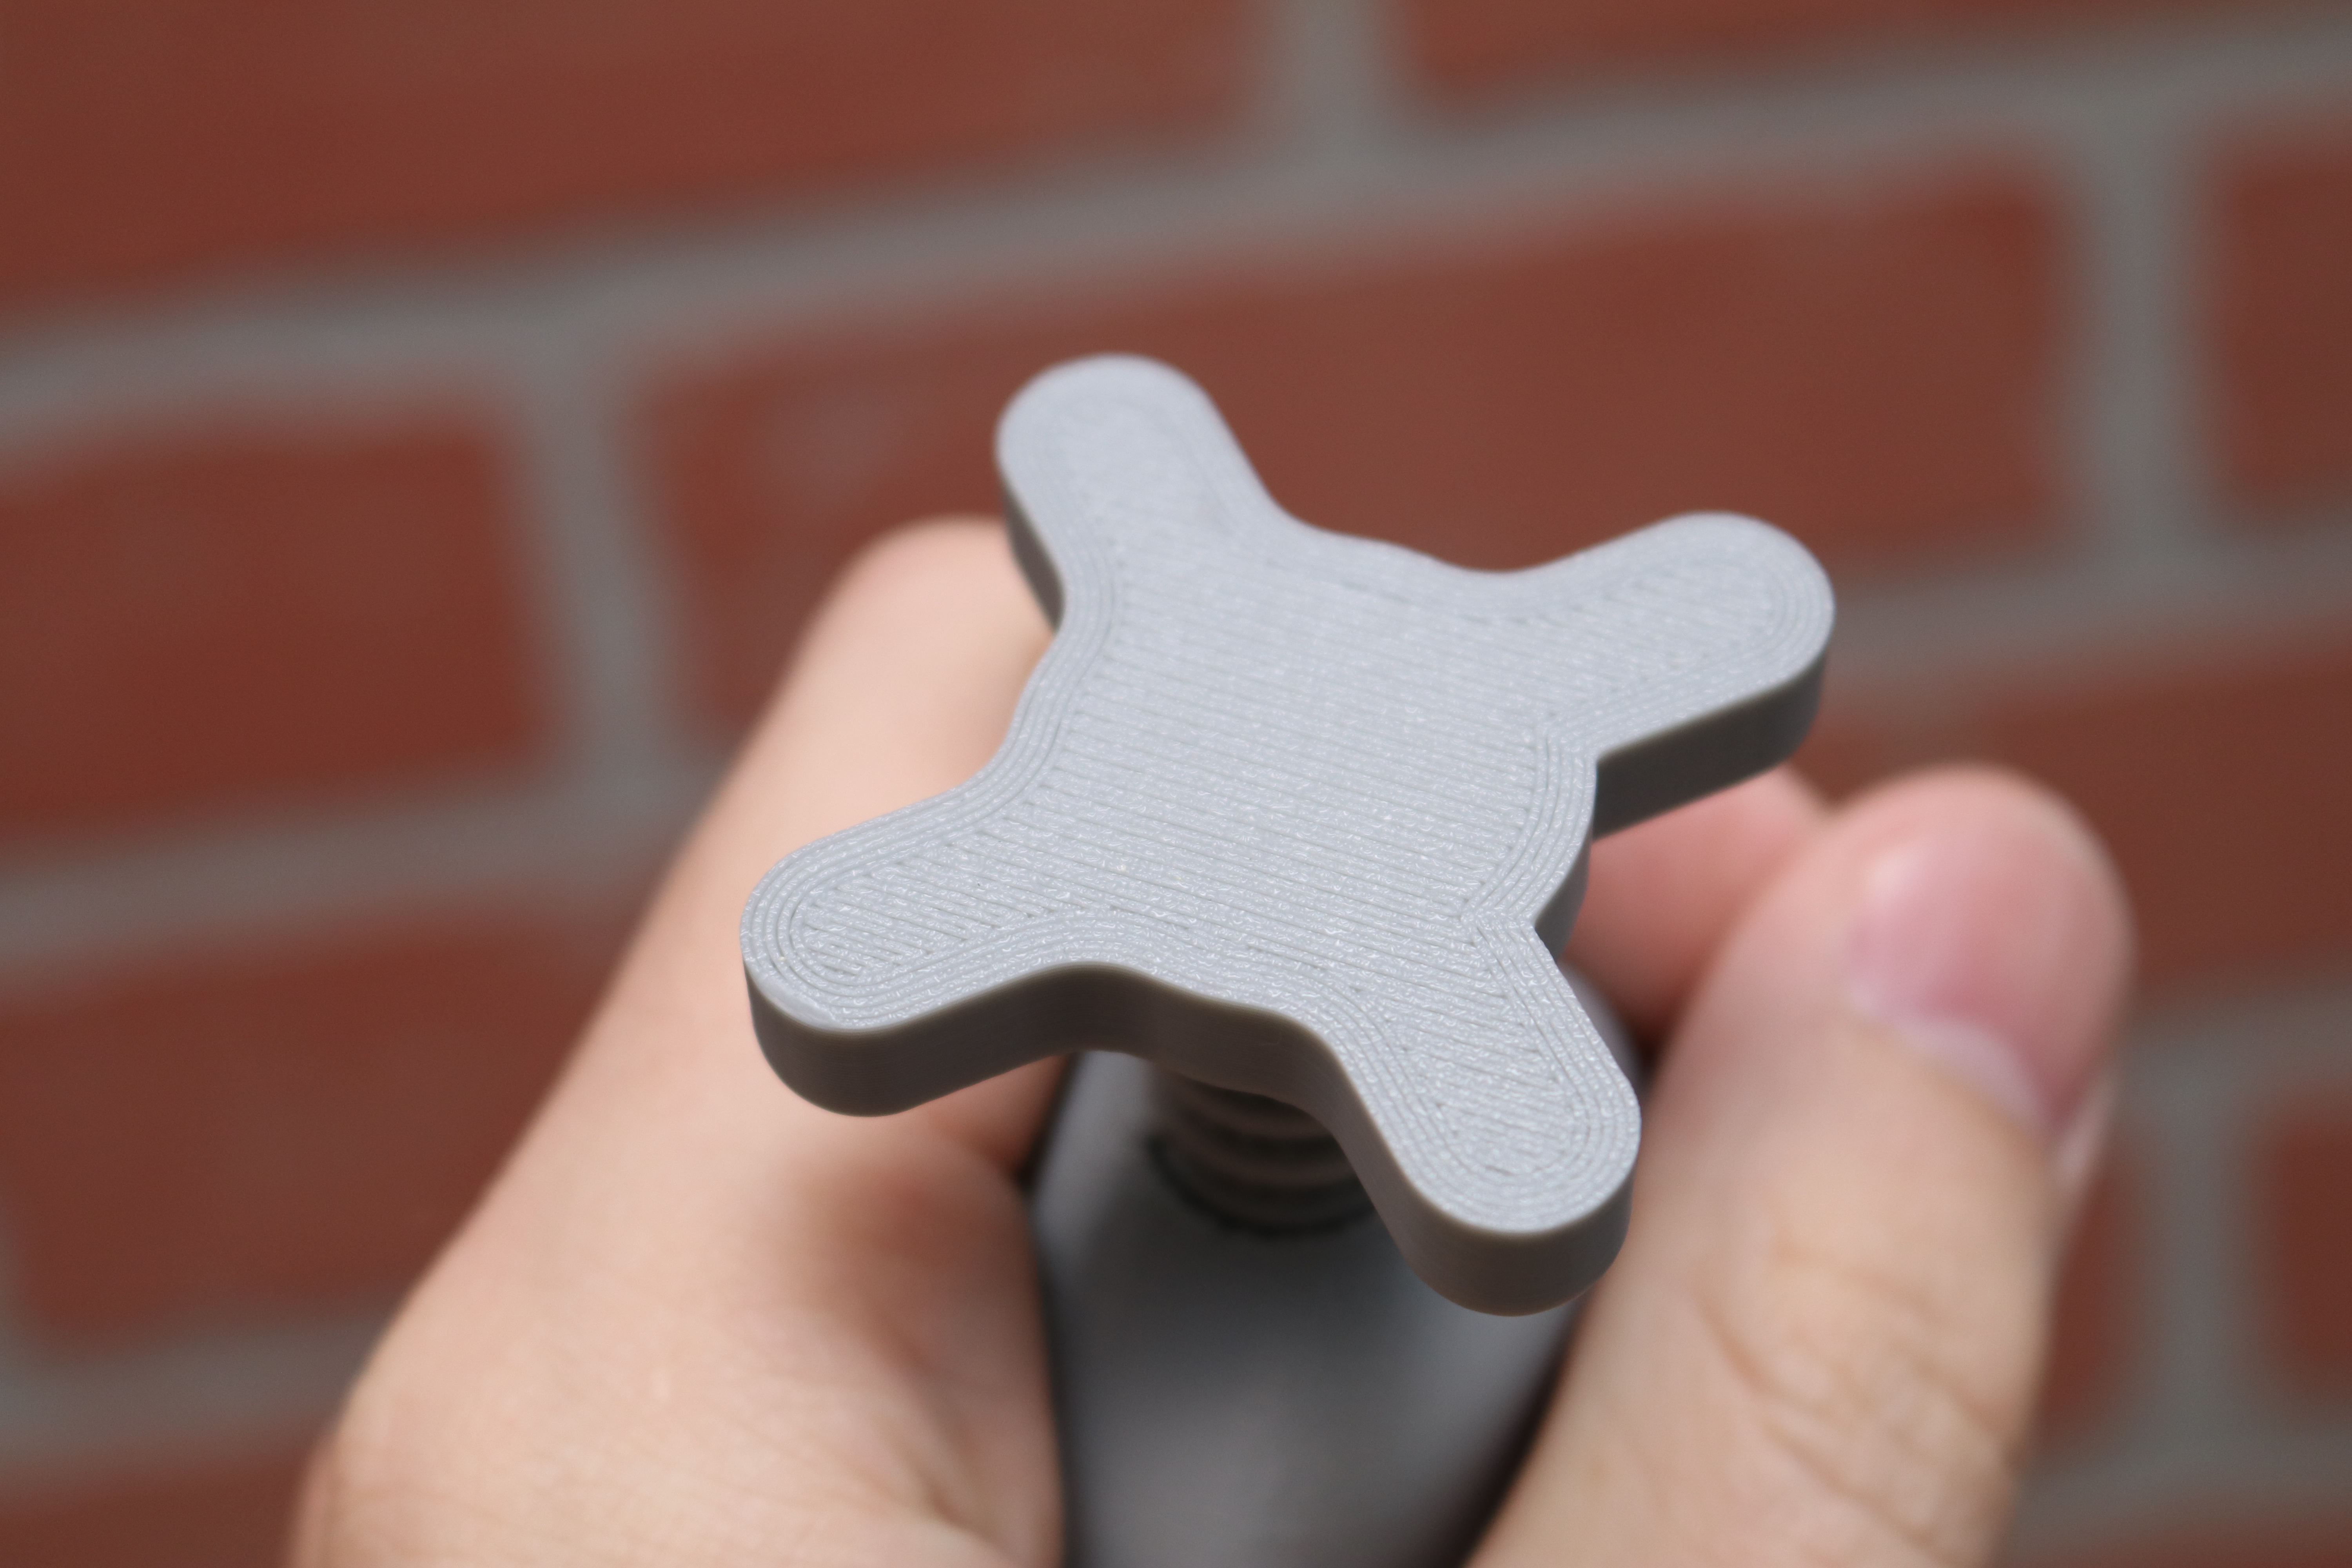
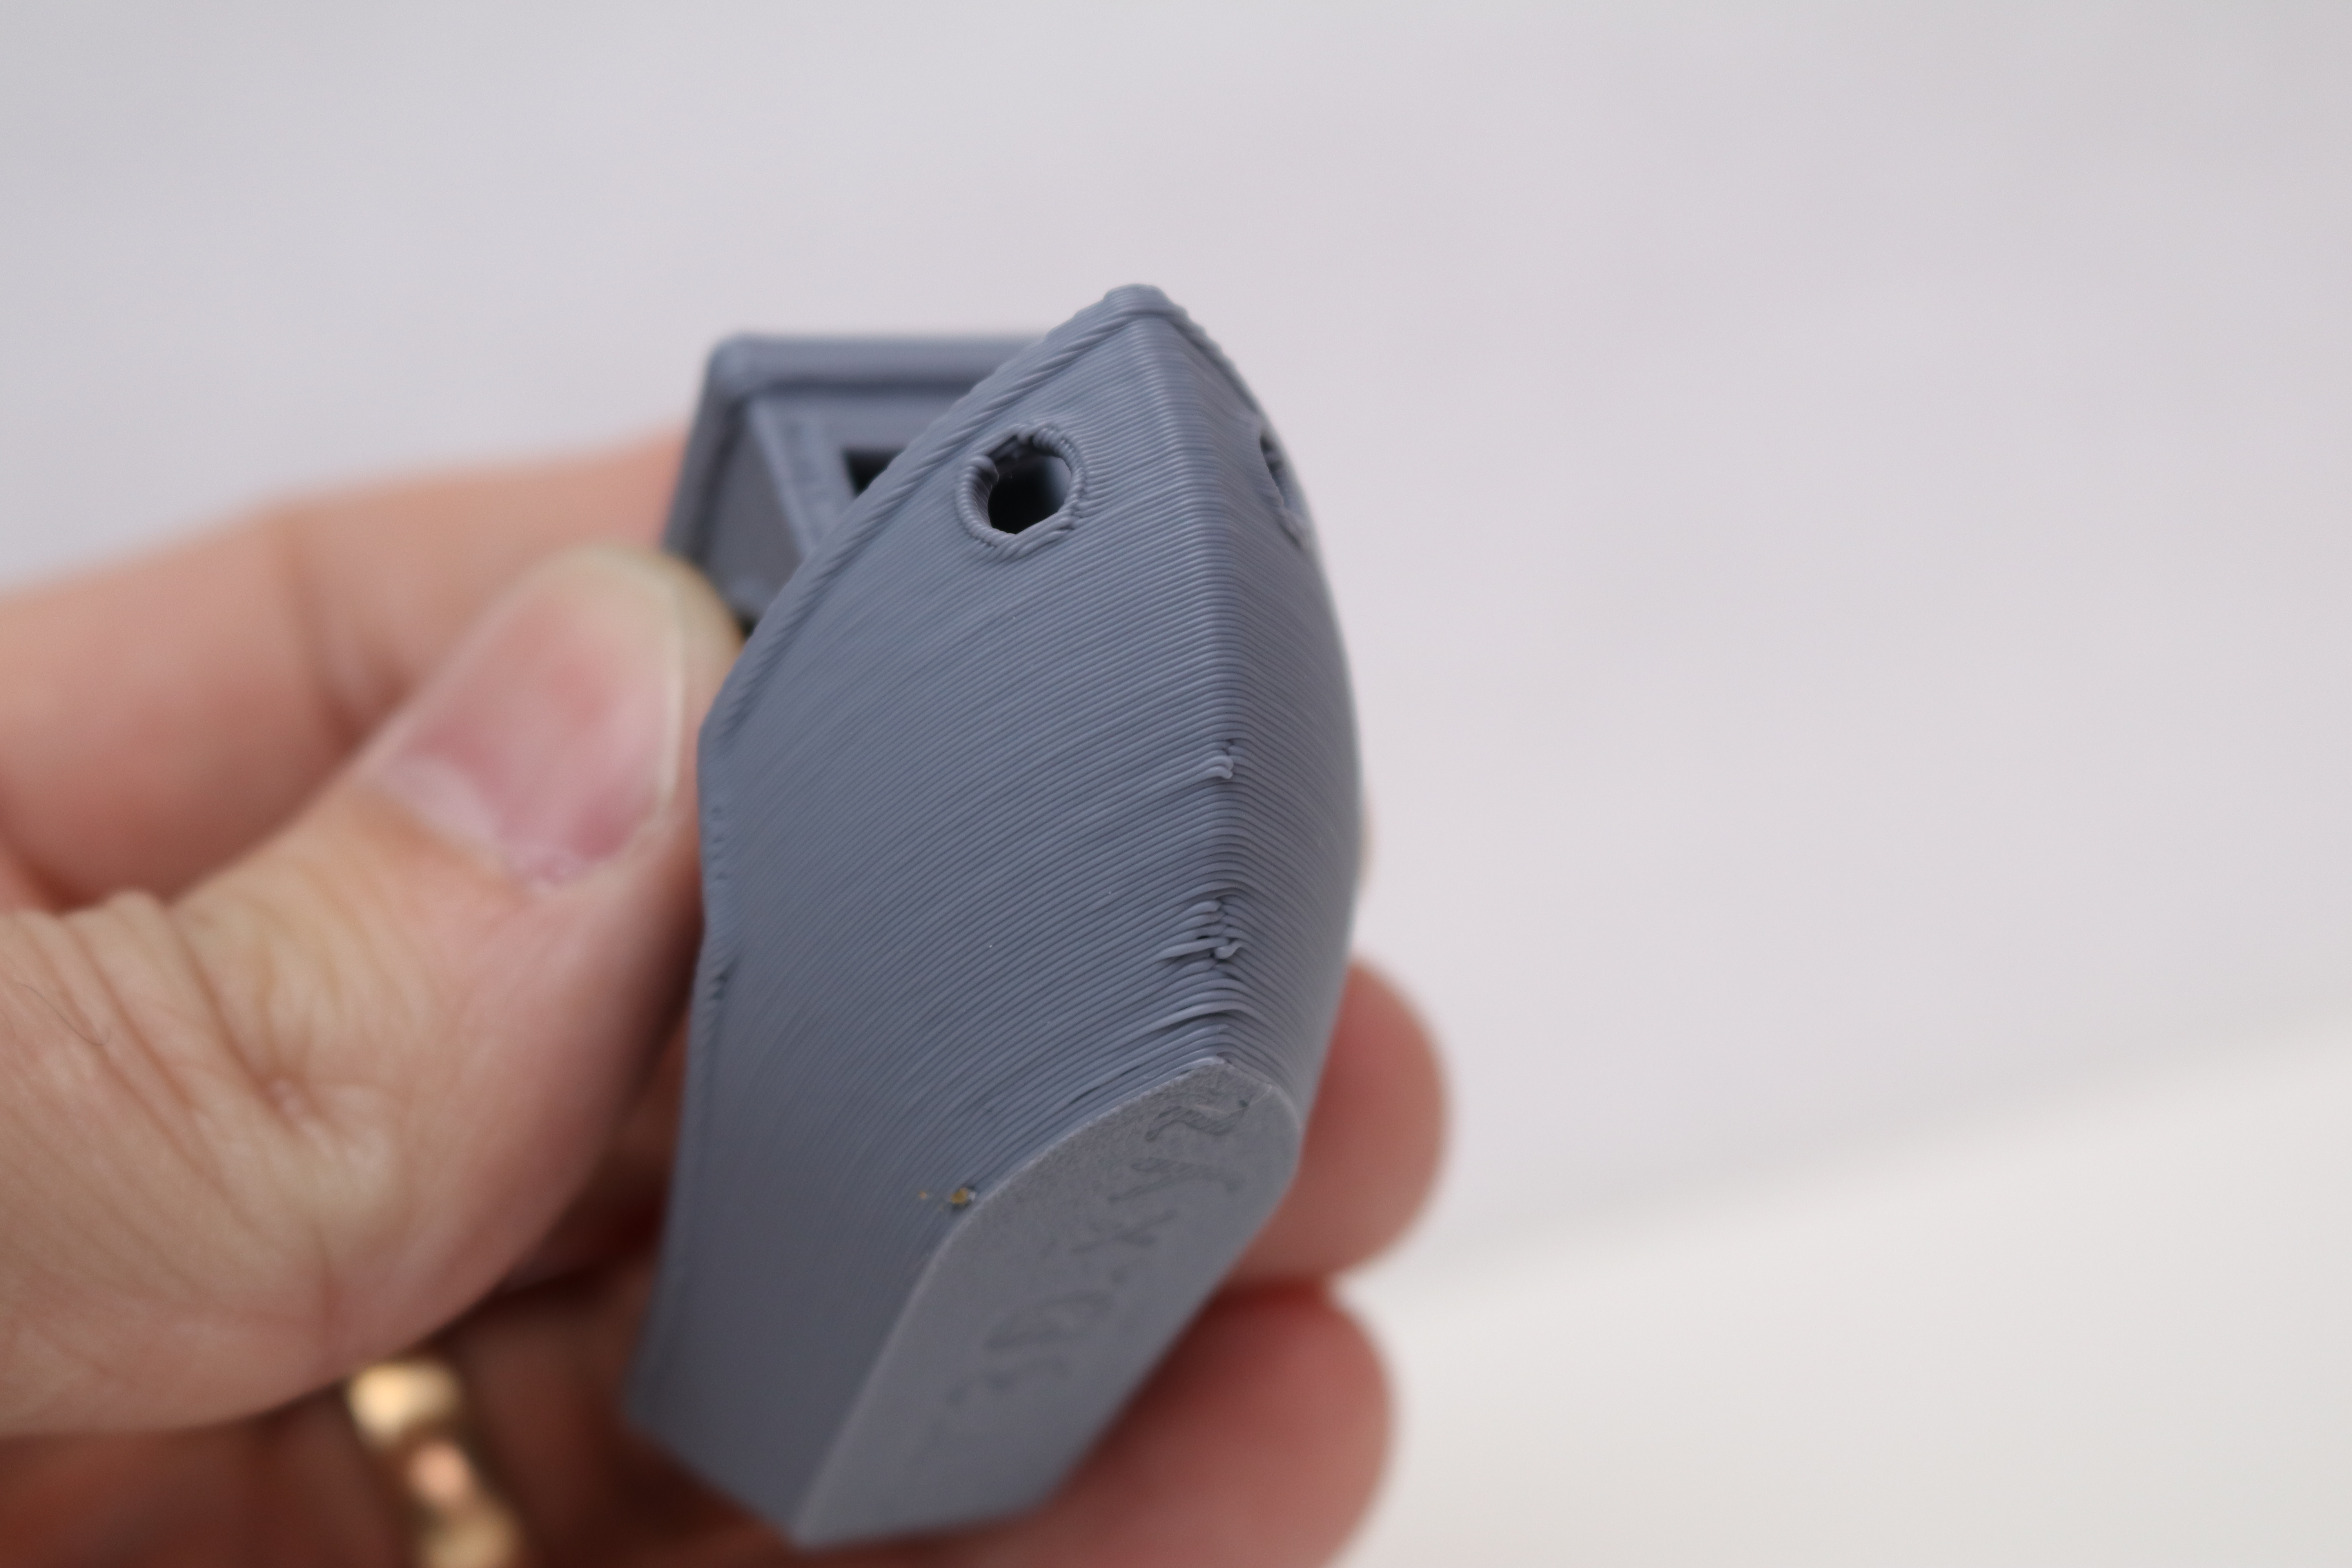
Despite the large build volume of the Neptune 4 Plus, the default 0.4mm nozzle is capable of resolving fine detail when printing thin layers. The Allen Key Handle by OlleMark is a functional print that has a fine digital texture applied to the handle. Printed using the 0.12mm layer height in OrcaSclier, all three pieces of this model printed in a single build that took 3 hours and 18 minutes.
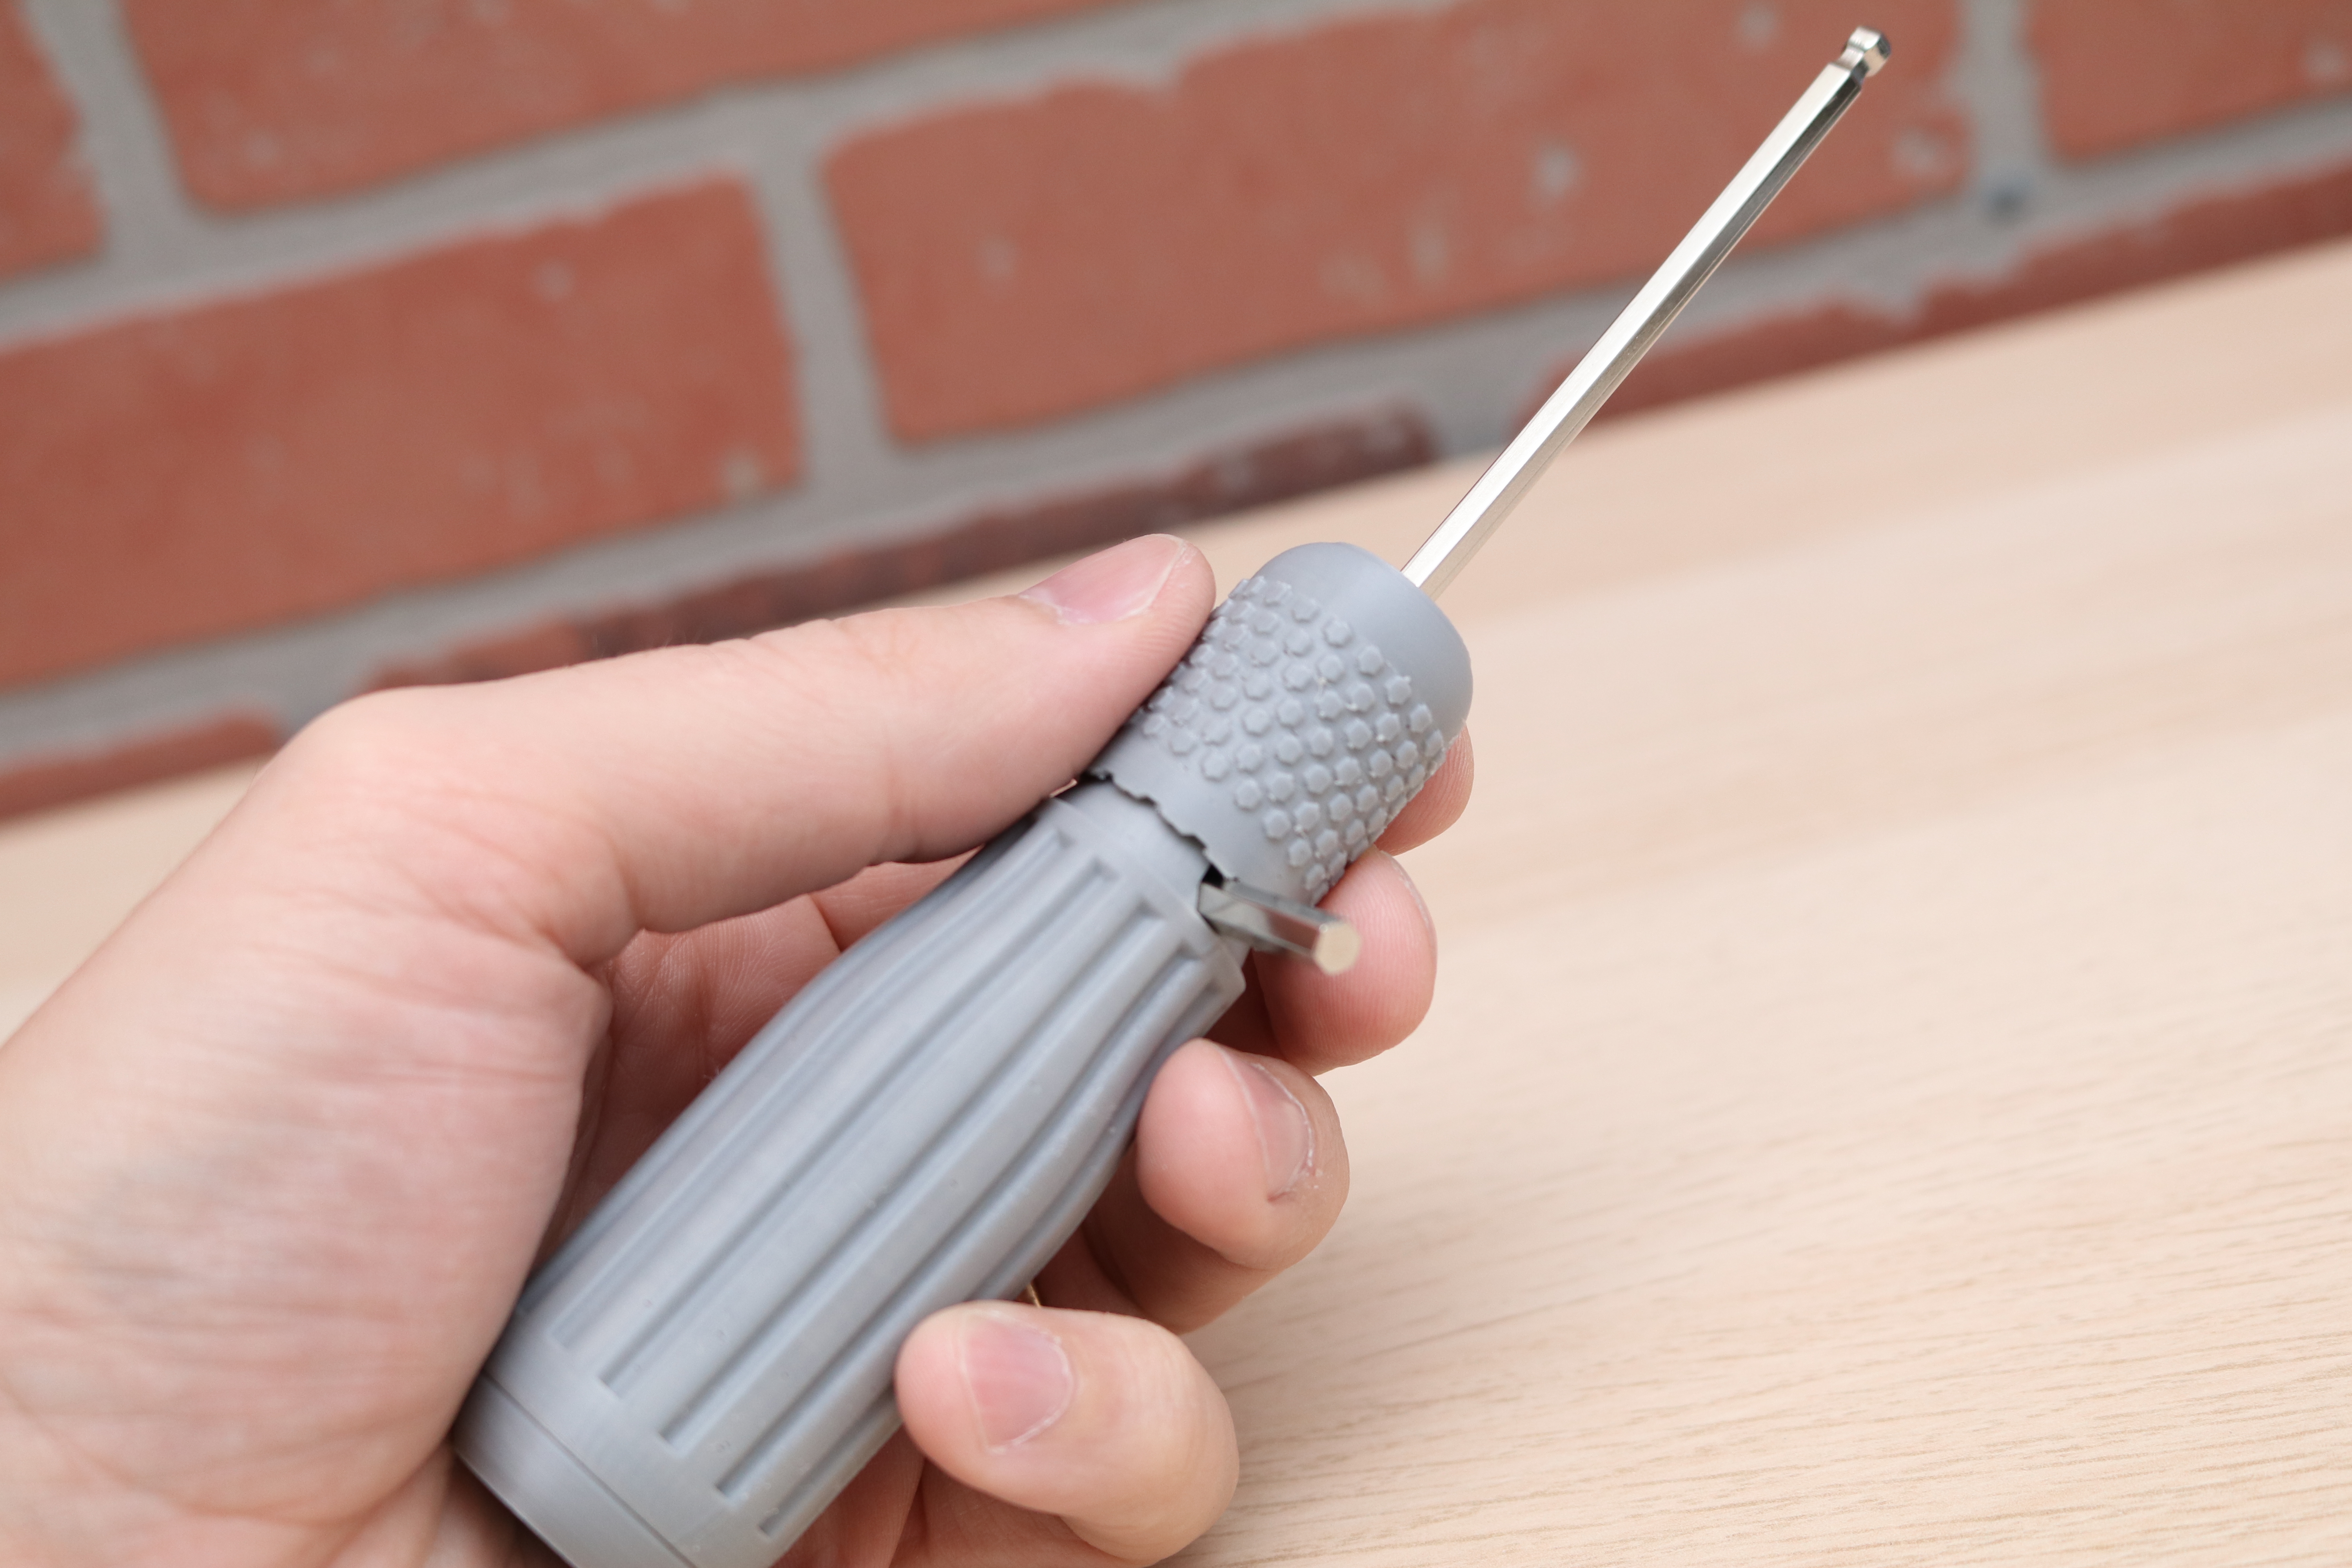
Model: Allen Key Handle by OlleMark
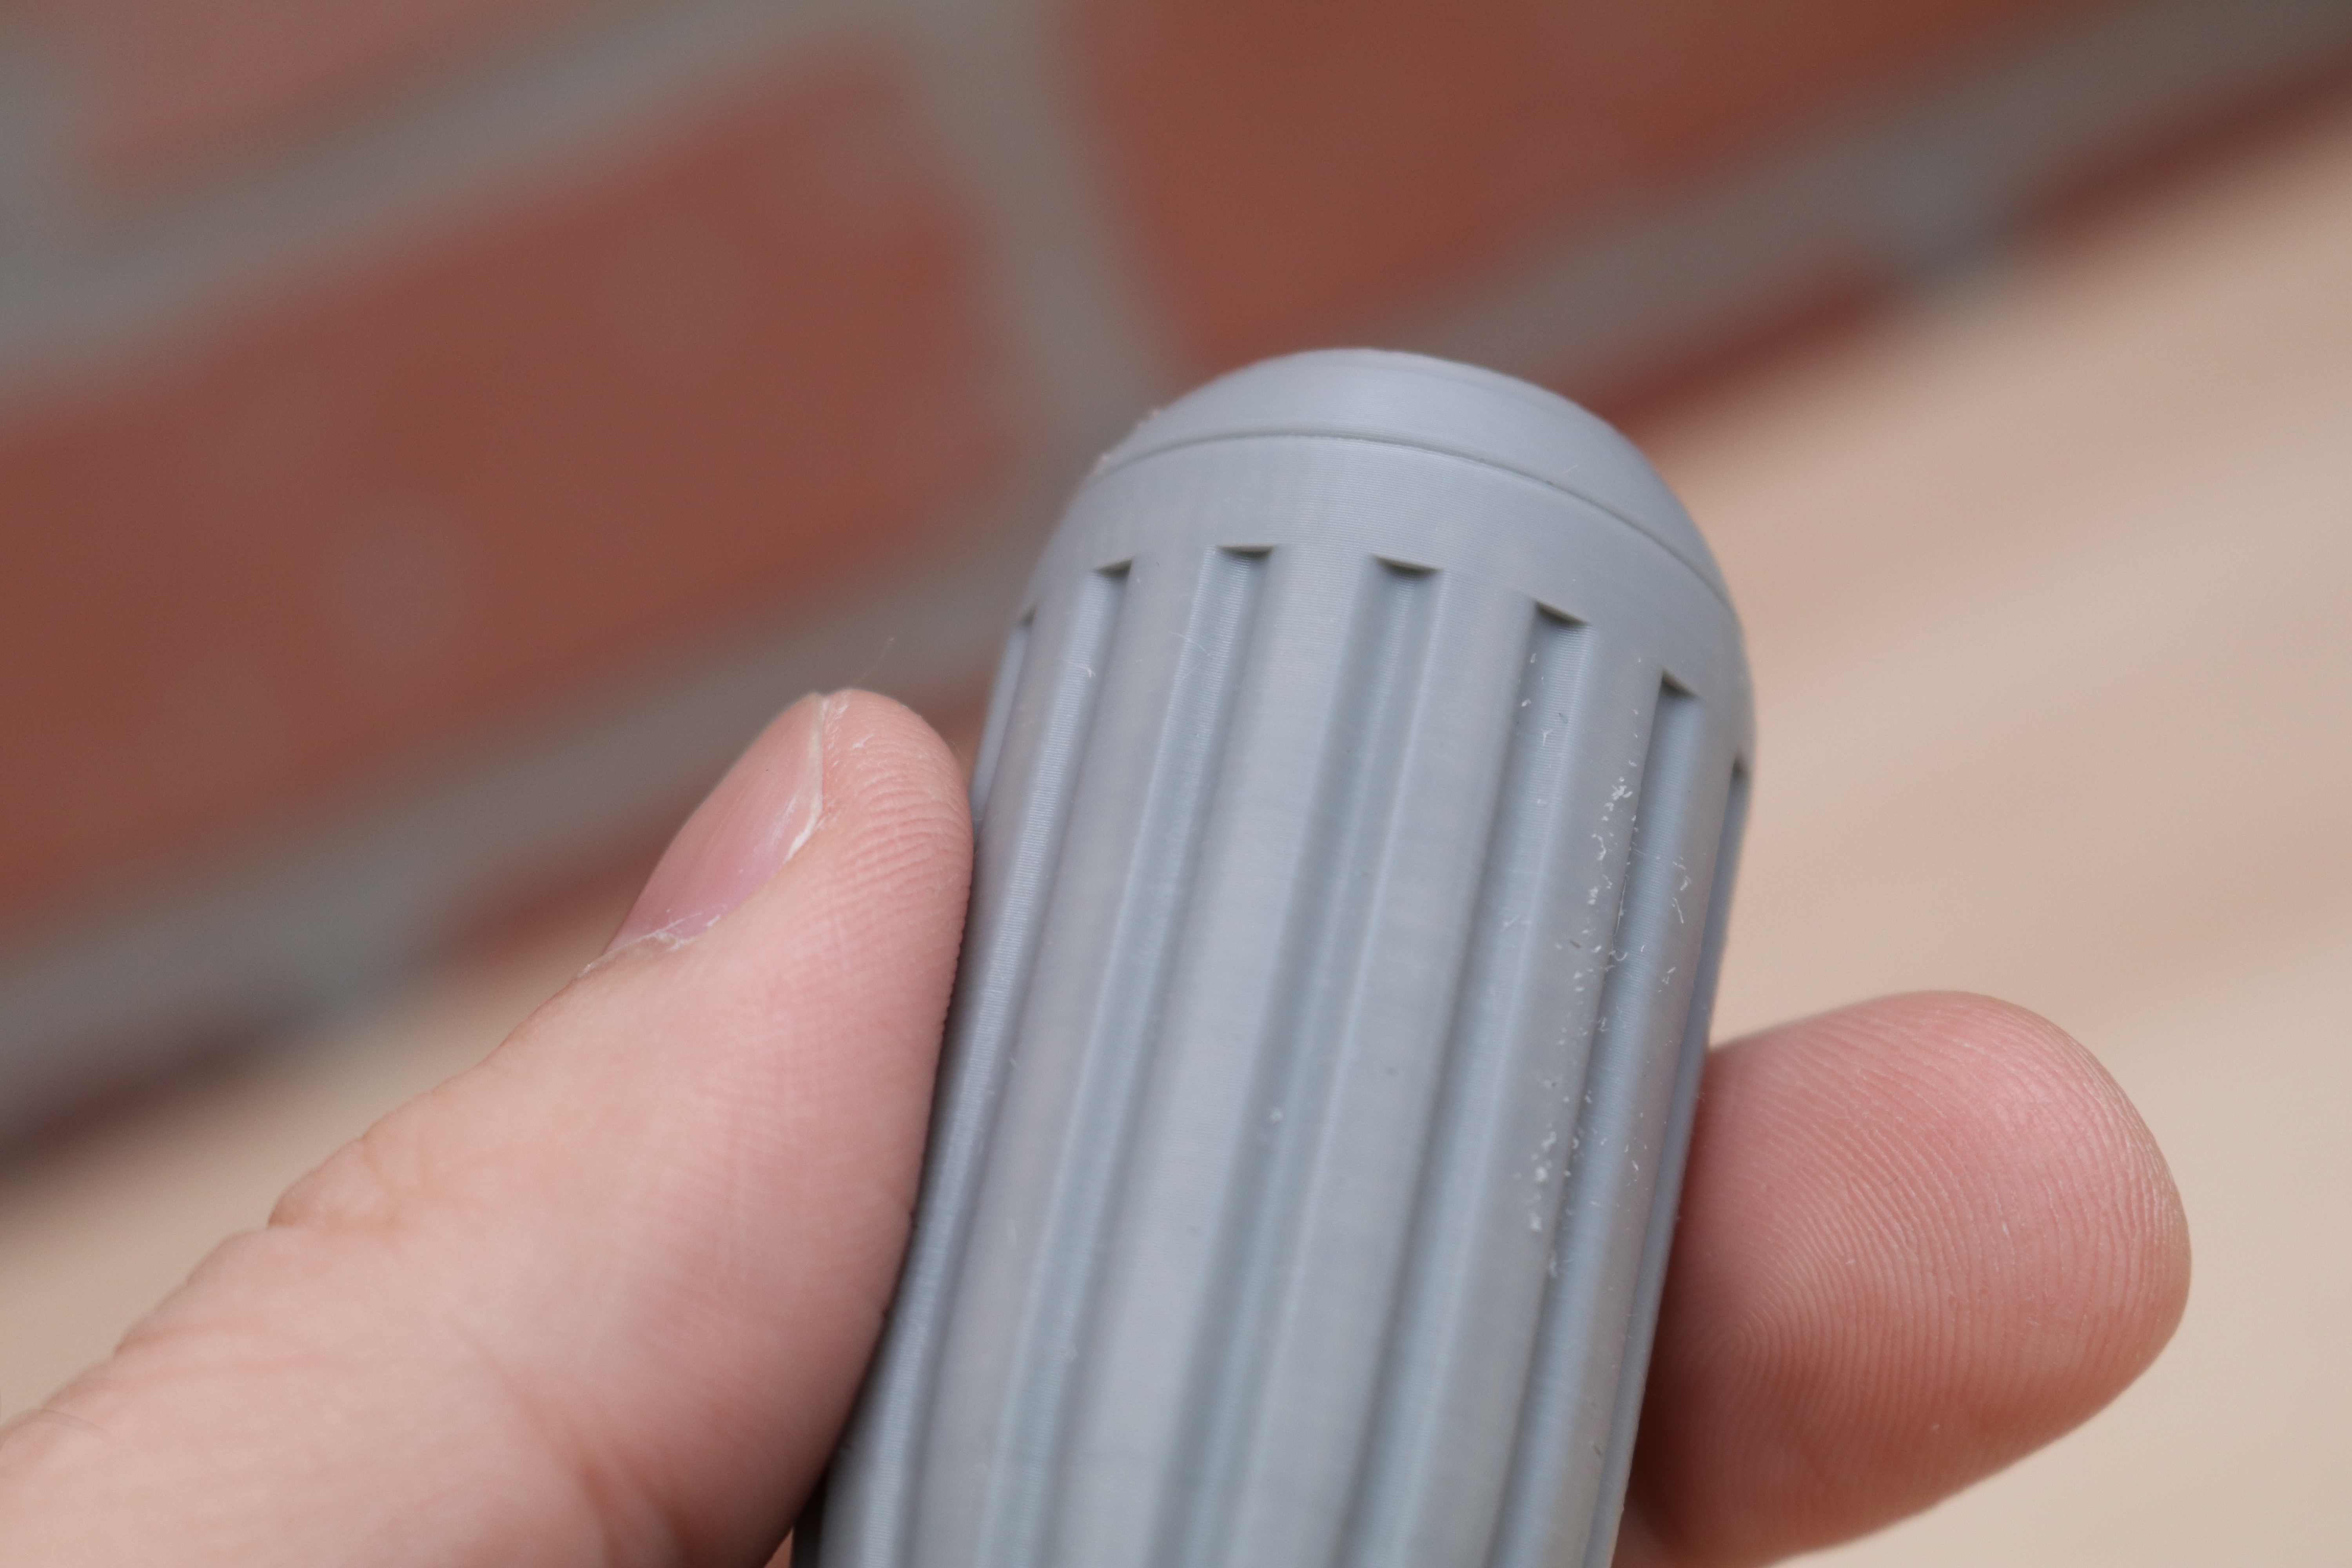
Model: Allen Key Handle by OlleMark
Printed with Sliceworx Aquarius matte transition PLA (see our list of the best filaments for more ideas of what to get for your printer) the Rabbit by miniShev has a chalky and textured appearance, and the layer lines aren’t obvious unless you are very close to the model. The model printed in 10 hours and 56 minutes using the OrcaSlicer 0.2mm slicer profile with no major defects. Even the sharp overhangs and steep angles resolved without any support material due to the rapid cooling from the blower fan module.
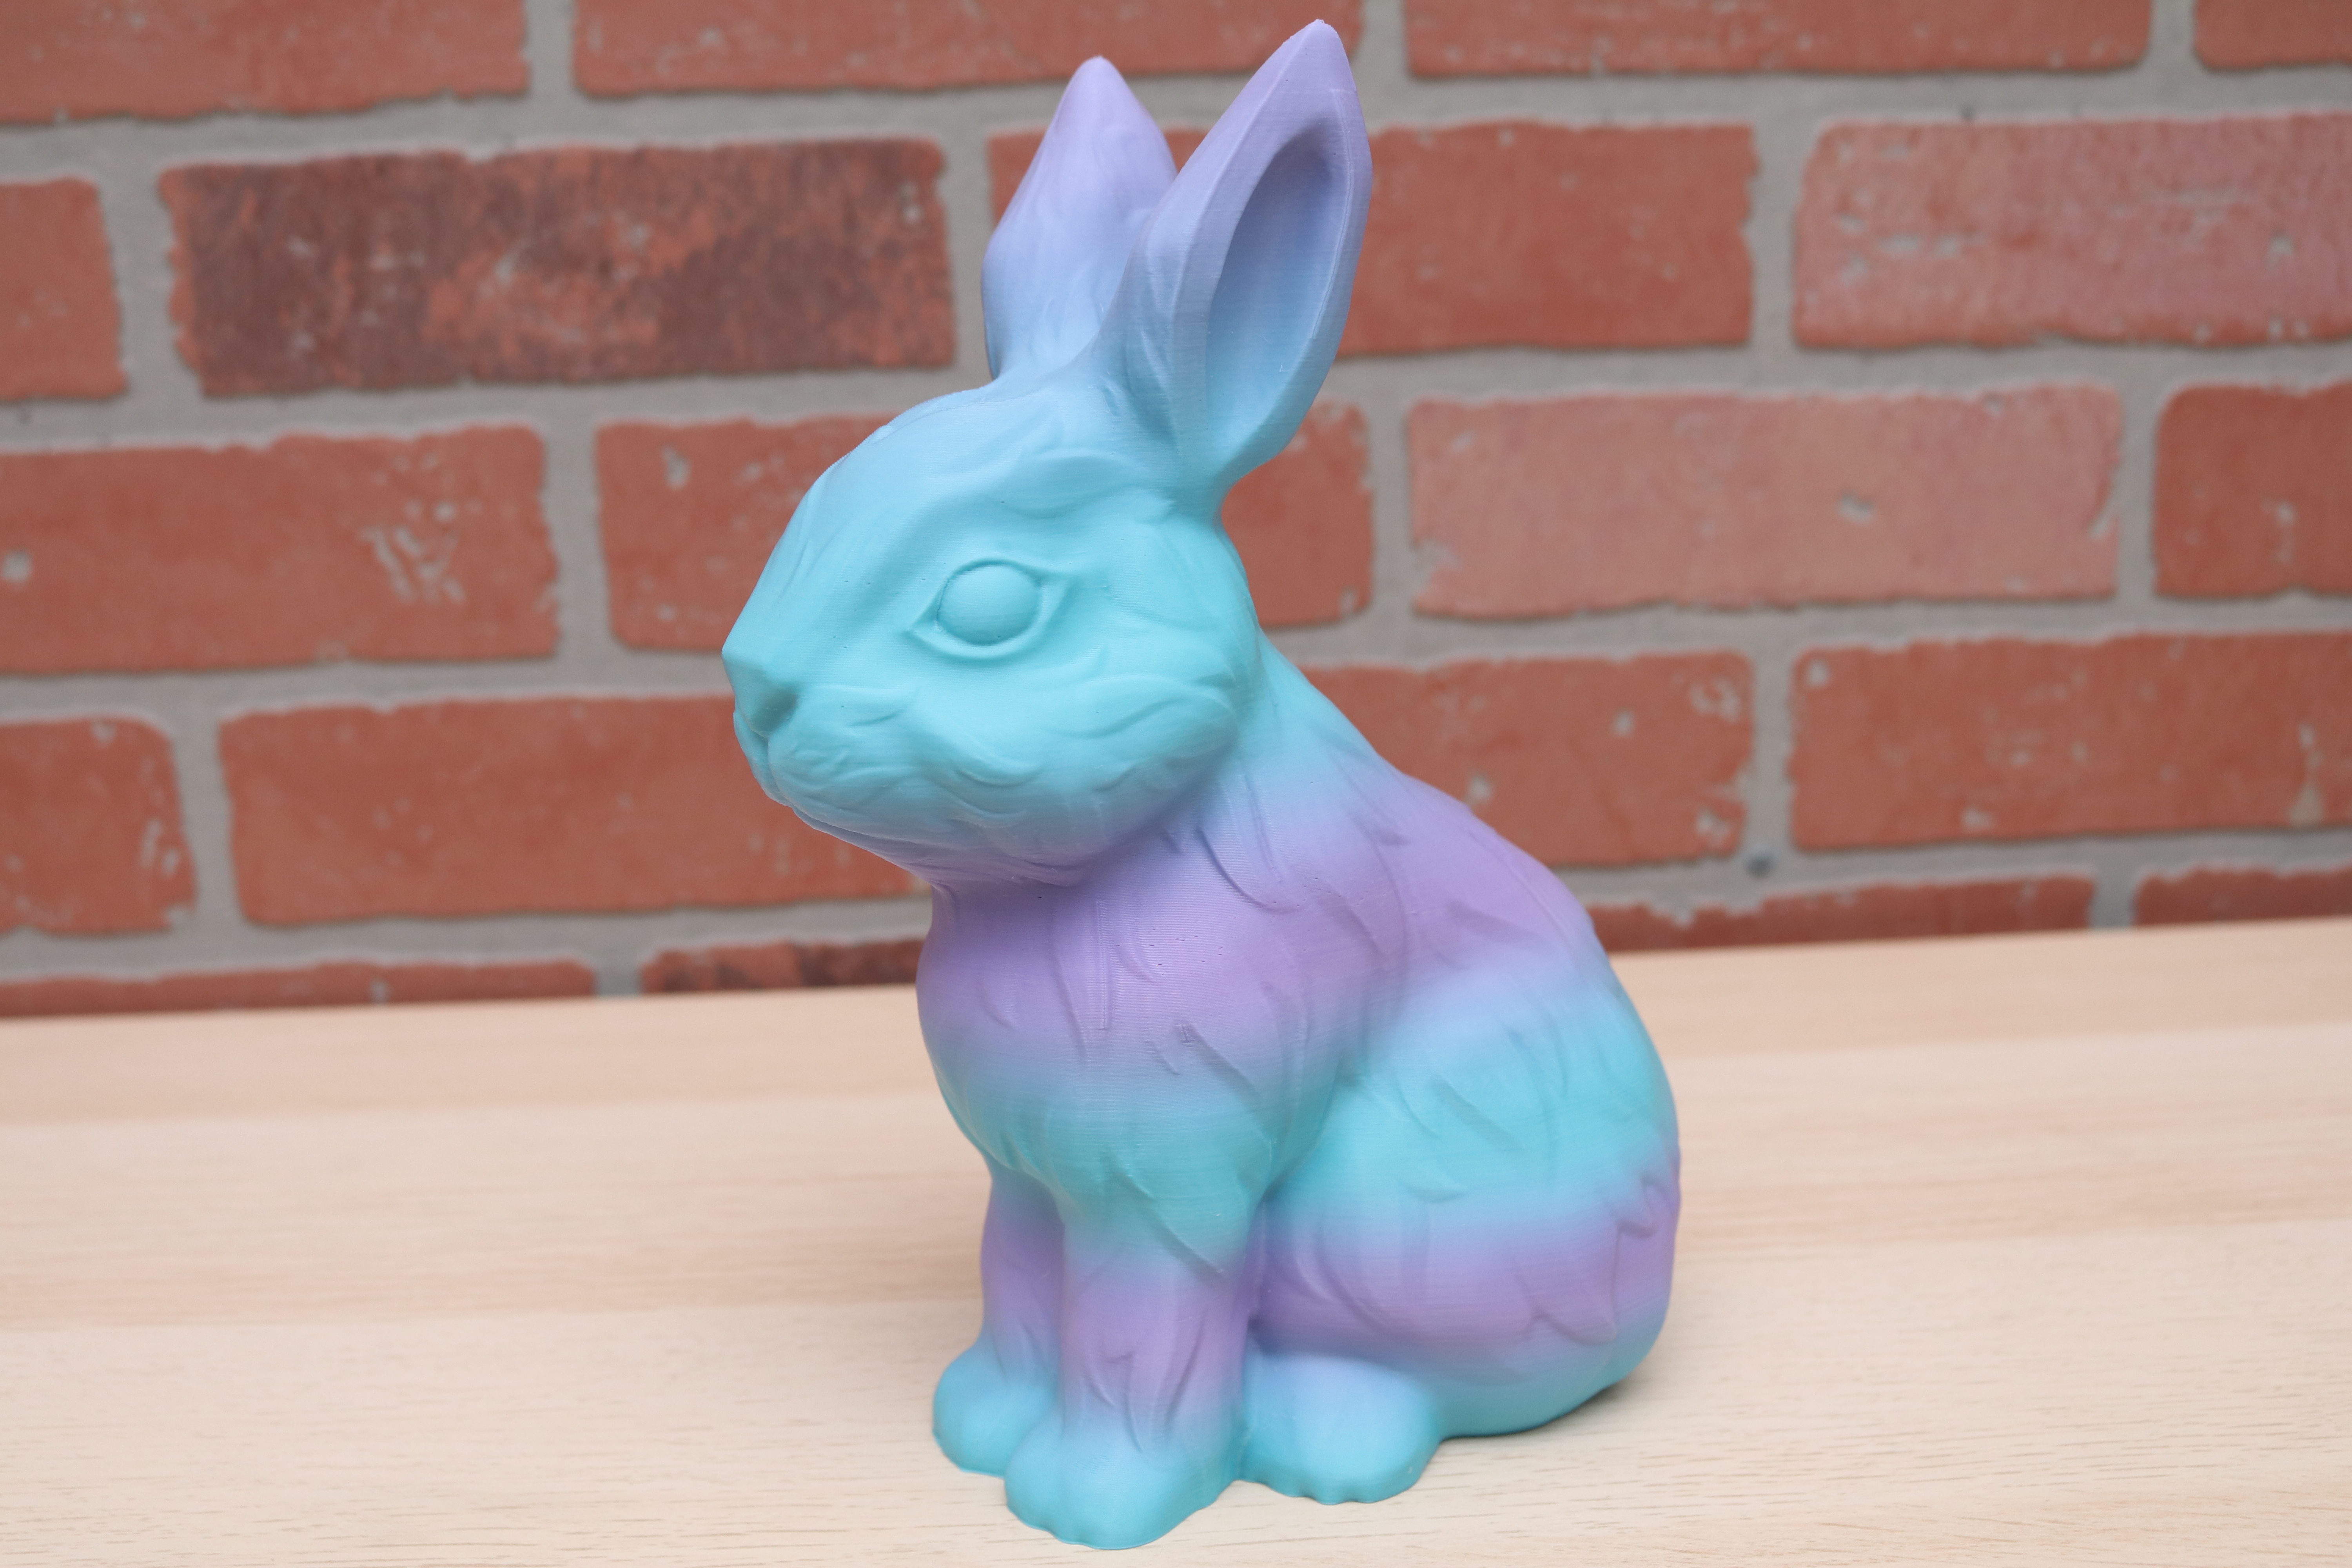
Model: Rabbit by miniShev
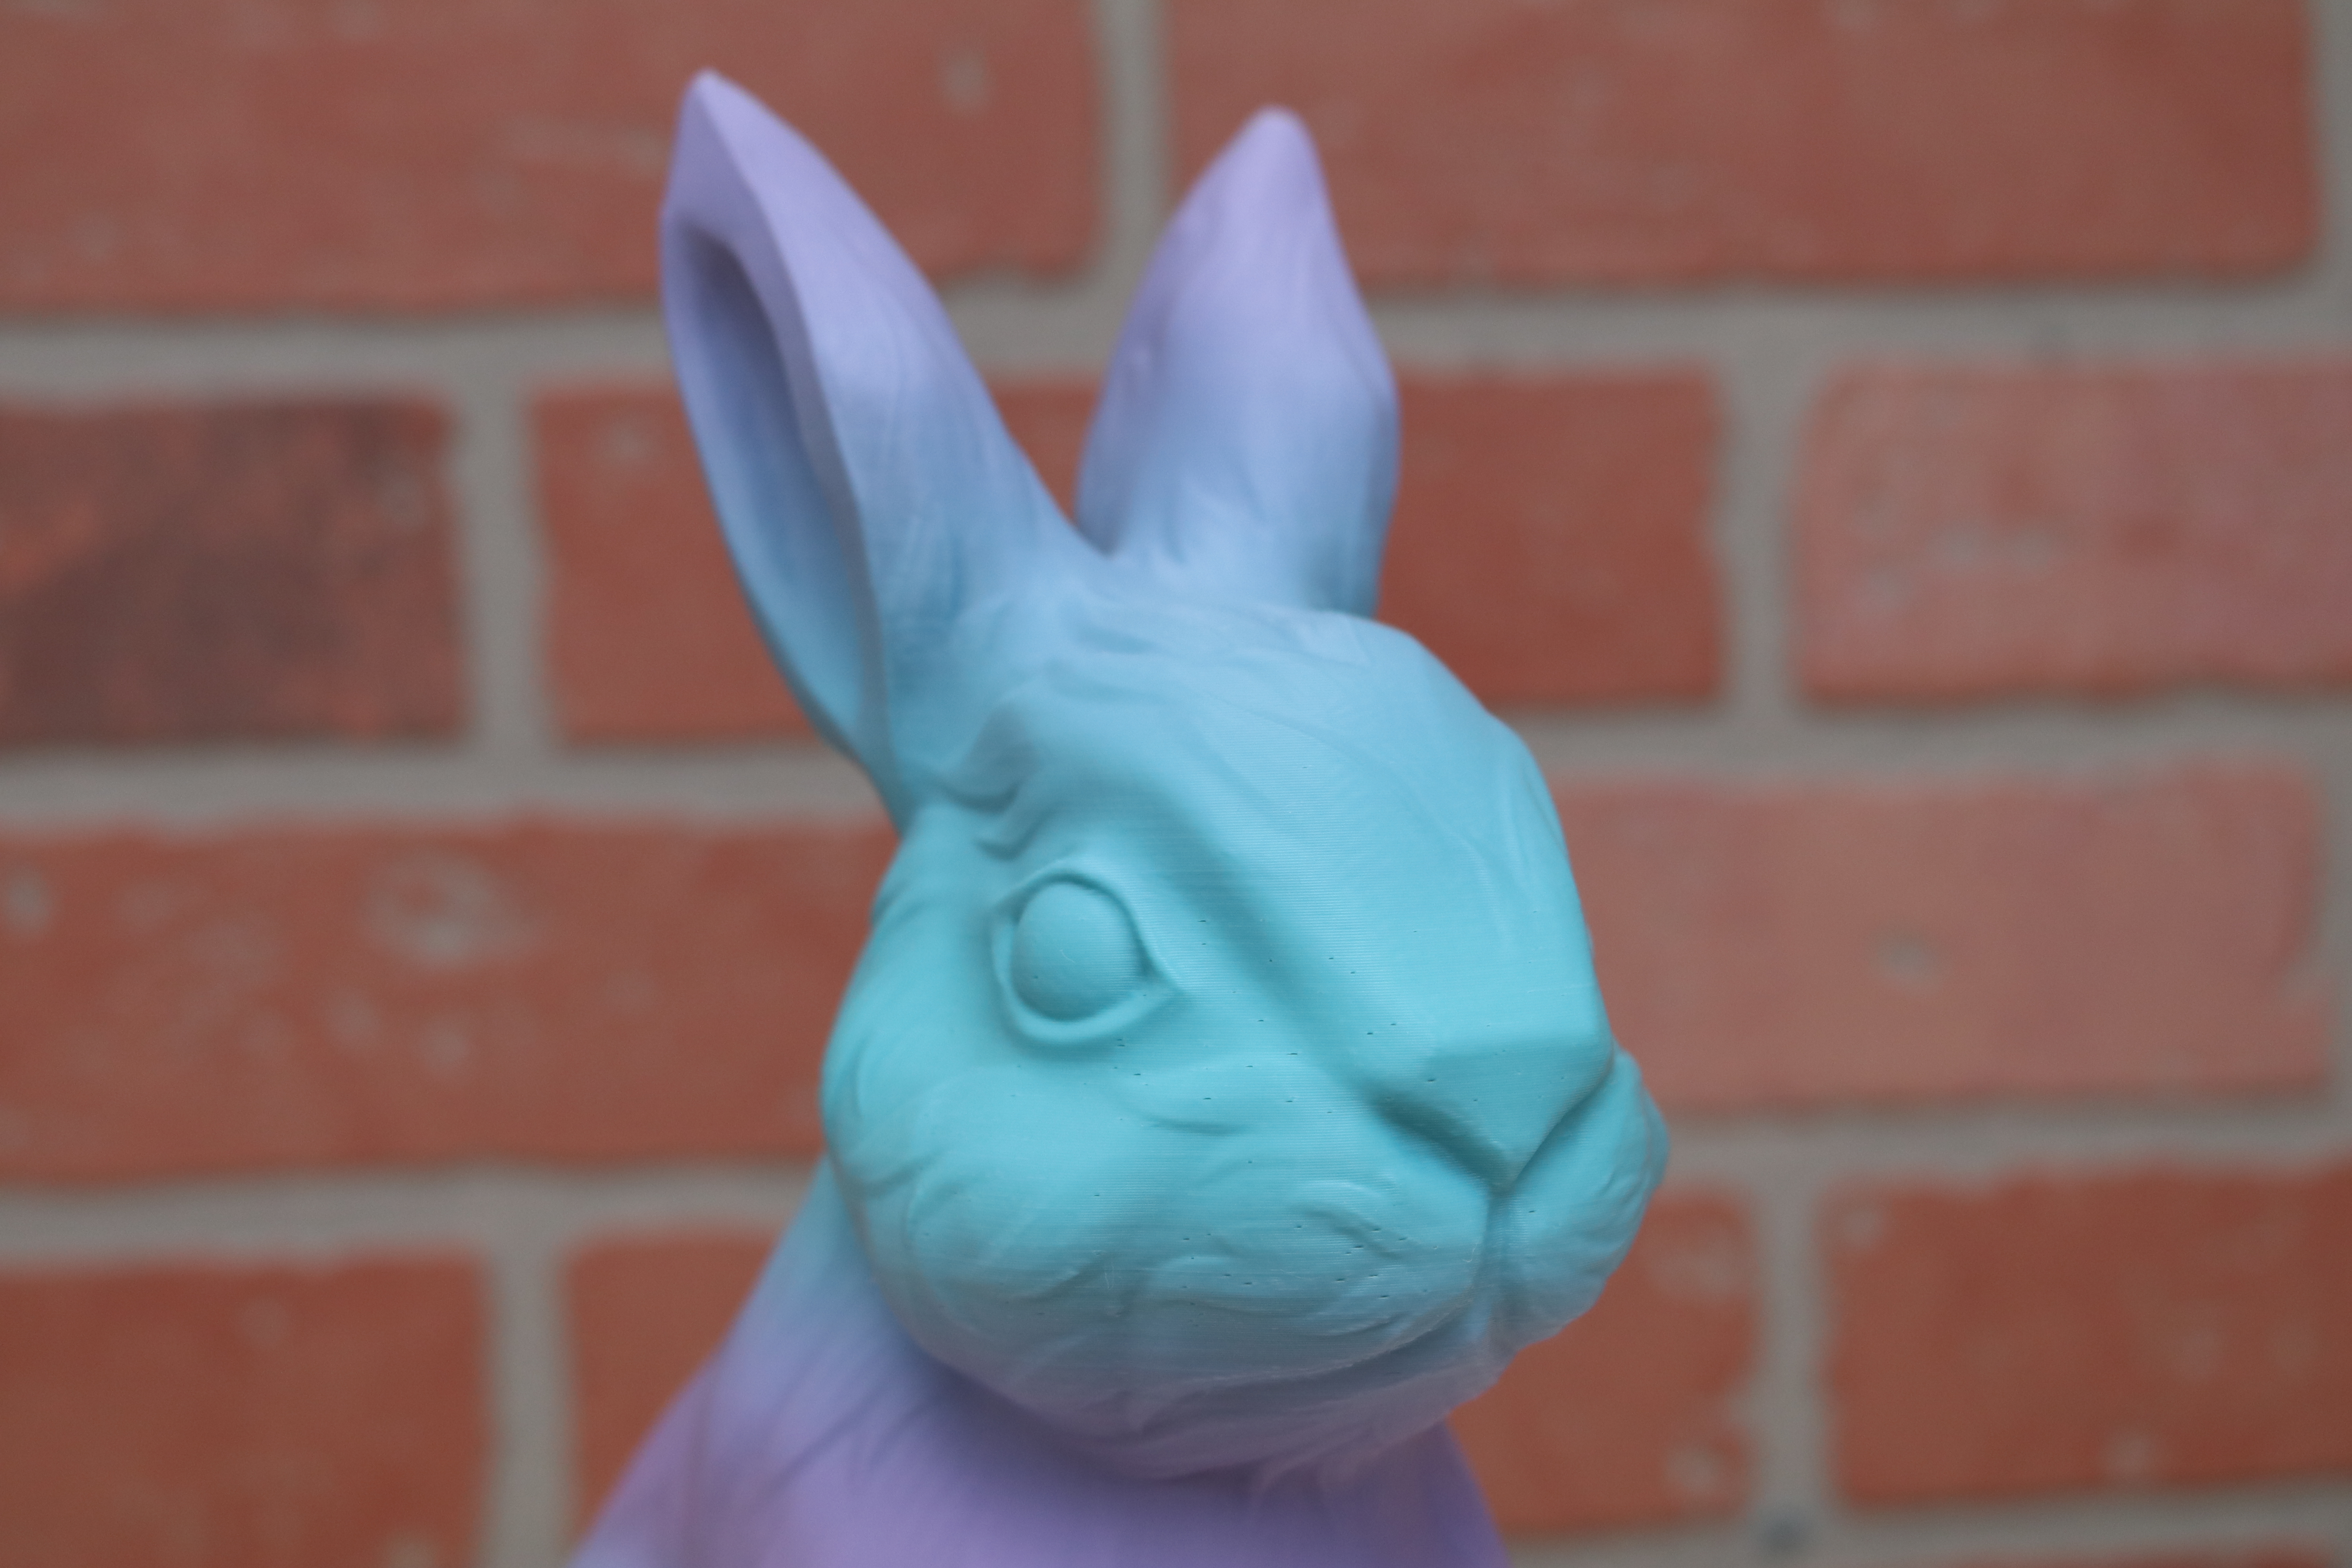
Model: Rabbit by miniShev
Printing the Speed Benchy on Elegoo Neptune 4 Plus
The Elegoo Neptune 4 Plus is advertised as a high speed printer, a quickly growing segment of the desktop 3D printer that has not yet standardized the meaning of “speed”. With a max print speed of 500mm/s (250mm/s recommended), the Neptune 4 Plus is surprisingly fast for such a large machine. To help understand the performance of this printer relative to other similar machines, Tom’s Hardware has created a benchmark test to determine print speed, quality, and performance relative to similar machines.
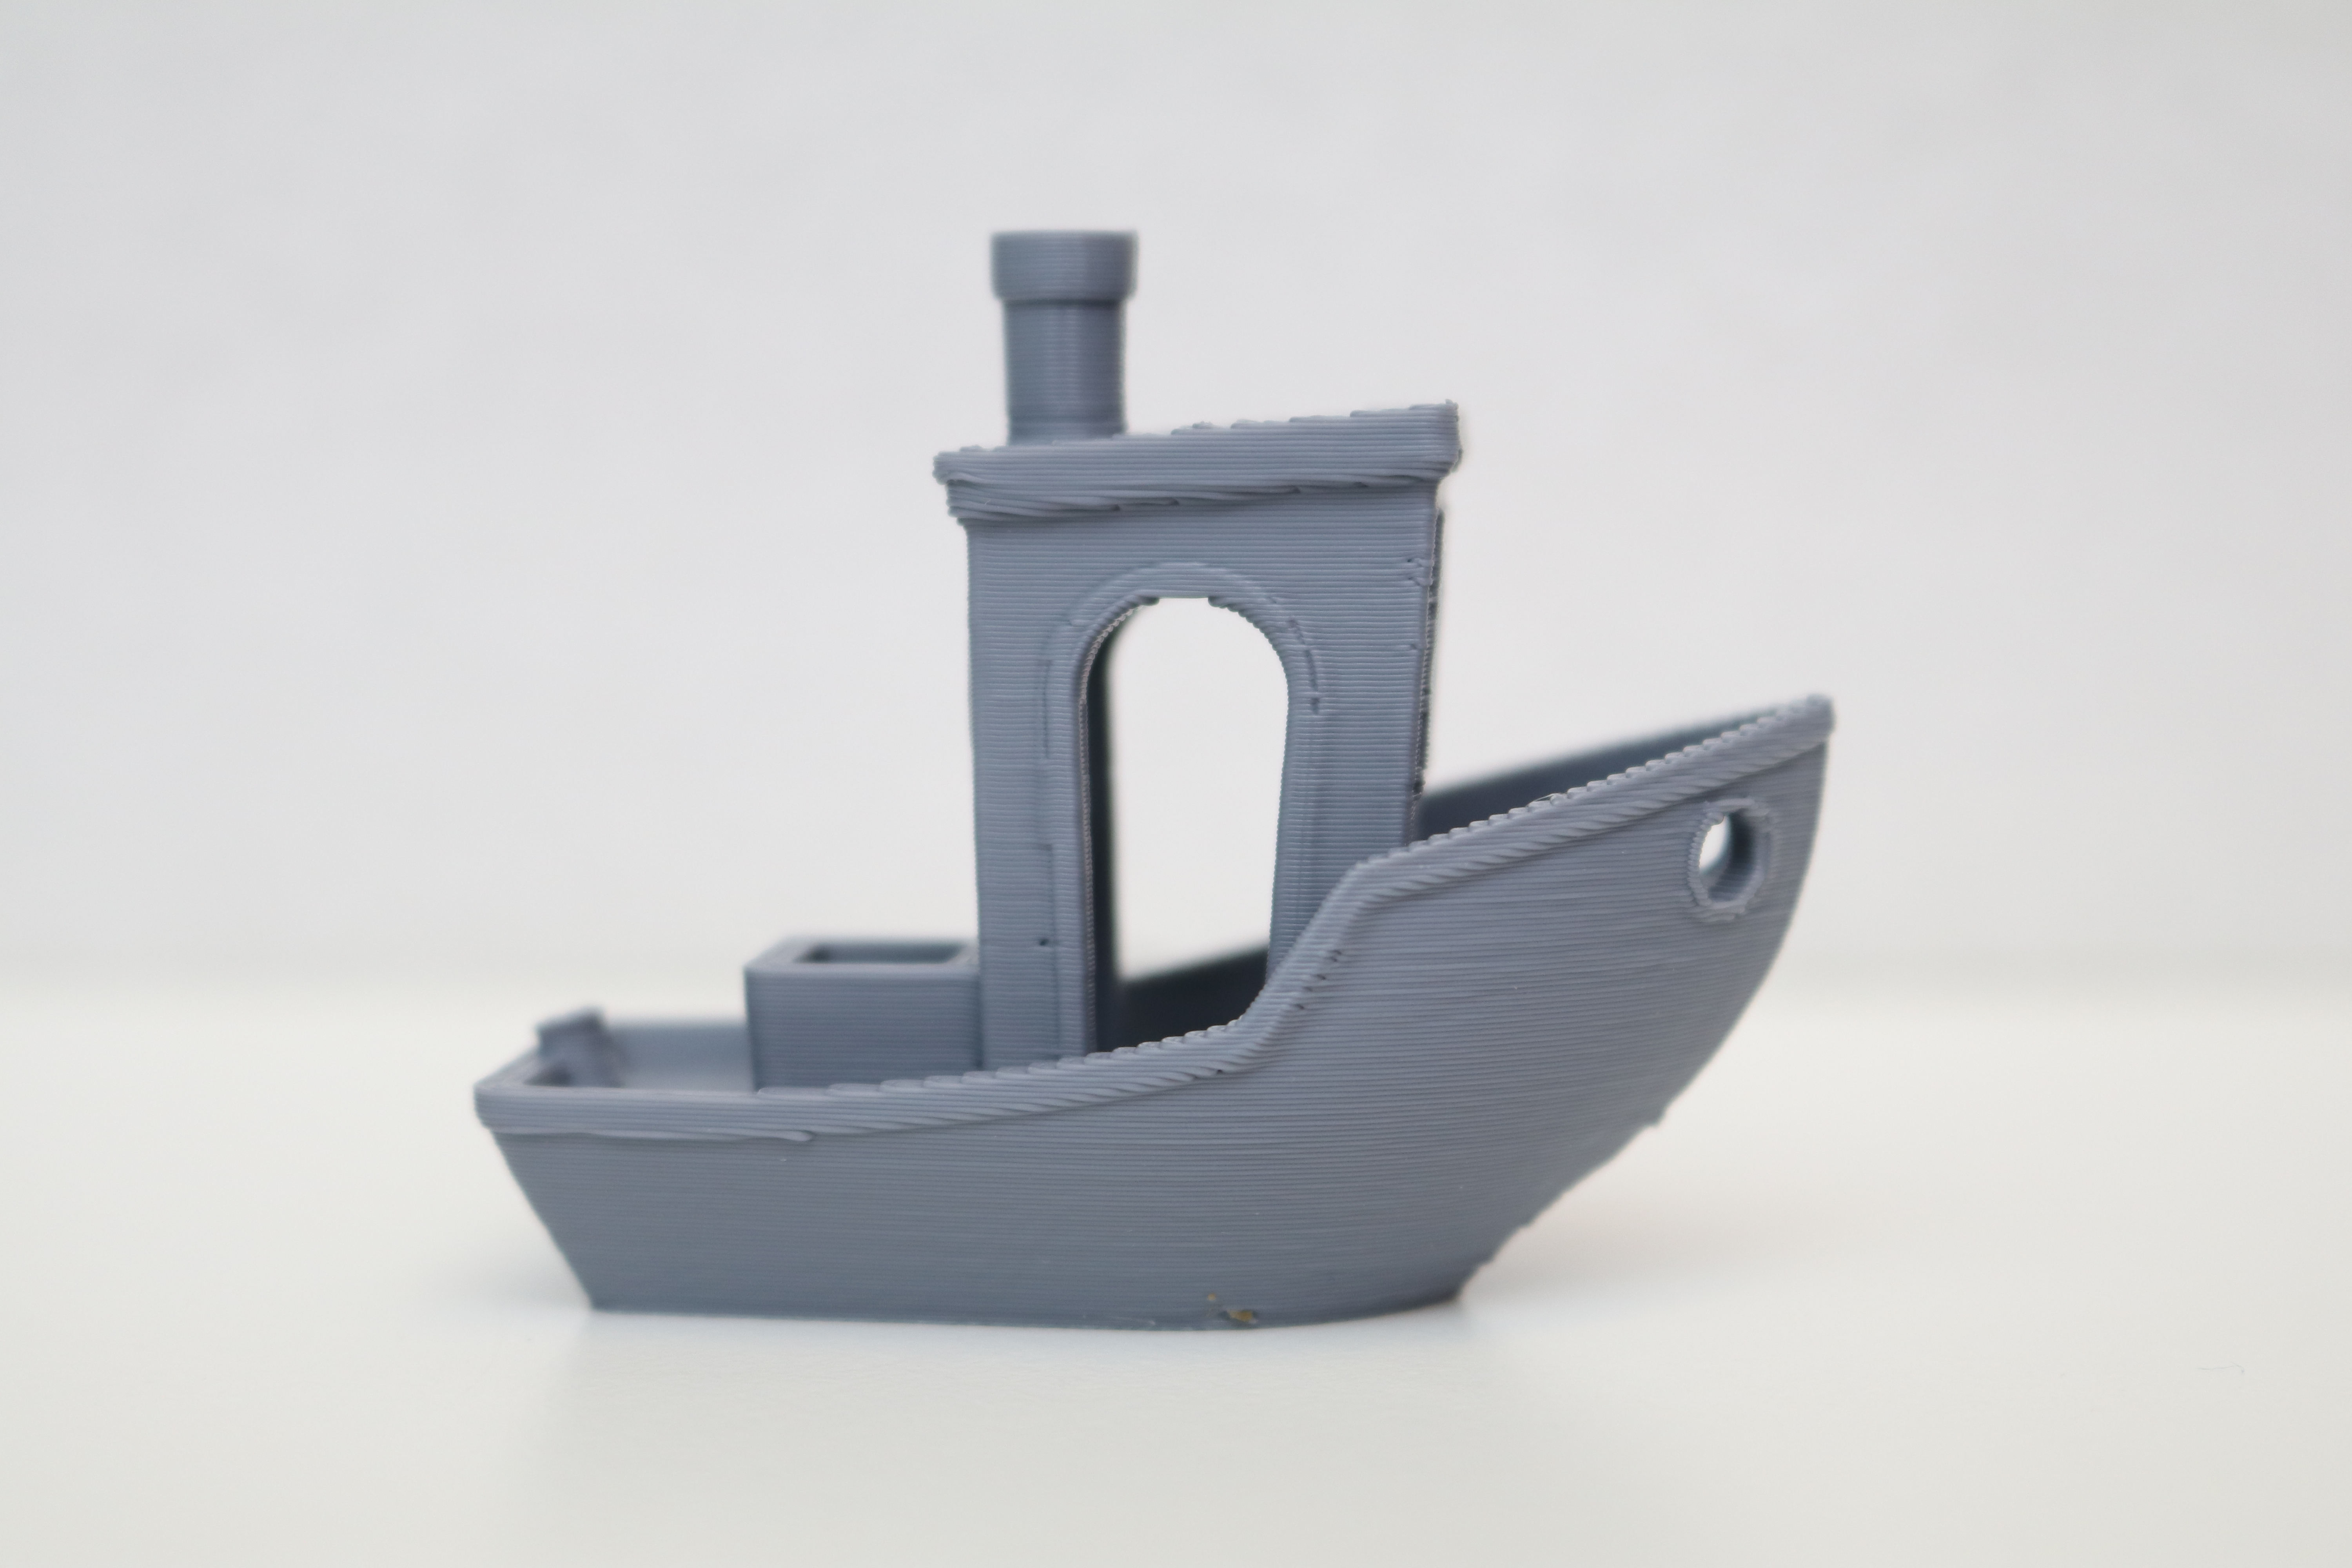
Using the standard Tom’s Hardware Speed Benchy settings, the Neptune 4 Plus printed a Benchy in a blistering 16 minutes and 25 seconds. The model has some slight banding, but the various features of the Benchy (smokestack, steering wheel, etc.) are all present and clear, even when printed at .25mm at high speed. On our current 3D Printer Speed Hierarchy, that time would put the Neptune 4 Plus in third place, behind the Creality K1 Max and Creality K1.
Bottom Line
Elegoo has released some of the best budget 3D printers in the market. The $350 launch price of the Elegoo Neptune 4 Plus is very compelling, but will cause some heartburn to customers who bought the Neptune 3 Plus less than a year ago for the same price. The custom nozzle on the Neptune 4 Plus may also be a stumbling block for users expecting to be able to quickly swap between nozzle sizes, as replacement parts are currently not in stock in the Elegoo store.
Those details aside: the part cooling fan, acceleration sensors, integrated Wi-Fi, and other features all come together to make a printer that performs well above the competition in this price range. For $350, the Neptune 4 Plus is a very compelling printer for the price. Other larger format 3D printers like the Anycubic Kobra Plus lack the high speed capabilities of the Neptune 4 Plus, a compelling feature that can’t be overlooked.
Printers like the Creality K1 Max offer CoreXY motion systems, automatic leveling, and other features but cost over double the price of the Neptune 4 Plus. It’s hard to compete with the $350 price tag of the Neptune 4 Plus, and it’s easy to see why this printer is one of the best 3D printers. If you are looking for more build volume, the Elegoo Neptune 4 Max offers an even larger build platform with the same high speed capabilities of the Neptune 4 Plus.
MORE: Best 3D Printers
MORE: Best Budget 3D Printers
MORE: Best Resin 3D Printers

Andrew Sink first used a 3D printer in 2012, and has been enthusiastically involved in the 3D printing industry ever since. Having printed everything from a scan of his own brain to a peanut butter and jelly sandwich, he continues to dive ever more deeply into the endless applications of additive technology. He is always working on new experiments, designs, and reviews and sharing his results on Tom's Hardware, YouTube, and more.
