Acer Predator XB252Q 240Hz Monitor Review
Why you can trust Tom's Hardware
OSD Setup & Calibration
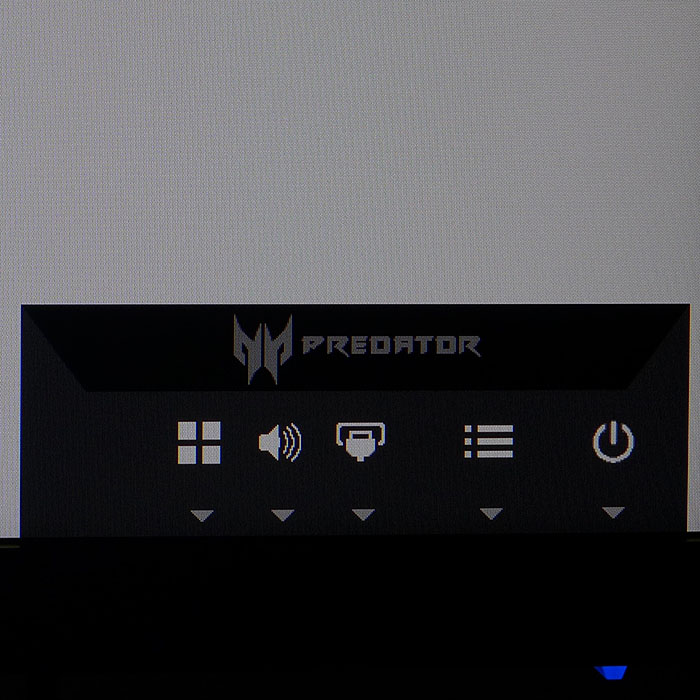
Pressing any of the XB252Q’s control buttons or the joystick brings up a quick menu. The first two slots are programmable, while the third is an input selector. A second click of the joystick brings up the full OSD.
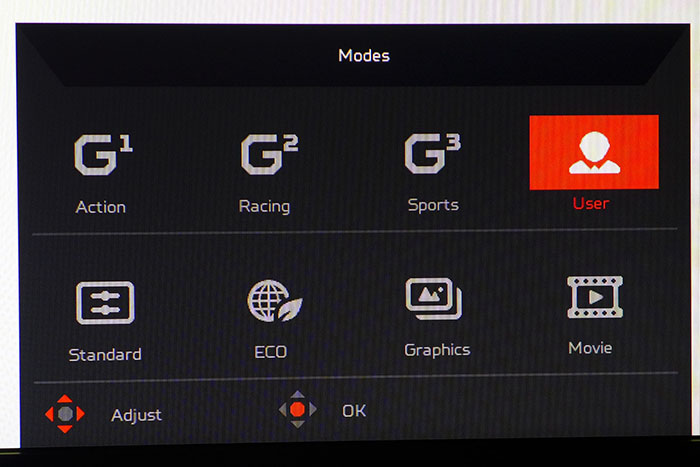
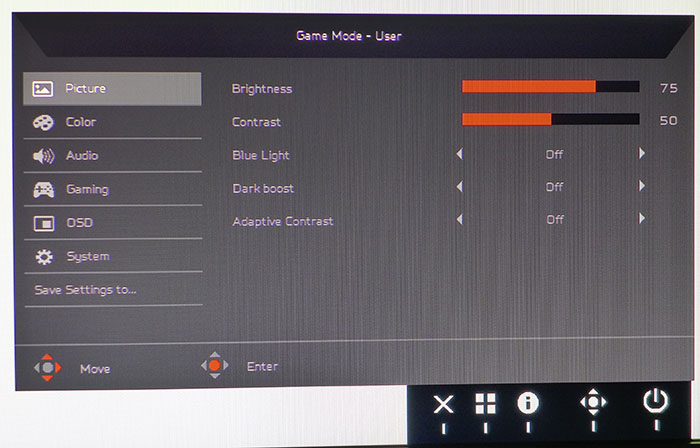
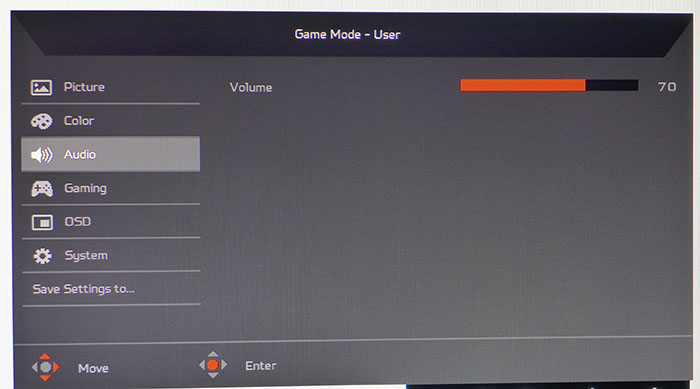
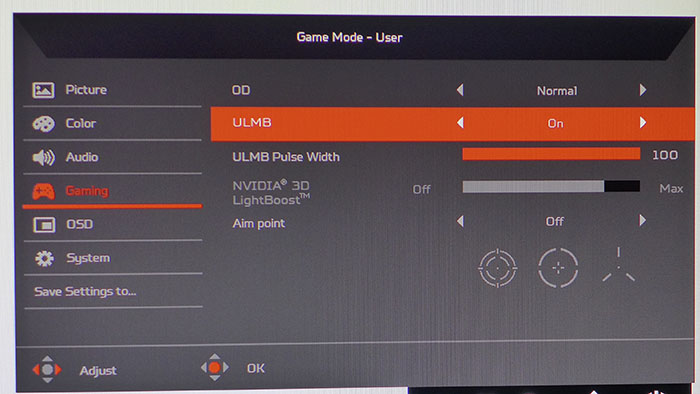
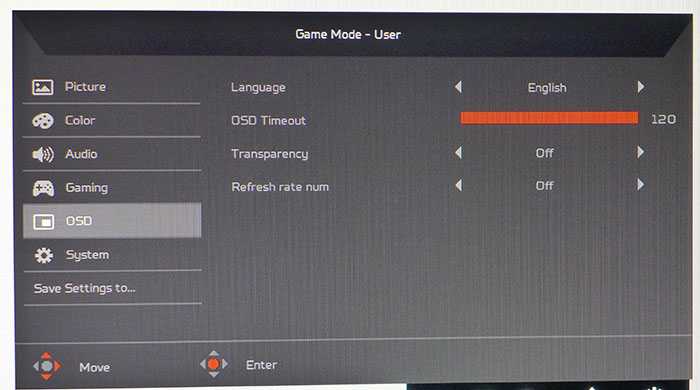
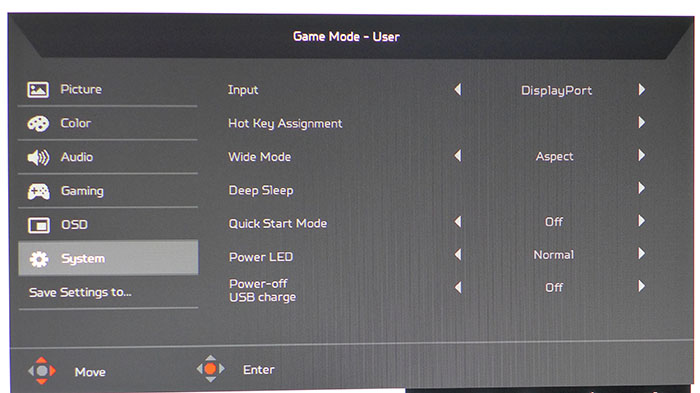
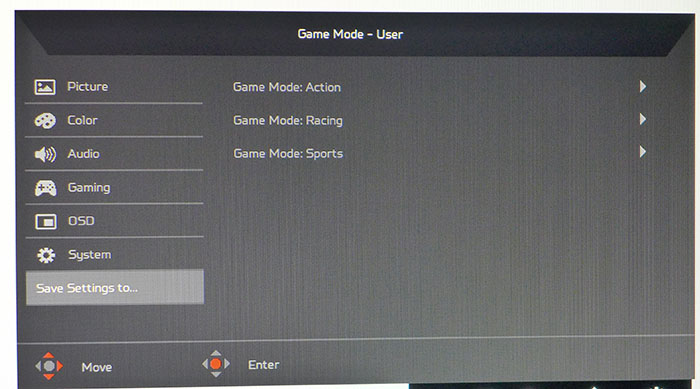
The XB252Q has eight picture modes, but only User allows for calibration. However, once your settings are dialed in, they can be saved to one of the three gaming modes, which is a nice feature. The full OSD starts off with luminance sliders, a Blue Light feature, Dark Boost for low-end detail rendering, and Adaptive Contrast, which will clip shadow and highlight areas of the image while increasing perceived contrast. Making any change whatsoever will switch the picture mode to User.
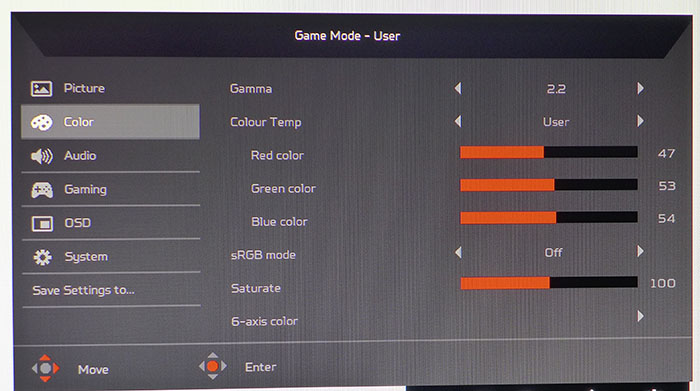
The Color menu has four gamma presets ranging from 1.9 to 2.5 plus a Gaming option that looks even darker than 2.5. 2.2 measured closer to 2.4 in our tests. You also get four color temp settings plus an adjustable User mode. The sliders are very precise and start at center-range, which allowed us to dial in good accuracy without losing too much contrast. The sRGB mode fixes output at 370 nits with slightly visible color and grayscale errors. It doesn’t offer any benefit over the default presets. If you want to manipulate color saturation and luminance, those sliders are available here as well.
The Audio menu has only a volume control that operates on the internal speakers and the headphone output.
The Gaming menu has two overdrive settings. We recommend Normal. The Extreme option causes visible ghosting. It’s grayed out in ULMB mode, so you'll see faint trails behind the fastest moving objects. It’s better to stick with G-Sync, which allows overdrive. ULMB can be used up to 144Hz, and the XB252Q has plenty of output to compensate for the brightness loss. The pulse width can be adjusted over a 100-step range to balance blur-reduction with light levels. The Brightness control can be set independently for each mode. Users of 3D LightBoost will find a variable slider. And novice gamers can turn on one of three aiming reticles.
The OSD menu has multiple language options, a timeout of up to 120 seconds, and a transparency toggle. Refresh Rate Num places a large yellow FPS counter in the upper-right corner of the screen. Your friends and competitors will know your framerates even when standing across the room.
The System menu has an input selector, aspect ratio options, a Deep Sleep power-saving mode, Quick Start (saves power when off), Power LED dimming, and a USB port power setting. The ports can be left on to charge your devices when the monitor is turned off. Hot Key Assignment lets you program the first two control keys for a variety of functions saving you a trip into the OSD.
Get Tom's Hardware's best news and in-depth reviews, straight to your inbox.
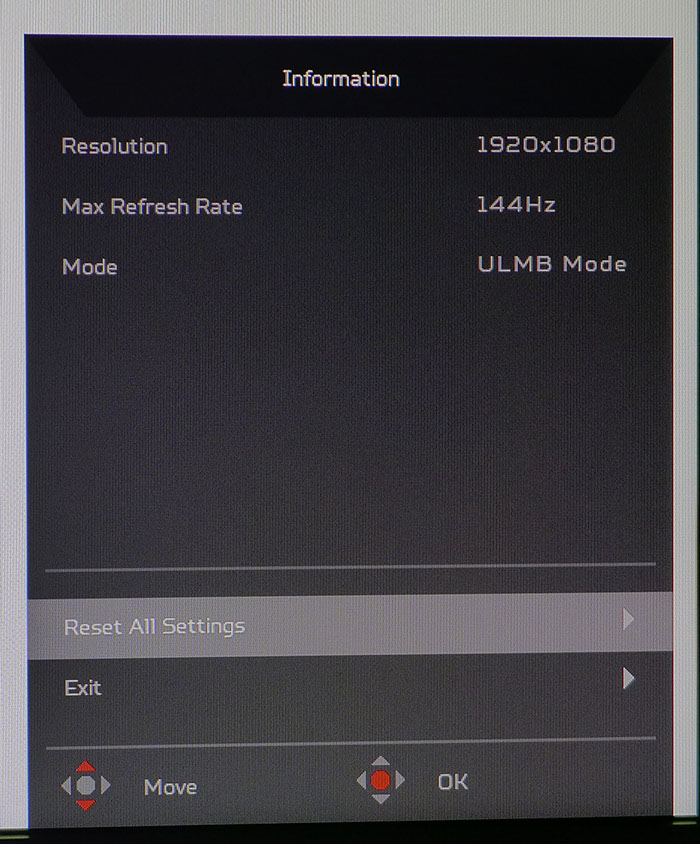
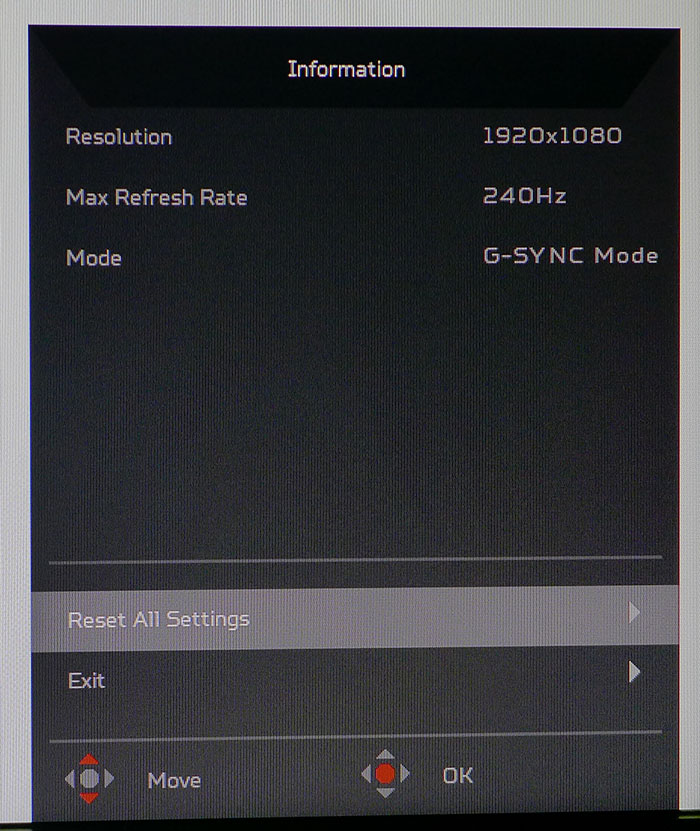
After dialing in your preferences, you can save them to one of the three gaming modes. And if you need signal info, click on the “i” icon (third key) to view input resolution, refresh rate, and mode (G-Sync, ULMB, or Normal) status. Unlike the Asus ROG monitors, the power LED doesn’t change color to indicate this. That’s a handy feature we’d like to see incorporated into the XB252Q.
Calibration
Once you set output with the brightness slider, the XB252Q will be in User mode, which means you can alter gamma, color temp, and color saturation to your liking. The native color gamut is the same regardless of mode, so we performed a grayscale adjustment and lowered the contrast control, which is set about 10 clicks too high. Leaving it alone would mean clipped detail in the brightest content and some color inaccuracy too. Out-of-box performance is merely adequate, but a few adjustments will bring the monitor to a good standard. Here are our recommended settings. When you’re satisfied, we suggest saving the settings to one of the gaming modes.
| Acer Predator XB252Q Calibration Settings | |
|---|---|
| Mode | User |
| Brightness 200cd/m2 | 29 |
| Brightness 120cd/m2 | 4 |
| Brightness 100cd/m2 | 0 |
| Contrast | 40 |
| Gamma | 2.2 |
| Color Temp User | Red 47, Green 53, Blue 54 |
MORE: Best Gaming Monitors
MORE: Best Professional Monitors
MORE: How We Test Monitors
MORE: How To Choose A Monitor
MORE: All Monitor Content
Current page: OSD Setup & Calibration
Prev Page Features & Specifications Next Page Brightness & Contrast
Christian Eberle is a Contributing Editor for Tom's Hardware US. He's a veteran reviewer of A/V equipment, specializing in monitors. Christian began his obsession with tech when he built his first PC in 1991, a 286 running DOS 3.0 at a blazing 12MHz. In 2006, he undertook training from the Imaging Science Foundation in video calibration and testing and thus started a passion for precise imaging that persists to this day. He is also a professional musician with a degree from the New England Conservatory as a classical bassoonist which he used to good effect as a performer with the West Point Army Band from 1987 to 2013. He enjoys watching movies and listening to high-end audio in his custom-built home theater and can be seen riding trails near his home on a race-ready ICE VTX recumbent trike. Christian enjoys the endless summer in Florida where he lives with his wife and Chihuahua and plays with orchestras around the state.
-
Lucky_SLS These 240Hz r for the Hardcore Henry of e-sports gamers,Reply
Bring out the HDR and FreeSync 2 beauties !!! -
dstarr3 The last time I had a TN panel was 15 years ago. I should give them another shot, they probably look a lot better today than they did the last time I had one.Reply -
AgentLozen I'm happy to see that engineers keep pushing the limits of panel technologies. It's a shame that this monitor couldn't have ran at a higher resolution or used a better display technology. Subjectively, can you see the difference between 144Hz and 240Hz?Reply
DSTARR3 said:The last time I had a TN panel was 15 years ago. I should give them another shot, they probably look a lot better today than they did the last time I had one.
I'm using a Dell TN at home. After a little calibration, I think it looks great. Sometimes I notice the shoddy viewing angles and I sometimes wonder if it would look a little nicer with 8-bit color, but I'm satisfied otherwise. If you're in the market for a gaming monitor and you don't have bionic eyes that are sensitive to minor color inaccuracy, I'm sure this monitor would be great for you. -
joz Maybe I'm showing my age...Reply
But when did Acer become a premium product supplier? They used to sit right above "EMachines" when it came to jokes (and spec sheets) about their products performance and quality.
That being said, I've been perfectly happy with my XB27. -
dstarr3 Reply20172847 said:I'm happy to see that engineers keep pushing the limits of panel technologies. It's a shame that this monitor couldn't have ran at a higher resolution or used a better display technology. Subjectively, can you see the difference between 144Hz and 240Hz?
DSTARR3 said:The last time I had a TN panel was 15 years ago. I should give them another shot, they probably look a lot better today than they did the last time I had one.
I'm using a Dell TN at home. After a little calibration, I think it looks great. Sometimes I notice the shoddy viewing angles and I sometimes wonder if it would look a little nicer with 8-bit color, but I'm satisfied otherwise. If you're in the market for a gaming monitor and you don't have bionic eyes that are sensitive to minor color inaccuracy, I'm sure this monitor would be great for you.
I actually do have "bionic eyes," lol. I do a lot of photo editing that relies on color-accurate, calibrated displays, and I can pretty reliably detect inaccuracies, which is why I ditched TN panels 15 years ago. But that being said, I don't really need critical accuracy when playing games. I think I'd be alright with a super-high refresh rate at the expense of super-accurate color in games. So long as it looks, like, not obviously way off, I'm sure I'd be fine with it. The viewing angles might be problematic, though. -
ubercake How can Acer use the same panel as Asus and provide a monitor with the same specs, but in reality so much lower contrast? $70 difference.Reply -
AgentLozen ReplyDSTARR3 said:I think I'd be alright with a super-high refresh rate at the expense of super-accurate color in games.
That's what I'm trying to describe. There's never been a time when I was like, "Does Mercy have brown hair or blonde hair?" The picture is pretty good especially after a little calibration. I'm speaking from the experience of my Dell TN.
-
dstarr3 Reply20173399 said:How can Acer use the same panel as Asus and provide a monitor with the same specs, but in reality so much lower contrast? $70 difference.
If I had to guess, binning. The panels roll off the line, some are better than others, Asus pays the premium for the best ones, Acer takes the rest.