Acer XR382CQK Curved FreeSync Monitor Review
Why you can trust Tom's Hardware
OSD Setup & Calibration
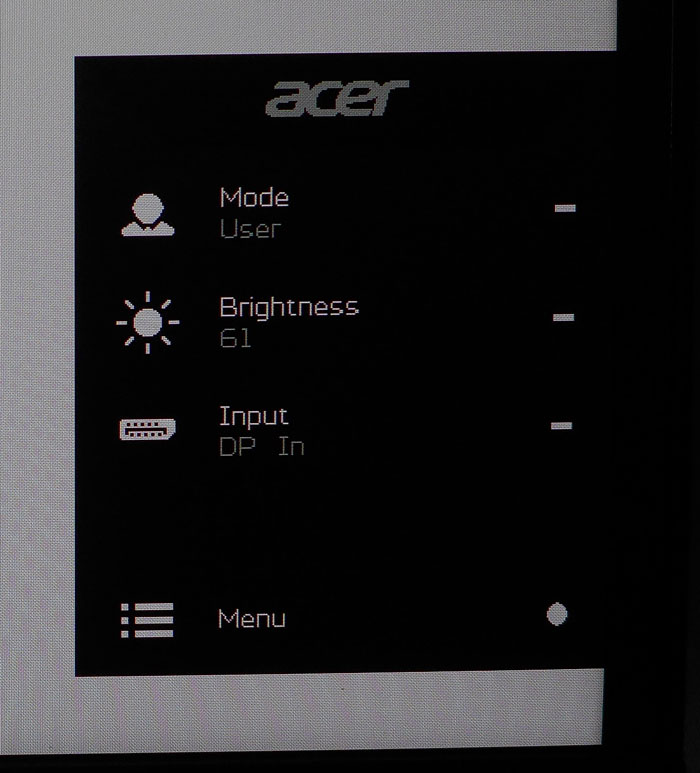
Pressing any key on the XR382CQK’s control panel brings up a small, quick menu. The top two slots are user-programmable. To select a picture mode, press the first key. There are eight presets, but only User allows adjustments to picture parameters. In fact, making any change in any other mode automatically puts the monitor in User. You can save settings to one of three memories if you wish. Press the joystick for the full OSD.
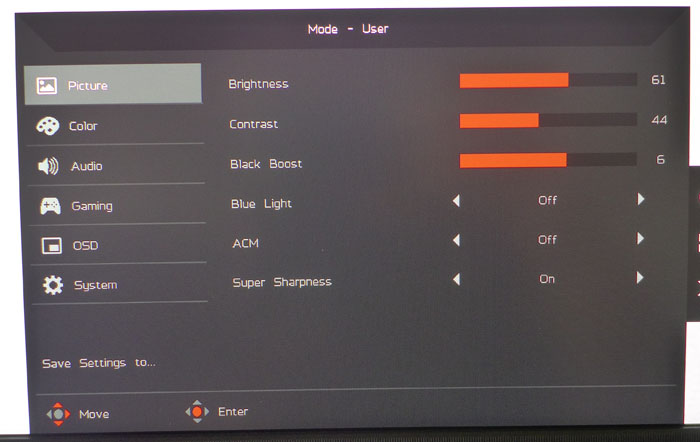
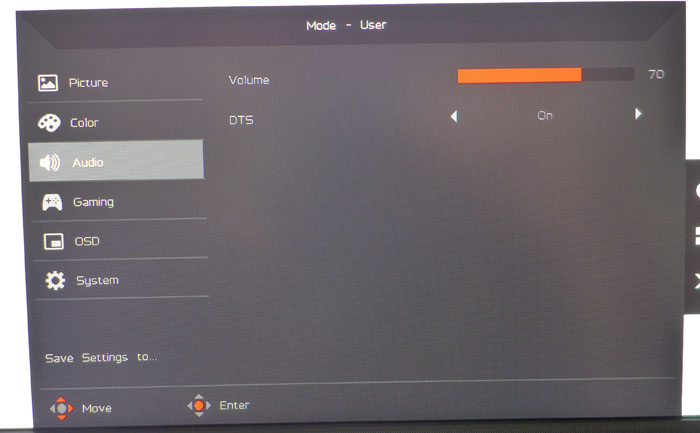
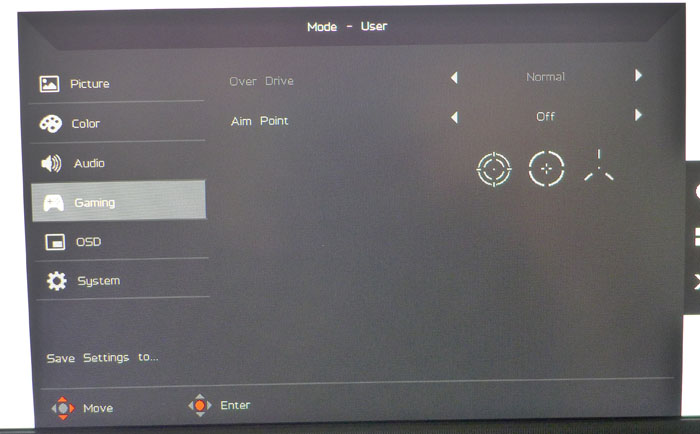
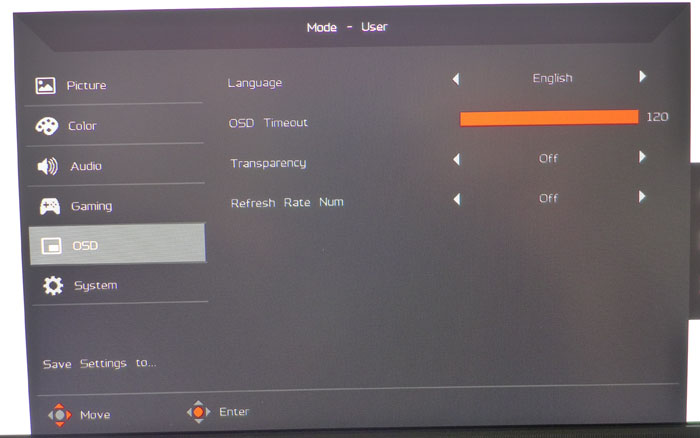
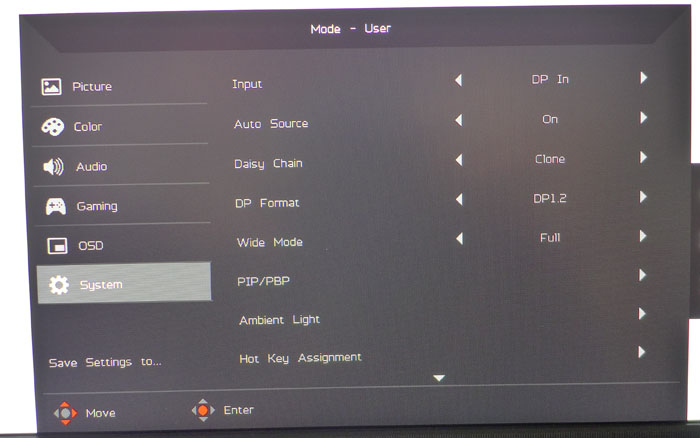
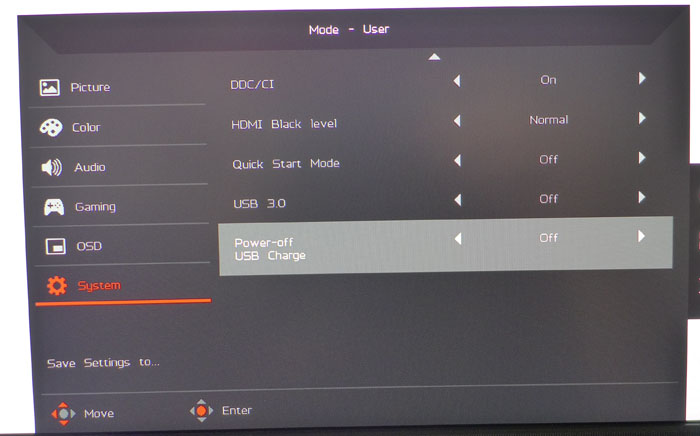
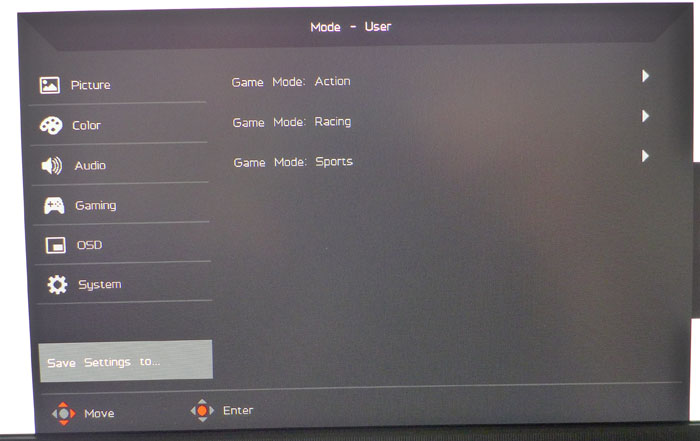
The menu system is fairly comprehensive, but you will notice a couple of omissions. We’ll highlight them as we go. First up is the Picture menu, which offers brightness and contrast sliders along with a five-step low blue-light feature, adaptive contrast, black boost (low-end gamma), and Super Sharpness. The latter has only a subtle effect and can improve detail but should be used sparingly to avoid edge-enhancement. Our preference was to leave it on zero.
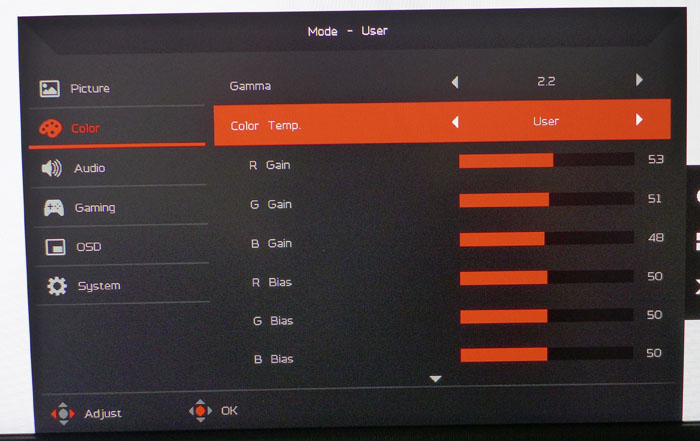
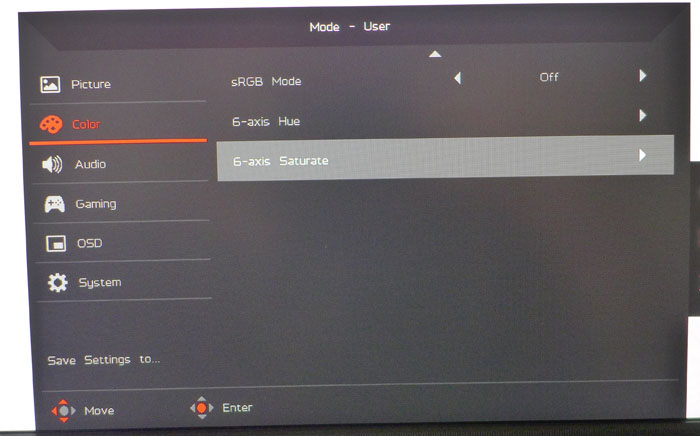
The Color menu has three color temp presets plus a user mode that features a two-point white balance adjustment. We only had to tweak the gains on our sample. Note that they start at center-range, which means you won’t give up contrast when calibrating. Any changes to the bias controls were very coarse and didn’t help improve accuracy. You also get gamma presets which, in our tests, rode both sides of the 2.2 line without settling right on the mark. 2.4 is the sweet spot for this display. On the second screen, you’ll find saturation and hue sliders for all six colors. There was no need for these in our case; color is pretty good as is.
The Audio menu has only volume and DTS on/off options. You’ll want the extra depth provided by the DTS tuning, so we suggest leaving it on.
The Gaming menu has an overdrive option, but it only works in normal mode. It is grayed out when FreeSync is active. It didn’t have a negative impact on our particular gaming experience, but those dealing with slower framerates might miss the motion blur reduction it provides. Of course, more FPS is always the better solution. Also here are three aiming reticles, which are handy for first-person novices. The third one reminds us of the head-on view of a Viper fighter from Battlestar Galactica.
The OSD menu has the expected timeout, transparency, and language options, but you’ll find a fourth field here called FPS Num. Yes, it’s a frame counter, and no, we don’t know why it wouldn’t be in the gaming menu. It places a large yellow number in the upper-right corner of the screen.
The final menu, System, has the rest of the XR382CQK’s options, including DisplayPort version, daisy chaining, aspect, PIP/PBP, and the like. You can change the LED glow settings under Ambient Light. And the USB 3.0 ports can be left powered in standby mode for charging purposes. You can also set the video inputs to automatically search for active signals.
Get Tom's Hardware's best news and in-depth reviews, straight to your inbox.
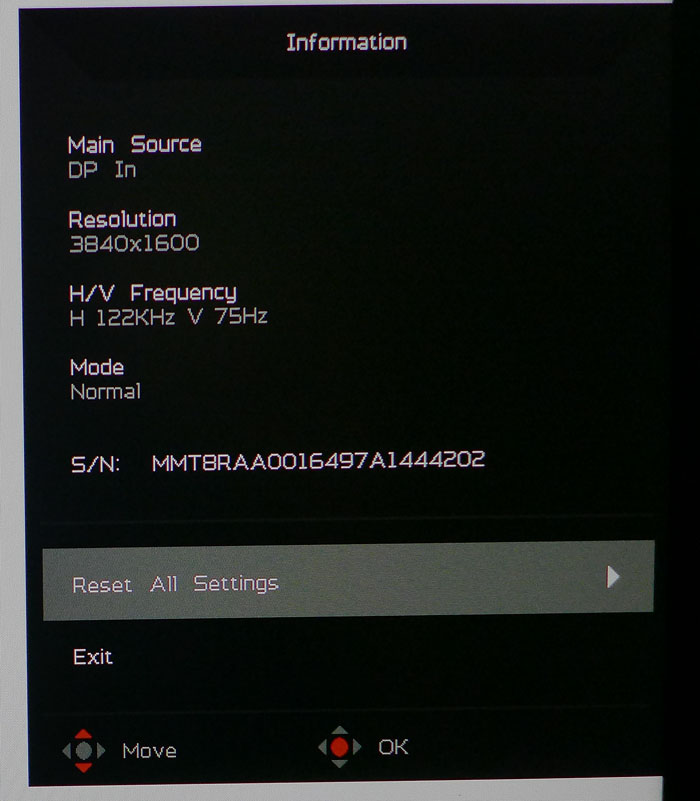
To access the signal info and reset functions, press the key next to the “i” icon on the screen. It will indicate FreeSync operation but only when games are running. And if you want to reset your XR382CQK to its factory state, you can do that here.
Calibration
| Acer XR382CQK Calibration Settings | |
|---|---|
| Picture Mode | User |
| Brightness 200cd/m2 | 61 |
| Brightness 120cd/m2 | 30 |
| Brightness 100cd/m2 | 23 |
| Brightness 80cd/m2 | 16 |
| Brightness 50cd/m2 | 5 |
| Contrast | 44 |
| Gamma | 2.4 |
| Color Temp User | Red 53, Green 51, Blue 48 |
The Standard mode provides decent color accuracy, but we found better results after making a few tweaks. First off, you’ll need to lower the contrast slider a bit to see all the highlight detail. The XR382CQK clips by default. None of the gamma presets tracks 2.2 precisely so we opted for 2.4, which offers decent contrast in the mid-tones without making the picture too dark. Finally, we suggest trying our RGB settings to get the white point spot-on.
MORE: Best Gaming Monitors
MORE: Best Professional Monitors
MORE: How We Test Monitors
MORE: How To Choose A Monitor
MORE: All Monitor Content
Current page: OSD Setup & Calibration
Prev Page Features & Specifications Next Page Brightness & Contrast
Christian Eberle is a Contributing Editor for Tom's Hardware US. He's a veteran reviewer of A/V equipment, specializing in monitors. Christian began his obsession with tech when he built his first PC in 1991, a 286 running DOS 3.0 at a blazing 12MHz. In 2006, he undertook training from the Imaging Science Foundation in video calibration and testing and thus started a passion for precise imaging that persists to this day. He is also a professional musician with a degree from the New England Conservatory as a classical bassoonist which he used to good effect as a performer with the West Point Army Band from 1987 to 2013. He enjoys watching movies and listening to high-end audio in his custom-built home theater and can be seen riding trails near his home on a race-ready ICE VTX recumbent trike. Christian enjoys the endless summer in Florida where he lives with his wife and Chihuahua and plays with orchestras around the state.
-
toddybody Hasnt this monitor been available for a while? I feel like Tom's is often behind the release curve of most displays.Reply -
Lucky_SLS isnt the G sync version cheaper than this? the X34A got a 100hz refresh rate. strange to see a similarly spec'ed free sync monitor costing more than a G sync one. would have been convincing if it had HDRReply -
shrapnel_indie Would have liked to see the Response Time (GTG) a little lower, say 3 or 4, for the price range.... but 5ms just makes the cut for gaming. The cost is truly a bit pricey, but at least it is an IPS panel for the cost.Reply -
Ryguy64 Why do Freesync monitors always have such a narrow range when it comes to variable refresh? I would love to get a Freesync monitor buy my RX 480 probably couldn't keep up with 48 fps in plenty of games at this resolution.Reply -
shrapnel_indie Reply19757349 said:isnt the G sync version cheaper than this? the X34A got a 100hz refresh rate. strange to see a similarly spec'ed free sync monitor costing more than a G sync one. would have been convincing if it had HDR
If I were to just use PCPartPicker.com as a guide, This XR382CQK model is the only model Acer has at this resolution. The LG 38UC99-W, being the only other one at the same/similar specs, is just shy of $400 USD more expensive.
Also note that the XT382CQK is 38" class (37.5") and the XR342CK, Predator X34, and Predator XR341CK are 34" class (34".) The X34 itself being the 100Hz, 4ms IPS panel (The XR341CK is the only one that is 75Hz 4ms, the XR342CQK is 75Hz 5ms.) These 34" class monitors are also 3440 x 1440 instead of 3840 x 1600. -
JakeWearingKhakis Check out this monitor that I have.Reply
Viotek GN27C - $249.00
27" Curved 1800
1080p
144hz Freesync (minimum is around 30hz I think)
3 or 4 ms response time with a boost option in the settings
VA Panel 16:9, 20,000,000:1 Dynamic Contrast
All at $249.00. No it's not the latest Acer Predator, but it's a serious gamer's dream. -
shrapnel_indie Reply19758109 said:Check out this monitor that I have.
Viotek GN27C - $249.00
27" Curved 1800
1080p
144hz Freesync (minimum is around 30hz I think)
3 or 4 ms response time with a boost option in the settings
VA Panel 16:9, 20,000,000:1 Dynamic Contrast
All at $249.00. No it's not the latest Acer Predator, but it's a serious gamer's dream.
Source?