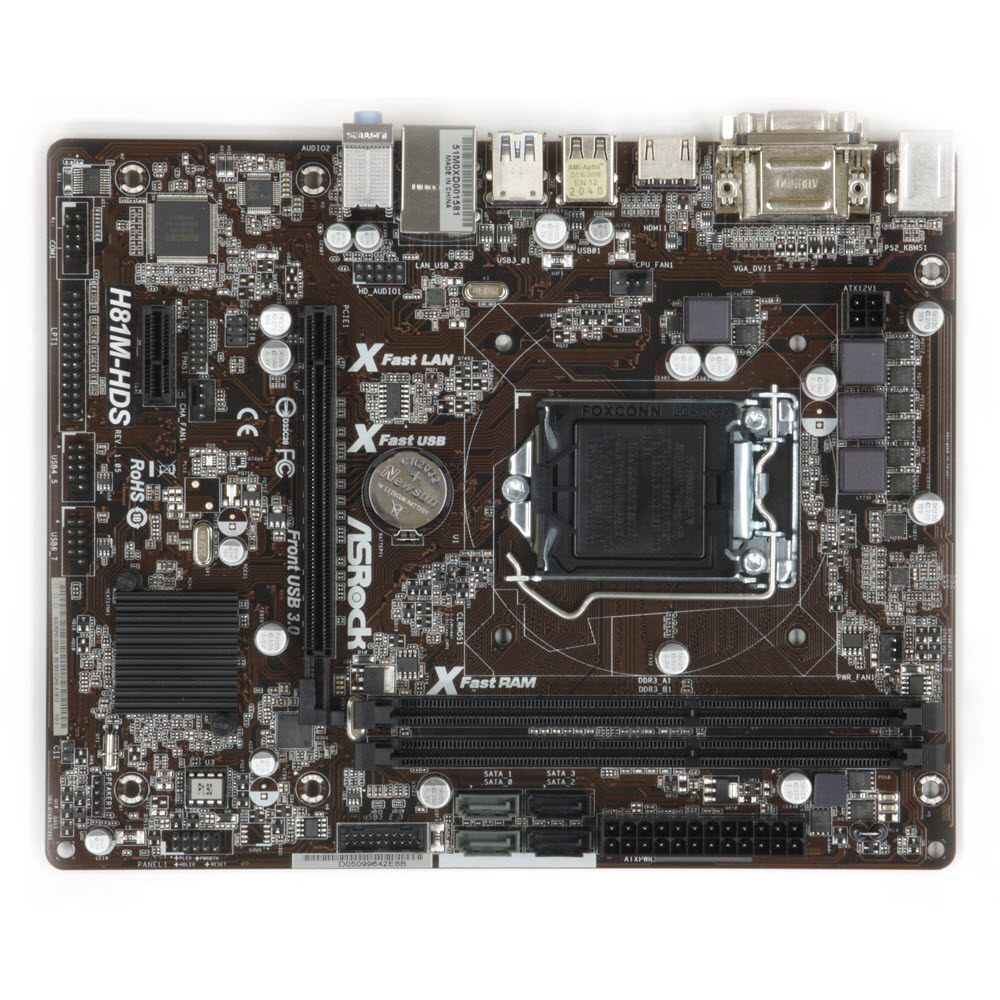
Four LGA-1150 Motherboards Under $60
Here at Tom's Hardware, we have a lot of fun testing the most expensive, highest-end gear. So can we really get excited about $60 motherboards?
ASRock B85M-DGS And H81M-HDS Firmware
Why you can trust Tom's Hardware
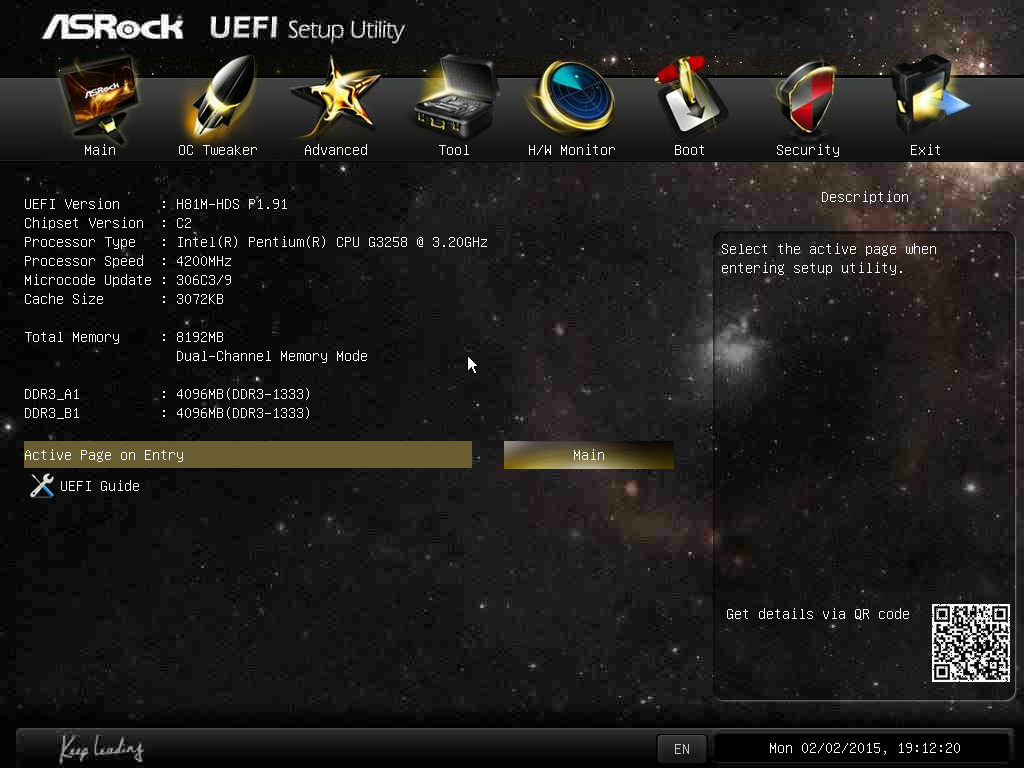
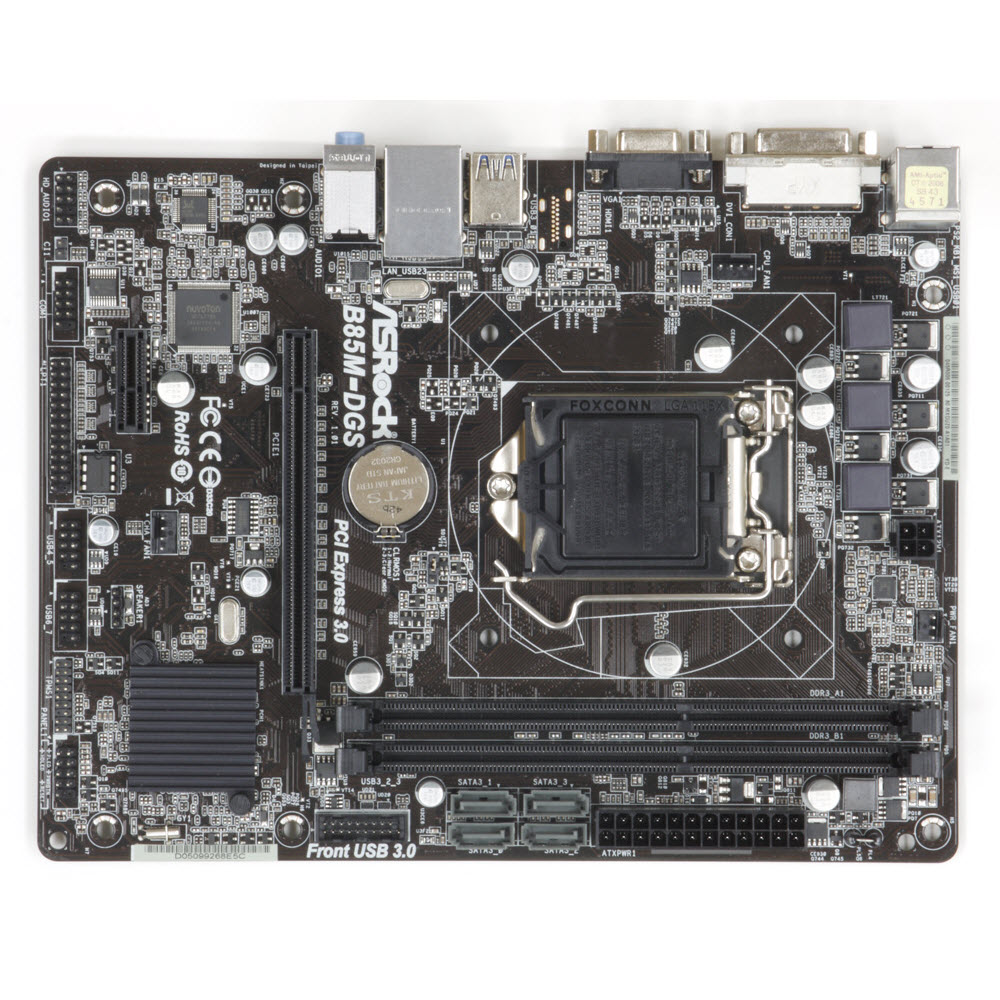
The B85M-DGS and H81M-HDS functionally share the same BIOS and applications, so I'll cover both boards on one page. The UEFI is more or less the same as Thomas' last ASRock review.
The Main screen gives you a brief summary of the current configuration. The Advanced tab contains more in-depth settings, such as storage configuration, enabling/disabling on-board features and CPU-specific settings (like C-states).
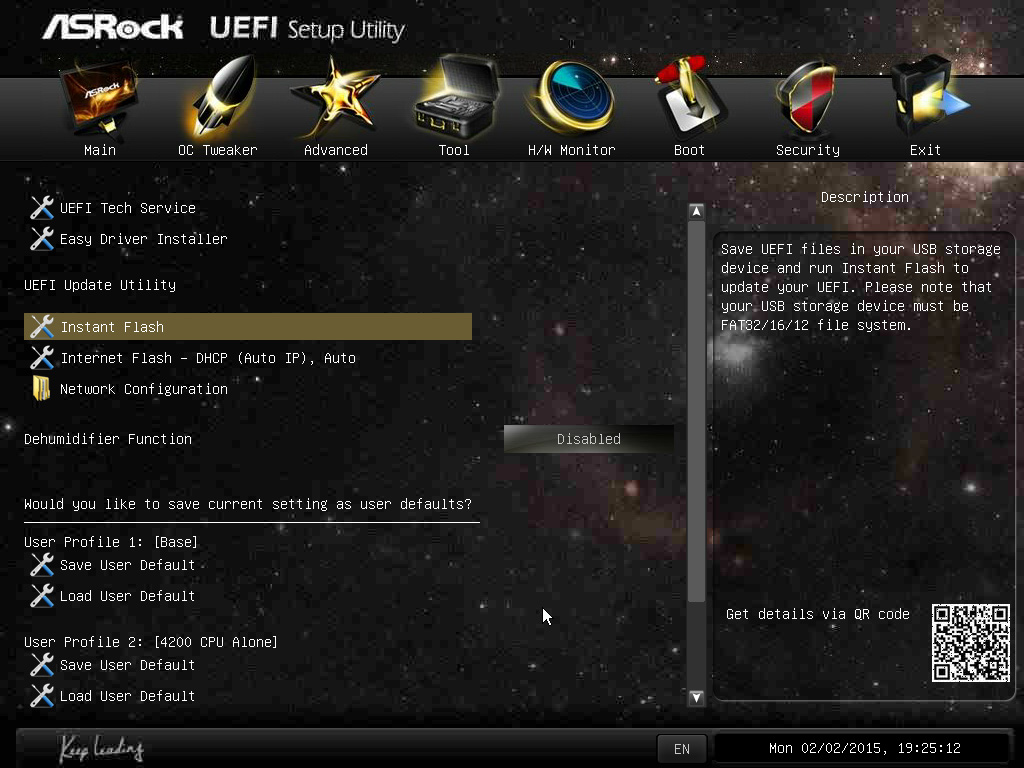
The Tools tab includes some nifty utilities to help you manage the motherboard. The UEFI Tech Support option lets you send an email directly to ASRock without booting to an OS. Enthusiasts building fresh PCs will appreciate the Easy Driver Installer that can load the network driver and then check online for any updated motherboard drivers. You also have an Internet Flash utility that can check for BIOS updates on ASRock's servers, download and then install them. Of course, you can still flash the BIOS from USB by downloading it onto any FAT16/32 thumb drive. Both options allow you to skip creating a bootable USB drive. You also have three profiles for saving and loading BIOS settings, helpful for quickly switching between heavy overclocks and tamer daily driver settings.
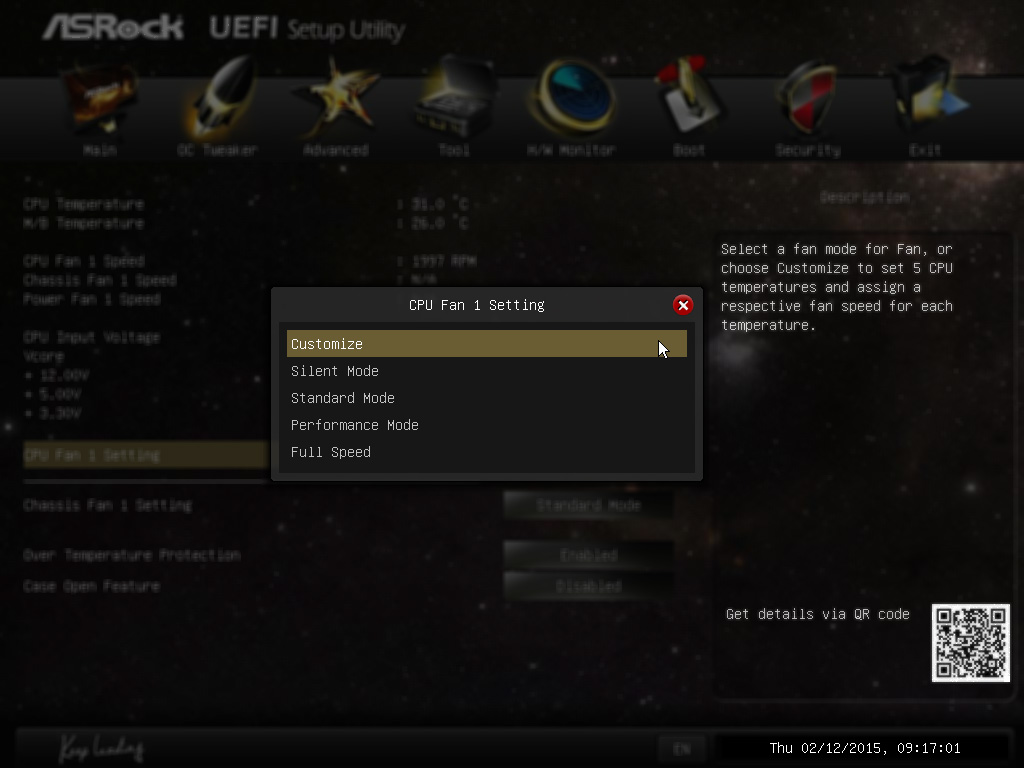
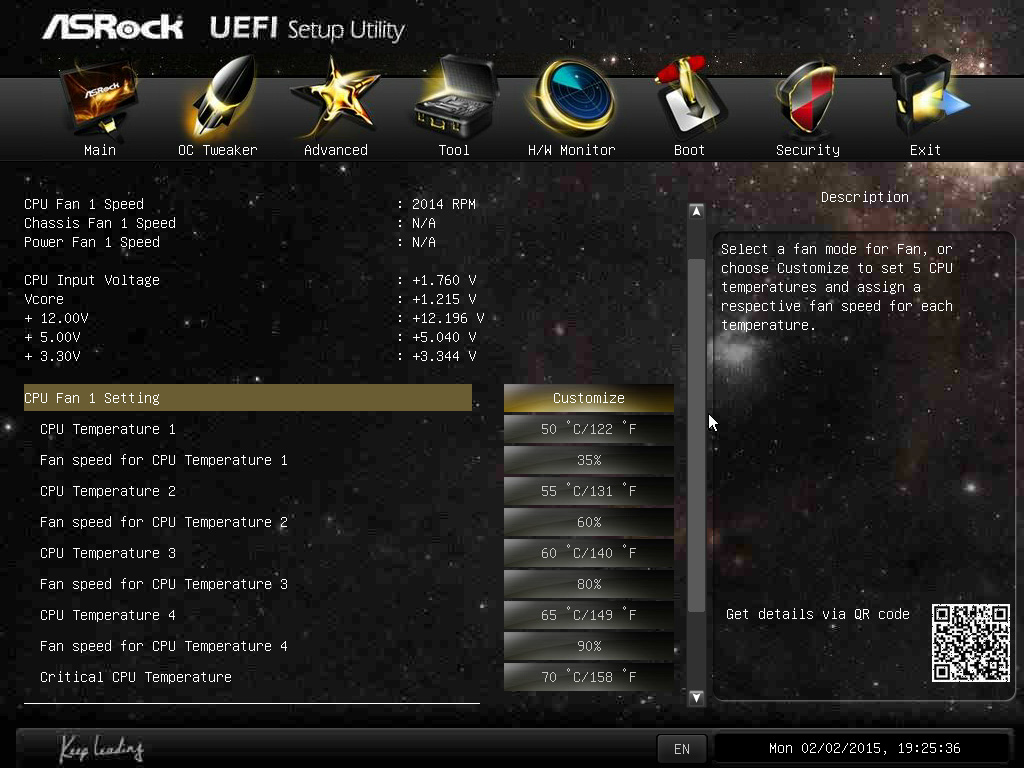
The H/W Monitor section gives you a quick rundown of current temps, fan speeds and voltages. You can also configure the two four-pin fan headers for customized performance. ASRock gives you four settings for each fan: Silent, Standard, Performance and Full Speed. You can also create your own five-point curve.
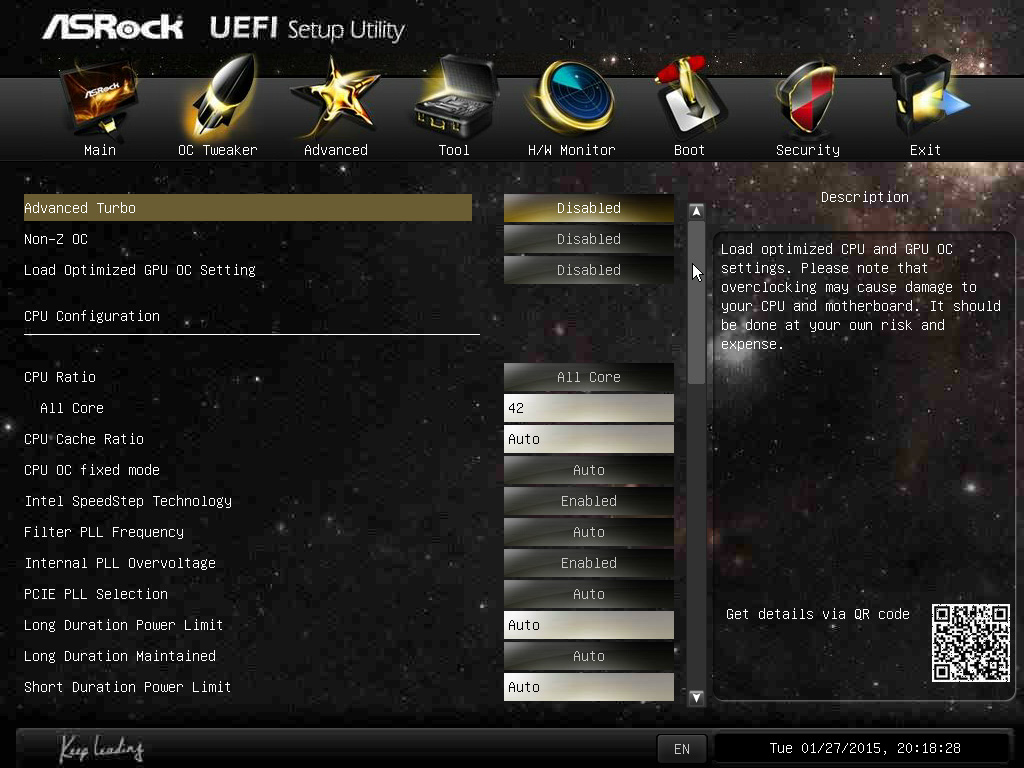
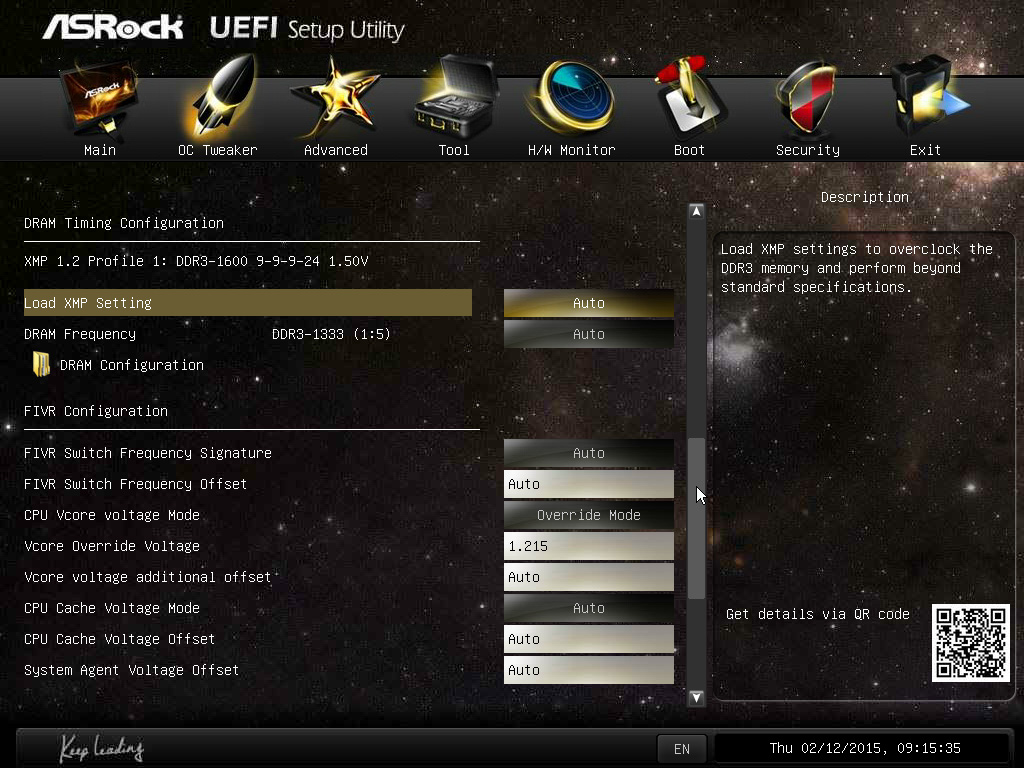
At the top of the OC Tweaker tab, you're given some automatic overclock settings called Advanced Turbo and Non-Z OC for 3.8, 4.0, 4.2 and 4.4 GHz, as well as iGPU overclocking. The settings 3.8GHz @ 1.15V and 4GHz @ 1.2V settings are perfectly usable, but 4.2 GHz wants 1.28V and 4.4 GHz configures 1.48V! Thankfully, that top option is highlighted in red. Underneath, you'll find the finer control settings. Most everything you'd expect to find on a more premium Z board, you'll find here. That includes core multipliers, per-core settings, voltages and offsets. You won't find BCLK adjustments, but I'm not going to complain about that on such an affordable board.
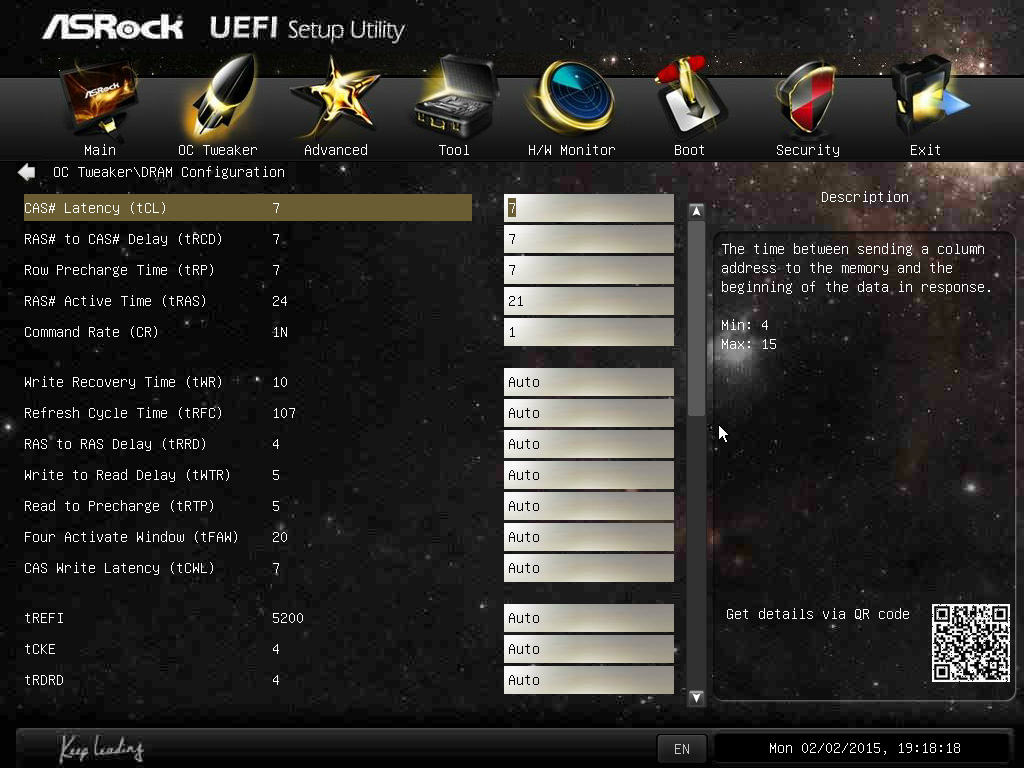
Due to our Pentium G3258, RAM frequency is capped at 1400 MT/s, but primary, secondary and tertiary timings and voltages are all available for manual configuration.
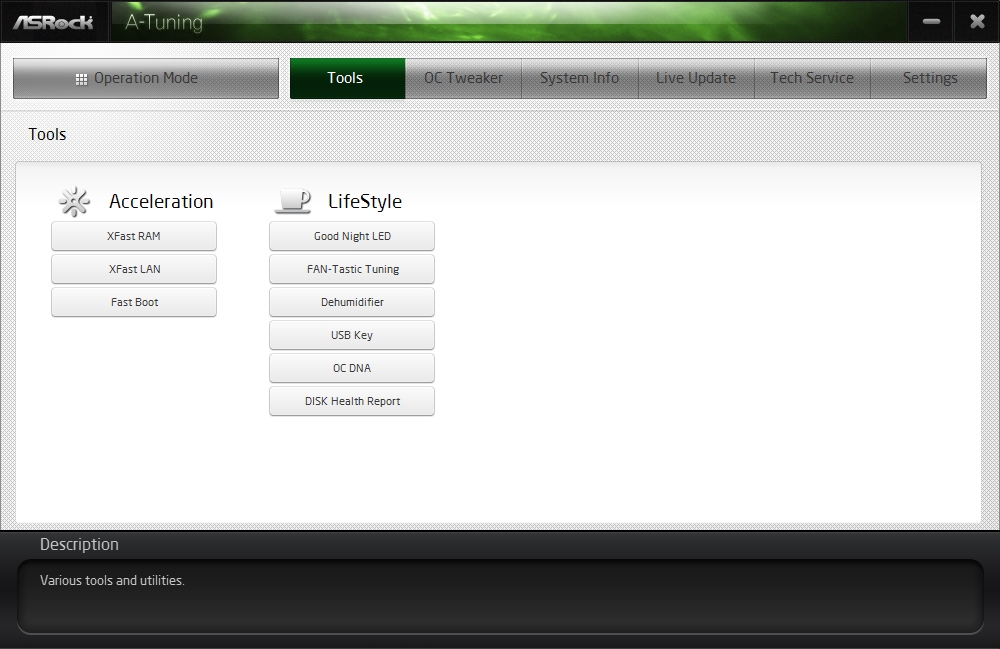
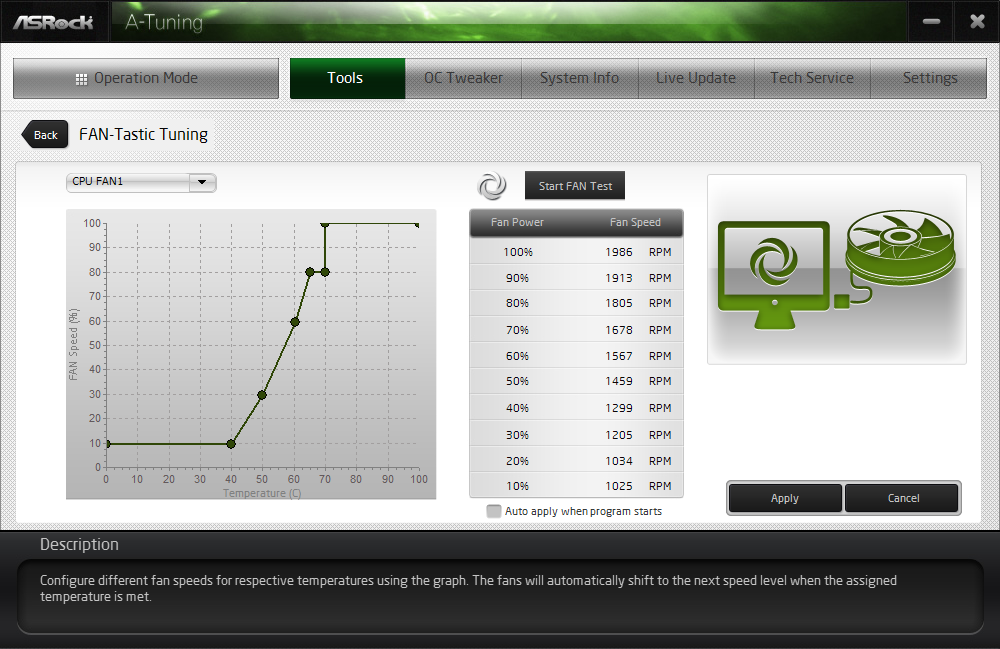
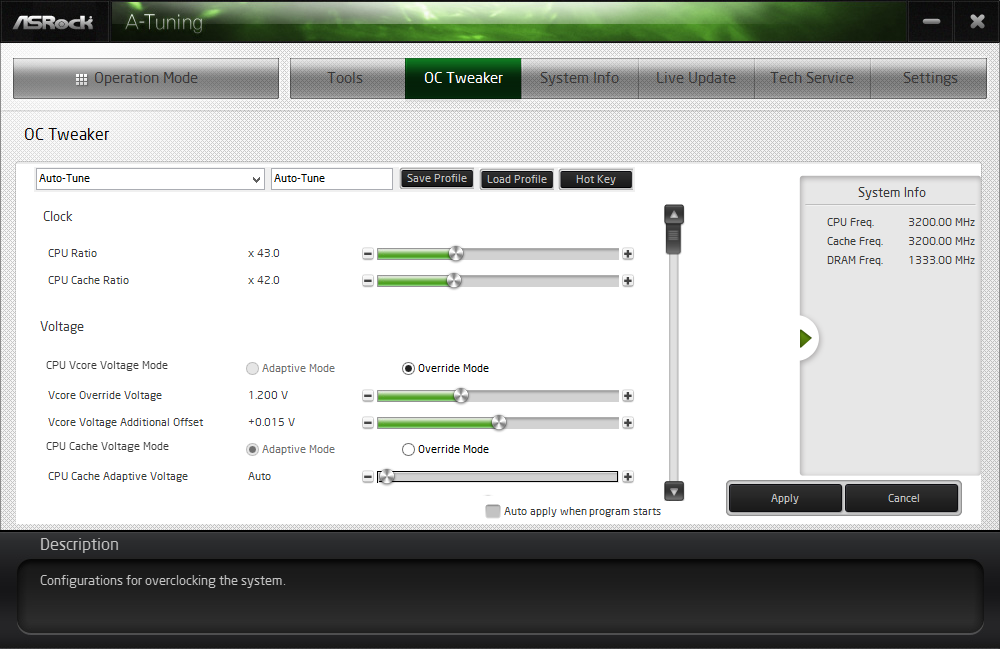
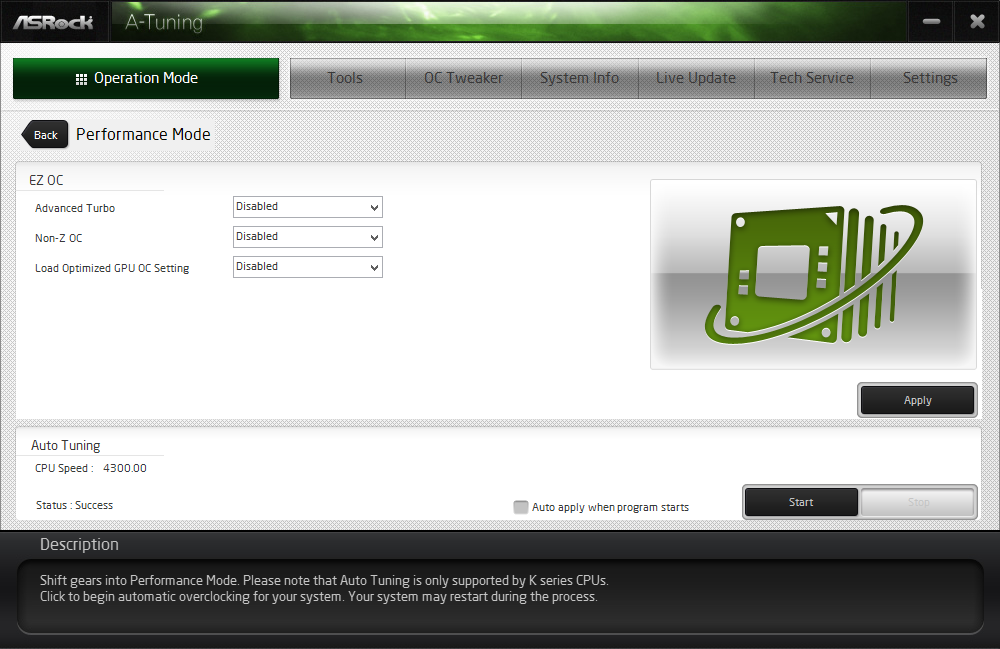
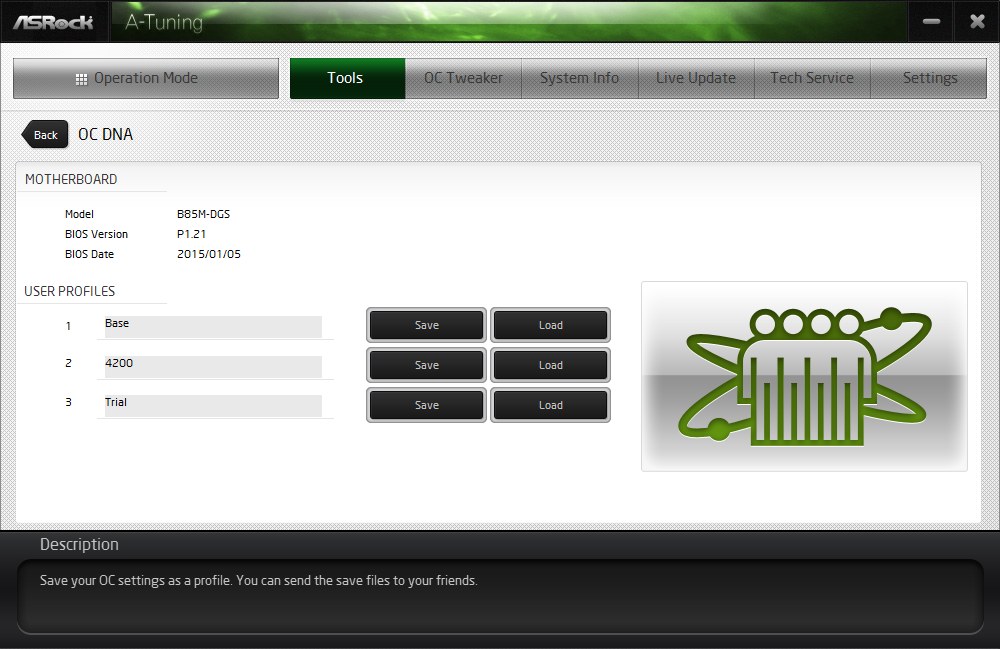
The A-Tune Windows application is the same as it was in the X99M Extreme4 review. You'll see the usual XFast RAM and XFast LAN utilities for RAM disks and network packet optimization, FAN-Tastic for tuning your fan curves and System Info, which mirrors the BIOS hardware monitor.
As mentioned, the CPU multiplier doesn't respond in the OC Tweaker section. Changing the multiplier doesn't do anything if you haven't already overclocked your CPU in the UEFI or turned on the Advanced Turbo or Non-Z Overclock settings in A-Tune (which are just mirrors for the same settings in the UEFI). Even if you have overclocked, you can only lower the multiplier. Doing this returns the CPU to its stock setting, but occasionally boosts the multiplier level, as if adding Turbo Boost, which the Pentium G3258 isn't supposed to have.
A-Tune does have a nifty Auto Tuning feature under the Performance section. Instead of using a preset voltage and multiplier, it slowly ramps up the CPU, calculating voltage and thermal readings to find the ideal settings for your board and CPU. It's not perfect, but it does pretty well. And at the very least, it can help you zero in on the best settings for your particular silicon.
Get Tom's Hardware's best news and in-depth reviews, straight to your inbox.
-
colinstu on the conclusion page, the the four motherboards with the pros and cons are all mixed up.Reply -
Crashman Reply
Gigabyte doesn't agree with your, or else they would have sent one.15641225 said:The best H81 board IMO, is the DS2V.
I think it's fixed now.15641336 said:on the conclusion page, the the four motherboards with the pros and cons are all mixed up.
Oh, and about his voltage comment in the article, I believe the board he tested is the first in several years on this site to not force a higher-than-set DIMM voltage. -
terion But there is still huge gap between $55 mobos here and 155$+ mobos in "Best Motherboards". Some recommendations in price range in between would be great.Reply
Something with solid power section, lasting capacitors, good component layout, silent, but intended for mainstream gaming, so no M.2, no SLI, single network interface etc. Basic features, but solid foundations. -
Crashman Reply
You mean $60 and $120 boards, right? Because that's the bottom of our current range of Z97 reviews. We get that. We have guys working on it. But to be honest, we wanted to get this article done first15641520 said:But there is still huge gap between $55 mobos here and 155$+ mobos in "Best Motherboards". Some recommendations in price range in between would be great.
Something with solid power section, lasting capacitors, good component layout, silent, but intended for mainstream gaming, so no M.2, no SLI, single network interface etc. Basic features, but solid foundations.
The plan from here is to cover Z97 Micro ATX, then $80 to $120 Z97 boards. We've also gone "sideways" with boards that aren't designed to overclock. And, there's a Z97 Mini ITX article in the publishing queue as we speak :)
And then, after all that has been done, we'd still like to get back to a $120-$160 segment repeat, to cover the new products that have been released since the last round of mainstream LGA 1150. motherboards -
vaughn2k I am still using Core2 Quad Q9650. I can still bear it's power hungry character though... Until I see that there is a big advantage to upgrade, I will stay this way.Reply -
CaedenV ReplyI am still using Core2 Quad Q9650. I can still bear it's power hungry character though... Until I see that there is a big advantage to upgrade, I will stay this way.
It all depends on what you are doing. I had to abandon my C2Q as my main machine a long time ago because it simply choked on bandwidth when doing HD video editing and some games... But it still had a few years left over as my wife's main computer and was perfectly adequate for audio editing, office apps, light games, etc. I eventually replaced her system with an i3 Ivy Bridge setup due to a GPU failure and complaints of the C2Q being too loud in general... so now the C2Q is running as my home server, and will probably remain as my home server for a few years yet until it is a 10 year old chip (and 10GbE becomes more affordable).
Point being, it is an extremely capable 8 year old chip, with a long life ahead of it still. But to say that there is no advantage to upgrading is a bit short-sighted. New chips allow for much smaller silent (or near silent) systems that literally sip power in comparison. New chips have enough iGPU power to compete with some of the midrange dGPUs from 8 years ago... and again as part of the 50-70W CPU package rather than a separate 150-250W GPU card. Not to mention the perks of being able to install faster/cheaper/more RAM with DDR3/4 compared to DDR2, or having lots of SATA3, USB3, and PCIe3 interfaces. Even running as a NAS the Core2Quad is limited to a max of 3TB HDDs where even the cheap motherboards listed here can take 8TB drives if you wanted to. Things like sound cards were still a necessity in the C2Q era, but now onboard audio is so good that even ardent audiophiles would be hard pressed to tell the difference. RAID was a costly feature back in the day, and now it is built into most motherboards (even the B-series chipsets, though it is listed as not having it on the charts here for some reason).
I guess what I am trying to say is: If the older platform still meets your needs, then great! Enjoy it as long as you can, because there is value in that. But saying that the chip and the platform are not starting to show their age, or that there are not lots of advantages in moving to a newer platform (granted those advantages may not directly apply to you) is overlooking a lot of considerations.
