Four LGA-1150 Motherboards Under $60
Here at Tom's Hardware, we have a lot of fun testing the most expensive, highest-end gear. So can we really get excited about $60 motherboards?
Asus H81M-E
Why you can trust Tom's Hardware
Overview
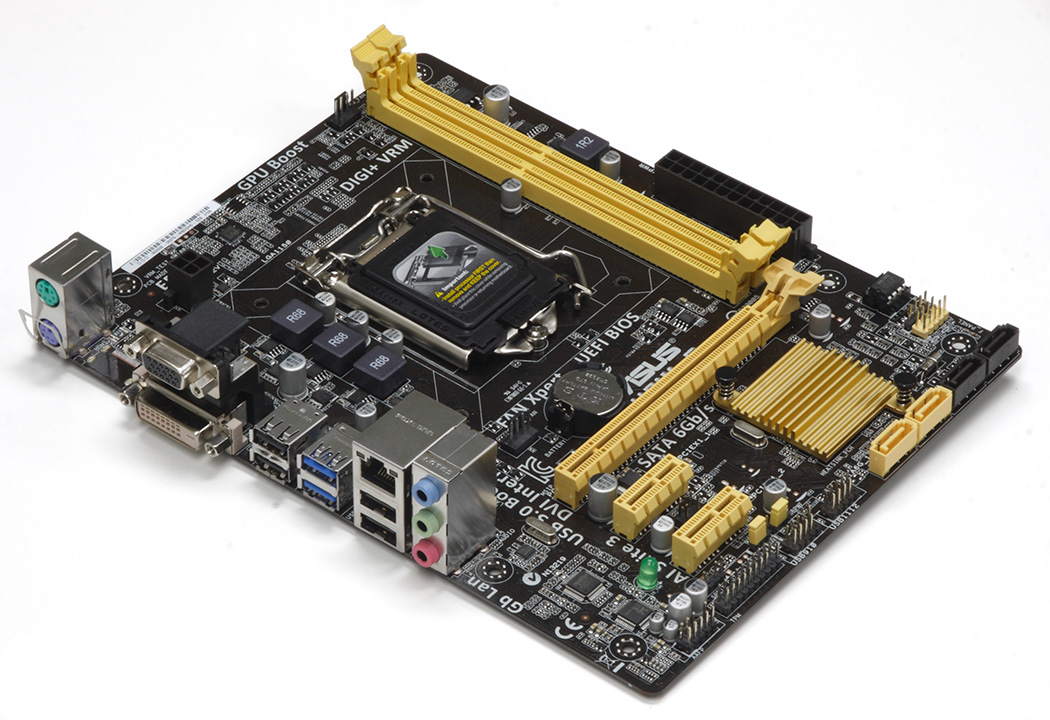
Asus' entry into this round-up looks a lot like the other competitors at first glance. While I've been pleased with this company's products in the past, this particular board left me dissatisfied, though. Let's get to why.
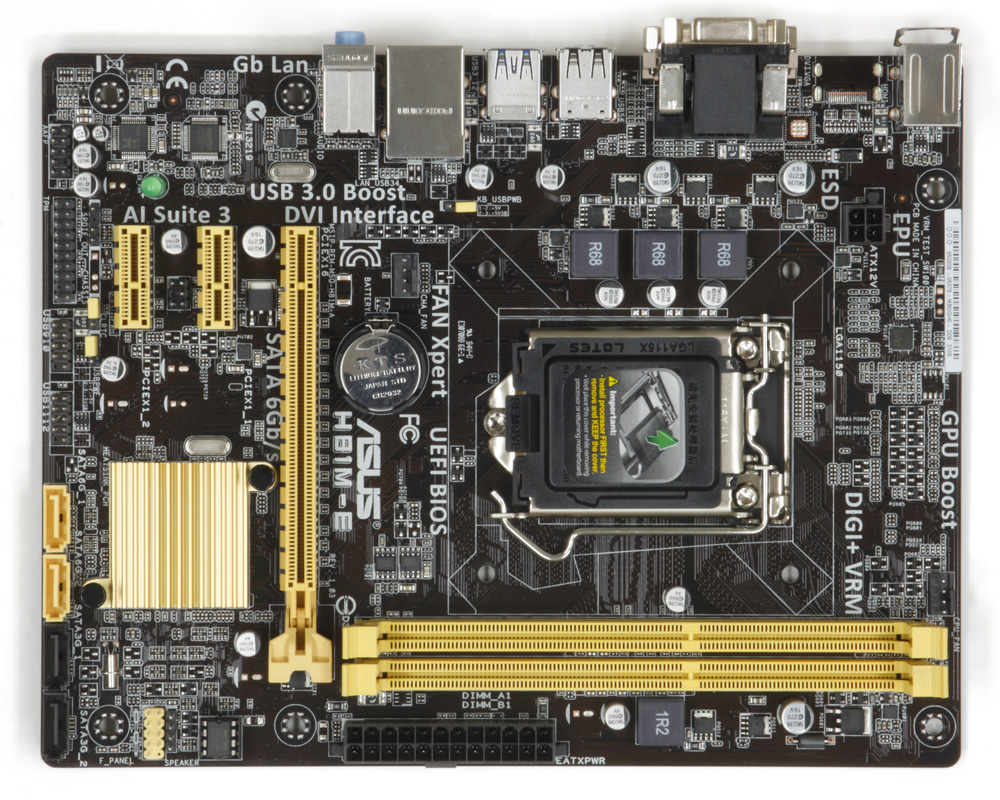
The four-pin EPS connector is in the usual top-left corner. And while the other three models put their VRMs across the top, Asus moves its down to the side, right next to the CPU interface. This seems like an excellent idea, since it puts the VRMs partially under the CPU cooler for extra ventilation. Straight down from the VRM is a four-pin chassis fan header. The only other fan header is intended for the CPU cooler, and it's right above the two DIMM slots. Halfway down the front edge is the ATX power plug, just above the PCIe slot.
Like the other H81-based boards, PCIe transfer rates are limited to 5GT/s through the 16-lane slot. Again, that's plenty. Asus does give you a second PCIe x1 slot, whereas ASRock only offers one on each of its boards. That extra slot is only useful if a graphics card doesn't cover it.
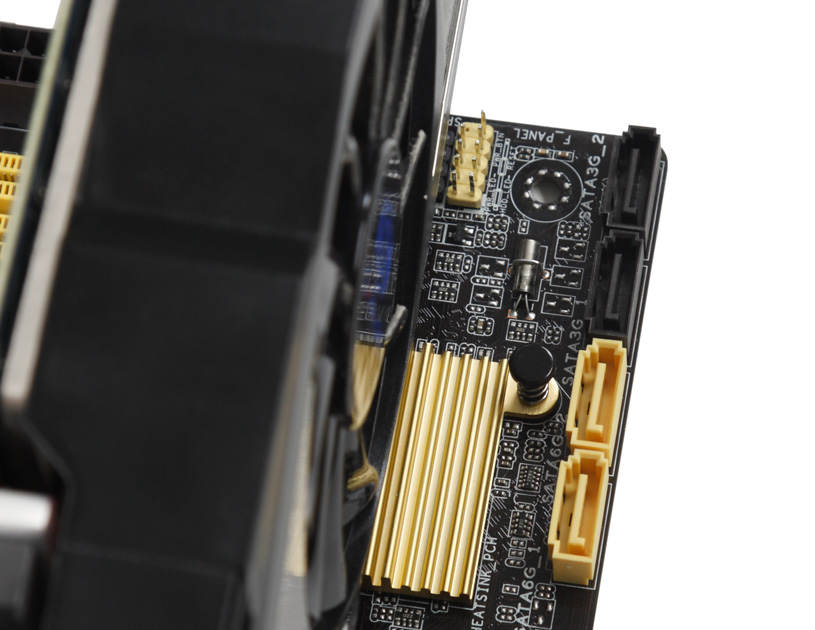
Along the bottom edge, you have the HD Audio header, a TPM header, two USB 2.0 headers and four SATA ports. The 6Gb/s links are color-coded yellow, while the slower ports are grey. Their orientation leaves the latches facing up so you can detach the SATA cables, even if you tuck them under the motherboard. Thankfully, the CLR_CMOS jumper is much more accessible than ASRock's; it's right between the bottom PCIe slot and a USB 2.0 header. Just above the TPM header, you find an S/PDIF connector, though you're forced to buy a separate break-out card to use it. Still, if you really need TOSLINK or coax digital connectivity, this gives you that option.
The front-panel header, speaker header and socketed BIOS are all on the lower-front edge. Pins for those front-panel lights and switches are lower than on ASRock's H81M-HDS, but they cut it close to the graphics card. The speaker header is definitely underneath. But I'm willing to excuse that placement, since anyone with a long, double-slot graphics card probably prioritizes their case speaker lower anyway.
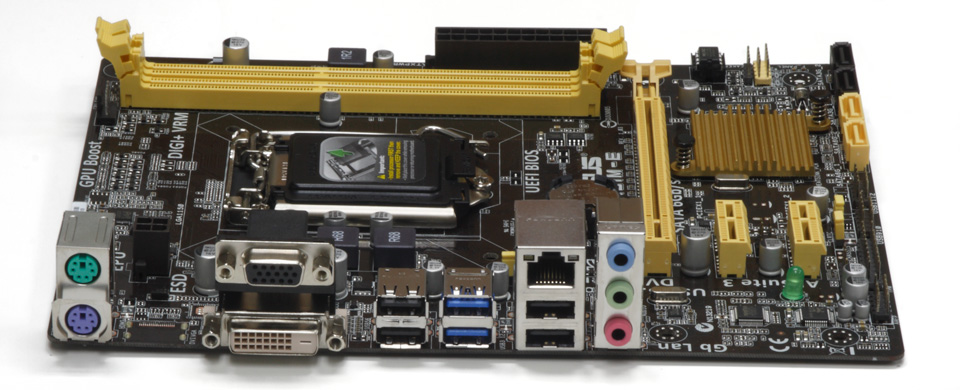
The I/O panel is exactly what we've come to expect from these boards. You get two PS/2 connectors for keyboards and mice, VGA and DVI-D outputs for the HD Graphics engine and six total USB ports (two of which are USB 3.0-capable) for peripherals. Again, Realtek handles networking and audio duties. The RTL8111G is similar to what we found on ASRock's H81M-HDS, and Asus steps its audio subsystem up with the ALC887, supporting up to eight-channel audio over a combination of front- and back-panel 3.5mm jacks.
Notice that I haven't mentioned an internal USB 3.0 header. That's because there isn't one. If this was the cheapest board in our round-up, I might understand. But an S/PDIF header and extra PCIe slot that probably won't get used aren't worth $5 more than a third fan header and front-panel USB 3.0 that you'll use every day. Not even factoring in the ALC887's better audio.
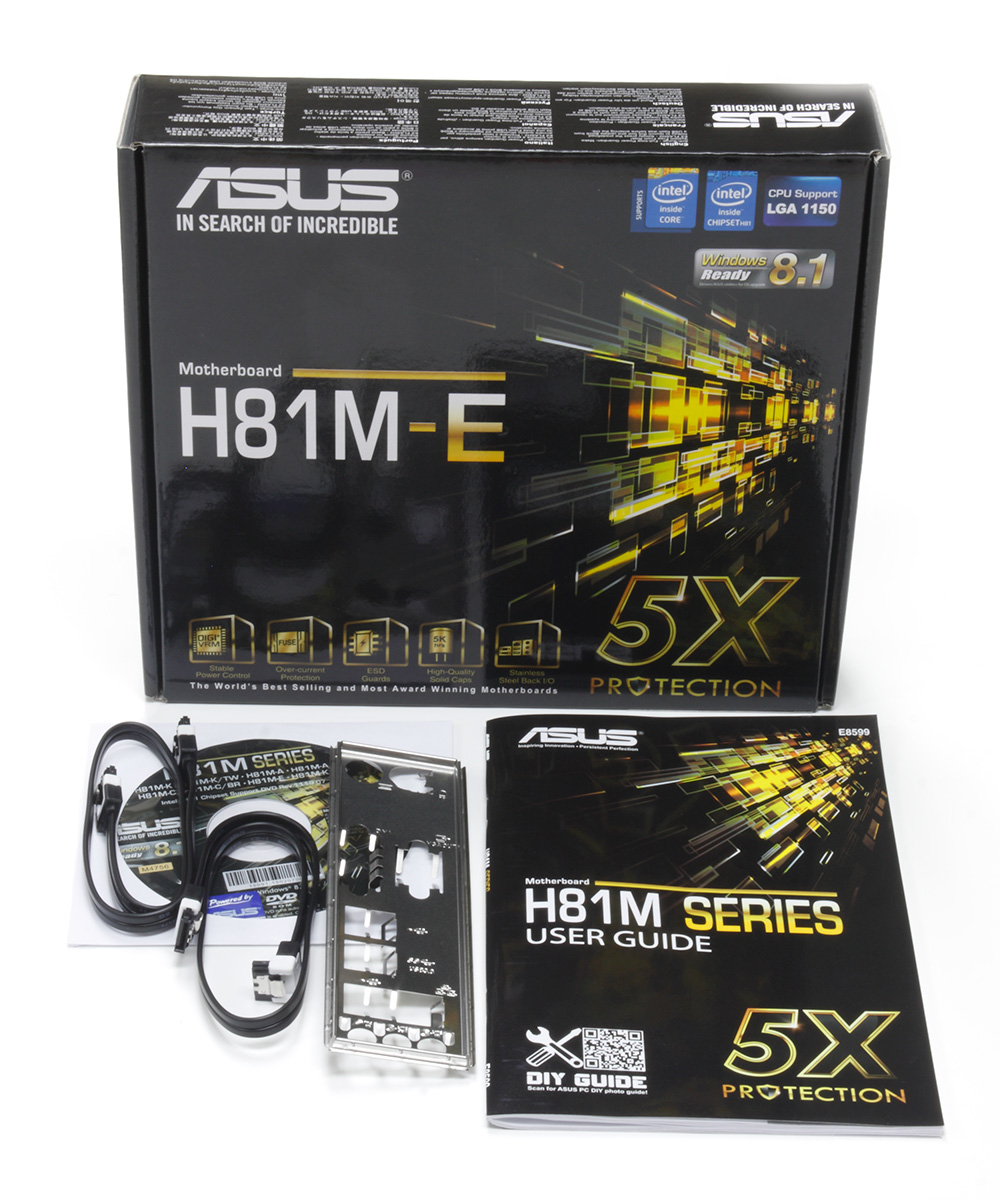
The box contents are the same as our other contenders, including an I/O shield, two SATA cables (one angled), an instruction manual and an installation CD. Asus gets style points for the two-tone cables. However, they're about four inches shorter than the competition's.
Firmware
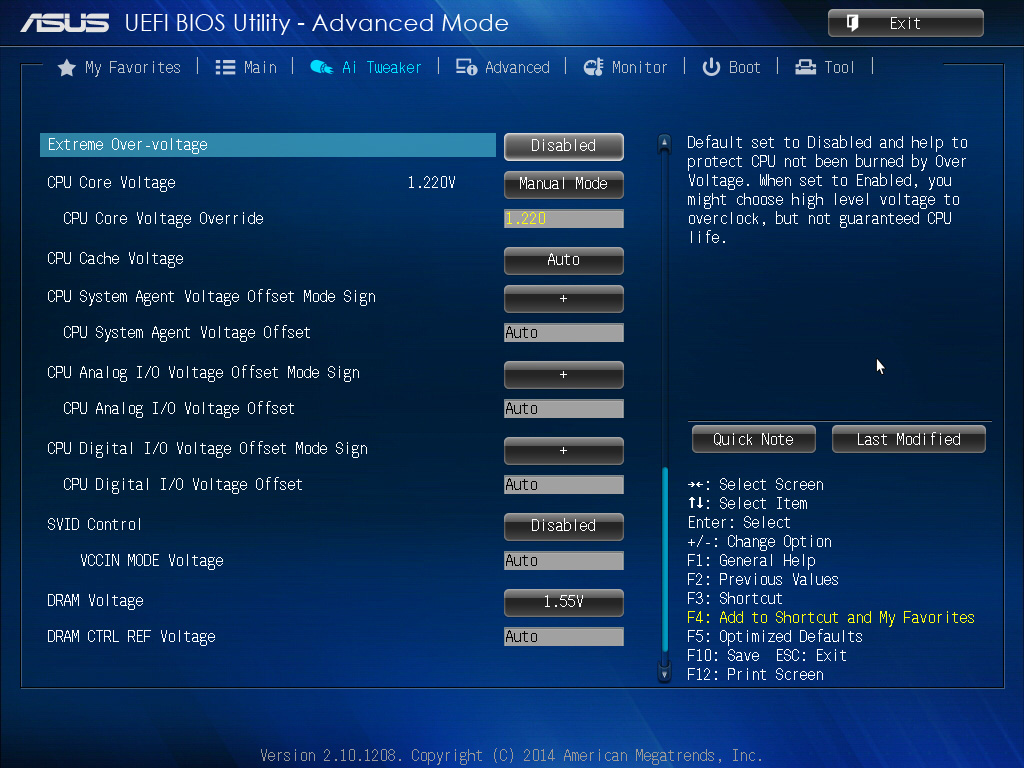
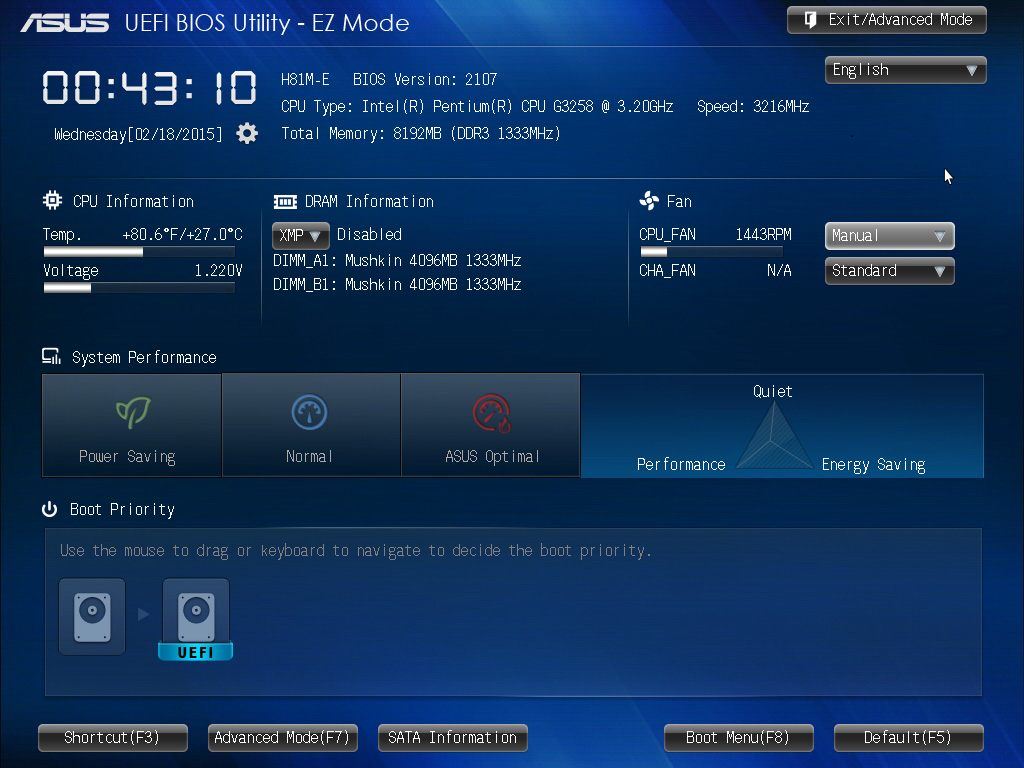
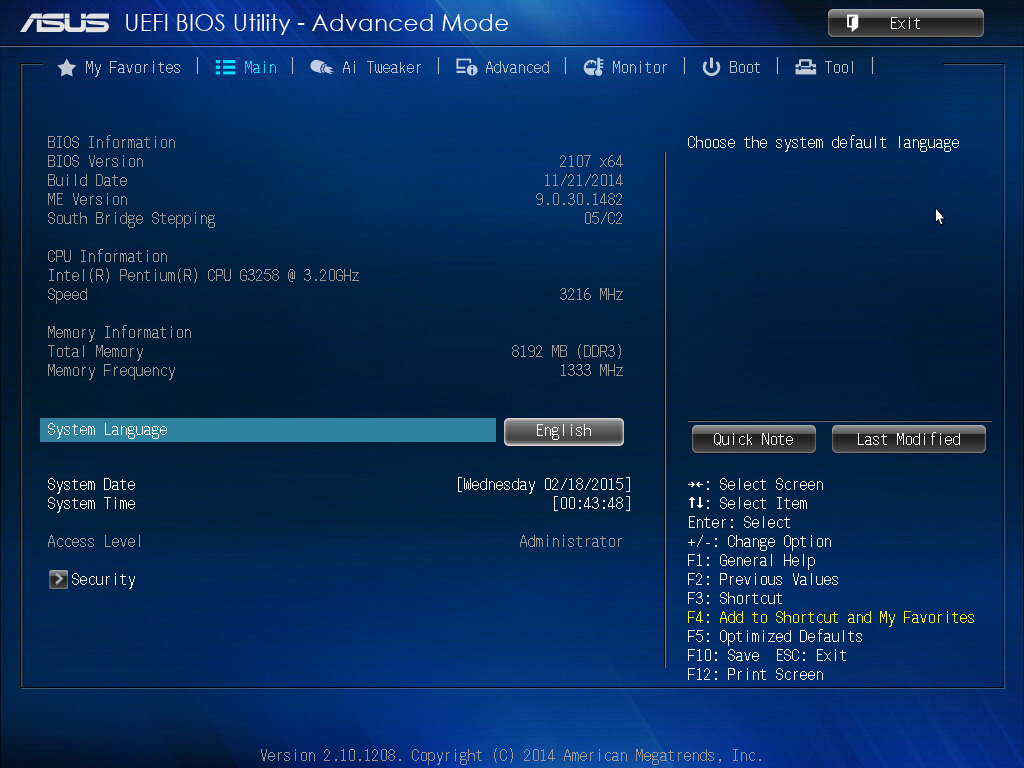
The H81M-E has an interesting BIOS, with both basic and advanced interfaces. The basic screen provides CPU temperature and voltage information, a few RAM profile configuration options (default or XMP) and fan speed presets (silent, standard, turbo or manual). The three big buttons across the middle offer system performance presets that slightly adjust CPU voltage, fan speed and BCLK (in Power Saver, BCLK drops to 99.76MHz, while in performance it's 99.98MHz). Across the bottom is a graphical boot sequence bar that lets you to drag drive icons into a desired boot order.
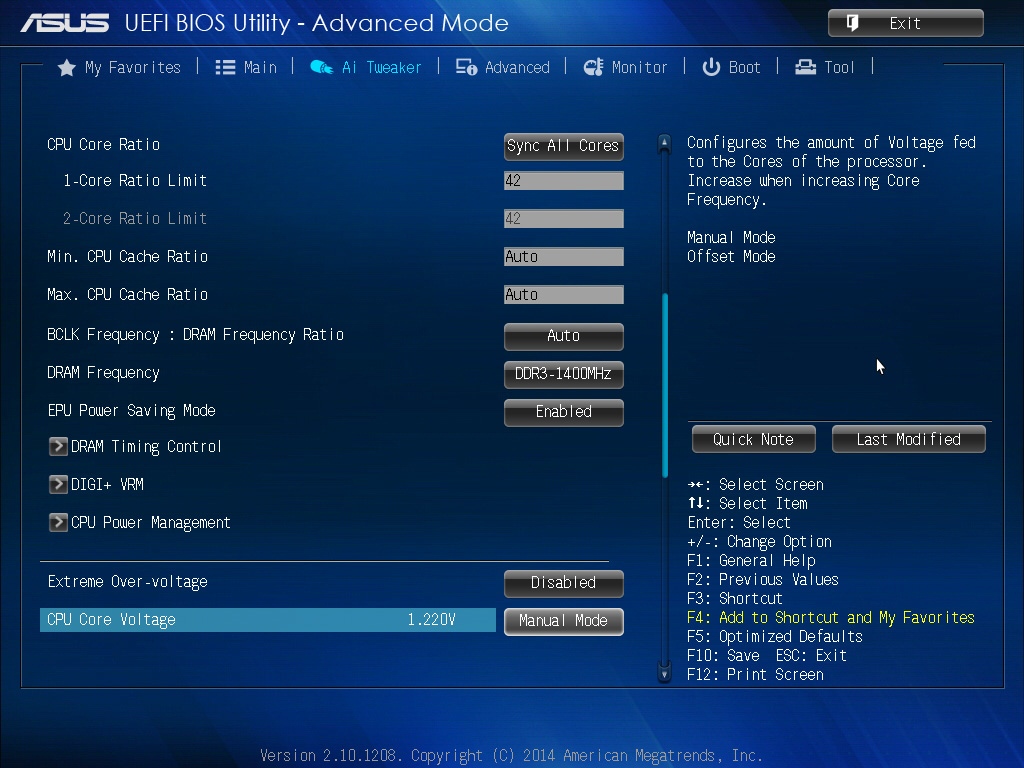
Advanced mode is the layout most enthusiasts are familiar with. The AI Tweaker tab is where you'll find CPU and RAM settings, including primary, secondary and tertiary timing options. Asus doesn't offer any overclocking presets like ASRock, but that's not exactly a loss. You're presented a pick list for RAM voltage, but just about everything else is fully manual.
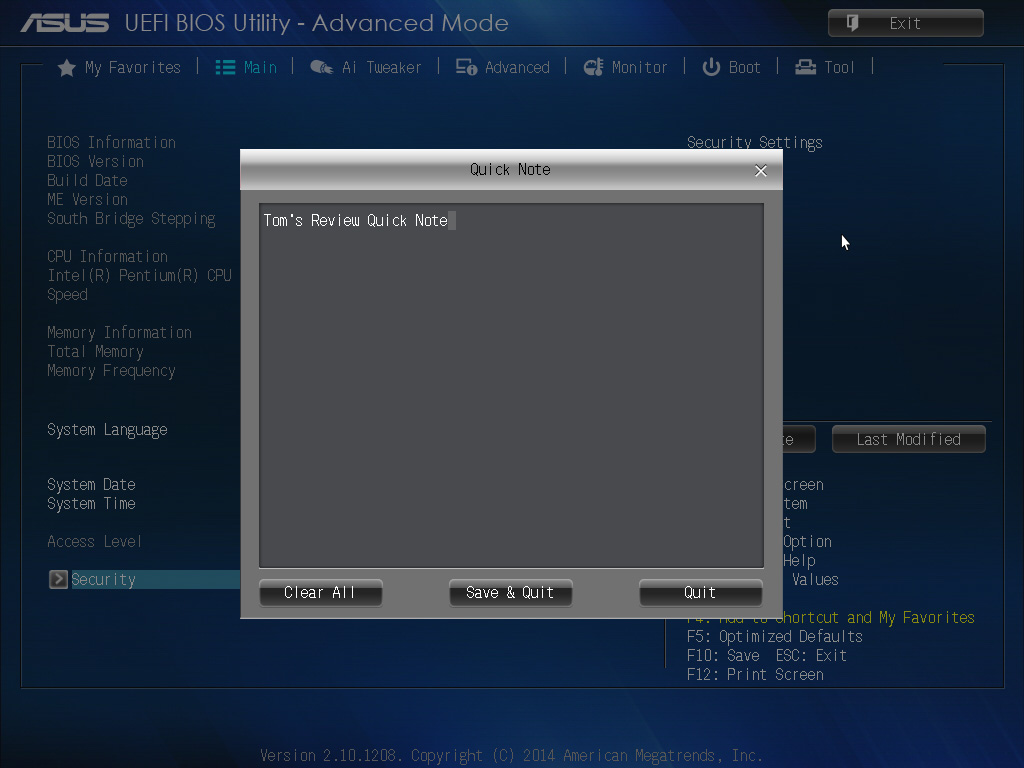
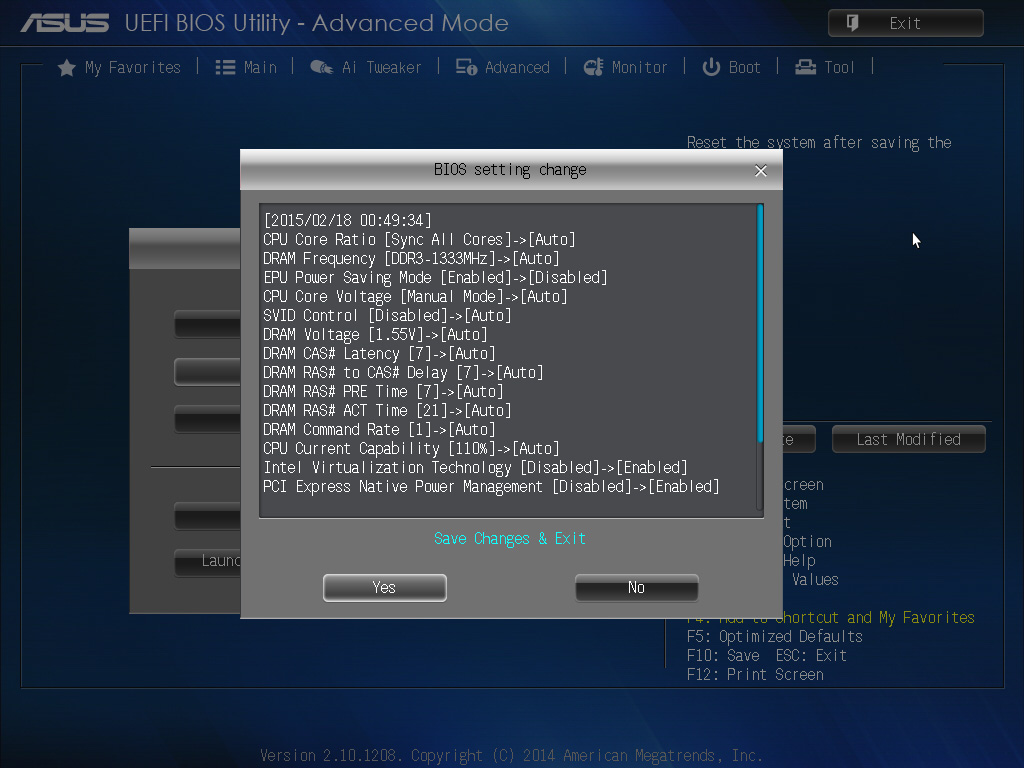
On the right side of every screen are two buttons called Quick Note and Last Modified. The first is your personal notepad for recording tips and tricks. Though limited to a single page, that doesn't diminish its utility. The other keeps track of everything you've changed since entering the UEFI. It also lets you know what you're saving or discarding. Very useful indeed.
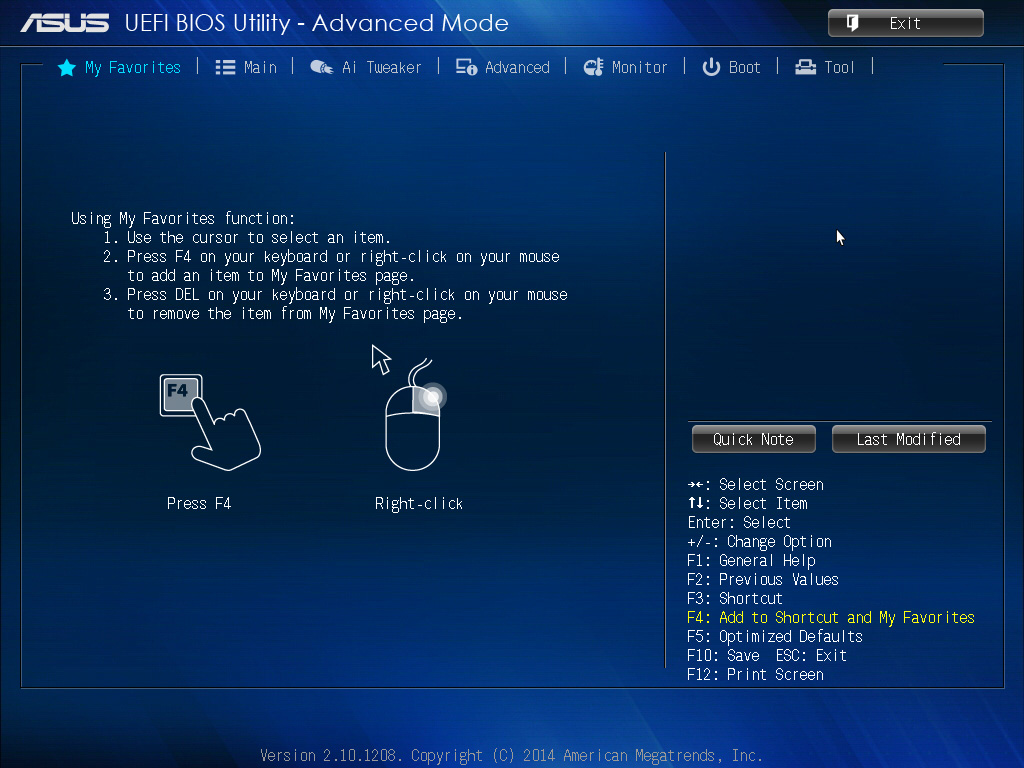
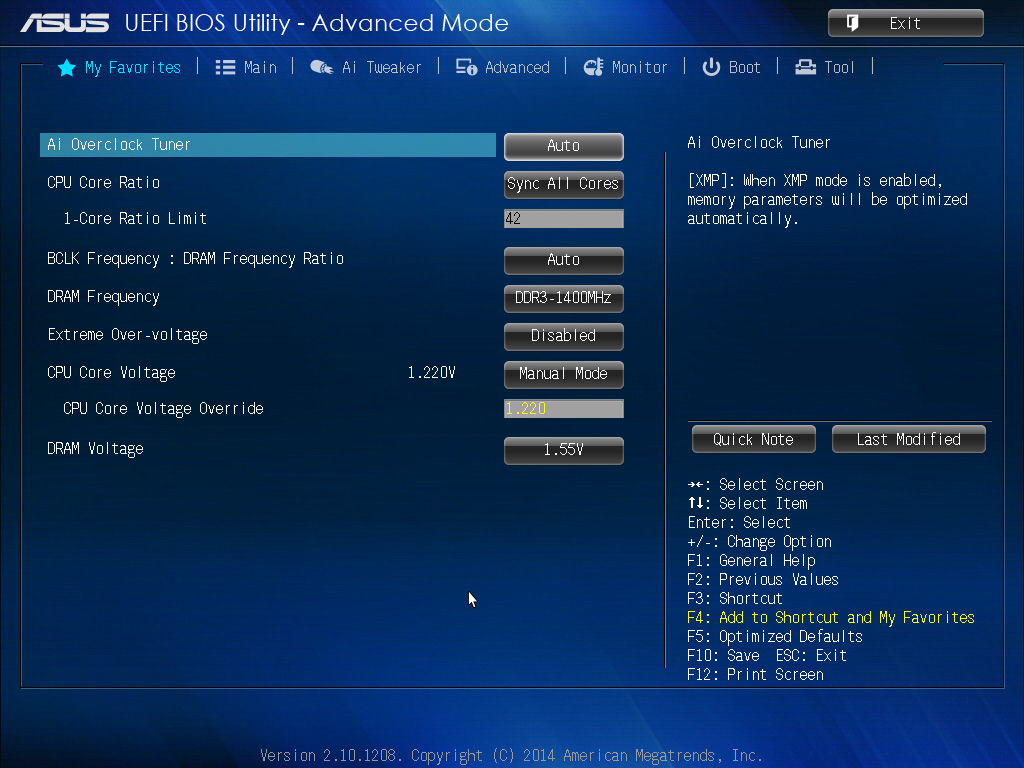
There's another tab called "My Favorites", which you can load up with the settings you most often change. Instead of hunting all over the UEFI, you have one page with everything you need. The Advanced tab hosts the expected PCIe, SATA and other I/O device settings.
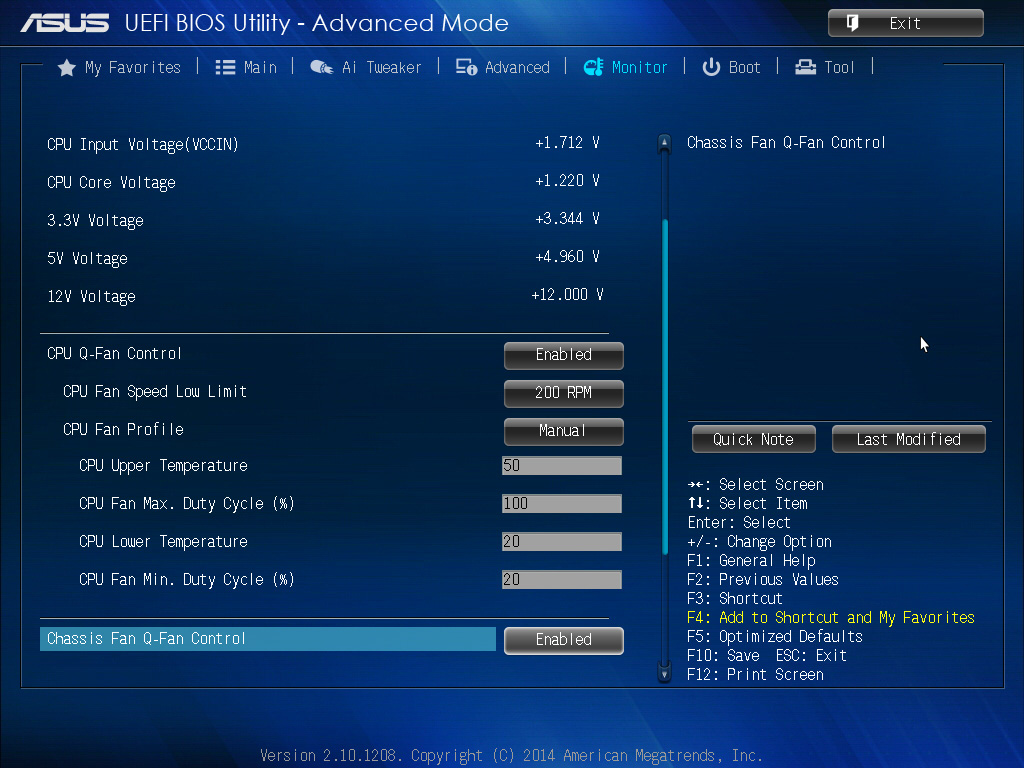
The Monitor tab gives you a quick hardware status overview and fan control. Asus only facilitates two-point control with minimum and maximum temperature points, but you can at least set a minimum fan speed.
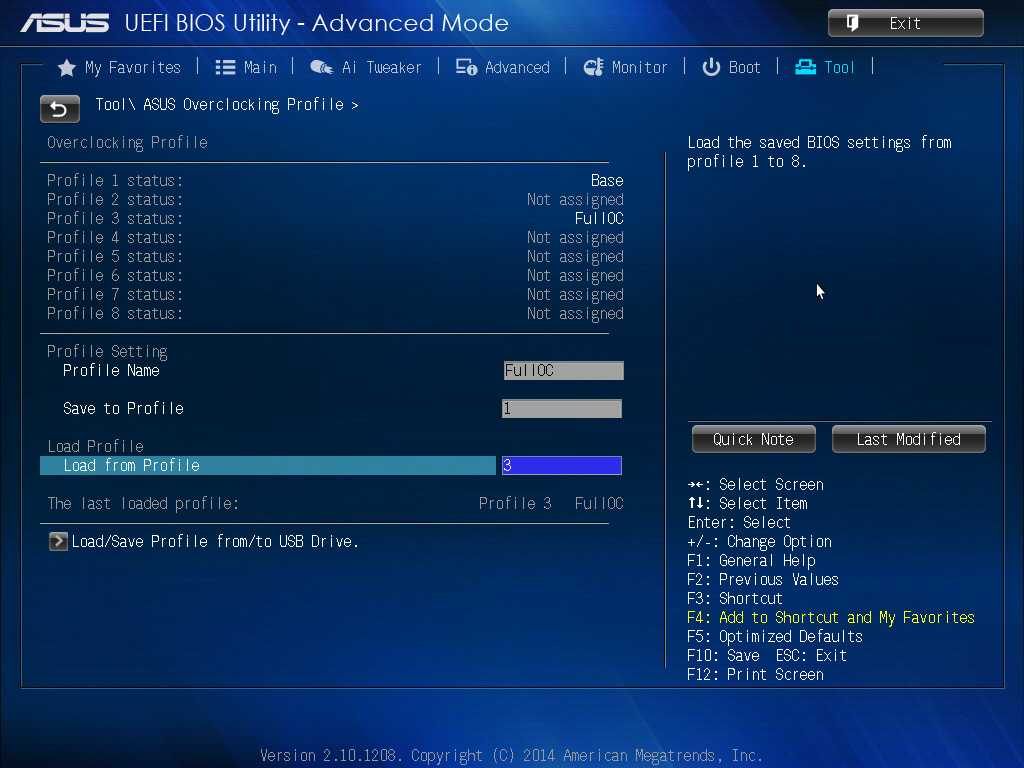
Under Tool you find the BIOS flash utility. While it can't connect to the Internet to download new firmware versions, it does let you browse your hard drive for a file, meaning you don't even need a thumb drive. Also, whereas ASRock only exposes three BIOS profiles, Asus gives you 10. They can be imported from and exported to a USB drive.
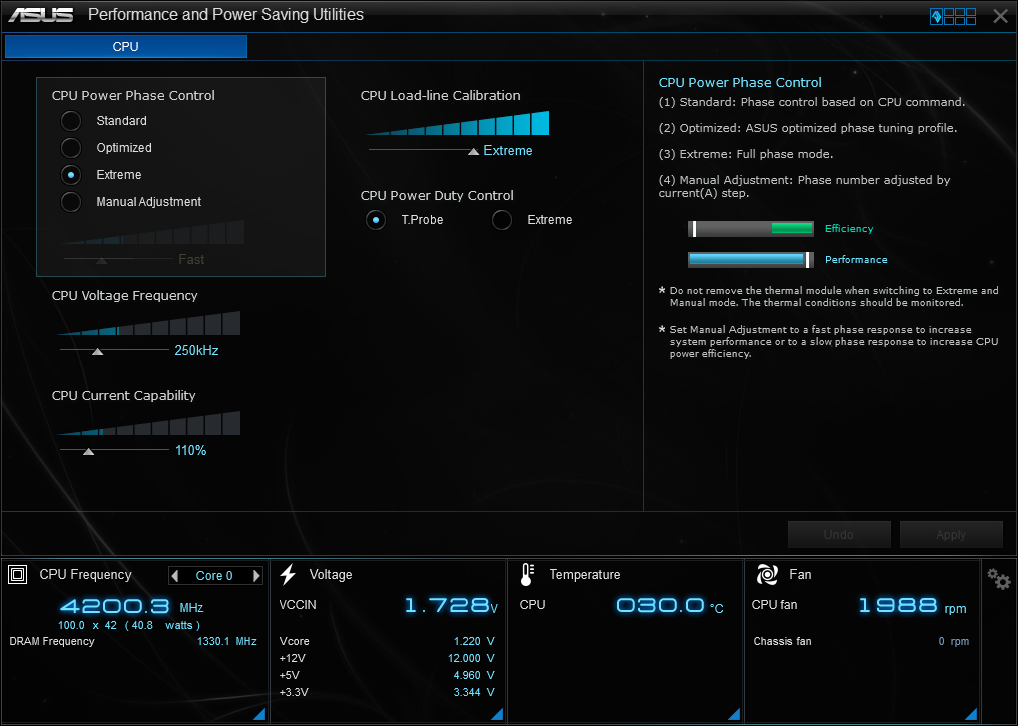
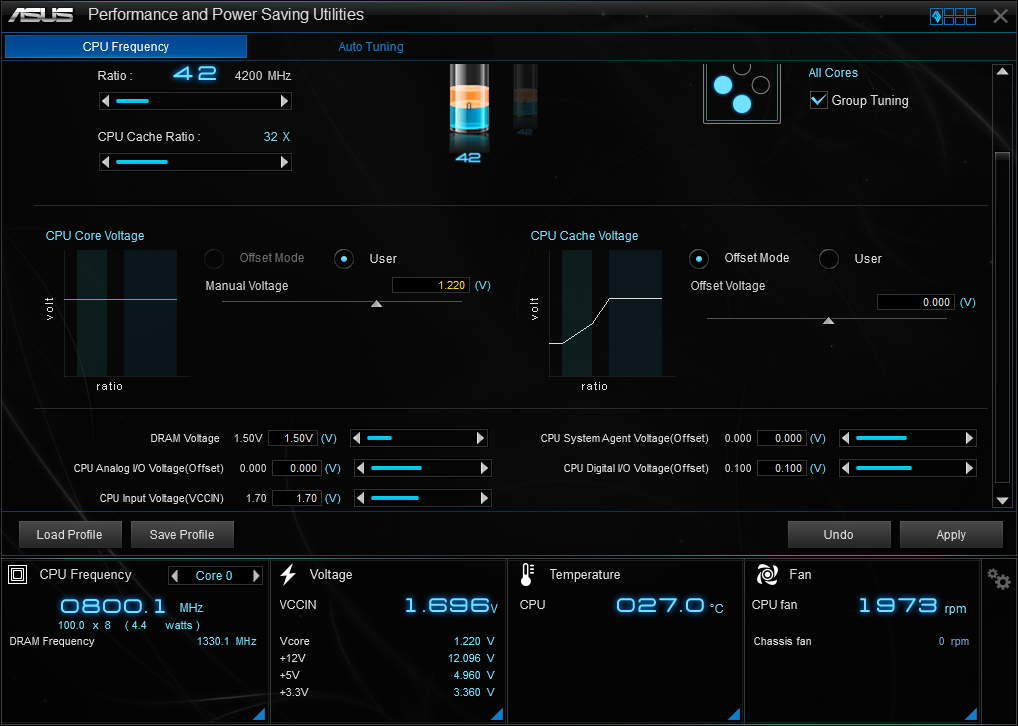
The AI Suite 3 is similar to what we covered in our X99 Pro review, albeit stripped down. And like all overclocking apps in this round-up, software-specified CPU multiplier settings largely don't work due to the H81 chipset. The DIGI+ VRM section covers CPU power management and monitoring, while the Turbo EVO panel controls basic CPU overclocking (or at least it should). Be aware that the Turbo EVO section doesn't even appear if you haven't set your BIOS to Asus Performance mode on the EZ tab.
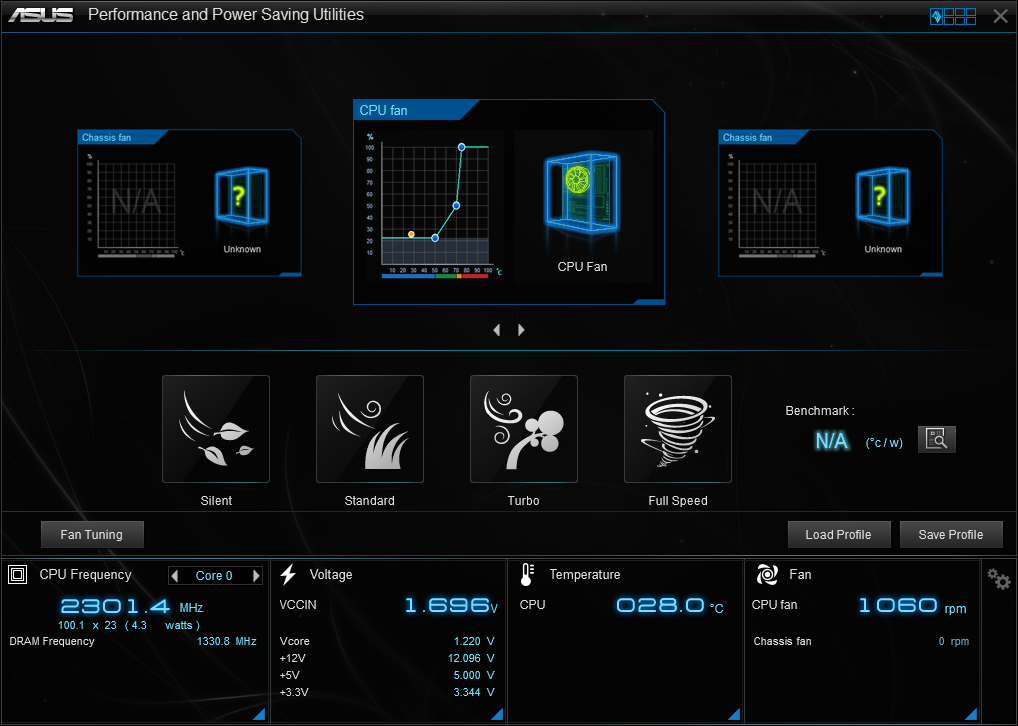
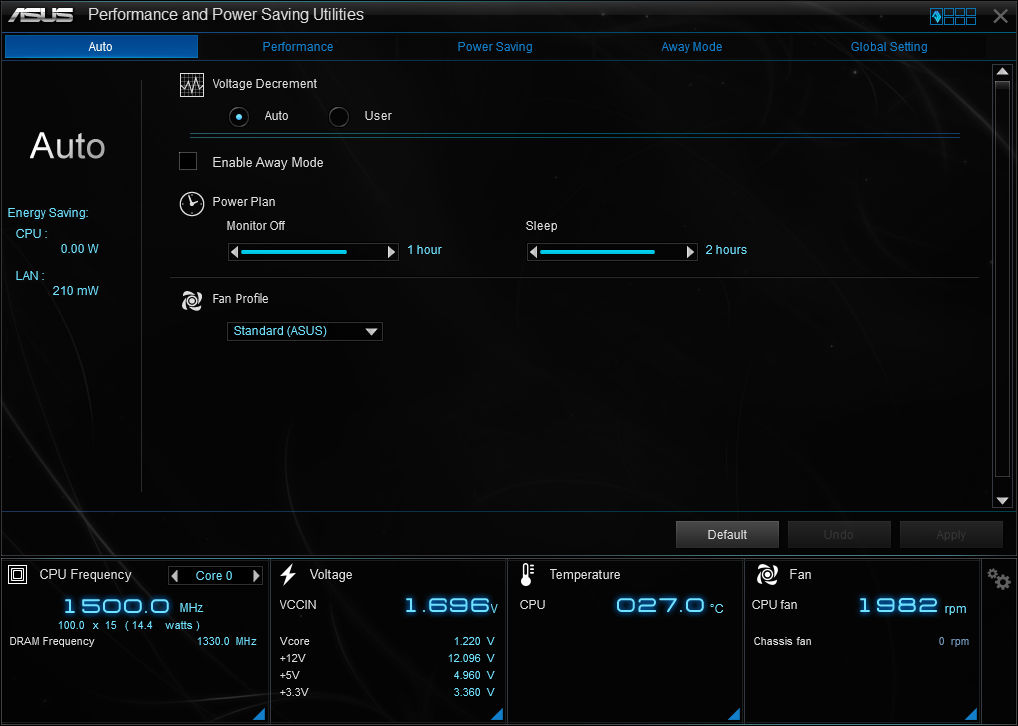
Fan Xpert lets you customize your fan curves. Interestingly, you get three points this way, while the UEFI only allowed two. EPU allows you to set power profiles for performance, power saving and away modes (that last one is for people who leave their computers on 24/7 and want to limit power consumption during idle periods). Installing AI3 also puts a small sliding pop-up at the bottom-right of your desktop for quick changes to the fan and power profile.
Across the bottom you get four constant monitoring panels for CPU frequency, voltage, CPU temperature and fan speed. The CPU temperature reading was completely wrong on my board; I never saw it report more than 37 degrees C, even when I was stress testing.
Overclocking
After two boards that maxed out at the exact same overclocking settings, I had an idea where the H81M-E should end up. As before, I started with a 40x CPU multiplier. Sure enough, I had no problems, though temperatures were warmer than I saw previously. I went straight for 4.2GHz at 1.215V, which worked so well on the ASRock platforms. Surprisingly, this time I ran into stability issues. The temps were admittedly hot, but I knew I wasn't hitting my thermal ceiling yet. I upped the voltage to 1.220V and still had problems. Increasing the CPU current capability to 110 percent resolved everything.
I wanted to try for 4.3GHz. However, the VRMs were already reading 59 degrees C. I made a few quick attempts and watched the temperatures quickly rise to 65 degrees C. The board was crashing barely two minutes into the stress test. Considering the VRMs are directly under the cooling fan, I was hoping for better thermal readings. But the H81M-E actually had the hottest VRMs of all the boards when overclocking.
Overclocking the RAM went much smoother. Like the H81M-HDS, the H81M-E doesn't cheat on RAM voltage. Reaching 8-8-8-24 at 1.5V was no problem. Of course, since the board wasn't artificially boosting its voltage, I had to increase this setting to 1.55V for stability at 7-7-7-21 timings using a 1400 MT/s rate.
Get Tom's Hardware's best news and in-depth reviews, straight to your inbox.
-
colinstu on the conclusion page, the the four motherboards with the pros and cons are all mixed up.Reply -
Crashman Reply
Gigabyte doesn't agree with your, or else they would have sent one.15641225 said:The best H81 board IMO, is the DS2V.
I think it's fixed now.15641336 said:on the conclusion page, the the four motherboards with the pros and cons are all mixed up.
Oh, and about his voltage comment in the article, I believe the board he tested is the first in several years on this site to not force a higher-than-set DIMM voltage. -
terion But there is still huge gap between $55 mobos here and 155$+ mobos in "Best Motherboards". Some recommendations in price range in between would be great.Reply
Something with solid power section, lasting capacitors, good component layout, silent, but intended for mainstream gaming, so no M.2, no SLI, single network interface etc. Basic features, but solid foundations. -
Crashman Reply
You mean $60 and $120 boards, right? Because that's the bottom of our current range of Z97 reviews. We get that. We have guys working on it. But to be honest, we wanted to get this article done first15641520 said:But there is still huge gap between $55 mobos here and 155$+ mobos in "Best Motherboards". Some recommendations in price range in between would be great.
Something with solid power section, lasting capacitors, good component layout, silent, but intended for mainstream gaming, so no M.2, no SLI, single network interface etc. Basic features, but solid foundations.
The plan from here is to cover Z97 Micro ATX, then $80 to $120 Z97 boards. We've also gone "sideways" with boards that aren't designed to overclock. And, there's a Z97 Mini ITX article in the publishing queue as we speak :)
And then, after all that has been done, we'd still like to get back to a $120-$160 segment repeat, to cover the new products that have been released since the last round of mainstream LGA 1150. motherboards -
vaughn2k I am still using Core2 Quad Q9650. I can still bear it's power hungry character though... Until I see that there is a big advantage to upgrade, I will stay this way.Reply -
CaedenV ReplyI am still using Core2 Quad Q9650. I can still bear it's power hungry character though... Until I see that there is a big advantage to upgrade, I will stay this way.
It all depends on what you are doing. I had to abandon my C2Q as my main machine a long time ago because it simply choked on bandwidth when doing HD video editing and some games... But it still had a few years left over as my wife's main computer and was perfectly adequate for audio editing, office apps, light games, etc. I eventually replaced her system with an i3 Ivy Bridge setup due to a GPU failure and complaints of the C2Q being too loud in general... so now the C2Q is running as my home server, and will probably remain as my home server for a few years yet until it is a 10 year old chip (and 10GbE becomes more affordable).
Point being, it is an extremely capable 8 year old chip, with a long life ahead of it still. But to say that there is no advantage to upgrading is a bit short-sighted. New chips allow for much smaller silent (or near silent) systems that literally sip power in comparison. New chips have enough iGPU power to compete with some of the midrange dGPUs from 8 years ago... and again as part of the 50-70W CPU package rather than a separate 150-250W GPU card. Not to mention the perks of being able to install faster/cheaper/more RAM with DDR3/4 compared to DDR2, or having lots of SATA3, USB3, and PCIe3 interfaces. Even running as a NAS the Core2Quad is limited to a max of 3TB HDDs where even the cheap motherboards listed here can take 8TB drives if you wanted to. Things like sound cards were still a necessity in the C2Q era, but now onboard audio is so good that even ardent audiophiles would be hard pressed to tell the difference. RAID was a costly feature back in the day, and now it is built into most motherboards (even the B-series chipsets, though it is listed as not having it on the charts here for some reason).
I guess what I am trying to say is: If the older platform still meets your needs, then great! Enjoy it as long as you can, because there is value in that. But saying that the chip and the platform are not starting to show their age, or that there are not lots of advantages in moving to a newer platform (granted those advantages may not directly apply to you) is overlooking a lot of considerations.
