ASRock M8 Mini-ITX Barebones Gaming PC Review
Some of us love compact gaming builds, but the best of these have always been pre-configured into custom enclosures. Is ASRock’s M8 the perfect open-architecture alternative? We load this $550 barebones up with hardware and test its mettle.
Hardware Installation
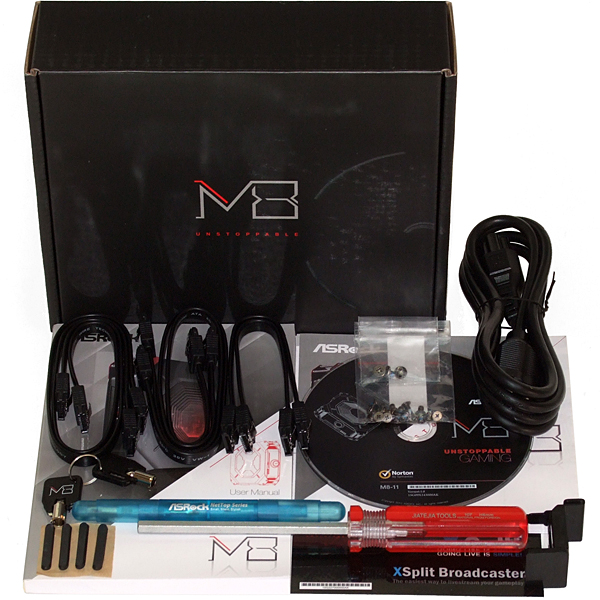
The M8’s installation kit includes four medium-length and two extra-short SATA cables, a power cord, screws, a hex key for the exterior handles, a card support bracket, keys for the side-panel lock, rubber side-panel feet for horizontal installations, and an ASRock-branded ballpoint pen.
ASRock doesn’t support screw-on CPU coolers in the M8, but we do. Installation difficulties are caused by a motherboard tray that lacks access hole (which we imagine the BMW team found too ugly) and installed cables that make the motherboard tedious to remove.
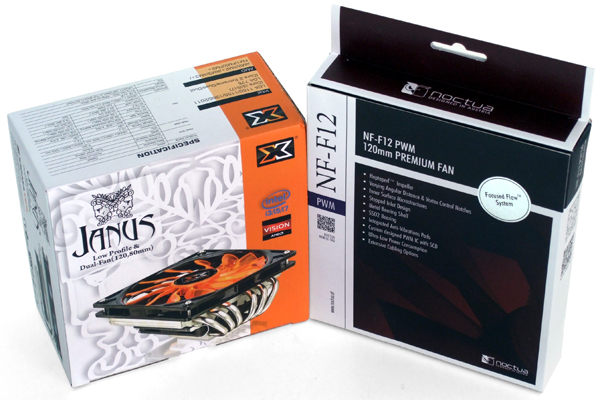
Maximum supported heat sink height is approximately 80 mm, minus whatever space above that the cooler needs to function properly. Most of the coolers in this lab are either too big to fit or too small to facilitate any meaningful overclocking. The Xigmatek Janus fits with 20 mm to spare, so I upgraded its 120 x 15 mm fan to Noctua’s thicker NF-120 120 x 25 mm fan. We even arranged an upcoming cooling round-up to explore our other low-profile options.
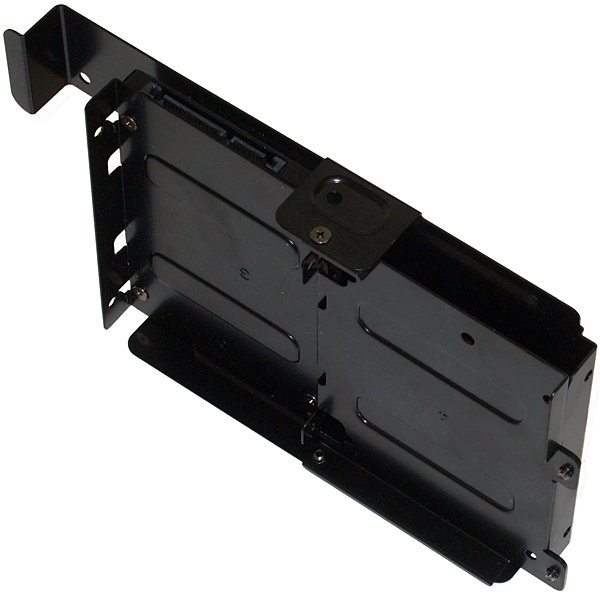
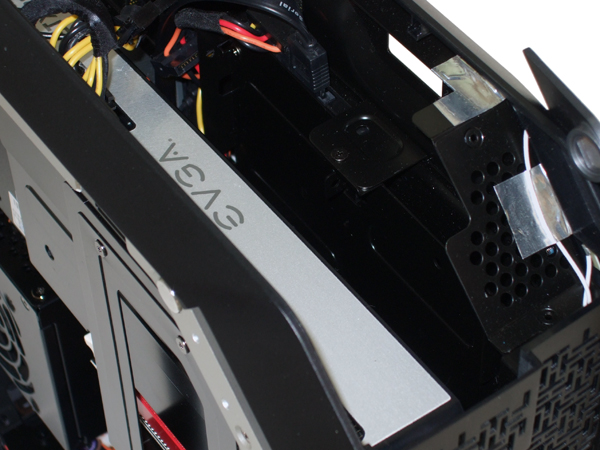
Because the lower drive bay is tough to access, I decided to mount an SSD on the upper tray. I also chose the most unusual position of that tray to show how the fourth drive fits. Unfortunately, support tabs for the drive mount above it block access to its screws. Thanks again, BMW?
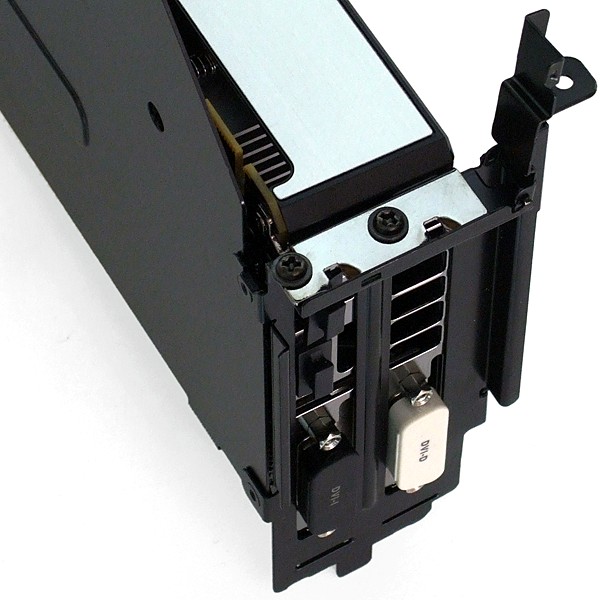
A double-slot graphics card can be secured using screws, a flip-down bracket, or both. The bracket is shown unlatched.
The double-slot graphics card has plenty of breathing room, even with the drive cage installed.
Get Tom's Hardware's best news and in-depth reviews, straight to your inbox.
Current page: Hardware Installation
Prev Page Taking More Of The M8 Apart Next Page Overcoming A Significant Thermal Issue-
lpedraja2002 ReplyThe old saying that hot air rises is usually true because it's less dense. To take advantage of this phenomenon, I flipped the bottom exhaust and top intake fans. Both bottom fans were now intakes, both top fans were now exhaust, and all I needed to do was:
Completely gut the system, since the bottom panel is secured from the inside with four screws.
And then slice up the wire sleeves, since the guide on each fan frame was farther apart.
CPU load temperature immediately dropped by roughly 20°, but at the expense of messier cabling.
Awesome way of thinking Thomas, that's why I love you guys. I am curious however to know if you emailed them to tell them about this solution. Since it made such a dramatic difference they should change the way those fans are positioned. -
second_exodous I'm looking into barebones to build a steam box and I'm finding they all have noise/thermal issues. I hope that Valve has a hand in some sort of certification program and hires their own engineers to test these barebone systems before giving the stamp of approval as a system to be used as a steam box. I'm also a Linux user and if they can clear up Linux compatibility for me that would also be great.Reply -
jestersage I hope this fans the flames of trend and others follow suit - so innovation goes up and prices go down. I like the M8. And Thomas gives it a very good once-over - including answers to some issues. Good job!Reply -
razzb3d Just remove the plexiglass window and replace it with a nice honeycomb metal mesh. Cooling problem solved.Reply -
Onus This case looks like a good idea, that just needs some refinement to make it even more generic. Another 10mm of thickness to allow 80mm fans (and possibly a full-size optical drive) could go a long way.Reply
Does the added trace length or extra connection required to use a riser card impose any kind of penalty on graphics cards? Please test this, by using one on a typical motherboard just for some measurements.
-
Crashman Reply
It doesn't need extra thickness to support the larger fans, just a minor redesign of the top and bottom panel. But the top panel redesign would include a different locking mechanism, so the tooling cost would be high.11789583 said:This case looks like a good idea, that just needs some refinement to make it even more generic. Another 10mm of thickness to allow 80mm fans (and possibly a full-size optical drive) could go a long way.
Does the added trace length or extra connection required to use a riser card impose any kind of penalty on graphics cards? Please test this, by using one on a typical motherboard just for some measurements.
-
thespaceduck Maybe it is just me, but doing 9 different test for "performance" for a CHASSIS seems redundant and obsolete.Reply -
crenwelge I purchased an ASRock mini-ITX HTPC that never worked. It continually blue screened and crashed. I sent it to ASRock 5 times for repair before finally giving up. Its technicians are either incompetent or dishonest . Once they sent it back with parts loose inside the case, another time without the power supply. Every time they claim to have tested it, but every time it came back blue-screening and crashing. Newegg refused to take it back and instead offered me a $100 credit. When I tried to use it, I found Newegg had deactivated my account. ASRock may be a competent motherboard house, but they cannot build and service reliable systems.Reply
