Early Verdict
The Captain 120EX is a great liquid cooling solution for compact case builders who want top level performance.
Pros
- +
Great cooling power
- +
Low noise
- +
Compact size
- +
Compatibility with almost all modern CPU sockets
Cons
- -
Extra cost over competing air coolers not offset by performance gains
Why you can trust Tom's Hardware Our expert reviewers spend hours testing and comparing products and services so you can choose the best for you. Find out more about how we test.
Specifications And Features
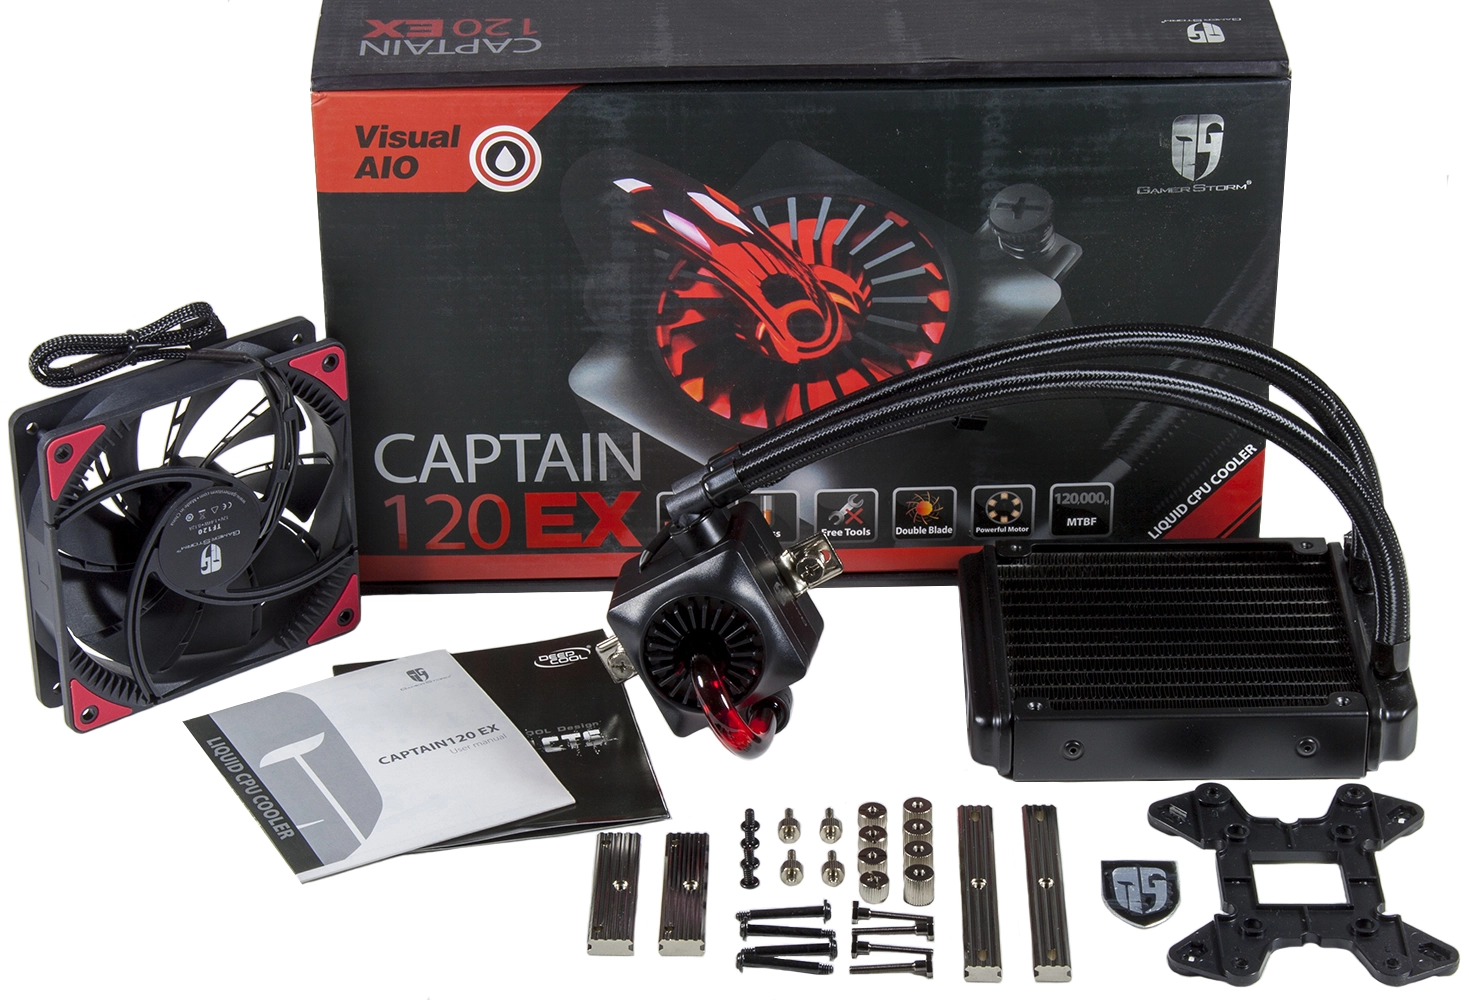
Although they’re not all designed with liquid cooling in mind, these days most compact gaming cases have enough room to fit at least one 120mm radiator and fan somewhere inside the case. With that in mind, Deepcool sent us its latest compact liquid cooler, the Gamer Storm Captain 120EX, to put to the test. However, with an $80 price tag looming over its head, can Deepcool’s latest iteration eek out enough performance to score a value win against its cheaper, air cooler competitors?
Externally, the latest version of Deepcool’s Captain Cooler remains largely the same as its predecessor, with the only outwardly noticeable changes being the cooler’s radiator fan and new mounting design on the pump. The old radiator fan has been jettisoned, and Deepcool has replaced it with the company's TF 120 double-blade fan, which on paper allows for the same amount of static pressure at a lower fan speed.
Internally, the Captain 120EX comes with a slightly larger water block/pump, which features an improved high-density, micro-channel design that allows the contact surface on the water block to extract more heat from the CPU, and allows the pump to then circulate the heated coolant to the radiator more efficiently.

The water block also features a new retaining mechanism, which should provide better contact with the CPU while allowing the water block to be mounted to the motherboard without using tools. The universal design of the retaining mechanism allows the Captain 120EX to be compatible with AMD, Intel LGA 115x (1150/1151/1155/1156), and Intel LGA 2011x (v1 and v3) motherboards.

Specifications

The base of the water block consists of polished copper and comes with Deepcool’s thermal interface material pre-applied. For standardization purposes, however, we opted to remove it, and we replaced it with Arctic’s MX-4 thermal paste, which we use in all of our testing.

The Captain 120EX comes with several sets of installation hardware, and which set gets used depends on the socket you’re working with. For Intel 115X, installation consists of placing the retaining screws through the appropriate holes in the backplate and then securing the backplate to the motherboard by threading the retaining screws through the board’s mounting holes. Then you secure them in place with threaded standoffs. Once that’s accomplished you place the two vertical retaining bars on top of the remaining exposed portion of the retaining screws and then secure them in place with four threaded nuts. The whole process can be accomplished without a screwdriver (although we still recommend using one to make sure everything is appropriately secured), and the end result should look like the above photo.

Once thermal paste has been applied and the mounting bracket has been installed, the water block drops into place over the CPU and is secured to the bracket with two spring-tensioned thumb screws. The installation is then finished by installing the fan onto the radiator and then installing the radiator/fan assembly onto the appropriate mounting location in your case.
MORE: Best CPU Cooling
MORE: How To Choose A CPU Cooler
MORE: All Cooling Content