LG G3 Smartphone Review: A Plethora Of Pixels And A Laser!
The LG G3 combines cutting-edge hardware, including a 5.5-inch WQHD screen and laser autofocus system, with a lightweight body and slim bezels to create a phone that was ahead of its time. Is it still worth your consideration? Read on for our impressions.
Why you can trust Tom's Hardware
Camera: Software
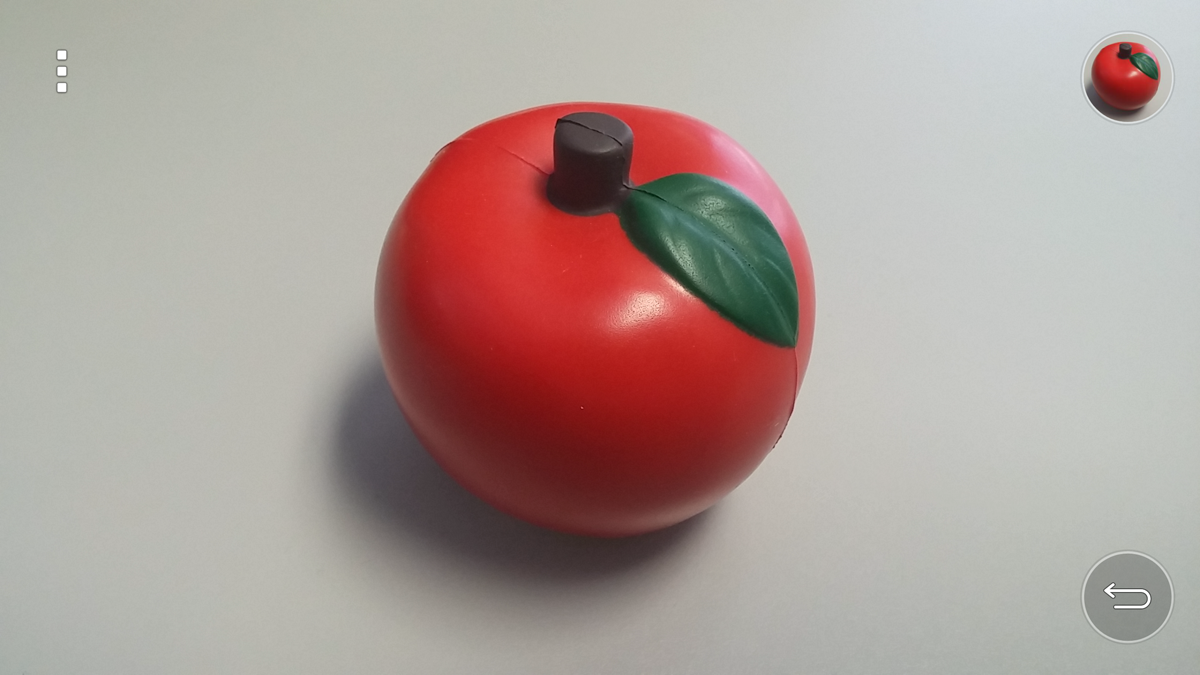
The G3’s camera interface is extremely minimal. The default UI (shown above) has nothing but a back button and an image review button, opening the photo gallery, on the right. To take a picture you just tap the screen on what you want to focus on, and the laser autofocus system quickly locks on to the subject and takes a shot.
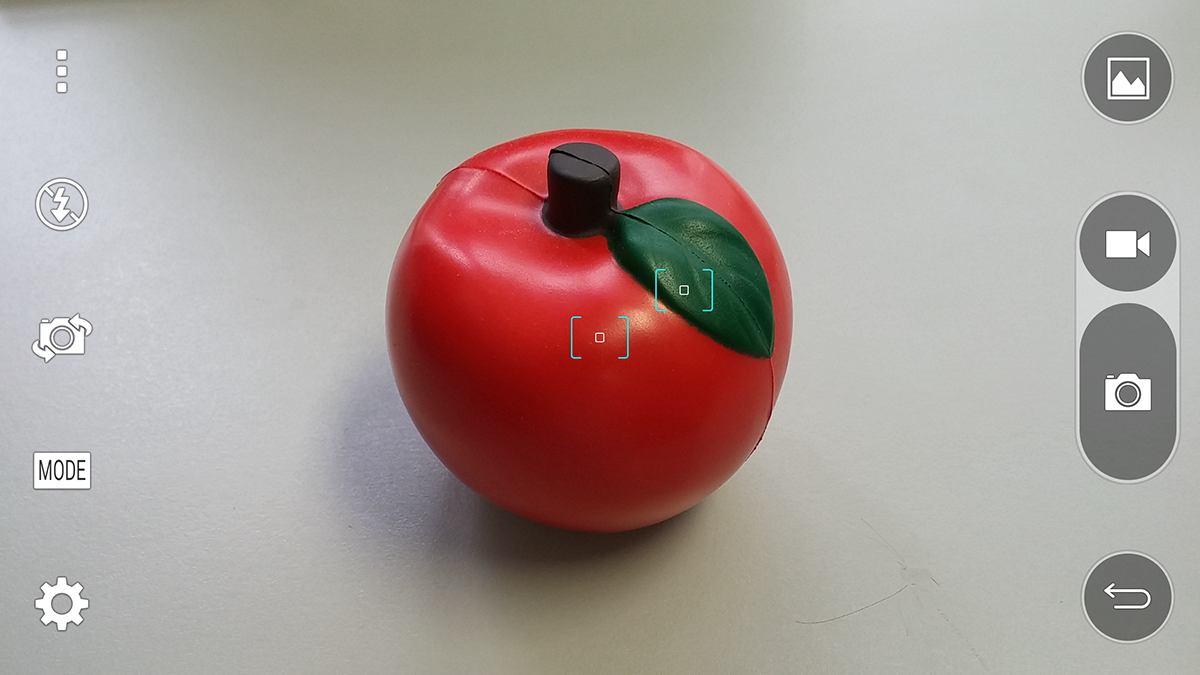
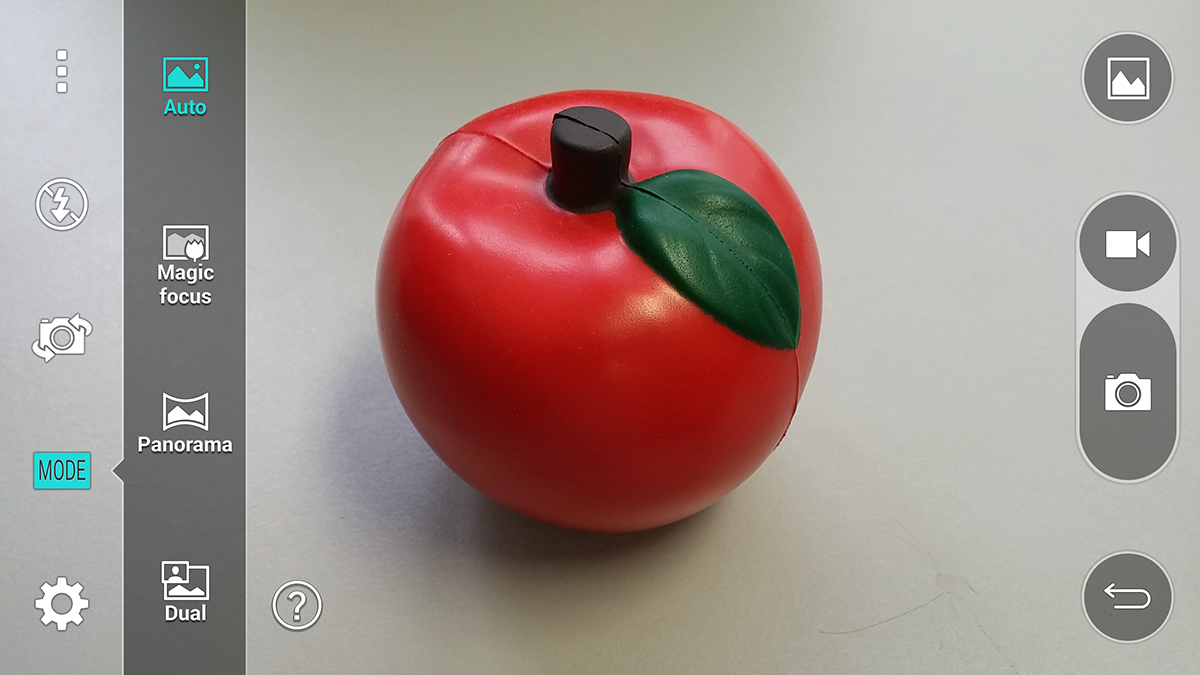
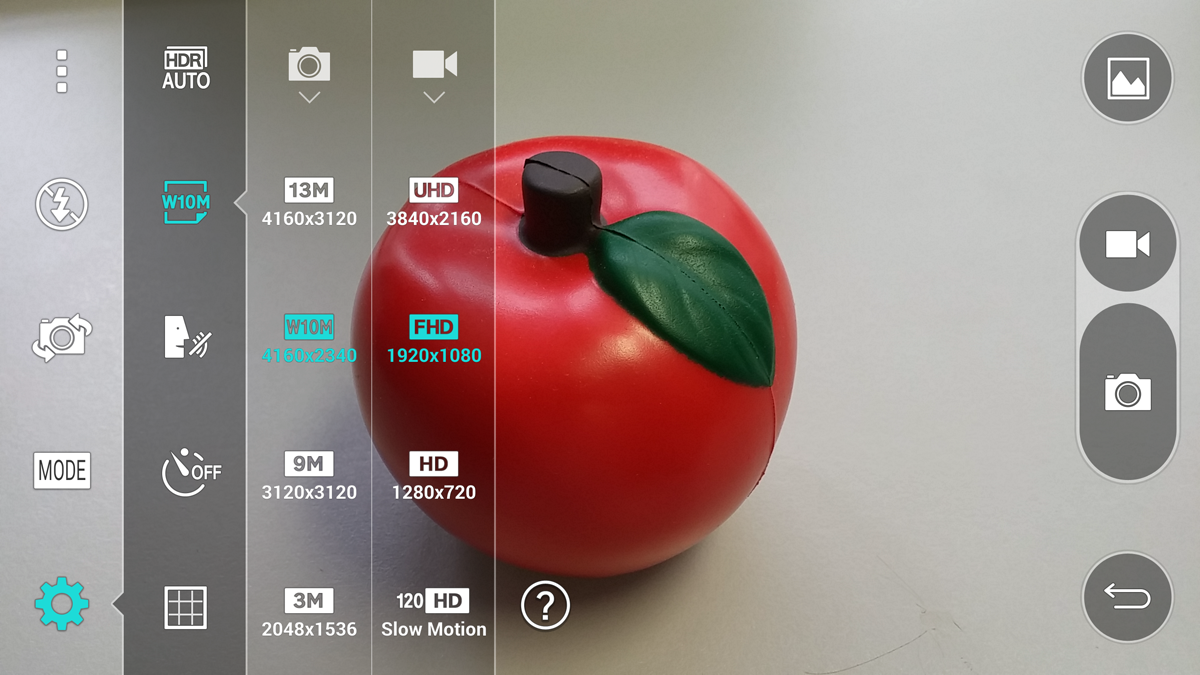
For more control, tapping the three dots in top-left corner brings up additional options in the sidebars. On the right-hand side is a shutter button that can be held down for continuous shooting and a video record button. On the left we find the flash control (on/off/auto), the toggle to switch between the front and rear cameras, a mode selection button and the settings button.
The camera UI’s simplicity also applies to the number of shooting modes it offers. Some phones go overboard, loading you down with modes that usually don’t improve the camera experience. In contrast, the G3 has only four: Auto (default), Magic focus, Panorama and Dual.
Magic focus allows the focal point to be changed after the picture is taken. When taking a photo in this mode, the camera needs to be held steady as it takes a series of shots with different focus points. Once complete, you enter the photo gallery where the focus depth is adjusted either via a slider, which only has five discrete points, or by tapping on object. After choosing the desired focus point, you can save the image (and only one image), automatically discarding the others. This mode doesn’t actually produce an image any different from using Auto mode and just focusing on the desired object; it’s not equivalent to the background defocus process the HTC One M8 uses to create a more realistic bokeh effect.
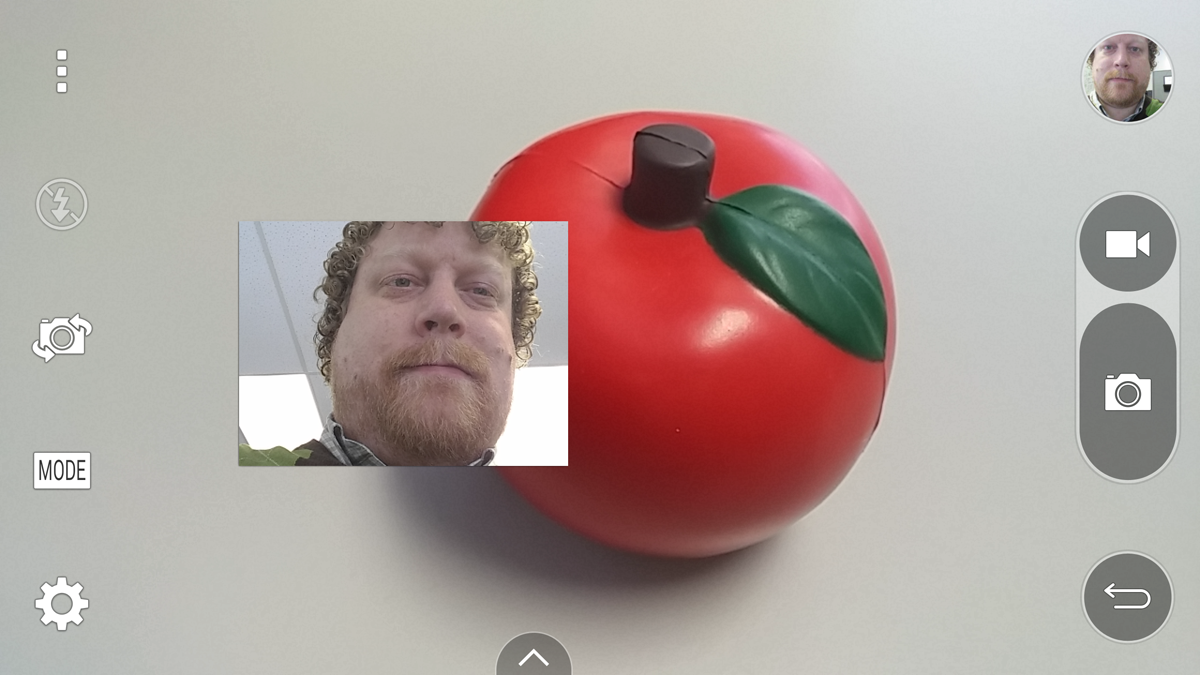
Dual mode is a picture-in-picture shooting mode that uses both the front a rear camera simultaneously. The inserted image can be resized and placed anywhere in the frame. Tapping the inserted image switches the two images.
The remaining options are found in the settings menu. There are several choices for still image and video resolution. The default resolution for stills is the 16:9 10MP resolution shown selected, which matches the 16:9 display so there isn’t a black border. When any of the other resolutions with 4:3 or 1:1 aspect ratios are selected, there are black bars on the sides beneath the controls. Regardless of resolution, the image you see in the viewscreen will match the picture captured by the camera.
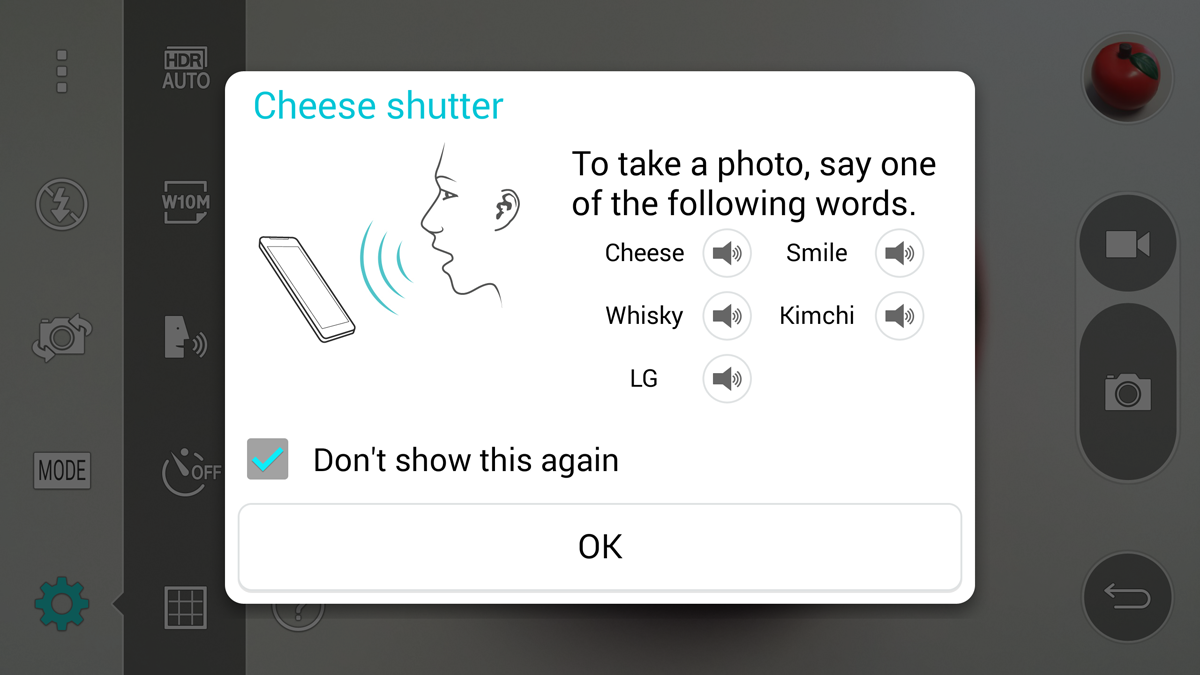
The other items in the settings menu include an on/off/auto toggle for HDR, a timer (3s/10s), a framing grid and the voice-activated “Cheese shutter.”
Get Tom's Hardware's best news and in-depth reviews, straight to your inbox.
This cheesy feature lets you say one of the five keywords to snap a photo. While a little gimmicky, it’s still useful when taking selfies with the front-facing camera. It’s also nice to see that LG kept the culturally specific “Kimchi” as one of the words.
-
Vorador2 At this point, i wouldn't bother. Rumors have surfaced than a successor will be launched in March.Reply
Tom's, you're almost at the point of self-parody. I would rename the site to "The Slowest Authority on Tech" -
wtfxxxgp For once I must agree that THW has dropped the ball on a very important phone review - it was too late - and the "better late than never" gesture never applies to a Review of something. My sister has just purchased this phone a week ago, had I had sight of a THW review then I'm sure I could have convinced her to rather wait for the next model that would surely have better support for that gorgeous screen - I played with it, it really is amazing watching video on that thing.Reply -
zodiacfml It's quite late and learned little except the voice activated shutter feature. Most of the information are subjective and benchmarks are quite of little use since the database is quite few.Reply
Tom's, here is a suggestion. Since you're good with gaming benchmarks, why not just make reviews of smartphones as portable gaming machines? There's plenty of information to be gathered from such and plenty of debates/discussion could be created just from that.
Build a database of old games and phones to be compared to new devices. Higher benchmark numbers encourages upgrades (*wink*). -
Cryio Absolutely no Lumia in the photo shoot comparison? I thought. A Lumia 1020 or Lumia 930 with Denim should have photo sampling comparisons in the next list. Also an iPhone 6+.Reply -
bujcri Suprised not to be mentioned about LG's Lollipop update for LG G3. At least worth mentioning that this update pretty much ruined some funtions on G3 like silent mode (now DND) and brought a lot of useless notifications on lockscreen like for example whatever you wanna have permanently on the notification bar (I used to have the date there). In a nutshell I really hate Lollipop.Reply -
kiniku I sold this phone on Ebay and bought a Sony Xperia Z3. I went from 8-10 hours of battery life to 48+, brighter screen, water resistant, and amazing sound.Reply -
glasssplinter I had to look at this article several times to confirm that you really just published this. New phone models are just around the corner and you're barely pushing this article out. Why did you feel the need to compare so many features to crapple tech also? The whole reason I'm interested in the phone is because it isn't crapple so people don't care how it stacks up. We want to know how it compares to other android phones. It's like putting the newest icrap review out and then saying but the icrap 10 still doesn't have a removable battery but this android and windows phone does in some hope of swaying them. Tom's has hit new lows...you would have been better off just not publishing this.Reply -
MobileEditor ReplyMan! I can't wait for the new Samsung Galaxy S4 review!
Don't buy it. Review done :)
- Matt H.
