The Oculus Rift Review
The Oculus Rift, the first high-end, consumer VR head-mounted display is now available, and it's poised to usher in a future of immersive experiences.
Why you can trust Tom's Hardware
System Requirements & Setup Procedures
Almost a year ago, Oculus defined its recommended specifications for PCs able to support the Rift. At the very least, you need a machine with an Intel Core i5-4590 or equivalent processor, though the company has never been specific about an equivalent from AMD or older models from Intel. Oculus' Rift Compatibility Tool does not pass previous-gen CPUs like my overclocked Core i7-2600K, even though its nominal performance exceeds a modern Core i5. Fortunately, AMD assures us that an FX-8350 or higher will have no trouble delivering the performance needed for VR on the Rift.
| Header Cell - Column 0 | Oculus Rift Recommended Specification |
|---|---|
| GPU | Nvidia GeForce GTX 970 / AMD Radeon R9 290 or greater |
| CPU | Intel Core i5-4590 equivalent or greater |
| Memory | 8GB RAM |
| Display Interface | HDMI 1.3 video output |
| Inputs | 2x USB 3.0 ports, 1x USB 2.0 |
| Operating System | Windows 7 SP1 or newer |
A high-end processor is just the beginning, though. You also need a substantial graphics subsystem. Most gamers shoot for around 60 FPS, and often only at 1920x1080. For that kind of performance, you don't need a crazy-expensive GPU. But a Radeon R9 380 or GeForce GTX 960 really aren't built to drive a combined 2160x1200 at 90Hz. There are mechanisms in place to compensate for missed frames, but at a certain point performance falls too far and the resulting experience becomes very uncomfortable.
Really, we're looking at a basic math problem. Rendering to a 1920x1080 display at 60Hz requires 124 million shaded pixels per second. The Rift's resolution is 1080x1200. But then you apply a 1.4x scalar to correct for spacial distortion and you end up with 1512x1680 times two eyes at 90Hz, or 457 million shaded pixels. In his 2015 talk, "Advanced VR Rendering," Valve Software senior graphics programmer Alex Vlachos described how that number can be dialed back a bit. But it's still a tremendous workload for even today's highest-end cards.
And so you need at least a GeForce GTX 970 from Nvidia or a Radeon R9 290 from AMD. Developers were instructed to target these as expected baselines, but you'll find that some games need even more performance to run smoothly at their most demanding settings. For example Elite: Dangerous requires a GeForce GTX 980, but would likely benefit from a far better GPU.
“Given the challenges around VR graphics performance, the Rift will have a recommended specification to ensure that developers can optimize for a known hardware configuration, which ensures a better player experience of comfortable sustained presence. The recommended PC specification is an Nvidia GTX 970 or AMD 290, Intel i5-4590, and 8GB RAM. This configuration will be held for the lifetime of the Rift and should drop in price over time.” – Atman Binstock, Chief Architect, Oculus
The upside of these high requirements is that they represent a true minimum. Typically, PC games are accompanied by recommended specifications and minimum specifications, which are often quite a bit different. There is no real standard for what constitutes a minimum, either. For VR gaming, Oculus is defining a floor that will persist through the HMD's useful life. In a sense, it's treating the Rift like a console with specific performance guidelines that should remain viable over time.
After hours of using the Rift with several different hardware configurations, disregard Oculus' guidance at your own peril. Willing VR to work well on a less powerful GPU will ruin the experience, and you'll regret your $600 Rift purchase before it ever gets the chance to shine.
Get Tom's Hardware's best news and in-depth reviews, straight to your inbox.
Setting Up The Rift
The initial setup process is simple and straightforward. Oculus provides runtime software so that your computer can interact with the Rift properly; its installation includes all of the drivers you need, along with the Oculus Home utility.
Oculus says the setup process takes between 30 to 60 minutes, but once you know what's about to happen, you can get it down to about 15 minutes over a fast Internet connection. The installation requires 1.22GB of hard drive space, and can only be installed to C:\Program Files (x86)\Oculus. Company representatives tell us that an update to enable custom installation directories will be released in a few weeks, but early adopters should plan to clear out space on their boot drives.

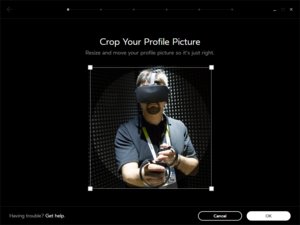
After the installation, you're asked to set up an account. If you already own Gear VR, your profile carries over to the Rift. You're clear to sign in. New users must go through the profile creation process, though. Upon logging in, you're prompted to choose a profile picture. Oculus provides a selection of around two dozen options plucked from some of the experiences and games found in its store. If you don't care for any of those, you can upload your own image.
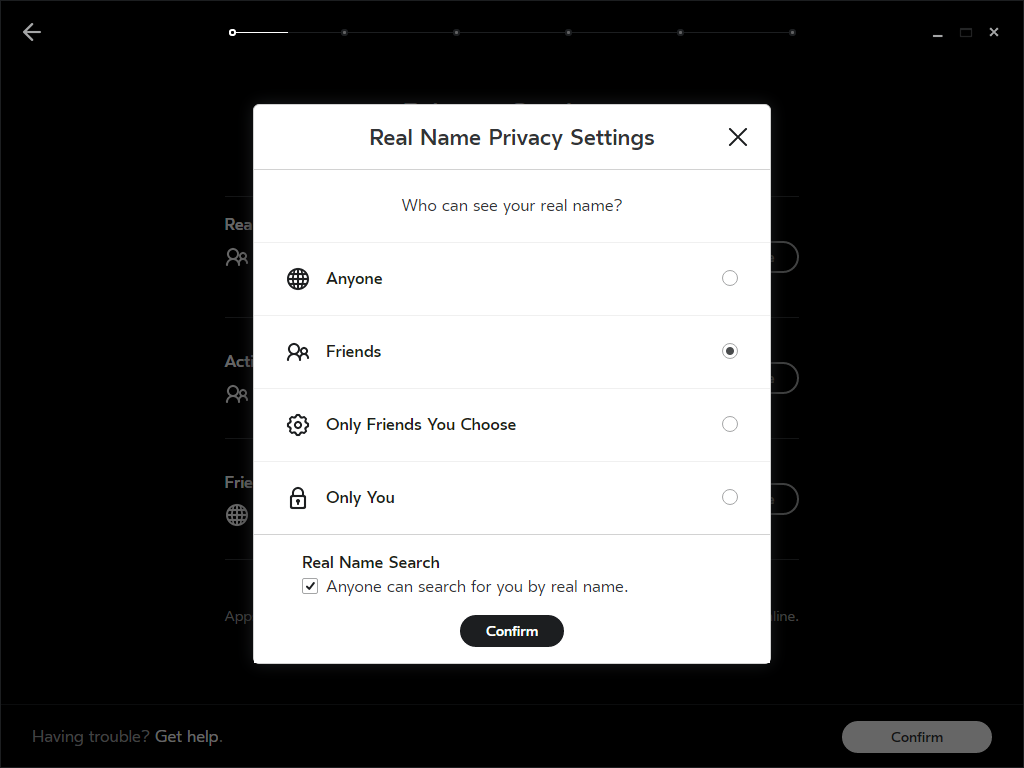
Next, you'll need to verify some security options. Oculus gives you control over who can see and search for you by your real name on its network. You can also specify who sees your activity. Choose to let friends, anyone or nobody access that information.
Following the privacy settings, you're prompted to configure a payment method. If you'd rather not save credit card information to your Oculus profile, skip this step.
Hardware Setup
With your profile complete, the setup process moves on to configuring the HMD and sensor. The hardware configuration is a little more involved, but it's still not difficult.
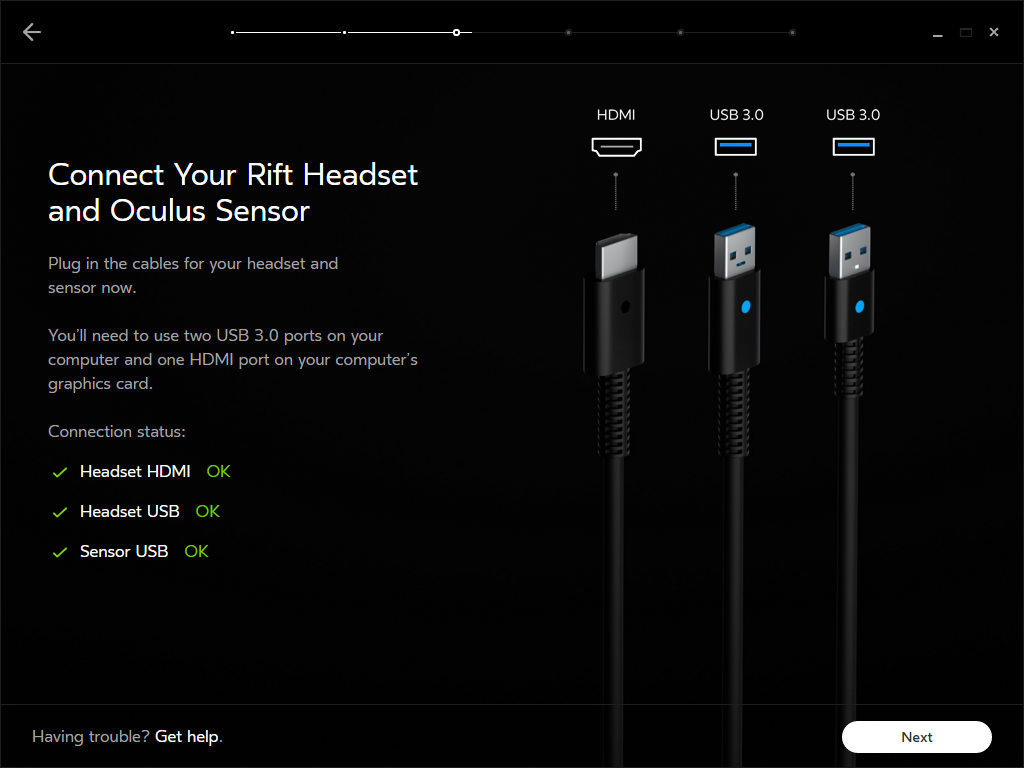
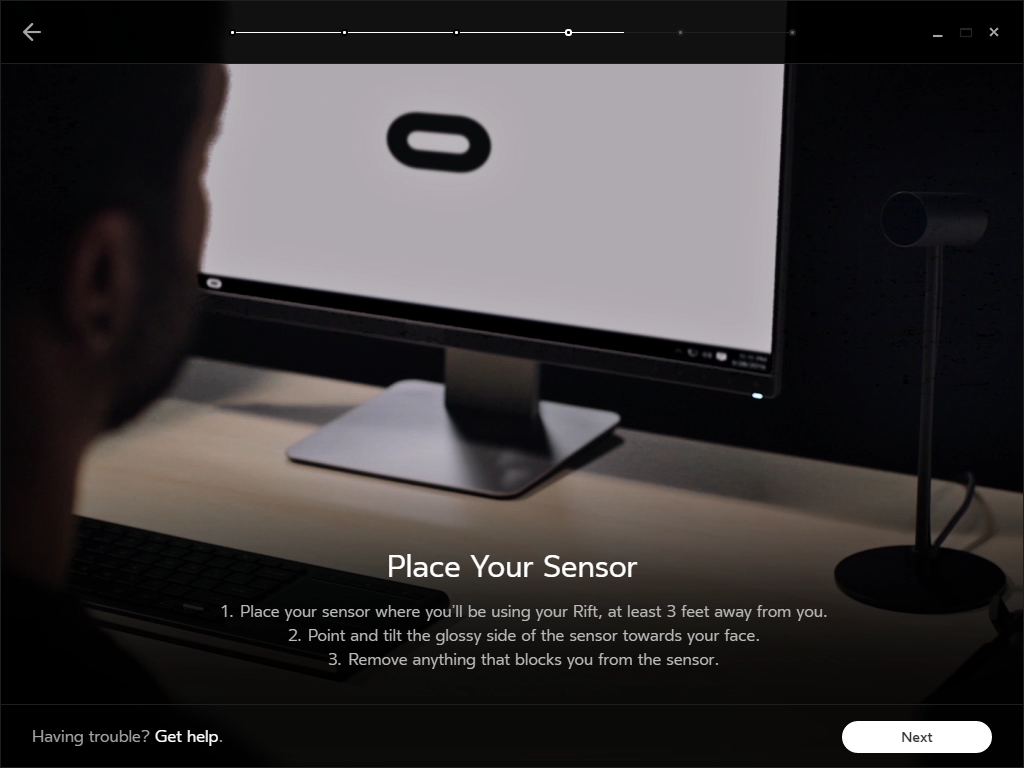
Start by connecting the headset to available USB 3.0 and HDMI ports. Then, plug the sensor into a second USB 3.0 port. Oculus recommends situating the sensor at least three feet away from wherever you plan to use the Rift. The shiny side of the sensor is the part that tracks the HMD's IR LEDs, so make sure it's facing the right way.
Oculus says to keep the Constellation sensor away from heat sources and avoid splashing it with any kind of liquid. It may have trouble tracking correctly if there are moving objects in its field of view. Vibrating surfaces don't do it any favors either. You want to place the sensor on a sturdy desk or shelf.
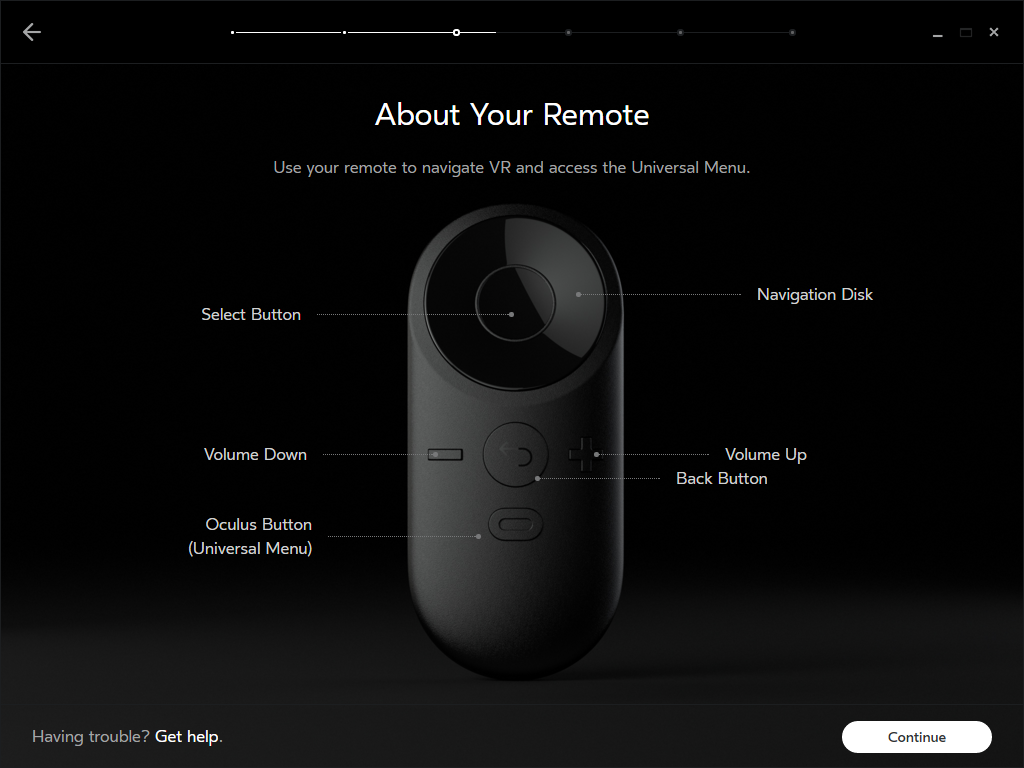
Once the sensor and headset are detected, setup asks you to pair the wireless remote by pressing its select button. After that, you'll pair the Xbox One controller to the bundled wireless receiver, which occupies a third USB port.
Sensor Setup
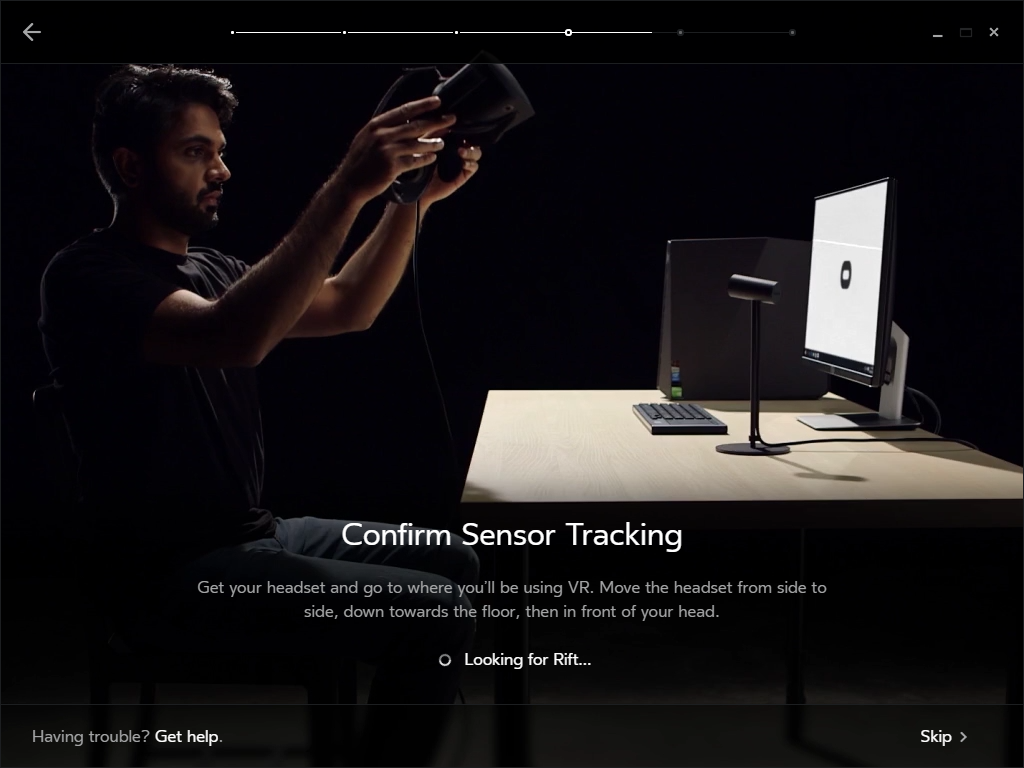
Configuring the Constellation sensor is a little bit more involved than simply plugging it in and pairing it. The calibration process starts by entering the distance between your eyes and the floor. This sets the camera position in virtual reality so that you feel like you're the correct height.
The software asks you to wave the Rift headset around in front of the sensor. After a few seconds of this, you either get a message that tracking works or has failed. If the sensor doesn't find the Rift on its first attempt, you'll be asked to check that nothing is obstructing the sensor's view and try again. You can skip this process and come back to it later, but the Rift won't work without the sensor calibrated.
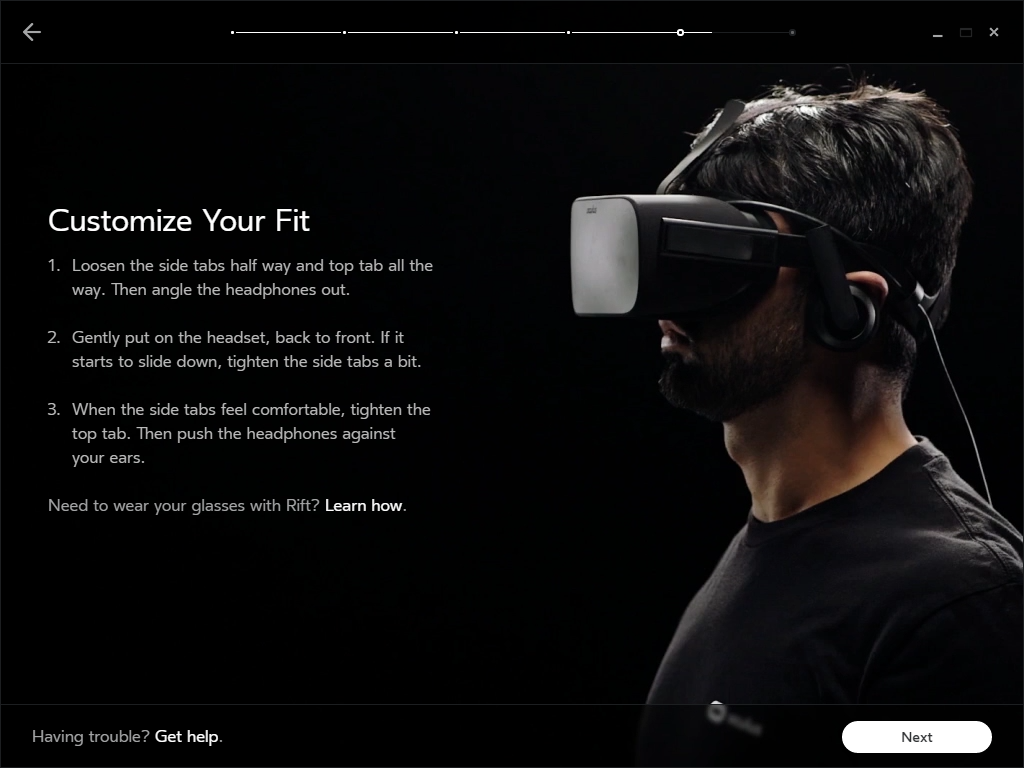
With the sensor configured, setup steps you through customizing the HMD's fitment. Ensure that the triangle on the strap sits low on the back of your head, and that the side straps are just above your ears.
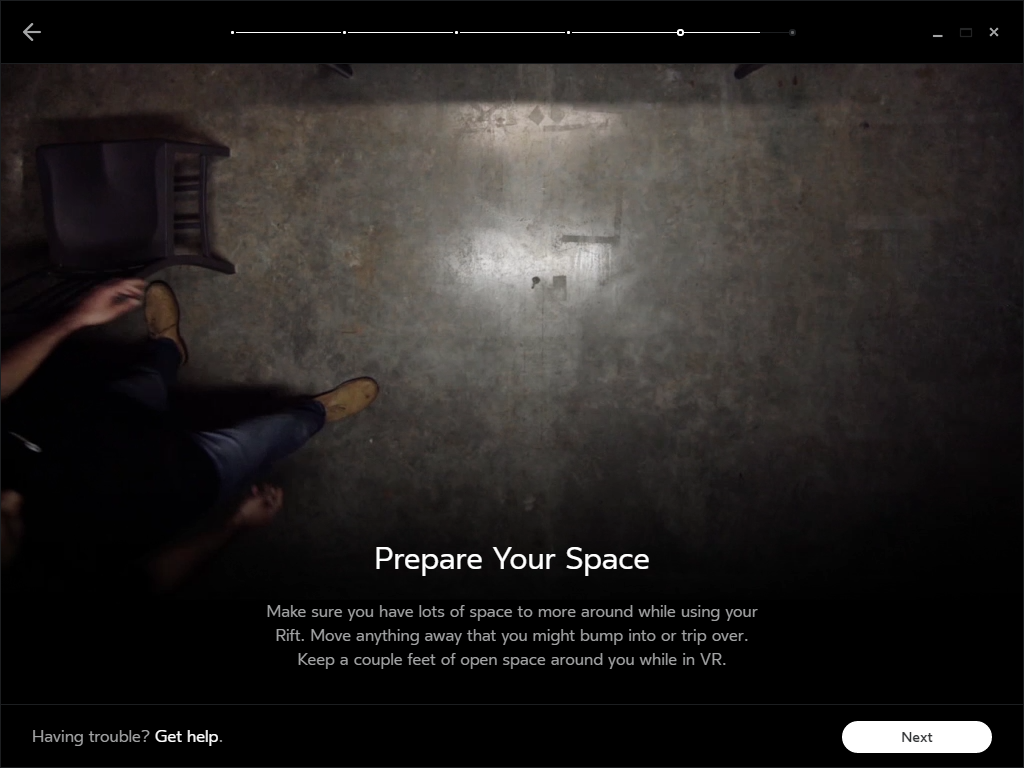
Once the Rift sits comfortably, you're ready to configure your play space. With only one Constellation sensor, the Rift's tracked area isn't very large. The process maps out a circular area that represents where you're standing. Take a couple of steps in either direction, but don't expect a ton of room to move around. The first step is clearing some room on your floor (including your chair). Stand in the center of that area and look towards the sensor, which is rendered in VR. Then press the A button on your Xbox controller or the select button on the remote.
An animation then depicts a beam of light scanning across your body. It looks like something out of a sci-fi movie. At this point, you're pumped up and ready for some virtual reality magic.
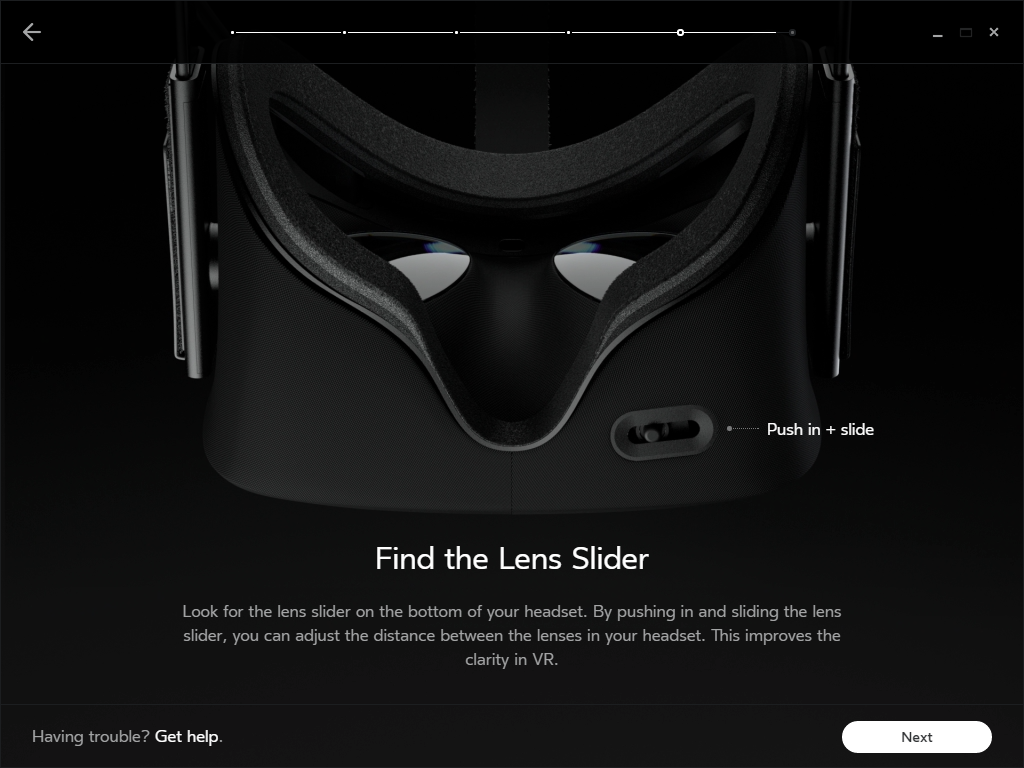
There's one last adjustment, though: configuring your IPD. On the bottom of the Rift, below the right lens, you'll find a dial for setting the right IPD for your face. The software has a simple calibration utility that helps you dial this in. You're asked to look at a green cross and make small tweaks until you see the sharpest possible image. You must press the slider dial in to release the lock before attempting to move it one way or the other.
At this point, the setup process is complete.
MORE: Best Graphics Cards
Current page: System Requirements & Setup Procedures
Prev Page What's In The Oculus Rift Box Next Page Health, Safety & MaintenanceKevin Carbotte is a contributing writer for Tom's Hardware who primarily covers VR and AR hardware. He has been writing for us for more than four years.
-
ingtar33 My main concern about the Rift isn't addressed in this article. And that's if it will become Orphanware. You see, there is a fraction of the gaming public who has a computer able to play games on a Rift, and an even smaller number of those people who will spend $600 to buy a Rift.Reply
This leaves the game manufacturers in a tough spot. They want to make and market games that will play on the most pcs possible. So my fear is that in 6-18mo we'll see the end of titles that will play on the rift, and nothing new in the pipeline as those titles will prove to be financial duds to the industry, thanks to the tiny install base.
And then the Rift will become Orphanware, a product without a market or market support. -
Realist9 I stopped reading in the "setup up the rift" when I saw:Reply
1. "you're asked to set up an account..."
2. "you're prompted to configure a payment method..."
What am I setting up an account for, why do I have to 'sign in', and what am I setting up a payment for?? -
kcarbotte Reply17729616 said:My main concern about the Rift isn't addressed in this article. And that's if it will become Orphanware. You see, there is a fraction of the gaming public who has a computer able to play games on a Rift, and an even smaller number of those people who will spend $600 to buy a Rift.
This leaves the game manufacturers in a tough spot. They want to make and market games that will play on the most pcs possible. So my fear is that in 6-18mo we'll see the end of titles that will play on the rift, and nothing new in the pipeline as those titles will prove to be financial duds to the industry, thanks to the tiny install base.
And then the Rift will become Orphanware, a product without a market or market support.
Time will be the ultimate test for the Rift, but I don't see that fate coming.
The companies working in the VR industry are incredibly excited about the prospect of this new medium. When the biggest companies in the world are pushing to bring something to market in the same way, it should be telling of the potential these companies see.
Facebook and Oculus have not been shy about saying that adoption will be slow. If developers haven't been paying attention to that, then they will surely fail. Most understand that the market will be small, but in the early days of VR the market share will be large, as most people buying in this early will have a hunger to try out as much of the content as possible.
I've also spoken with several VR developers in person about this issue. Most, if not all of them, are prepared for low volume sales. This is precicesly the reason why you won't see many AAA titles exclusively for VR for a while. The games will be shorter, and inexpensive to produce.
VR games are mostly being developed by indie shops that have little overhead, and few employees to pay. They are also mostly working for minimum wage, hoping to see bonuses at the end of the year from better than expected sales.
I don't think we have any chance of seeing the Rift, or the Vive, fall into the realm of abandonware. Tools are getting easier to use (VR editors), and cheaper to access (Unity, Unreal Engine, Cryengine are all free for individuals.) The resources for people to build for this medium are vast, and there's no better time to be an idie dev than now. VR is a new market, and anyone has as much chance as the next to make the next big killer app. It resets the industry and makes it easier to jump into.
VR will not be dominated by the likes of EA and Activision for some time now. It opens the door for anyone with a good idea to become the next powerhouse. That will be a very compelling prospect for many indipendant, and small development firms.
-
Clerk Max No mention of VR motion sickness or kinetosis in this conclusion ? This is a major showstopper, preventing more than a few minutes of immersion for most people.Reply -
kcarbotte Reply17729694 said:I stopped reading in the "setup up the rift" when I saw:
1. "you're asked to set up an account..."
2. "you're prompted to configure a payment method..."
What am I setting up an account for, why do I have to 'sign in', and what am I setting up a payment for??
If you kept reading you'd know the answer.
You are signing up for Oculus Home, the only way to access content for the Rift.
As soon as you put the headset on, the sensor inside it initializes Oculus Home. Without an account, you can't access any of the content. It's exactly like accessing content on Steam. You need to sign in.
That's the same reason you need a payment method. There's free games, so you can skip it, but you can't access any of the paid content without an Oculus Home account.
If SteamVR ends up supporting the final rift, then you may be able to play other games on it, but at this time, you need Oculus Home for everything on the Rift, including existing games like Project Cars. -
Joe Black I get the sense that it is where 3D gaming was right after Windows95 and directX launched.Reply
That's cool.Believe it or not you actually did need a relatively beefy PC for that back in the day. It was not for everybody yet. -
bobpies ReplyWhat am I setting up an account for,
to download and play the games
why do I have to 'sign in'
to access your games
and what am I setting up a payment for??
to buy the games. -
kcarbotte Reply17729767 said:No mention of VR motion sickness or kinetosis in this conclusion ? This is a major showstopper, preventing more than a few minutes of immersion for most people.
Read page 8 if you want to know about my motion sickness experience. Only two games gave me any kind of trouble, and both of them were caused by first person experiences. Its well established that moving around in first person is not comfortable for many people. The motion messes with your brain because you aren't actually physically moving. actually sitting, while your character moves around isn't comfortable at all for me. Some people don't have trouble, but the comfort levels are there for a reason. Both of those games are listed as intense experiences, so even Oculus acknowleges that that some folks will get sick.
All of the 3rd person games that I tried, and the games with cockpits (Radial G, Project Cars, Eve: Valkyrie) are all very comfortable.
We'll talk more about motion sickness and effects of being in VR for extended periods over the coming weeks. So far, with the limited time we've had with it, I've only used it for less than 10 hours total. There's plenty of games that we've not even fired up yet, so a full discussion about getting motion sickness seesm premature.
-
kcarbotte Reply17729831 said:I get the sense that it is where 3D gaming was right after Windows95 and directX launched.
That's cool.Believe it or not you actually did need a relatively beefy PC for that back in the day. It was not for everybody yet.
That's a good comparison.
I like to use the first Atari console as a comparison. This is the dawn of a new medium that people don't yet understand. It will be expensive, and not for everyone in the early days, but look at where video games are today. If everyone had the same opinion about Atari back then, as many people seem to feel about VR, the entire video game industry wouldn't have existed as we see it today.
VR will be similar. It will take a long time to get mass adoption, and the road there will have plenty of changes and advancements, but it's definitely going to happen. VR is far too compelling and has far too much potential for it not to. -
Realist9 The 'conclusion' page is really spot on. Specifically, the parts about AAA titles and casual audience.Reply
So, does the release version of the Rift still require graphics settings in Project Cars to be turned down with pop in and jaggies? (read this in a Anand article from 16 Mar).
