Take The Train: Lian Li PC-CK101, Built, Tested, And...Driven?
Lian Li sent us a locomotive chassis that wraps around a PC; it's time for daddy to turn into a boy again. We'll show you how to get the right parts into this case and how to get it mobile. Then, we'll take it to a train museum full of steam-powered tech.
Get Tom's Hardware's best news and in-depth reviews, straight to your inbox.
You are now subscribed
Your newsletter sign-up was successful
Installing The Propulsion Module
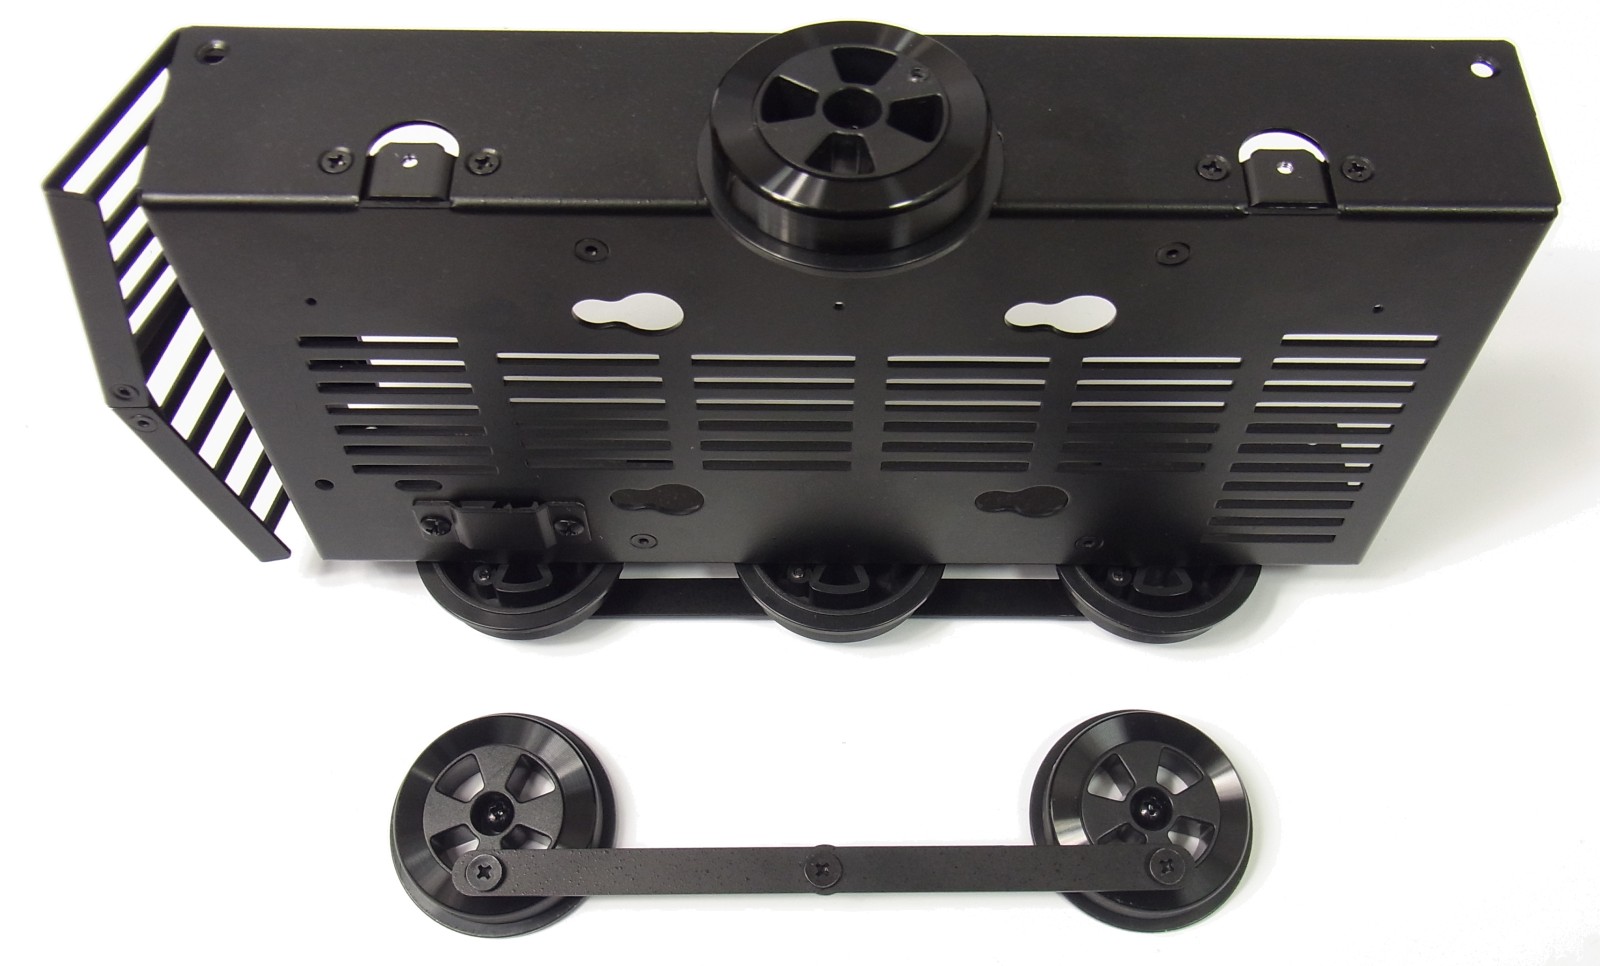
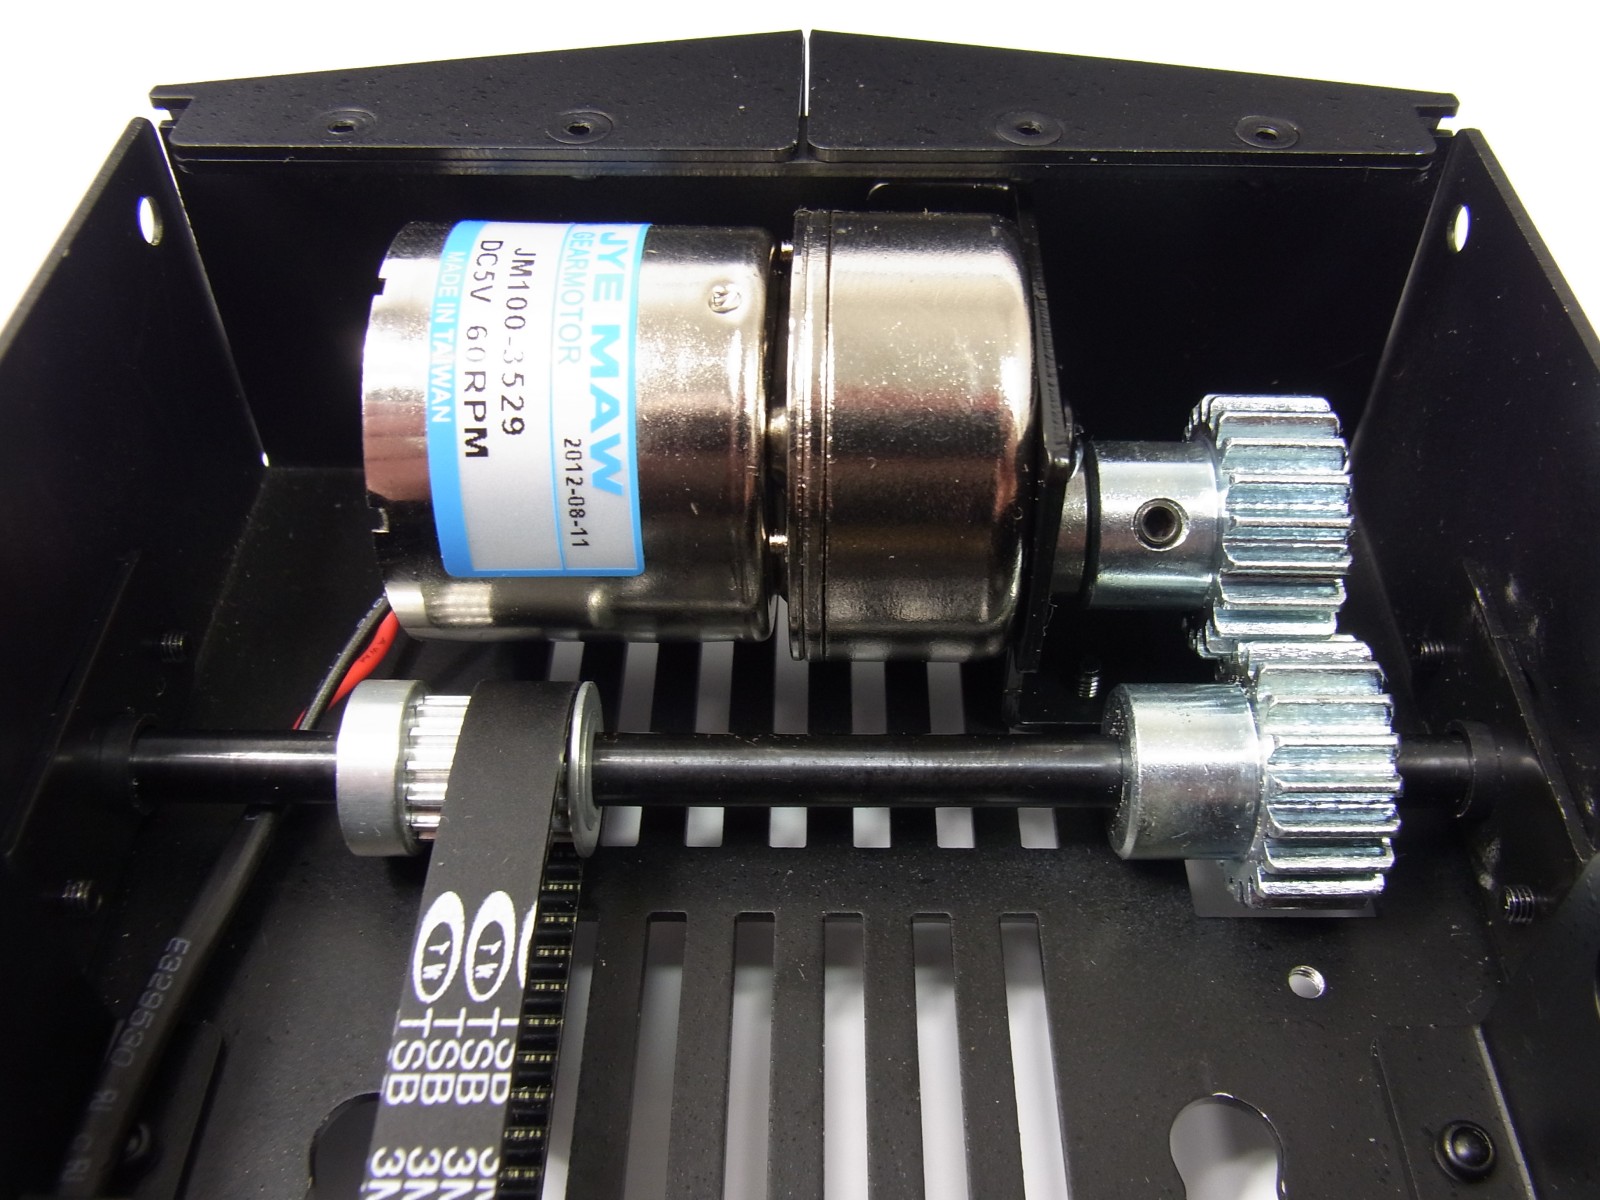
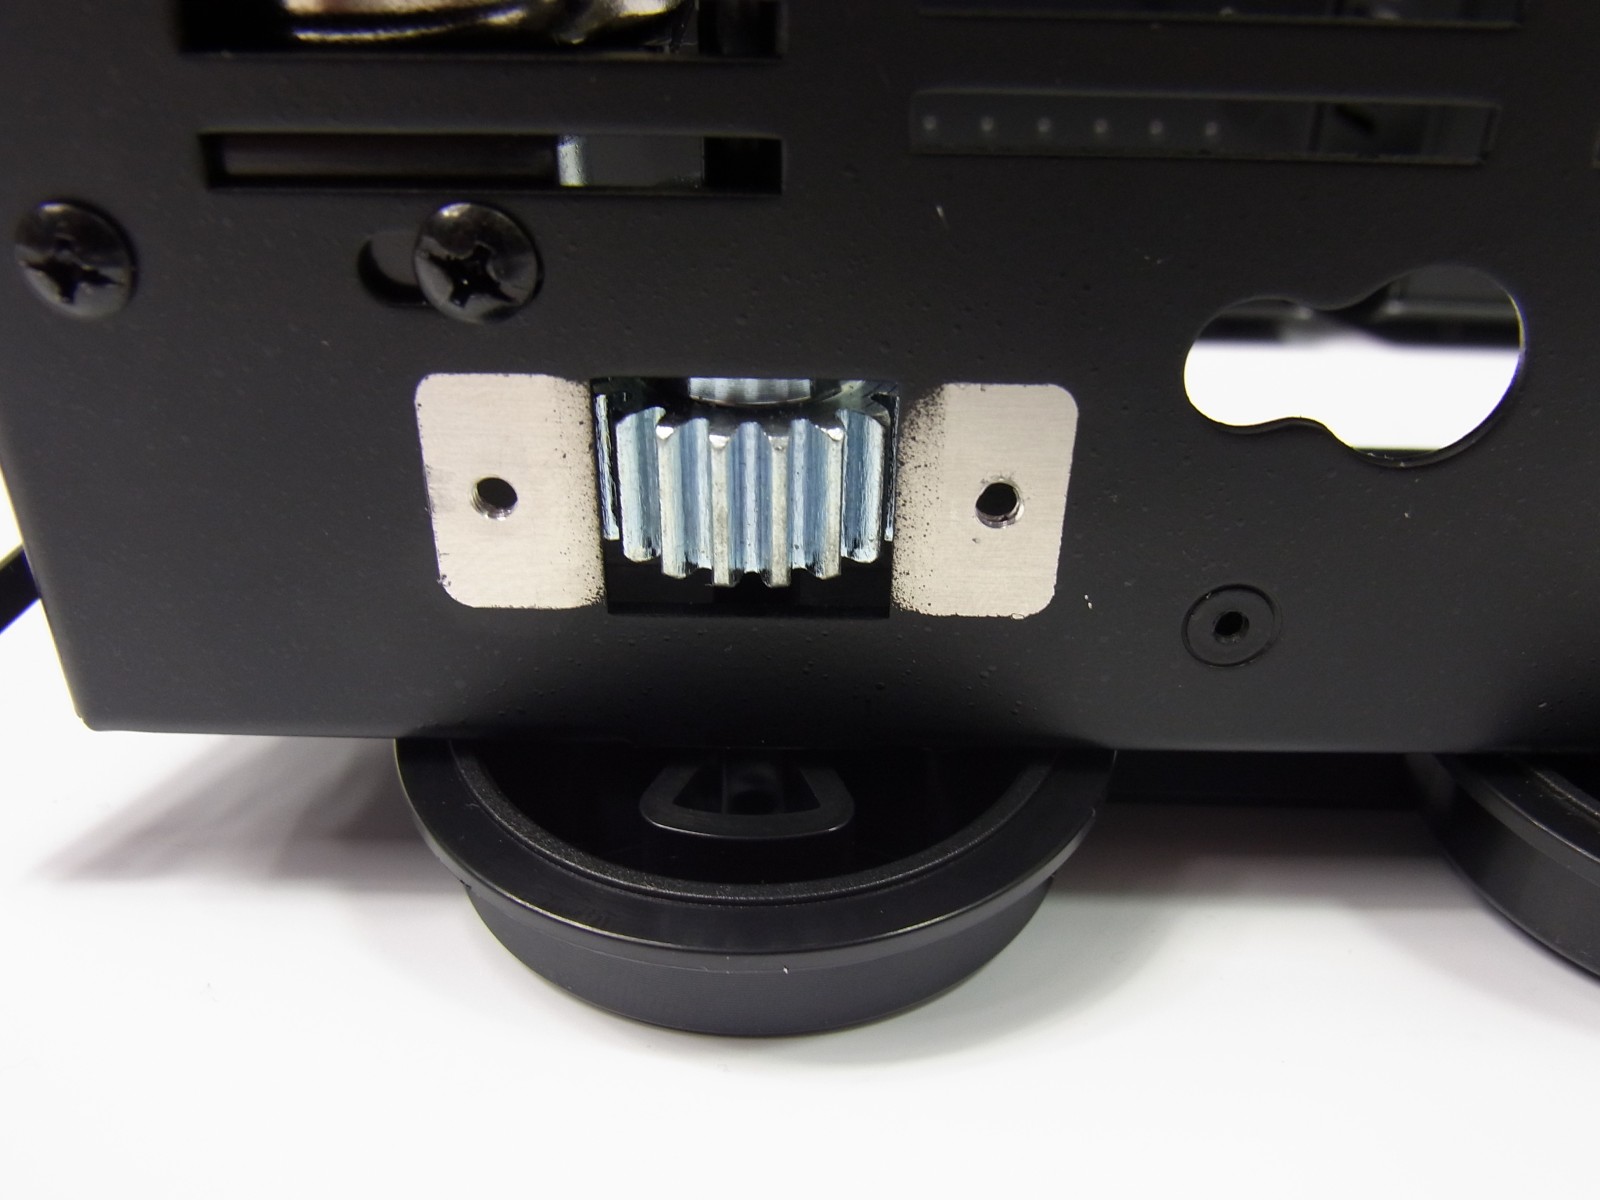
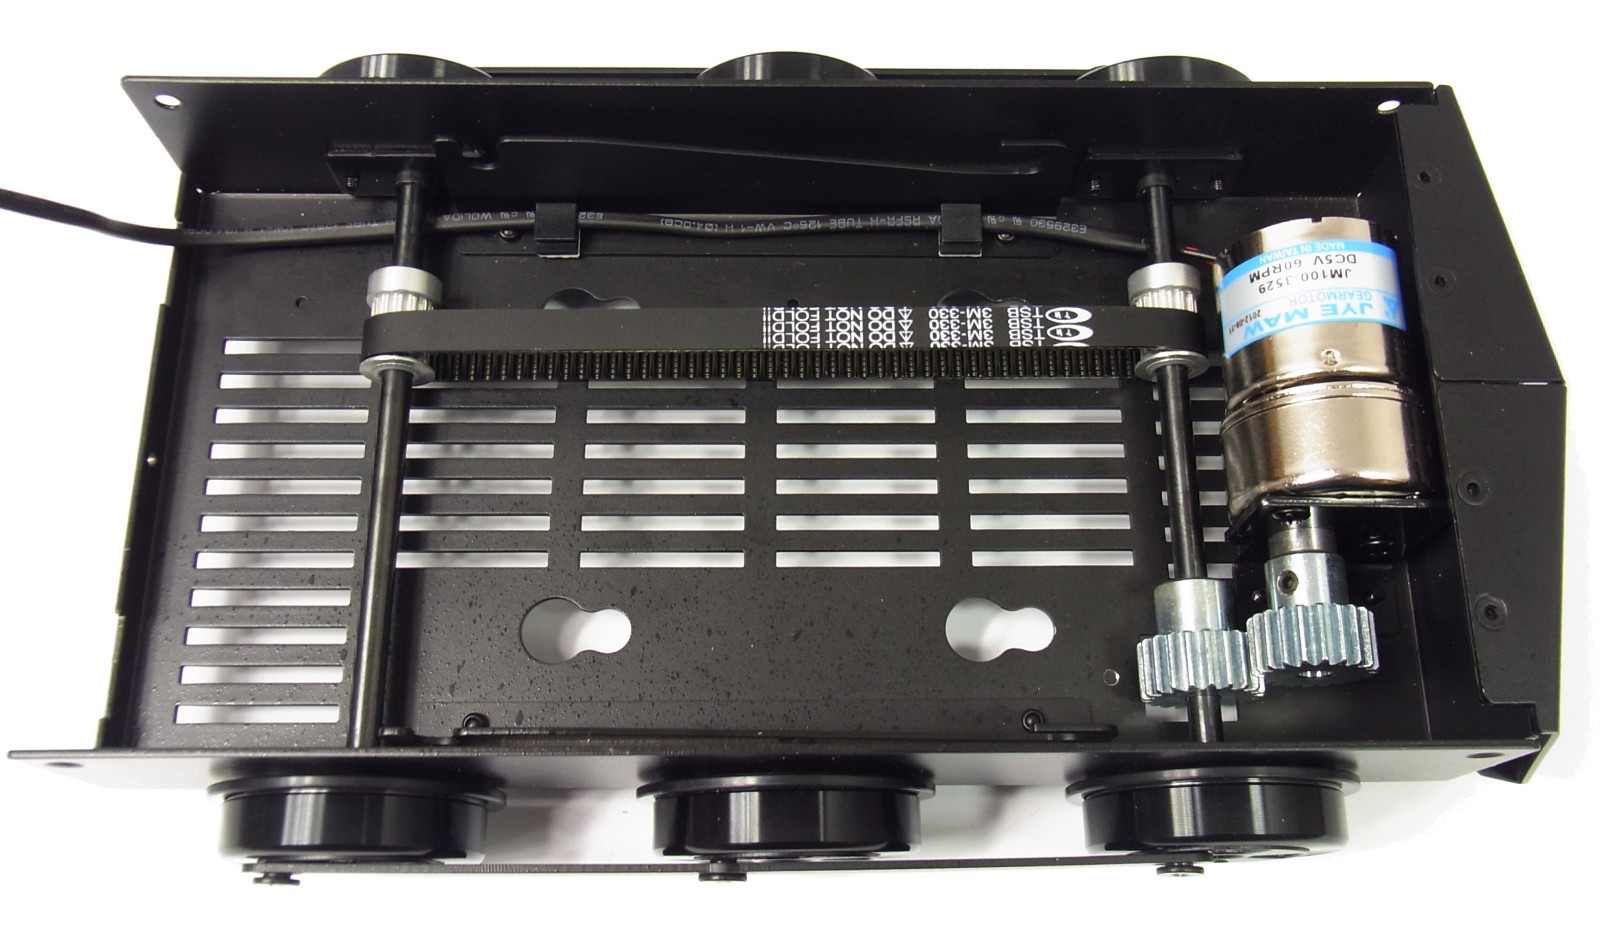
First things first; the wheels have to come off in order to get two axles installed. The motor drives the front axle via gears and the rear axle by means of a belt. A shortcut, powering only the front axle, would have let us keep the SSD in the locomotive's body, but it proved ineffective because the front wheels just can't move the train on their own. Moreover, with the front axle not under tension, it simply rattles around too much.
So, this needs to be done by the book. Shortcuts don't work. And with the SSD permanently moved, we're ready to continue.
When I tried to remove the screwed-on cover plate, I discovered that it had been assembled prior to Lian Li's powder coating process. Thus, paint held the piece in place. It finally came off with enough force, though the finish ended up a little marred. Luckily, that's the bottom of the locomotive. Even still, though, I don’t think the cover plate removal procedure was well thought-out by Lian Li.
Anyone who has ever played with Legos or Erector Sets as a kid should have no trouble mounting the axles. However, I recommend slipping the belt off of the gears to relieve tension. Screwing the bearings into place otherwise would be a challenge.
The motor’s electrical cable should be mounted to the case bottom by means of supplied cable clips. The double-sided adhesive tape on the clips is good enough to hold the clips and the light cable in place. Finally, the wheels are attached to the new axles.
Get Tom's Hardware's best news and in-depth reviews, straight to your inbox.
Current page: Installing The Propulsion Module
Prev Page Unboxing And Initial Thoughts Next Page The Motor's Power Supply And Switch
Igor Wallossek wrote a wide variety of hardware articles for Tom's Hardware, with a strong focus on technical analysis and in-depth reviews. His contributions have spanned a broad spectrum of PC components, including GPUs, CPUs, workstations, and PC builds. His insightful articles provide readers with detailed knowledge to make informed decisions in the ever-evolving tech landscape
-
bit_user Not the first time I've seen it, but I still think this case is just an exercise in sheer ridiculousness.Reply
But since the PC era is coming to an end, who can blame Lian Li for having a little fun while they still can?
-
edogawa This thing is so awesome...if it wasn't for the noise I would get one...I love trains...Reply -
bambiboom Just brilliant. Finally, a computer case with a bit of style suitable for grownups.Reply
Taking the mobile computing theme further, and addressing the limitations on computing power, if you had a Dell Precision M6600 or 6700 laptop with a broken screen, how about mounting the components, motherboard , PSU, batteries, drives, Wifi and all? Then, there could be an i7 CPU and a Quadro 4000M, all very quiet and still getting more air than it's used to. And, appropriately, no power cord!
The idea of a serious, self- propelled workstation steam train model seems the best use possible of this fantastic enclosure idea. That the computer is itself the game is on the borderline of being art.
And congratulations to Igor Wallossek for an excellent description of something so wonderfully out of the ordinary. -
shikamaru31789 I remember when I first saw this on Newegg. I thought I'd lost my mind for a moment. It's definitely a unique case.Reply -
ojas Tom's Hardware's German team has a lot of fun, i can see :DReply
Really enjoyable read, Igor! Also got to know about that Gigabyte wireless streamer, should prove useful!
Nice house btw :)


