Take The Train: Lian Li PC-CK101, Built, Tested, And...Driven?
Lian Li sent us a locomotive chassis that wraps around a PC; it's time for daddy to turn into a boy again. We'll show you how to get the right parts into this case and how to get it mobile. Then, we'll take it to a train museum full of steam-powered tech.
Get Tom's Hardware's best news and in-depth reviews, straight to your inbox.
You are now subscribed
Your newsletter sign-up was successful
You'll Never Guess Where They Put The Optical Drive
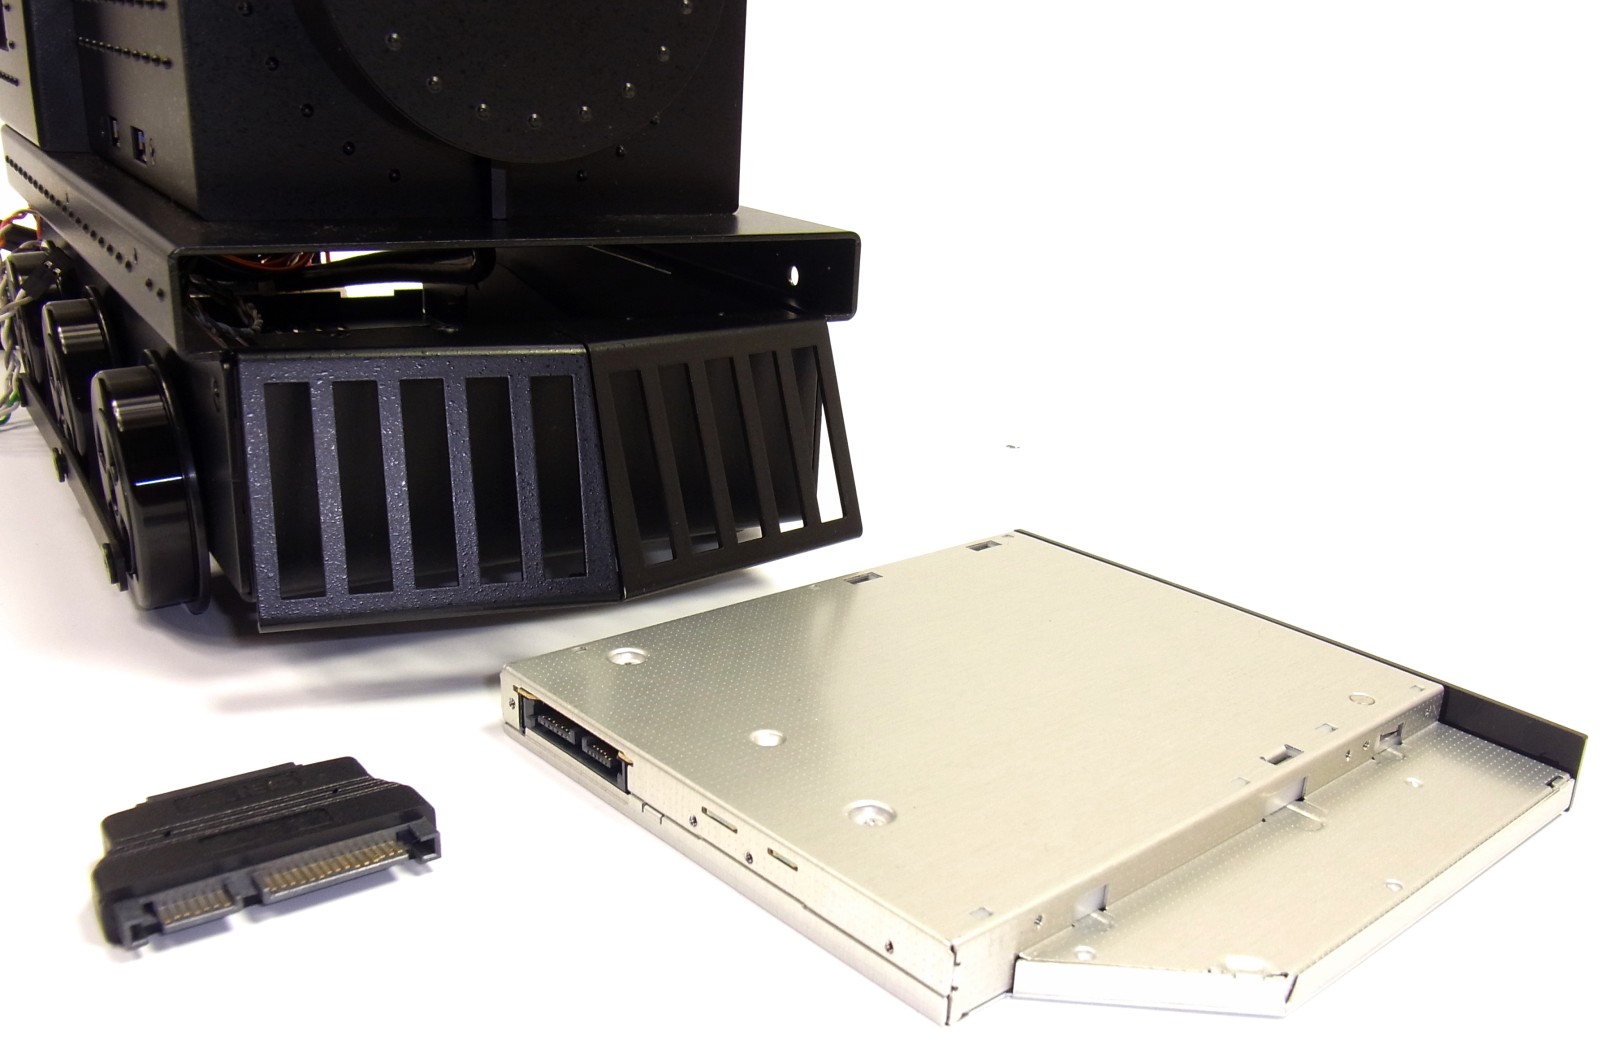
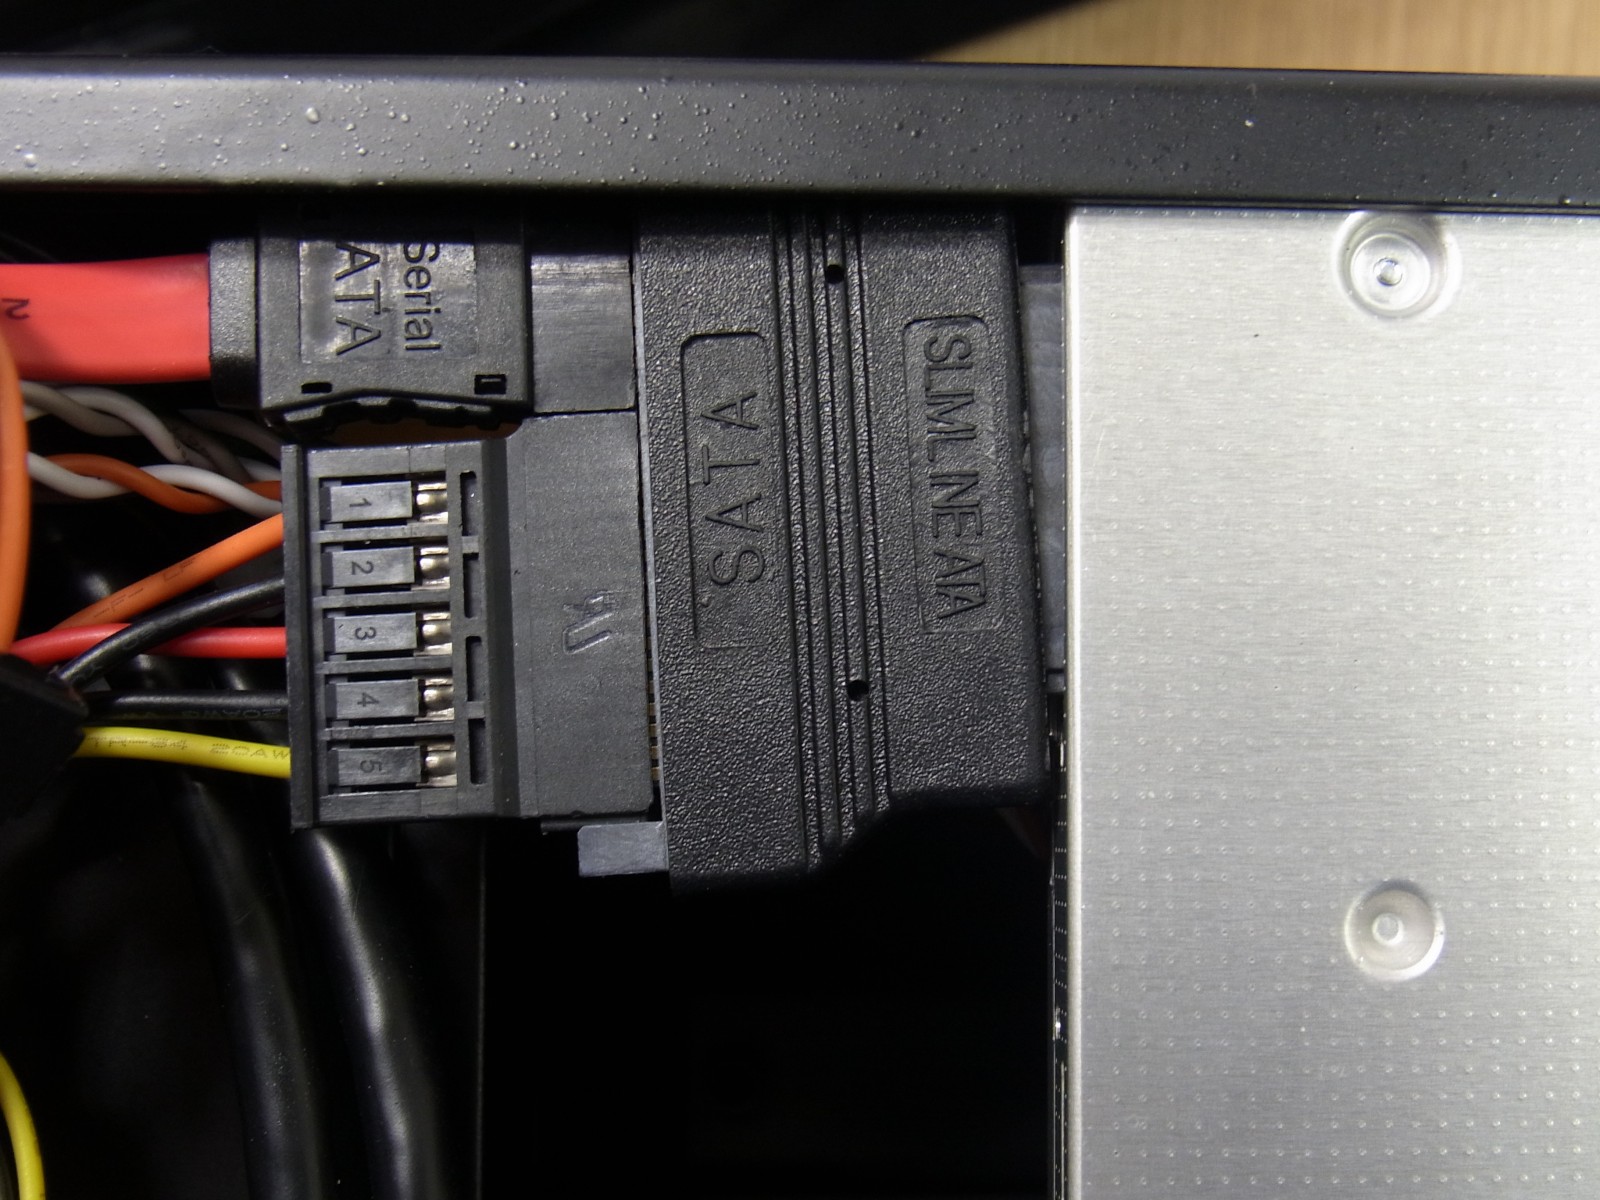
Given the unconventional shape of this case, it isn’t surprising that there's only room for a slim optical drive. That's certainly not something we can hold against Lian Li. However, most slim drives employ a mini-SATA power connector, and FSP's unit doesn't have one. Thus, right out of the gate, you're forced to buy an adapter for a few bucks. The expenditure isn't major. But using an adapter may create a problem; in our case, we needed to work around it.
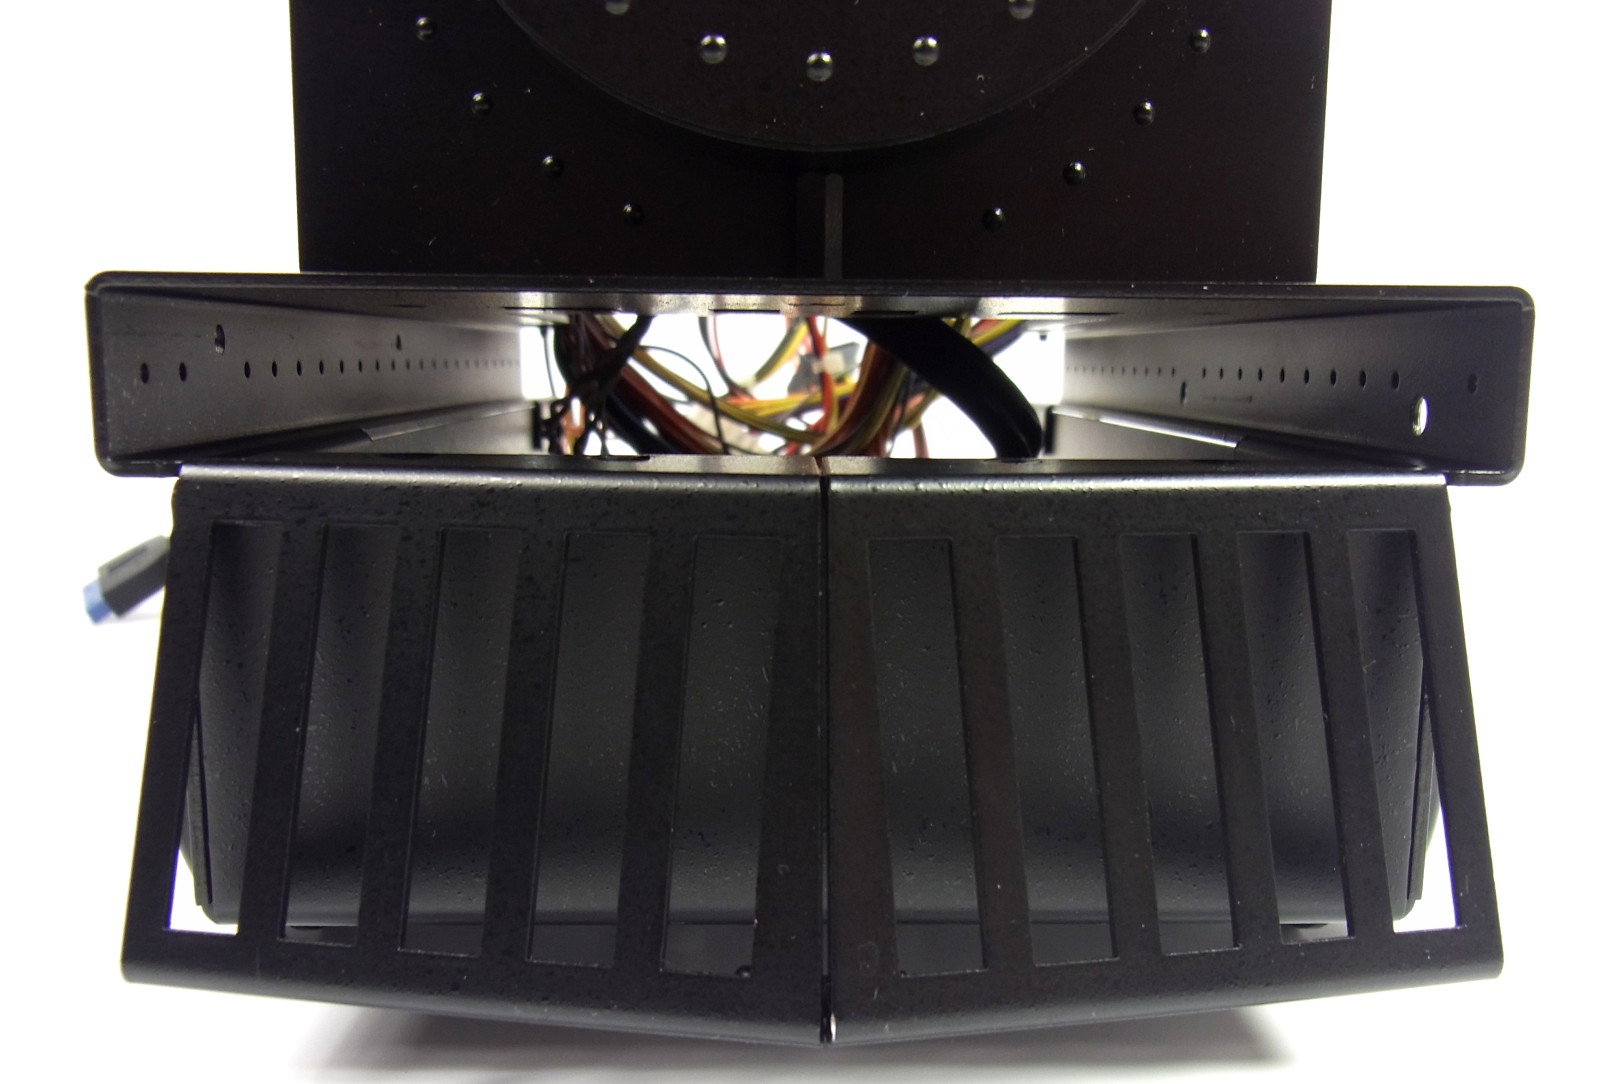
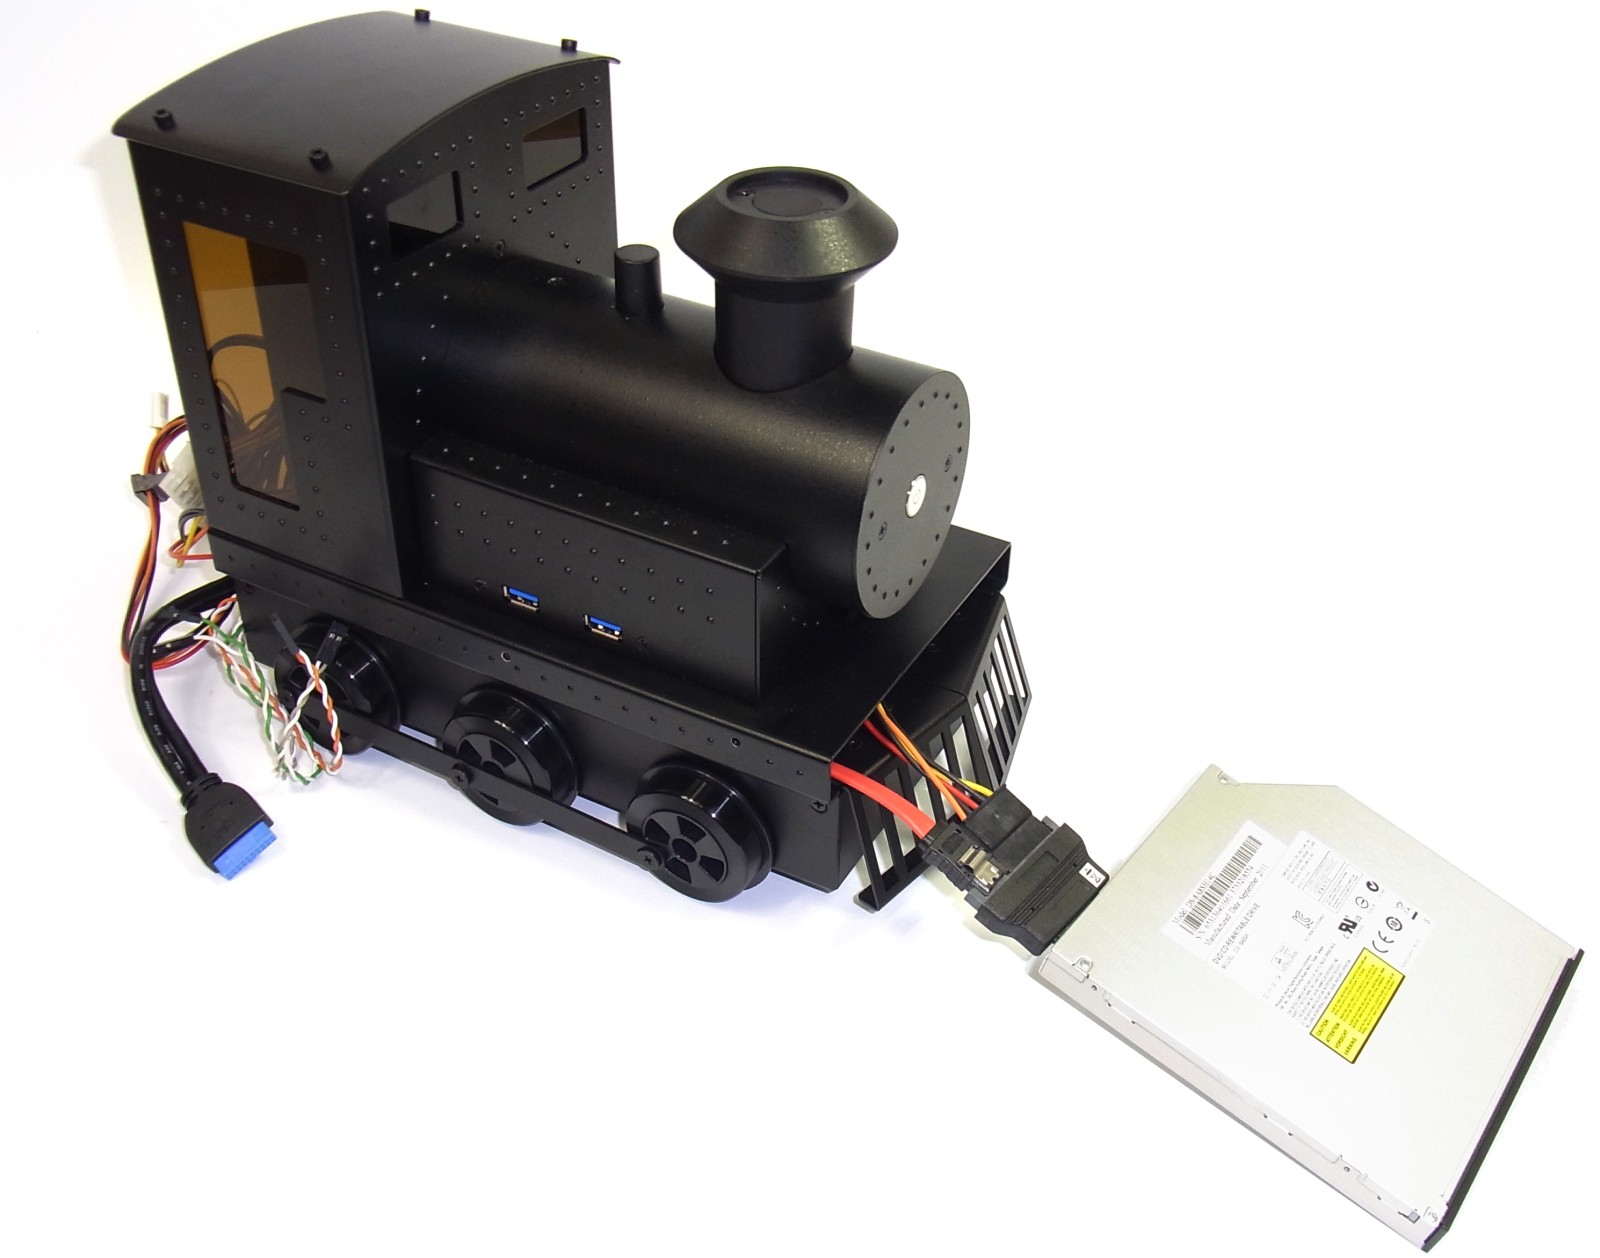
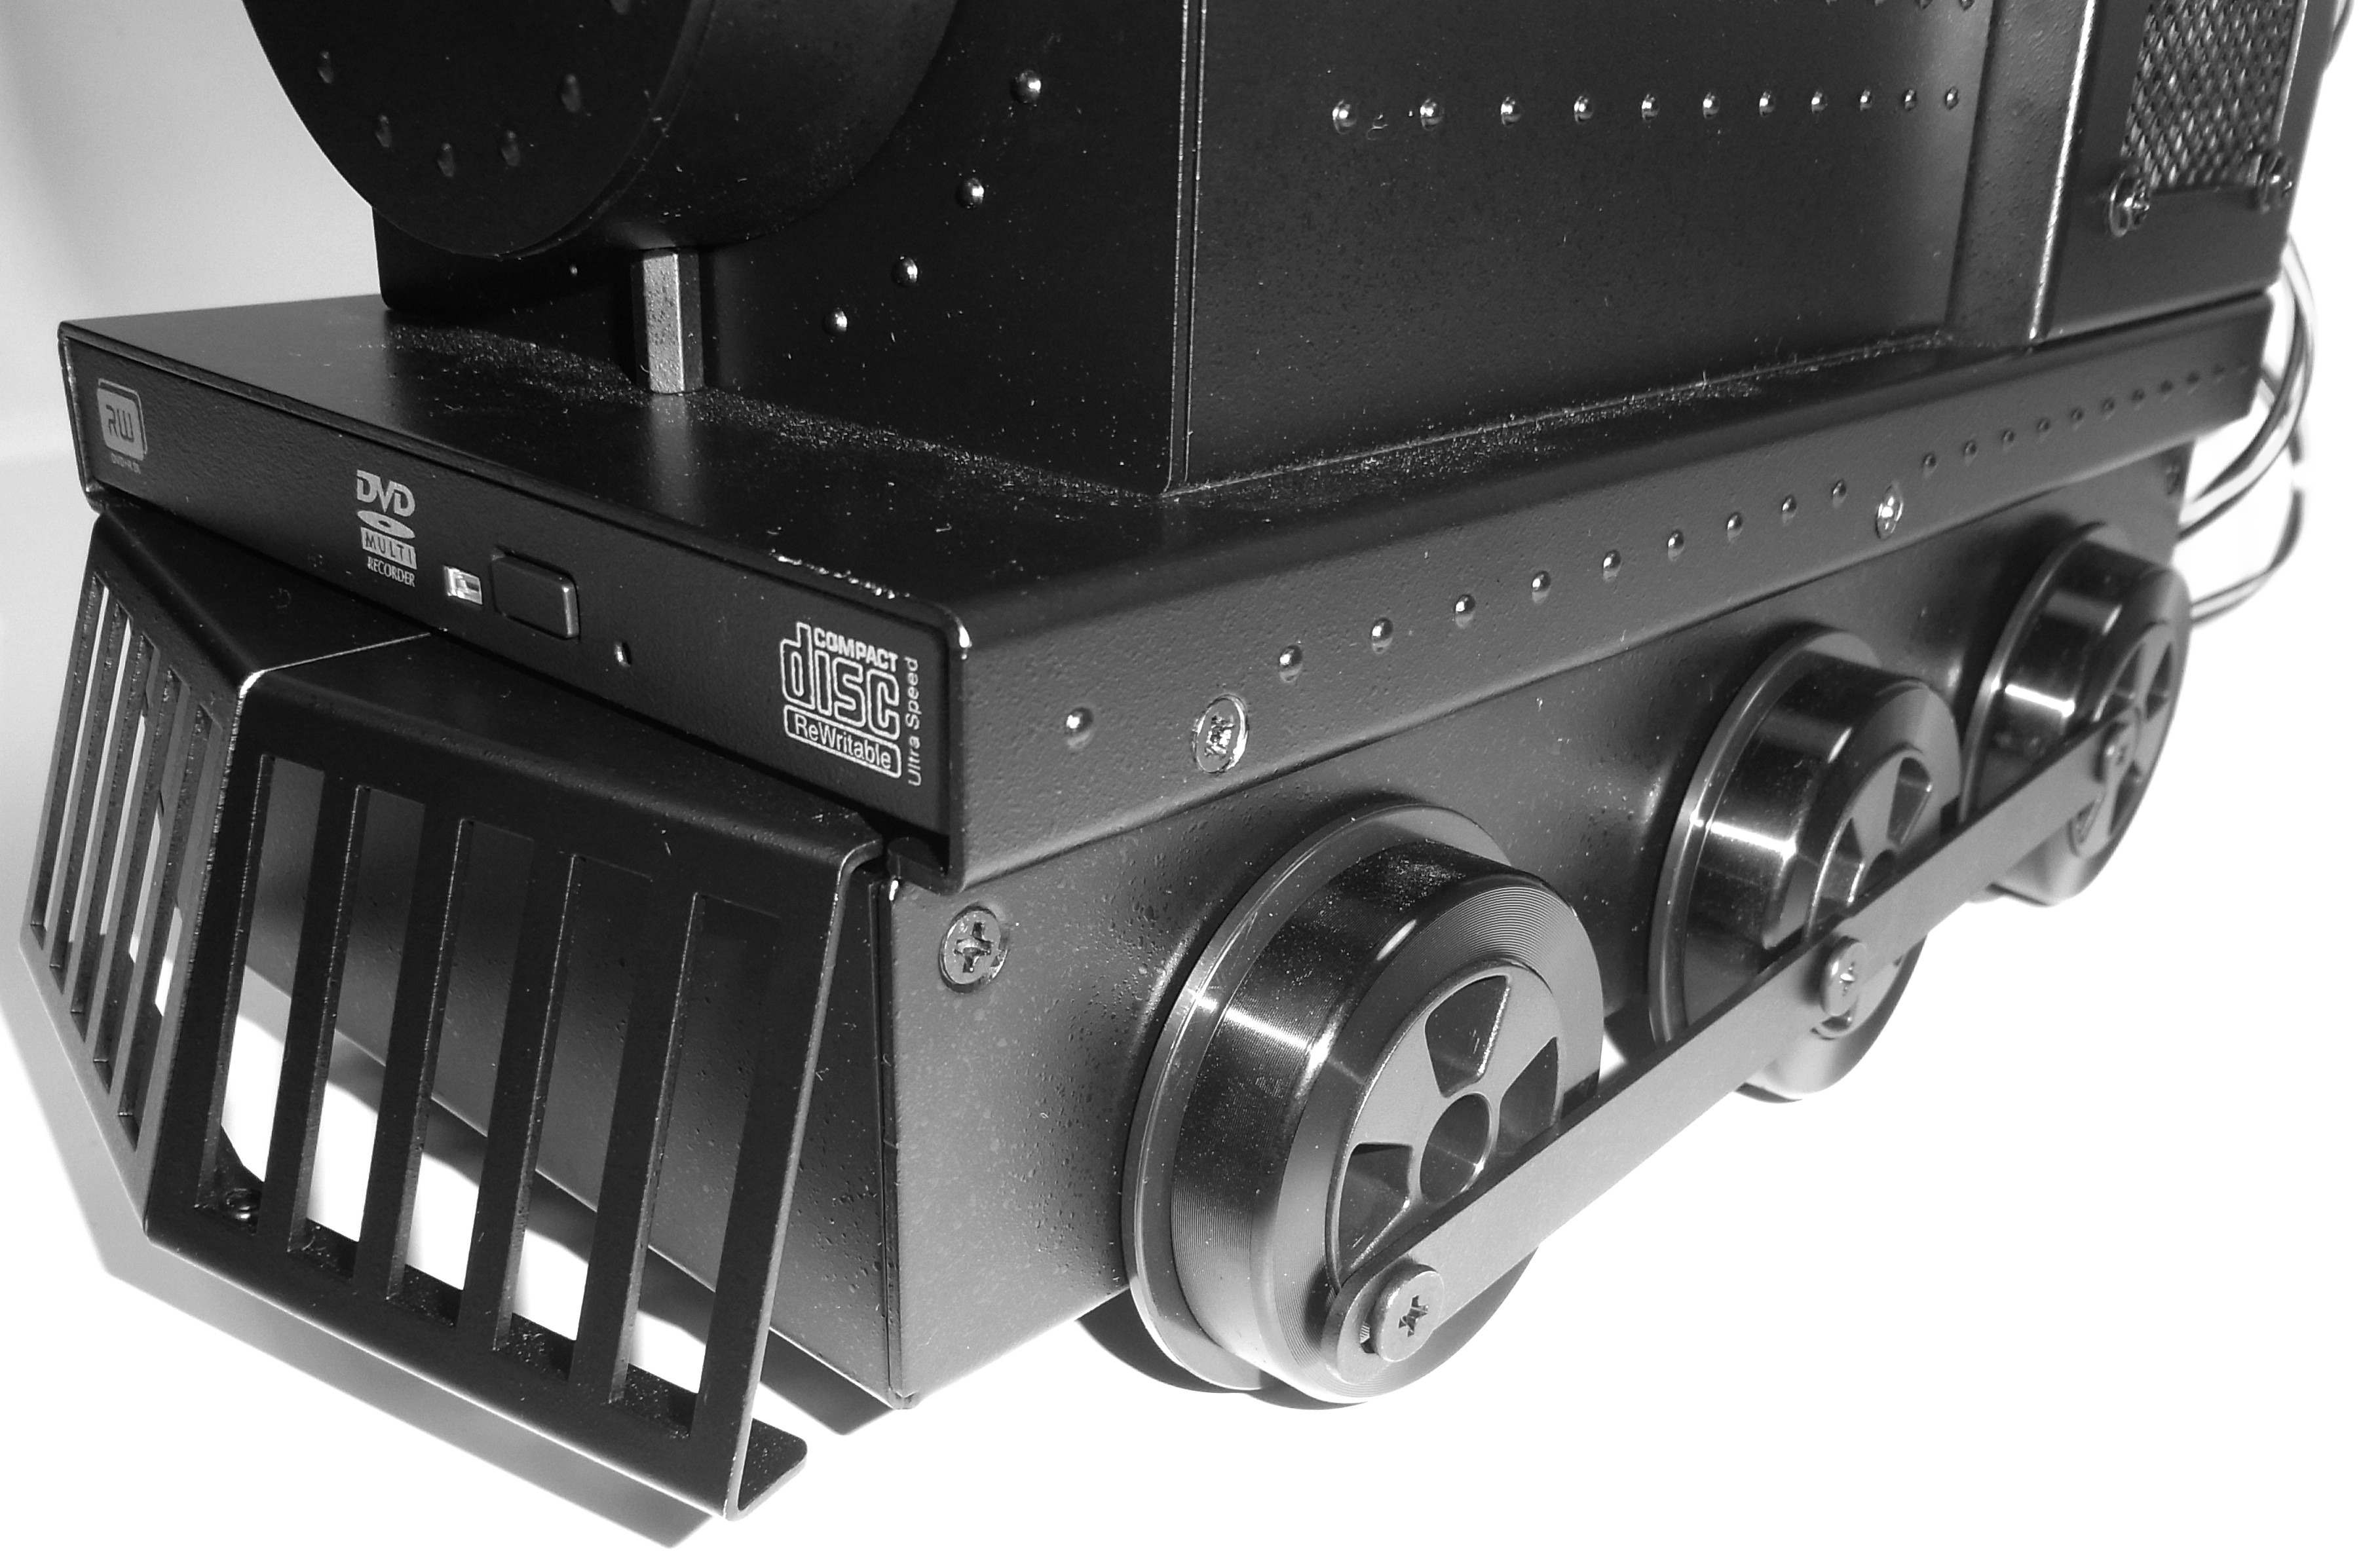
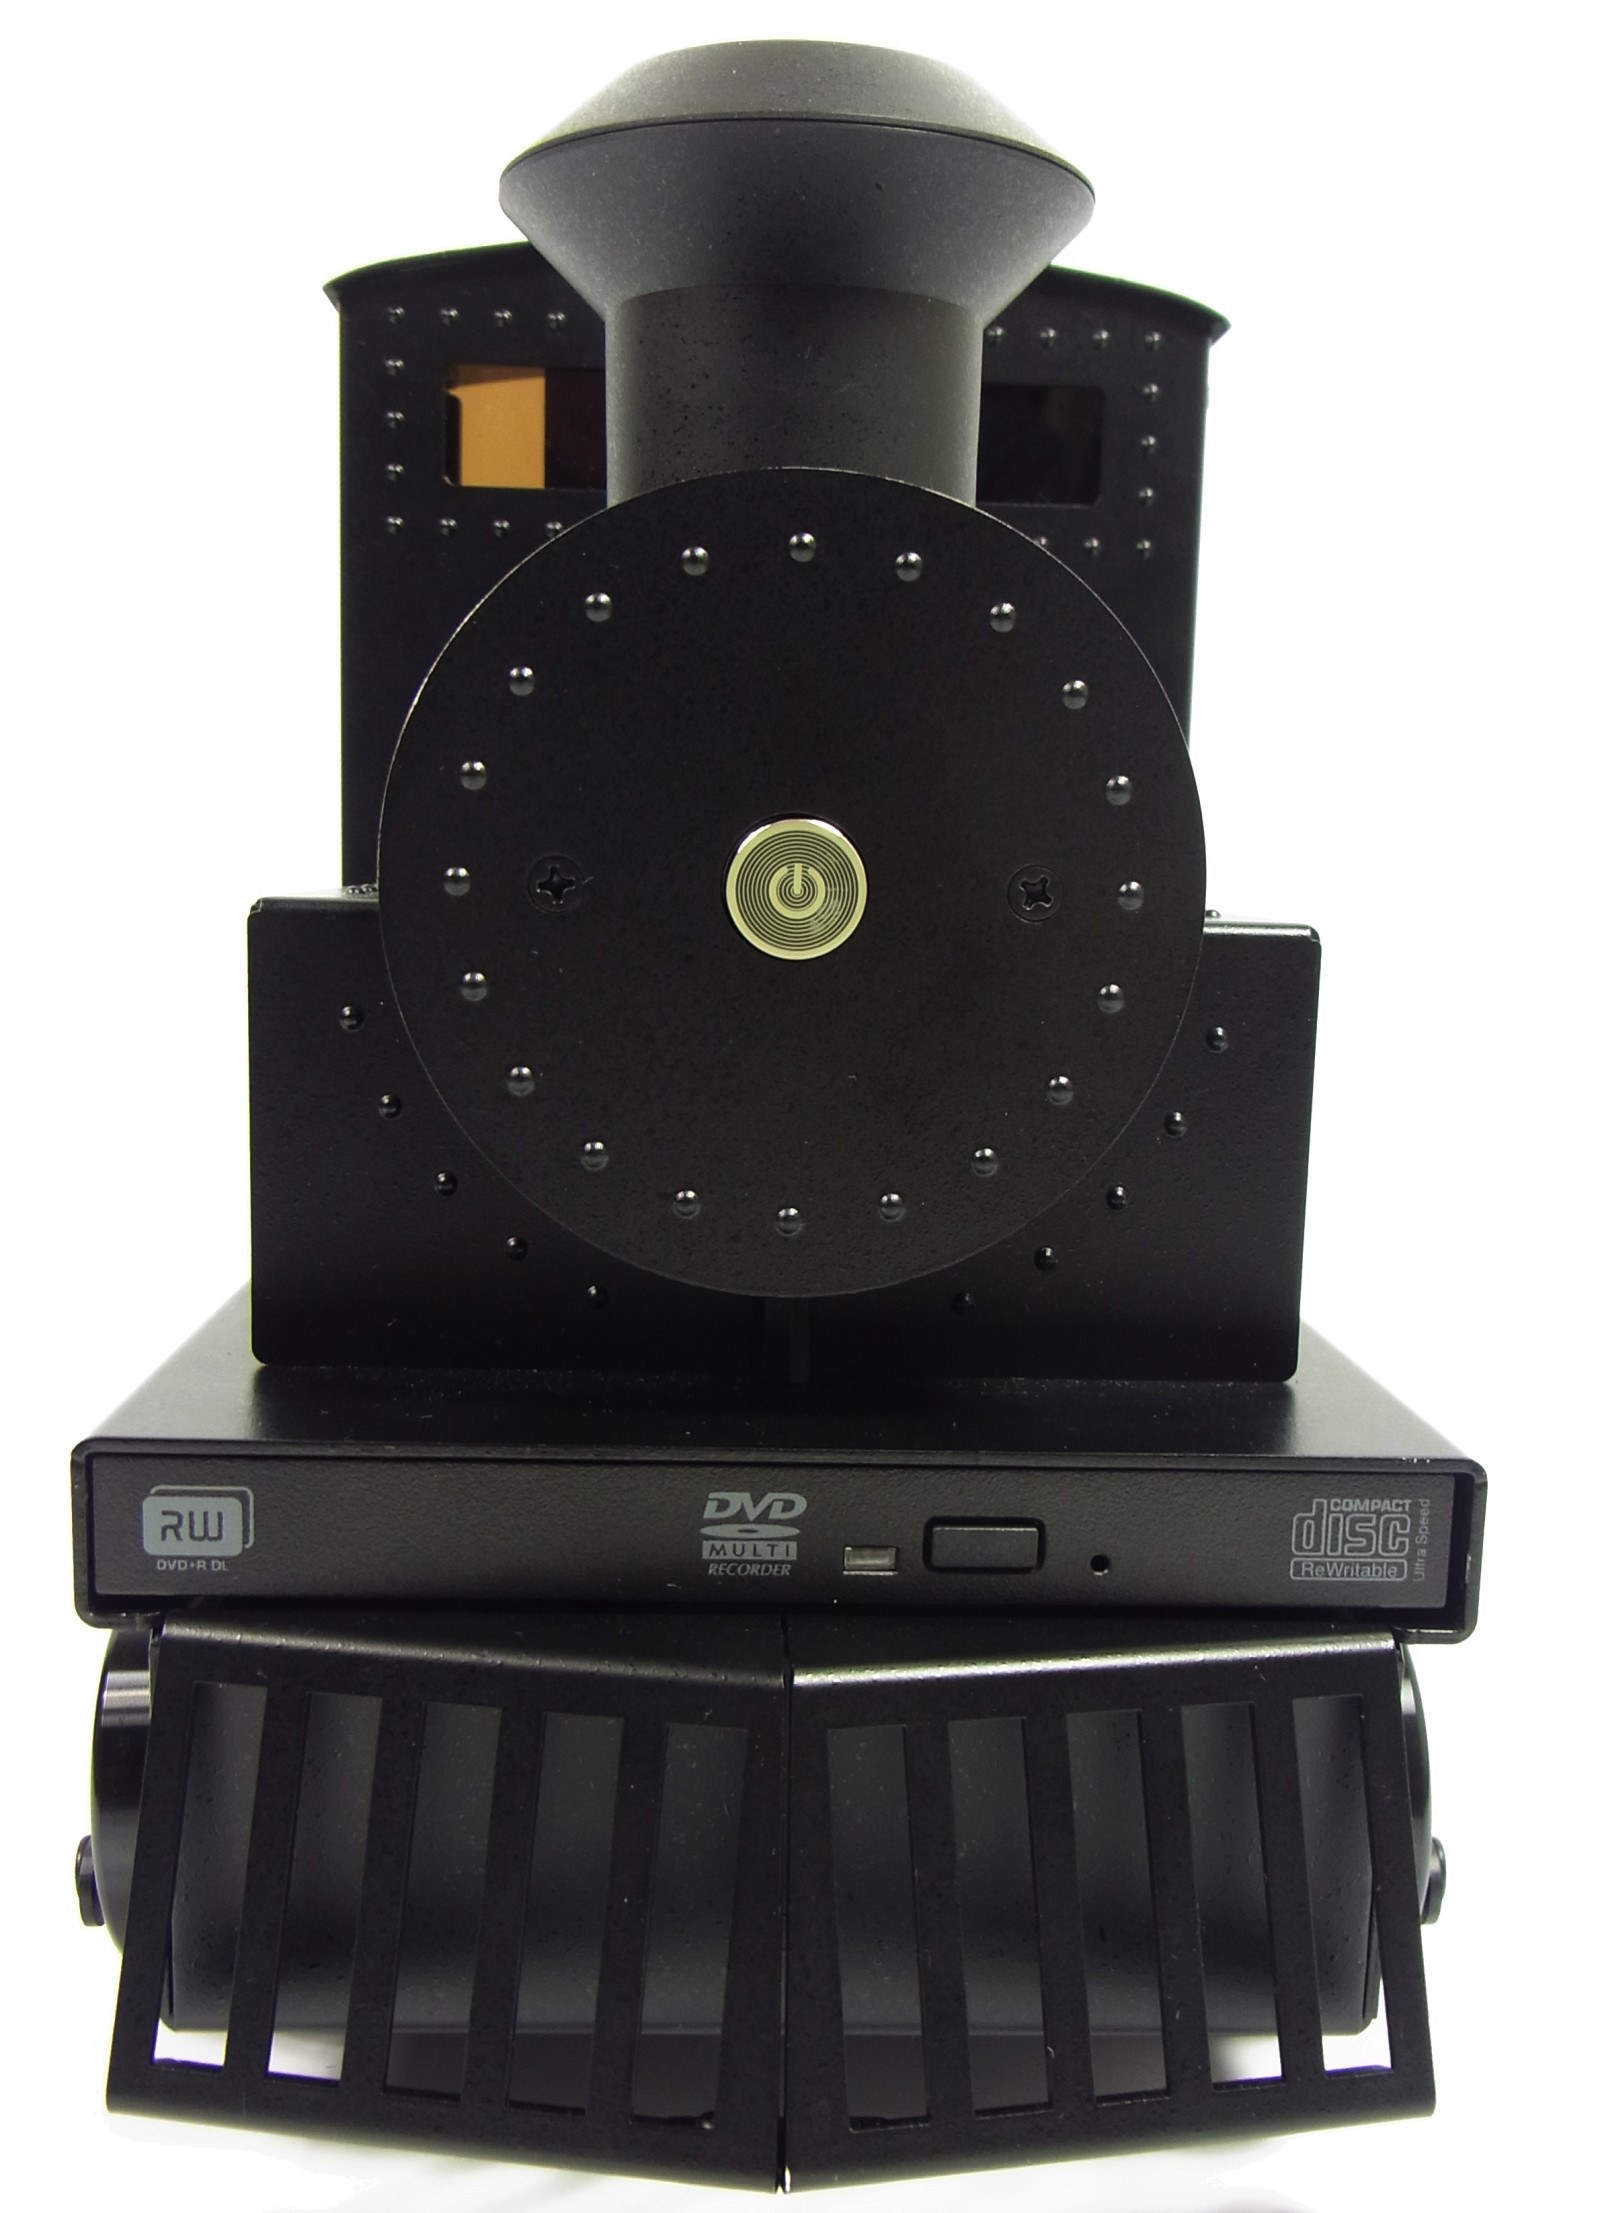
Lian Li's installation guide recommends installing the optical drive from the front, after first removing the bay cover. Any slim disc drive should fit through the opening.
Getting the power and data cables to the front of the engine to hook them up is a minor hurdle. But if you use a SATA-to-mini-SATA adapter, make sure that it doesn’t come loose as you ease the drive back into the vacant bay.
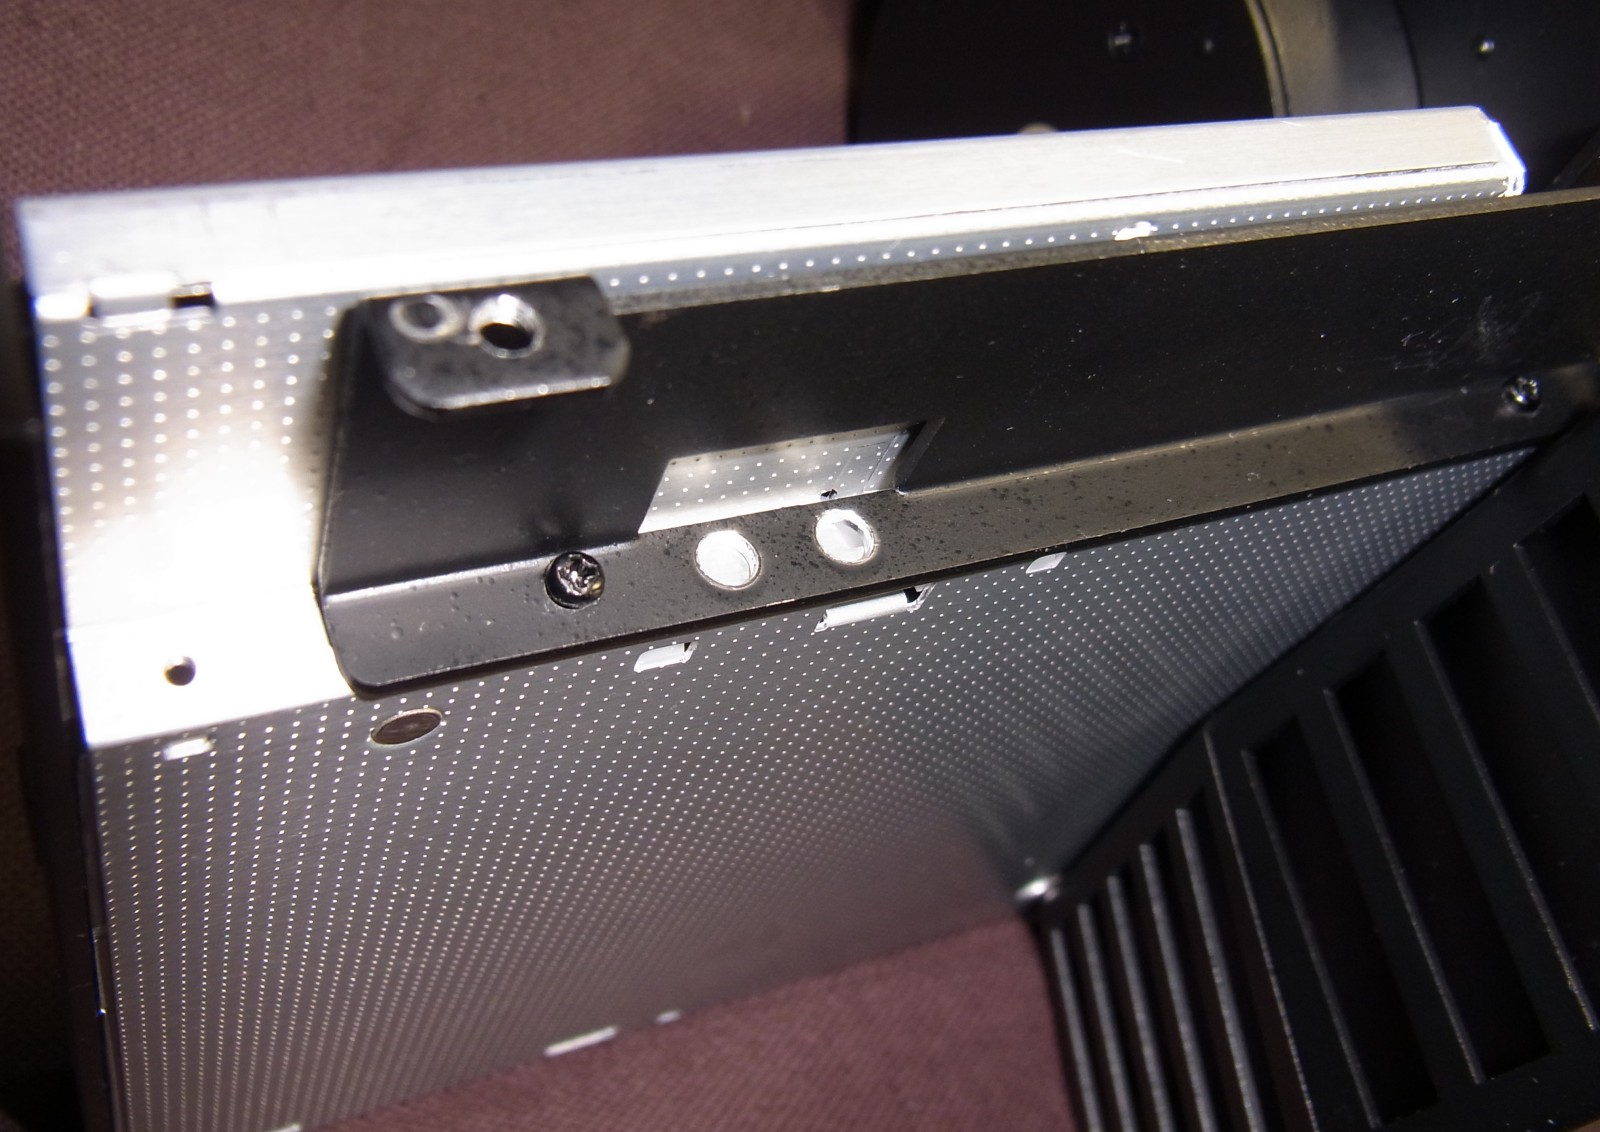
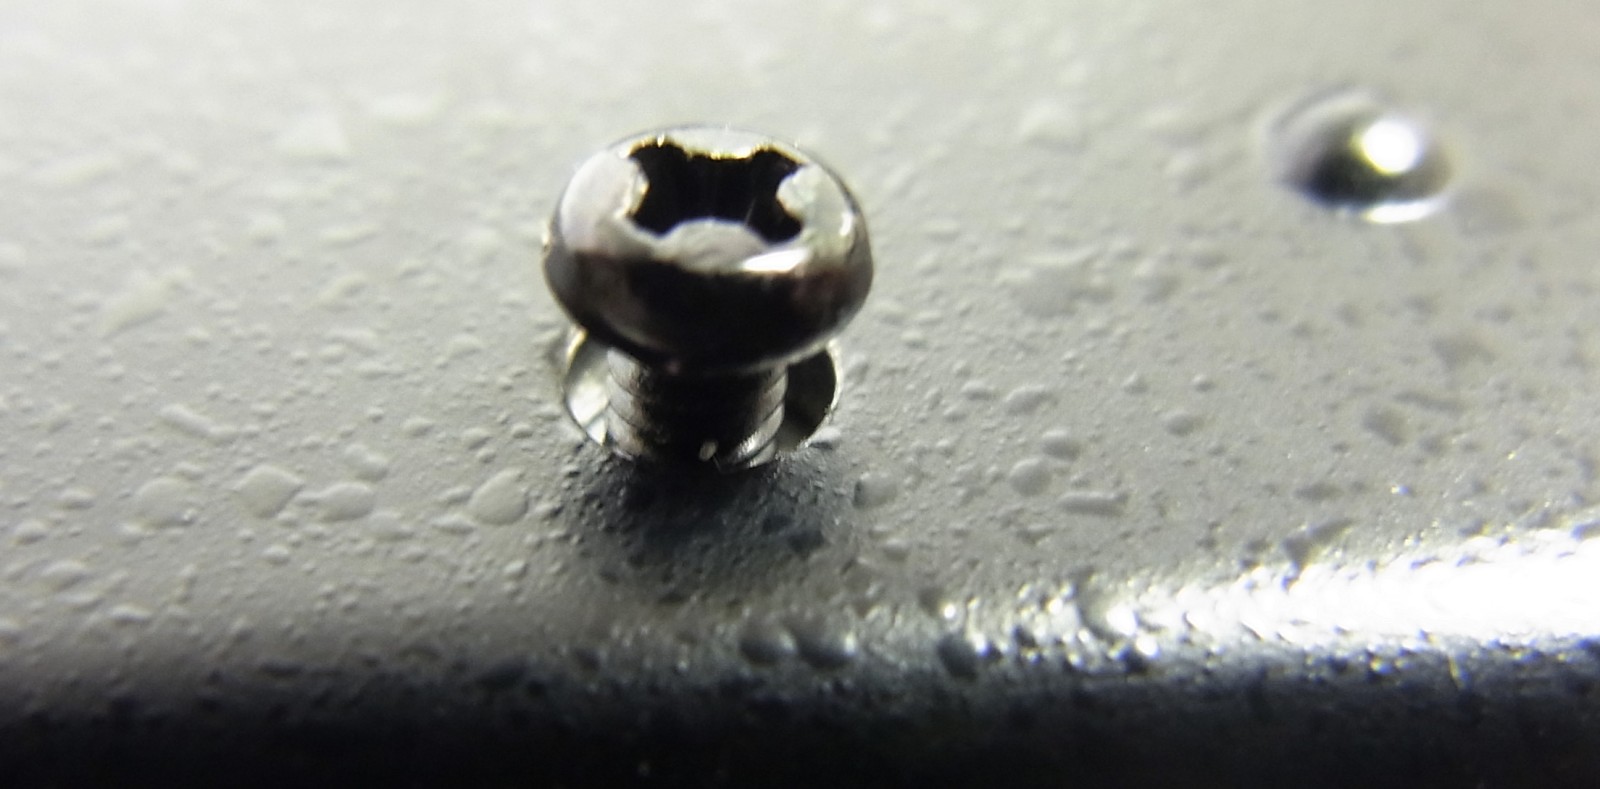
In principle, this is fairly easy, though not completely foolproof. The optical drive mounting bracket held the bay cover in place, and it needs to be unscrewed first. The screws are too long for a typical optical drive though, and should either be replaced by shorter ones or used, but not screwed all of the way in. Otherwise, they can block the drive's tray or damage the drive itself.
Case in point, I wound up locking the drive tray by tightening the screws too hard. Luckily, I didn't harm the drive. With the screws only halfway in, however, there is some audible vibration as discs spin up. I wound up stabilizing the whole assembly with Super Glue.
With this advice in mind, mounting the drive becomes much easier to do correctly. On one side, two tiny pan head screws are used, while on the other side, two flat screws hold the drive in place.
The assembly guide makes no mention of this, but the bottom of the locomotive can be taken off completely after removing only four screws. Although I followed Lian Li's instructions to the letter, I think that dropping that bottom panel is the best way to get access to the optical drive.
Get Tom's Hardware's best news and in-depth reviews, straight to your inbox.
Adapting the Adapter
Let’s revisit the SATA-to-mini-SATA adapter. Depending on make and model, it may not be a perfect fit. Keep an eye out for a narrow adapter. Your other option is to file/grind one side of a wider adapter to make it fit. I used a Dremel tool for this.
Current page: You'll Never Guess Where They Put The Optical Drive
Prev Page Power Supply And Wiring Next Page Mounting Our SSD
Igor Wallossek wrote a wide variety of hardware articles for Tom's Hardware, with a strong focus on technical analysis and in-depth reviews. His contributions have spanned a broad spectrum of PC components, including GPUs, CPUs, workstations, and PC builds. His insightful articles provide readers with detailed knowledge to make informed decisions in the ever-evolving tech landscape
-
bit_user Not the first time I've seen it, but I still think this case is just an exercise in sheer ridiculousness.Reply
But since the PC era is coming to an end, who can blame Lian Li for having a little fun while they still can?
-
edogawa This thing is so awesome...if it wasn't for the noise I would get one...I love trains...Reply -
bambiboom Just brilliant. Finally, a computer case with a bit of style suitable for grownups.Reply
Taking the mobile computing theme further, and addressing the limitations on computing power, if you had a Dell Precision M6600 or 6700 laptop with a broken screen, how about mounting the components, motherboard , PSU, batteries, drives, Wifi and all? Then, there could be an i7 CPU and a Quadro 4000M, all very quiet and still getting more air than it's used to. And, appropriately, no power cord!
The idea of a serious, self- propelled workstation steam train model seems the best use possible of this fantastic enclosure idea. That the computer is itself the game is on the borderline of being art.
And congratulations to Igor Wallossek for an excellent description of something so wonderfully out of the ordinary. -
shikamaru31789 I remember when I first saw this on Newegg. I thought I'd lost my mind for a moment. It's definitely a unique case.Reply -
ojas Tom's Hardware's German team has a lot of fun, i can see :DReply
Really enjoyable read, Igor! Also got to know about that Gigabyte wireless streamer, should prove useful!
Nice house btw :)
