AMD RX Vega 64: The Tom's Hardware Liquid Cooled Edition
We know that AMD’s Radeon RX Vega 64 runs hot. There’s no headroom for overclocking and it’s noisy to boot. But can switching to a liquid cooler change the story? And if so, is the payoff worth the cost?
Introduction & Test System
Believe it or not, all-in-one liquid coolers can keep more than 400W of waste heat in check, so long as you have the right radiator. How do you generate that much heat in the first place? Buy a Radeon RX Vega 64 and overclock it, of course! Perhaps because Tom's Hardware is a little more discerning with awards than most publications, AMD didn't send over one of its liquid-cooled cards for review. Instead, we set out to build something better than what AMD sells at a hefty premium.
A true custom loop with a full copper block would be a big step up in thermal performance, of course. But not everyone already owns a water-cooling kit, and many gamers are intimidated by the idea of piping together their own pump, radiator, fan, and tubing.
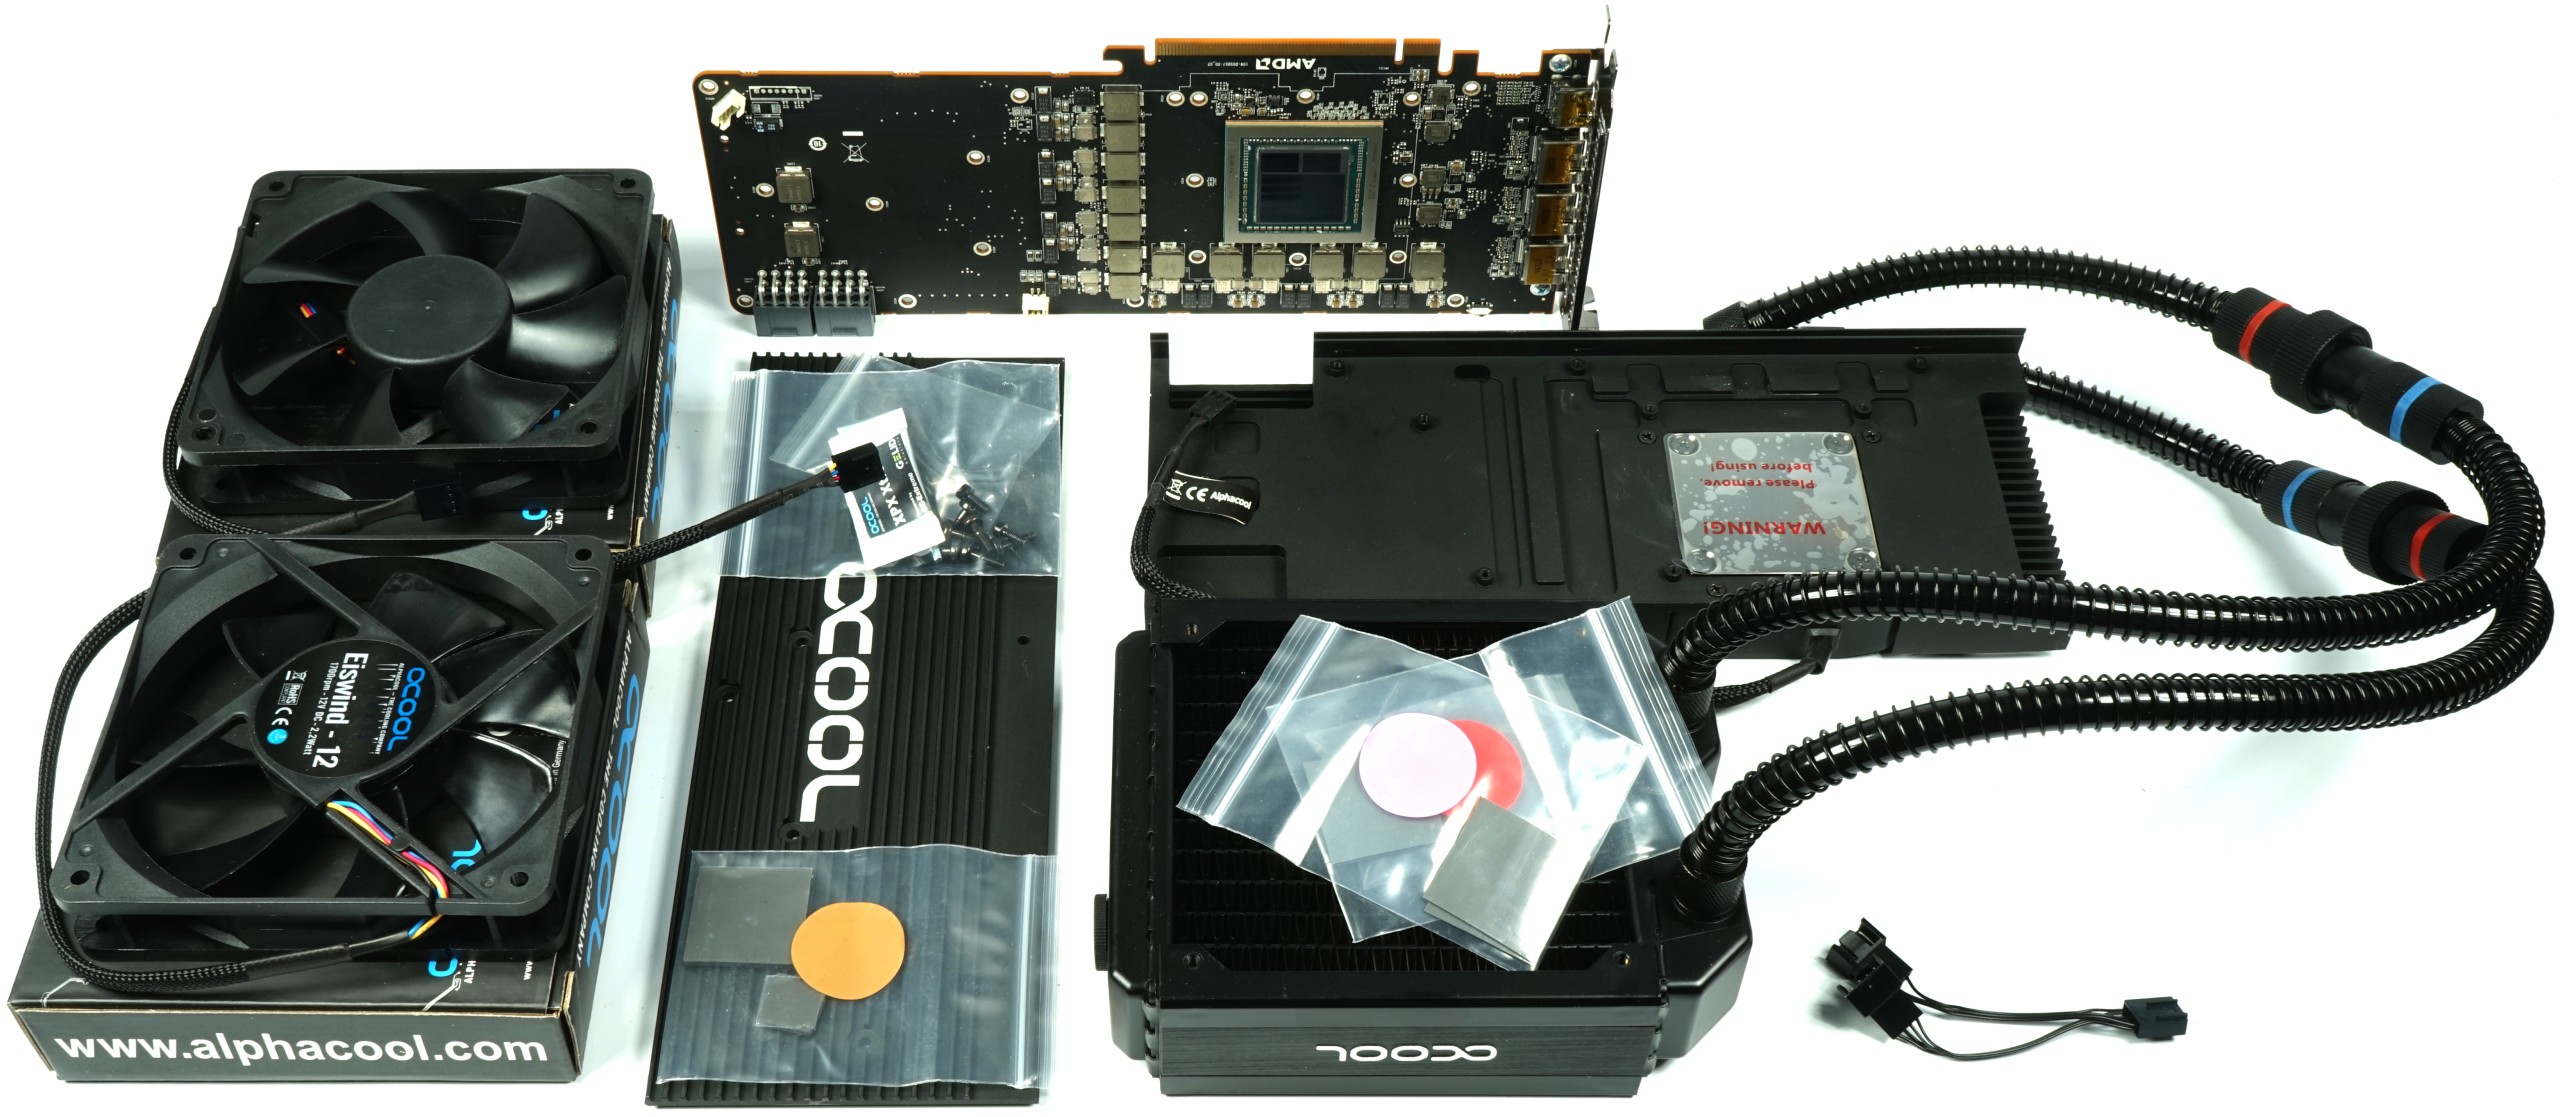
So, we turned to an all-in-one liquid-cooling prototype that, as luck would have it, we had sitting around anyway. Our Alphacool Eiswolf GPX-Pro came with the necessary radiator, tubing, and quick-release fittings. We'll compare the turnkey kit's performance to our own open-loop setup. As we'll soon see, however, there are some good reasons to suggest we could have saved ourselves the trouble.
For our tests, we're starting with a 120mm radiator (the same size AMD includes with its $700 card). AMD's all-in-one cooler costs $80, which is the price the company's partners have to pay for it. It accommodates one (push) or two (push/pull) fans. But we'll show you why a 240mm radiator is the minimum to consider if you plan on overclocking.
First things first, though. We have to provide some necessary context for our results:
We use The Witcher 3 at Ultra HD for our benchmarks because it produces the highest loads and provides a realistic scenario at the same time. As we’ll see later, your workload has a big impact on the clock rates that can be achieved. Also, The Witcher 3 is an ideal stability test for both the GPU and HBM2.Note also that AMD’s drivers reported frequency numbers that were way too high in some cases, until AMD fixed this right before launch. Nevertheless, the inflated numbers made their way into some reviews. So, if you think that our results look suspiciously low, please keep this in mind. Here’s AMD’s statement about the issue:"This new driver also reports the previously advertised GPU boost clock instead of the top DPM peak frequency...We’ve not yet had time to test this functionality with all other aspects of the driver and needs further testing before prime time, but we wanted to enable you to play around with OC!"
Installation & Notes
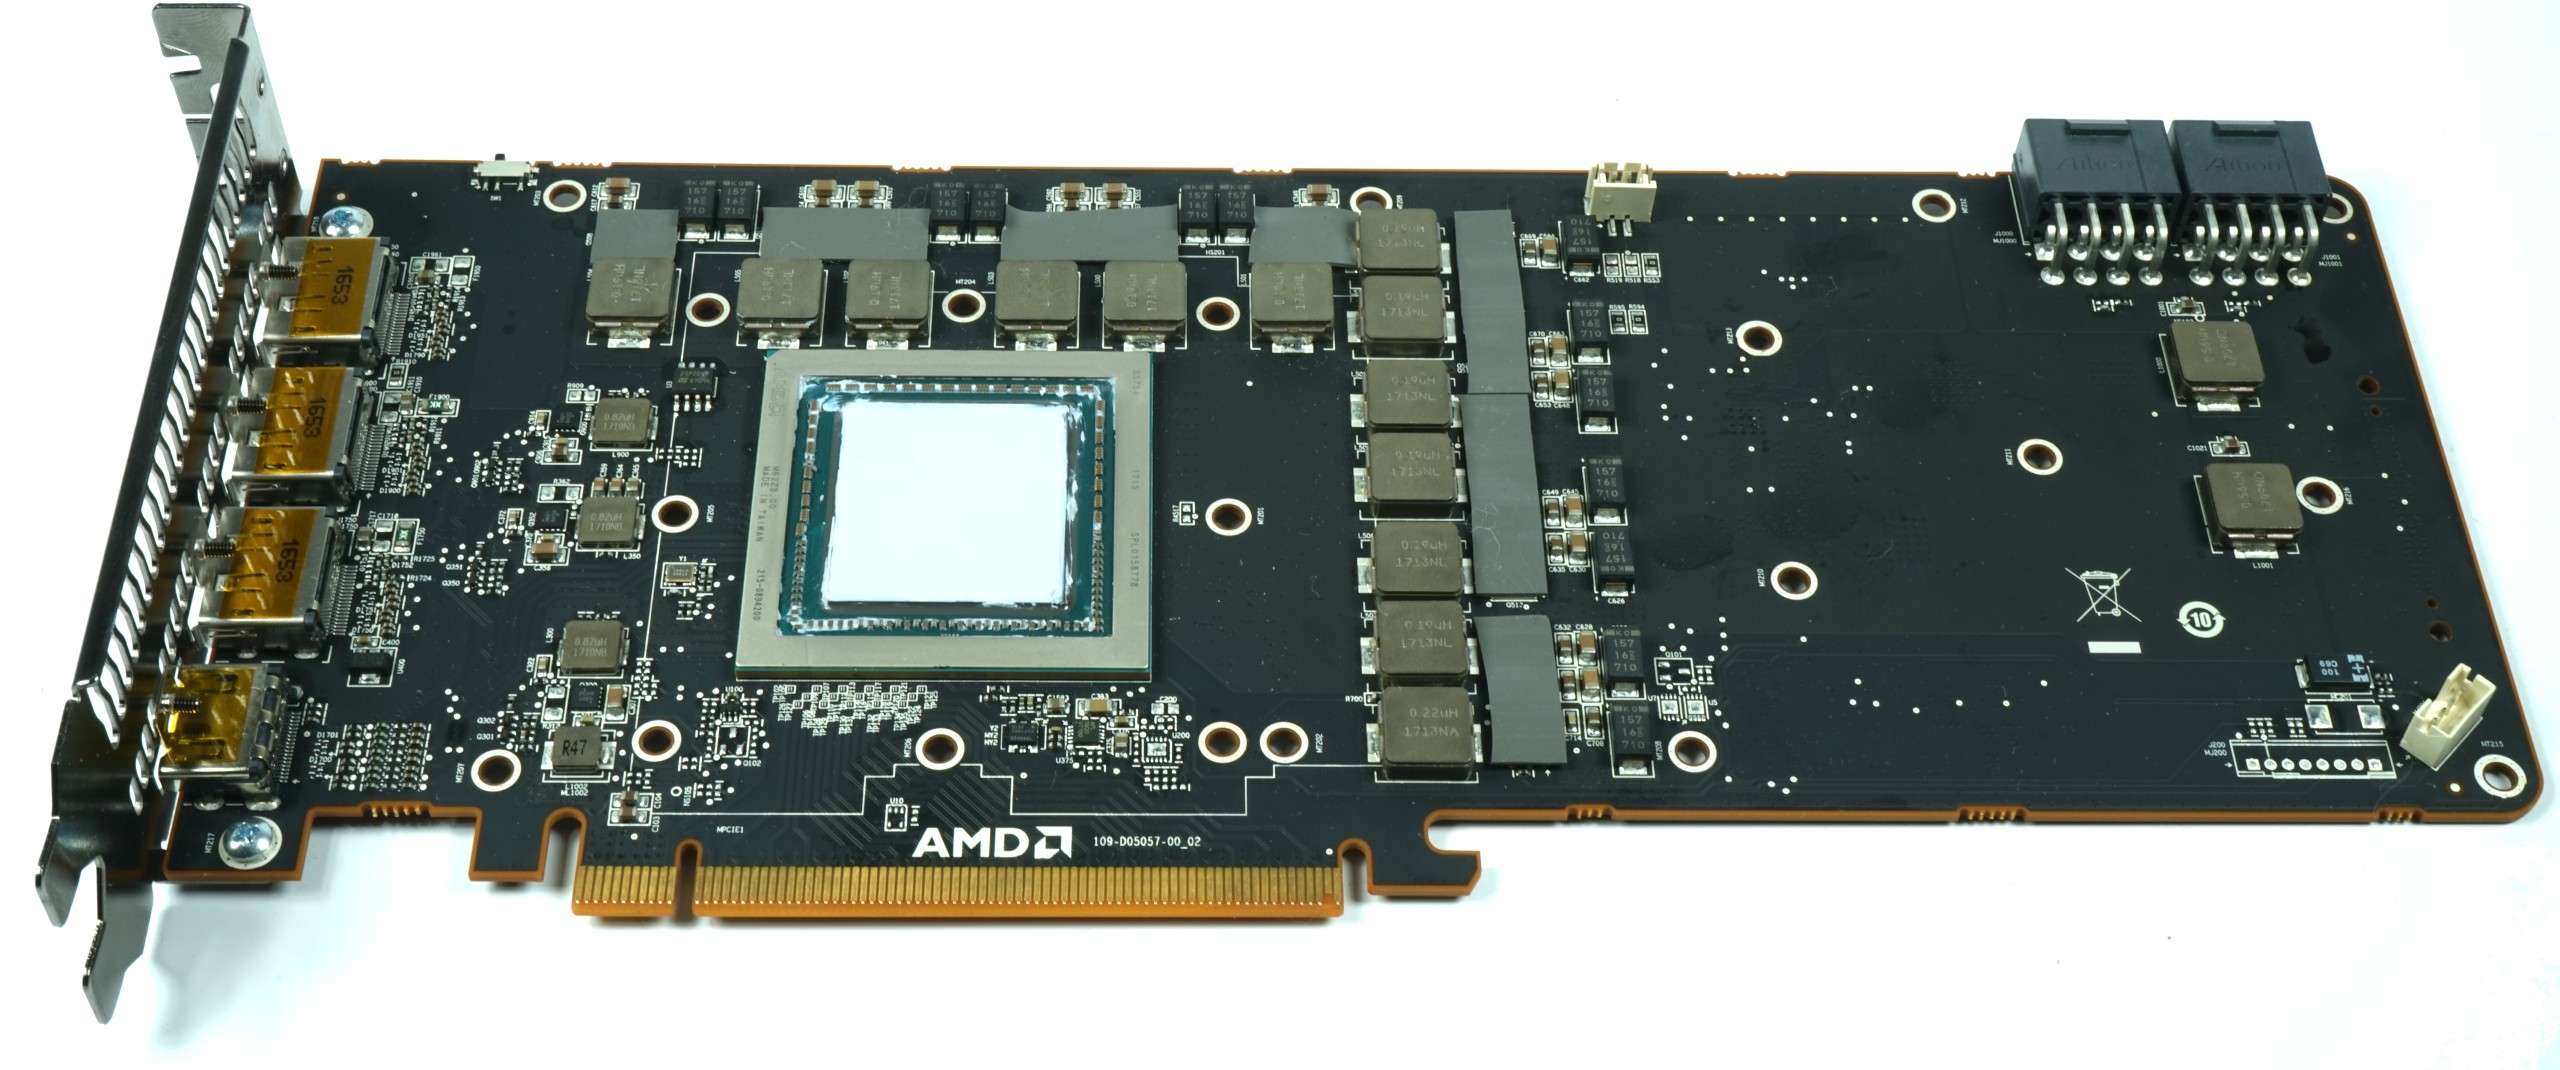
Don't be bothered by the fact that the thermal paste isn't cleaned up completely. This doesn’t actually make a difference, so long as you're using non-conductive paste. After switching out the cooler more than 10 times, a thorough cleaning job just isn’t possible anymore without endangering the package. In spite of the molding, there’s still some room between the interposer and package substrate. This is why we really don’t want to apply any pressure to the tiny board during cleaning. We only have the one card, after all.
Get Tom's Hardware's best news and in-depth reviews, straight to your inbox.
When it comes to picking a thermal paste, stay away from the more viscous options out there. You still want something of high quality, though. Blobs and lines won't work due to Vega’s two HBM modules. Apply a thin and even layer with the help of a spatula instead. We used Kryonaut by Thermal Grizzly, but there are certainly other low-viscosity pastes that work just as well. (See our roundup of 85 thermal pastes for more.
It’s also important to cover the very short voltage converter tops with thermal pads of suitable thickness. Apply them on a larger scale in order to catch some of the board’s waste heat, if you can. And the coils should be included too, if possible, since the voltage converters alone yield a rather small surface area.
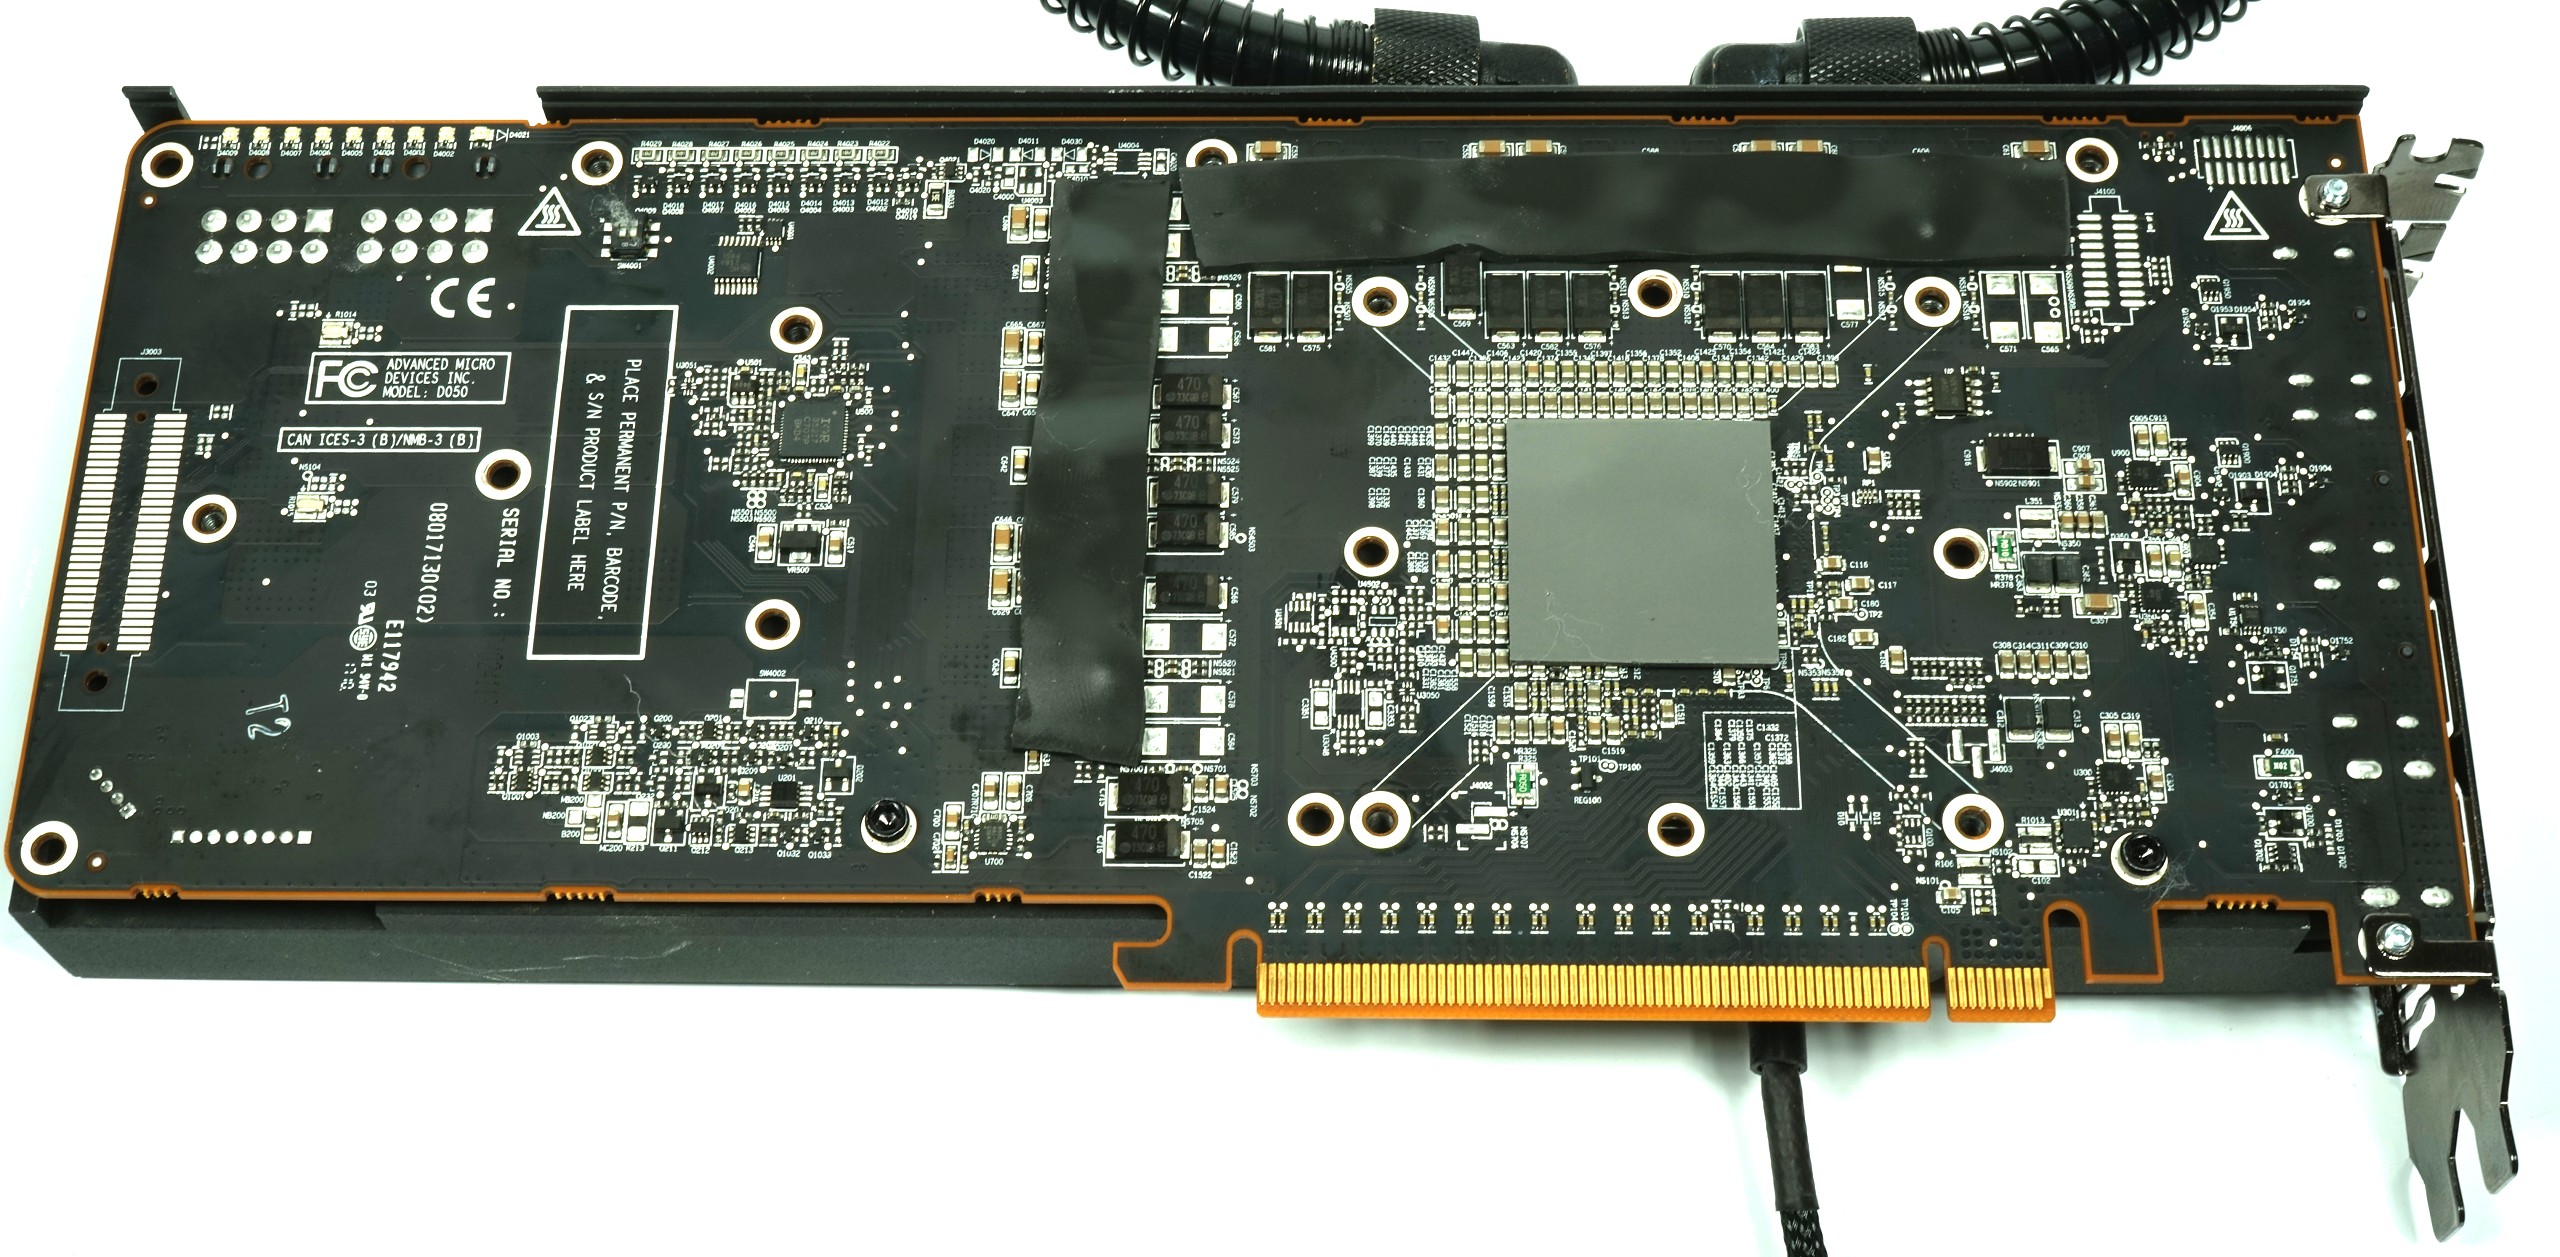
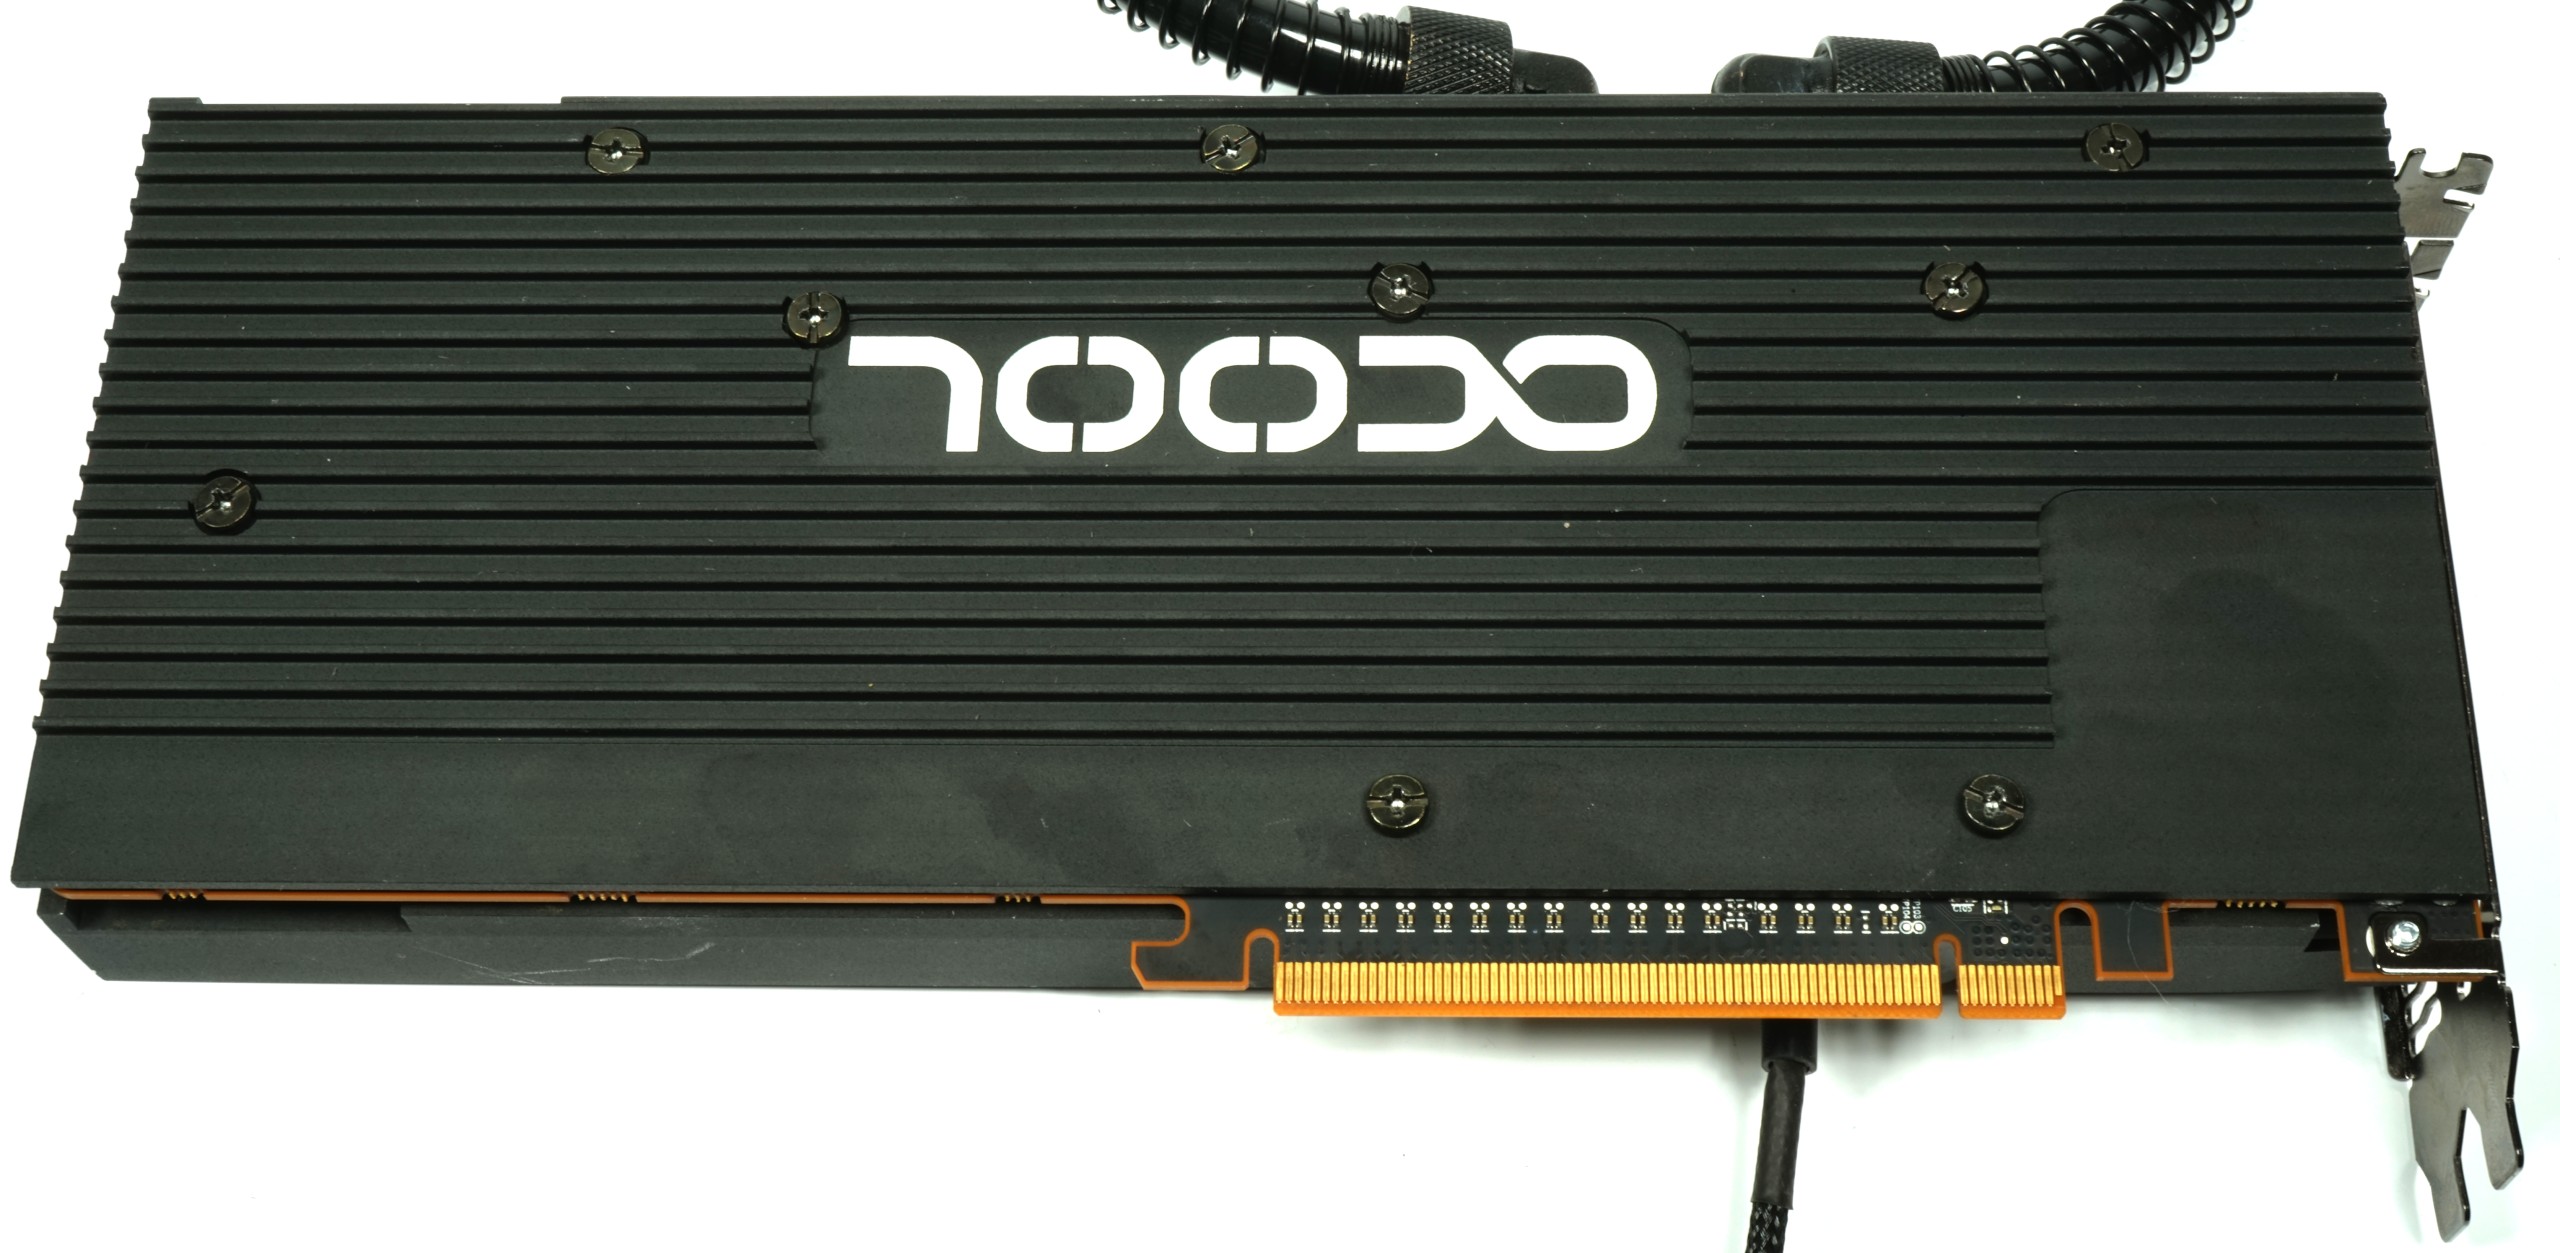
Alphacool supplies an active backplate, which is to say that the backplate helps with cooling. It’s not enough to simply cover the parts of the board below the voltage converters with thermal pads. The phase doublers also beg for some cooling attention when they hit more than 110°C in the face of aggressive overclocking. That's why we cut soft pads into large strips to make contact with the backplate in more places than Alphacool originally envisioned.
Conversely, feel free to leave that pad right below the GPU off; if anything, our upcoming infrared measurements suggest it's counterproductive.
The install wraps up with screwing the backplate on (don't over-tighten!). Even if you've never swapped out the cooler on your graphics card before, this shouldn't take more than an hour.
Thanks to Alphacool's quick-release fittings, we’re able to swap between cooling solutions without changing tubing or refilling the loop.
Test System & Methodology
We introduced our new test system and methodology in How We Test Graphics Cards. If you'd like more detail about our general approach, check that piece out.
The hardware used in our lab includes:
| Test Equipment & Environment | |
|---|---|
| System | - Core i7-6900K @ 4.3 GHz- MSI X99S XPower Gaming Titanium- Corsair Vengeance DDR4-3200- 1x Toshiba OCZ RD400 1TB OCZ RD400 (1TB)- 2x Toshiba OCZ Trion 150 960GB Toshiba OCZ Trion 150 960GB- Dark Power Pro 10 (850W) |
| CPU Cooling | - Alphacool Eisblock XPX- Alphacool Eiszeit 2000 Chiller- 2x be quiet! Silent Wings 3 PWM (Closed Case Simulation)- Thermal Grizzly Kryonaut (Used when Switching Coolers) |
| Environmental | Room Temperature: Constant 22°C |
| PC Case | - Lian Li PC-T70 with Extension Kit and Mods - Configurations: Open Benchtable, Closed Case |
| Monitor | - Eizo EV3237-BK |
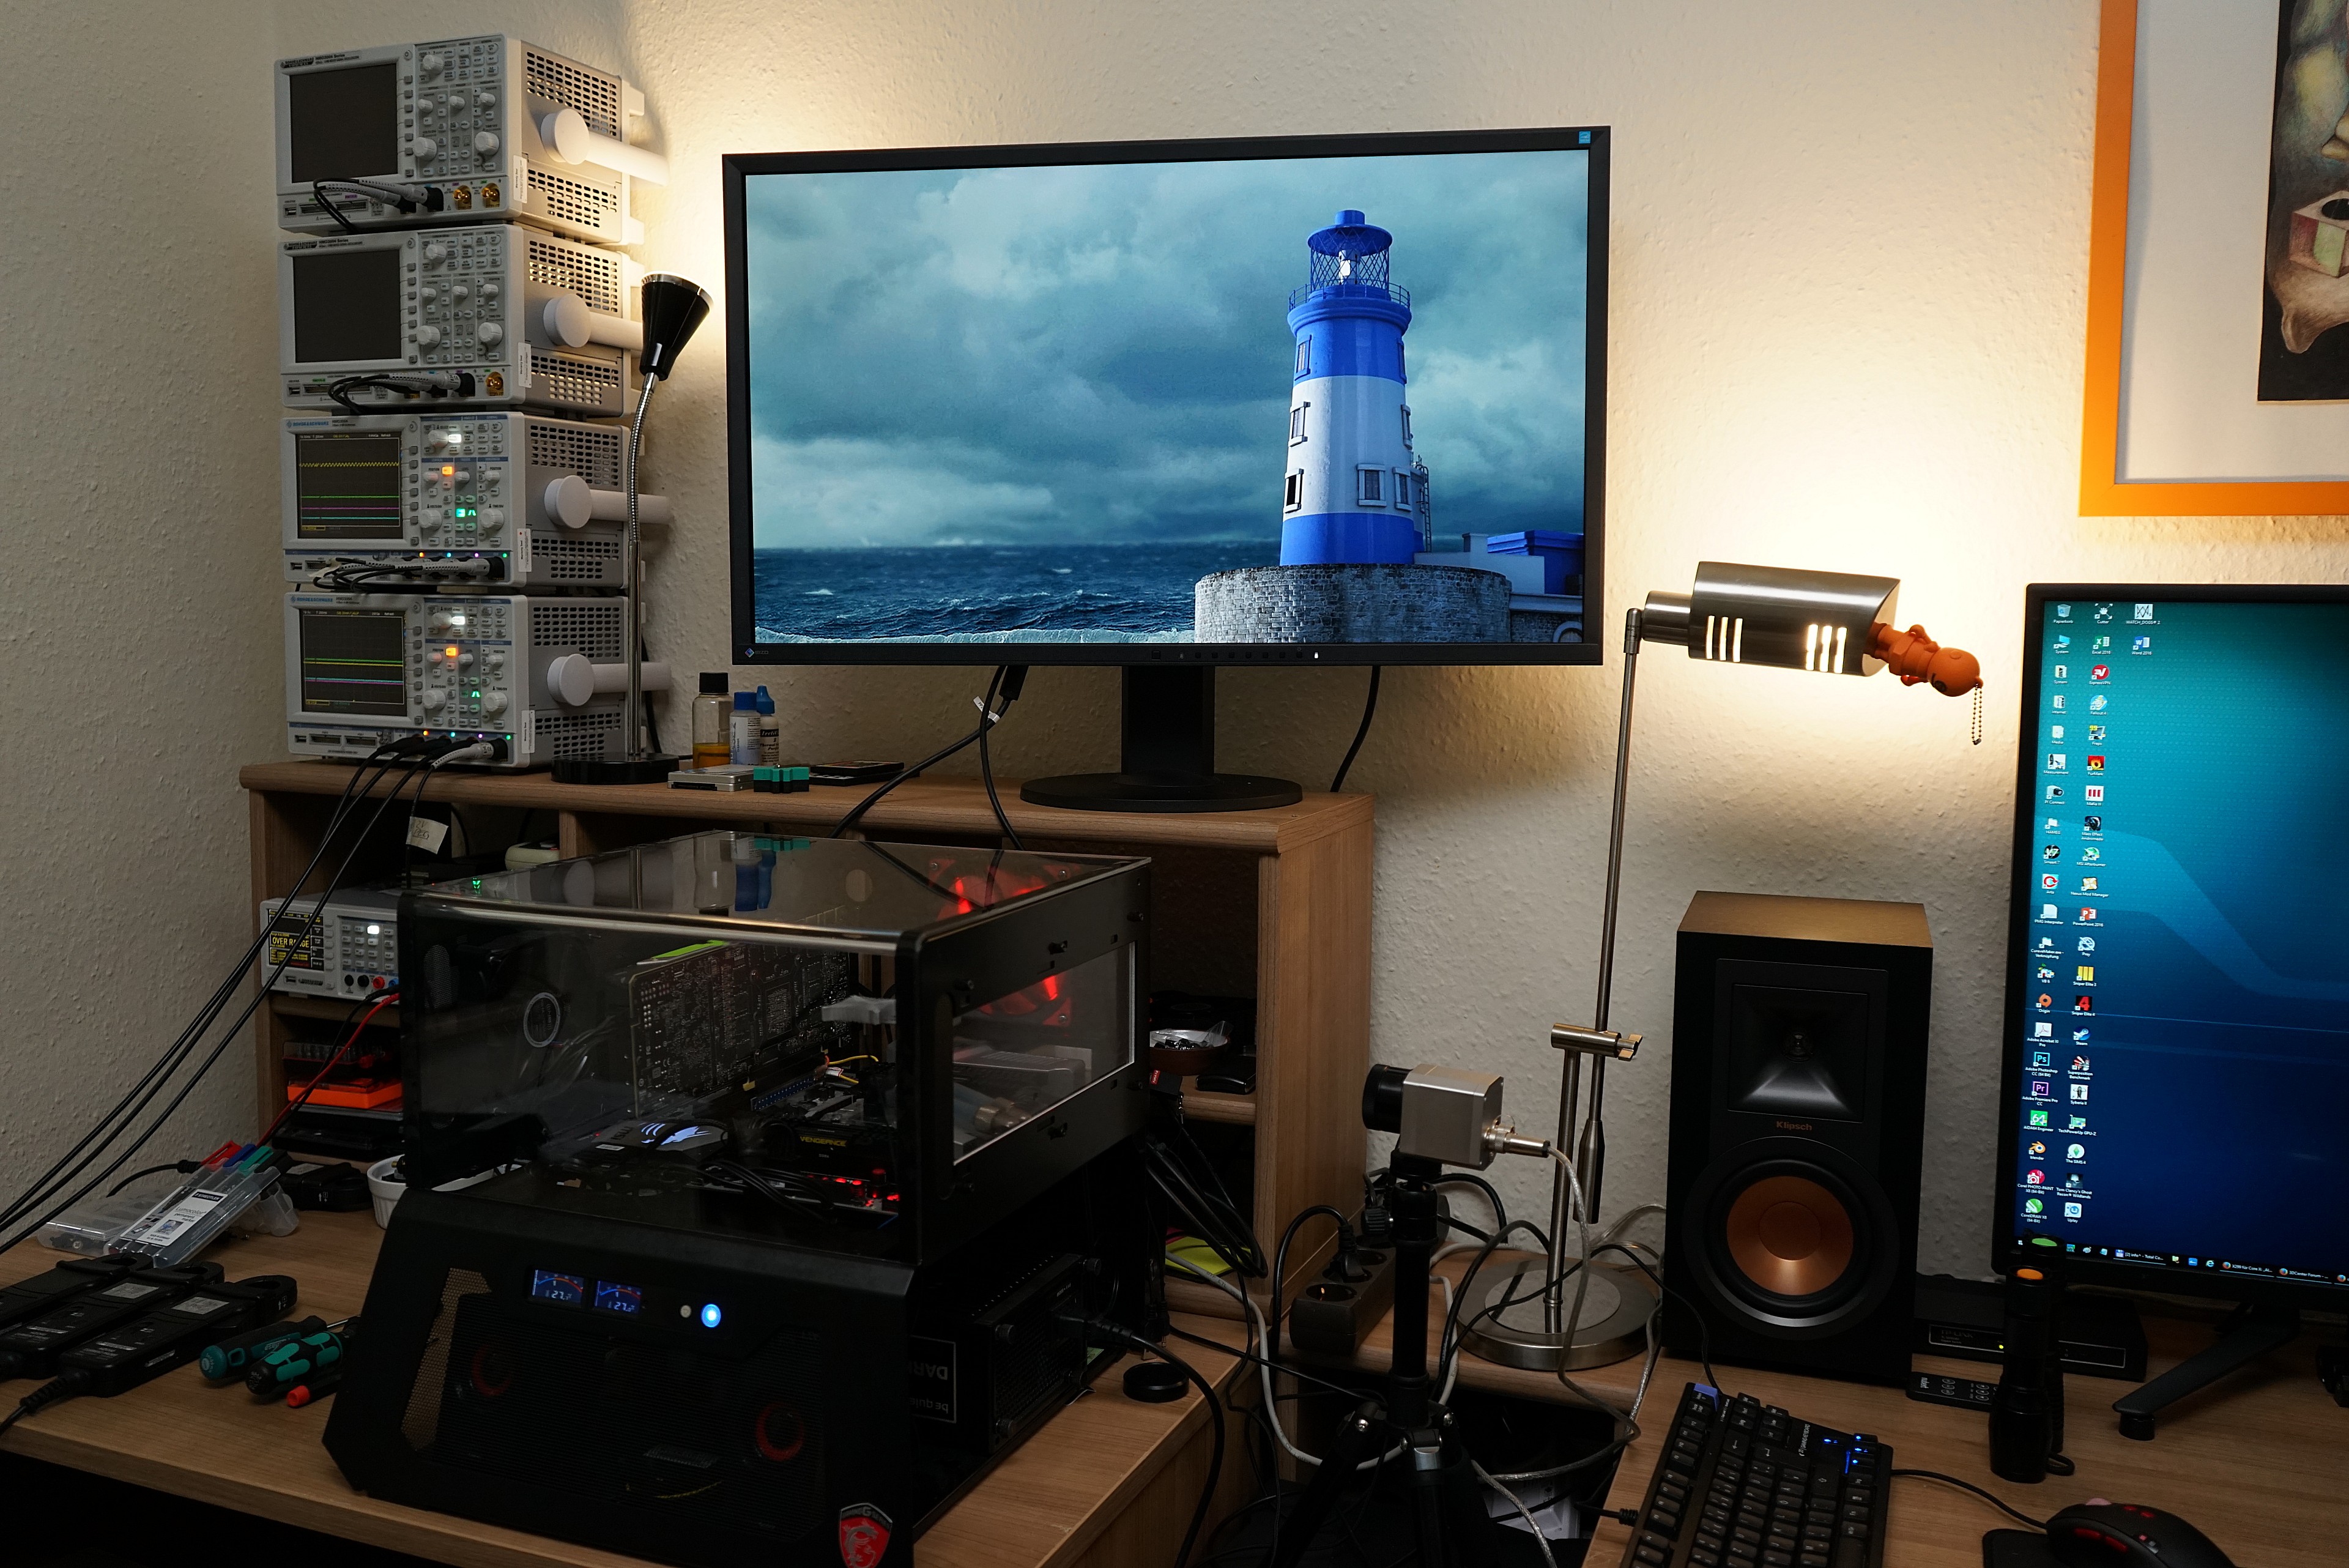
| Power Consumption Measurement | - Contact-free DC Measurement at PCIe Slot (Using a Riser Card) - Contact-free DC Measurement at External Auxiliary Power Supply Cable - Direct Voltage Measurement at Power Supply - 2 x Rohde & Schwarz HMO 3054, 500MHz Digital Multi-Channel Oscilloscope with Storage Function - 4 x Rohde & Schwarz HZO50 Current Probe (1mA - 30A, 100kHz, DC) - 4 x Rohde & Schwarz HZ355 (10:1 Probes, 500MHz) - 1 x Rohde & Schwarz HMC 8012 Digital Multimeter with Storage Function |
| Thermal Measurement | - 1 x Optris PI640 80Hz Infrared Camera + PI Connect - Real-Time Infrared Monitoring and Recording |
| Noise Measurement | - NTI Audio M2211 (with Calibration File, Low Cut at 50Hz) - Steinberg UR12 (with Phantom Power for Microphones) - Creative X7, Smaart v.7 - Custom-Made Proprietary Measurement Chamber, 3.5 x 1.8 x 2.2m (L x D x H) - Perpendicular to Center of Noise Source(s), Measurement Distance of 50cm - Noise Level in dB(A) (Slow), Real-time Frequency Analyzer (RTA) - Graphical Frequency Spectrum of Noise |
| Operating System & Driver | - Windows 10 Pro (Creators Update, All Updates)- Crimson 17.30.1051 Beta 6a (11.08.2018) |
MORE Best Graphics Cards
MORE: Overclocking GeForce GTX 1080 Ti To 2.1 GHz Using Water
MORE: How To: Optimizing Your Graphics Card's Cooling

Igor Wallossek wrote a wide variety of hardware articles for Tom's Hardware, with a strong focus on technical analysis and in-depth reviews. His contributions have spanned a broad spectrum of PC components, including GPUs, CPUs, workstations, and PC builds. His insightful articles provide readers with detailed knowledge to make informed decisions in the ever-evolving tech landscape
-
AgentLozen The conclusion page makes the liquid cooled Vega64 sound unappealing.Reply
When you guys reviewed Vega64 on Monday, you had a more restrained conclusion.
...AMD is ready to show off Radeon RX Vega 64, and it's...alright.
Your tone seems a bit different today.
Ultimately, Power Saver mode and undervolting doesn’t make the Radeon RX Vega 64 any more attractive. It just makes it more efficient and less noisy. What doesn't change is the card's high price. And that's a problem.
I know you guys try to keep your emotions and bias out of your writing, but it seems like you're frustrated with Vega64. I felt the same when I looked at the benchmarks and power consumption results a few days ago. This thing fell way short of my expectations.
edit: spelling, minor redundancy changes -
zfreak280 AMD really needs to ditch Global Foundries. These power consumption figures are ridiculous for finfet.Reply -
artk2219 I'm honestly curious to see what the other OEM's can do with their own custom board and cooling designs. It seems like there's potential in Vega, especially the 56, but I'm not sure if we will ever see it fully tapped.Reply -
max0x7ba Well, the original Sapphire Vega 64 Liquid easily keeps 1850/1000 clocks, I haven't tried pushing it harder. https://www.reddit.com/r/Amd/comments/6udvyj/sapphire_radeon_rx_vega_64_liquid_cooling_oc/Reply -
FormatC Reply
Call it bandwith. Two authors, two meanings and different lyrics. Ok, this piece was filtered also a little bit during transalation.20075809 said:Your tone seems a bit different today...
For the launch review we had not enough time to investigate all this things more in detail. Now I got the time to run more things and to measure it, also under better conditions (water cooling).
For Vega56 (yes, I got one now after one week of waiting) I will do a comparison of all modes, also with power draw and performance with heavier loads. But this software is killing me...
Which drivers?20075916 said:Well, the original Sapphire Vega 64 Liquid easily keeps 1850/1000 clocks, I haven't tried pushing it harder. https://www.reddit.com/r/Amd/comments/6udvyj/sapphire_radeon_rx_vega_64_liquid_cooling_oc/
Only the beta6 press driver can show you the real clock rate. What you see with the normal drivers from AMDs homepage is the frequency of the next DPM state, not the real clock rate. I wrote about this in my review. With this older driver and a chiller I can crack easy the 1.9 GHz barrier (in theory). But in real it were 1.6 to 1.7 GHz (like in the review).
-
AgentLozen ReplyFormatC said:Two authors, two meanings and different lyrics. Ok, this piece was filtered also a little bit during transalation.
How big is the Tomshardware staff? I know you have a German team, but in America locally how many people do you have? When you give out your mailing address, does it lead to a rented out floor in an office building or does it point to some dude's garage? -
AndrewJacksonZA I really love the in-depth stuff that you guys do, thank you!! :-)Reply
Also, the buttons for voting comments up and down have disappeared when viewing the comments underneath the article. Is that a known bug for you guys?
Thank you,
Andrew -
redgarl All this power and OC arguments makes me laugh... AMD provided a stronger card in DX12 than the 1080 GTX and all I see are complains about power and OC.Reply
Guess what, the 64 and 56 are still more powerful than their 1080 and 1070 counterparts with no drivers optimization.
It will take 2 months to know really what to expect from Vega. -
FormatC Reply
I'm German and I own a well equipped lab with a lot of high-end stuff and I'm sitting not in a garage. We write mostly the launch things in coop between US and GER, the single VGA comes from me. We are writing in France, Italy, US and have also a franchise guy in Russia. :)20076025 said:I know you have a German team, but in America locally how many people do you have? When you give out your mailing address, does it lead to a rented out floor in an office building or does it point to some dude's garage?
