Tom's Hardware Verdict
The Orange Storm Giga is a massive machine for extra large prints that needs a room of its own and a dedicated power circuit. Leveling is still buggy and time-consuming, but the prints are worth the hassle.
Pros
- +
Massive prints
- +
High flow hotend
- +
Excellent interface
- +
Impress your friends
Cons
- -
Four build plates
- -
Difficult to level
- -
Noisy fans
- -
Won’t fit through doors
Why you can trust Tom's Hardware
The Elegoo Orange Storm Giga is a highly anticipated 3D printer that tripped out of the starting gate but has recovered now that a retail version is ready for launch. Reviewers were given early beta units with flaws, but after several firmware and hardware updates, the Giga you purchased today should be in much better shape than the one I received for review.
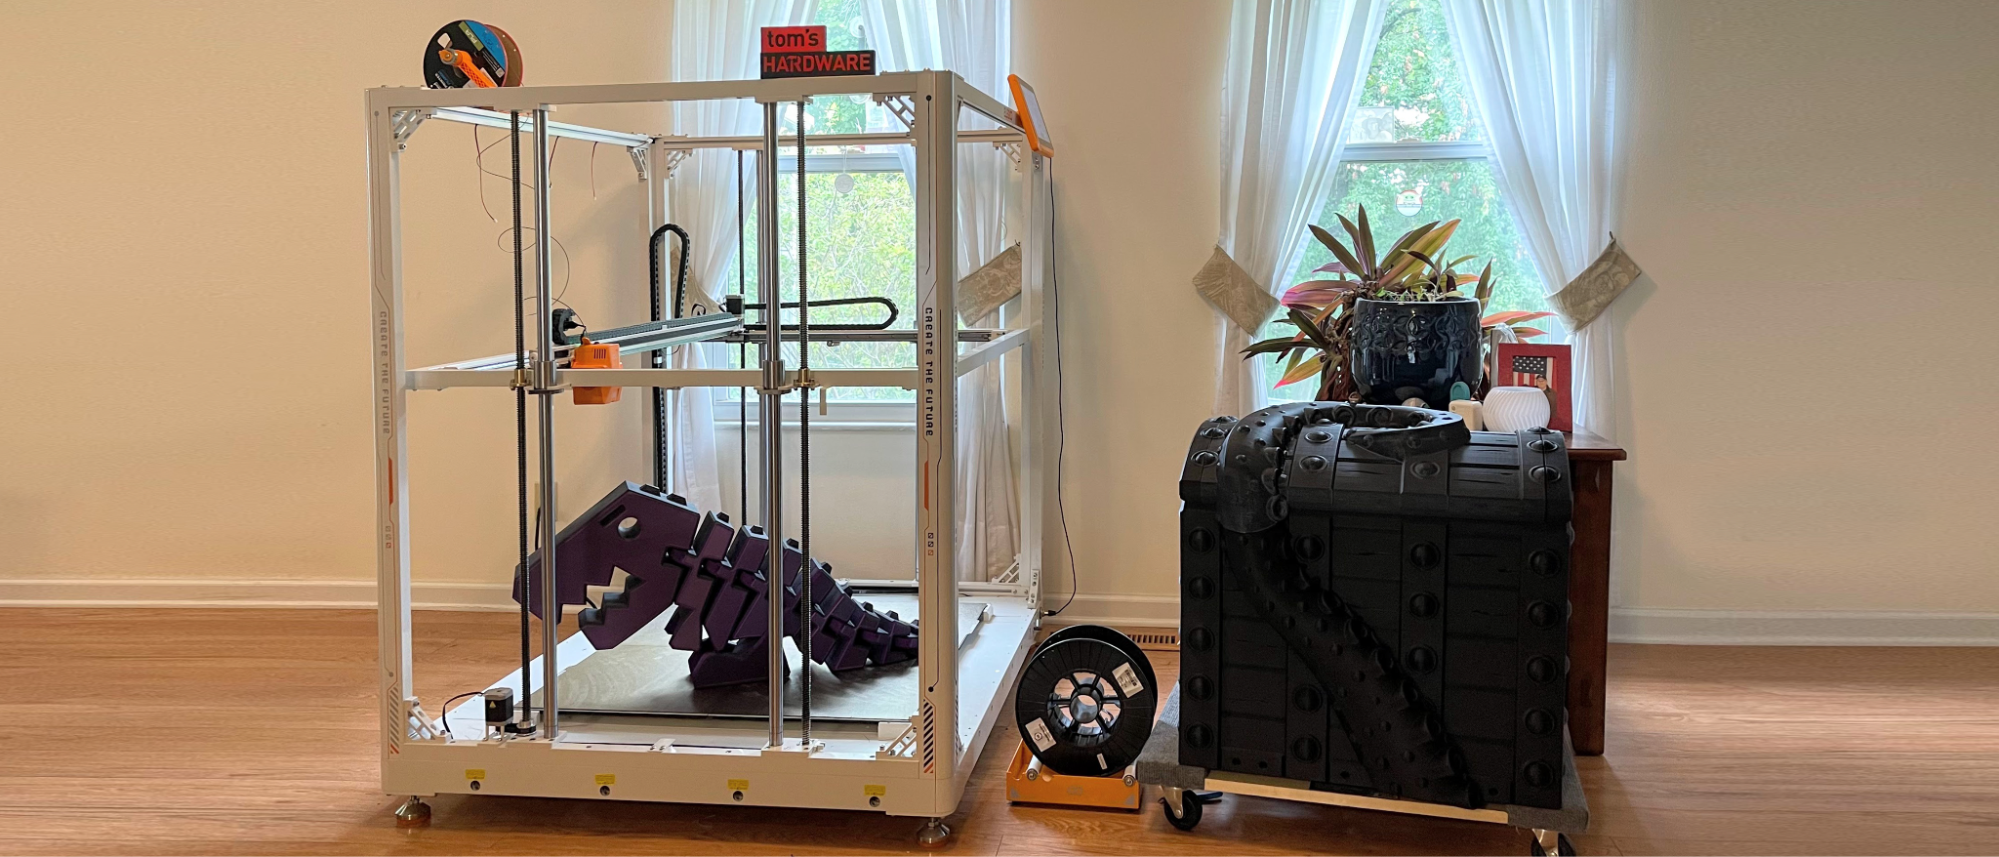
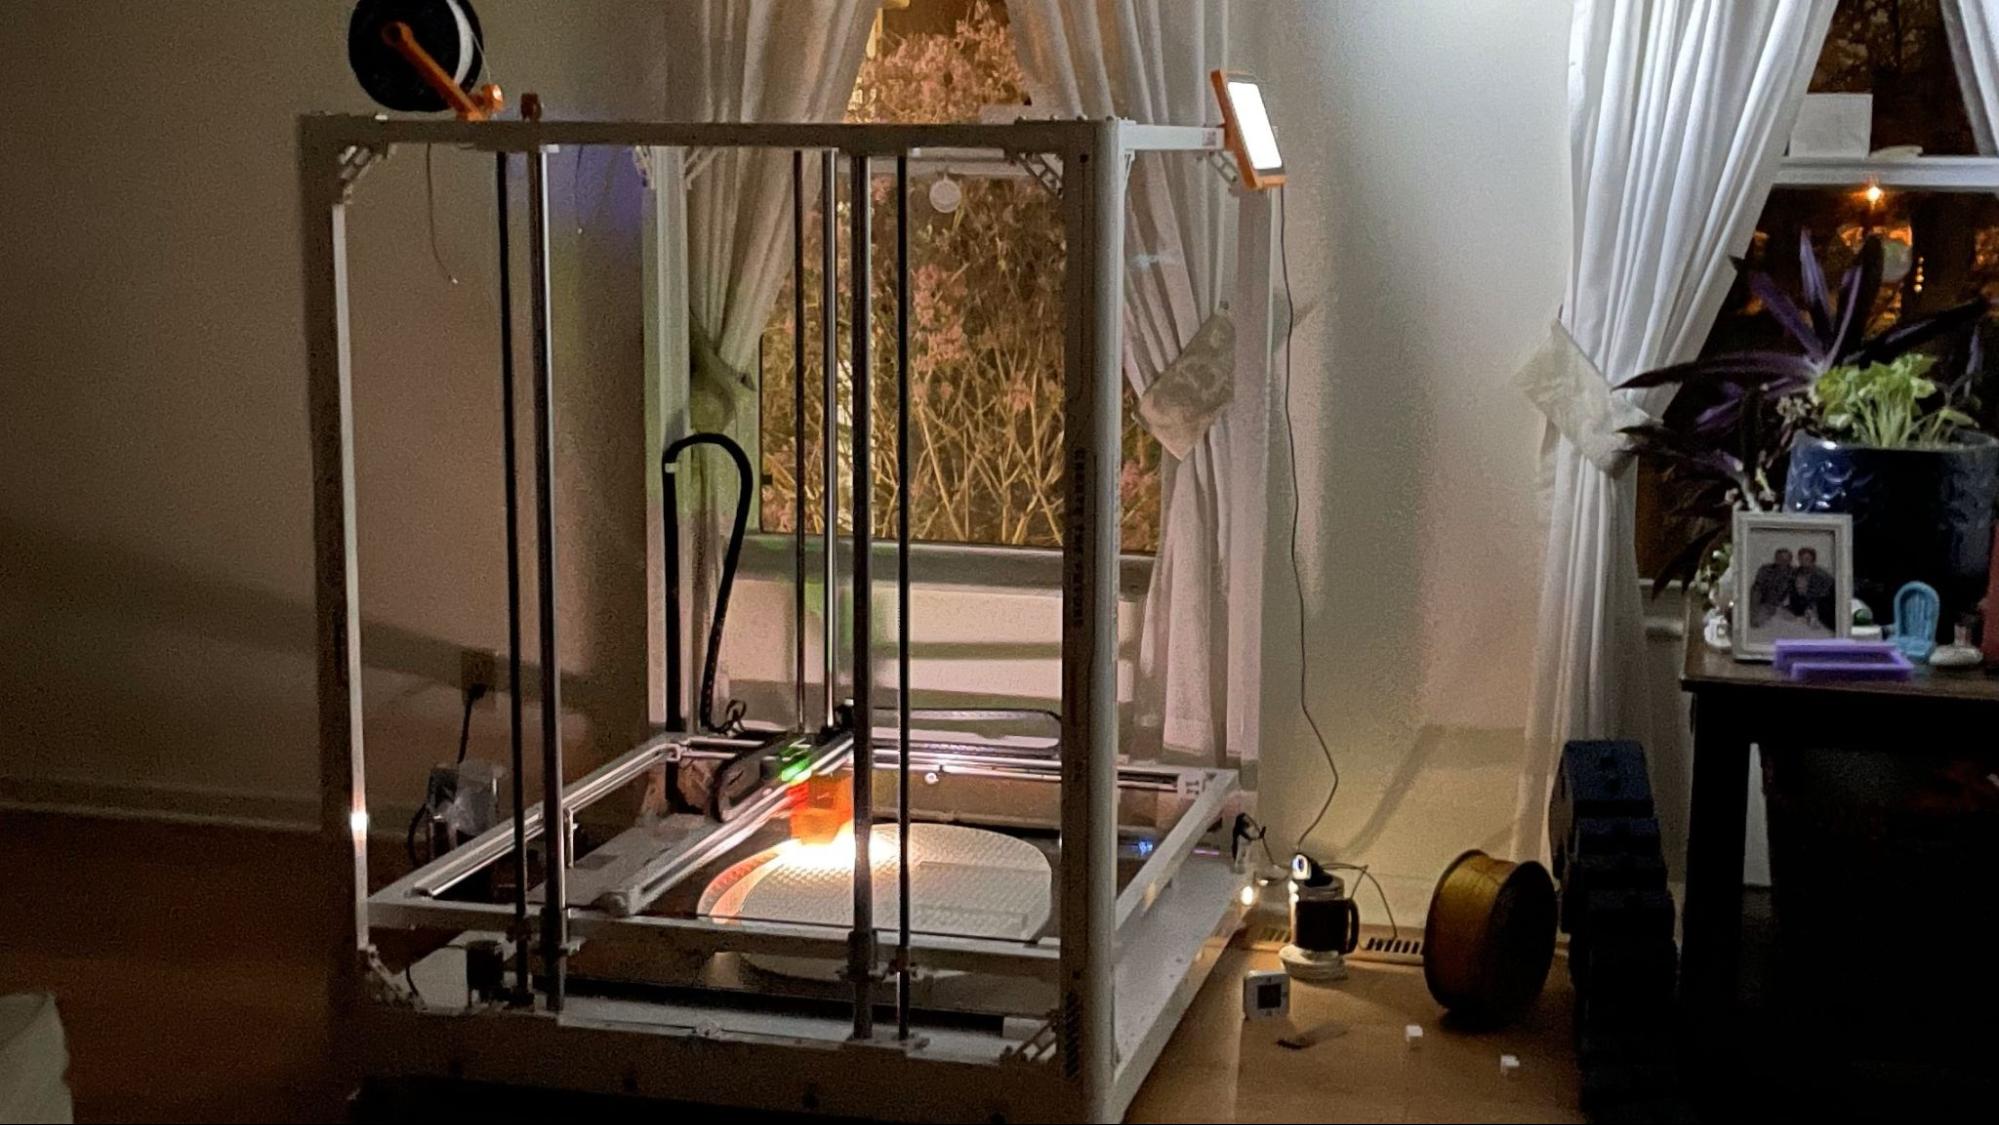
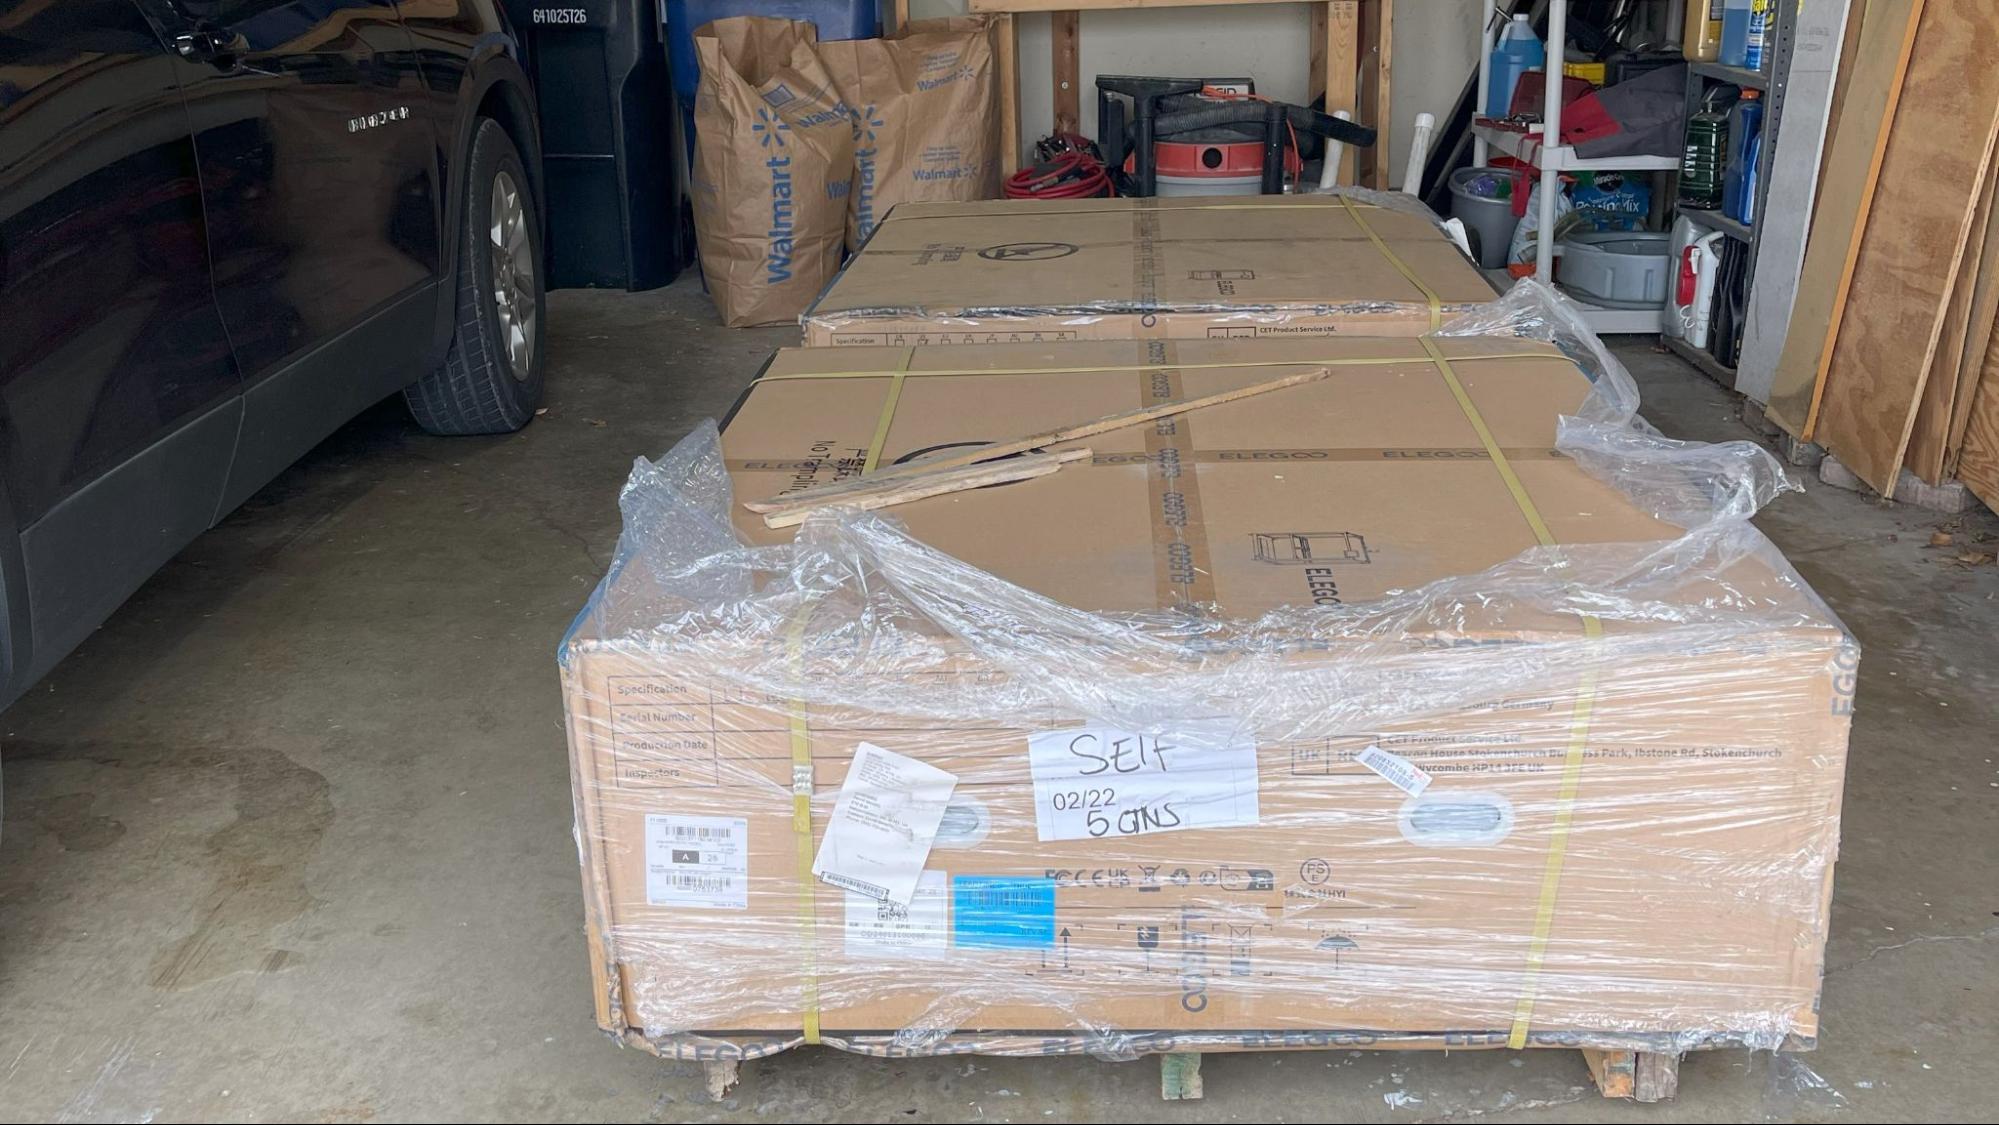
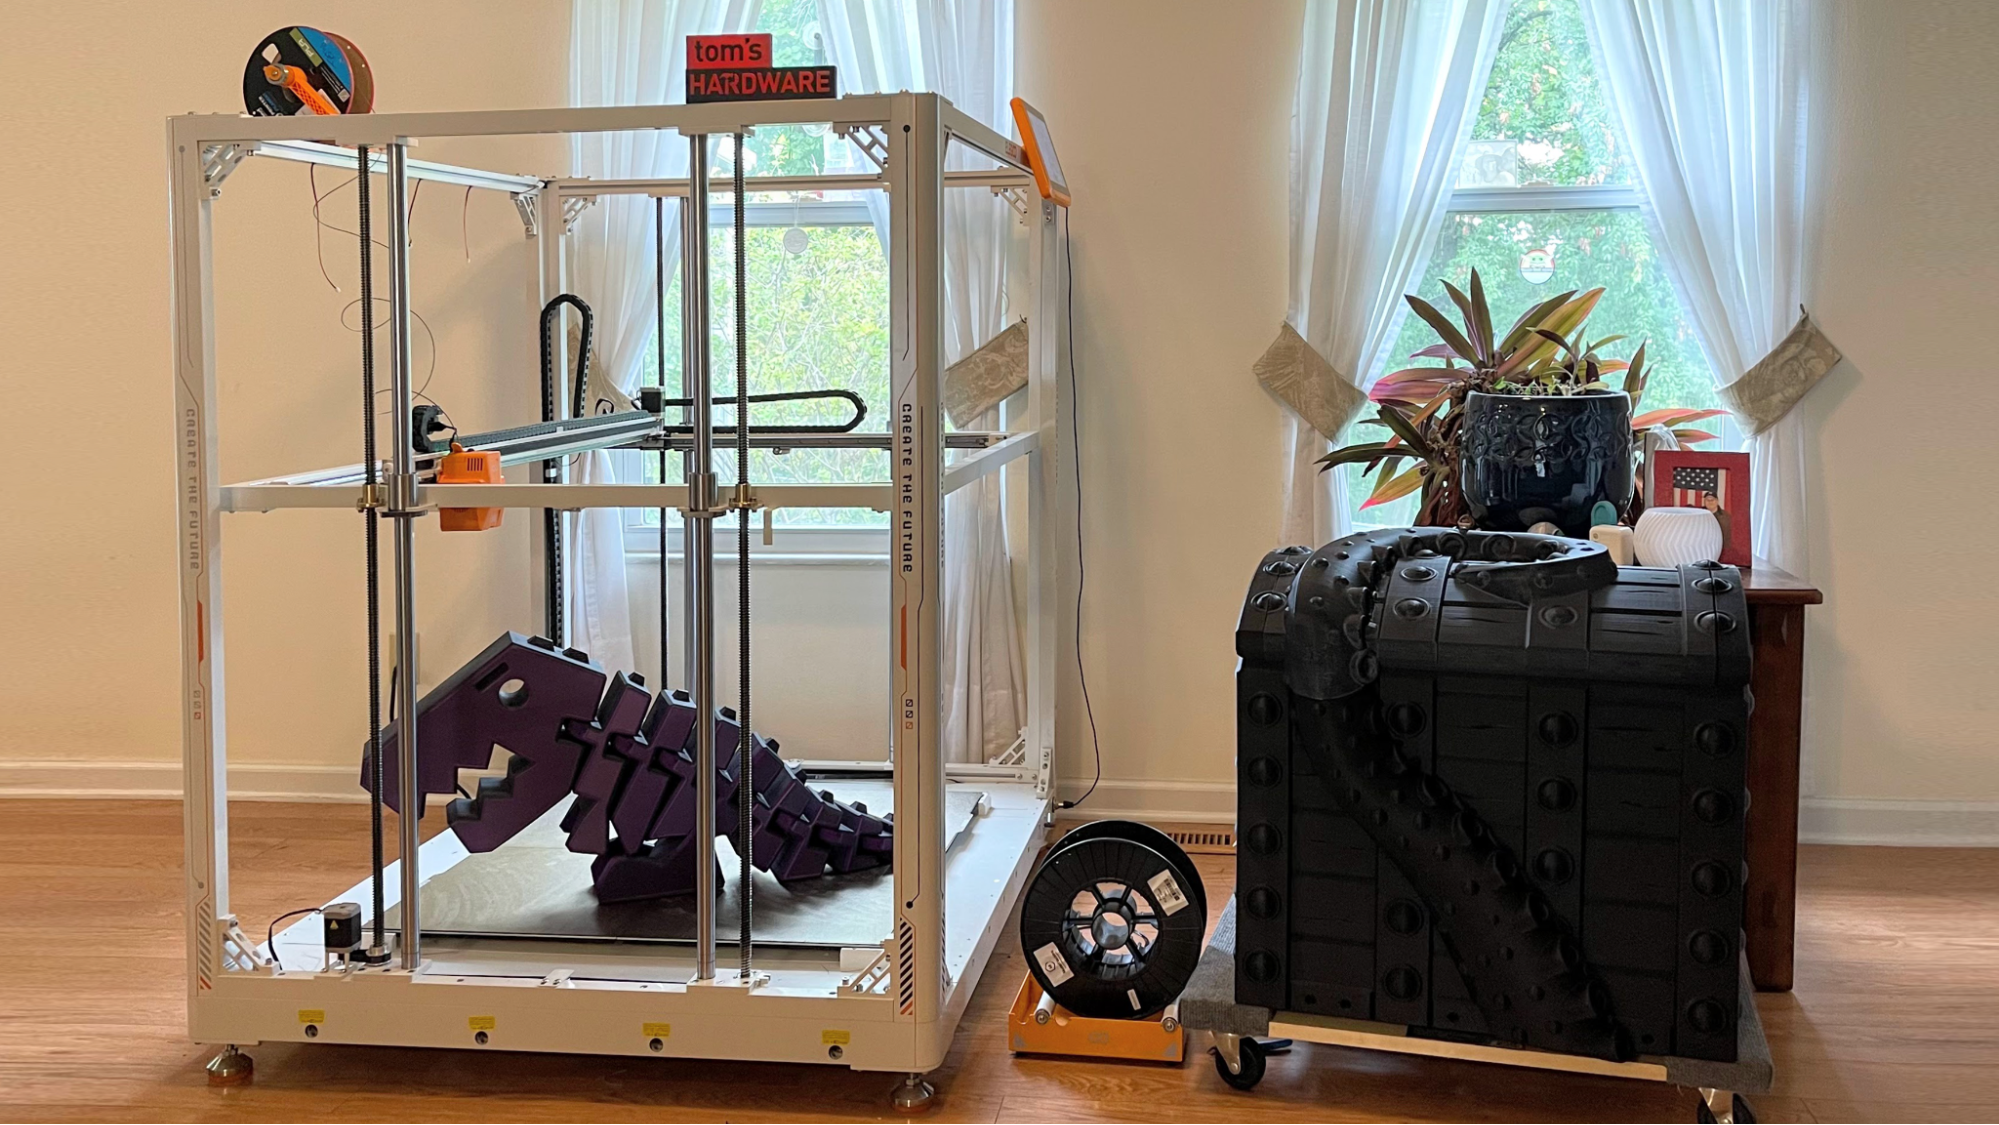
The Giga is an impressive chunk of machinery that requires special delivery by forklift. It came in two boxes, each approximately the size of dining room tables, and weighs a good 230 pounds assembled. It has five power supplies and can noticeably raise the temperature of your room, not to mention trip your circuit breaker if you plug into the wrong outlet (ask me how I know). It’s so large, my review unit is sitting in the living room – even if I had a spot for it in the basement with the other printers, no one wanted to risk taking this ginormous machine down the steps.
Not everyone needs this printer. If you want to print signs, furniture, or life-sized dragons, it’s certainly a fun printer to own. This is as close to industrial-sized printing as most of us in the hobby sphere might hope to get. With a retail price of $2,500, it’s surprisingly affordable, considering that you’re getting a metal machine that can double as a dog house.
Like the Elegoo Neptune 4 Max, I’ve had to keep this one under review for an exceptionally long time. I first got word of the Kickstarter in November 2023, and I was among the first wave of reviewers to get one in April 2024. Several other reviewers witnessed catastrophic damage to their machines due to firmware bugs. Elegoo put the Giga on hold until they could address the firmware issues and a few minor hardware updates before releasing the unit to Kickstarter backers.
The Giga has a build volume of 800 x 800 x 1000 mm with a flying gantry design. It has four separate build plates on four separate heated beds, with an incredibly annoying manual leveling system backed by an auto level that struggles to even out the first layer. There are no perfect first layers on this machine, only those that are good enough. Once a few layers get down, the rest of the prints are very nice and smooth.
It uses Klipper and has a max speed of 300 mm/s with an average print speed of 200 mm/s. It comes standard with a .6mm nozzle, which helps it cover more territory faster. Still, if you’re using the whole build plate – and why wouldn’t you? – expect prints to take several days or even weeks.
I feel I should warn potential buyers about how expensive this machine is to run. I’ve easily put $800 worth of filament through the Giga for this review, but I’m lucky that most of it was won from 3D printing contests sponsored by Matterhackers and Polymaker. Even so, throwing away a $60 failed print was pretty painful.
Get Tom's Hardware's best news and in-depth reviews, straight to your inbox.
The Giga is a fun machine and a cool concept, but the leveling still has issues, so unfortunately, I can’t recommend it for our list of best 3D printers.
Specifications: Elegoo OrangeStorm Giga
| Build Volume | 800 x 800x 1000 mm (31.5 x31.5 x 39.4 inches) |
| Material | PLA/PETG/TPU (up to 300 degrees) |
| Extruder Type | Direct Drive |
| Nozzle | .6mm Custom high flow |
| Build Platform | PEI textured spring steel sheet, heated |
| Bed Leveling | Manual + Automatic, Inductive |
| Filament Runout Sensor | Yes |
| Connectivity | USB Stick, WiFi, LAN |
| Interface | 7 Inch Color touch pad, removable |
| Machine Footprint | 1224 x 1204 x 1424 mm (48 x 47 x 56 in) |
| Machine Weight | 104 KG (230 lbs) |
Elegoo OrangeStorm Giga: Included in the Box
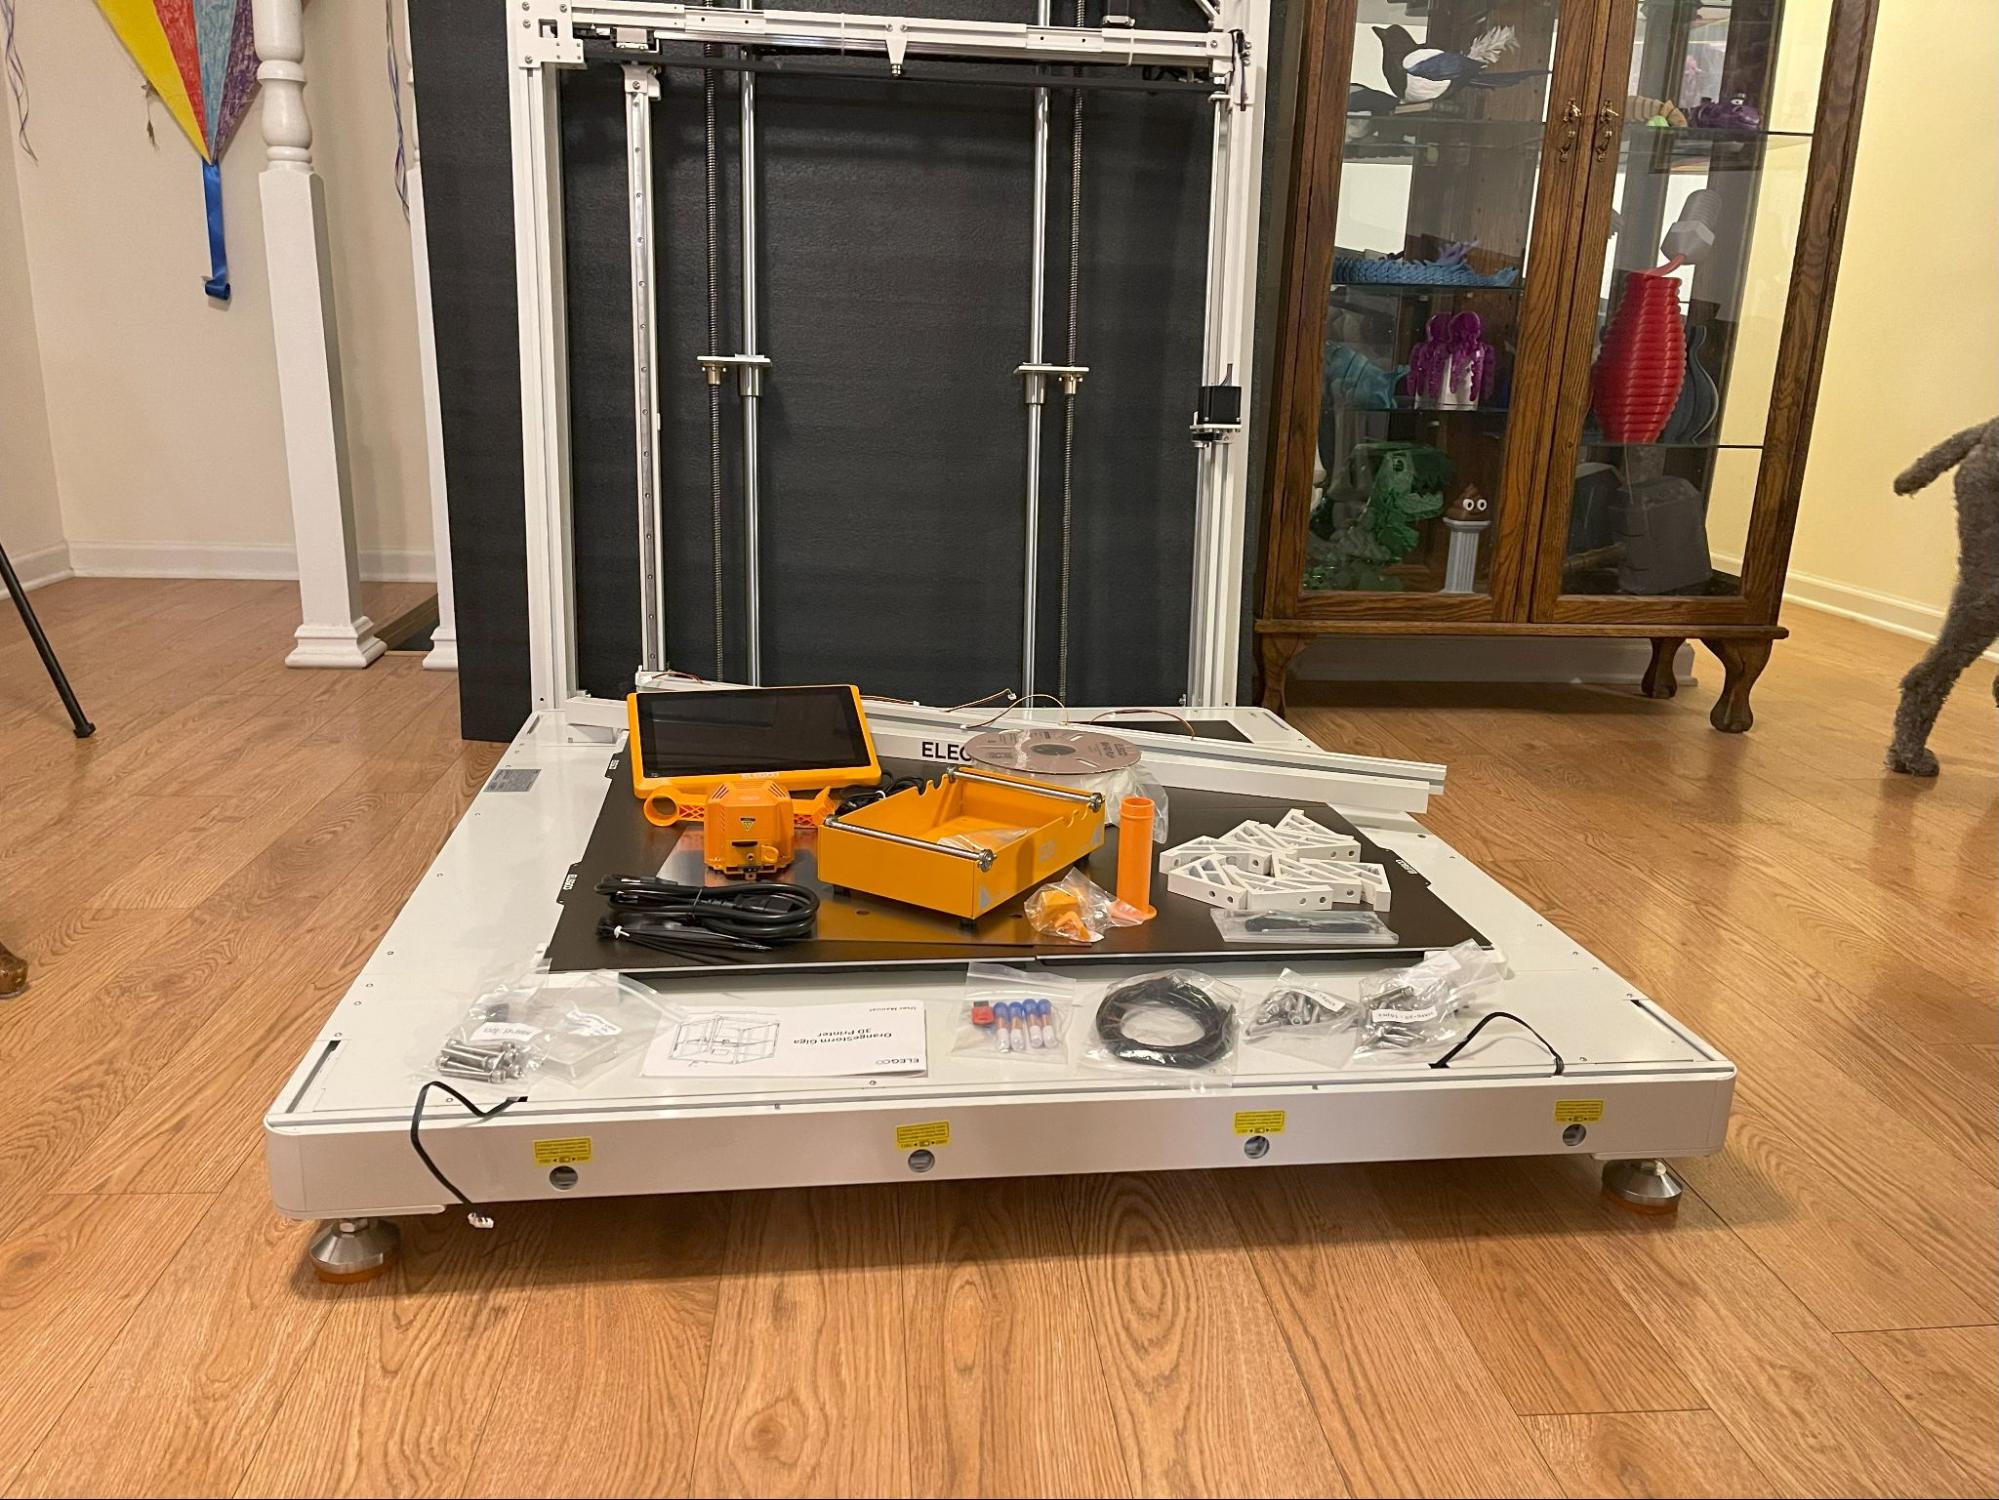
The OrangeStorm Giga comes with everything you need to get your printer set up. You get tools to build and maintain the printer and a USB stick. There’s also a full spool of white PLA to print your first model and a set of spare nozzles from .4 to 1mm.
It comes with both a traditional spool holder and a larger rolling holder for the floor that can hold oversized spools.
You also get a PDF copy of the manual, a copy of Elegoo Cura and a sample model in both pre-sliced .gcode and .stl format. We found video build instructions on the Elegoo website.
Design of the Elegoo OrangeStorm Giga
The OrangeStorm Giga is a flying gantry, Cartesian style 3d printer that’s about a meter square. No consideration was made for its enormous size or the fact that most people will need to put it on the floor. It looks like a traditional cube style printer hit with a magical growth charm.
The plug, power switch, spool holder, and run-out sensor are in the back, while the touchpad and USB port are in the front. The touchpad can be clipped to the top frame, but it’s corded so it can only reach the top righthand side. Leveling the bed, setting the Z height, and watching the first layer all require sitting on the floor or being a yogi master. Running filament from the spool holder to the tool head wastes about four feet of plastic.
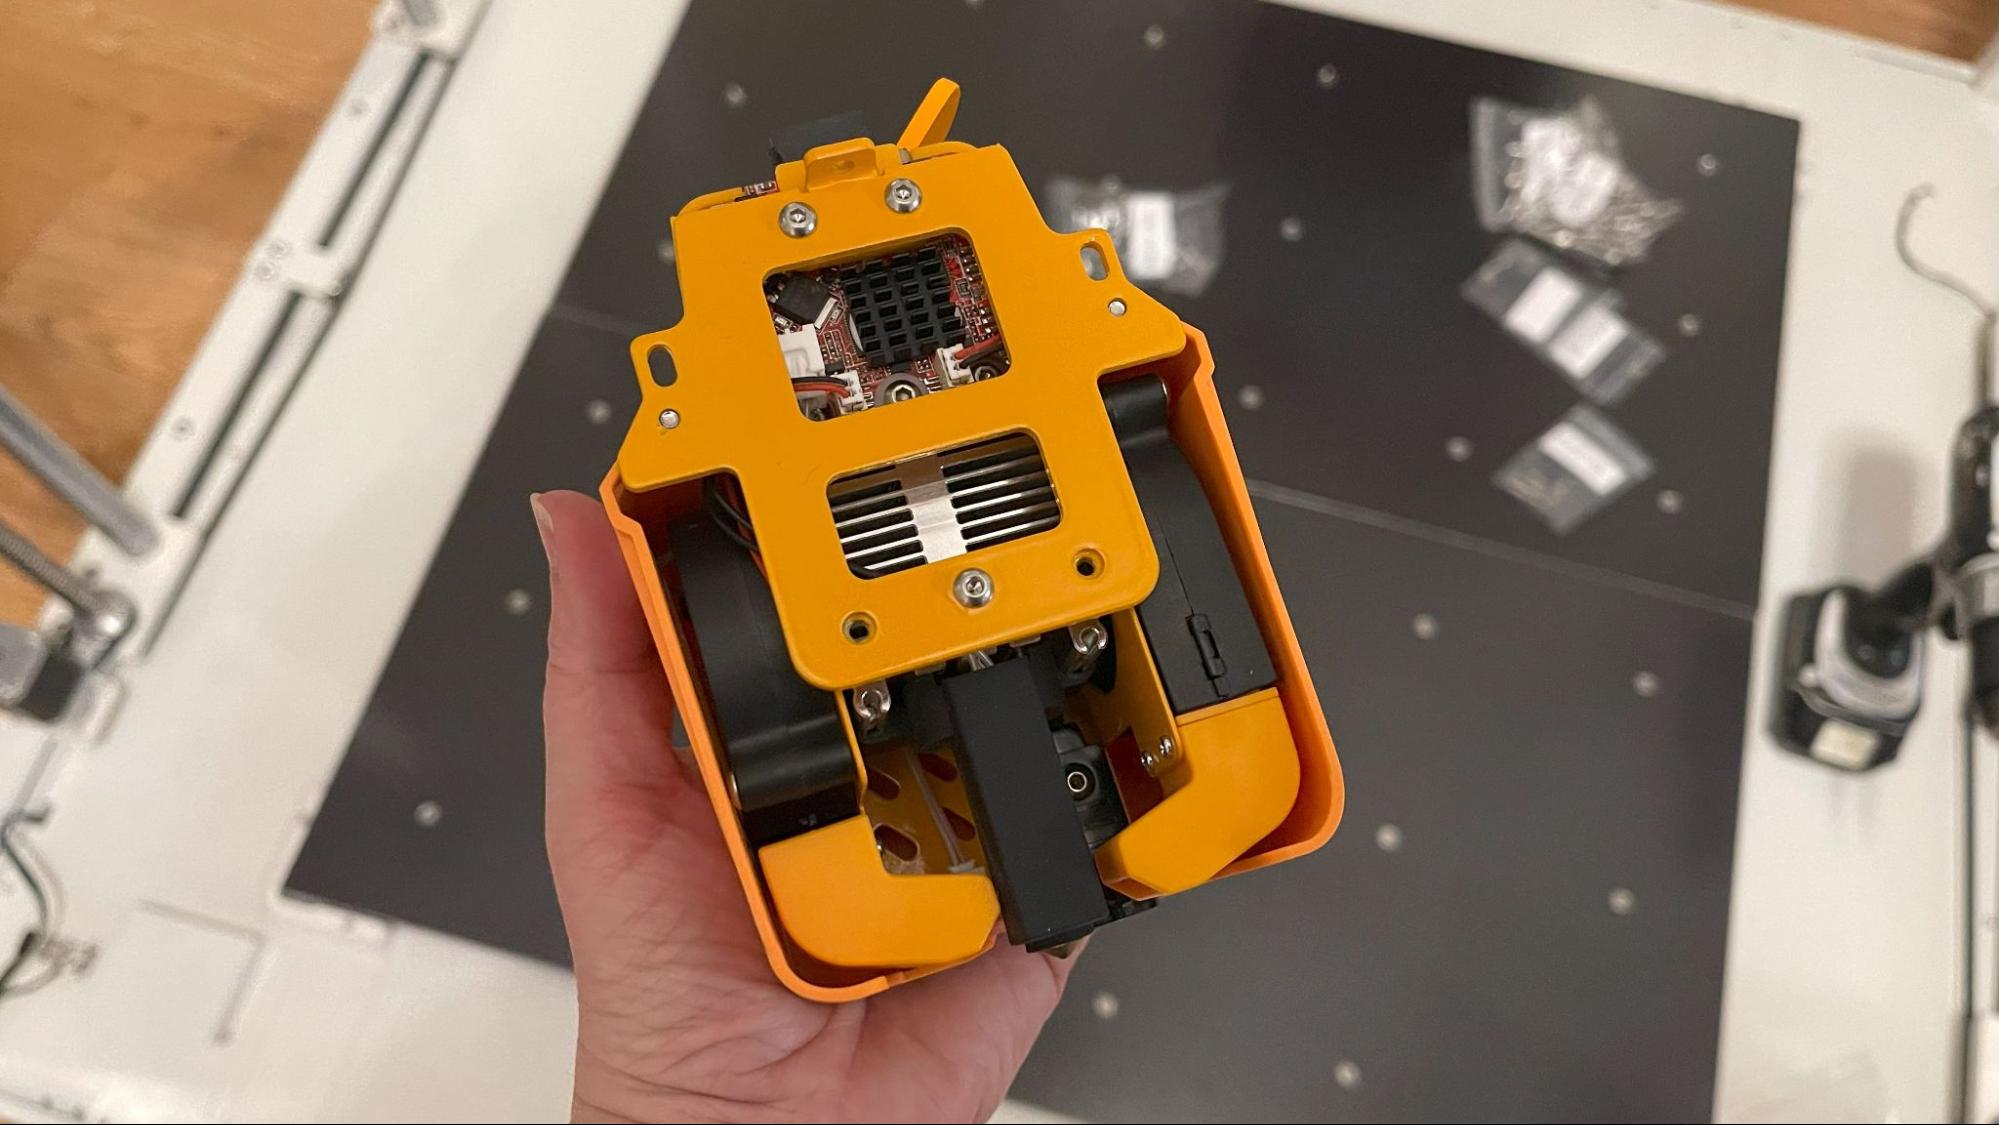
The tool head is a step up from its cousin, the Neptune Max. It has a high flow one-piece nozzle with a titanium alloy heat throat and a zirconium-coated copper nozzle tip. It has a 60W ceramic heating pad capable of keeping the flow going if you switch to a larger size nozzle. A .6mm nozzle is standard for this machine, but you also get a .8 and 1mm for experimenting.
The cooling is spot on, with two 5015 fans on the sides and a 4010 fan on the front.
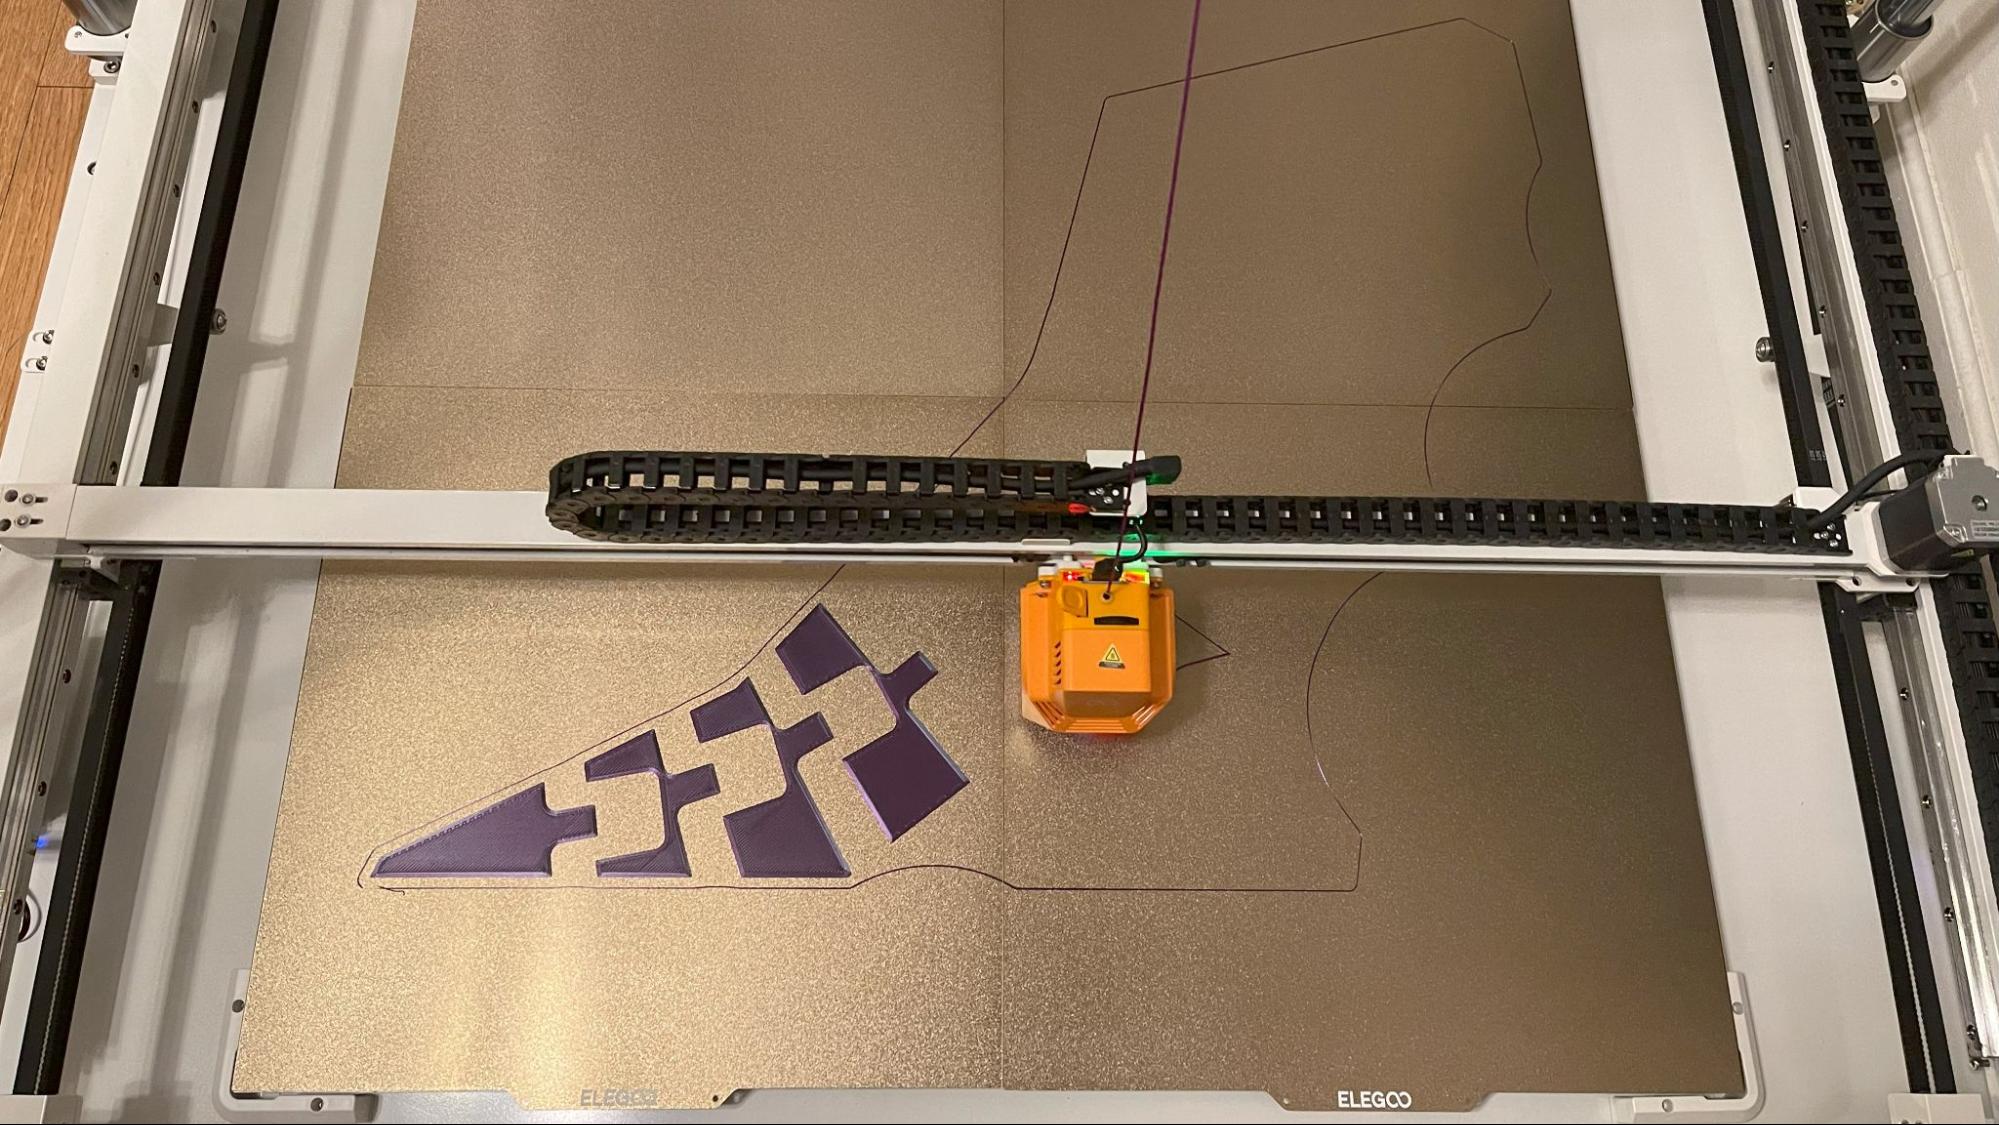
The build plate situation is awkward. The heated bed is split into four magnetic pads that float on nine springs each. There are four flexible PEI-coated spring steel plates to go on the four pads. That means there is an unavoidable cross-hair seam in the middle of the bed that leaves a scar on your prints.
The Giga has a running light on the tool head, which makes for a nice night light. Because it’s running Klipper, you can plug a normal webcam into the provided USB port for online monitoring.
Speaking of Klipper, Elegoo is once again using its own fork of the firmware, which is the cause of some conflict between Mainsail and the control pad. A recent update gives you the ability to reformat the system to vanilla Klipper if you choose.
The touch pad – really, an Android tablet – is a cool feature that would be even better if it connected via Wi-Fi…or at least had a longer cord so it could mount in more than one spot on the frame.
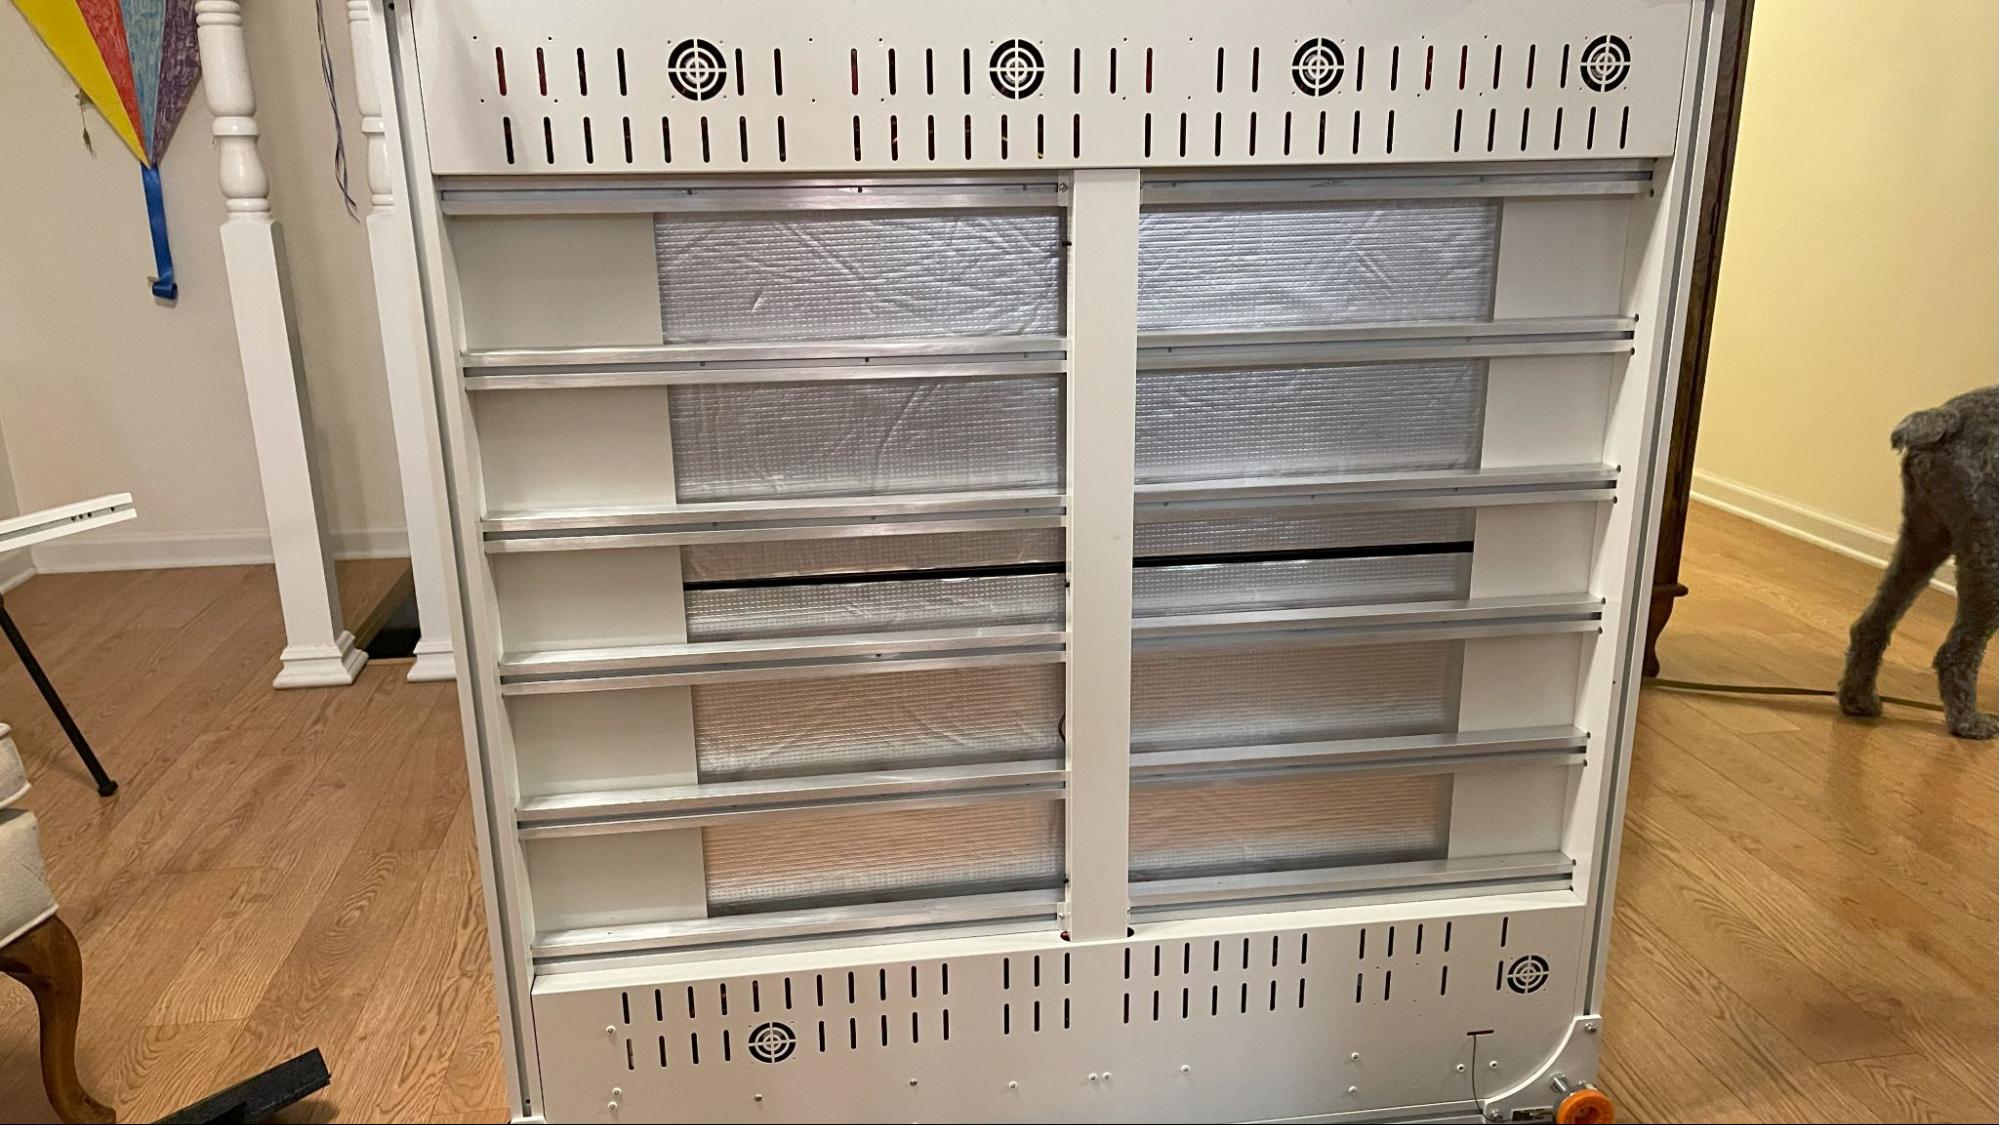
I do need to mention the five power supplies in this massive printer. There are six cooling fans on the underneath side of this machine. When you fire it up, you get a loud, low roar that you can hear throughout the house. I set an indoor thermometer near the machine, and it raised the room temperature a good five degrees. It’s in my living room, and running prints on movie night is not a good idea unless you’re willing to turn on closed caption. I would definitely not recommend parking this printer in your living room.
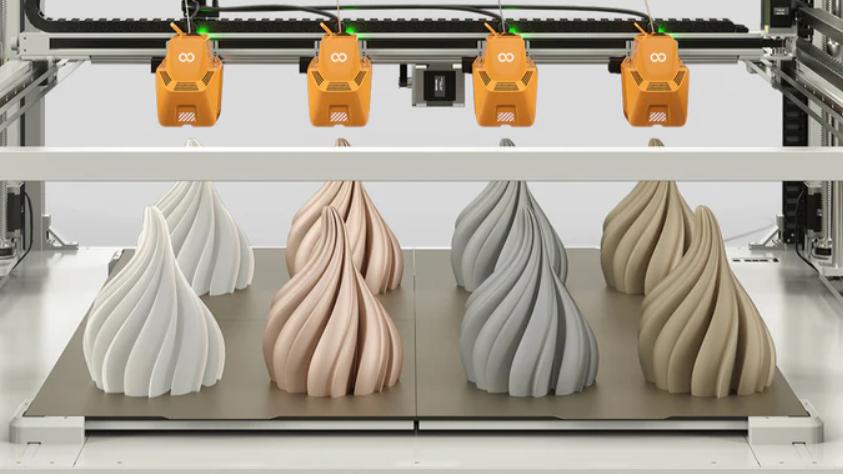
There is one function I wasn’t able to test, and that’s multi-nozzle printing. Elegoo’s ad campaign shows a Giga with four tool heads that would allow it to print four identical copies. This is not IDEX or multicolor printing, just…four copies. Personally, I think it would be cheaper, easier and less noisy to buy four Neptune Max printers.
Assembling the Elegoo OrangeStorm Giga
The OrangeStorm Giga comes in two flat-pack boxes, weighing 200 pounds each, with semi-assembled sections you need to screw together. It’s actually not that hard, but it’s so large and heavy you really need a helper to do it easily.
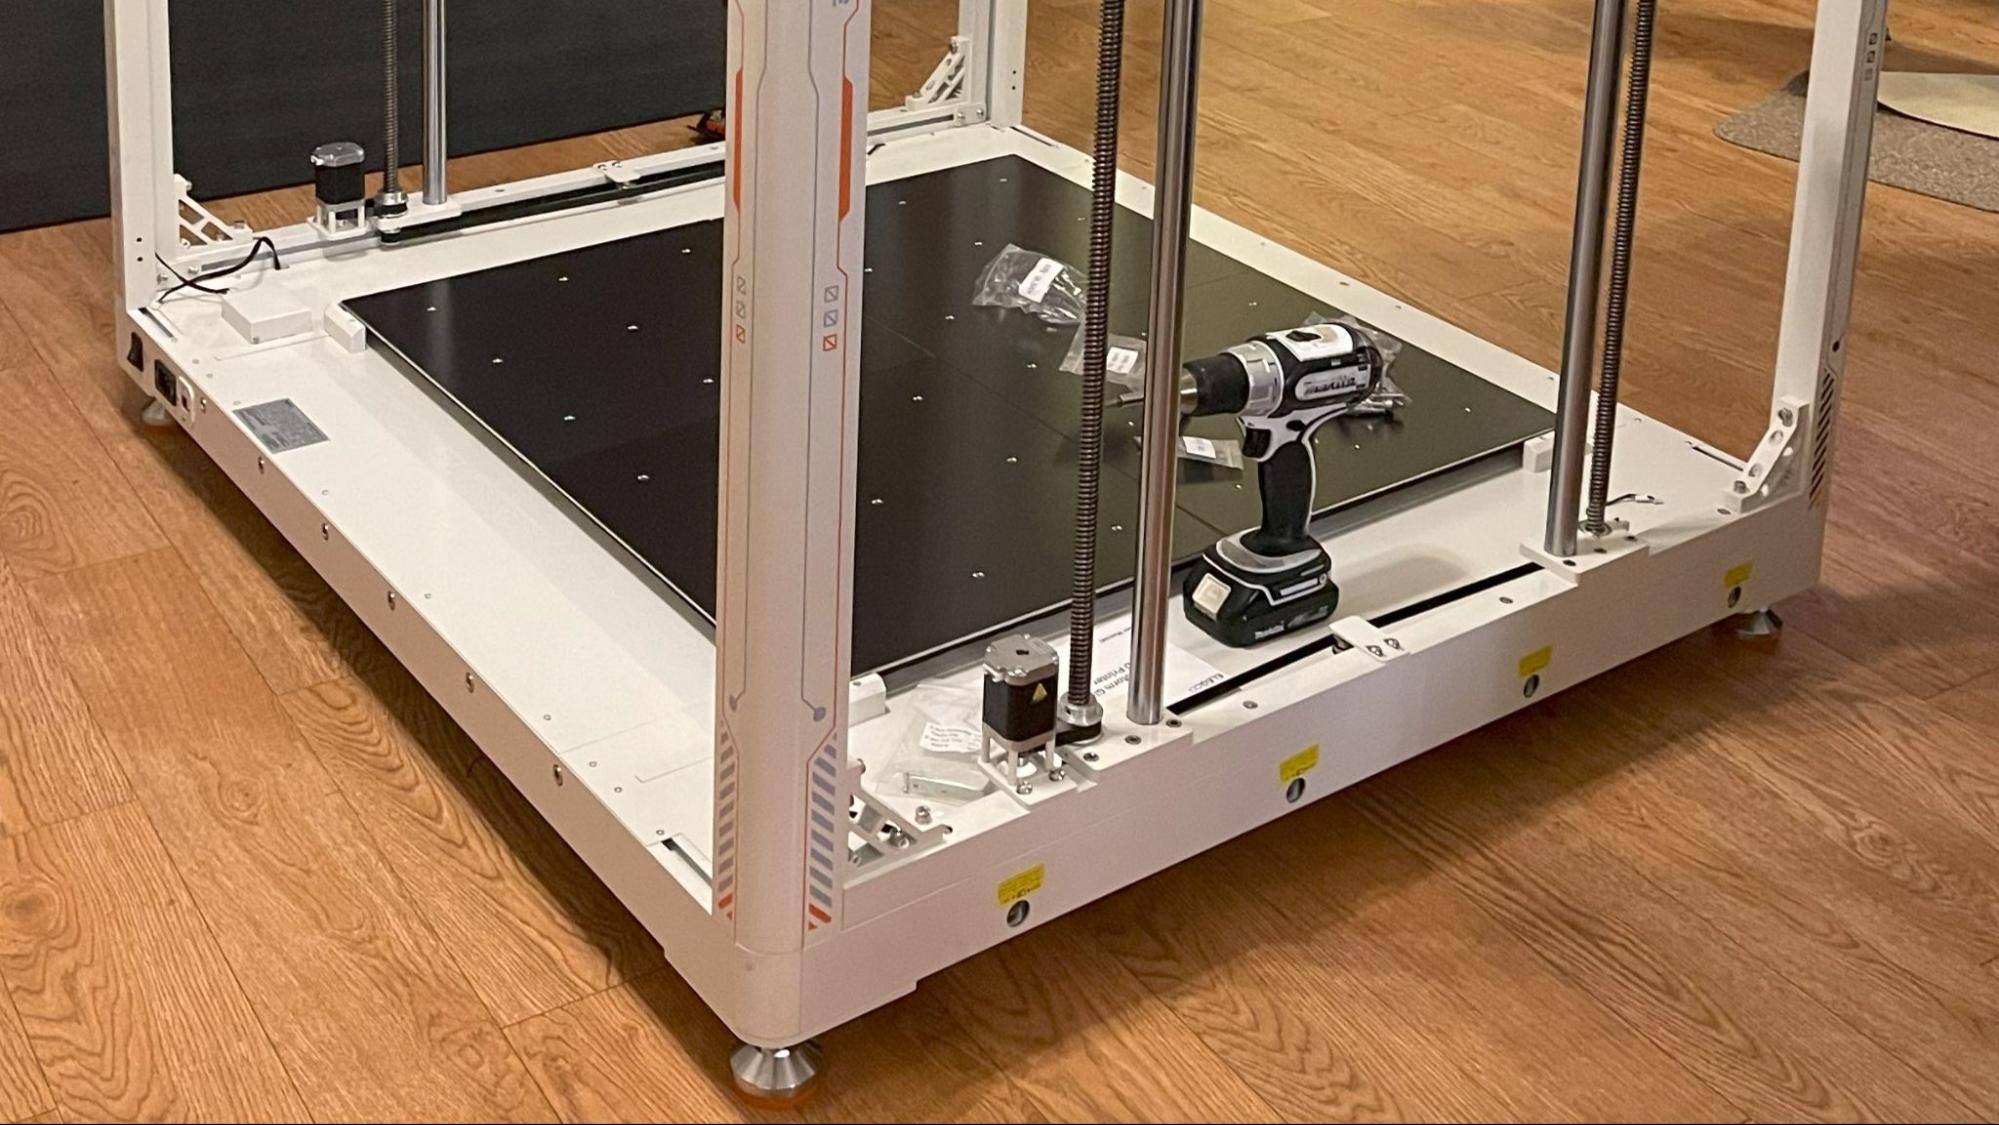
It took my husband and me about two hours to build, and I broke my rule about using the provided tools and got out a drill. Each corner is braced with brackets to keep the whole machine square. The printer is really quite solid and well-made.
Once the frame is assembled, there are a few wires to plug in, like an ordinary Elegoo printer. The only thing difficult about this machine is its size.
Leveling the Elegoo OrangeStorm Giga
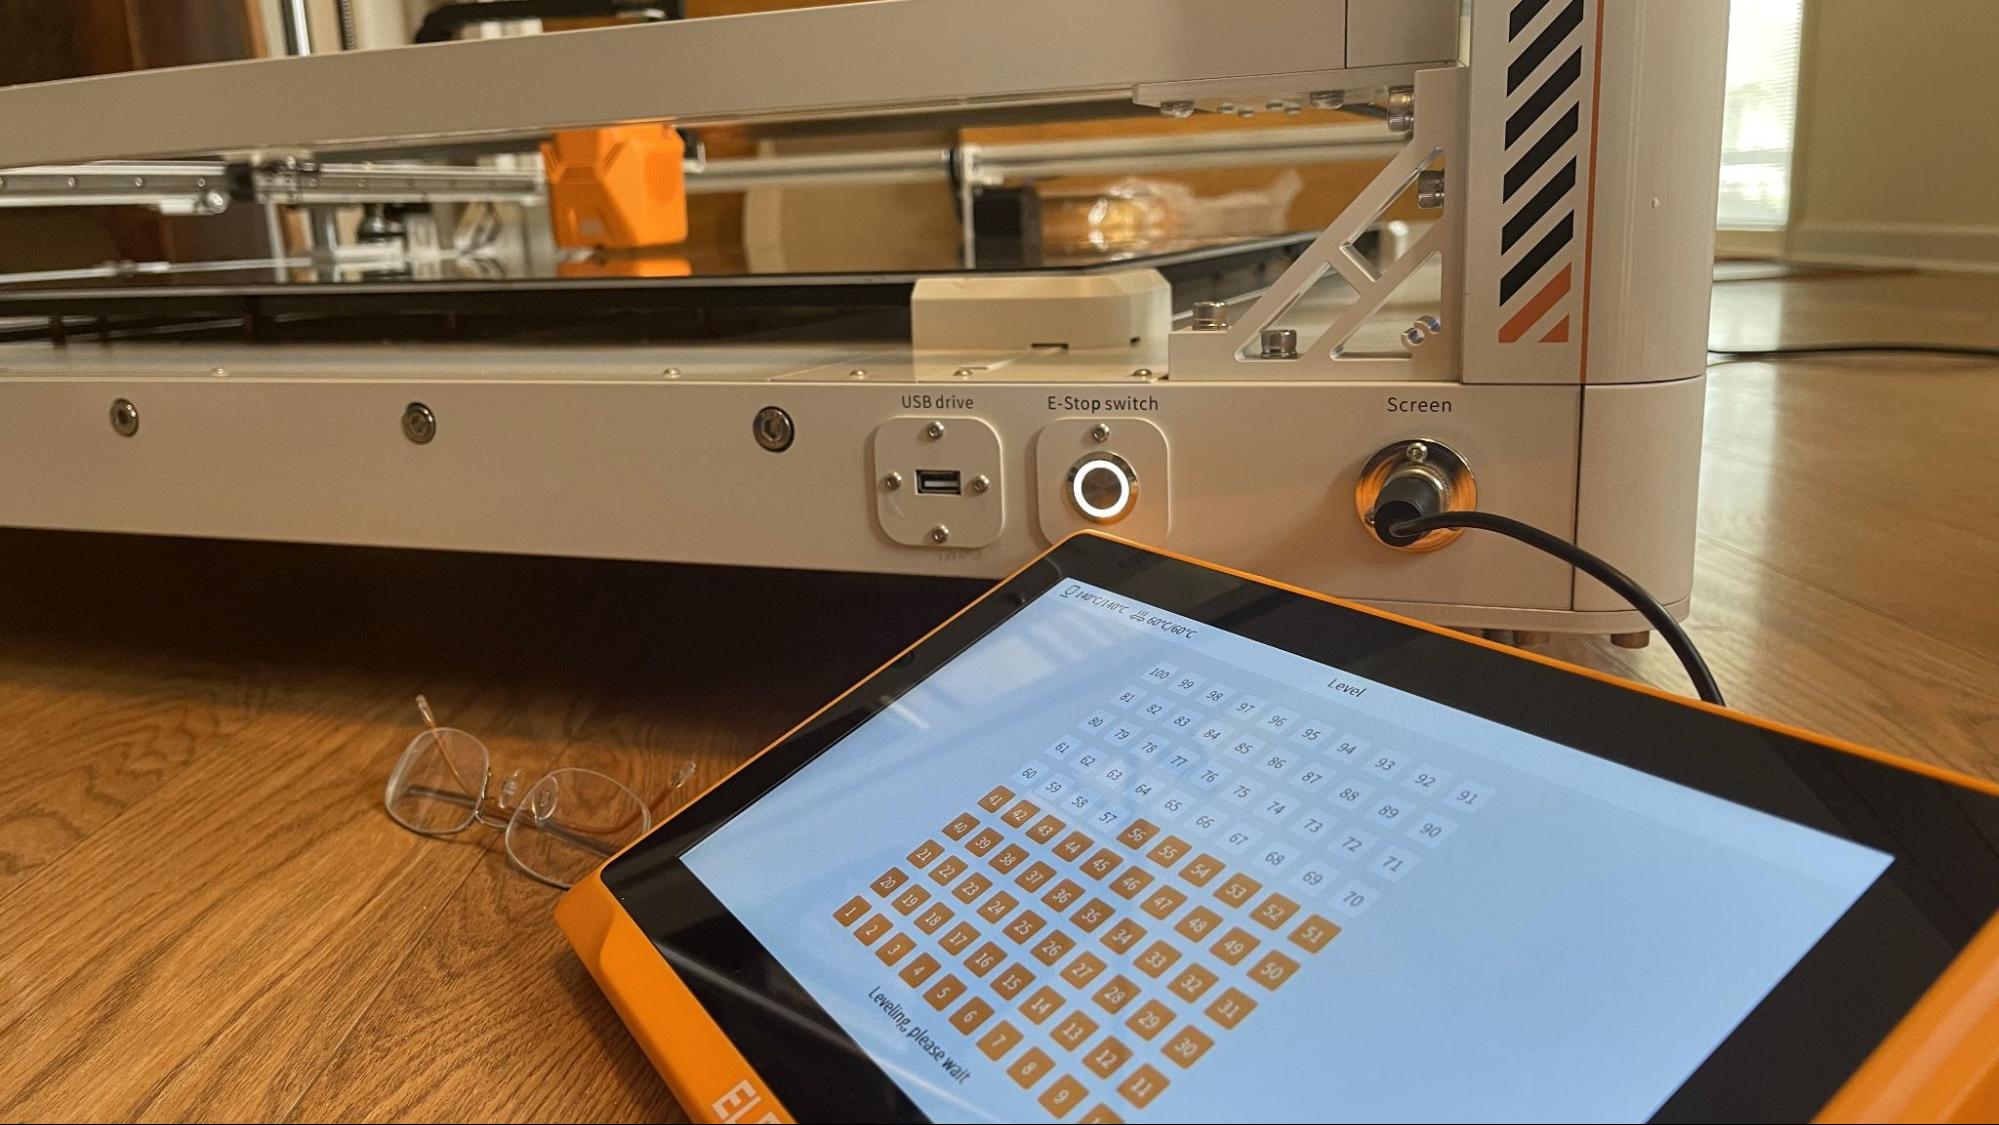
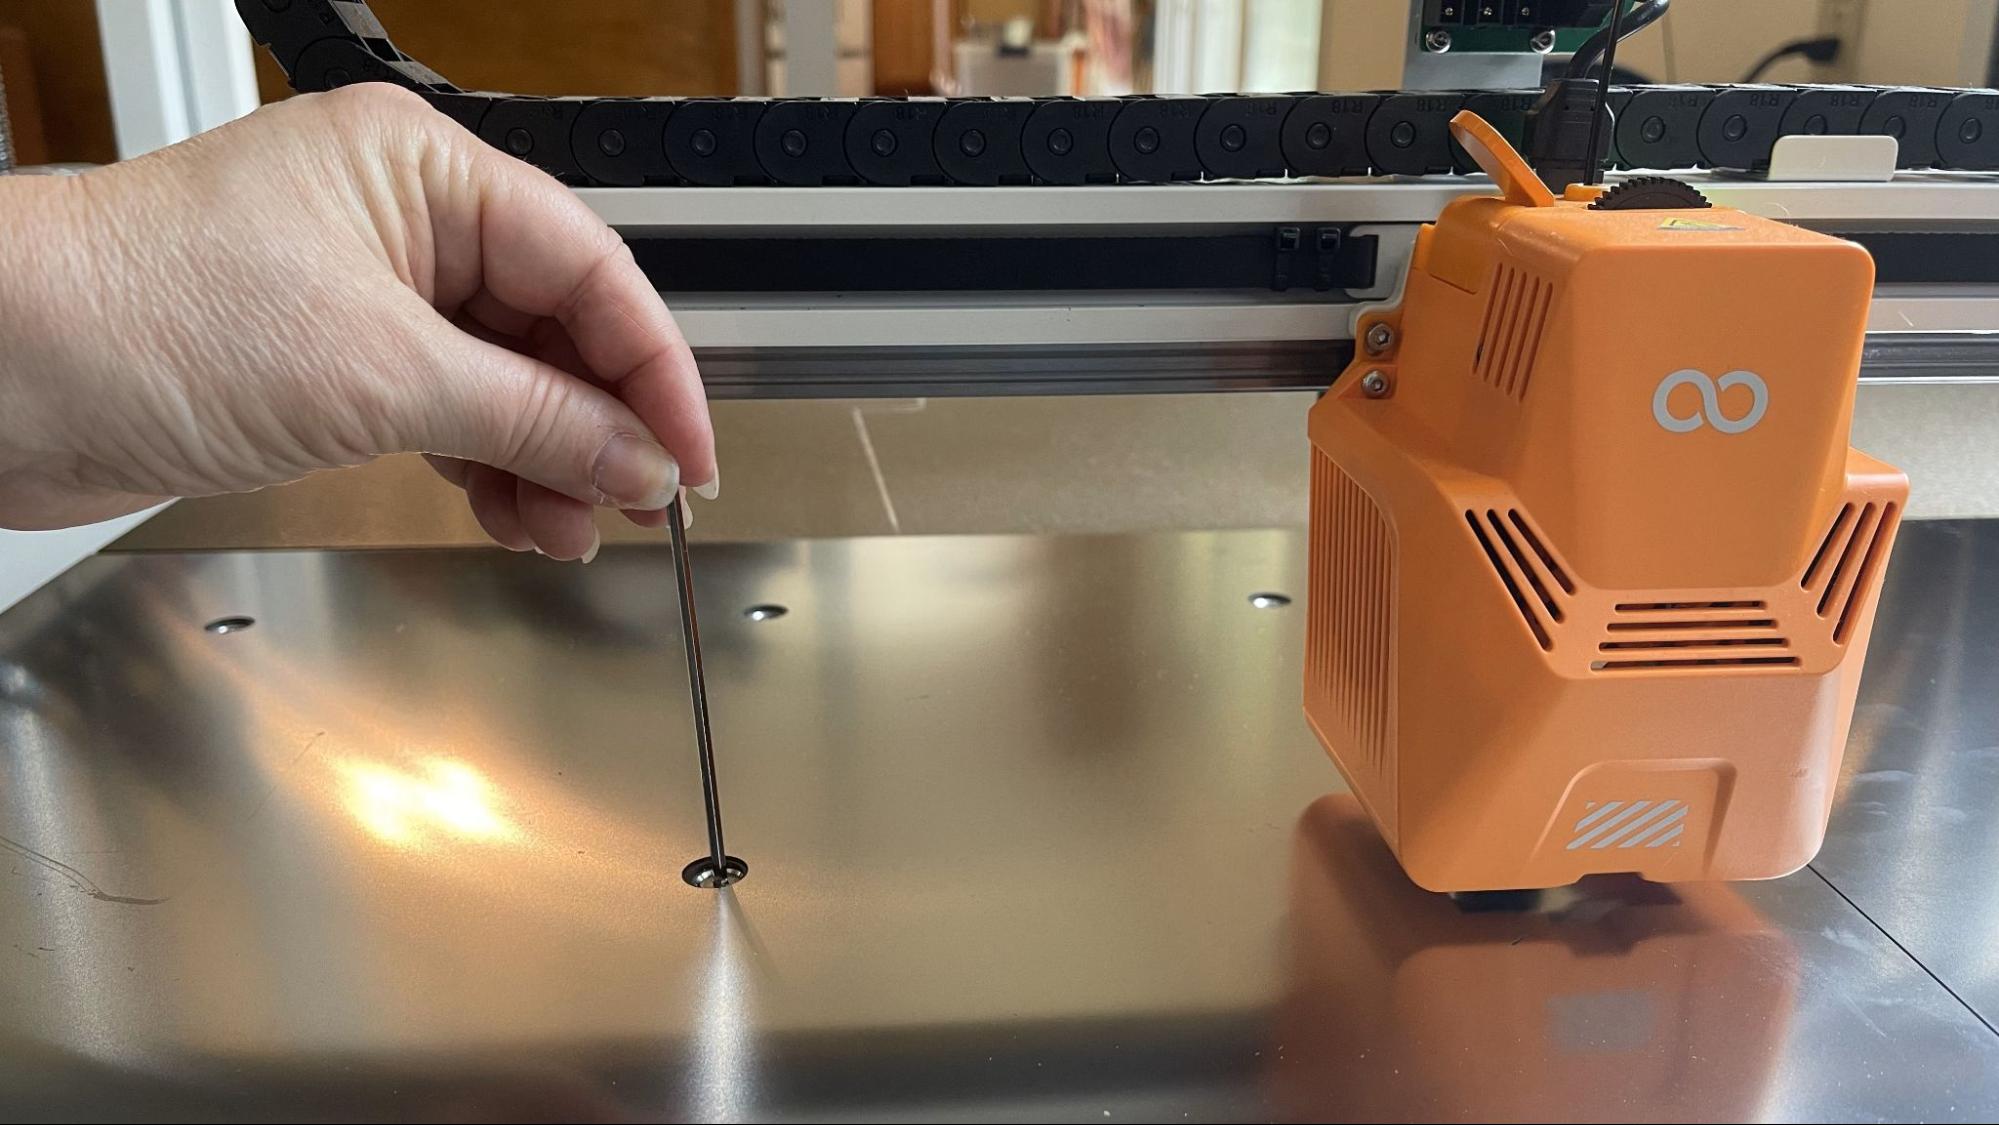
The OrangeStorm Giga has a unique leveling system that combines a floating heated bed and an inductive probe. The four heated panels “float” on nine springs mounted to the base of the printer. These springs have adjustment screws that you can tighten or loosen from the top with a hex key. That’s 64 screws to adjust for manual leveling.
The Giga has a program to assist with the manual leveling, and it will tap each point to let you know if you’ve adjusted it correctly. However, being an inductive probe, it needs metal to tap – and you need access to the screws. Elegoo’s solution is two special leveling plates that are identical to the build sheets but have holes to line up with the screws. They only give you two of these plates, so halfway through, you need to move the plate to the other side of the bed.
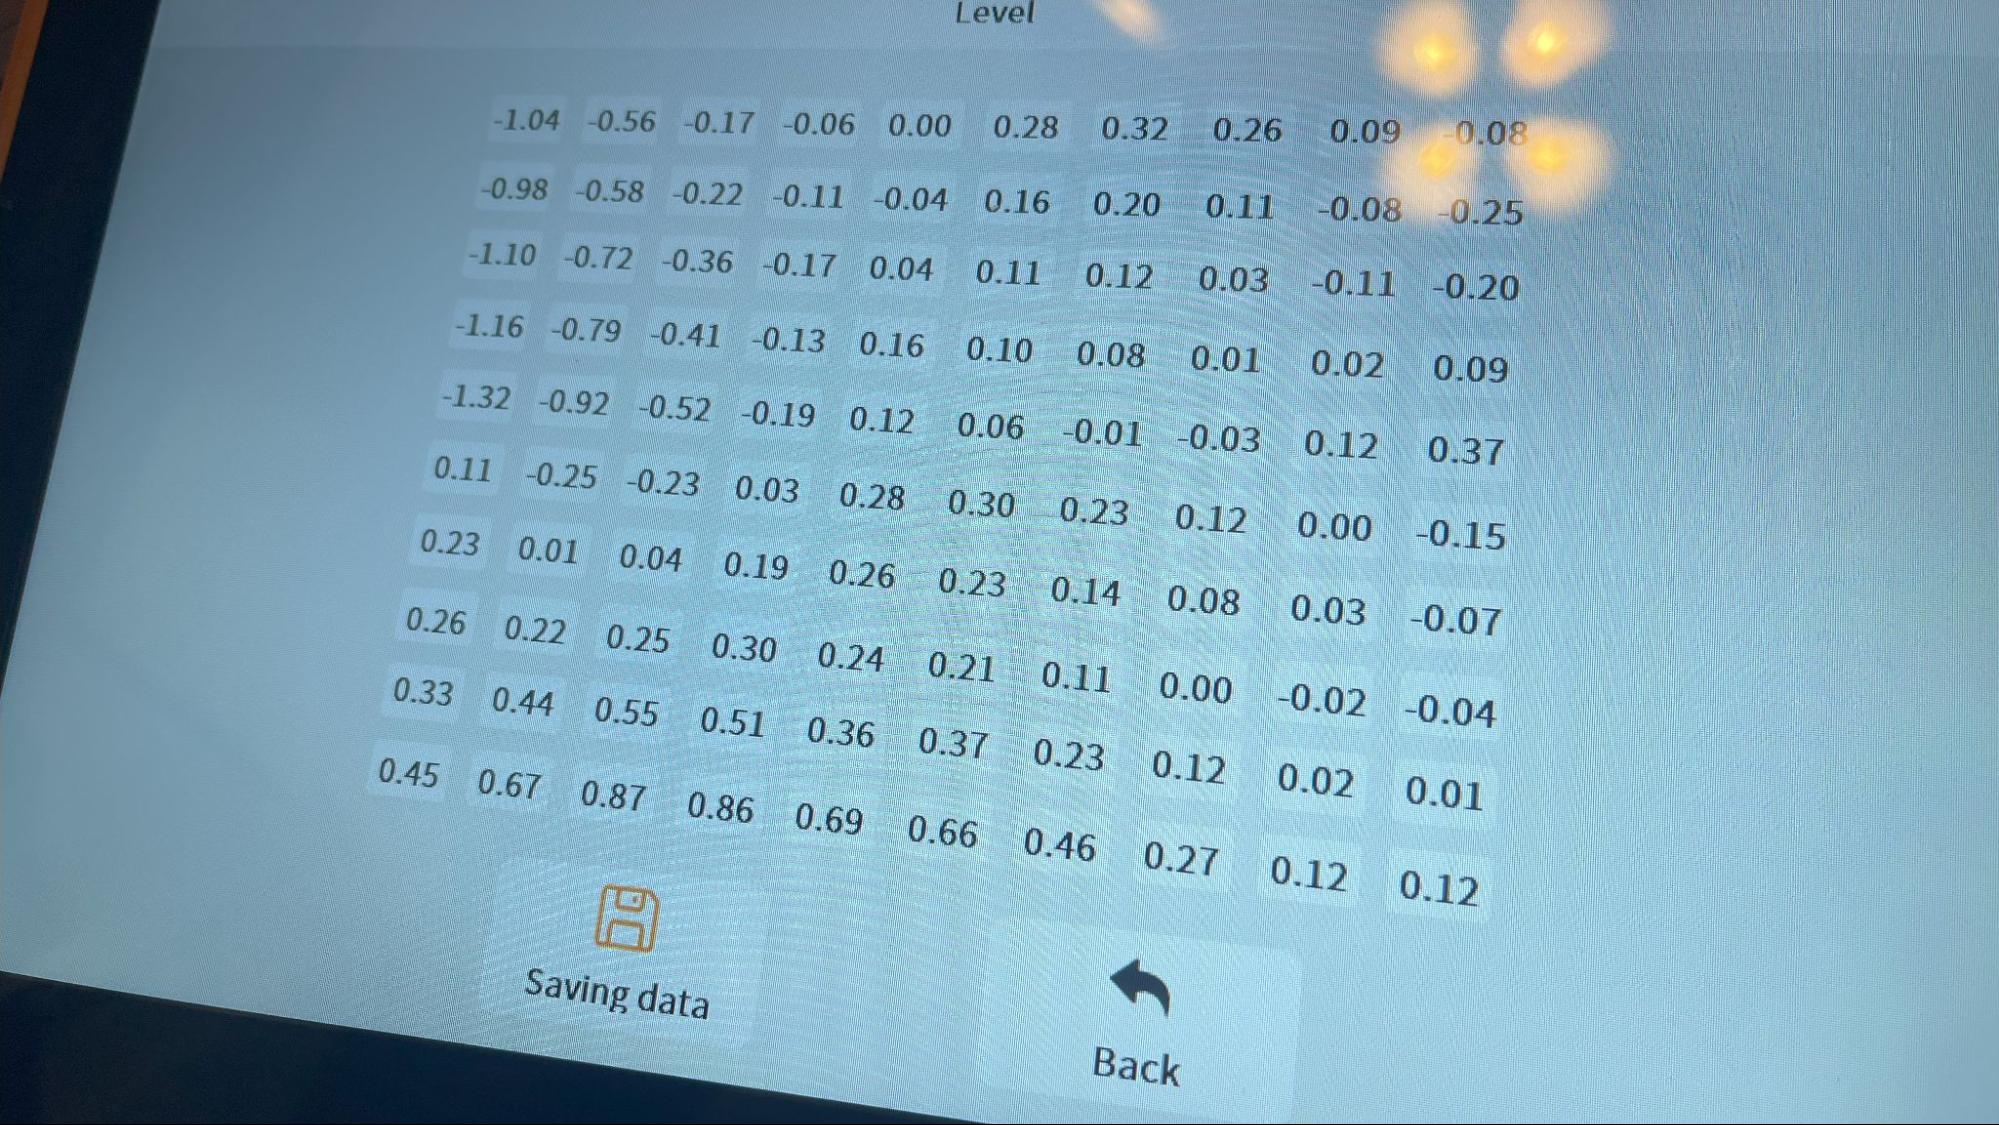
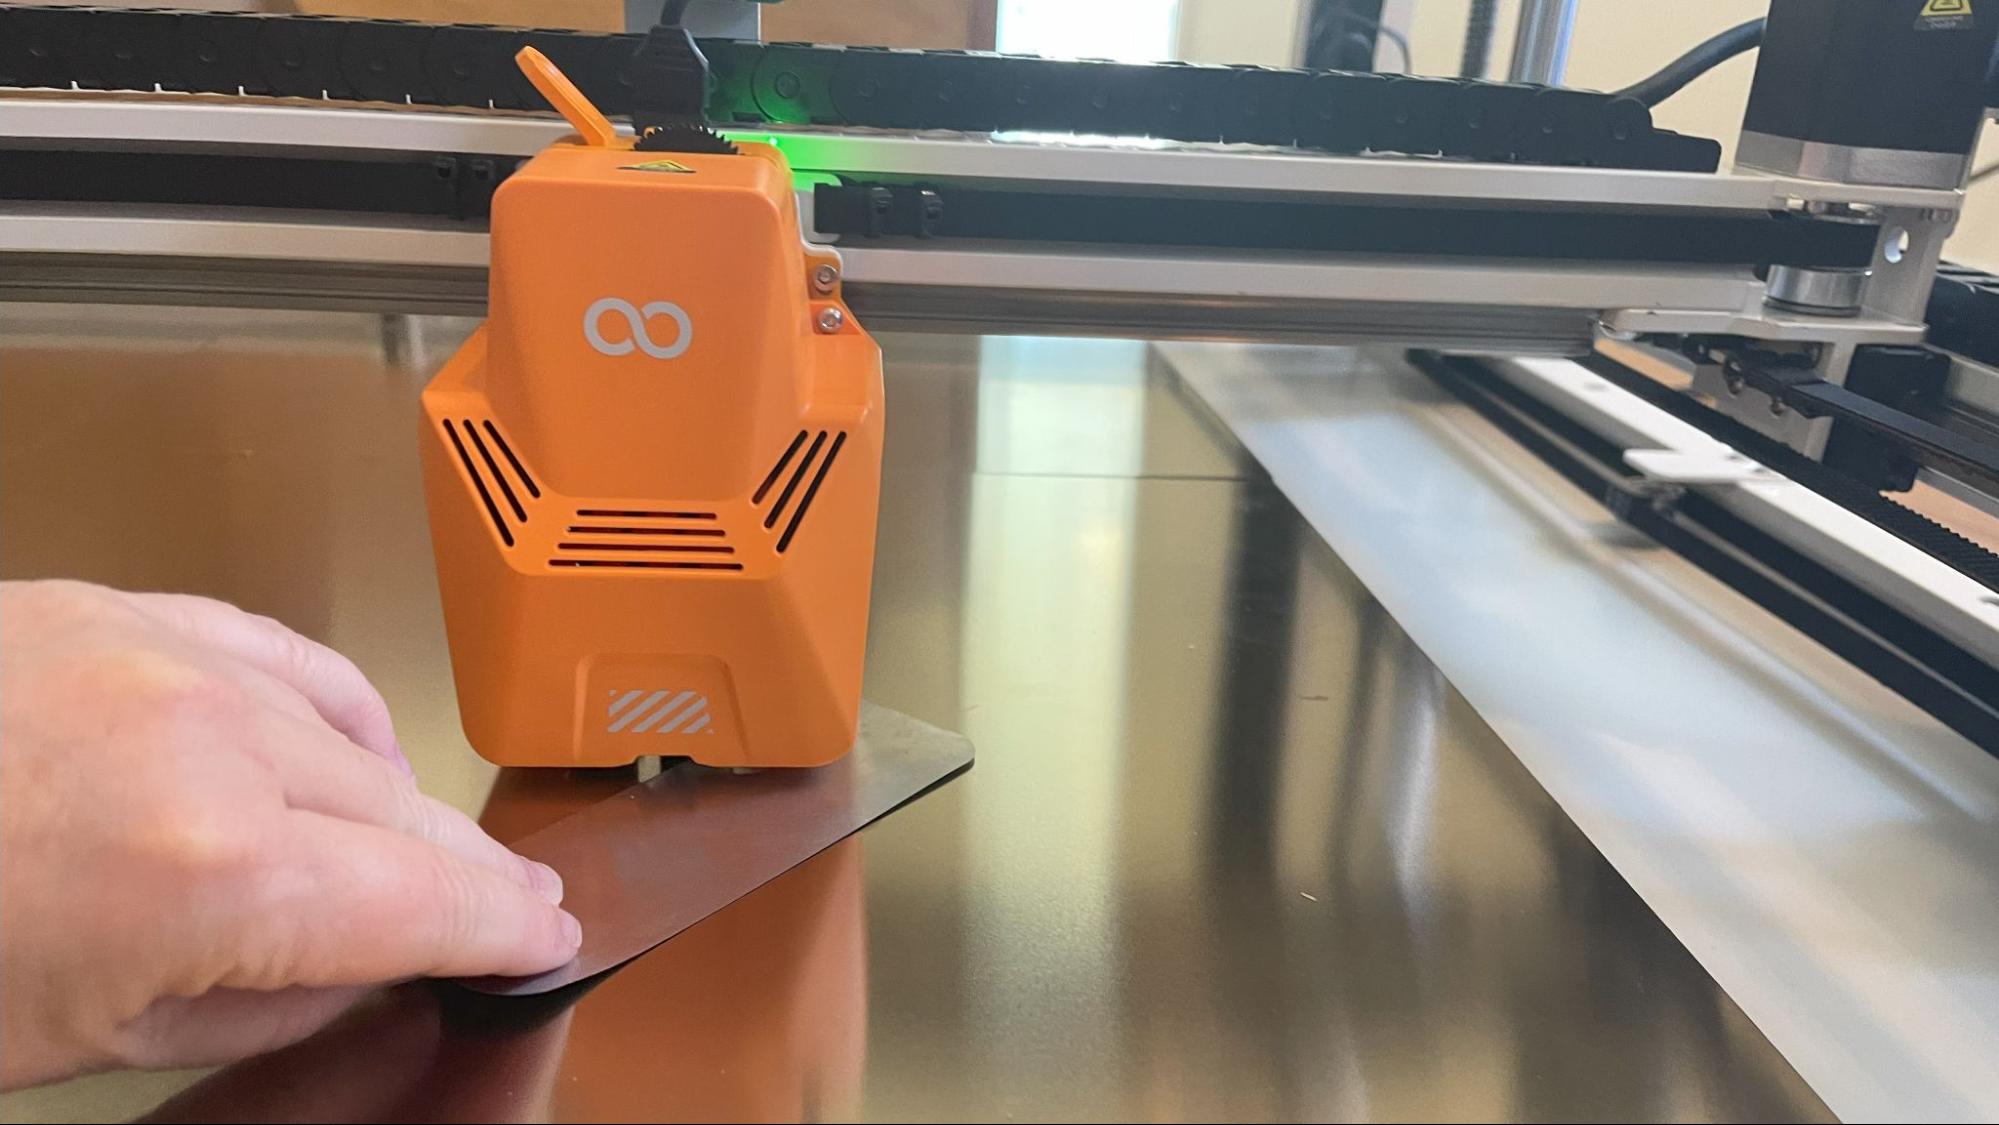
After you have the screws tightened to your liking, you can move on to the 121-point auto leveling to perfect the first layer. And then after that, you get to set the Z height with a provided metal card or a piece of paper.
I’ve leveled this machine several times, and it always takes about two hours for a full adjustment. You can fix a sandwich – and eat it – in the amount of time it takes to heat up and tap 121 points.
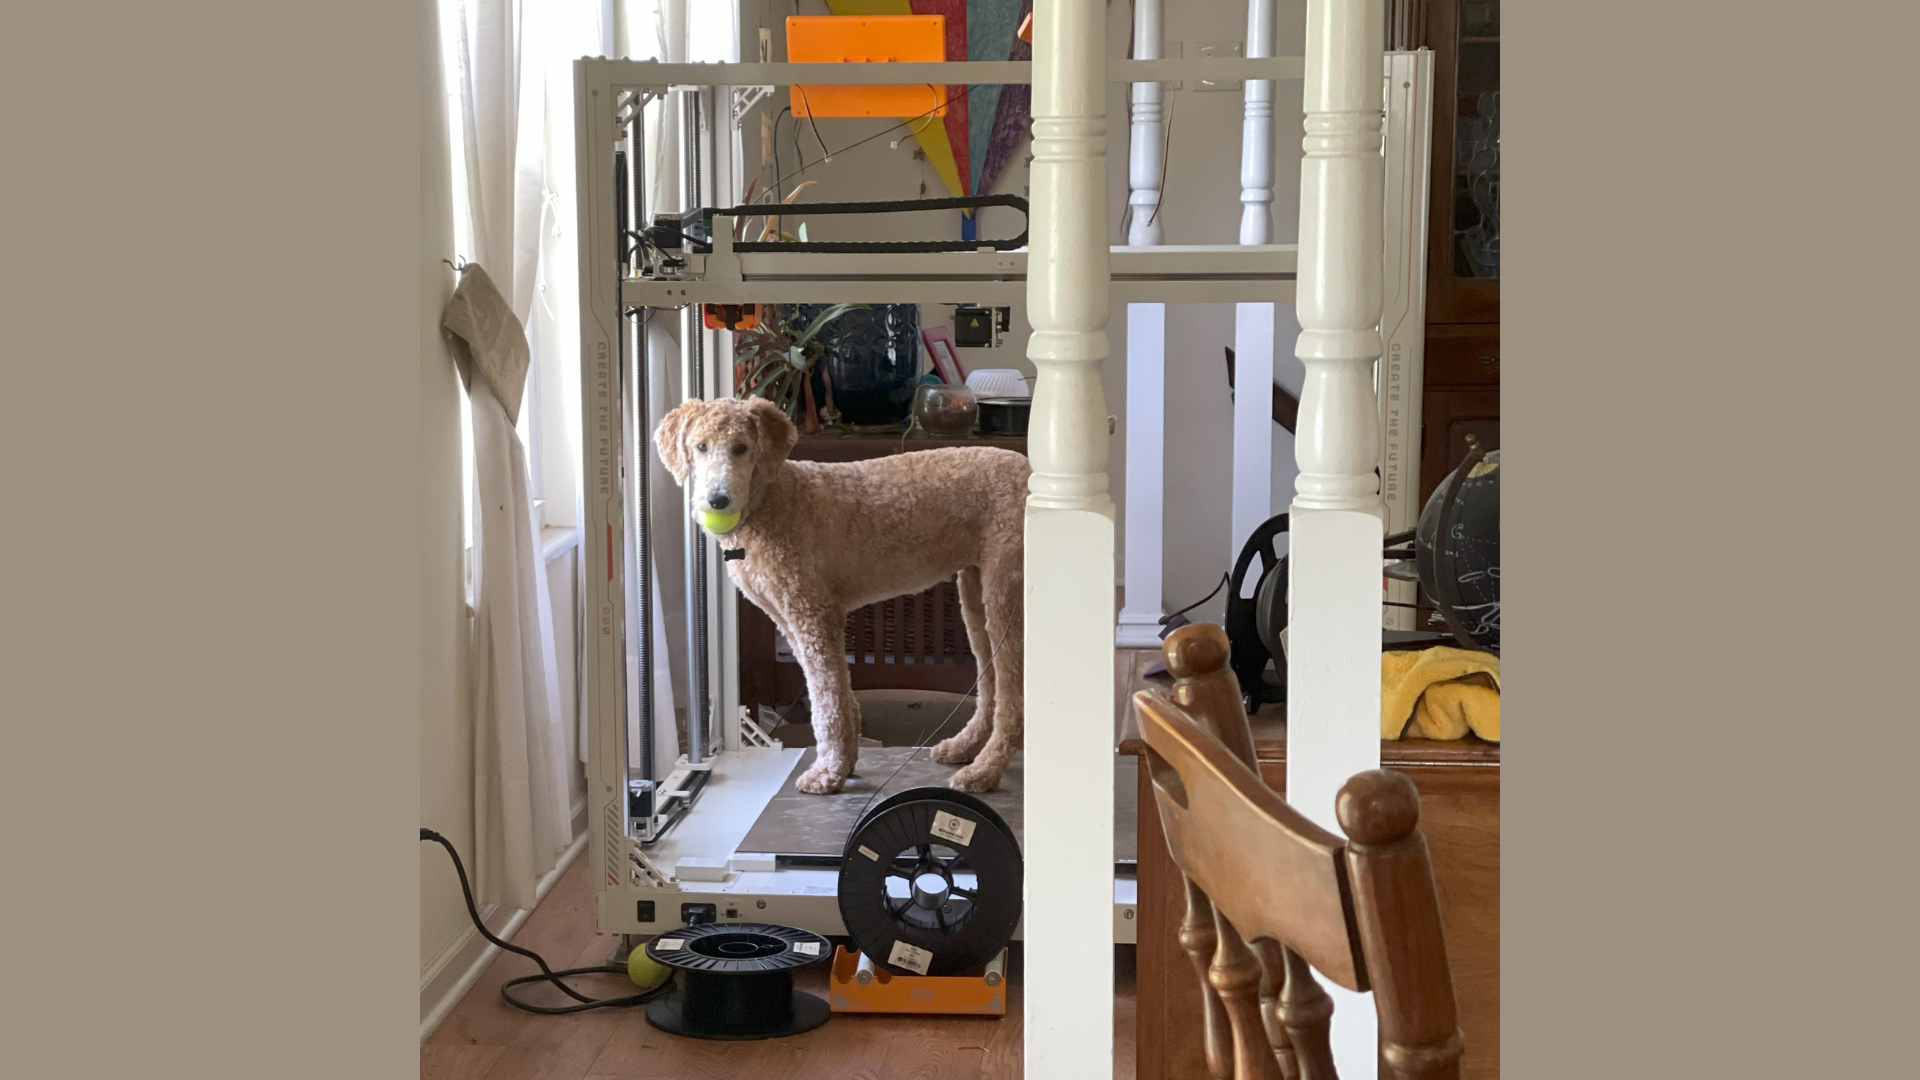
I wouldn’t mind all the trouble to level this machine if it could hold the level for a few days. But the four plates refuse to stay in balance, and some of the screws simply can not be loosened enough. (And yes, I was having this issue before I got the puppy who wanted to stand on the printer.)
If you’re seriously interested in the Giga, give Joel Telling’s “Blue Storm Tera” a look. He’s modding his Giga 3D printer with a solid, single bed, a new leveling system, and some additional tweaks. He’s working with Luke’s Laboratory to make Giga-specific upgrades.
Loading Filament on the Elegoo OrangeStorm Giga
The OrangeStorm Giga is a direct drive printer with its extruder and hotend, all in one spot. To load filament, tap 'Prepare' on the main menu, select 'Temperature', and choose one of four presets that match your filament. Once the hotend is warmed past 190 degrees, you can insert the filament into the top of the extruder and let the wheels pull the filament through.
To unload or change colors, simply reverse the process.
The OrangeStorm Giga comes with a copy of Elegoo Cura, which has profiles for all of Elegoo’s machines. It’s based on an old version of Cura, so if you want something more modern, you’ll have to transfer the information to a new slicer. I used OrcaSlicer for most of my test prints.
Printing on the Elegoo OrangeStorm Giga
The OrangeStorm Giga I reviewed has some seriously wonky leveling issues. I had to use several jumbo sticks of glue during my time with the Giga and stop being a perfectionist. The layers generally sorted themselves out after a few passes, and if I didn’t print anything face down it was ok. The rest of the prints – walls and top surface – are quite excellent.
Elegoo provided a full spool of filament for this printer, which won’t go far when you’re printing this big. You’ll definitely want to order a few more rolls of filament right away. Check out our guide to the best filaments for 3D printing for examples of our favorite materials to add to your supply.
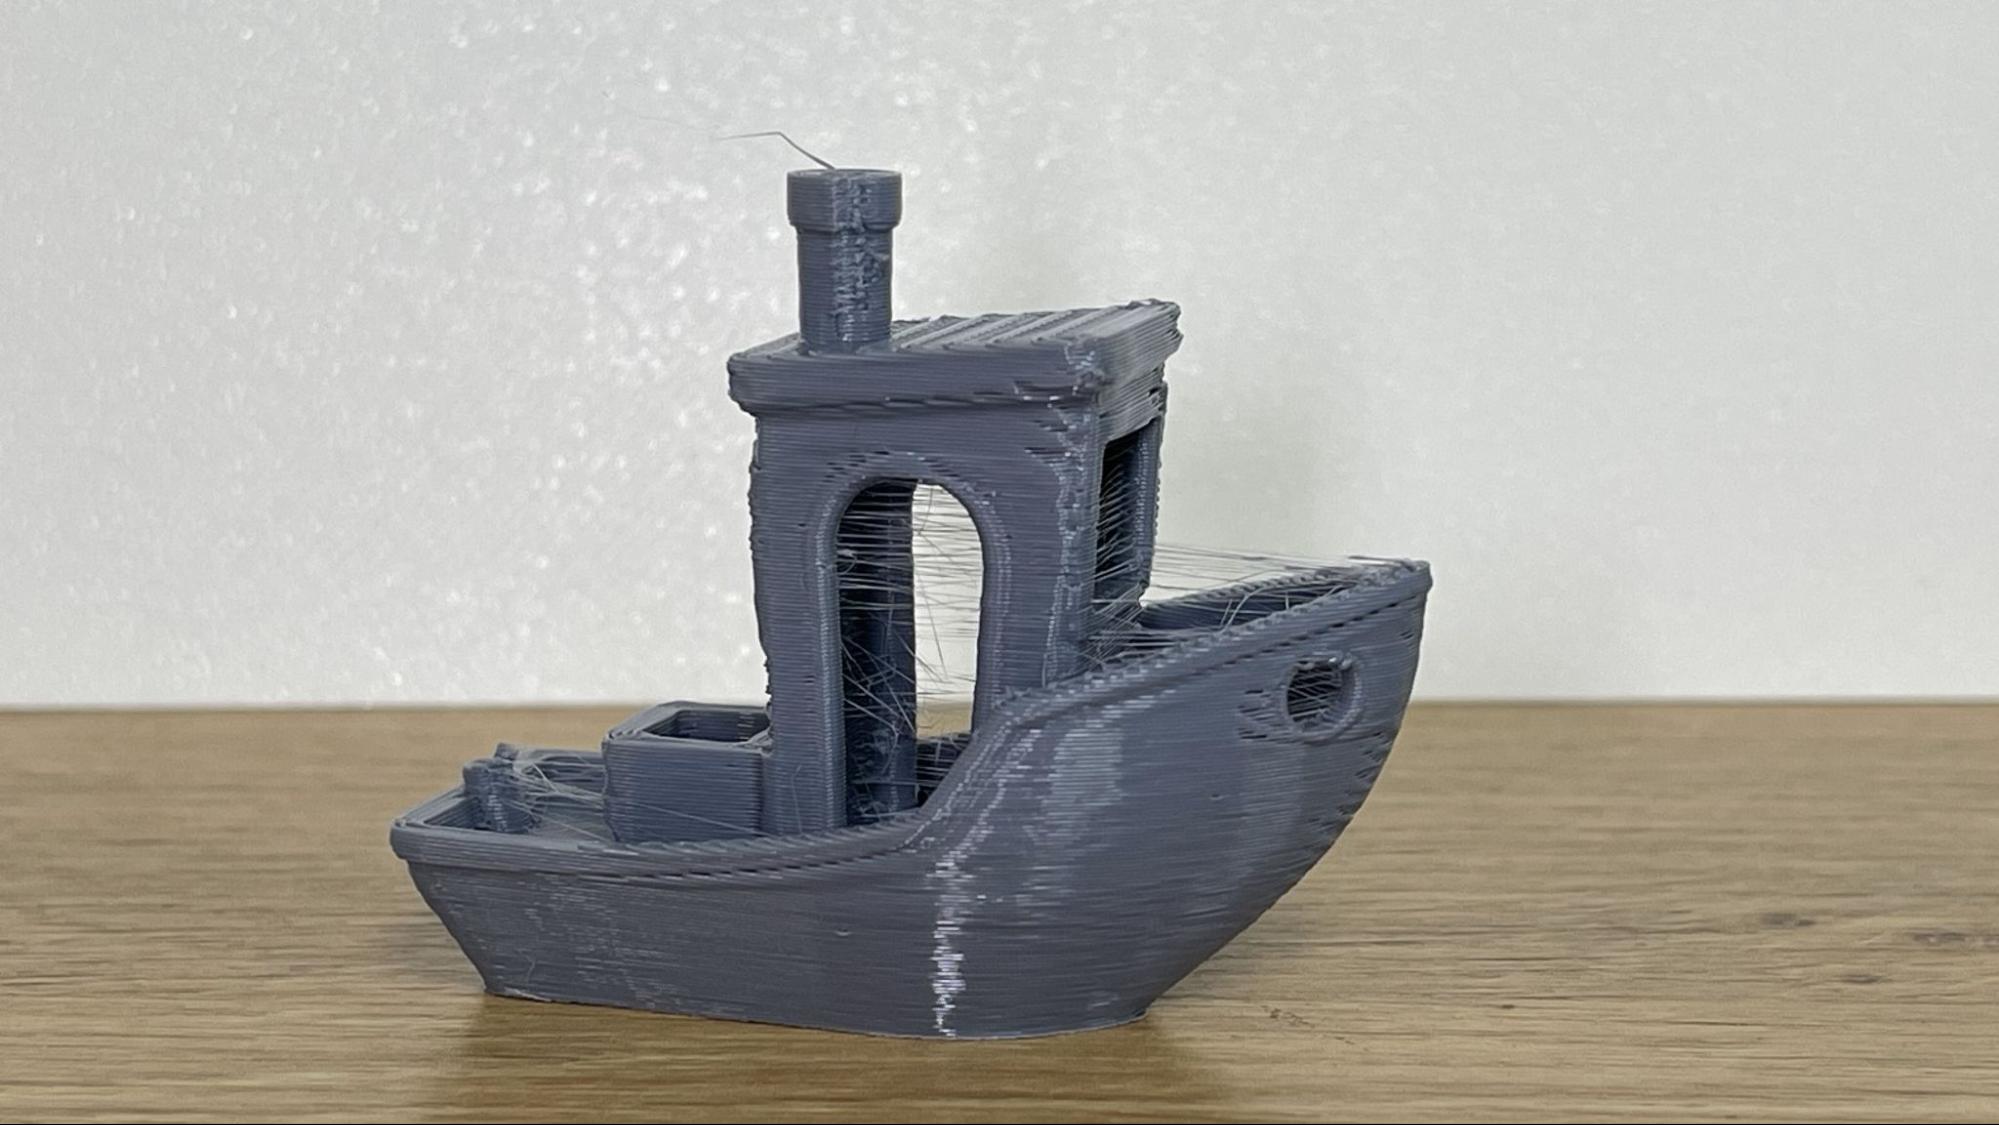
For my first print, I got right to the speed benchy, as I was curious what a machine this size could do with Klipper. It cranked out a benchy in 25 minutes and 12 seconds, which really isn’t bad for a printer with a 5,000 mm/s² max acceleration, but not exactly in the top ten of our fastest 3D printers. It was wispy and a strangely lumpy, but still very glossy. This was printed in ordinary gray Inland PLA, so none of the defects are hidden.
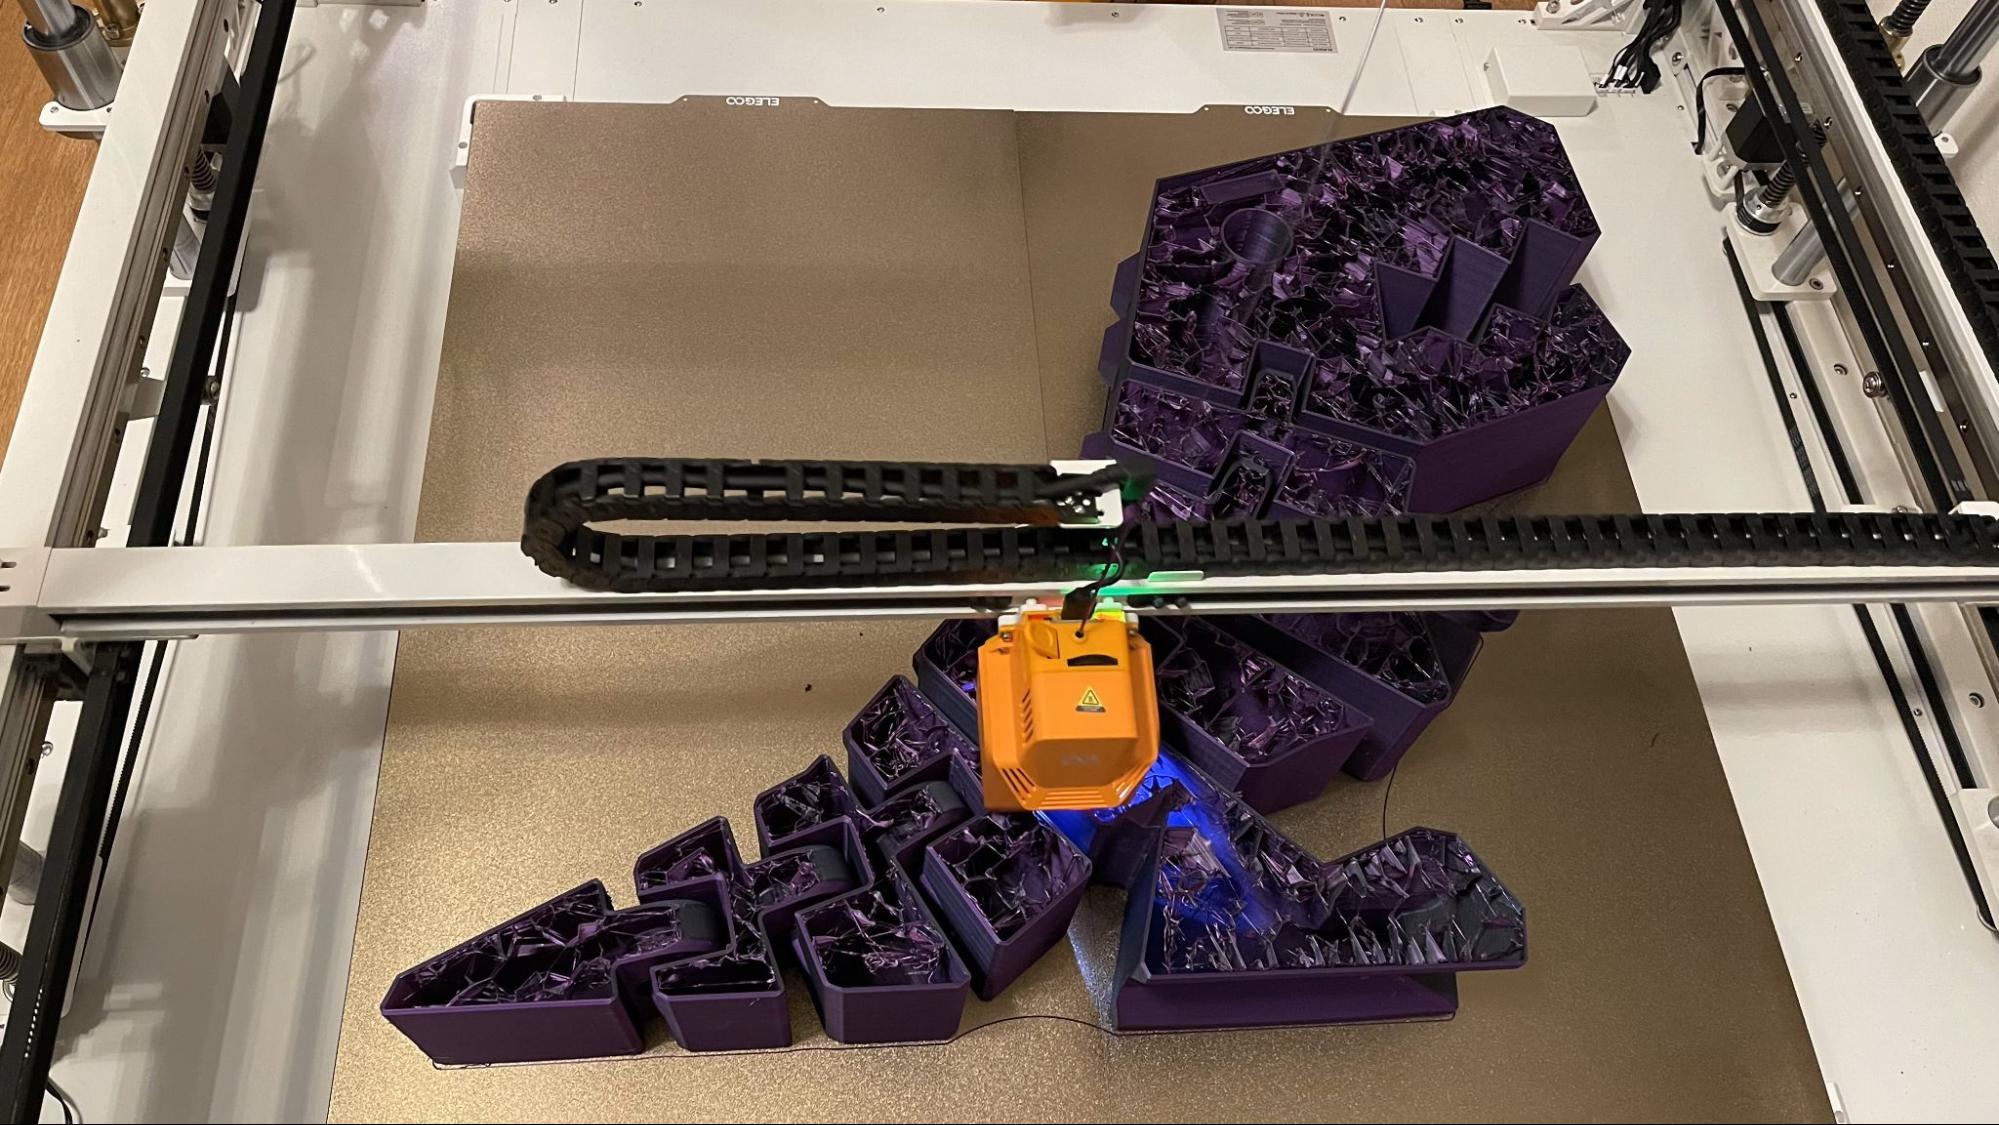
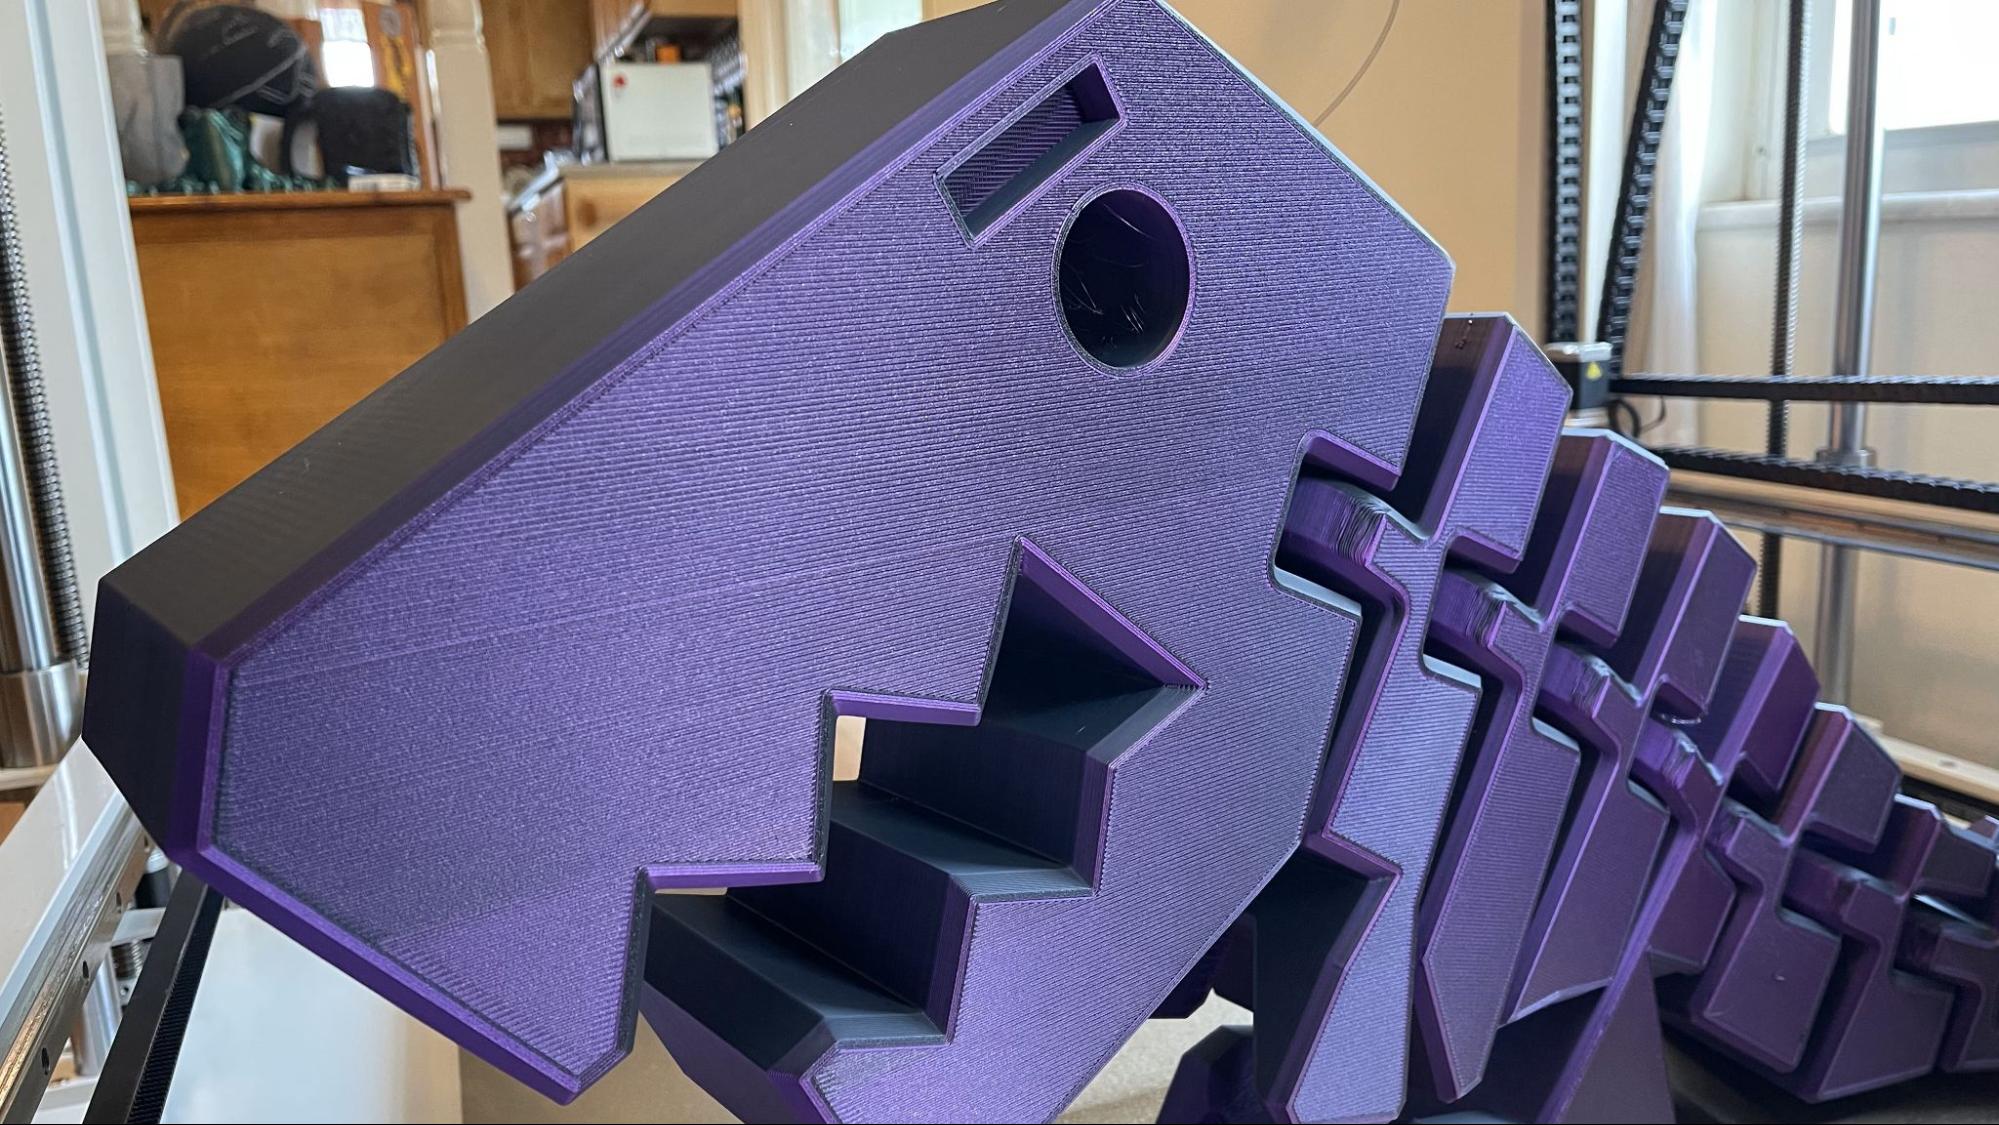
I decided to print something completely ridiculous for my first real print, and maxed out the bed with a Flexi Rex. I learned some important slicing lessons that day – pay attention to infill and bridging. When you’re slicing for a printer this big, you have to remember the scale you’re dealing with. I had a 3kg spool of dual color purple and black silk PLA from ColdStar Forge for this print. I made a bad choice and used lightning infill, but the bottom of the print is too unsupported in spots and you could definitely poke a thumb through it.
The finished print looks decent enough for display, though it does have a plate seam scar through the head. This took 42 hours to print using a .32 layer height and a speed of 120mm/s for the outer walls and 200 everywhere else.
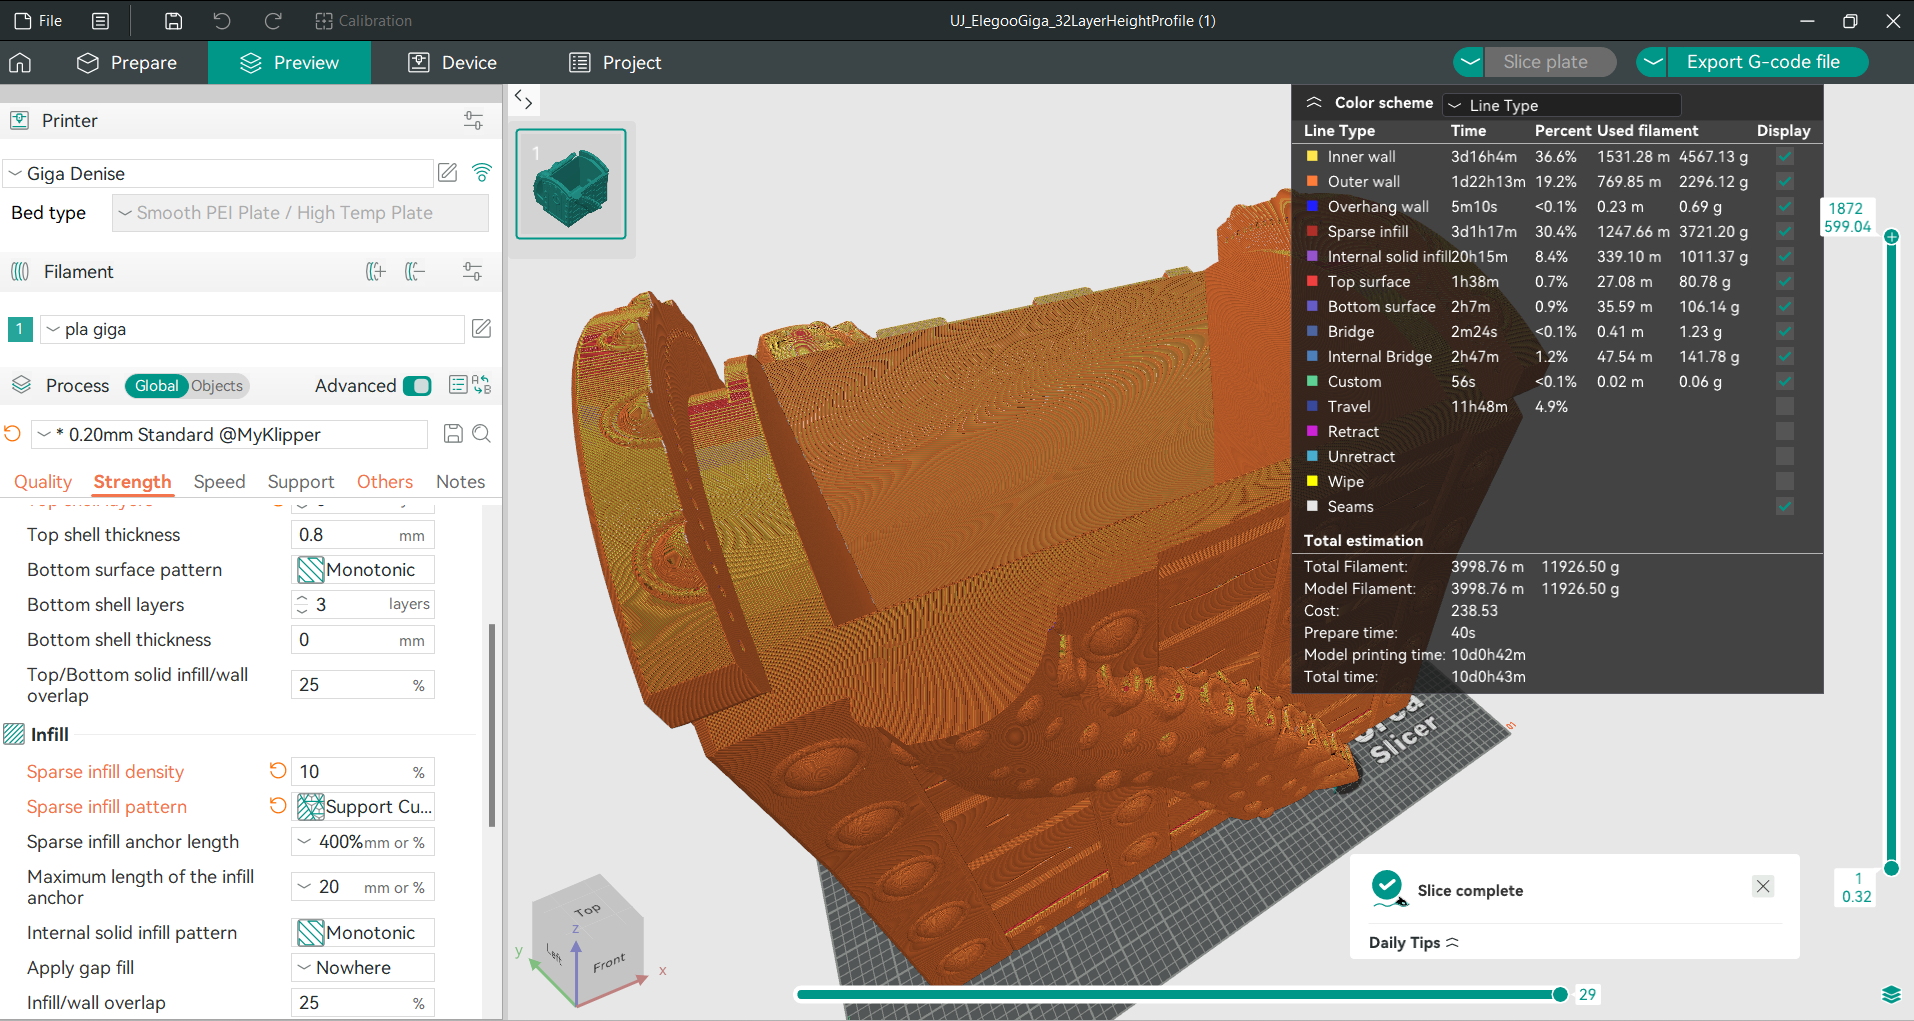
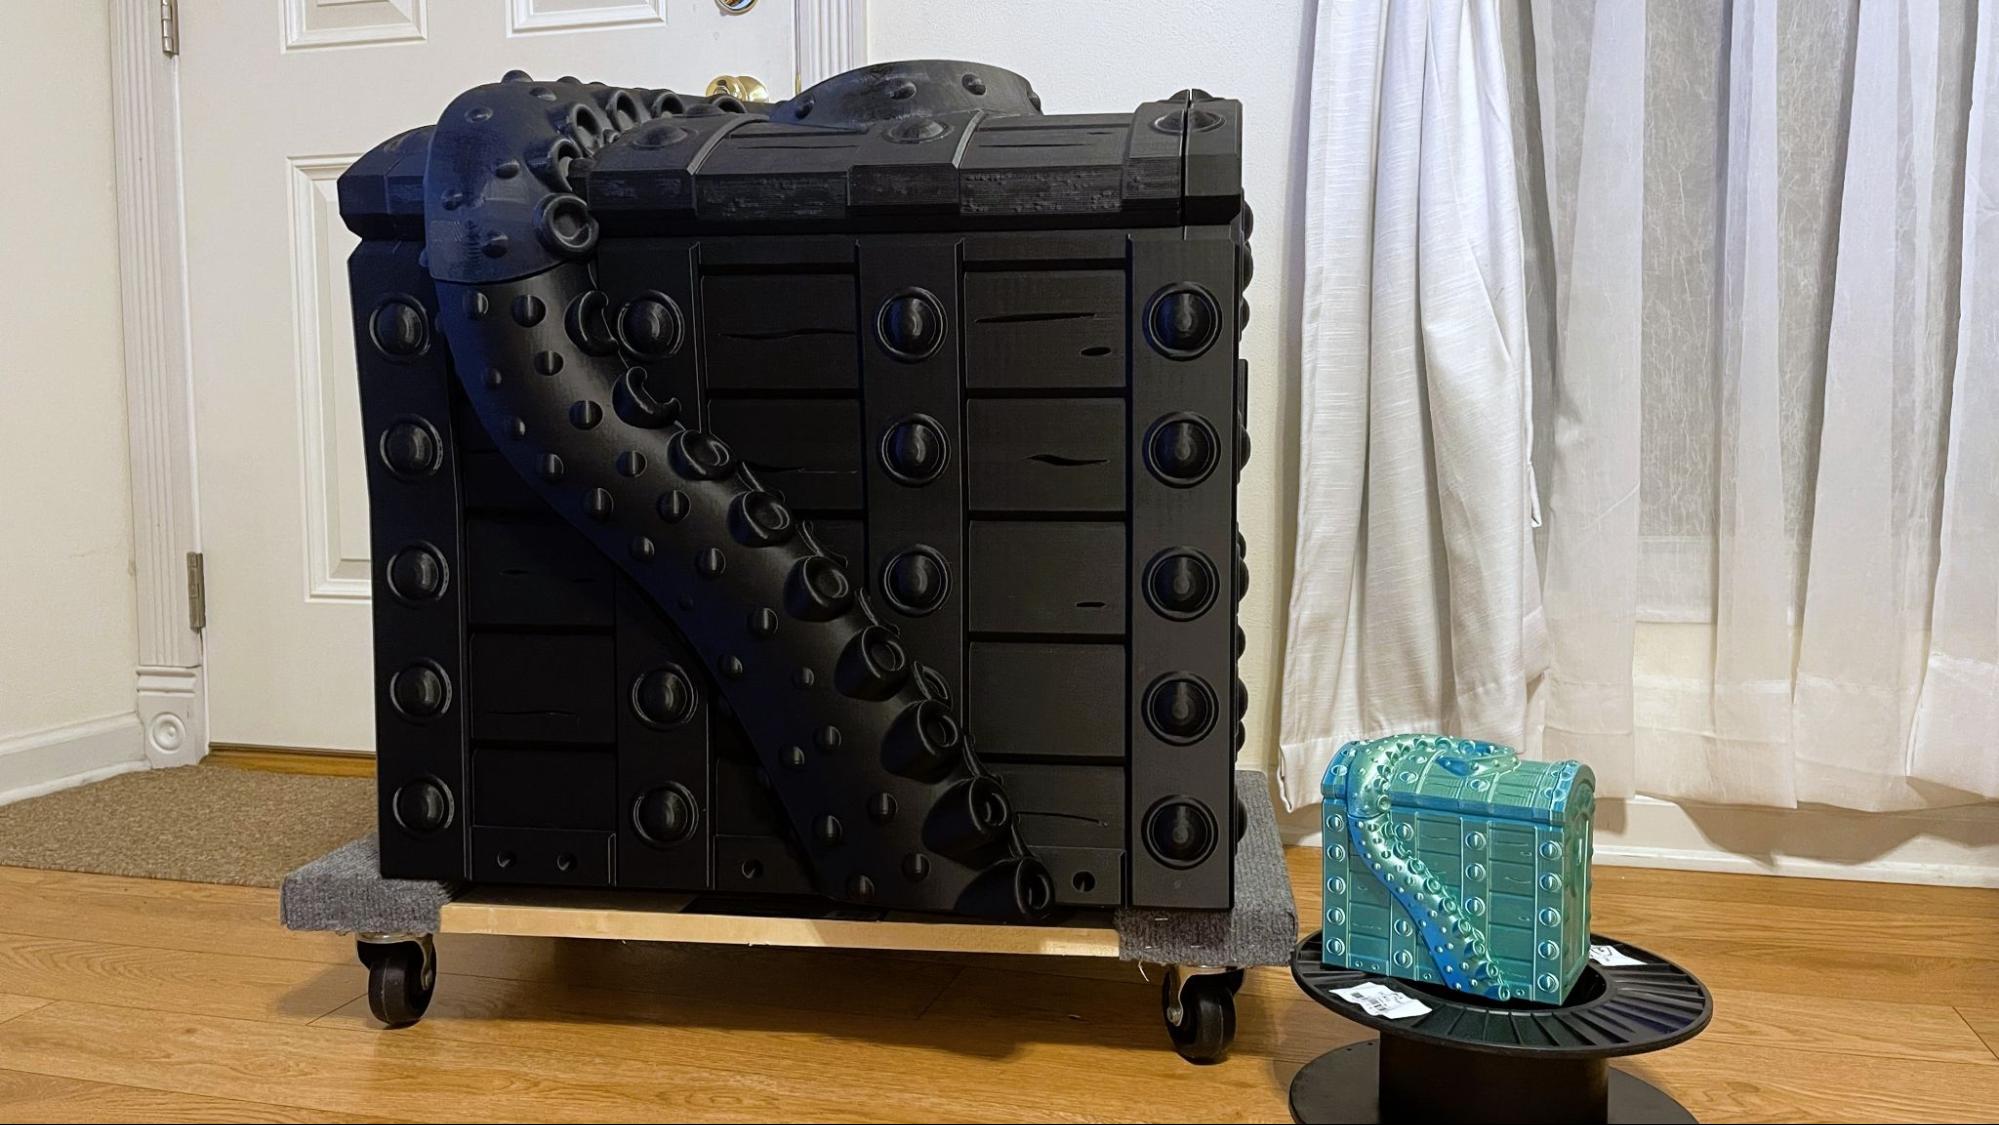
I used my winnings from a Thangs maker contest to purchase four rolls of Matterhacker’s Build Series black PLA and got a bulk discount. This printer demands bulk purchases, and I found that purchasing four 3KG spools gets you a decent discount. I then reached out to one of my favorite designers – Clockspring3D – and asked if he could tweak his Tentacle Treasure Chest for printing on the Giga. One of the problems with scaling articulated models is the joints get too loose as they enlarge, which could result in a lid that won’t stay put.
This model is 400% the size of the original. It’s printed with a .32 mm layer height and a .6 mm nozzle. I used 3 walls and went a little too light on the infill in order to keep it under 12 kg of filament – it took about 11 kg. It printed in 140 hours (almost six days) using 120mm/s on the outer walls and 200mm/s on the inner walls and infill. It was a nail biter.
The print is absolutely gorgeous. The thick layer lines look perfect on an oversized print, and there’s no ringing at all thanks to the Giga’s sturdy frame.
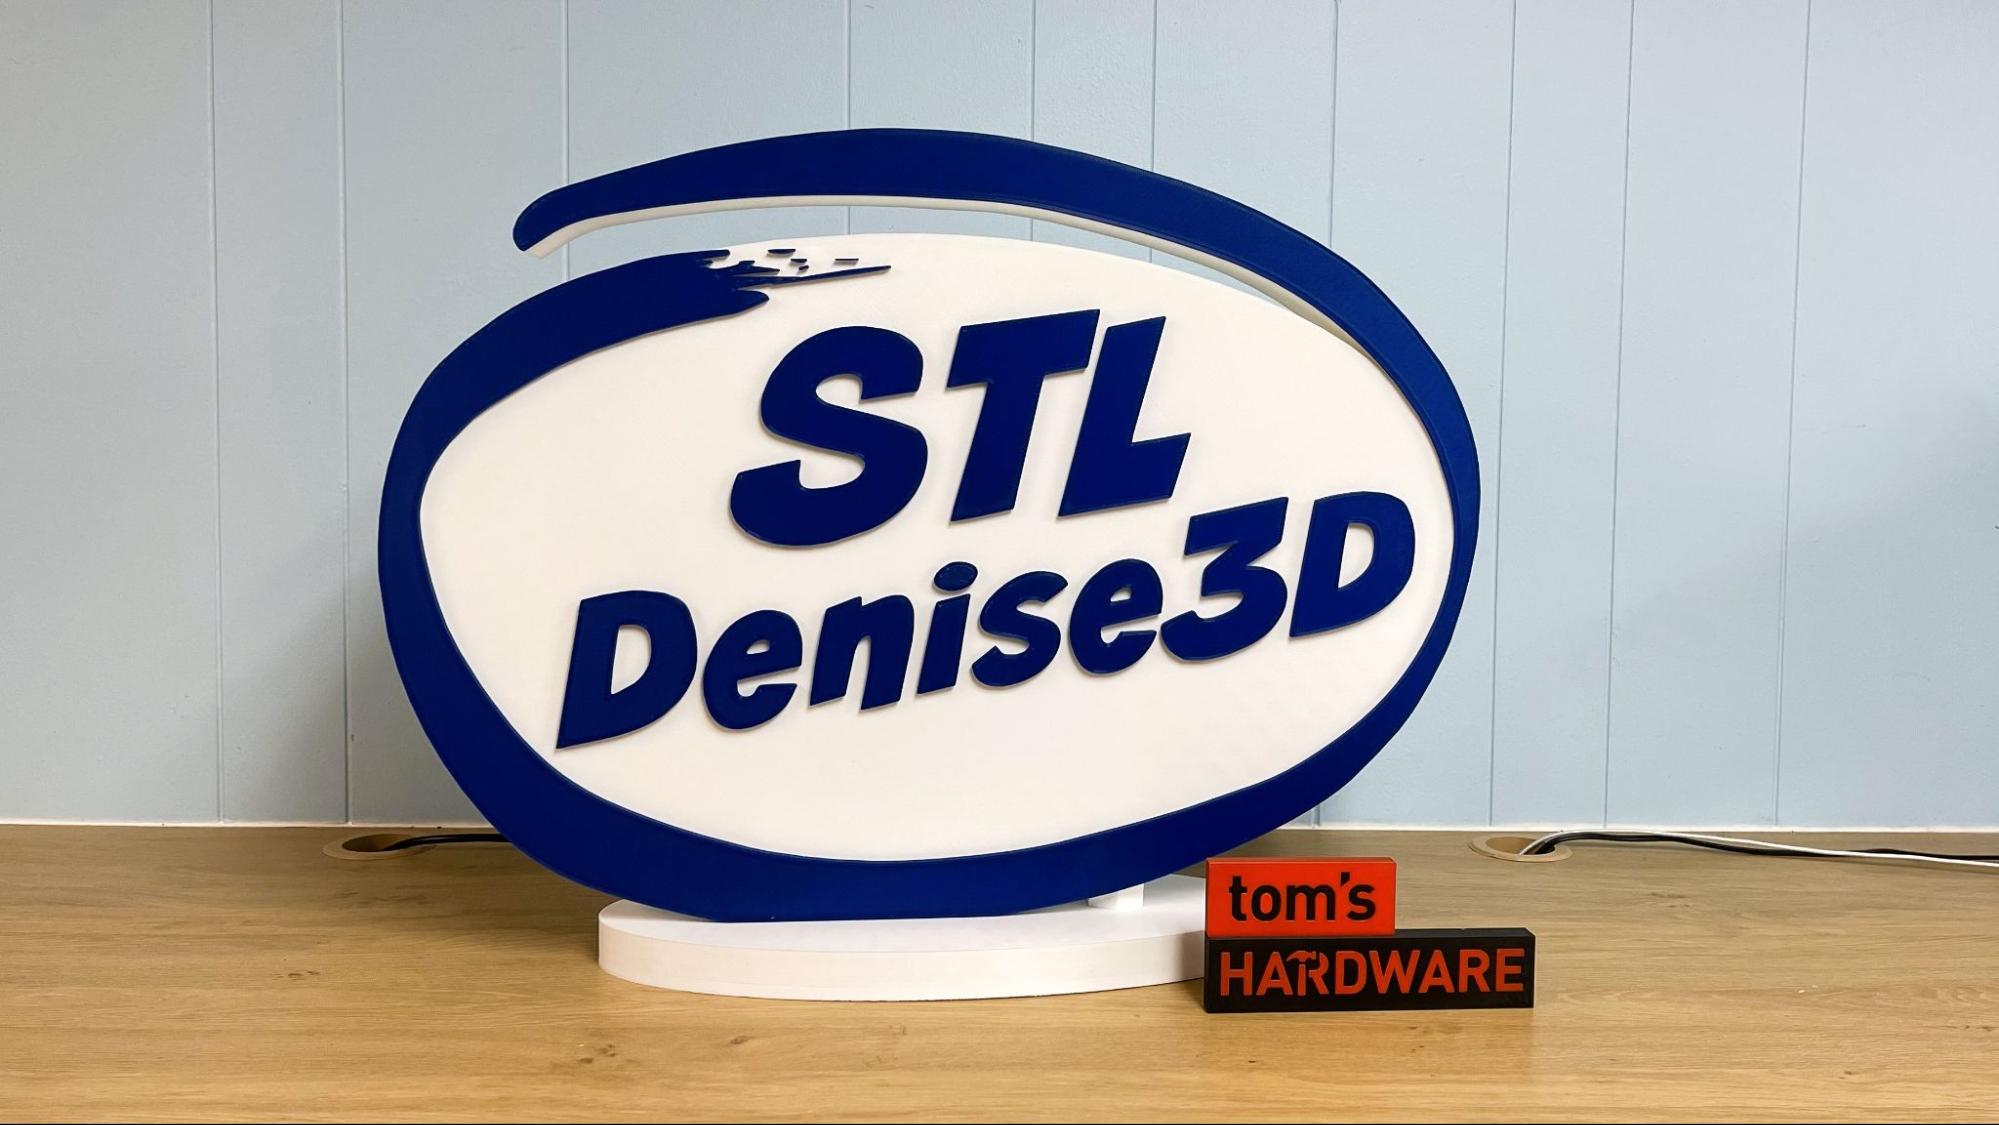
I also printed a two color sign on the Giga, using a M600 color swap gcode. The back of the sign has a scar from the print bed, but the front is perfectly clean. This print really shows the practical potential of the Giga’s size. I brought my logo into Tinkercad before blowing it up 1200% in the slicer. It took 60 hours to print the sign and base using a .32mm/s layer height and 120 mm/s on the outer wall and 200mm/s everywhere else.
Bottom Line
The Elegoo OrangeStorm Giga fits a certain niche – advanced makers who want to experiment with big prints and have a lot of spare room in their workshop and wallet. The printer itself is surprisingly affordable at $2,499.99 and is mechanically well crafted. The biggest cost will be in mods if you want to refine it and of course the pallet of filament you’ll need to feed it.
I would definitely only get this machine if you have a good spot for it. It should ideally have its own circuit and be in a room far from your living area. You should also keep it away from pets because washing paw prints off four build plates is no fun.
This printer is unique for hobby-level makers, so there isn’t much to compare it to. If you’re in the market for an extra large printer, I’d still check out the non-Klipper Elegoo Neptune 3 Max which at $350 is getting to be quite the bargain.
If a 300 x 300 mm build plate satisfies your helmet printing needs, the Creality K1 Max is a brilliant machine that takes up less space and can also print ABS and more technical filaments. And if money is no object, the Prusa XL is an excellent, bigger-than-normal 3D Printer that can be fitted with up to 5-tool heads for multicolor and multi-material printing.
MORE: Best 3D Printers
MORE: Best Budget 3D Printers
MORE: Best Resin 3D Printers

Denise Bertacchi is a Contributing Writer for Tom’s Hardware US, covering 3D printing. Denise has been crafting with PCs since she discovered Print Shop had clip art on her Apple IIe. She loves reviewing 3D printers because she can mix all her passions: printing, photography, and writing.
-
husker Sorry, but I have to point this out. The article stated the treasure chest was 400% larger, but that is incorrect. It is 400% larger in each spatial dimension. This means that overall, it is an astounding 64 times (4x4x4) larger or 6400% the volume of the original! Sounds much more impressive if you put it that way.Reply -
stlDenise3d Reply
No. I printed it at 400% in the slicer, as opposed to a 100% model. You'll have to take the math up with the OrcaSlicer people.husker said:Sorry, but I have to point this out. The article stated the treasure chest was 400% larger, but that is incorrect. It is 400% larger in each spatial dimension. This means that overall, it is an astounding 64 times (4x4x4) larger or 6400% the volume of the original! Sounds much more impressive if you put it that way. -
stlDenise3d Reply
I know! So life like!KungFuToe said:Wow, the detail on that dog that you printed is amazing. -
husker Reply
I appreciate that you are reporting accurately what the OrcaSlicer people are stating. I should have started by pointing out that your article was both entertaining and informative. Unfortunately, the slicer software is misleading at best and flat wrong at worst. Simply put, a cube that has its length doubled in each dimension will have 8 times the volume. A cube that has its length increased by 4x in each dimension will have 64 times the volume. This is an important calculation to keep in mind because this print required far more than 400% more filament, which to your credit you clearly warned about. Given that it is a simple calculation, improved software could easily let users know the increased percentage of material they will need. The actual percentage of additional material required would vary depending on the density of the fill, waste material to support the printing in progress, etc., but all that could be calculated.stlDenise3d said:No. I printed it at 400% in the slicer, as opposed to a 100% model. You'll have to take the math up with the OrcaSlicer people.
