Tom's Hardware Verdict
Featuring Klipper and a ridiculously large curtain fan, the Neptune 4 Max is a slightly faster but annoyingly buggy refresh of the Neptune 3 Max.
Pros
- +
Easy assembly
- +
Klipper
- +
WiFi
Cons
- -
Buggy firmware
- -
Difficult to level
- -
Noisy fans
- -
Huge footprint
Why you can trust Tom's Hardware
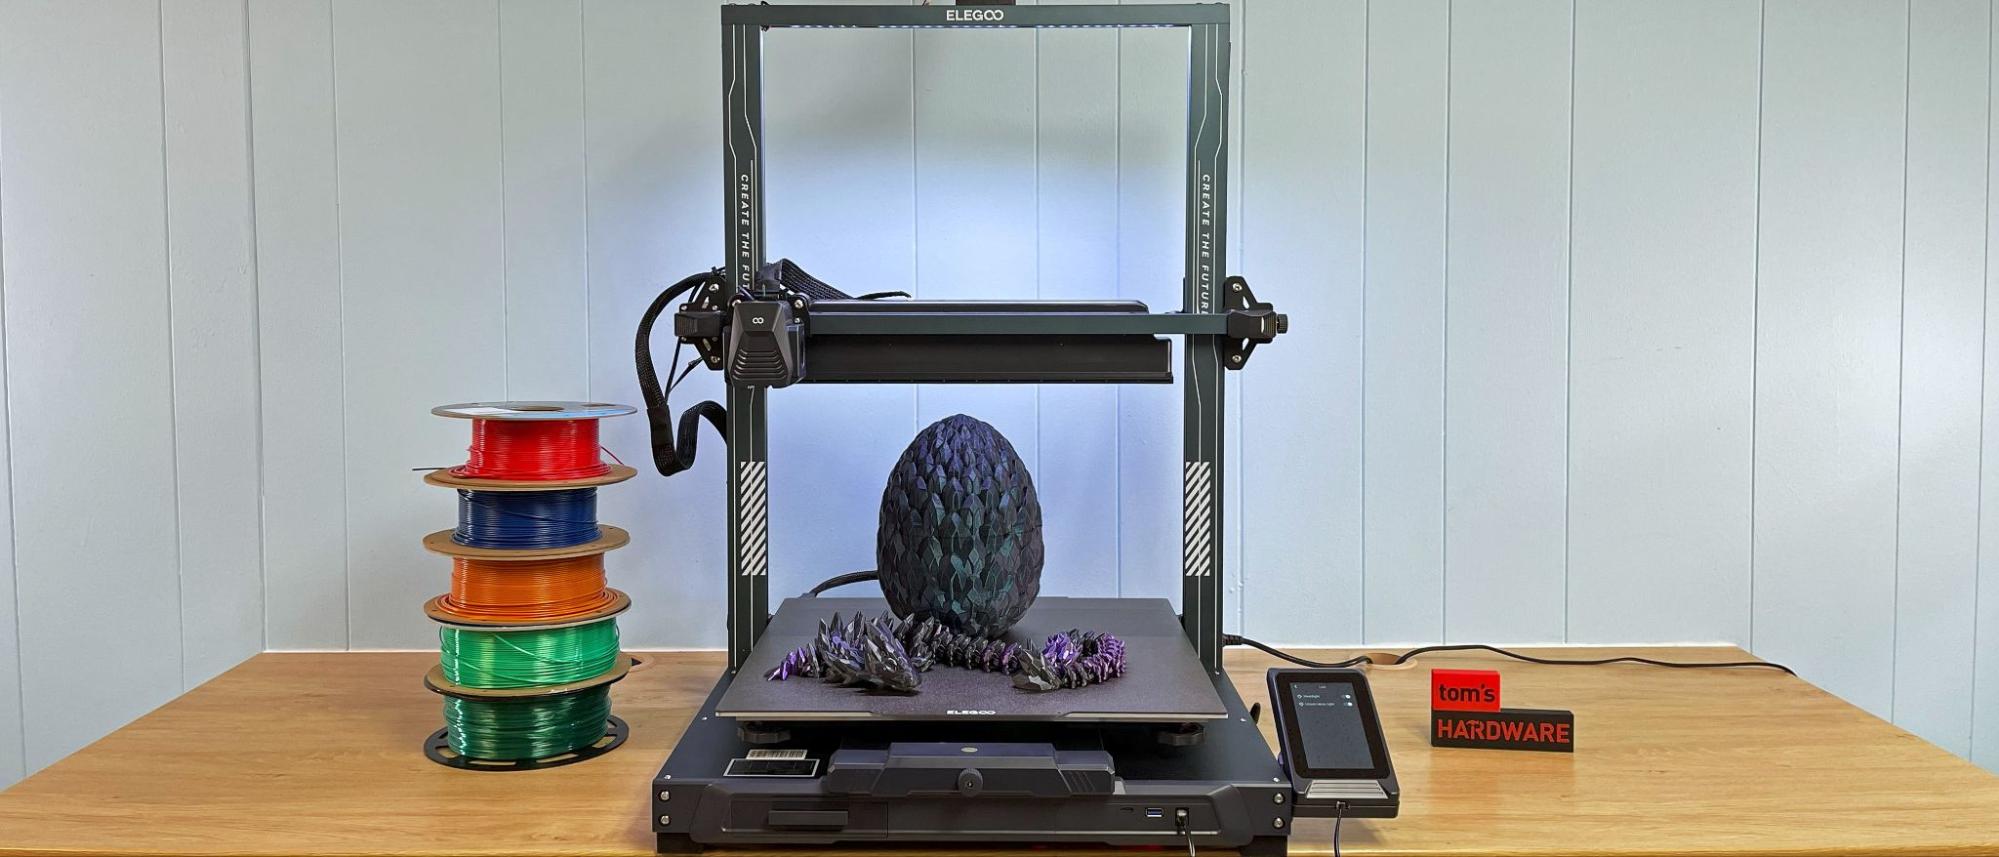
The Elegoo Neptune 4 Max is a refresh of the wildly popular Neptune 3 Max. It’s now capable of faster speeds thanks to the addition of Klipper firmware and includes easy access WiFi. It has all the perks we expect in a top of the line 3D printer: direct drive, a flex plate, auto leveling, and a touch screen.
We’ve kept this machine under review for a rather long time, because it came with some firmware bugs that were simply impossible to ignore. These have been mostly sorted out with updates from Elegoo, such as the painfully loud noises it made during sensorless homing, where it just rammed itself silly against the X and Y stops. But I still don’t trust it to level properly from the printer’s touch screen, and have to set the Z height directly through Klipper’s PC interface.
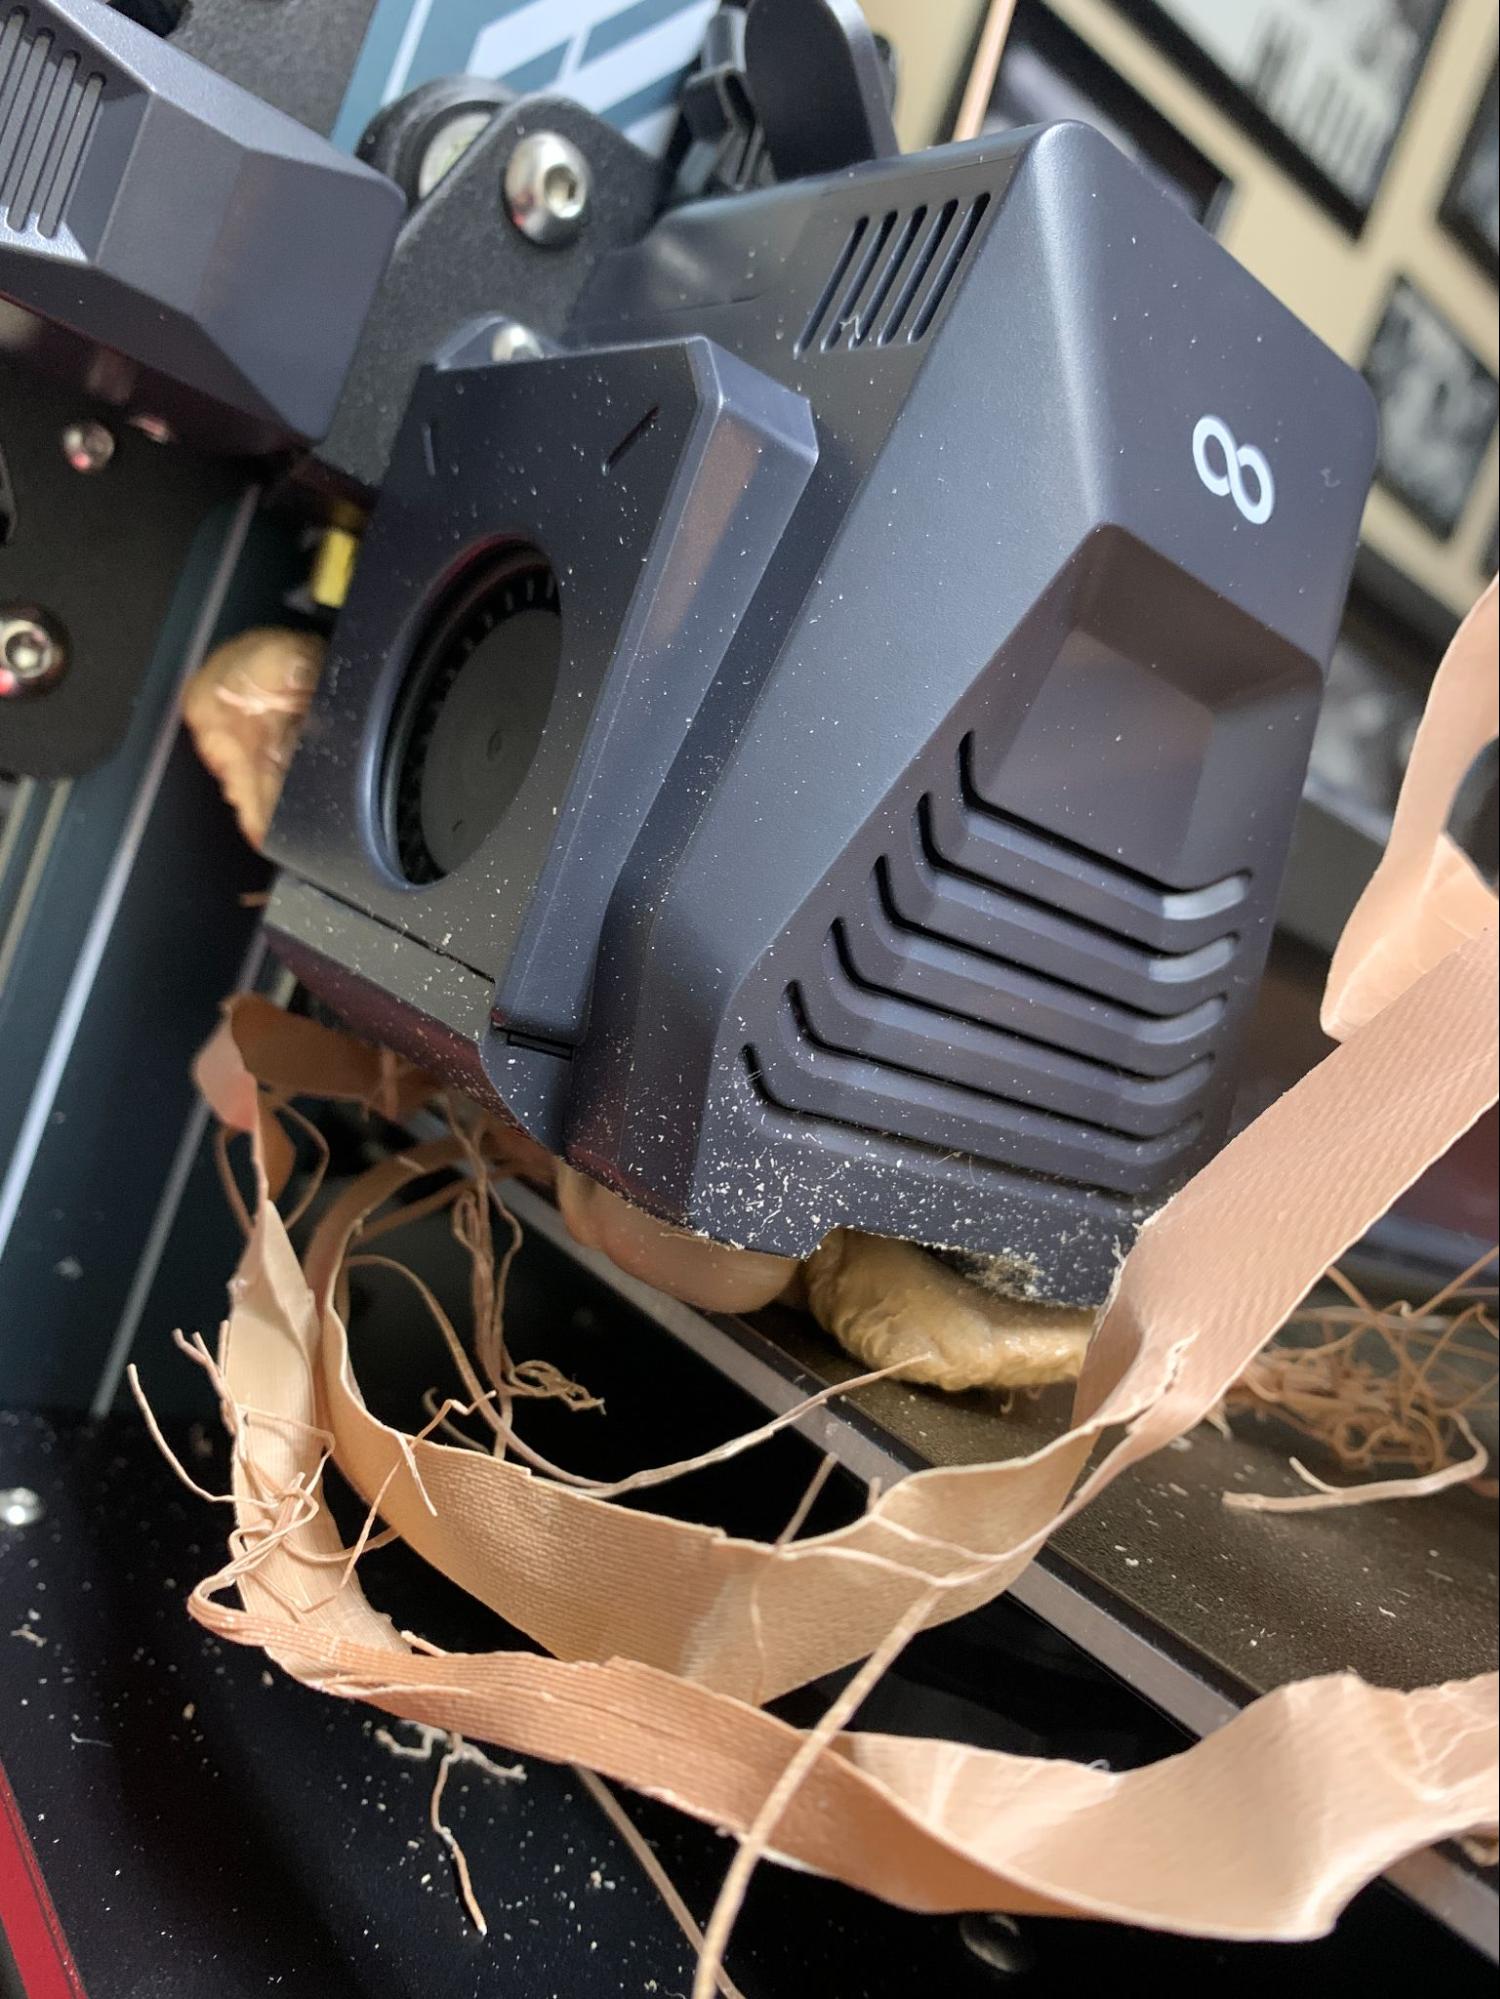
Our machine also managed to snag its cable under the giant curtain fan and attempted to incorporate it into a print. This resulted in a huge knot of filament wrapping itself around the nozzle and a painstaking clean up job to rescue the hotend.
This giant printer serves as a reminder that Klipper does not automatically make a printer go faster, it attempts to make the printer more accurate. To get more speed you need accuracy, a high flow hotend and a stiff frame. With two out of three, the Neptune 4 Max is easily twice as fast as the Neptune 3 Max, but nowhere near as fast as a Bambu A1. Getting the Neptune 4 Max to print at speed is like trying to drift race the Battleship Missouri, it's just not realistic.
Still, the Neptune 4 Max has its good points. As mentioned, it’s twice as fast as its predecessor, with one of the biggest manageable build volumes we’ve seen. Its 420 x 420 build plate can accommodate very large models with a machine that can still fit through doors. But the quality issues we’ve run makes me reluctant to recommend it to beginners, or place it on our list of the best 3D printers.
Specifications: Elegoo Neptune 4 Max
| Build Volume | 420 x 420 x 480mm (16.5 x16.5 x 18.9 inches) |
| Material | PLA/PETG/TPU/ABS (up to 300 degrees) |
| Extruder Type | Direct Drive |
| Nozzle | .4mm Custom high flow |
| Build Platform | PEI textured spring steel sheet, heated |
| Bed Leveling | Manual + Automatic, Inductive |
| Filament Runout Sensor | Yes |
| Connectivity | microSD card, USB Type A |
| Interface | Color touch screen, removable |
| Machine Footprint | 658 x 632 x 740 mm (25.9 x 24.8 x 29.1 in) |
| Machine Weight | 18.1 KG (39.9 lbs) |
Elegoo Neptune 4 Max: Included in the Box
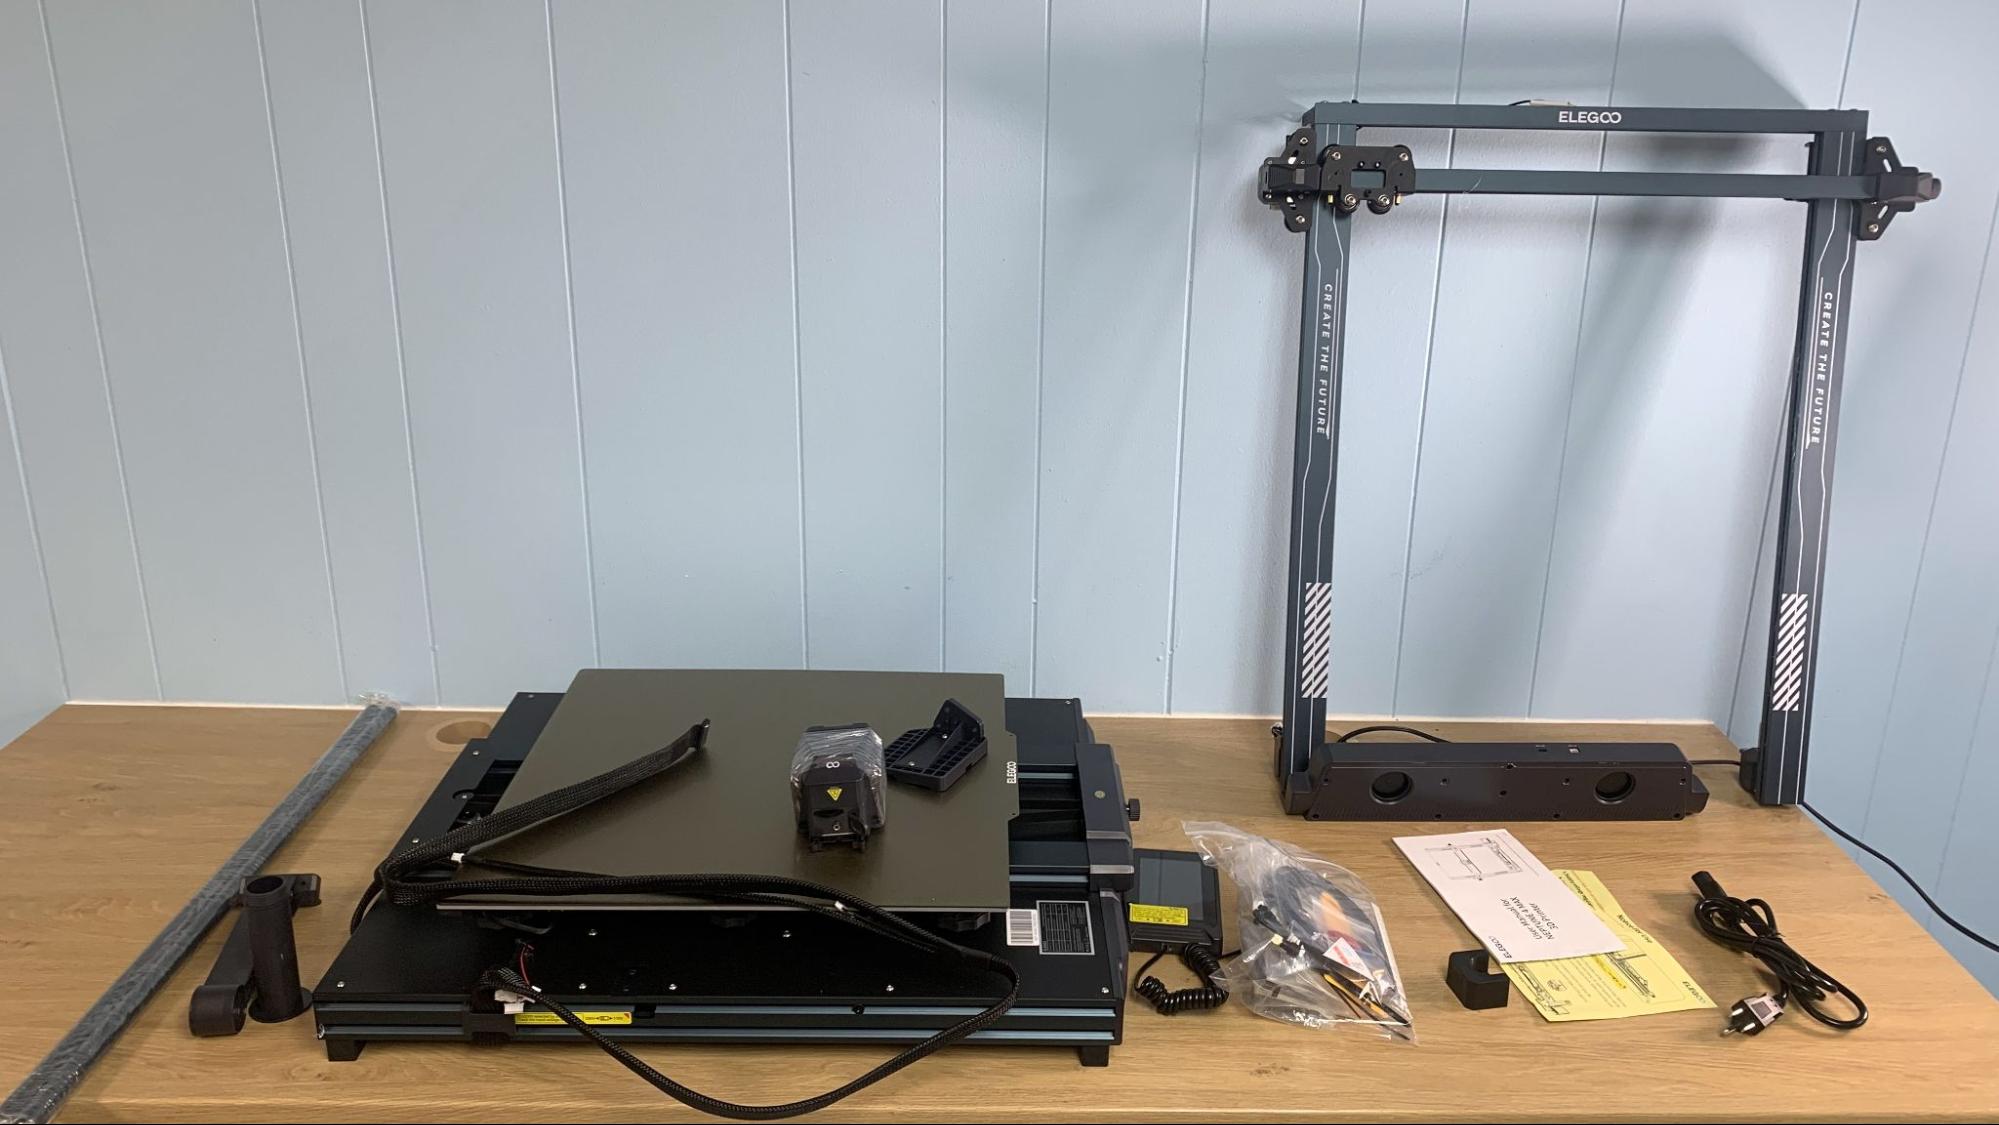
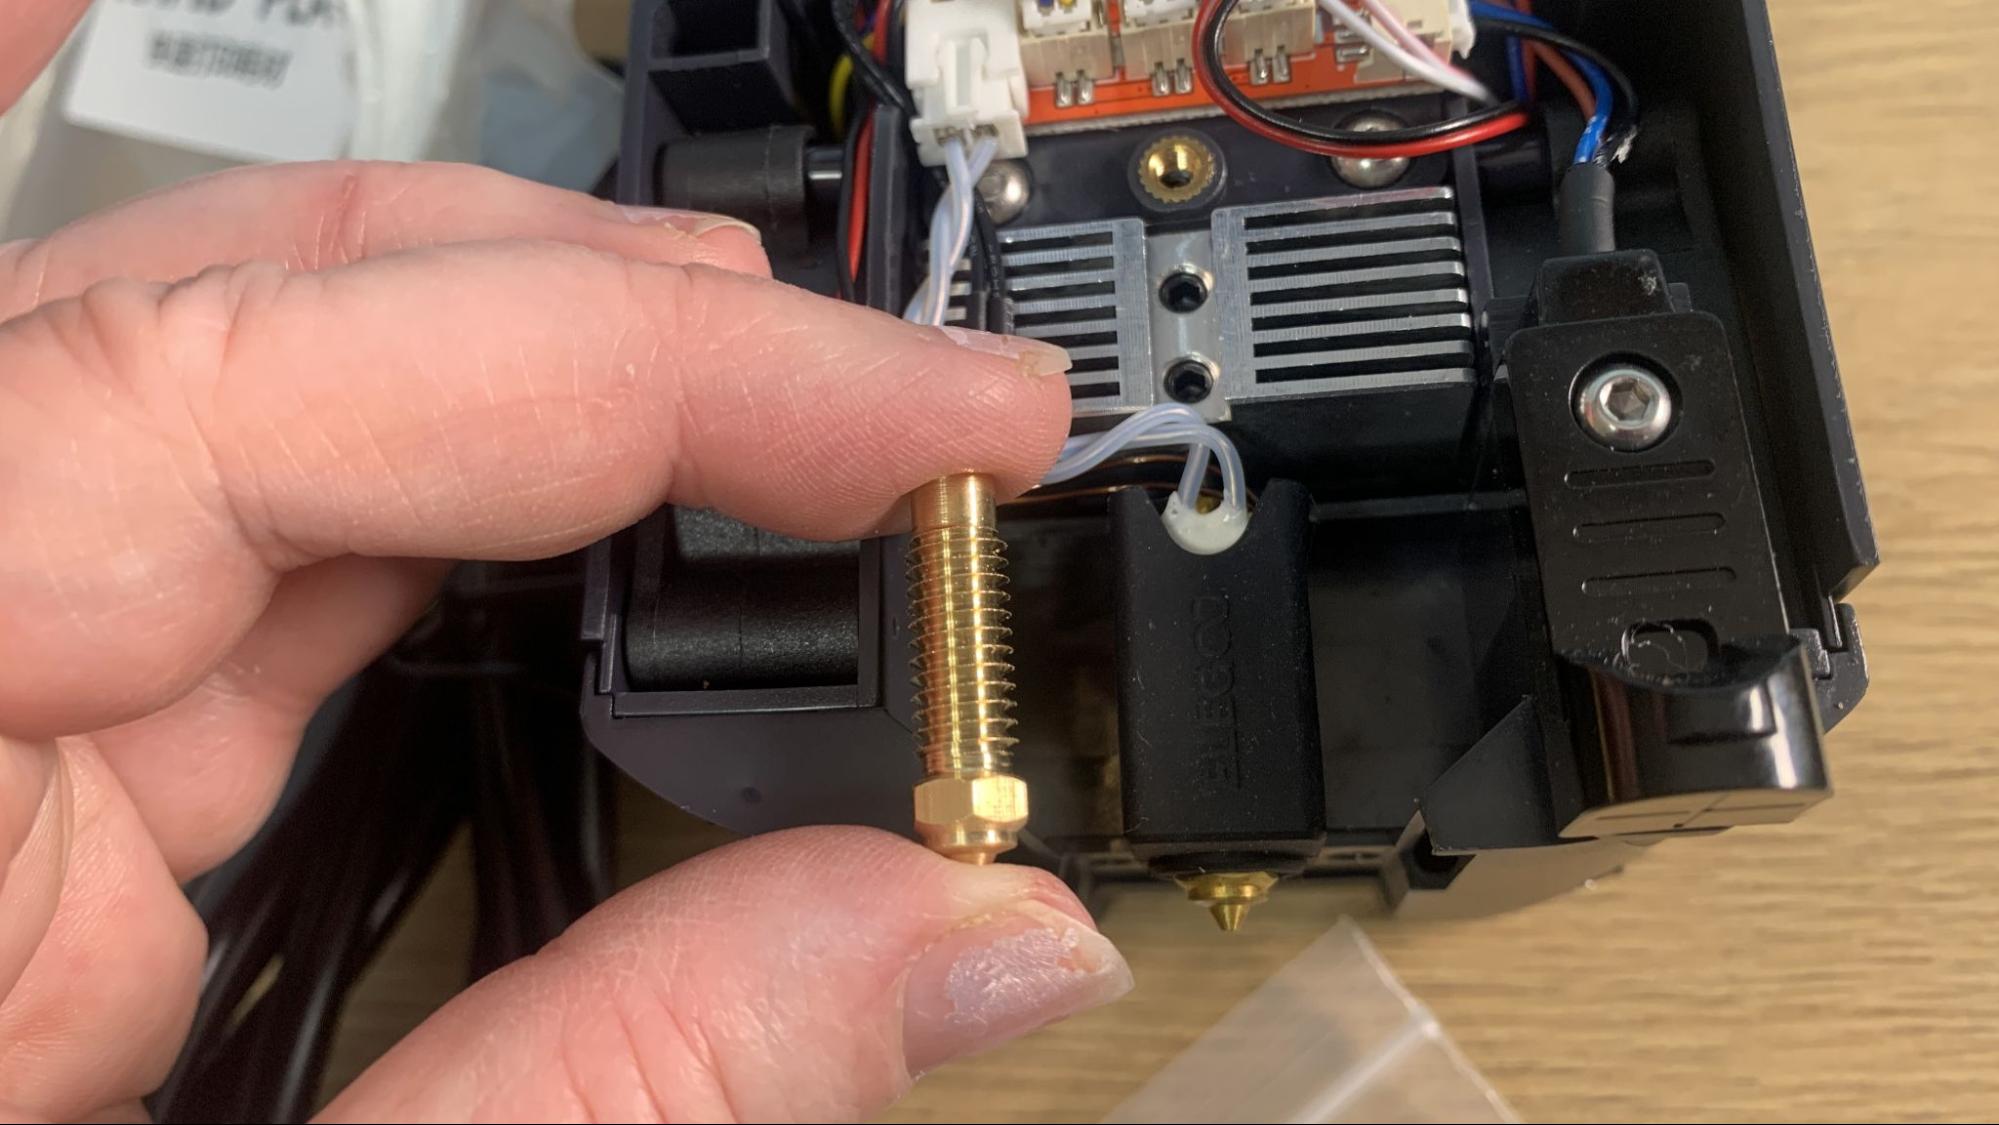
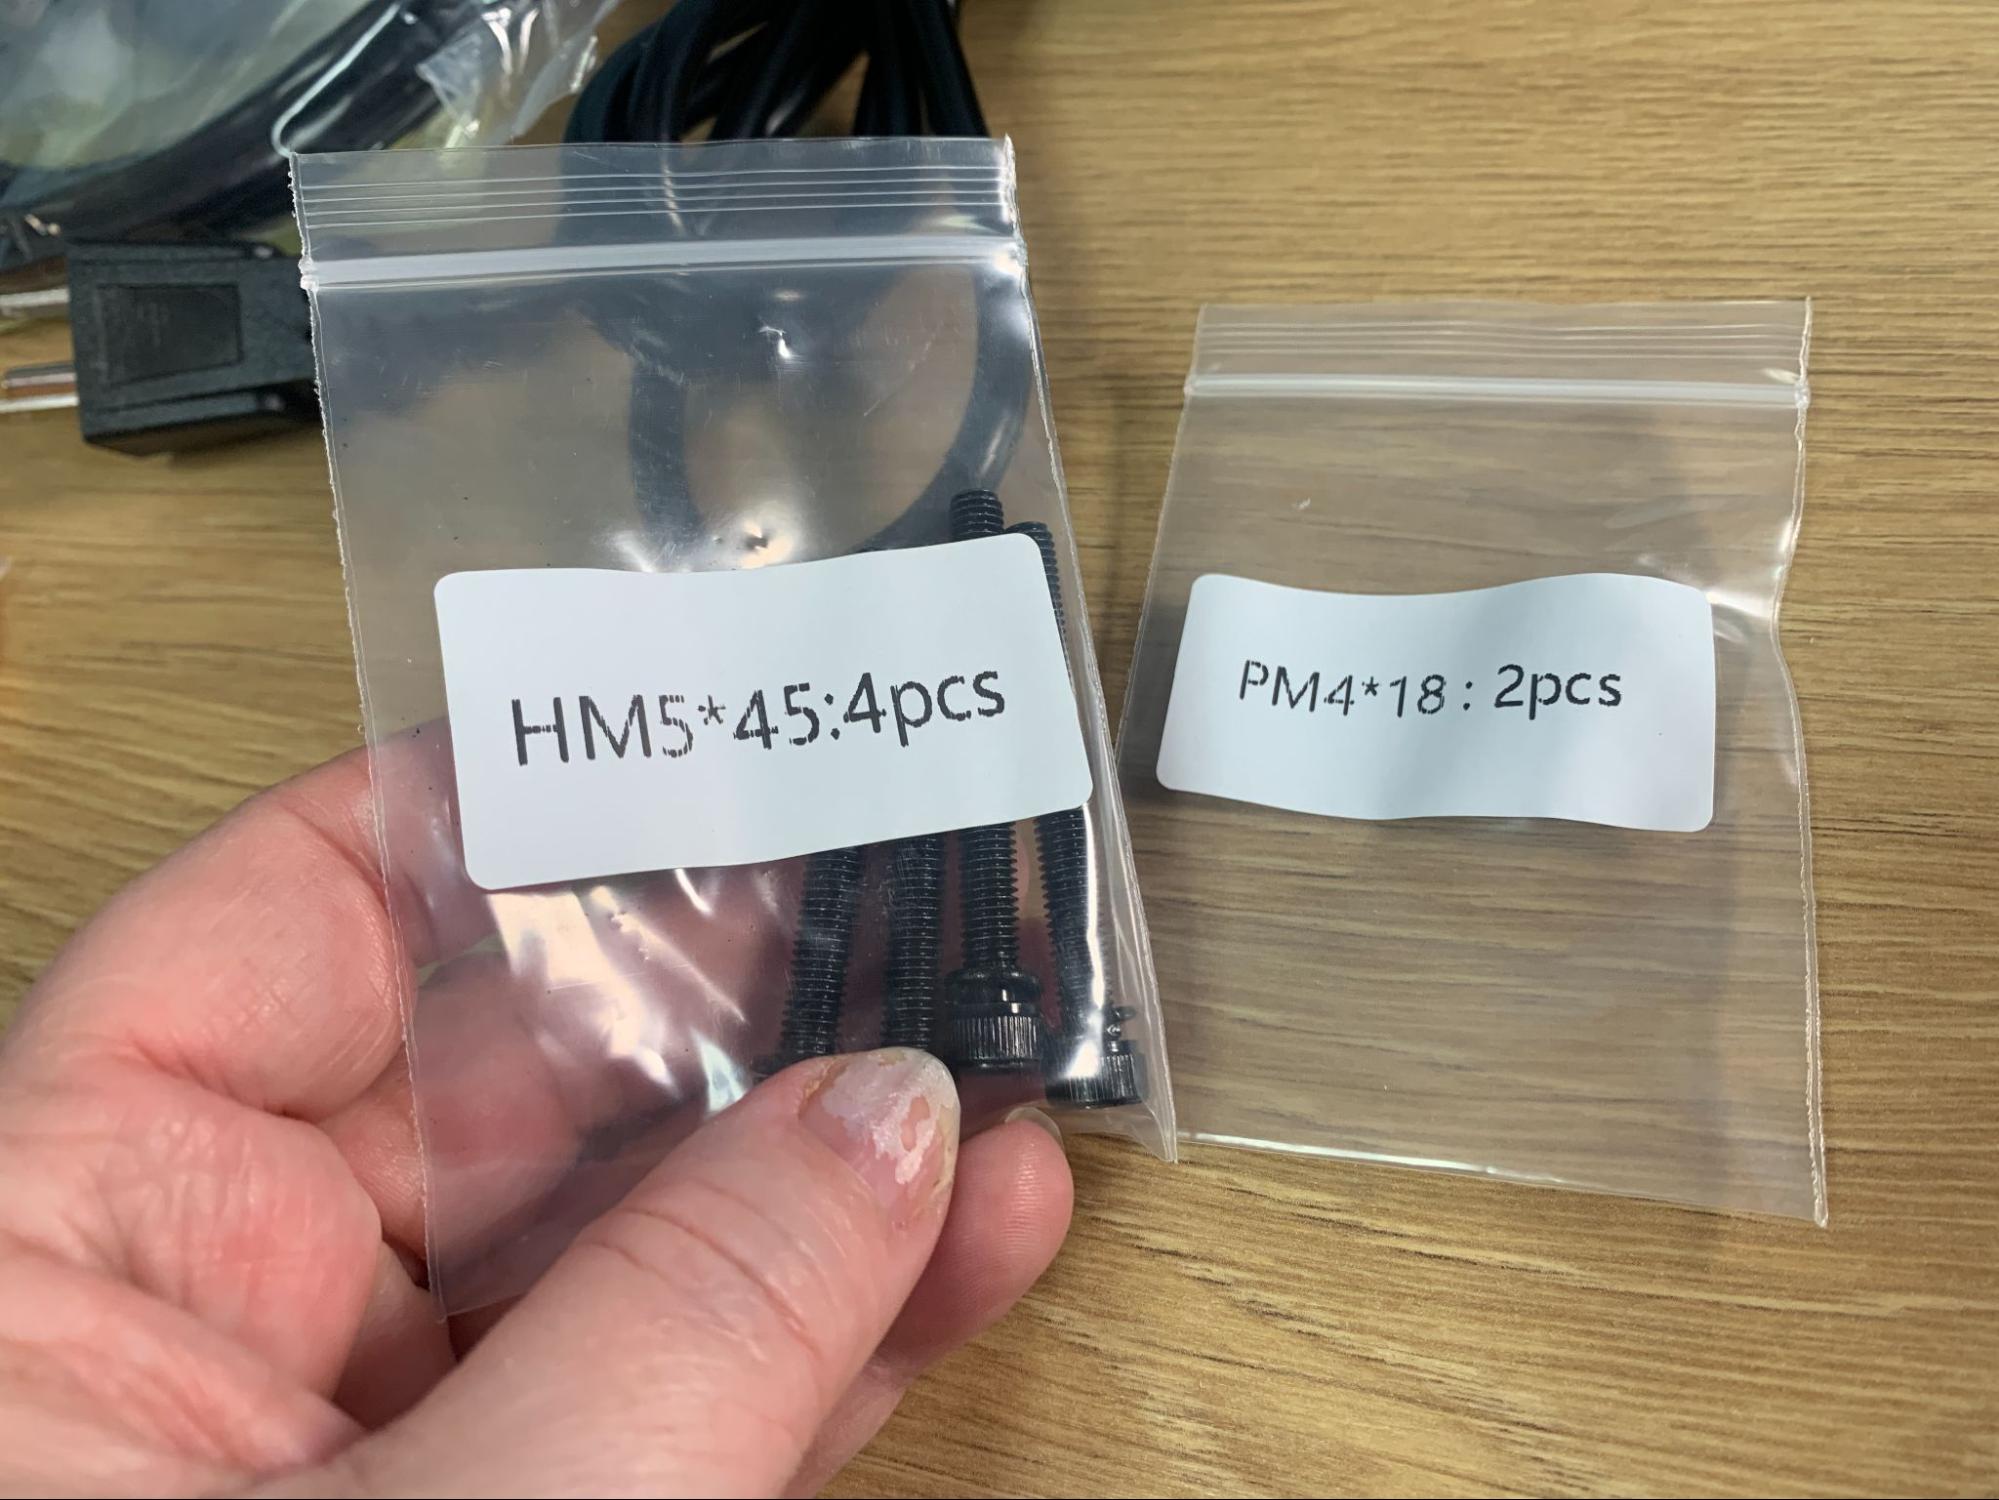
The Neptune 4 Max comes with everything you need to get your printer set up. You get tools to build and maintain the printer, a plastic scraper, one spare nozzle, and a microSD card with a USB adapter. There’s also a small sample of white PLA to print your first model.
The microSD card has a very helpful short video on assembling the printer. You also get a PDF copy of the manual, a copy of Elegoo Cura and a sample model in both pre-sliced .gcode and .stl format.
Get Tom's Hardware's best news and in-depth reviews, straight to your inbox.
Design of the Elegoo Neptune 4 Max
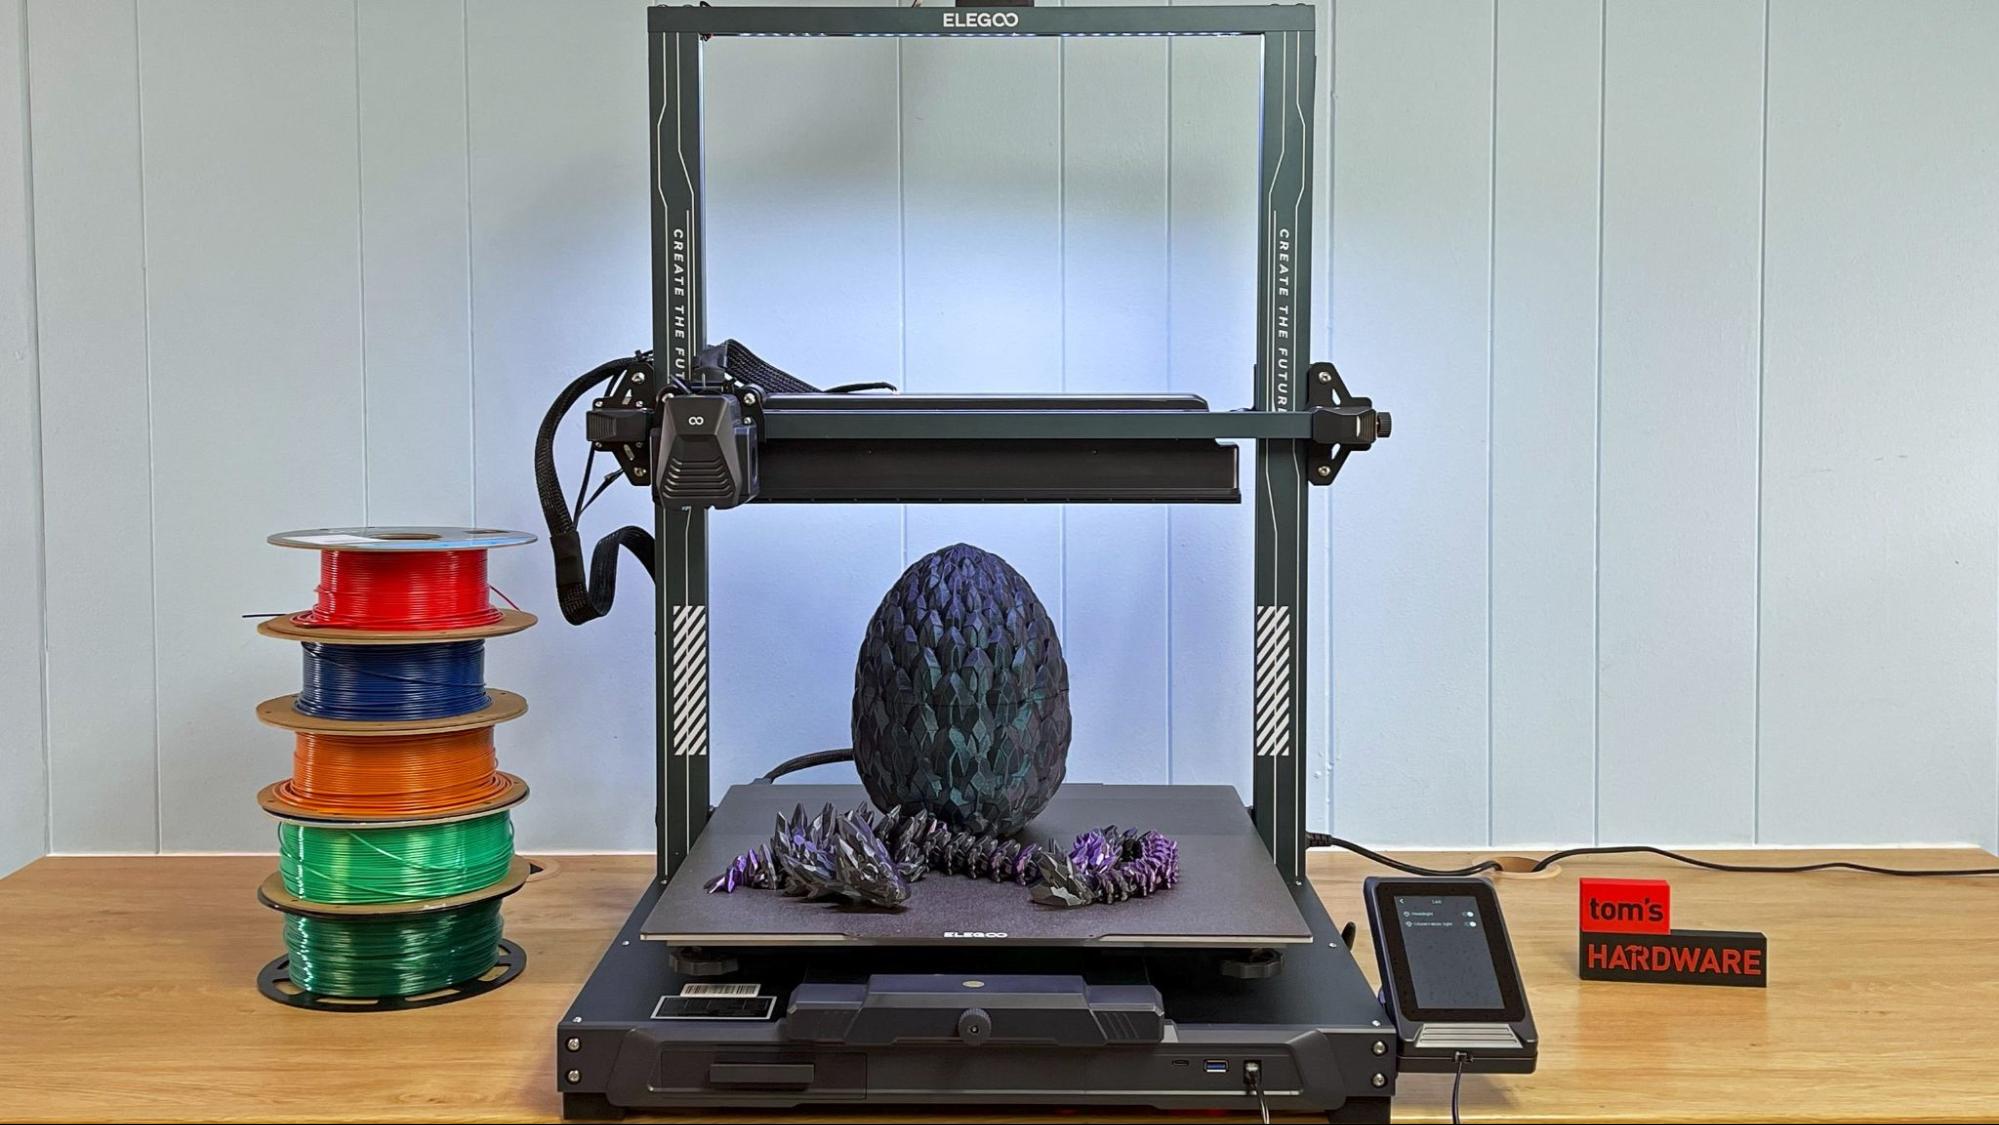
The Neptune 4 Max looks like the Neptune 3 Max – right down to the frame height. The only thing visibly different is the large curtain fan screwed onto the X axis for extra cooling. During our testing, we found the curtain fan to be way too noisy, and honestly unnecessary for the printer’s optimal print speed of 140mm/s. I feel that you can safely leave the fan off this printer.
The curtain fan essentially lowers the gantry height so that it skims just millimeters above the entire print. This creates a hazard where the printer can trap the wiring harness if you’ve allowed it to have too much slack. I made this mistake and caused a disastrous failure where the printer ran over the cord, knocked into the print just enough to have a layer shift and then a giant nozzle blob resulted.
The Max 4 is too cumbersome to travel as fast as smaller Klipper printers, but it is a great deal faster than the previous Max 3. This is helped by the addition of a proprietary high flow nozzle that is not shared with last year’s series or the smaller Neptune 4 that we reviewed earlier. The nozzle is a bit longer than an open source E3D Volcano, which is a shame because we’ll have to wait for Elegoo to make larger sizes available. The nozzle is still a .4mm, which I hate to see on such a large printer. Bigger printers deserve bigger nozzles.
Like the Neptune 3 Max, this is an oversized printer that needs an oversized counter. That means when you’re looking for a spot to park it, you need to account for the back and forth motion of the bed – all 39 inches of it. This printer will not fit on a shelf built for an Ender and neither will it fit on a standard sized kitchen counter. Our test unit is currently sitting on an air hockey table in my rec room.
The Neptune 4 Max has built in LED lights on both the gantry and the tool head, which is a nice premium touch when your printer lives in a dimly-lit workshop or garage. The LED is tucked up inside the top gantry extrusion and is turned on and off through the control pad.
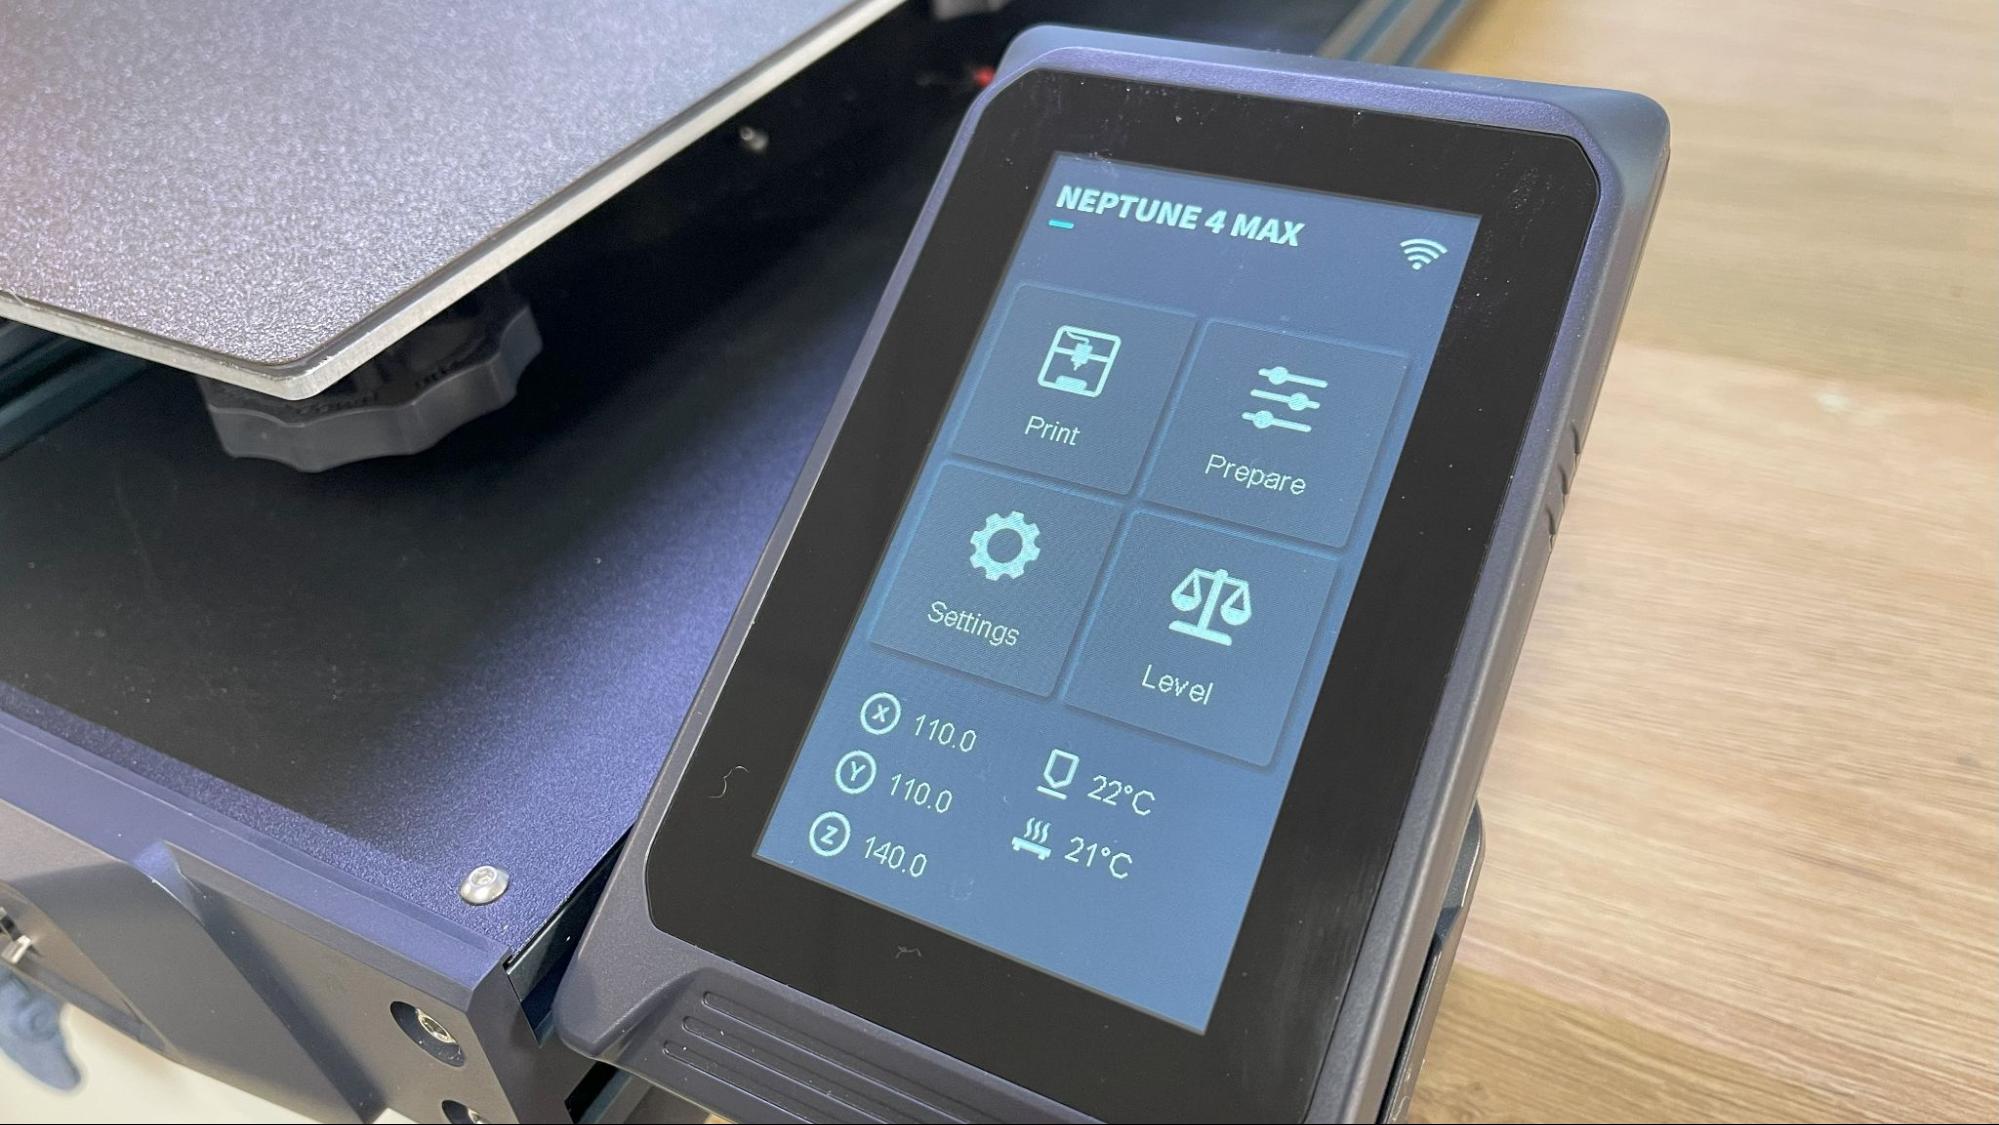
The control pad is a removable unit on a magnetic base, similar to the other recent Neptune printers. I’ve never needed a removable control pad, but if you have to put your printer in an awkward spot, this will come in handy. What’s more important is the graphic menu is large and easy to understand.
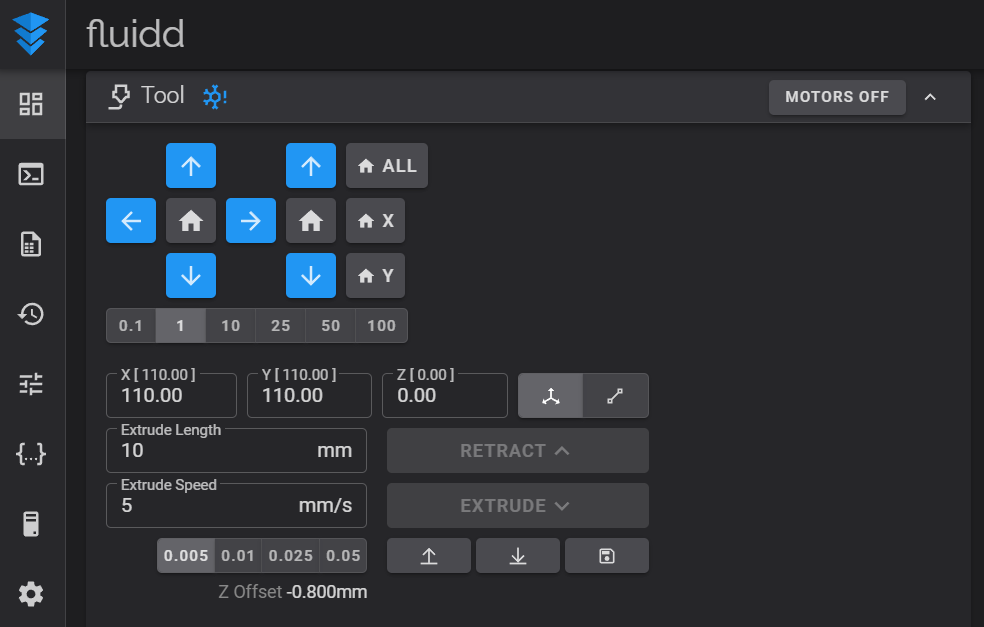
The auto bed leveling system uses an inductive probe to sense the metal surface of the flexible build plate. This is combined with a six-point manual leveling system that can take a while to set up, but really only needs to be done once. The bigger problem with the current firmware is it fails to remember the correct Z height – the distance from the nozzle to the bed – which has to be calculated manually with a piece of paper. I was able to work around this problem by entering the correct information directly into Klipper with my PC.
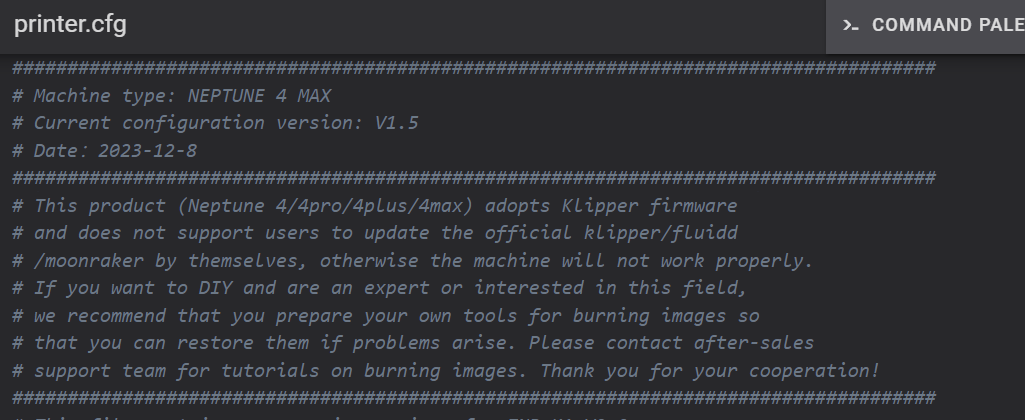
Speaking of Klipper, there is a warning in the config file that the Neptune Max 4 is not using the standard form of Klipper and can’t be updated by the user from the Klipper Github. This is problematic and leaves us at the mercy of Elegoo’s technicians to squash any bugs or provide updates. You can, of course, correct the code in the config file yourself if you understand Klipper, but the average user will want to wait for official Elegoo firmware updates.
Assembling the Elegoo Neptune 4 Max
The Neptune 4 Max comes mostly assembled, only needing a few bolts to put the machine together. The upper frame is attached to the base with 4 bolts that come up through the bottom. A diagonal rod braces the gantry and is screwed into the frame at both ends. The touch screen base screws into the side.
All the electrical connections are labeled – or extremely obvious where they need to go.
The video included on the microSD card is helpful – and Elegoo was thoughtful enough to mention the video twice in the printer’s documentation, so that users are aware of it.
Leveling the Elegoo Neptune 4 Max
The Neptune 4 Max has the same complex six point manual leveling system as its predecessor, augmented with an inductive probe to digitally perfect the leveling. To level – or tram – the surface, you’ll need to first manually level the plate. Two extra knobs on the sides of the plate make the task more time-consuming, but I appreciate the effort Elegoo put into the system to get the plate physically flat before relying on the electronics.
Once you have it manually leveled as best you can, select Level on the main menu and the printer will heat up to 140 degrees on the nozzle and 60 C on the bed. After it homes, it will tap 121 points across the bed in an 11 x 11 grid.
It will then stop at the center of the bed and wait for you to double-check the Z height. Do this by placing a piece of ordinary paper under the nozzle and lowering or raising it with the buttons on the touch screen until the nozzle just scrapes the paper.
As I noted above, there is a flaw in the firmware that doesn’t store the Z height information correctly. I was able to work around it by using the Klipper interface directly to set the nozzle height.
Loading Filament on the Elegoo Neptune 4 Max
The Neptune 4 Max is a direct drive printer with its extruder and hotend all in one spot. To load filament, tap Prepare on the main menu, then Temperature and select the one of four presets that match your filament. Once the hotend is warmed past 190 degrees, you can insert the filament into the top of the extruder and let the wheels pull the filament through.
To unload or change colors, simply reverse the process.
Preparing Files / Software for Elegoo Neptune 4 Max
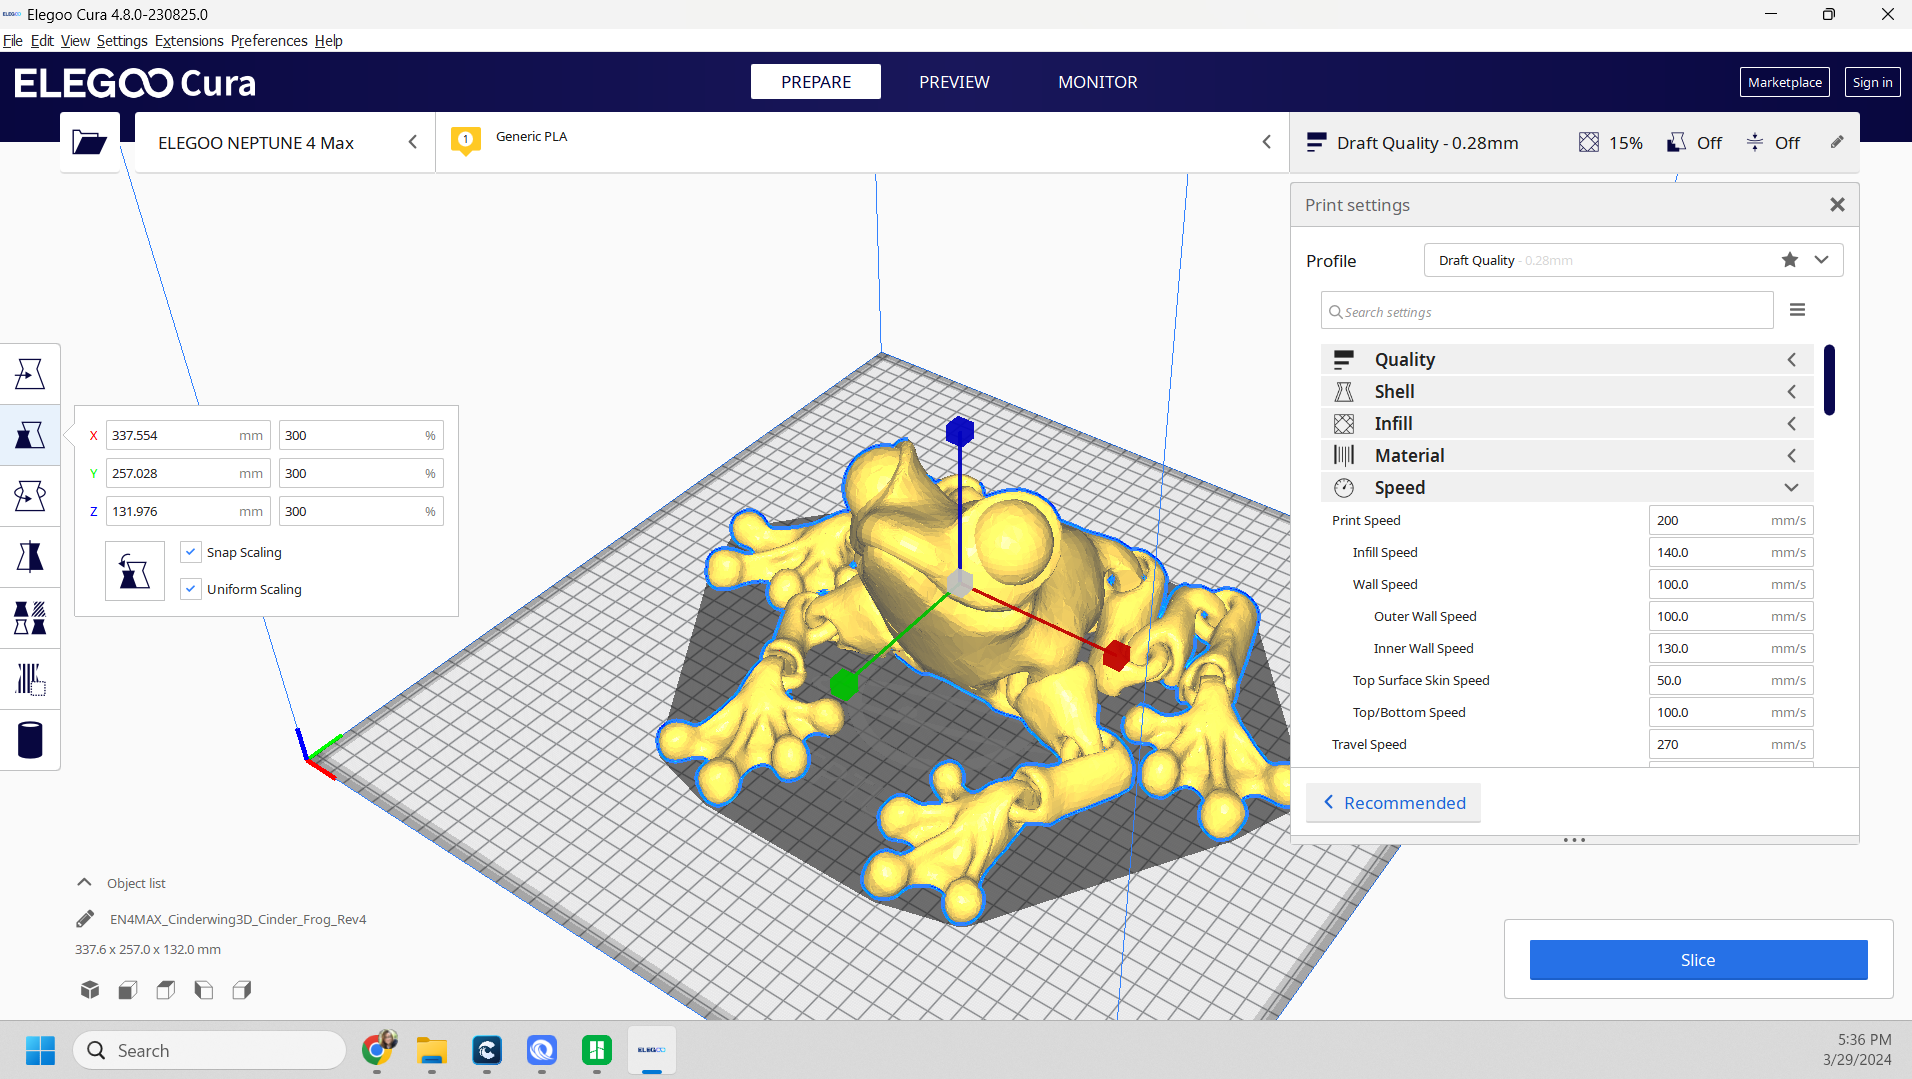
The Neptune 4 Max comes with a copy of Elegoo Cura, which has profiles for all of Elegoo’s machines. This is based off an old version of Cura, which seems odd. If you want to use a current version of Cura you can find profiles for the Neptune Max 3 – which is the same size – and tweak your speed settings accordingly.
Printing on the Elegoo Neptune 4 Max
The Neptune 4 Max had leveling issues right out of the box, and then as I mentioned before managed to get tangled up in its own cord. The standard .4mm nozzle it came with was a little disappointing, as a larger nozzle would let you speed up your prints without having to push the limitations of the massive bed.
The provided PLA was only a test coil, so you’ll definitely want to order a few rolls of filament right away. Check out our guide to the best filaments for 3D printing for examples of our favorite materials to add to your supply.
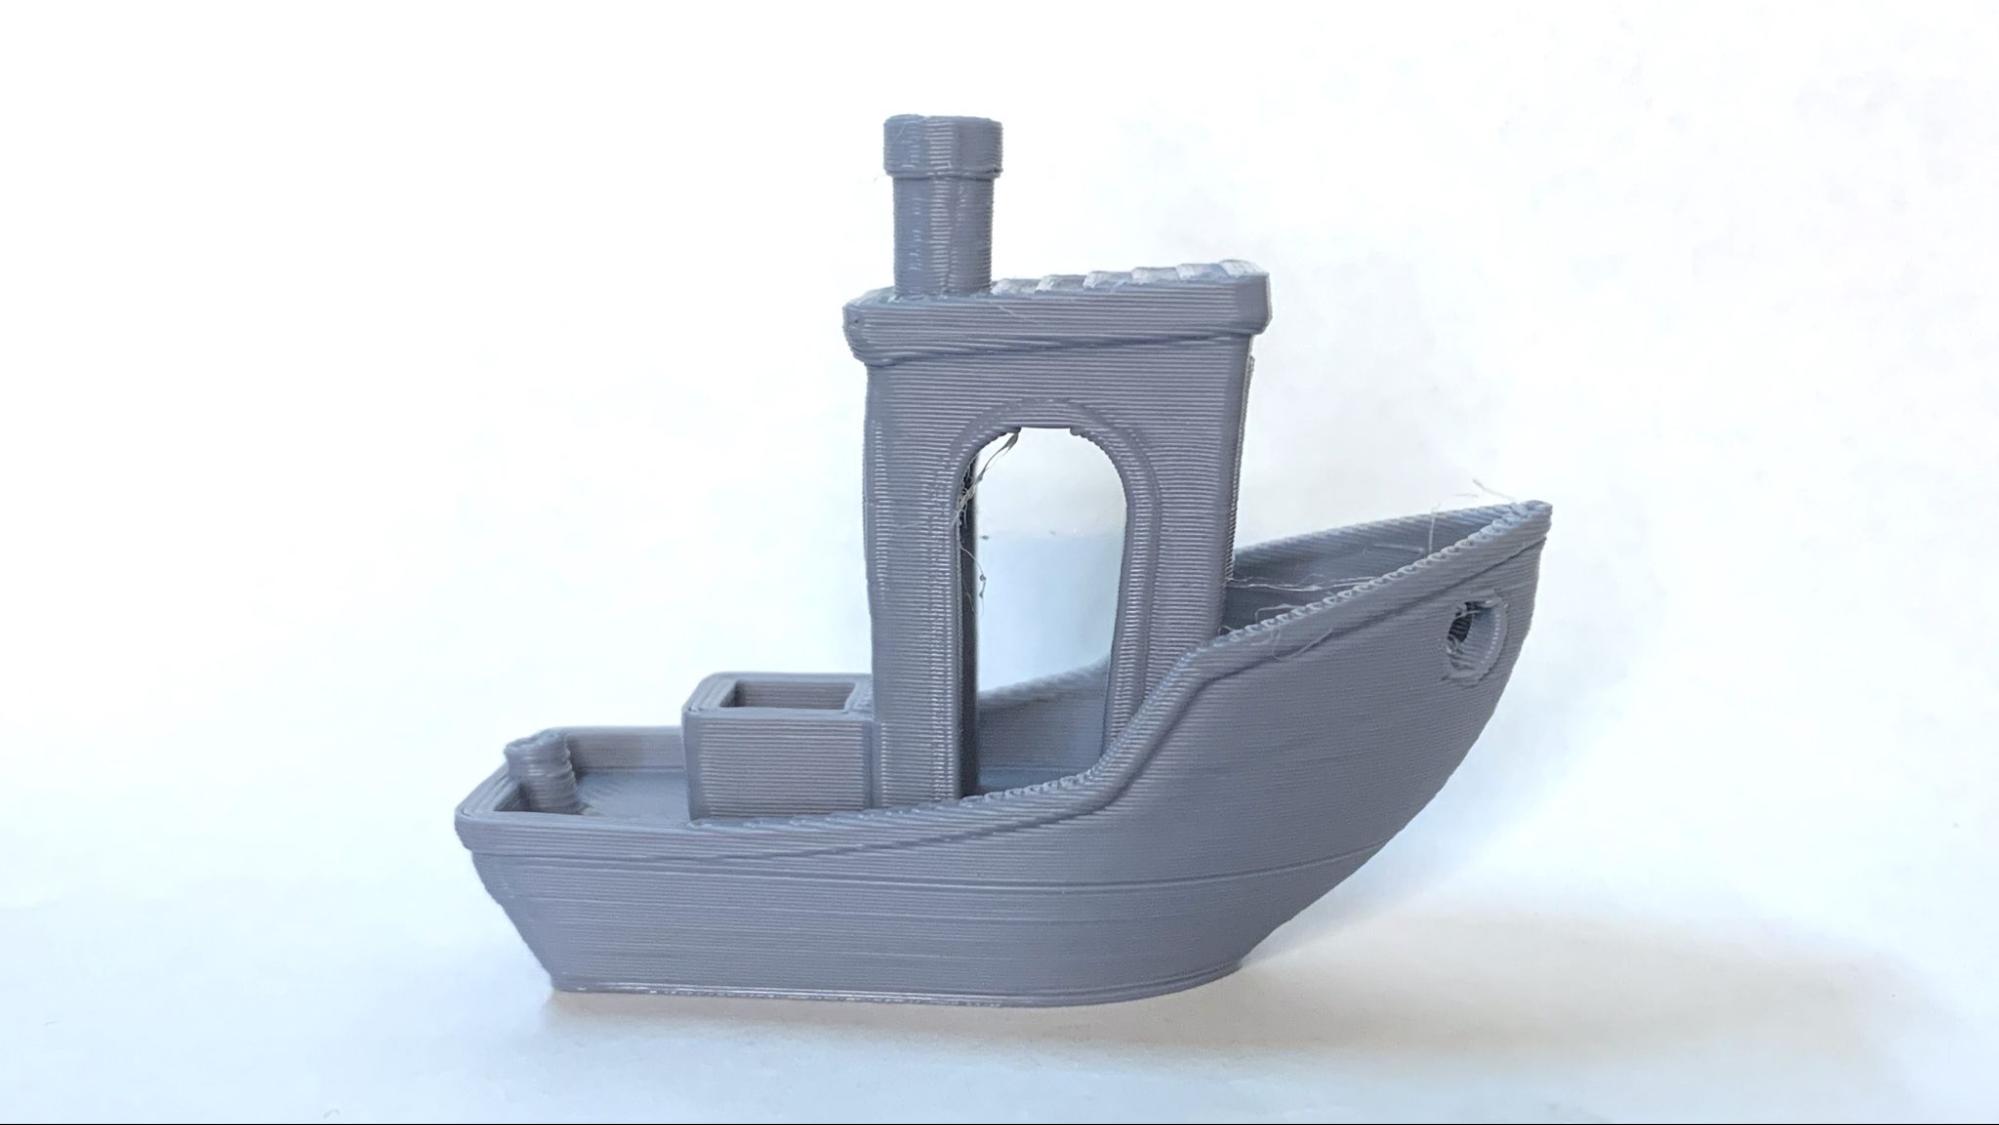
For my first print, I got right to the speed benchy, as I was curious what a machine this size could do with Klipper. Turns out, not much, as this big boy has a very conservative acceleration in the 1400-2000 mm/s² zone. The resulting benchy took 31 minutes and 12 seconds, which puts this nowhere near the top of our list of the fastest 3D printers. There were still some lines around the hull and a bit of wispy strings, but there was no ringing. This was printed in ordinary gray Inland PLA, so none of the defects are hidden.
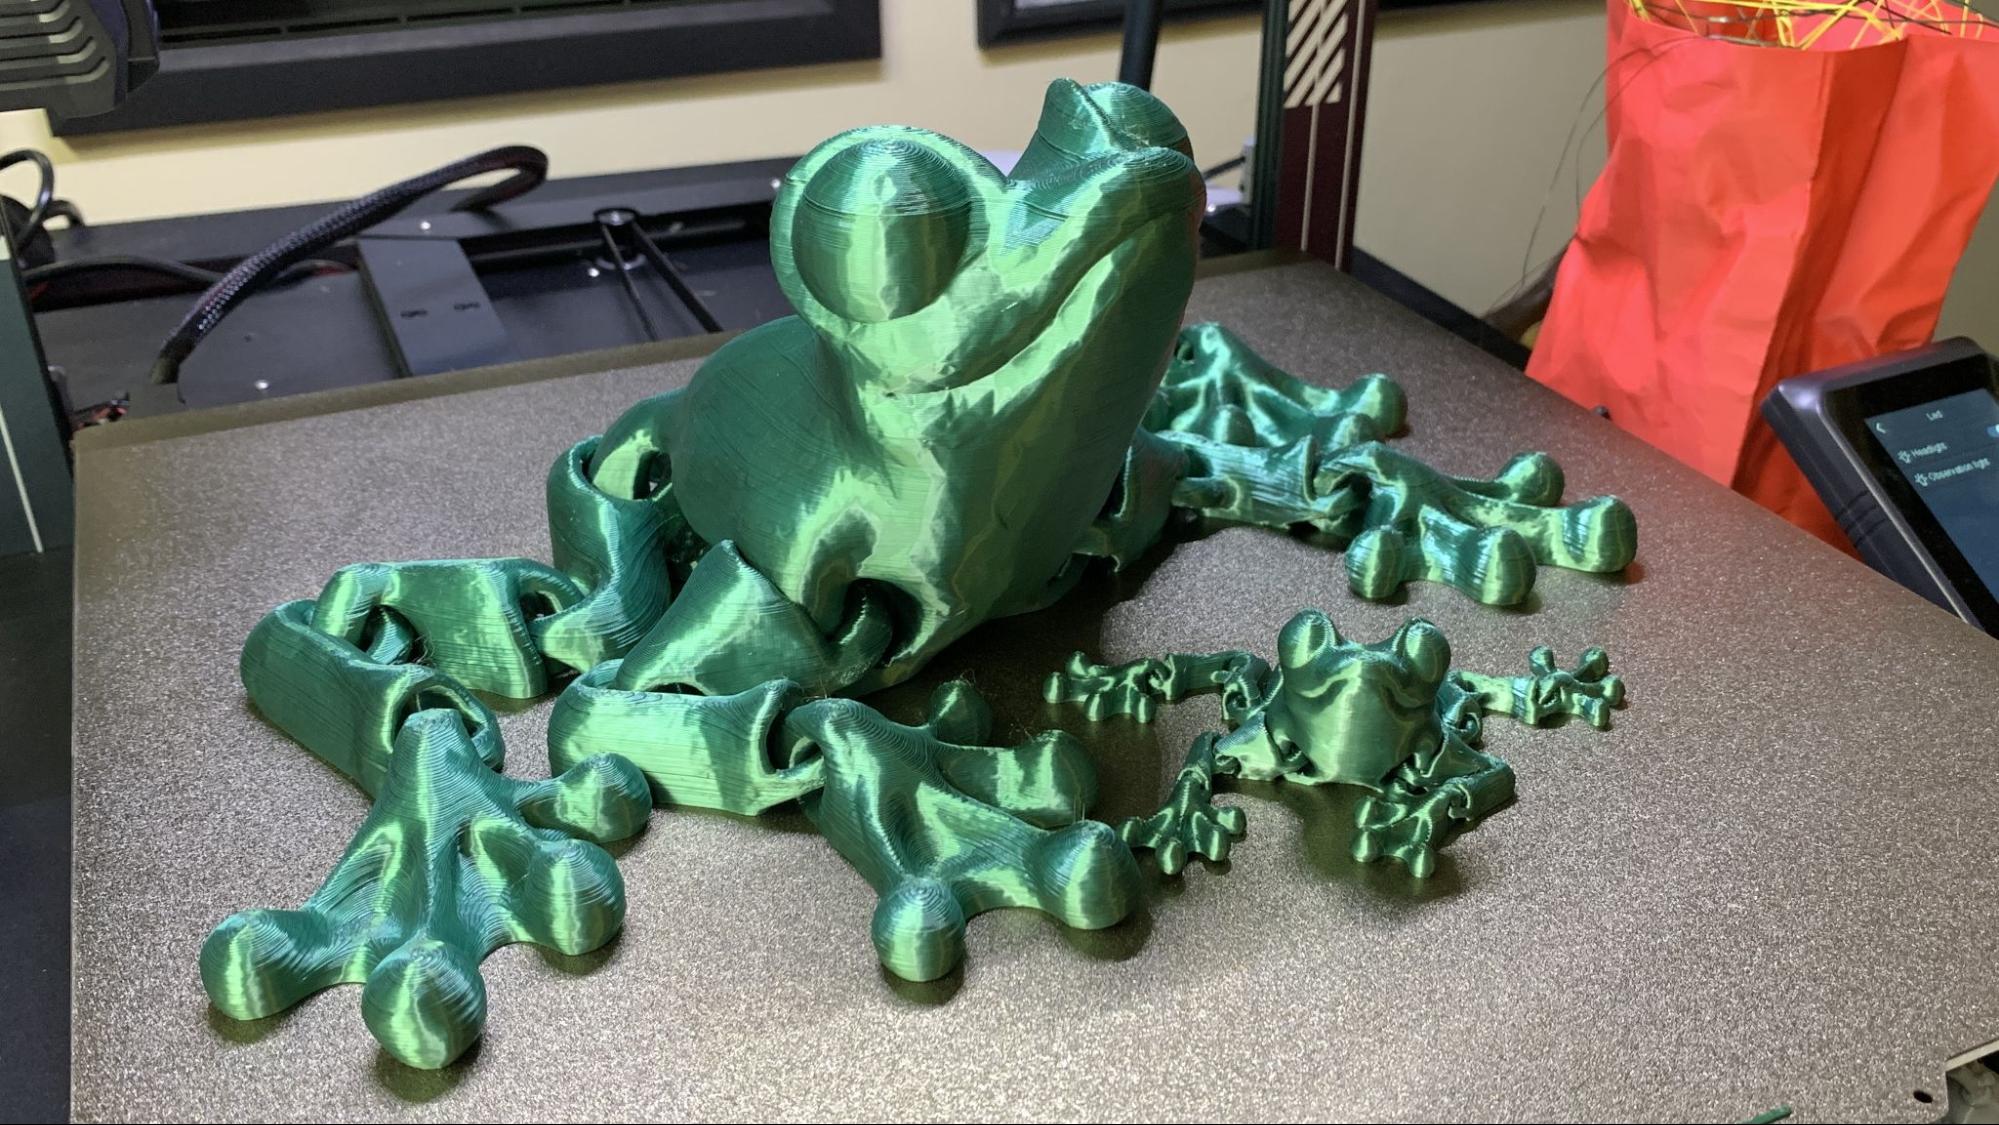
The best way to speed up a printer of this size is with your slicing, so I printed a 250% scaled articulated frog. In the photo below, the smaller frog is at 100% and was printed separately. The 100% frog took an hour and 19 minutes to print with a .2mm layer height and Elegoo Cura’s default speed settings of 100 mm/s on the walls and 140mm/s for the infill.
The larger frog was printed with a .28mm layer height and 10% infill to save a little time, but 3 walls to get a stronger, smoother print. It took a respectable 10 hours and 26 minutes. The frog's larger size should have compensated for the thicker layers, but there were several rough spots where the layer lines were ugly and a near layer shift around the eyeballs. The frog is printed in a silk green PLA that Elegoo sent for testing, but is not currently selling in their shop.
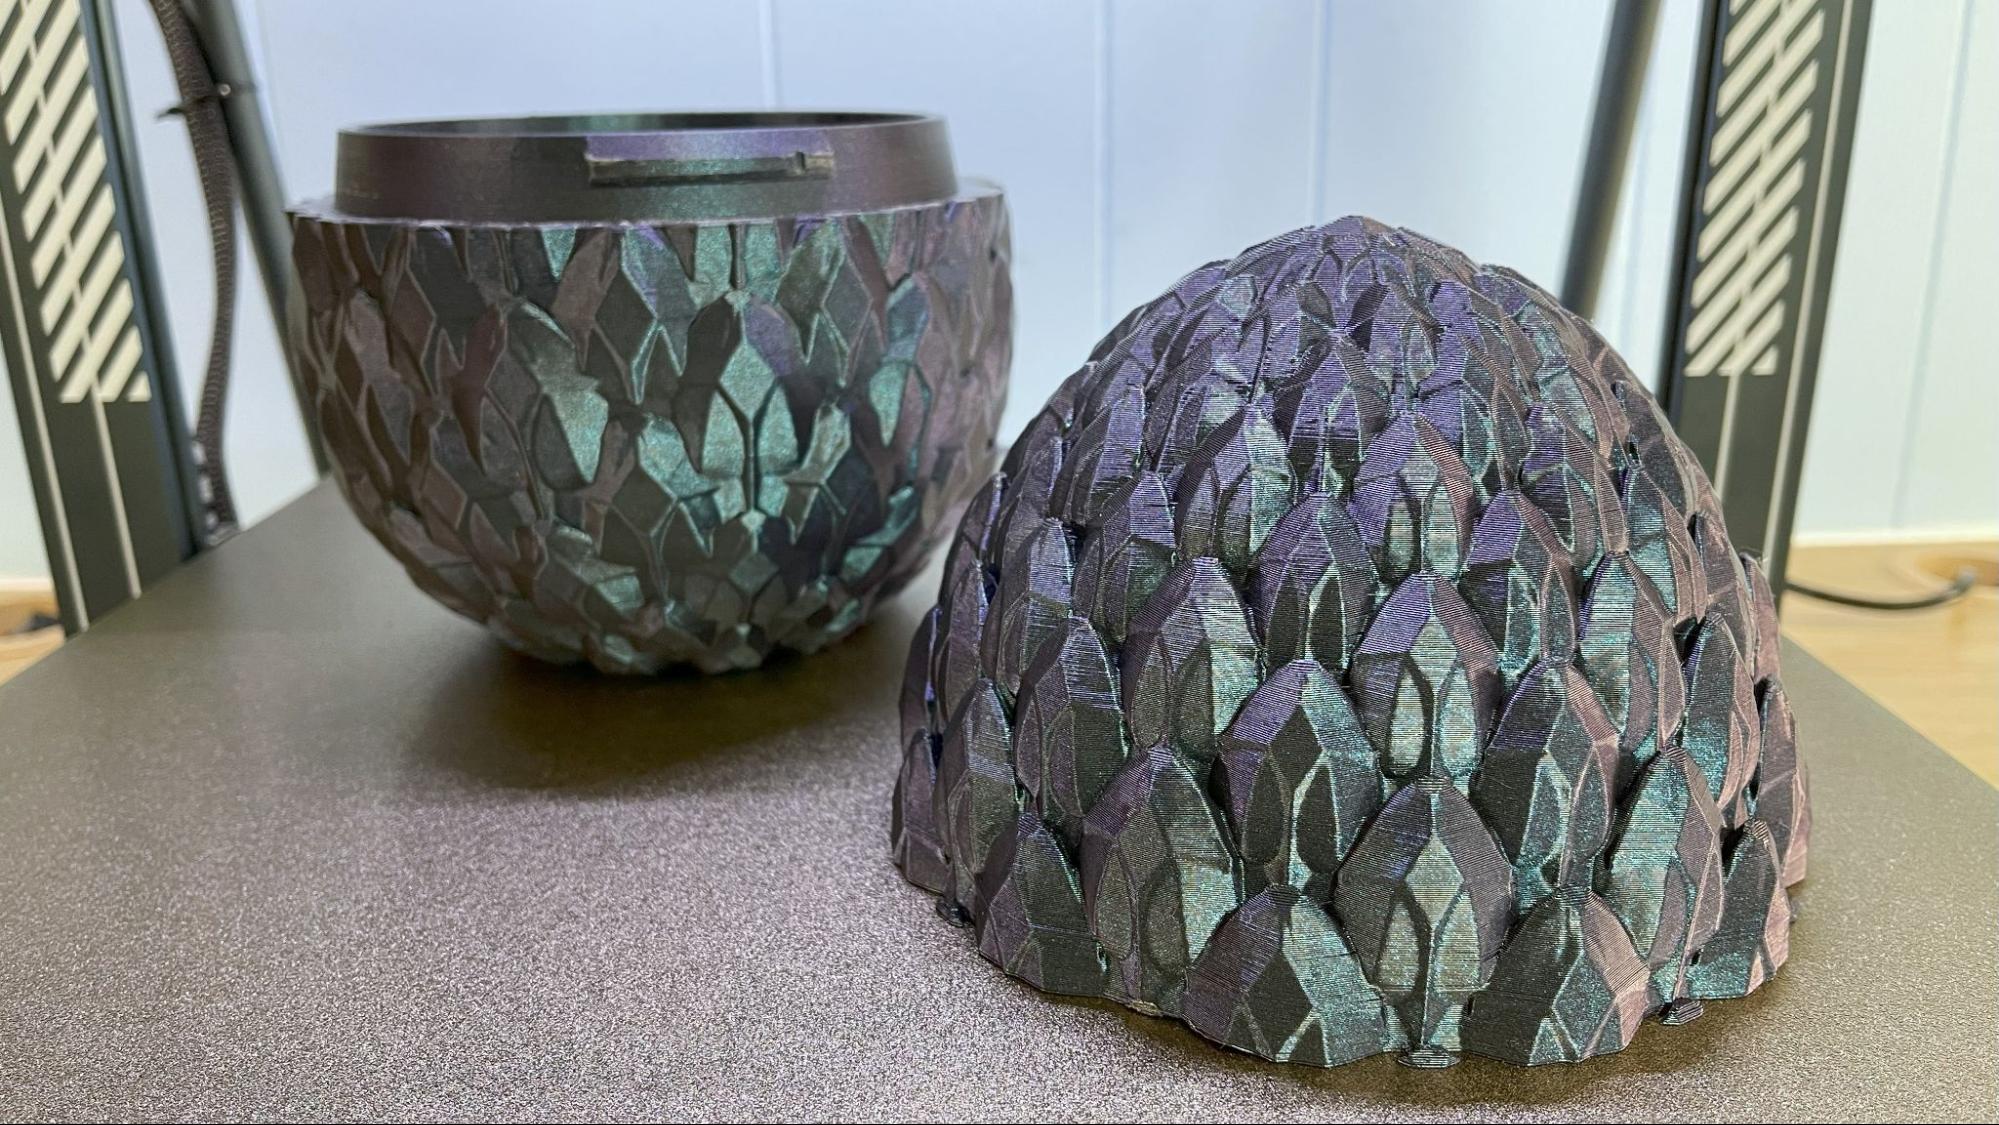
I found that a glitter filament was more forgiving, and able to hide some of the printer’s roughness. This football sized dragon egg was printed using a .28 layer height and took 14 hours and 28 minutes to print using the same settings as the frog. This is printed in Flash Forge Burnt Titanium. This is Cinderwing’s new “100%” egg, which is designed to hold her massive 100% sized dragons.
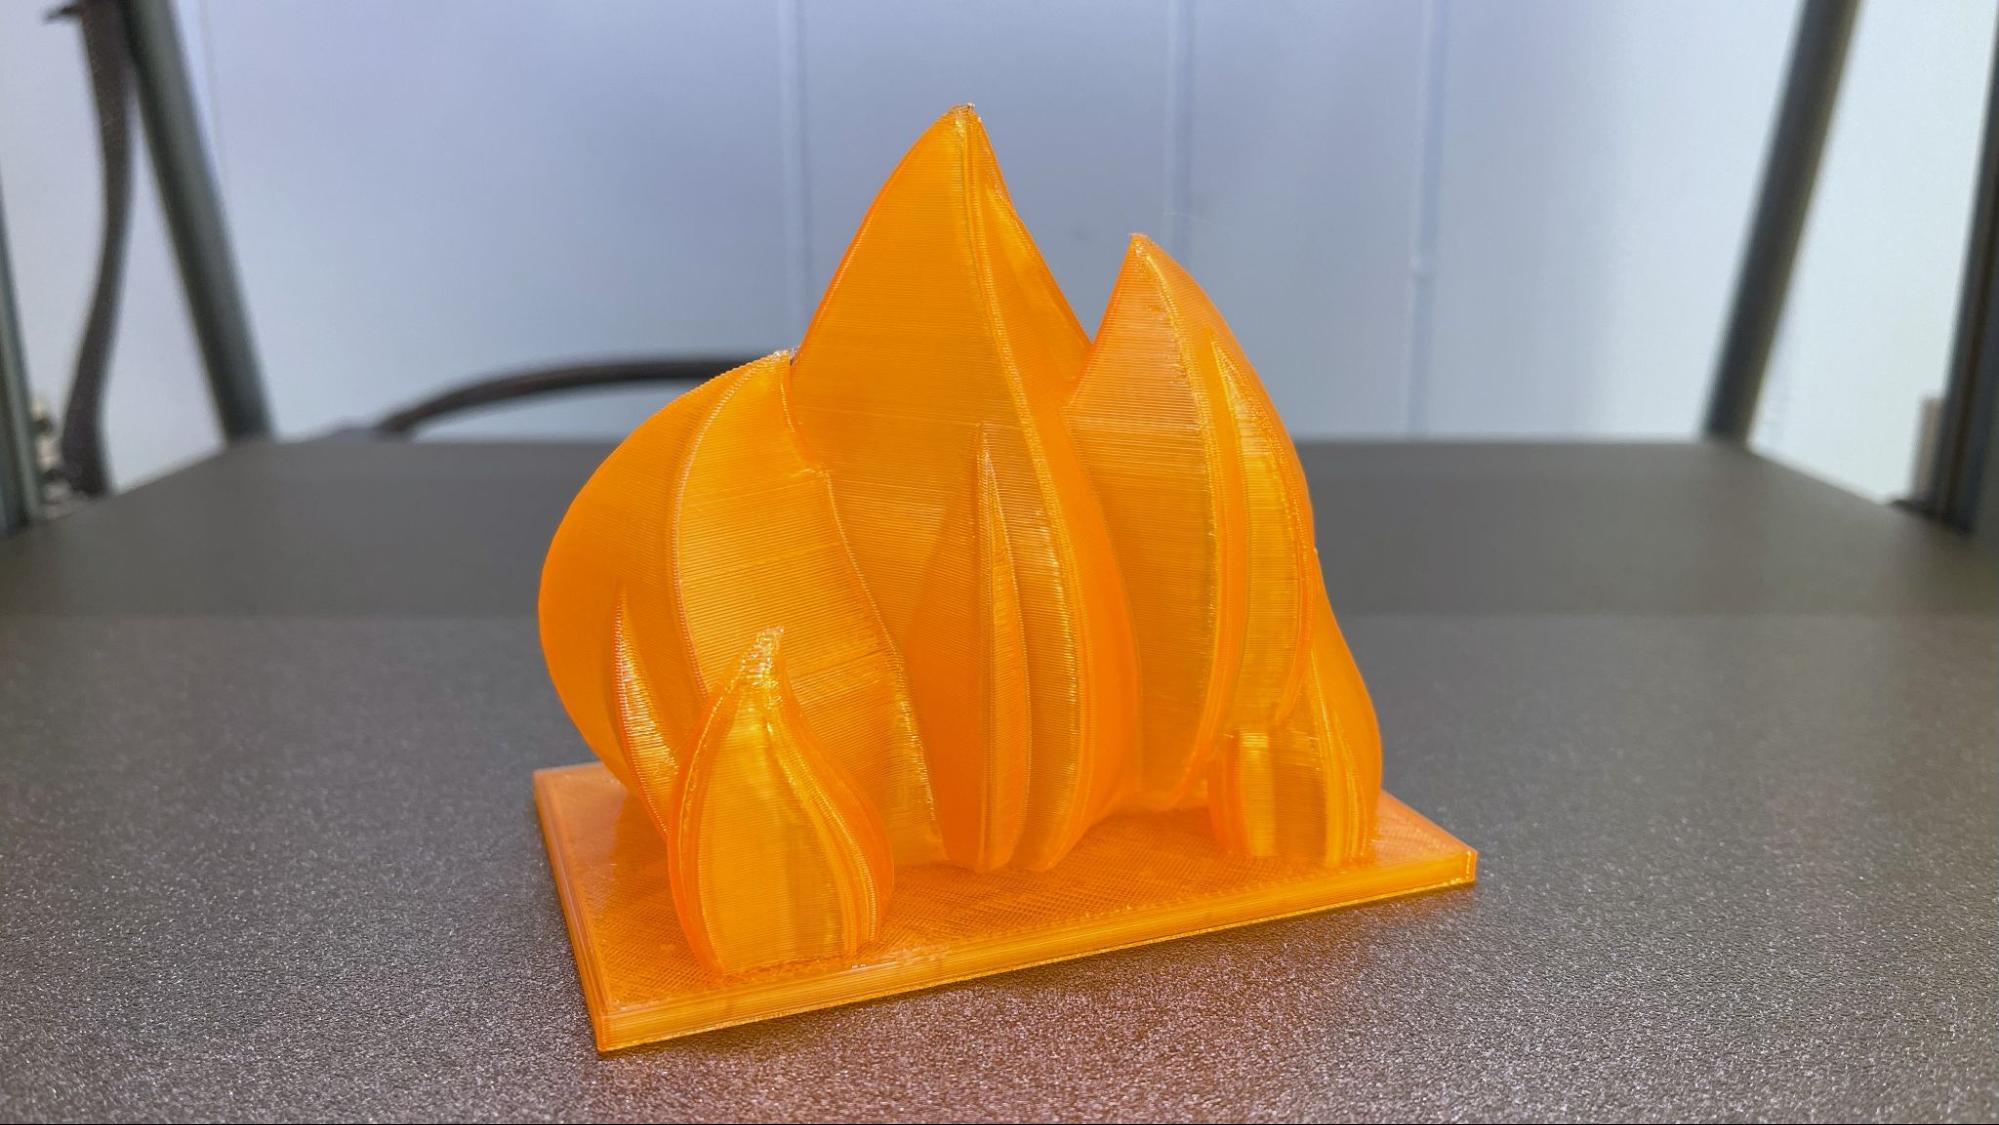
PETG needed to be slowed down to 60 mm/s and produced prints that are ok, but there are still annoying lines in the print where it can’t quite keep up. This 300% fire for a dumpster I made in Tinkercad uses a scant 10% lightning infill and 2 walls to keep it translucent so a light can shine through it. This printed in 2 hours and 39 minutes using Bambu Lab translucent orange PETG.
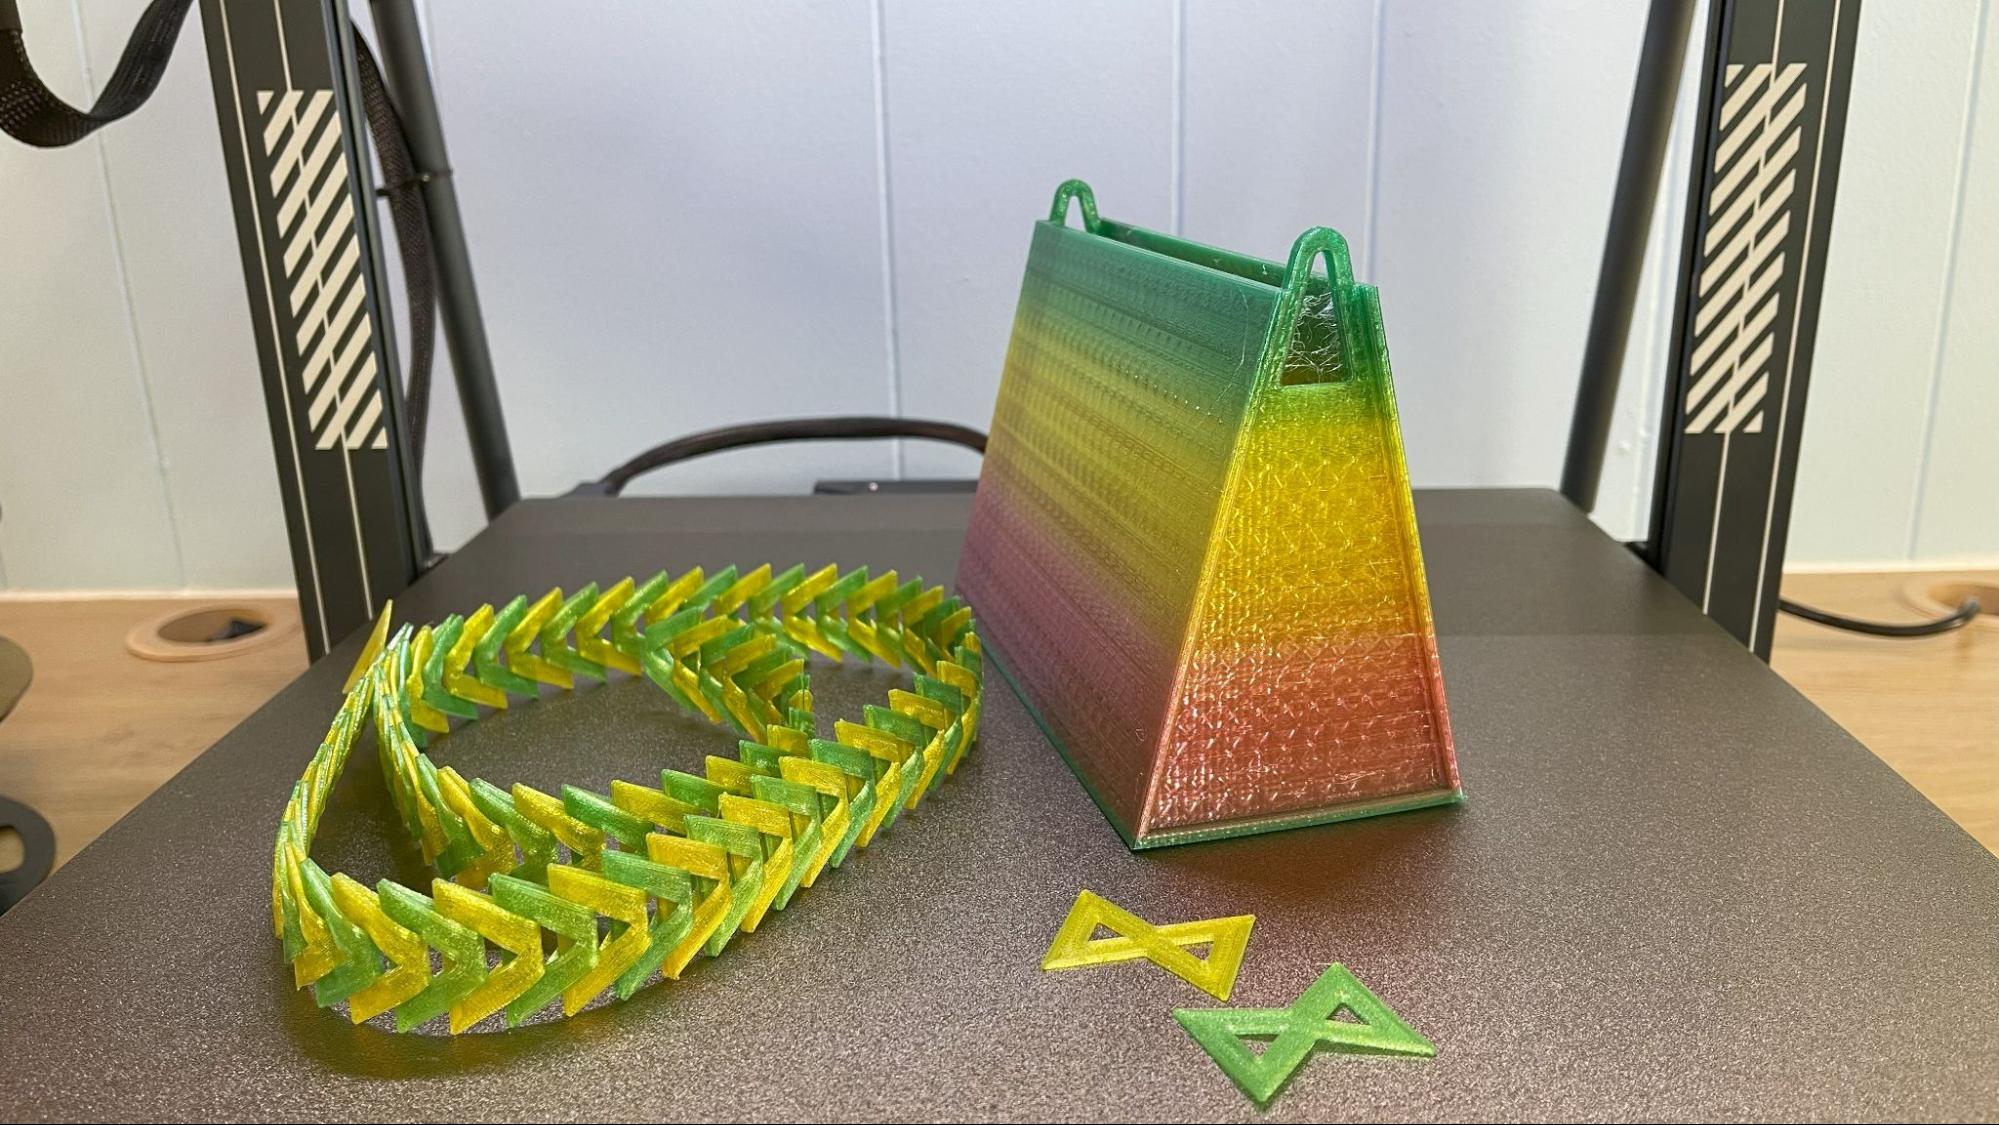
The Neptune 4 Max did exceptionally well with TPU, most likely because TPU needs a slow speed anyway. This print was done in three phases: one for the purse, and two beds full of thin hour glass shapes that are woven together to form the strap.
This was printed in Inland Rainbow TPU. I got lucky with the hourglass shapes each taking up one color transition from the spool. The purse took 8 hours and 45 minutes, while the hour glass shapes took 4 hours all together, using a .28 layer height and a 45mm/s print speed. The quality here was really good, with a little expected wispiness from the TPU.
Bottom Line
The Neptune 4 Max is a flawed machine that needs a little TLC from an experienced maker before it can give its best quality. If you’re willing to deal with Klipper directly to get around its current firmware issues, it’s actually capable of producing large prints faster than the older Neptune 3 Max (but not as fast as a core xy machine). I’d recommend purchasing it only if you see it on sale and don’t mind the extra work involved with the janky firmware.
Mechanically speaking, the Neptune Max 4 is a good machine. Though I ran into some rough layers, I believe this can be worked out with some tuning and slower speed settings. The extra set of leveling knobs combined makes sure the bed is as flat as possible before you need to digitally correct it with the auto bed leveling. Its PEI flex plate makes removing prints simple and doesn’t need a protective layer of glue stick before running PETG.
The printer is currently on sale for $430, which is a good price for all that extra space. It could be a second printer for a user experienced with Klipper.
If you don’t have the patience to sort on the Z height issues, the non-Klipper Elegoo Neptune 3 Max is still our favorite large scale 3D printer, and is currently a steal at $399. If a 300 x 300 mm build plate satisfies your helmet printing needs, the Creality K1 Max is a brilliant machine that takes up less space and can also print ABS and more technical filaments. The Elegoo Neptune 4 Pro is under $300 and our recommended beginner machine in our Best Budget 3D Printers list. If money is no object, the Prusa X is an excellent, bigger-than-normal 3D Printer that can be fitted with up to 5-tool heads for multicolor and multi-material printing.
MORE: Best 3D Printers
MORE: Best Budget 3D Printers
MORE: Best Resin 3D Printers

Denise Bertacchi is a Contributing Writer for Tom’s Hardware US, covering 3D printing. Denise has been crafting with PCs since she discovered Print Shop had clip art on her Apple IIe. She loves reviewing 3D printers because she can mix all her passions: printing, photography, and writing.
