


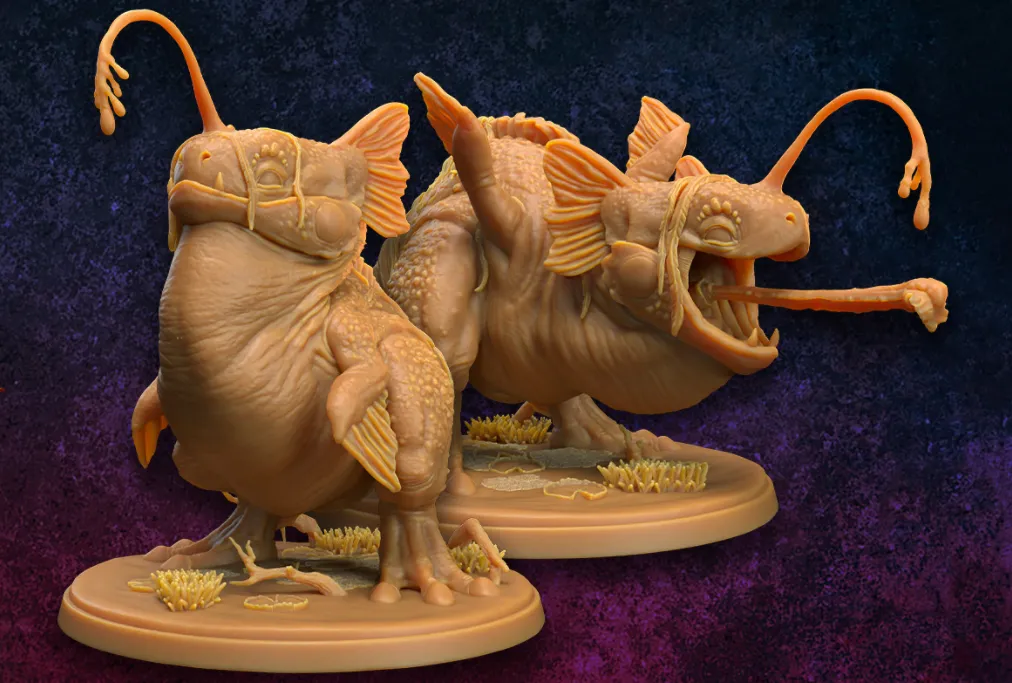
3D printing miniatures involves the same basic principles as creating other models, but the technology most commonly used is stereolithography (which you'll find in the best resin 3D printers). You can still 3D print with other best 3D printers using FDM technology, but it will require more work, especially in fine-tuning your 3D printer. Miniatures come in different varieties, like tabletops, historical wargaming, toy soldiers, and many others.
As with other 3D prints, the process starts by creating a 3D model of the miniature you want to print before sending it to a 3D printer slicer for slicing. If you don’t know how to design 3D models, there are a lot of 3D model websites where you can get a variety of miniatures to download and 3D print. Examples include Printables, Thingiverse, Yeggi, and Myminifactory. You can find most of them for free.
The Technology for 3D Printing Miniatures

Fused deposition modeling and stereolithography (resin) are the two main 3D printing technologies you can use to 3D print miniatures, and we shall compare these two processes. FDM 3D printers work by extruding the 3D printer filament layer by layer to create the design. Resin 3D printers, on the other hand, use a liquid resin to create a detailed print.
Using a Resin 3D Printer to Prepare Miniatures
Once you have the design, you must slice it before sending it to your 3D printer. Not all 3D printer slicers can work with resin printers, but you can use the ones dedicated to this task, like the Lychee slicer which we are using for this tutorial. To use this slicer to slice your miniatures, follow the steps below.
1. Visit the download section of the Mango3d website and install the appropriate version for your operating system.
2. After downloading and installing the software, create an account and add your 3D printer.

3. Add the files by dragging and dropping them to the workspace or go to File > Import 3D File.

Hollowing Out Miniatures
Hollowing out your miniatures is ideal for reducing the amount of resin you will use and the time it takes to print, and this will save you costs, especially when you are 3D printing larger objects. Follow the steps below to hollow out your miniatures in Lychee slicer.
1. Go to the Hollow section in the left section.

You will see four options: holes, hollowing 3D, hollowing 2D, and blockers. Holes adds holes to the print, hollow 3D hollows the design, and you can see the inside area, but in hollow 2D, you can’t see the inside.
2. Click Hollowing 3D to hollow the model. You can set the thickness of the walls by adjusting the Thickness section, then click Add/Update.

Use the slider on the right-hand side to see how the design appears and adjust the thickness accordingly until you achieve the perfect one. The minimum thickness should be 2mm.

You can also place holes around your design if you would like to by clicking on the holes section. These are helpful when you are cleaning the part after 3D printing. You can specify the size of the hole by adjusting the diameter and penetration settings.

After importing the file and resizing it, the next step is to apply the various settings. Below are the key settings you need to consider:
Layer Thickness
The layer height setting specifies the thickness of each cured material layer. In resin 3D printers, the layer height is set in micrometers (μm) or millimeters (mm), ranging from around 15μm to 100μm.
When 3D printing miniatures, the value you use depends on the level of details you want, the size of the print, and the capabilities of your 3D printer. If you are 3D printing small miniatures around 28mm, you must use a low layer height of 10-15μm to capture all the details. If you are 3D printing larger ones, you can use a higher layer height. A lower layer height takes more time to print than a higher one.
Most standard miniatures can be 3D printed at 50μm, the default size for many resin 3D printers. To adjust the layer height in Lychee slicer, go to the 3D printer section on the top-right section of the window.

In the window that opens, you will see the 3D printer you have set up; in the right section, you will see the thickness settings. The default value is 50μm, and you can click Edit to adjust it.

The window below will open.

You can click on the settings section if you are using another slicer like Chitubox.

Go to the print tab section to adjust layer height settings.

When adjusting the layer height, consider the layer exposure time. Layer exposure time is the duration for which each layer of the object is exposed to UV light in the printer, and it should always be proportional to the layer height. You can adjust this in the slicer or on the LCD screen of your 3D printer. You can download the exposure test print and use it to find the perfect settings before you start 3D printing your design.
Speed
In addition to the layer height, speed is another essential factor you need to consider. You can adjust both the lifting and retracting speed and the Z-axis height in Lychee slicer by going to the 3D printer section, and you will see the light and retraction speeds.

You need to increase it in small values and test it until you achieve the perfect one for your miniature.
Support Settings

Most miniatures have delicate parts and complex geometries that need support structures to be 3D printed successfully. All the hanging sections in the design should have supports and them in the slicer. To set supports in Lychee, you need to upgrade to the pro version and then follow these steps:
1. Select Support from the left section.

2. You can choose to generate supports manually or automatically. In my case, I like generating them automatically, so I will click Generate Automatic Supports.

You will see a notification showing the number of supports added and other details.

You can adjust other settings from the right-hand section.

If you are using Chitubox slicer, you can access the supports from the top-right section. You can either add them manually or automatically by clicking +All.

If you hollowed out your design, you need to add internal supports to the areas you think can collapse easily. You can do this manually by clicking on those areas and adding the supports. Of course, not all designs will require internal supports.
Exporting Your Files
When you finish setting, go to Export, choose Export slices to file, and save it after rendering before sending it to your 3D printer.

If you are using Chitubox, you first slice by clicking Slice.

After slicing, you can preview using the slider on the right-hand side, and when you are comfortable with how it looks, you select Save.

Printing Miniatures on an FDM Printer
If you are using an FDM 3D printer, you will follow the same steps. But the difference is the software you will use and the settings. Ultimaker Cura is one of the popular 3D slicers used in FDM 3D printers. Once you import your miniature, you can access the settings from the top right section.

You can begin by adjusting the layer height by going to the quality section and changing it there.
Just like in resin 3D printing, you need a lower layer height if you would like to get finer details, but it will take more time to print. A value between 0.05mm and 0.1mm can achieve a detailed print with smooth and fine surfaces, though you won’t get the level of detail that a resin 3D printer produces.
A layer height of around 0.15mm to 0.2 mm offers a balance between speed and details. You can use this for basic miniatures. A layer height above 0.2mm is better suited for large miniatures that are not detailed.
As you adjust the layer height, consider other critical settings like the print speed and the nozzle size of your 3D printer, as they will play a role in the final result. If you reduce the layer height, you will need a smaller nozzle resize to achieve the intended results.
Moreover, a slower speed of around 20-60mm/s can help enhance the details. You can adjust this in the print speed settings.

A value between 20-30% is sufficient for the infill settings. You can also choose either a grid or lines infill patterns as they offer a balance between strength and the time it takes to print. You can find these settings in the Infill section.

You must also enable support structures for the miniatures with overhangs and other delicate parts. Go to the supports section and ensure that they are enabled.

You can also choose either normal or tree supports and the specific places where they should be placed. For my case, I chose normal supports, and they should be placed everywhere. When you finish, click Slice and then go to the Preview section to see what the design looks like before you save and send it to your 3D printer.

After 3D printing, the next step is post-processing. For resin 3D prints, you must wash and cure it first to remove excess resins. In both techniques, you must remove supports (if there are any) and clean them before painting.
FDM vs. Resin 3D Printer: Which One Should You Use?
Both FDM and resin machines can be used in 3D printing miniatures, but because of their complexity and intricate details, resin 3D printers are the most preferred. This is because:
1. It produces extremely fine details like textures, especially when you use the one with high resolution. All the key and minor details of the design, like sharp edges, comes out well. This is crucial for miniatures, as a clean and polished surface enhances the visual appeal of the print.
2. Resin 3D prints also have smooth surfaces, and this reduces the amount of work to do in post-processing.
3. You can remove the supports easily when using a resin 3D printer compared to an FDM 3D printer. In FDM, sometimes the supports stick very much, and during the removal process, it can affect the quality of the print, especially the tiny parts.
Regardless of the type of miniature you are printing, you can use the steps highlighted in this article. You just need to remember that the type of the 3D printer and the settings you are using determine the final output of your print when other factors are kept constant.
Related Tutorials
More: How to Use PrusaSlicer: A Beginners Guide
More: 5 Ways Fix Z Banding in 3D Printing
More: How to Use FreeCAD for 3D Printing
More: How to Convert OBJ Files to STL Files for 3D Printing
More: How to Clean and Cure Resin Prints