I built a configurable ADB-to-USB adaptor to use a vintage 1990 Apple keyboard with modern Windows and USB — modern keyboards and magnetic switches can't compete with Alps
Don't make the same mistakes I did.
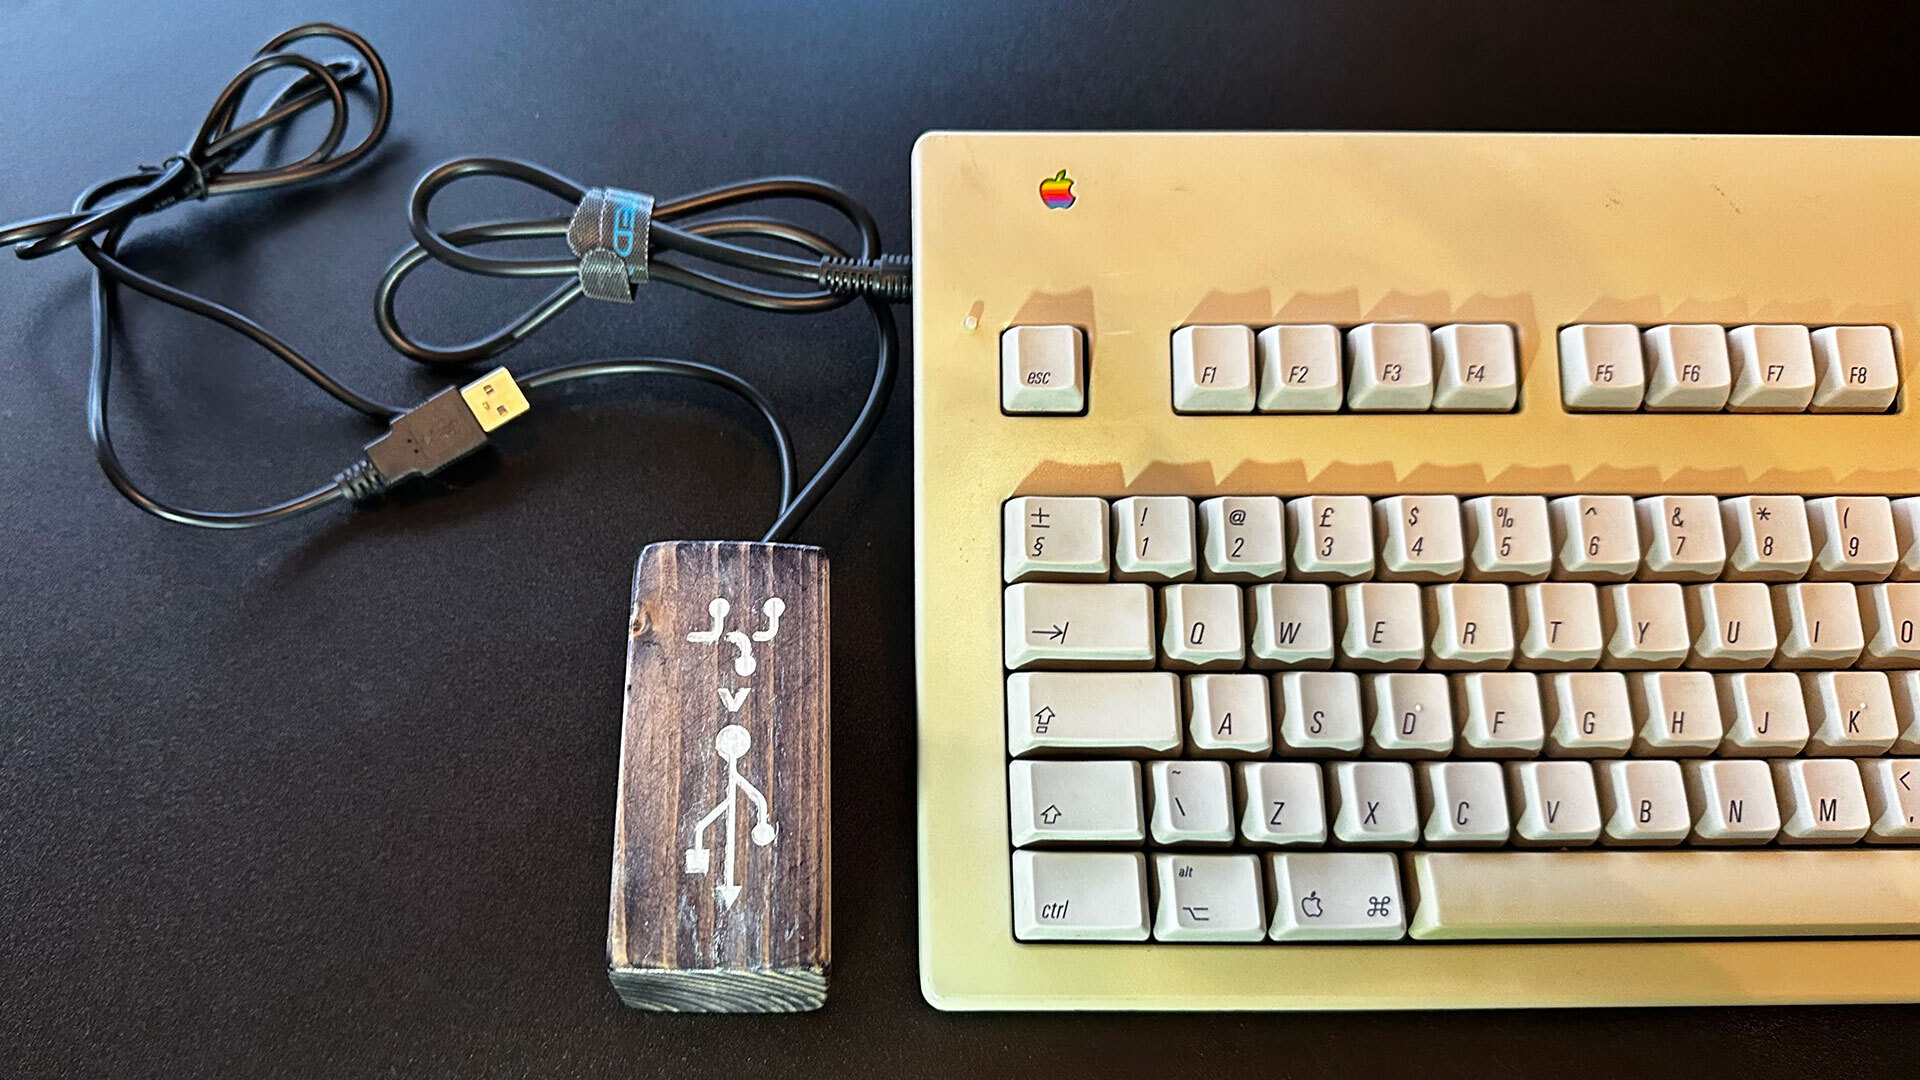
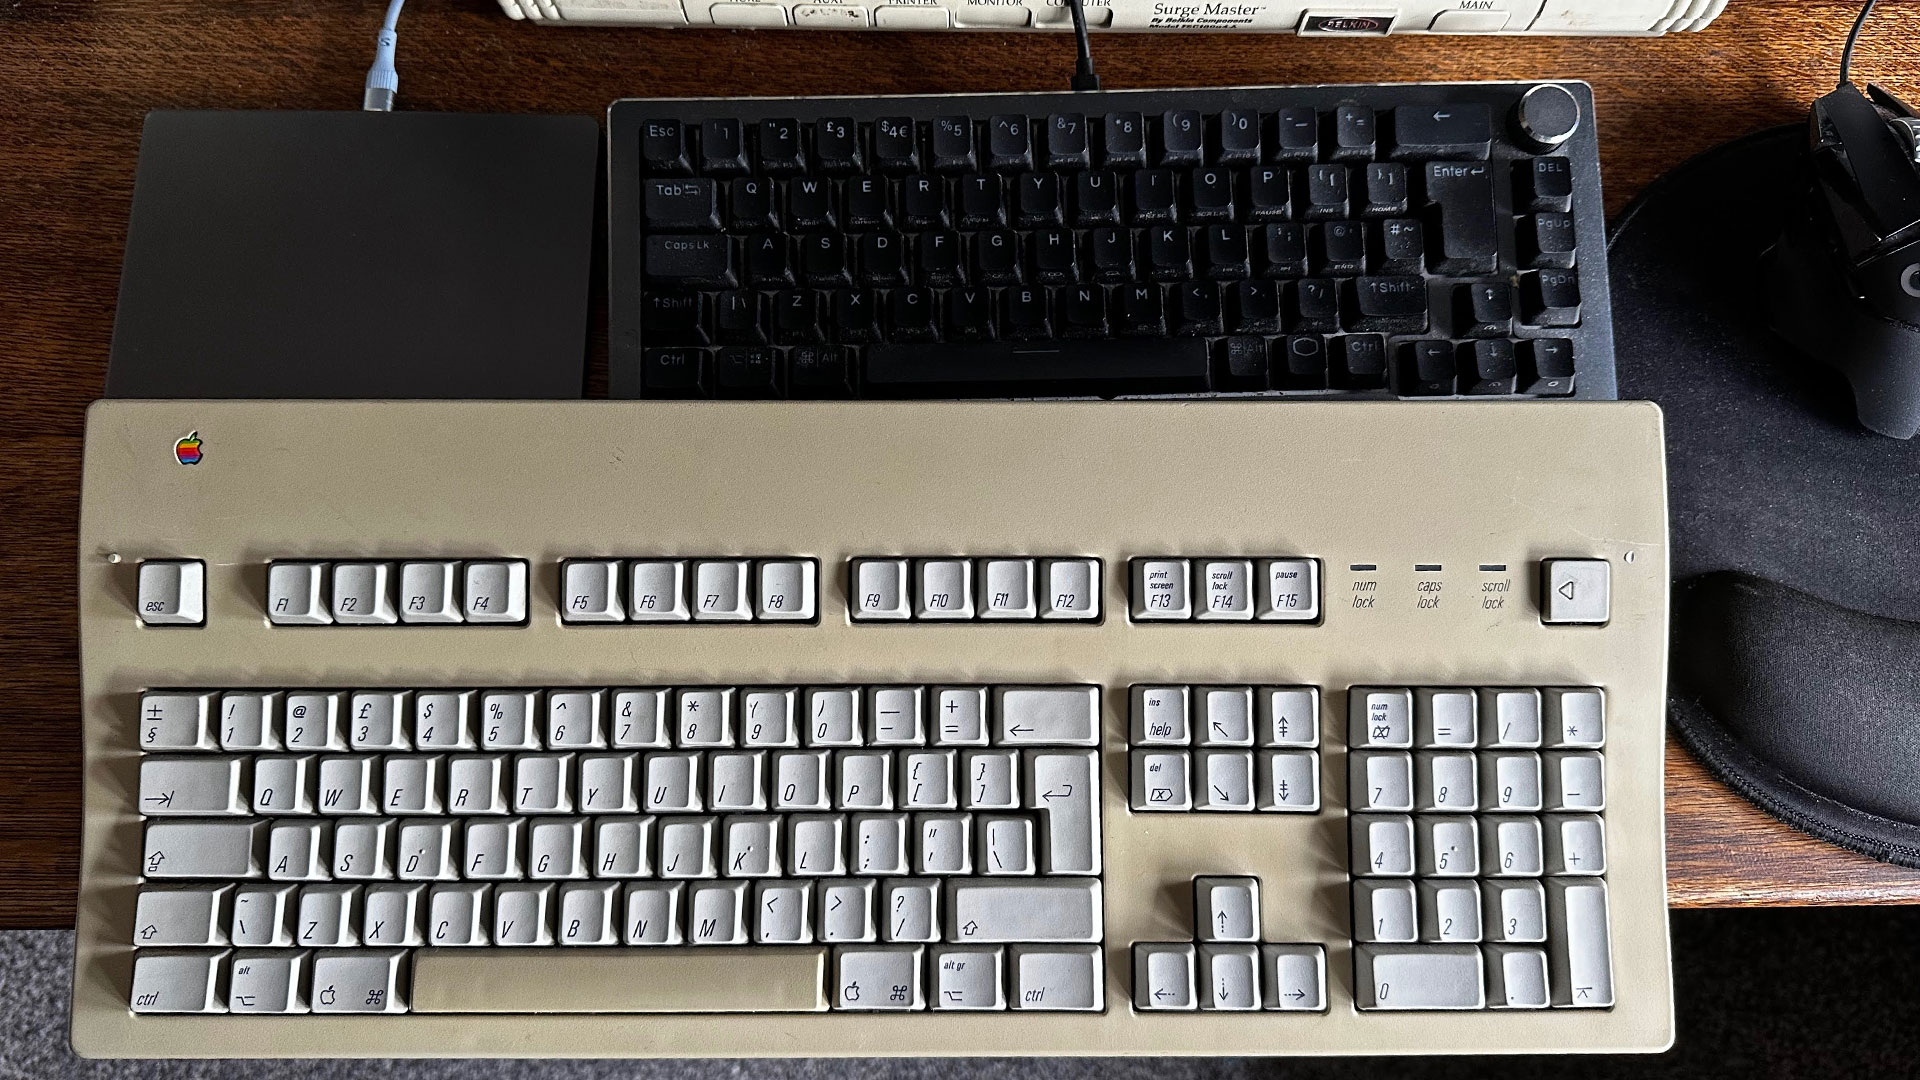
As a writer who has been working professionally on PCs and Apple devices since the mid-1990s, I’ve been through a lot of keyboards. However, a fondness for one, which was actually released back in 1990, has stuck with me to the present day. I’m referring to the Apple Extended II mechanical keyboard, also known as the AEKII model M3501. The model you see in the photos is the third I have personally owned.
AEKII details
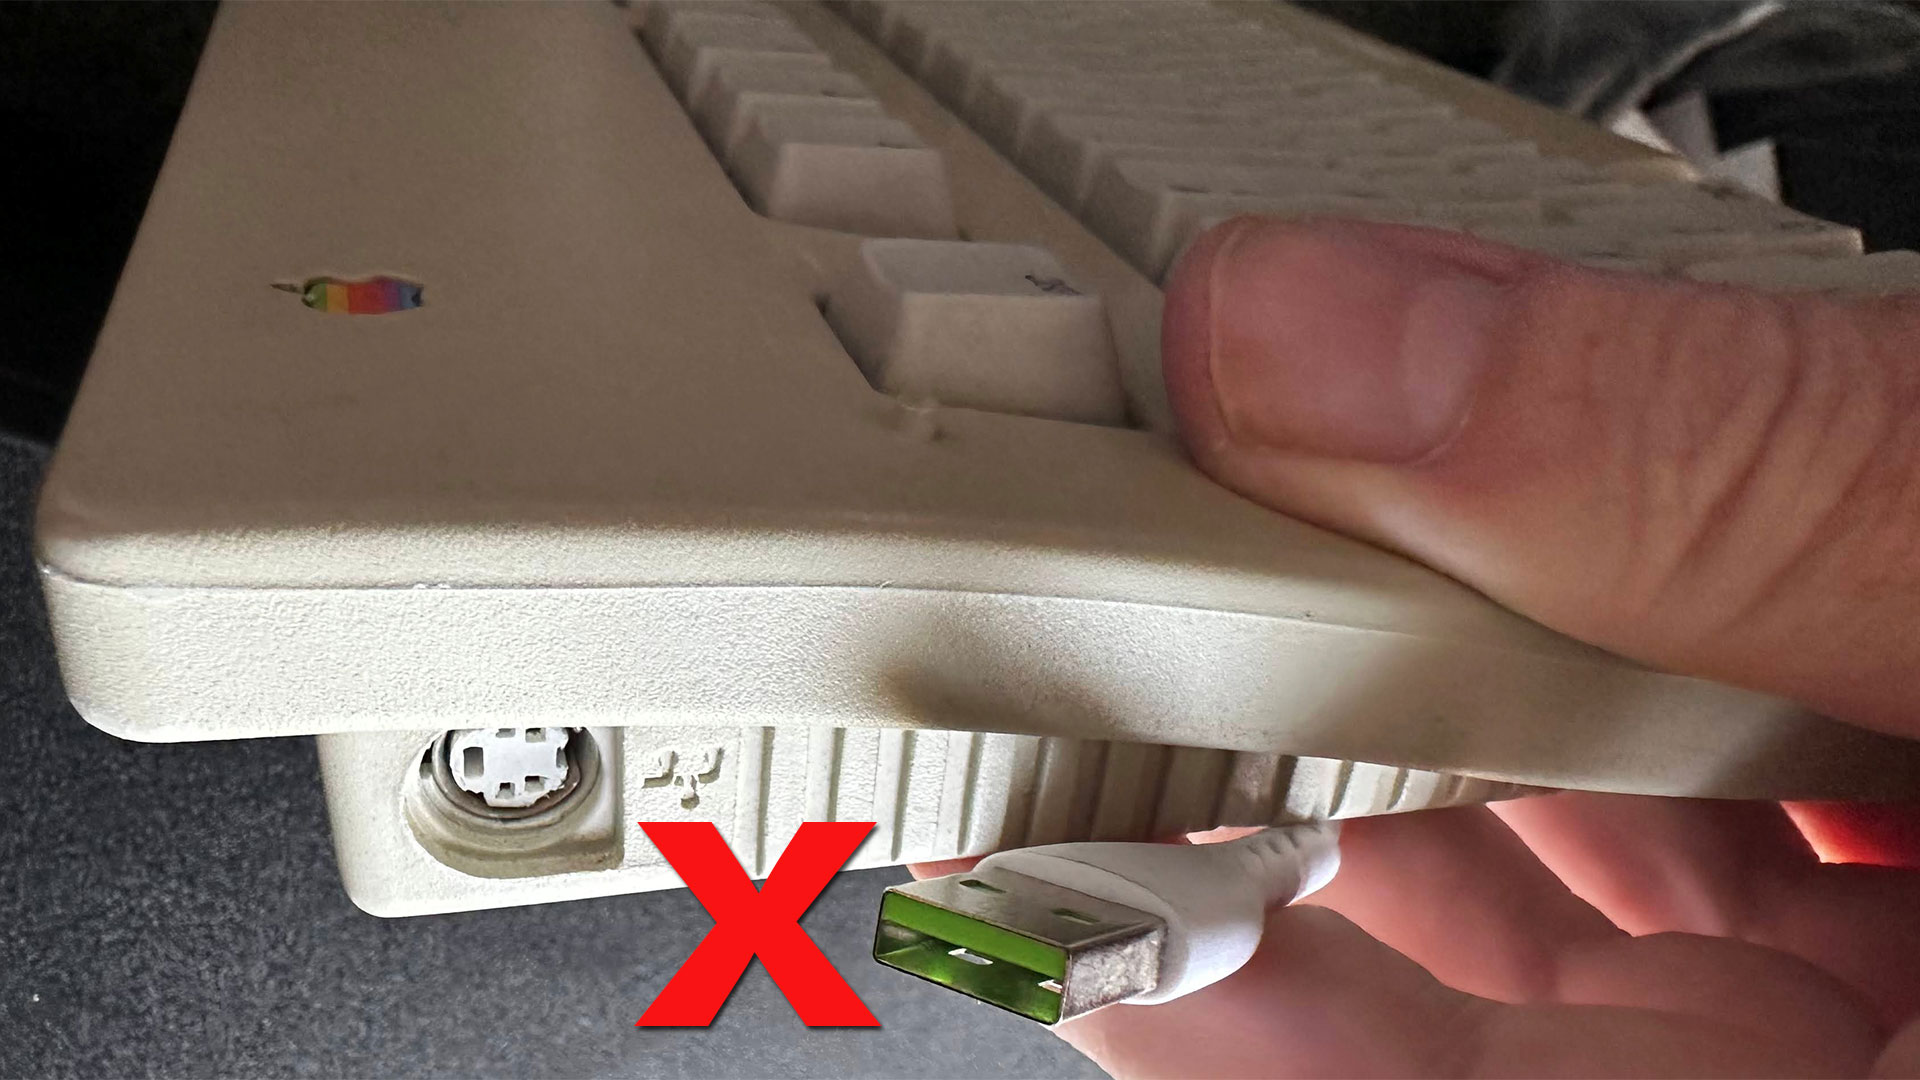
This substantial 3.75 pounds (1.70 kg) input device is a fulsome sized mechanical keyboard, with F-keys up to F15, a comprehensive set of navigation keys, and a numpad. There’s even a power key to the upper right. Other notable features are its twin quick-keys hanger pegs, which let you overlay shortcut reference sheets around the F-key area. There are two ADB ports (Apple Desktop Bus, a proprietary DIN interface introduced on the Apple IIGS), left and right (so you could plug an ADB mouse either side), and there’s a large elevation slider to its rear, which adjusts the tilt of the keyboard deck by raising an almost full-width rubber tipped foot.
The majority of keycaps are PBT, but the tell-tale touch-smoothed and yellowed space bar uses ABS plastic. These mechanical keyboards came with a variety of Alps switches, which are no longer in production, and are distinctly different from modern alternatives like Cherry MX switches. Modern keyboard aficionados seem to suggest the nearest equivalent switches are made by Matias.
The sample I am currently typing this article on has what I think are the cream/ivory damped switches. Lifting a keycap to see the color stems shows they are kind of off-white, but I can’t be 100% sure if they have darkened from simply being so very old.
DIY is better
For some reason, I sold my previous AEKII, which was in perfect working condition with a genuine ADB cable, and a commercial solution to adapt it to USB. That adaptor was the Griffin Technology iMate Universal ADB to USB Adaptor, complete with its original packaging. Getting just £38 (~$50) for this keyboard, cable, and adaptor bundle in 2017 was a tragedy, as I now see the iMate alone is selling for $90 to $200.
However, the iMate wasn’t as good as the DIY solution that I will take you through. That commercial plug-it-and-forget-it dongle didn’t offer the online configurator you will be able to use if you go ahead and make this homebrew converter yoruself.
Get all the parts together
Before duplicating this project, you will need the following things:
Get Tom's Hardware's best news and in-depth reviews, straight to your inbox.
- An Apple ADB keyboard
- A Pro Micro 5V (Arduino compatible), ATmega32U4. Make sure the listing confirms it runs at 5V and 16 MHz.
- An Apple ADB cable, or an SVHS S-Video 4-pin lead, like I used.
- A 1 Kilohm resistor (Brown-Black-Red, we've got a cheat sheet to help.)
- Soldering equipment
- A multimeter
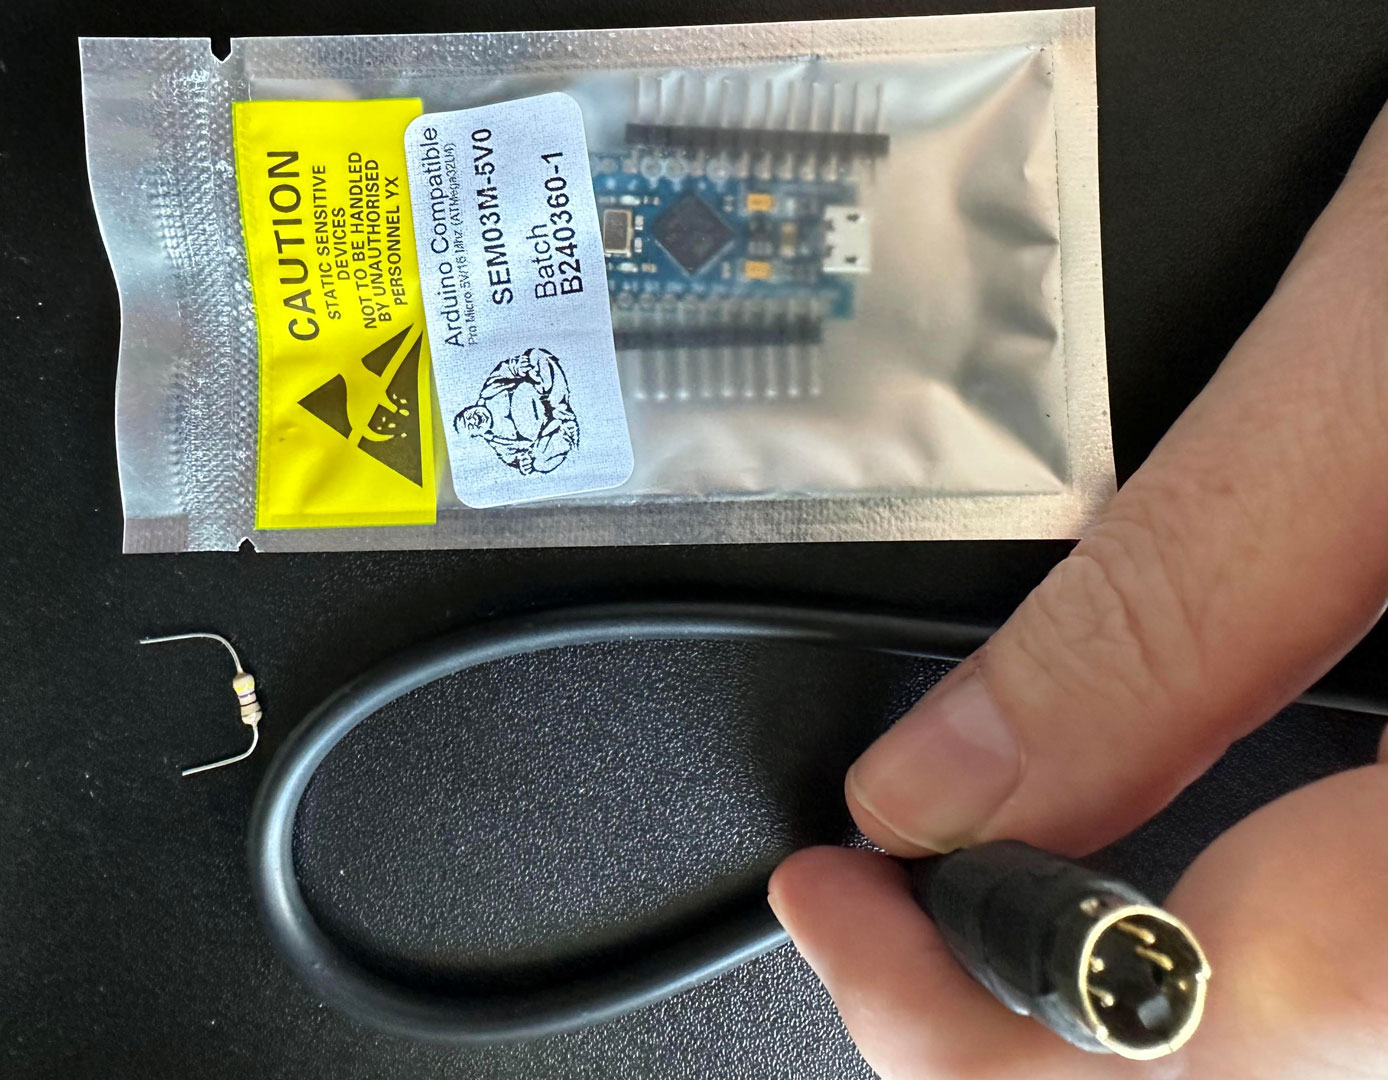
I was lucky enough to get the keyboard you see in an “untested” condition for under £20 posted (~$27), the ATmega32U4 was £7.35 ($9.90), and the SVHS cable was £3.25 ($4.38), delivered. I already had a box of hundreds of different resistors, soldering bits and pieces, and a multimeter.
If you are in the market for some soldering equipment, please check out our extensive best soldering irons buying guide, where we have tested many different models.
Software for firmware and flashing
Getting the software set up and successfully flashed as firmware is my recommended first step. The firmware can be verified after it is flashed, so you know this side of the equation is correct. Then, you can plug in your DIY adaptor to confirm that you’ve soldered everything correctly.
I pondered over a few firmware choices before going with TMK converter firmware, which was successful. Rather than distract you with tales that led down a blind alley, or just veered off in the wrong direction (for me), I'll keep things simple and share what did actually work for my setup.
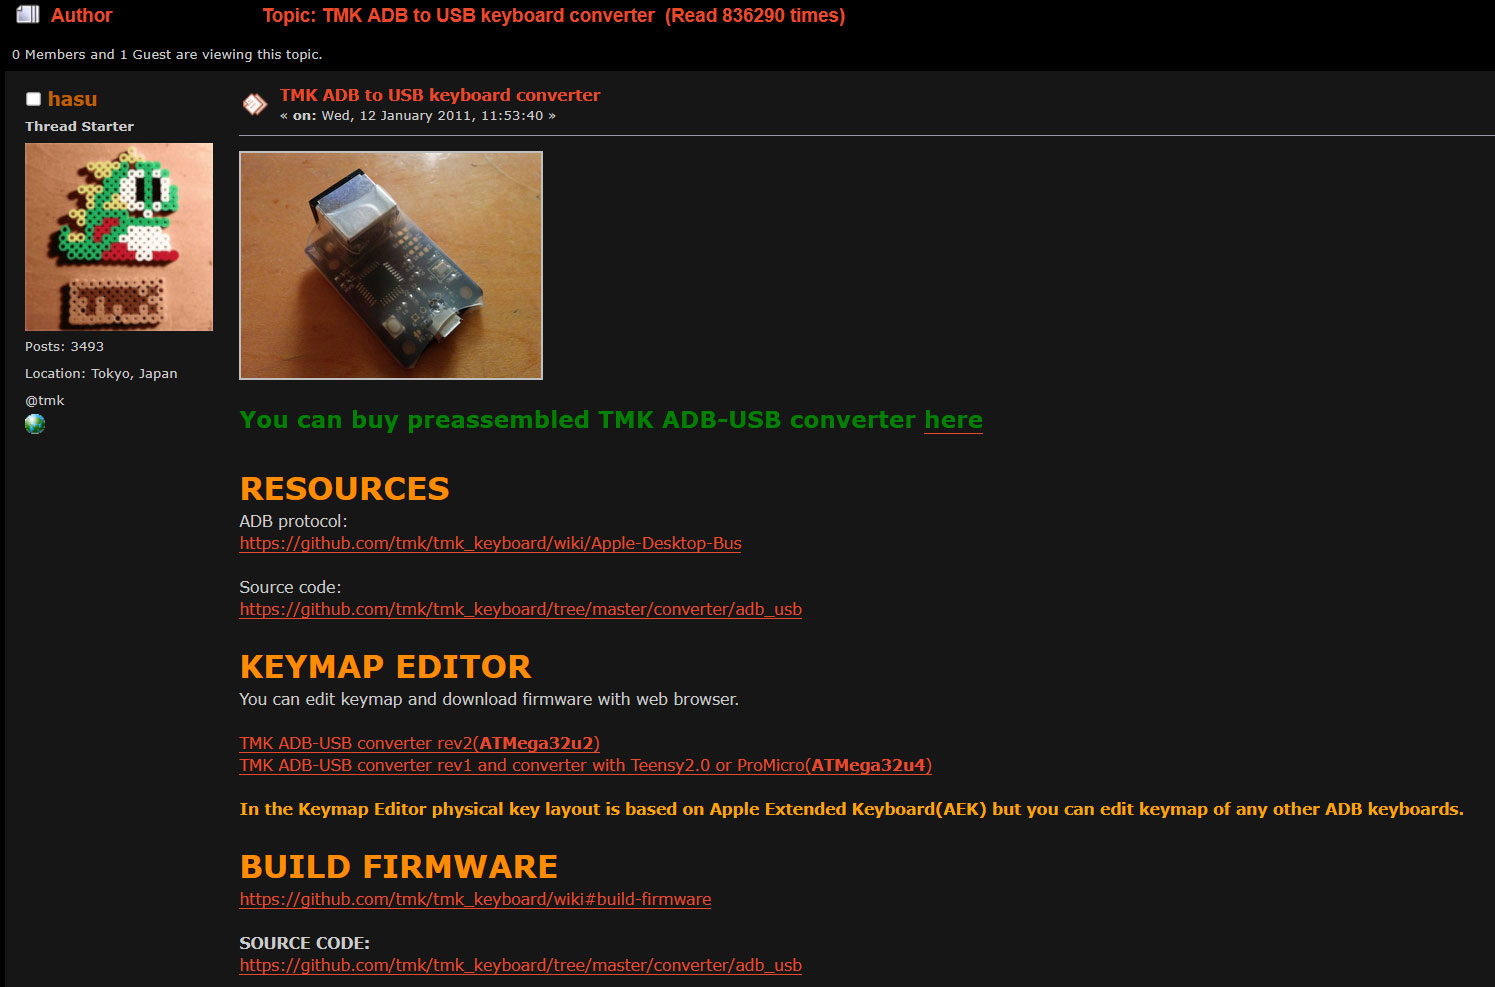
The winning choice, in my case, for this ADB to USB converter is known as the TMK converter firmware. This firmware seemed more focused on my retro keyboard converter needs than others, and thus felt like a better fit for the project. Some of the notes on the updates in the forum caught my eye, such as “ISO keys should be correctly supported.” TMK offered an online configurator and flasher, too.
One worrying thing about the TMK firmware, for my build, was that the project originator warns against using microcontrollers like the one I had already purchased. "Please don't ask help for problem specific to Pro Micro here," writes TMK project founder Hasu on the above-linked forum.
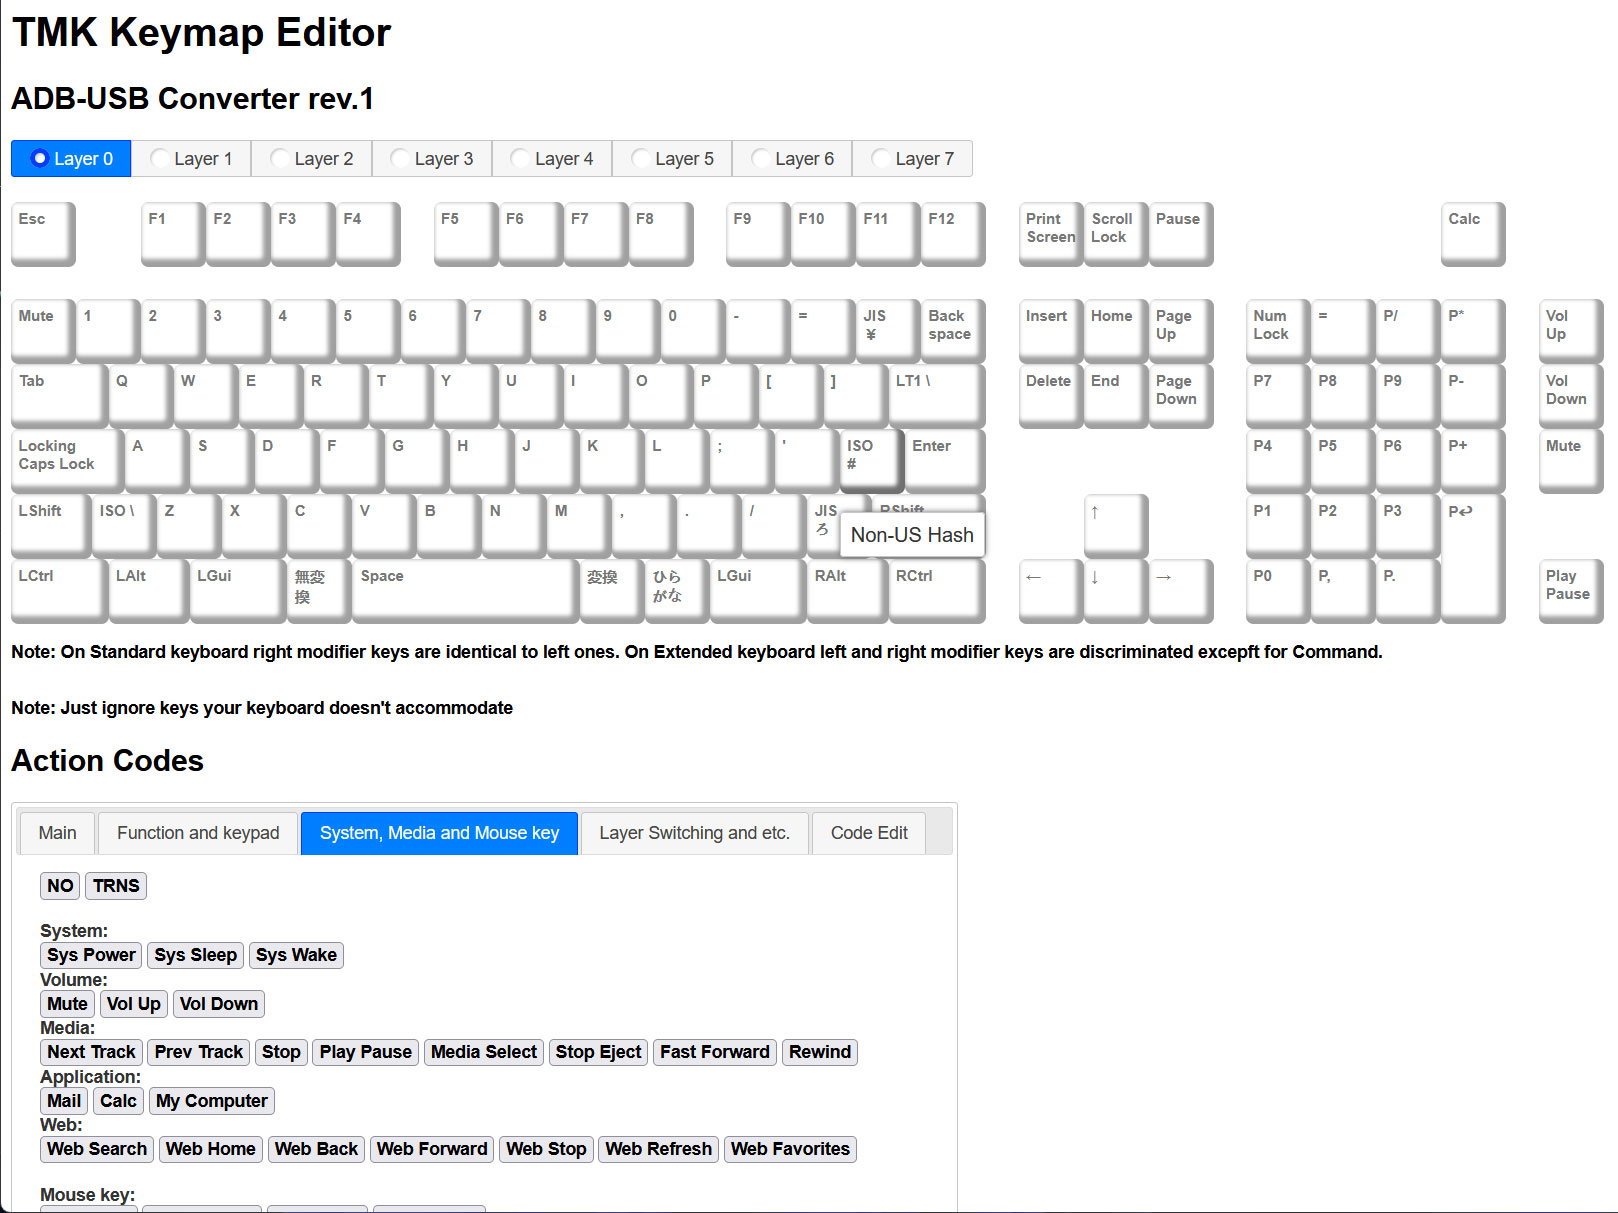
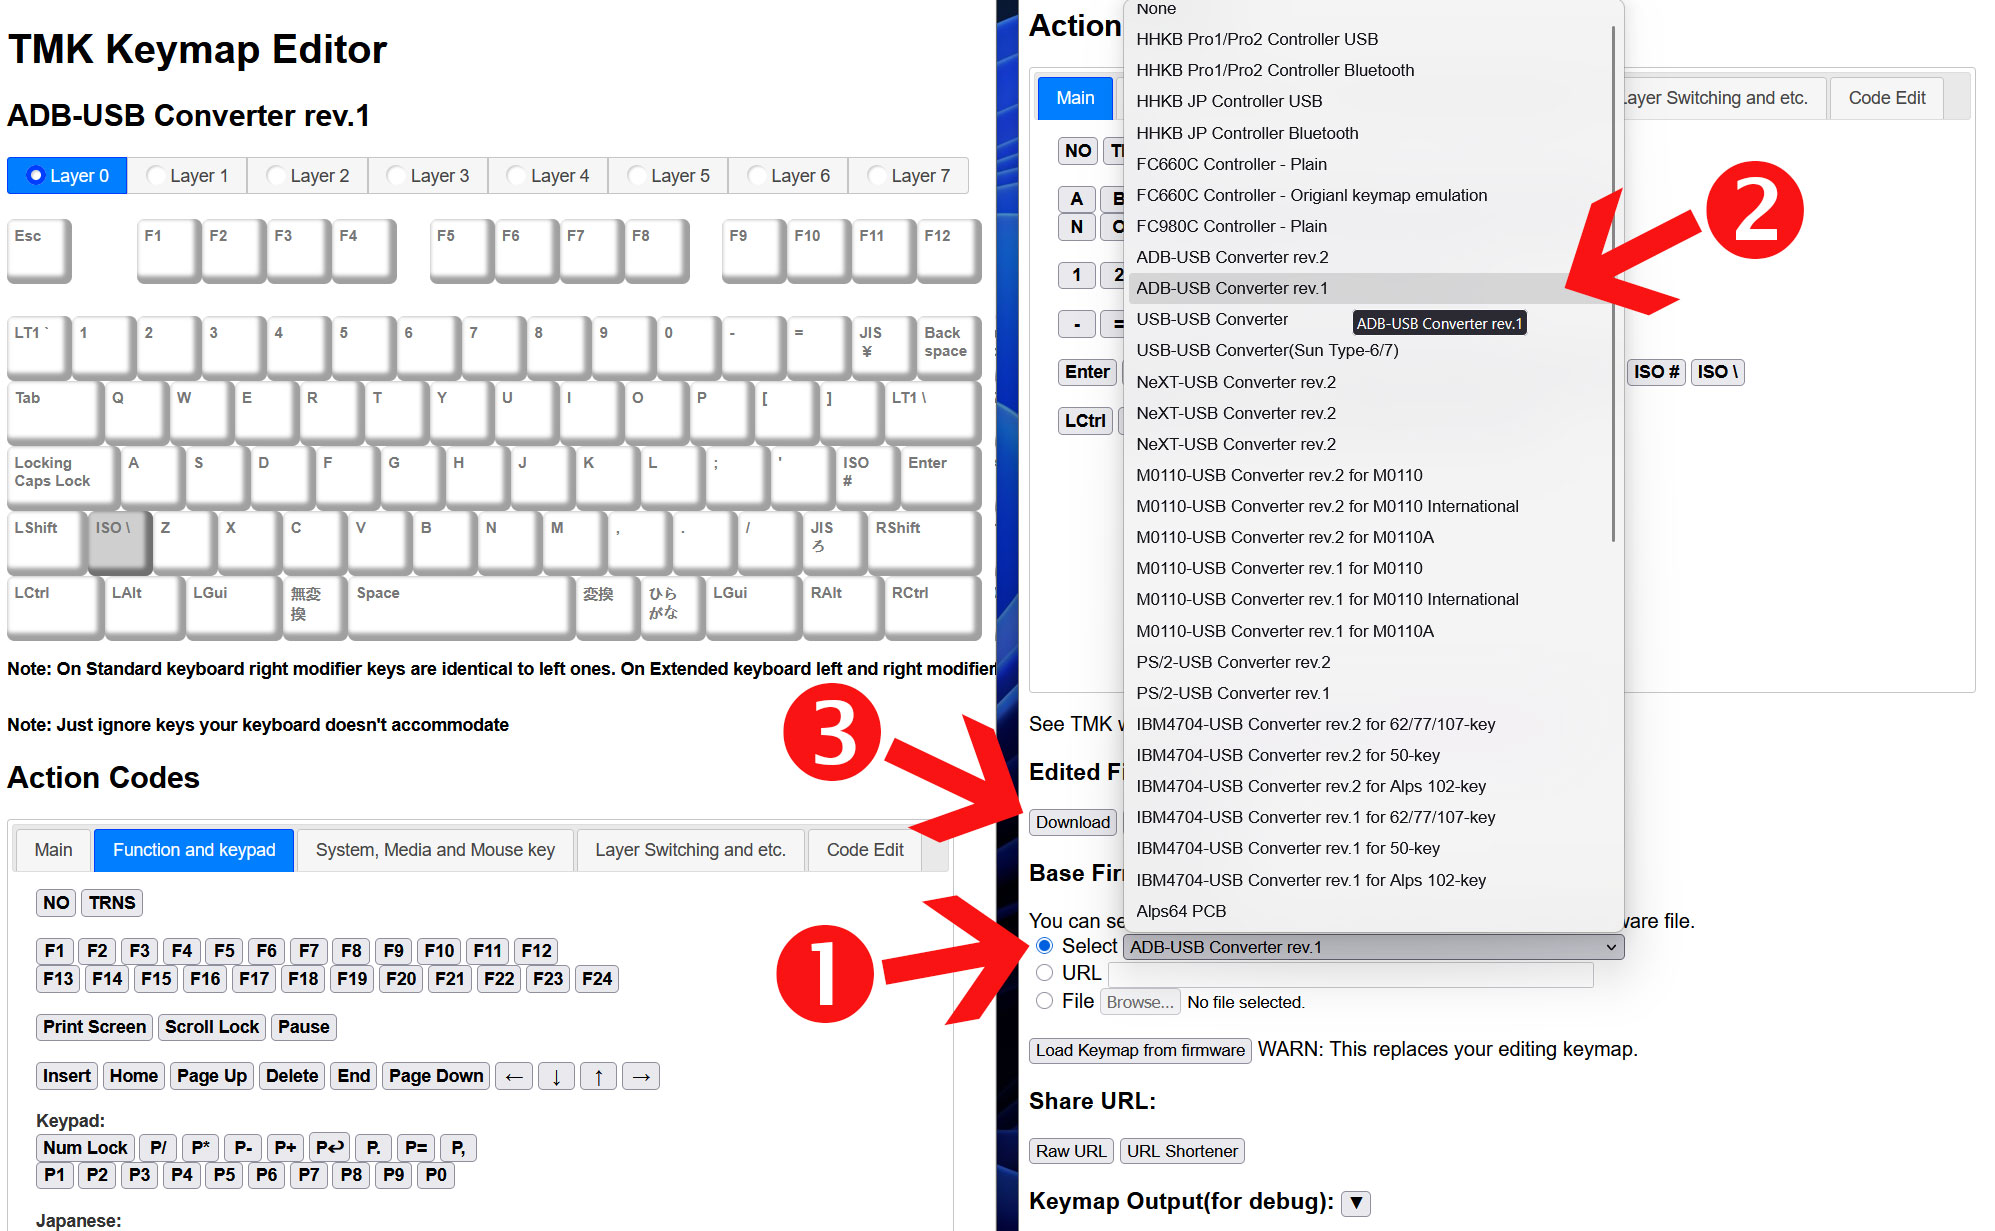
Nevertheless, after a brief visit to the online TMK Keymap Editor and a couple of mouse prods to adjust key positions, I downloaded my tweaked TMK firmware file (default named unimap.hex, and just 68KB in size) moments later.
Subsequently, I’ve only edited (then reflashed) my TMK firmware once - to change the power key into a shortcut key that launches a calculator. Maybe I'll repurpose some lesser-used keys for media keys later, or add a 'layer' full of such functionality.
Testing the web-based flashing ‘Flash on Web’ for TMK, I haven’t got it to work in any browser. But as I already had the QMK Toolbox, from earlier experimentation, which works very nicely with the ATmega32U4 hardware, that's what I used.
Flashing firmware with QMK Toolbox
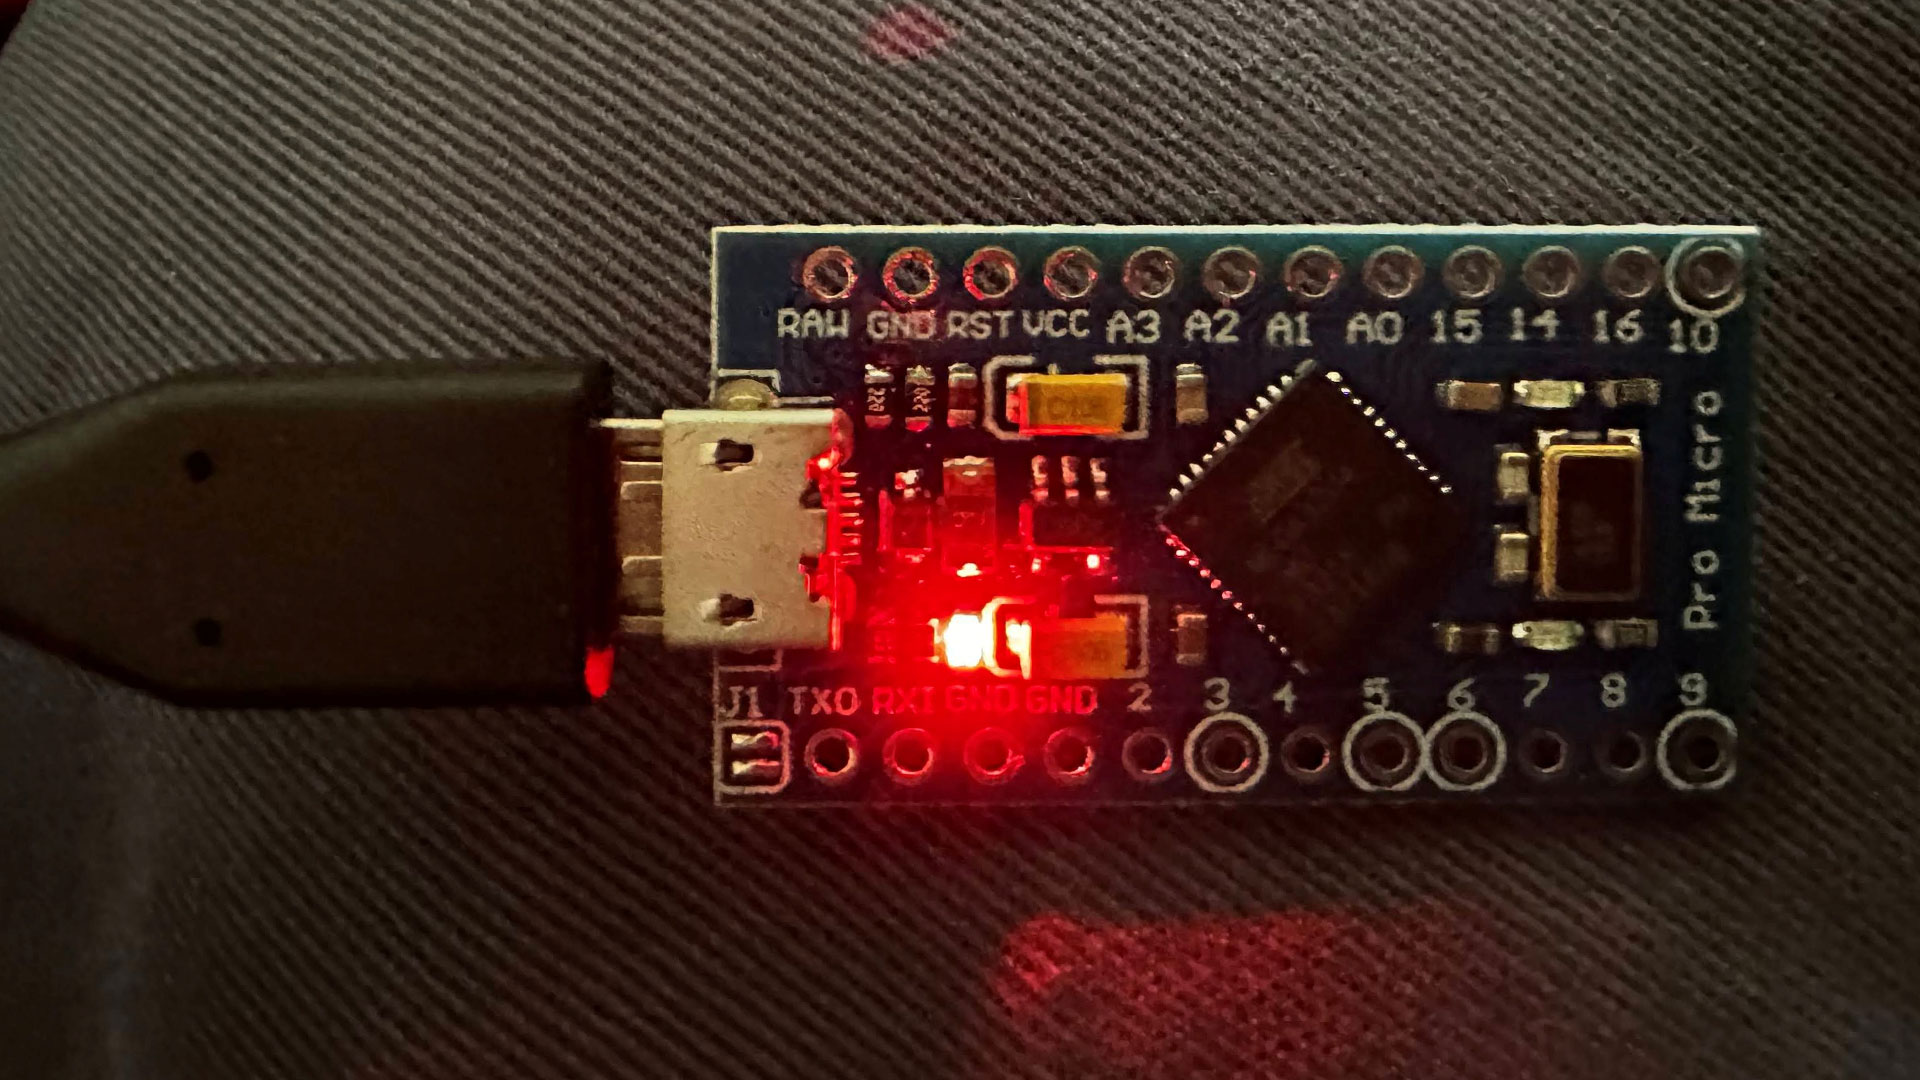
QMK Toolbox (run in Administrator mode) can be used to flash new firmware to the ATmega32U4. This connects via Micro-USB, and once you plug it into the PC, you will see a red light as evidence that it is powered up. If this is your first use of the microcontroller, you should be prompted by QMK Toolbox to install the necessary drivers to communicate with the tiny developer board.
Once you see your MCU recognized in the toolbox, go and select your *.HEX file from wherever you saved it. The 'unimap.hex' we saved earlier from TMK’s online configurator will have been saved, by default, in the Downloads folder.
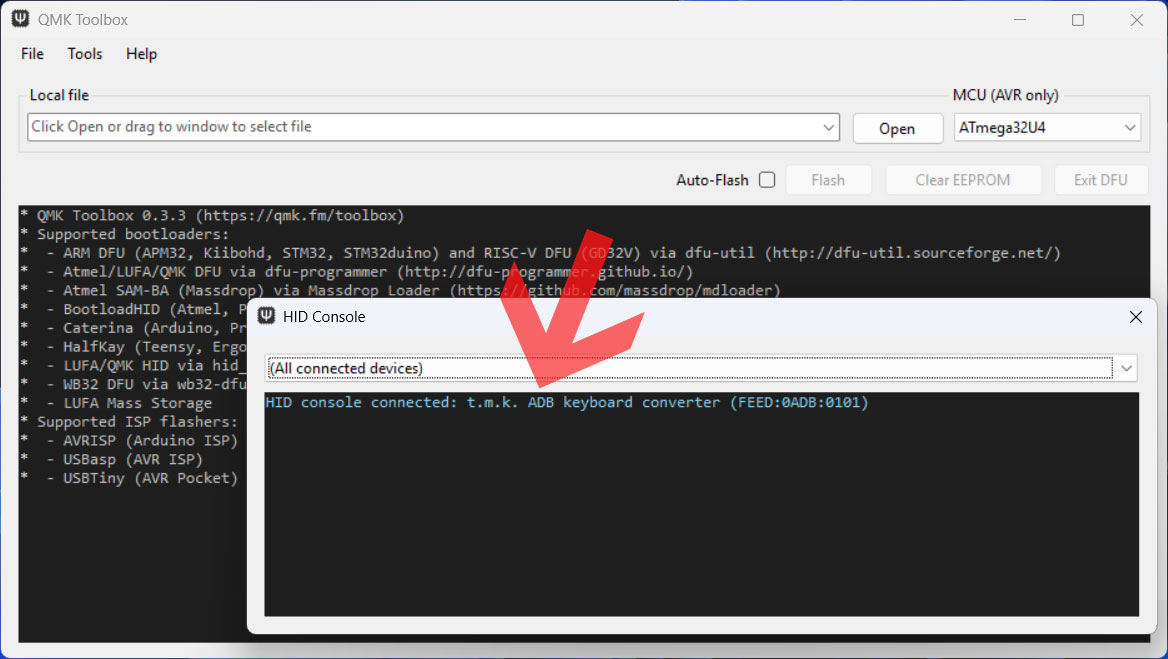
Next, click the Auto-Flash checkbox in the Toolbox UI. You are about to reset your ATmega32U4, so it will be receptive to uploading the selected firmware. While it is still powered and connected to the USB, get a small conductive instrument, perhaps the end of a blade screwdriver, to bridge the PCB holes marked GND and RST.
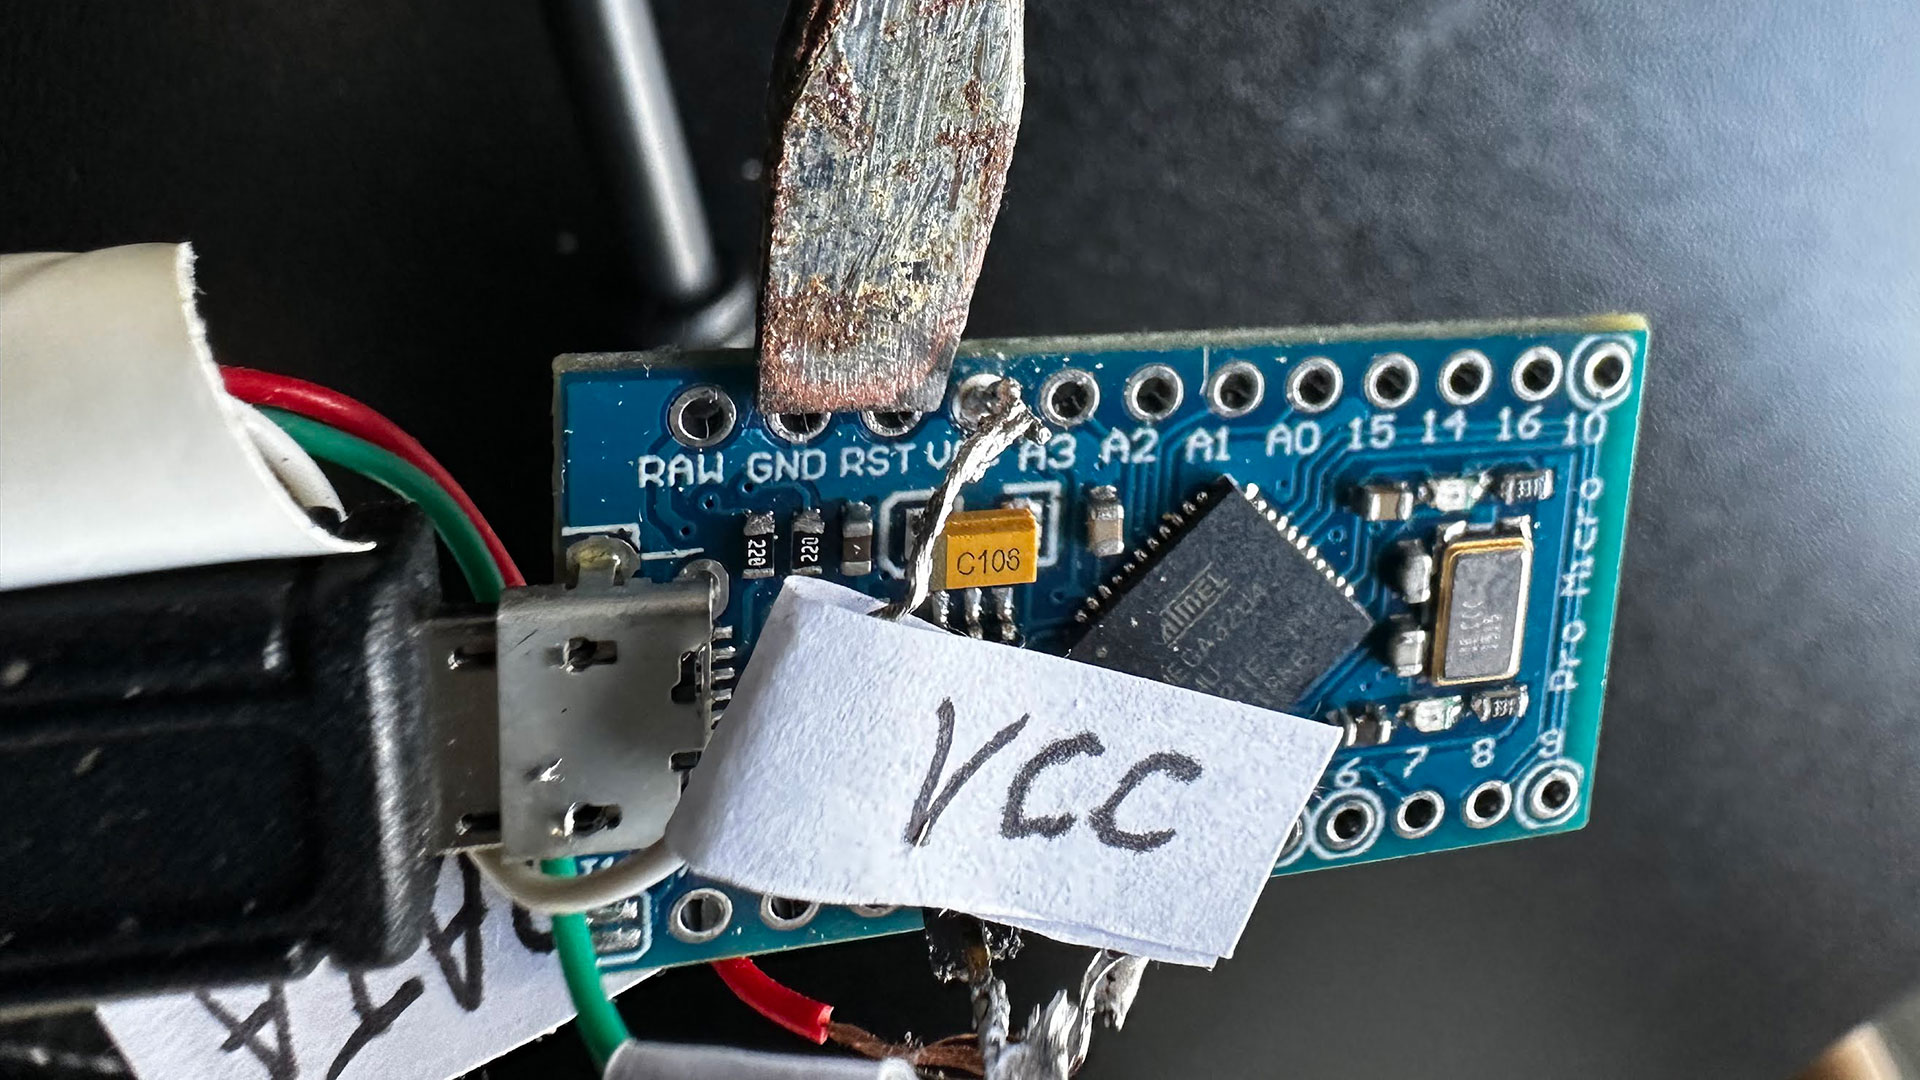
A brief touch of those two holes, simultaneously, will reset the board and, in the QMK Toolbox window, you will see text scrolling by saying things like “Attempting to flash… Flash complete.” On my PC, this process took just a few seconds.
Using this software, you can also confirm your current firmware by selecting Tools > HID Console from the top menu. This is a good way to check your current firmware is actually what you think it is.
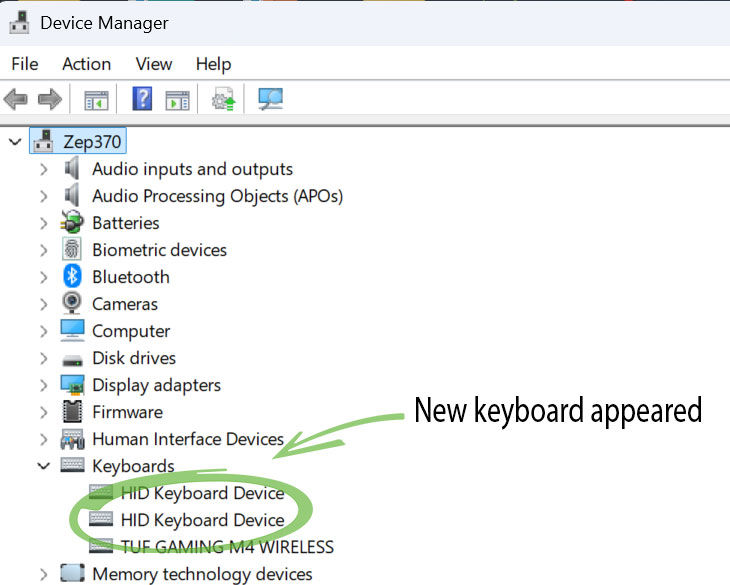
Windows Device Manager also confirms the freshly flashed ATmega32U4 is now recognized as a new keyboard. You will see the extra keyboard entry appear and disappear as you plug and unplug the microcontroller. To be clear, even if you don't have the actual Apple ADB keyboard plugged in at this point, it is still listed as an HID Keyboard Device.
Your ATmega32U4 is now ready for wiring up, another process with plenty of potential wrong turns, pitfalls, and issues. Hopefully we can keep you on the straight and narrow.
Preparing the hardware
Successful wiring of the cut-in-half SVHS lead to the ATmega32U4 took me three attempts. There are several guides out there on blogs, and in forum posts - but the most common pitfall is wiring the Data (labeled ‘3’ on this microcontroller's PCB), 5V (VCC), and Ground (GND) wires in a mirror image to what you actually need. I fell victim to this error, too.
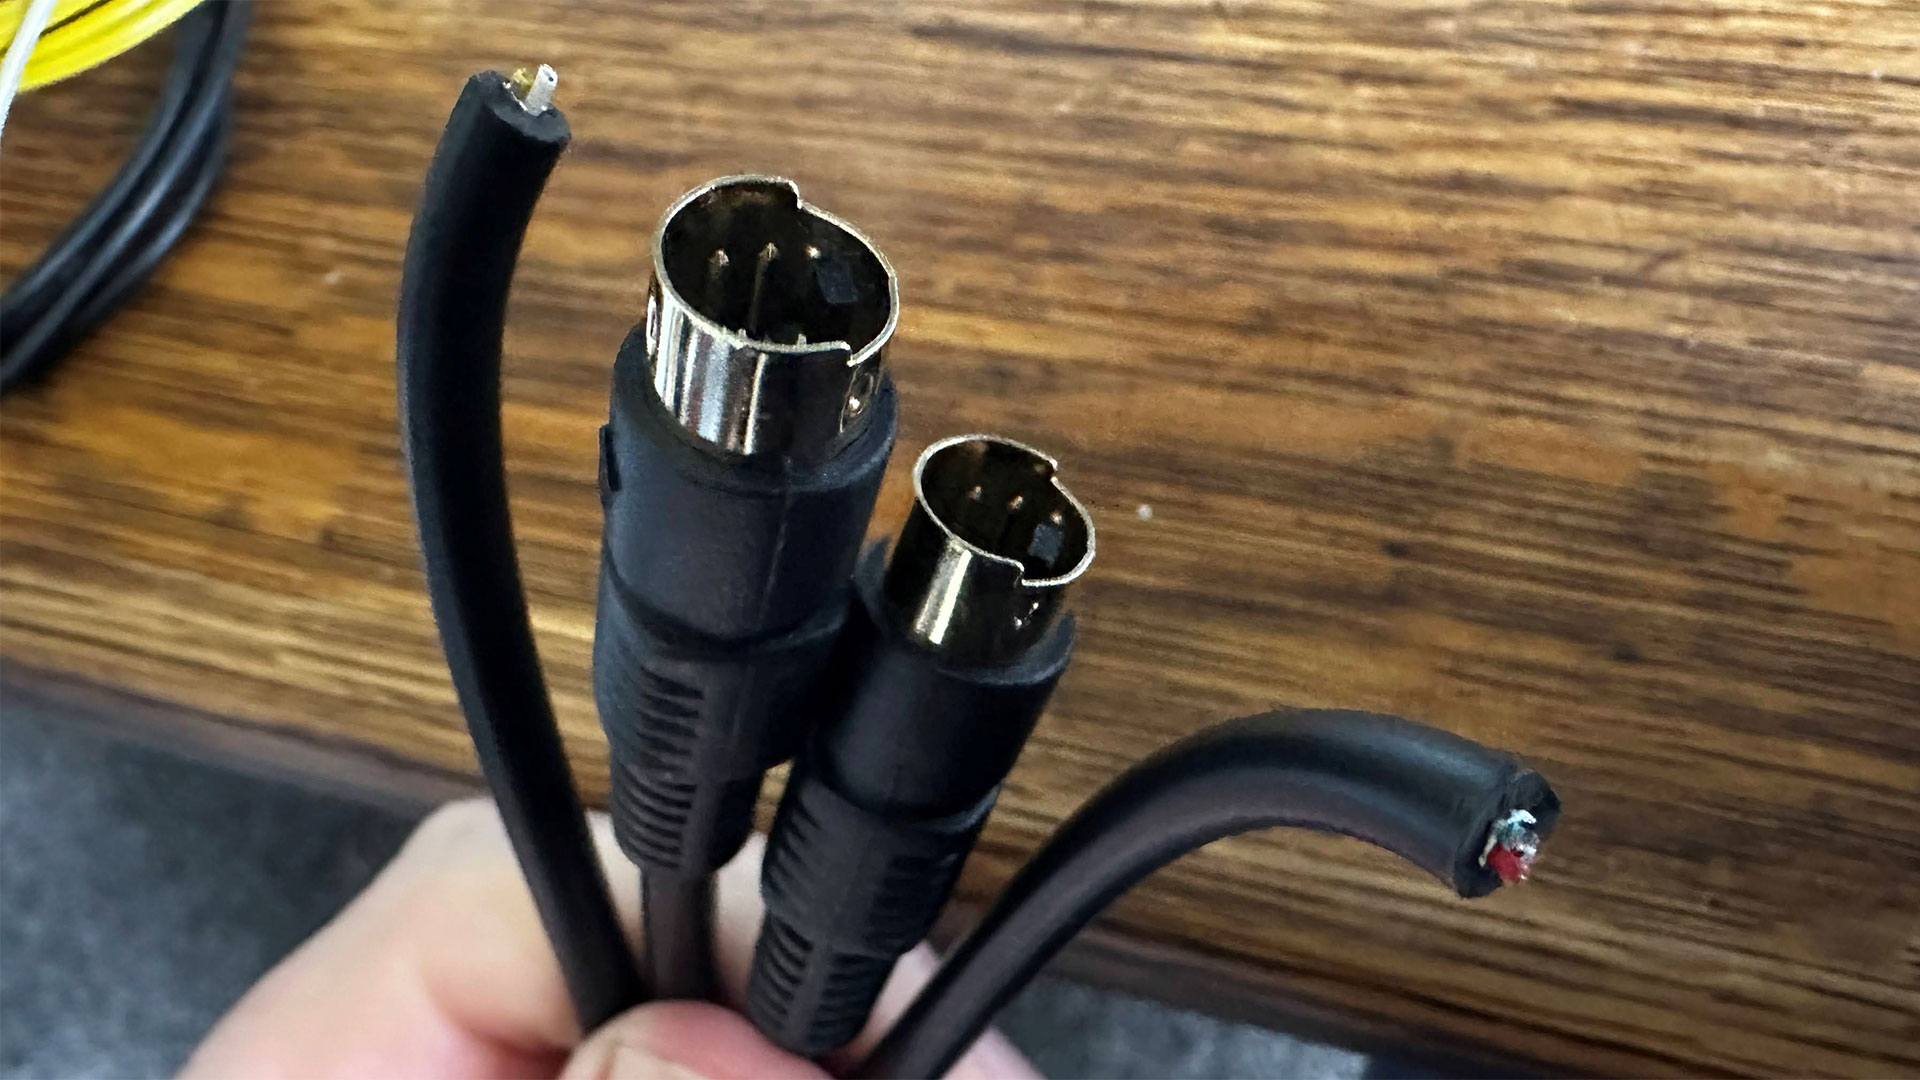
So, I went from rev.1 wiring – just wrong, to rev.2 wiring – unintentionally mirrored, to rev.3 wiring – bingo. Sorry, but my soldering got worse over subsequent revisions – just in case I had to change it all again. But I’m from the school of “if it ain’t broke don’t fix it,” so as rev.3 was functional, without any flakiness, it wasn’t finessed.
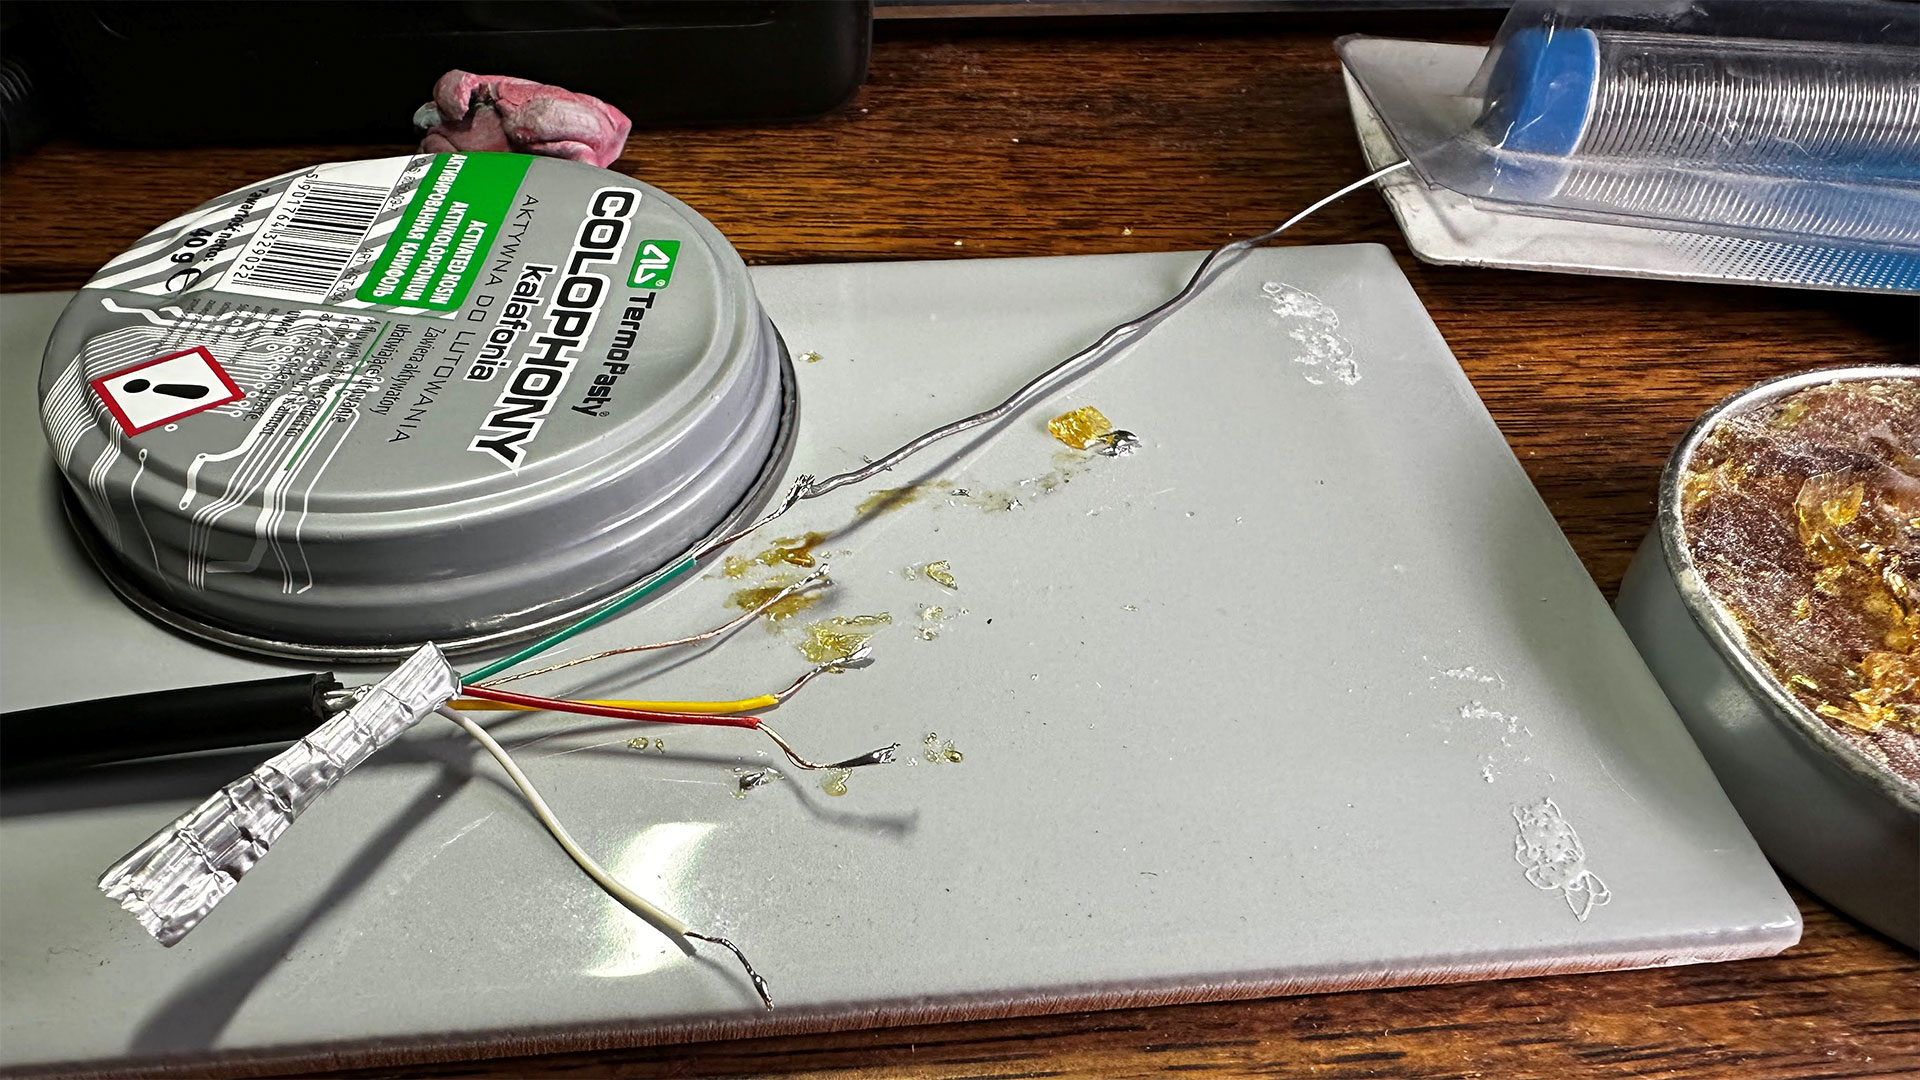
Please follow these steps closely if you are using an SVHS lead chopped in two like I did. This will remove any doubts about whether you should be looking at the Male or Female ADB pinout (mirrors of each other) for wiring guidance.
Switch your multimeter into continuity mode (probes touched together will make a beep sound). We are going to connect up the stripped and tinned wires in a mirror of what is suggested in the ‘Build Converter Yourself’ section of the TMK forum, linked above. Instead, follow the diagram below.
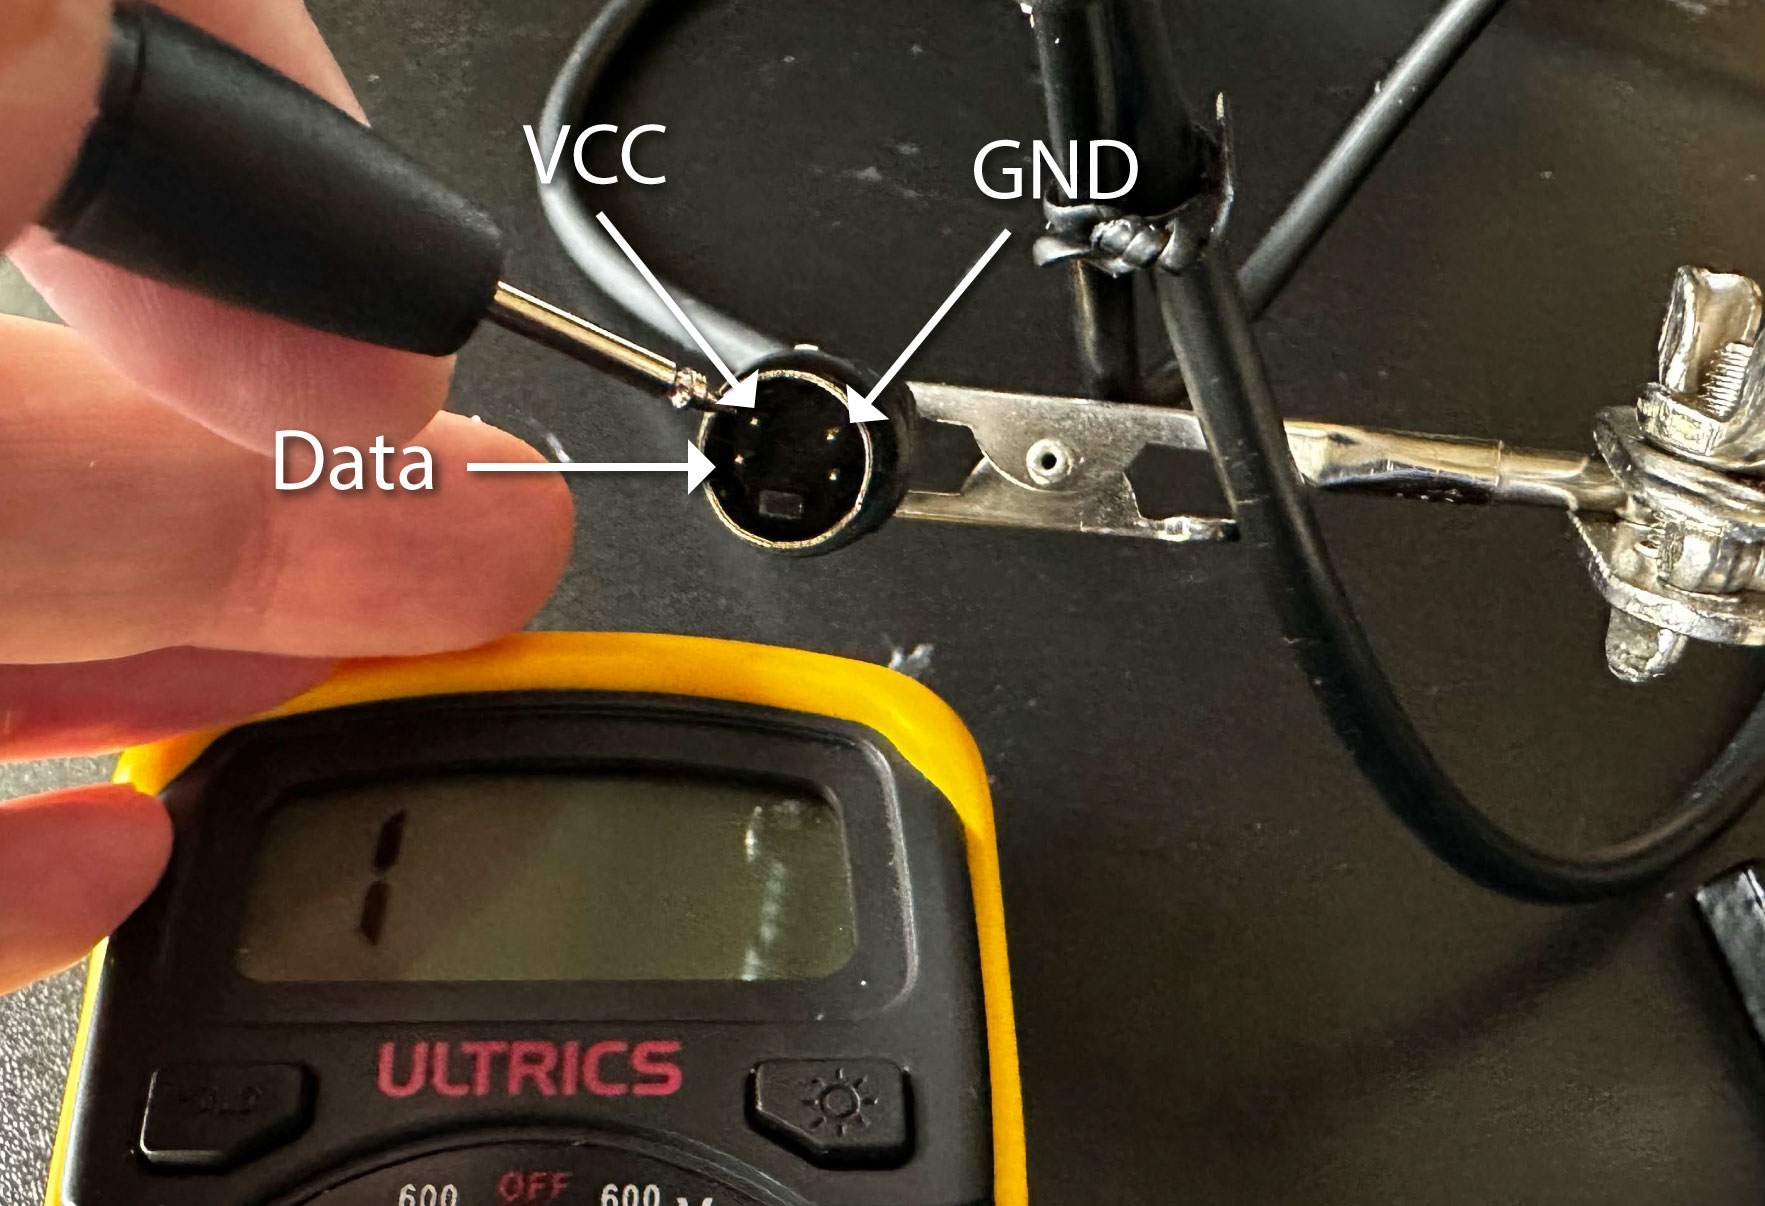
So, following my ‘Male’ connector example, and checking your multimeter in continuity mode to confirm which wire is which, your success should be guaranteed. Again, this is as long as you use the same cabling choice and microcontroller as I did.
As a first microcontroller-side soldering step, I tinned the stripped wires to get them ready for soldering. Next, I decided to thread the 1K resistor across the Data (labeled ‘3’ on the PCB) and VCC holes, around the back. A bit of solder got the resistor nicely seated. Then I fluxed and tinned the resistor legs, poking upwards, ready to accept the wires from the cable.
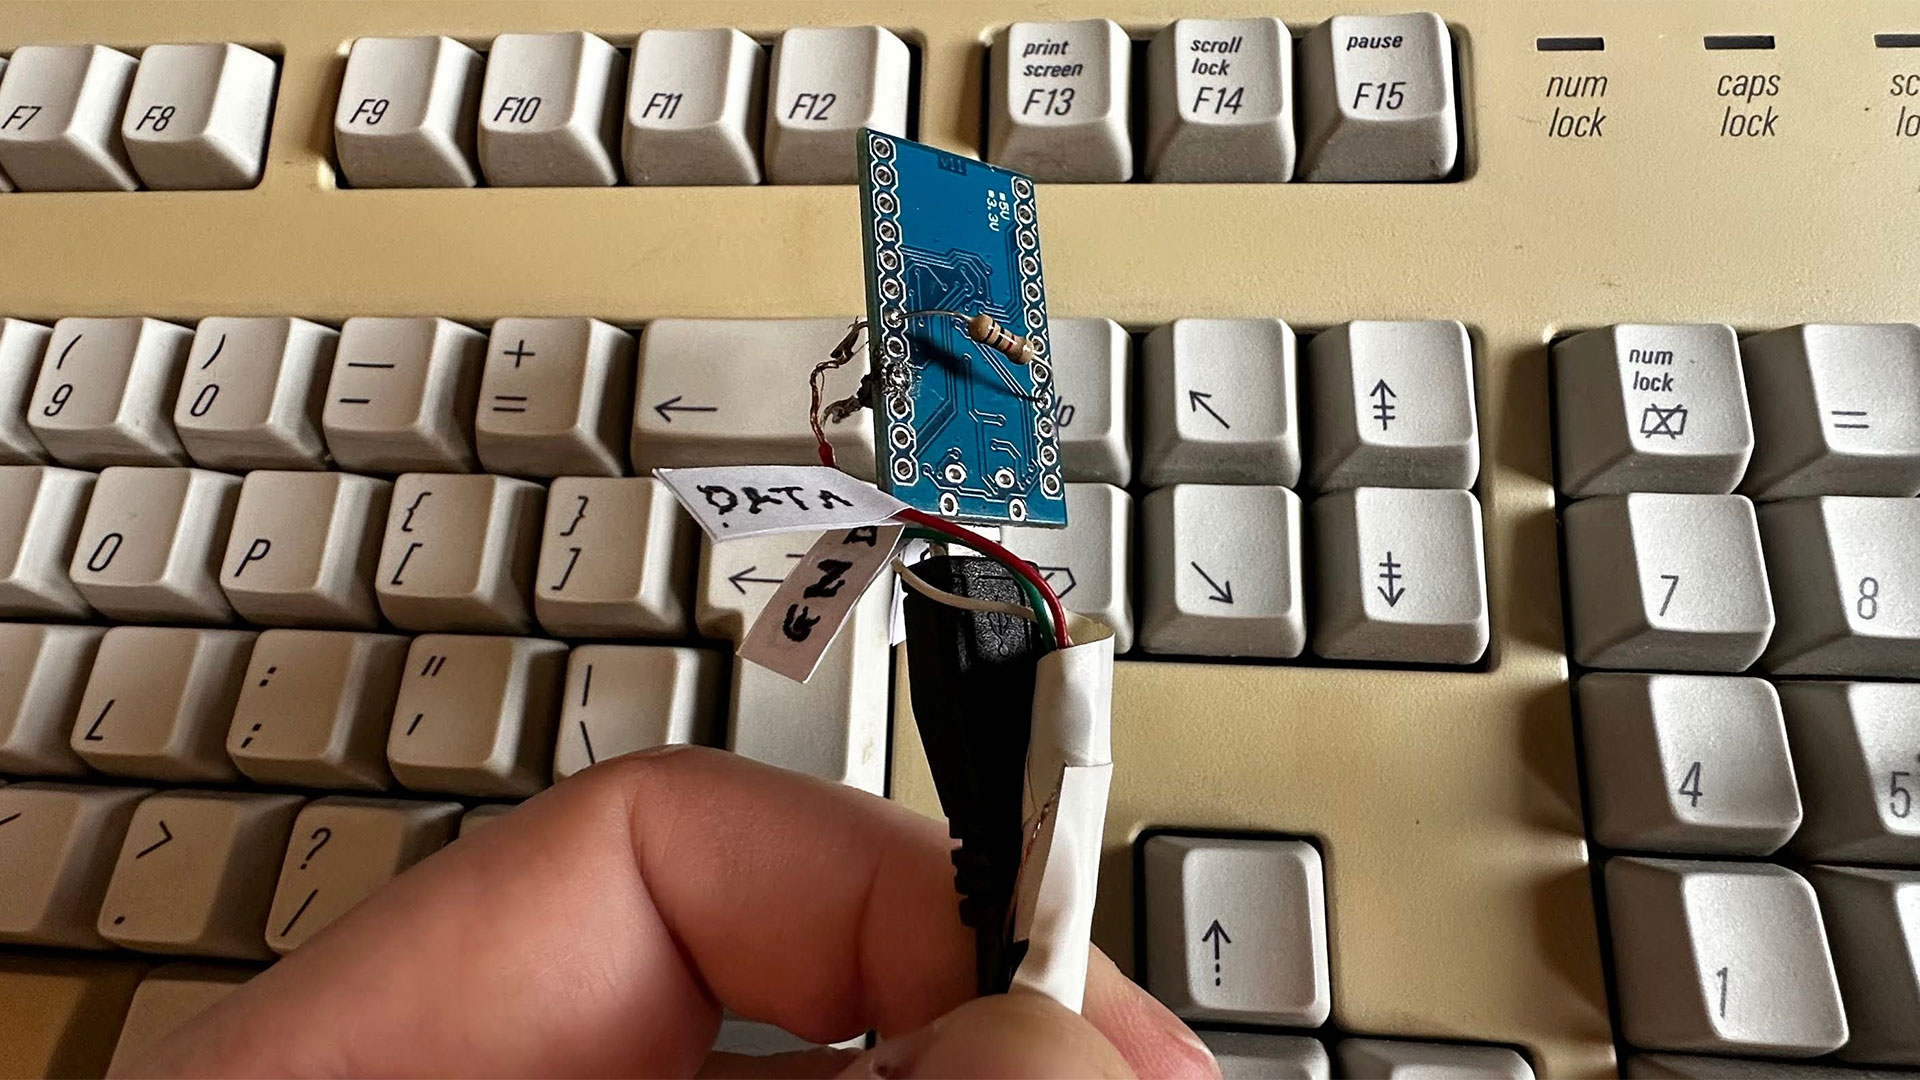
Next, it was a cinch to solder the SVHS cable wires to the Data and VCC points. Lastly, the GND you found on the SVHS cable connects to the GND on the ATmega32U4 PCB to create a common reference to ground. Perhaps check your soldering again now, using your multimeter's continuity function, to make sure all is connected correctly.
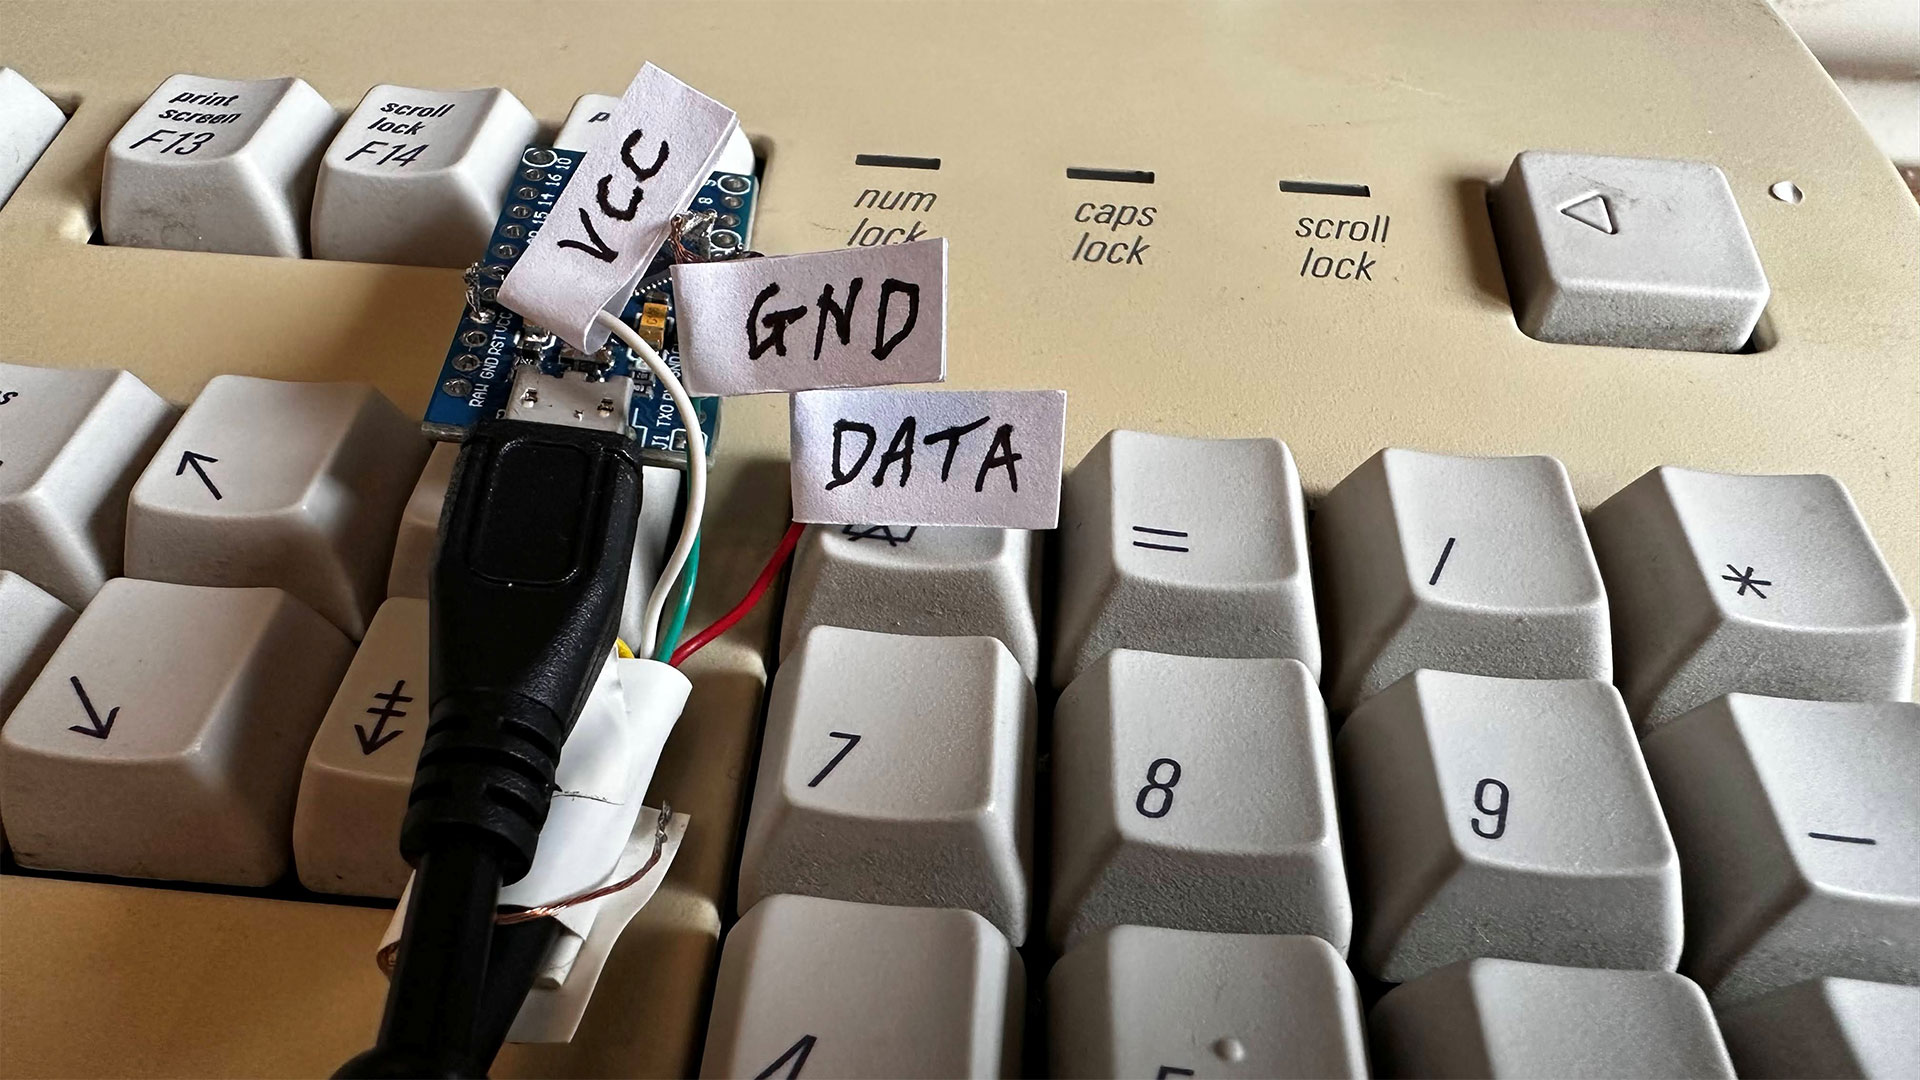
If all has gone as planned (and hopefully anyone following this will feel the benefit of my many mistakes) you should be able to use your gloriously vintage AEKII (or other Apple ADB keyboard) with this adaptor on your modern computer.
Now, you are familiar with fiddling with TMK’s online configurator and QMK’s Toolbox for flashing, any subsequent tweaks should be very easy. You can even go and set up oodles of keyboard layers, packing multitudes of media control keys, web navigation keys -- there are lots of other options.
A box for the ugly dongle
Last but not least, somewhat envious of my colleagues with the best budget 3D printers at home, I decided to make a simple wooden receptacle for the ADB to USB adaptor I’d put together.
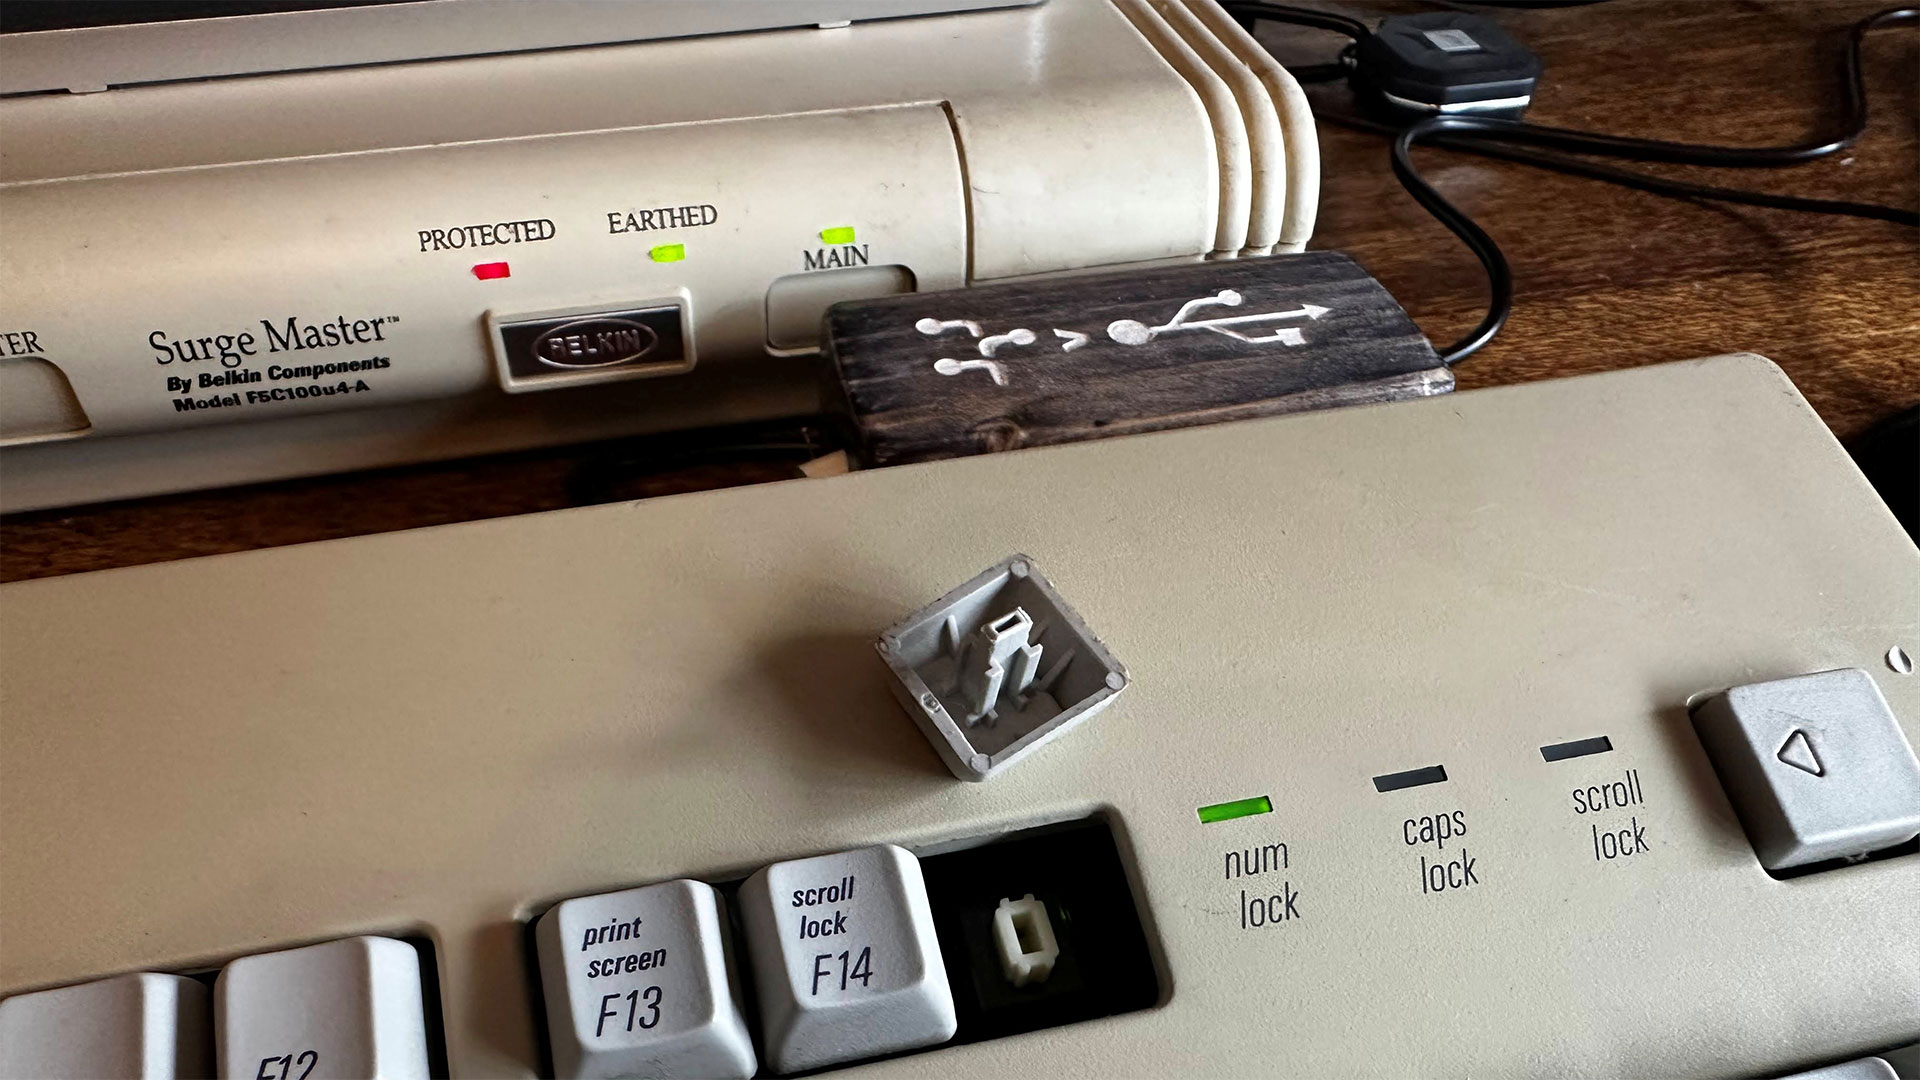
What you see in the gallery is just a sawn-off bit of old pine that was lying around the garage. I drilled an appropriately sized hole to hide the ATmega32U4 inside. Then, the piece was sanded, stained, and polished.
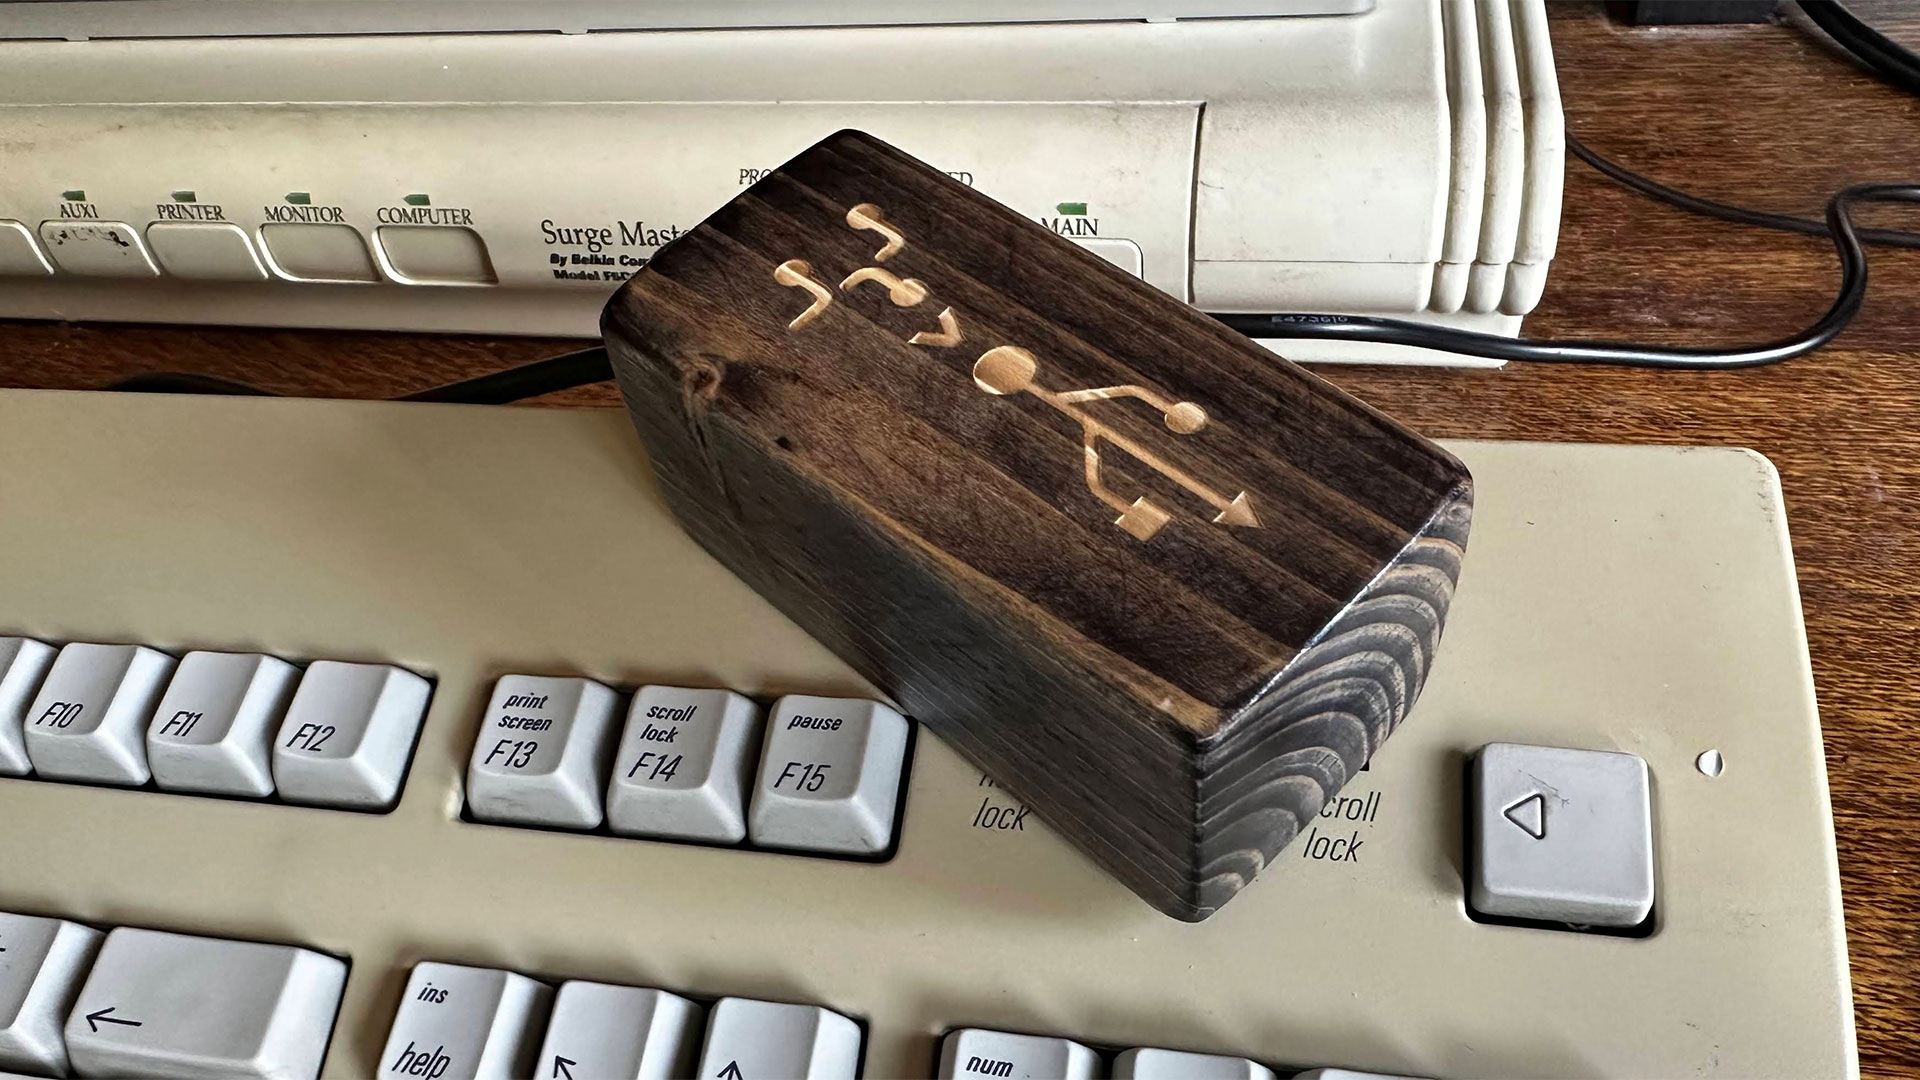

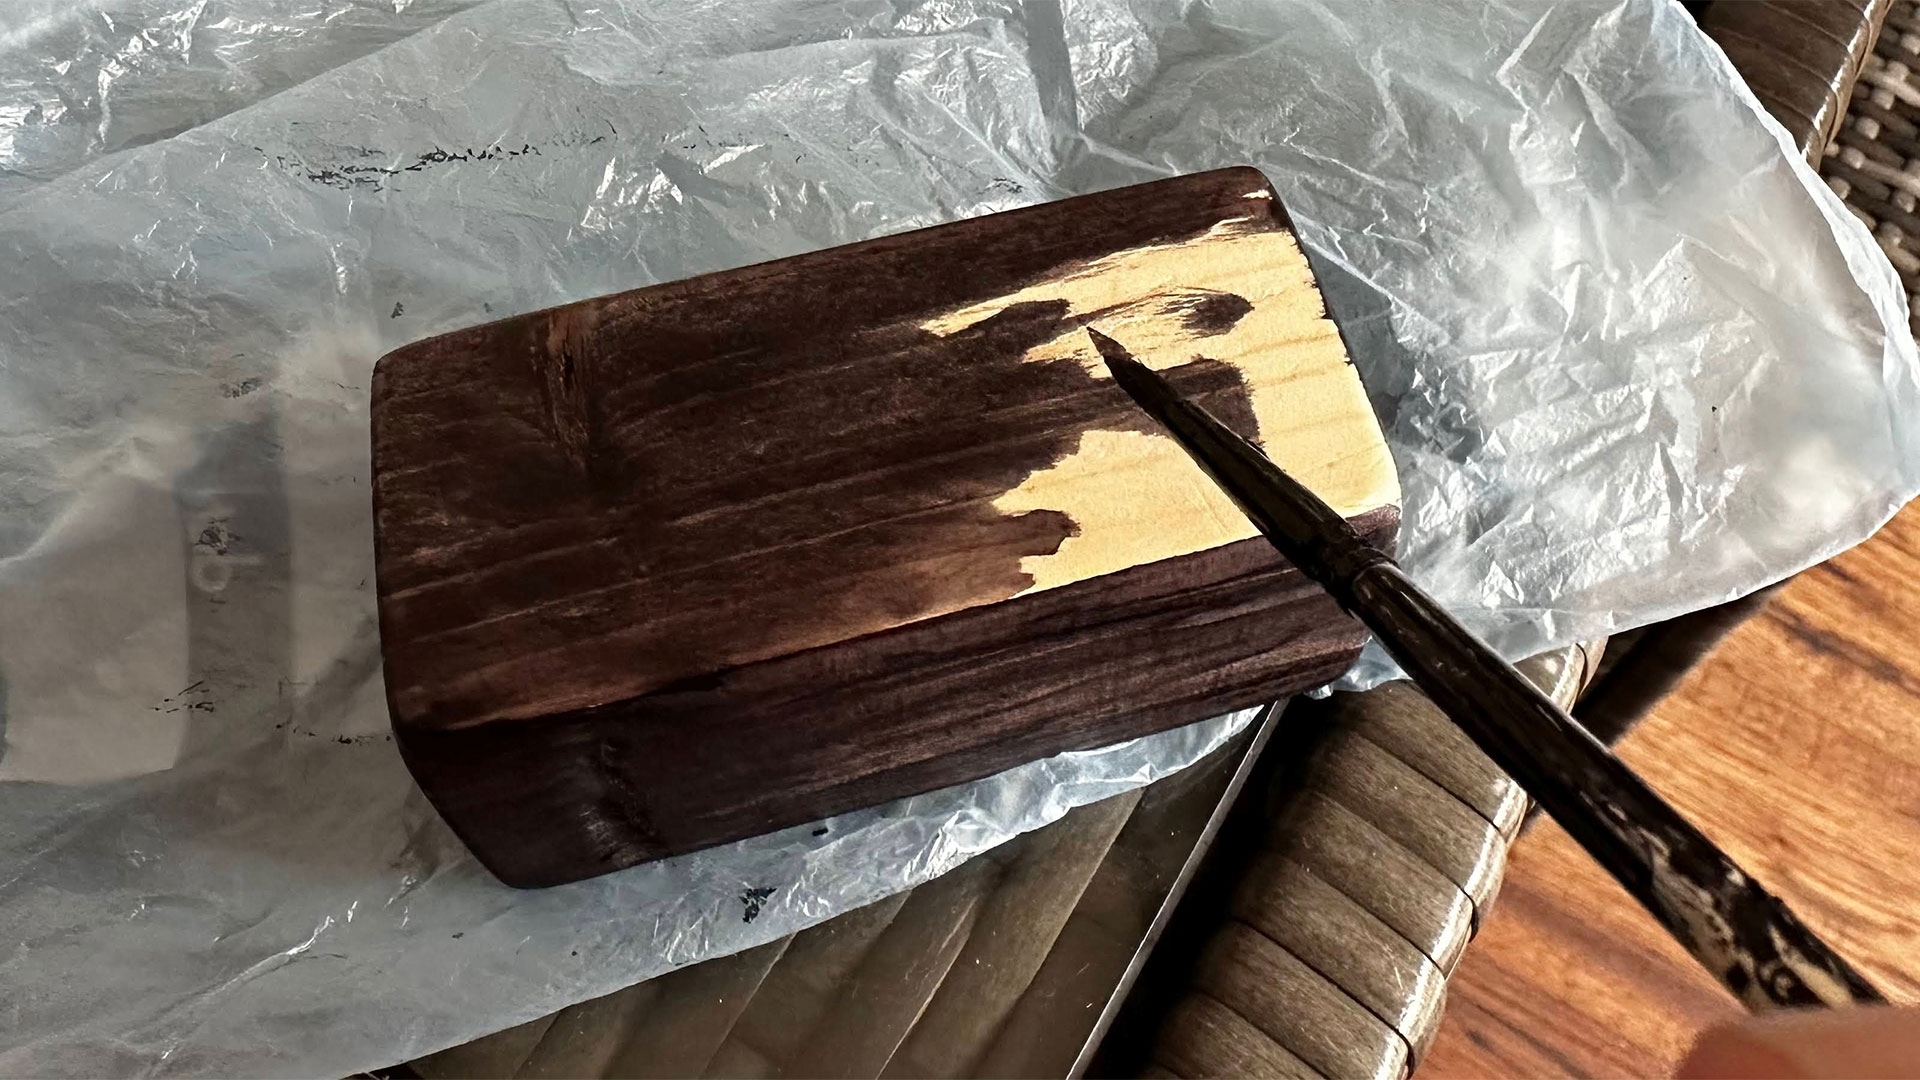
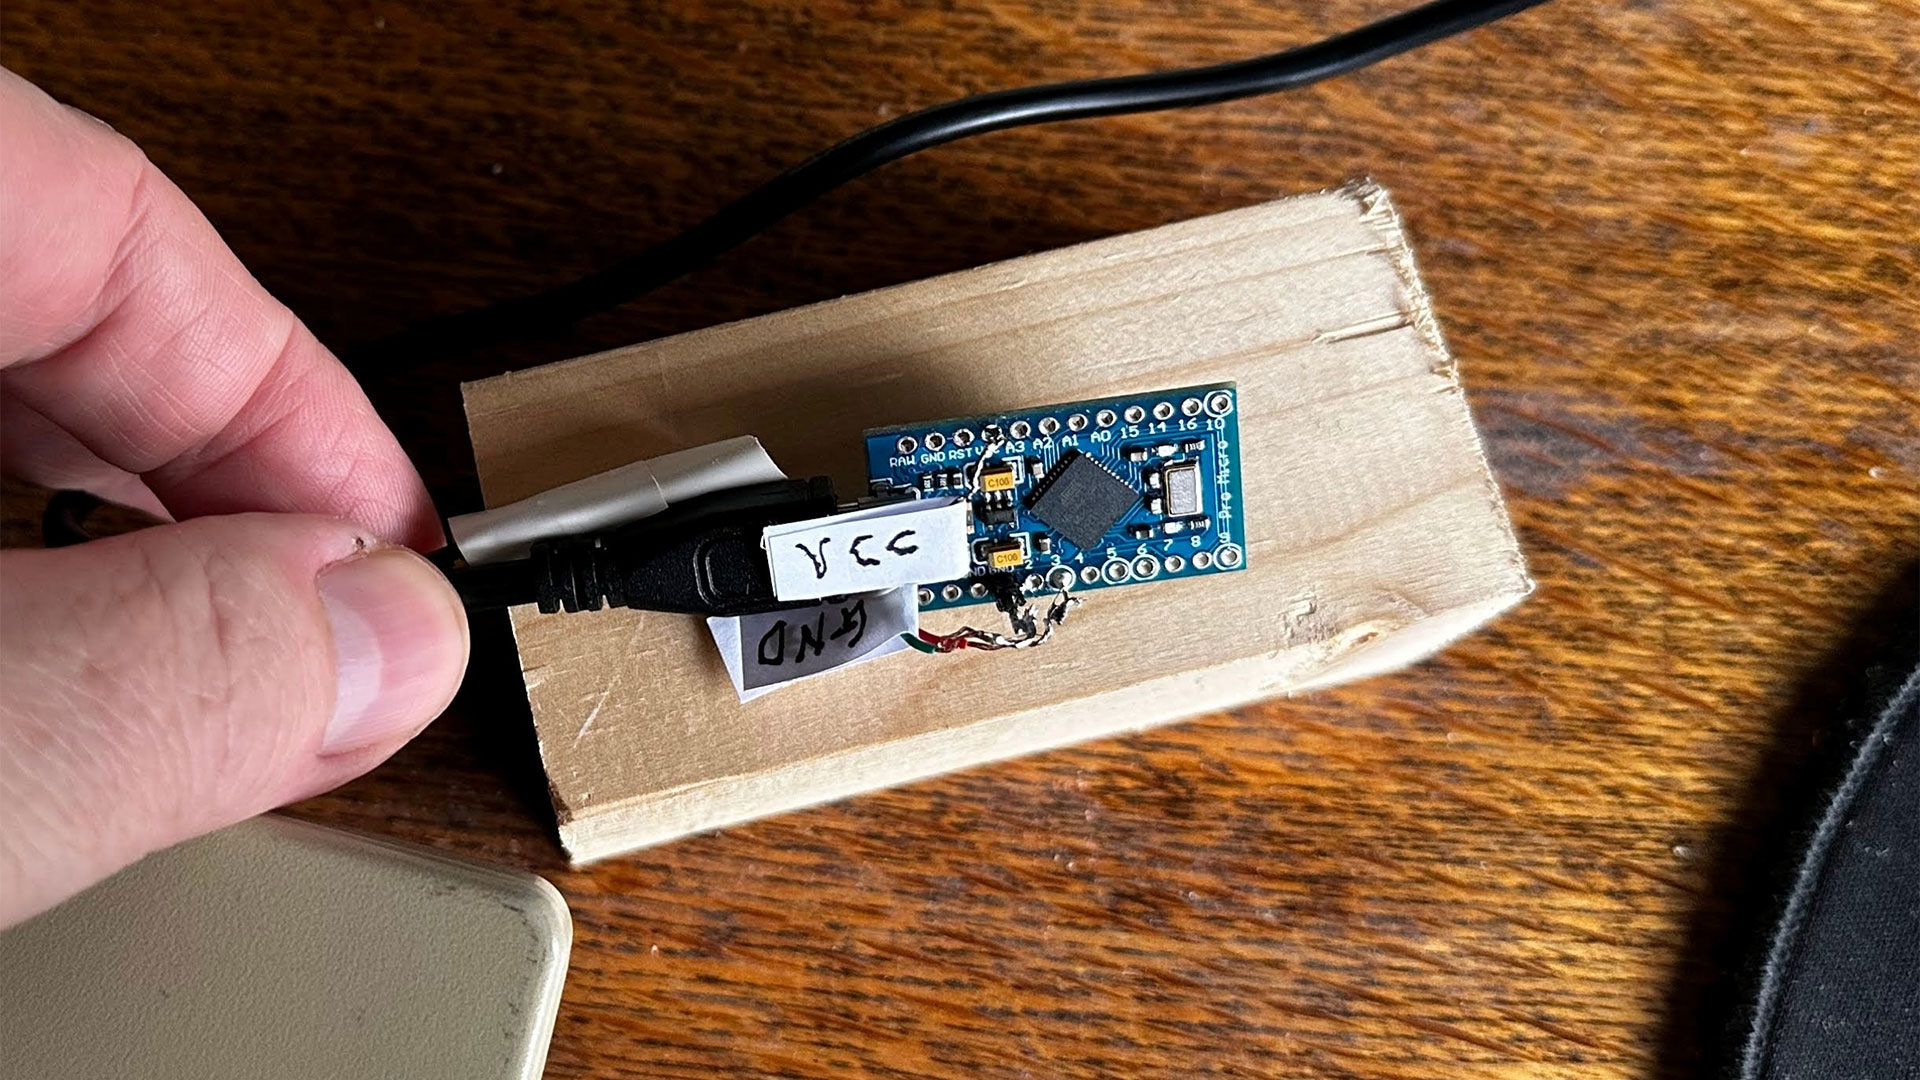
I wanted a design flourish on the wooden dongle, so I lasered both ADB and USB symbols into the wood, and filled the crisply cut void with white paint. Perhaps if I’d used oak with a slight amber stain to match my table top, it would have fitted into its new home better?
Follow Tom's Hardware on Google News to get our up-to-date news, analysis, and reviews in your feeds. Make sure to click the Follow button.

Mark Tyson is a news editor at Tom's Hardware. He enjoys covering the full breadth of PC tech; from business and semiconductor design to products approaching the edge of reason.
