The team behind the Framework laptops has garnered much praise for building the world's first truly mass-market laptop devices that you can build yourself. However, for one keyboard enthusiast, the Framework 13's integrated membrane keyboard leaves much to be desired. Flurples on YouTube documented his journey on how he fixed this problem by creating an entirely custom 13-inch Framework laptop copycat with a mechanical keyboard inside.
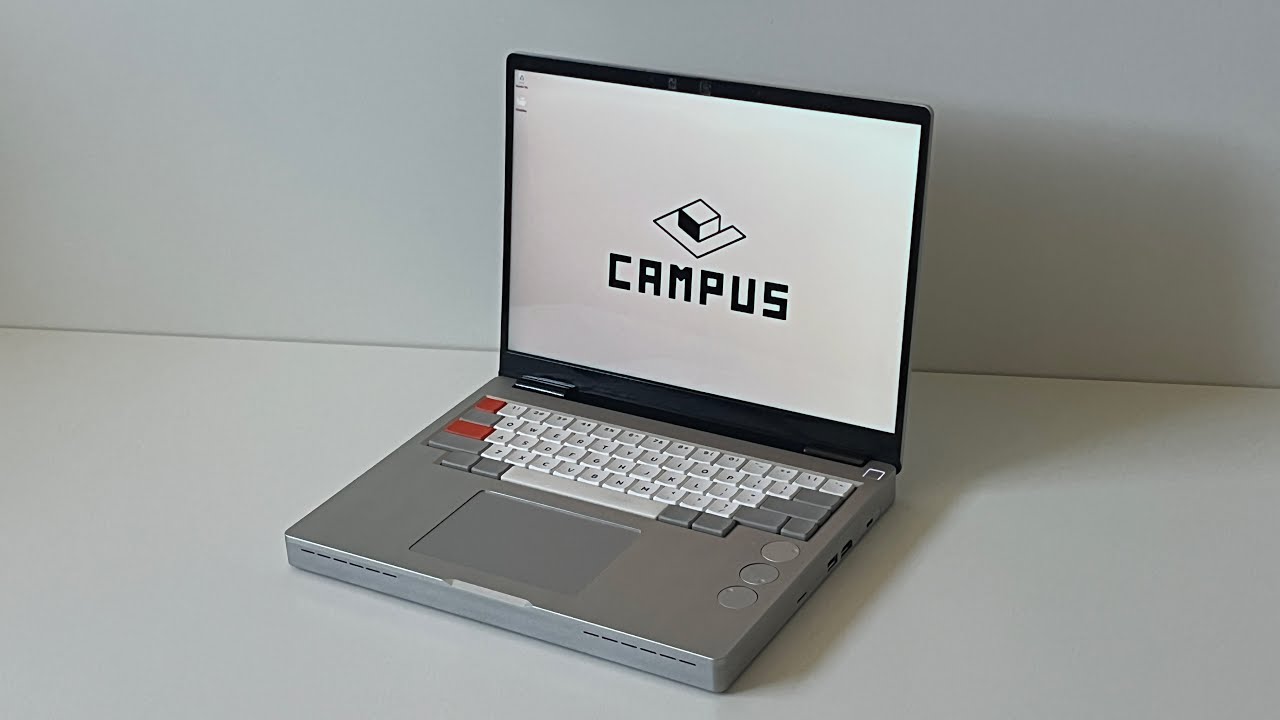
The laptop dubbed the Campus is a custom 13-inch laptop made from Framework 13 laptop components. The chassis was designed and made entirely from scratch and designed to accommodate a fully custom low-profile mechanical keyboard that Flurples built himself using KL Chalk switches.
The main goal of the device was to improve the Framework 13's keyboard with a high-quality typing experience that only comes from mechanical keyboards. Membrane keyboards are notorious for their mushiness, making them frustrating to type on for certain typists. Mechanical keyboards, by contrast, have mechanical switches inside that vastly improve tactile feedback, making it easier to know if the key you pressed has been registered or not.
To make the Campus, Flurples had to build the keyboard and chassis himself. First, he grabbed the dimensions of the Framework 13 laptop's components so he could make a chassis that would work with the Framework 13's internals. Most of the device's specifications were published online; however, Flurples revealed that Framework's documentation was incomplete, forcing him to manually check the dimensions of more than half the components.
After mapping out the internal components in Fusion, the keyboard enthusiast was able to create all the chassis components needed for the laptop to work. The chassis is split into three main components: the bottom chassis, the input cover, and the top cover. The bottom chassis is responsible for holding the internal components, including the battery and motherboard. The input cover is designed to hold the keyboard and trackpad, and the top cover is responsible for holding the display.
Next was the keyboard — for this part of the build, Flurple had to design and build the low-profile mechanical keyboard entirely from scratch, including the PCB. The three features he wanted in the keyboard, namely low-profile switch compatibility, rotary encoder support, and a HHKB layout, do not exist in any current PCB designs. The PCB process involved building a diagram of the PCB in Fusion so that a third-party manufacturer could build it.
For the switches, he went with KL Chalk switches for his laptop. According to him, these switches provide the best compromise of sound and feel while having a relatively short form factor. By comparison, the switches have nearly the same travel as a Cherry MX switch but at half the thickness.
To further improve the typing experience, Flurples installed gasket mounts for the keyboard mounts that allegedly help keep the typing experience more consistent. It also prevents keys located on the outer part of the keyboard from feeling and sounding different from the keys located in the middle.
To spice up the laptop, Flurples wanted to incorporate three physical dials on the right bottom section of the device to control brightness. Additionally, he also wanted to incorporate an internal USB hub into the laptop to expand the I/O functionality of the device. Something that is somewhat of a weak point on the Framework 13. Fluples had to make all of these additional components, including building the PCB for the USB hub from scratch.
After completing all the necessary blueprints, Flurples had all the parts made, including making the PCB components by JLCPCB. Prep work included threading the screw holes on the chassis manually with a flat drill bit and installing 3D printed mounts with brass inserts for mounting the primary components. The aluminum metal used to make the chassis is soft, giving the aluminum screw holes a higher chance of stripping. The 3D-printed mounts with brass inserts are designed to prevent this issue altogether, allowing the laptop's components to be replaced without risk of the screw holes stripping.
Other steps also had to be done, including building the keyboard, splicing wires for the speakers, and installing the display and wireless antennas. Once it was complete, flurples had an almost perfectly working Framework 13 copycat. The only problem was that his homemade USB hub did not work, sadly.
The Campus laptop is another excellent demonstration of DIY craftsmanship and shows the sheer determination Flurples had to fix the keyboard on the Framework 13. This shouldn't come as a surprise since his channel is dedicated entirely to keyboard mods and custom keyboard builds. Most impressively, it shows how Framework's modular laptops can benefit DIYers, giving them the hardware needed to build their own custom laptops from scratch.
Follow Tom's Hardware on Google News, or add us as a preferred source, to get our up-to-date news, analysis, and reviews in your feeds. Make sure to click the Follow button!