Cooler Master's HAF XB: Give Your LAN Party Box Breathing Room
Cooler Master presented the newest member of its HAF family to us months ago in the Tom's Hardware office. Its HAF XB is a unique hybrid between a desktop case and a bench table, with two levels for different components. Today, we're reviewing it.
Hard Drive And SSD Installation
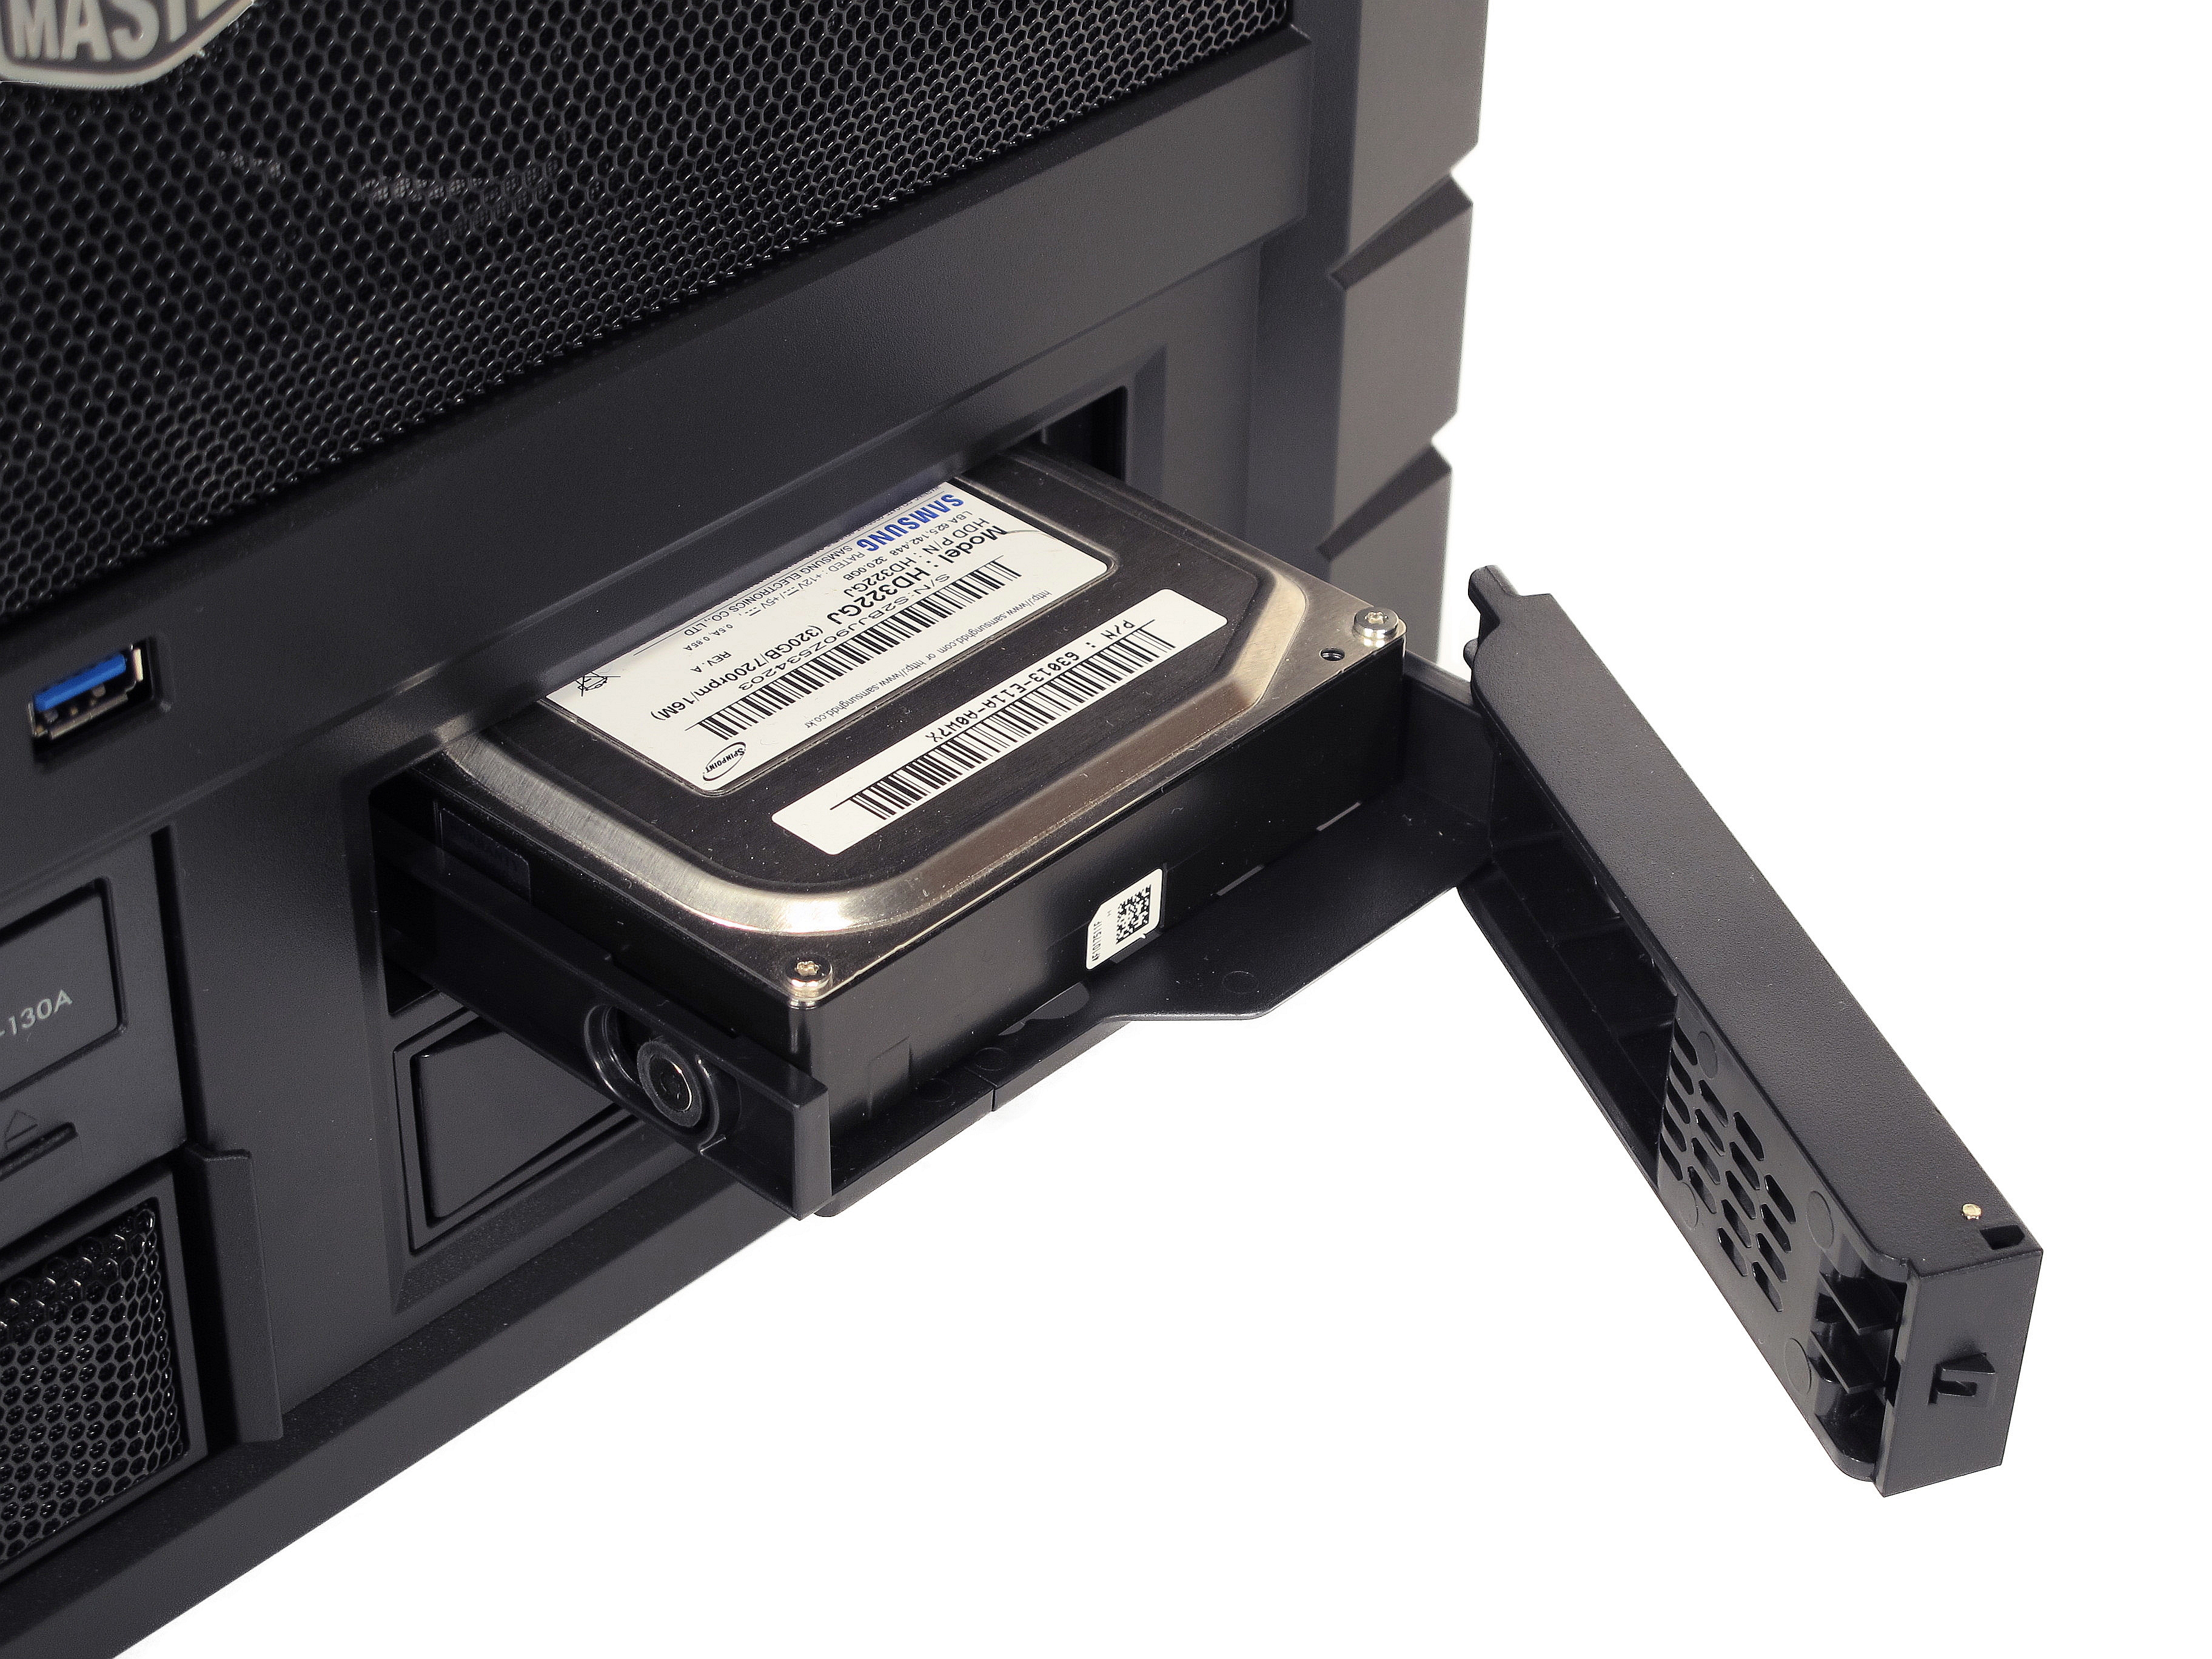
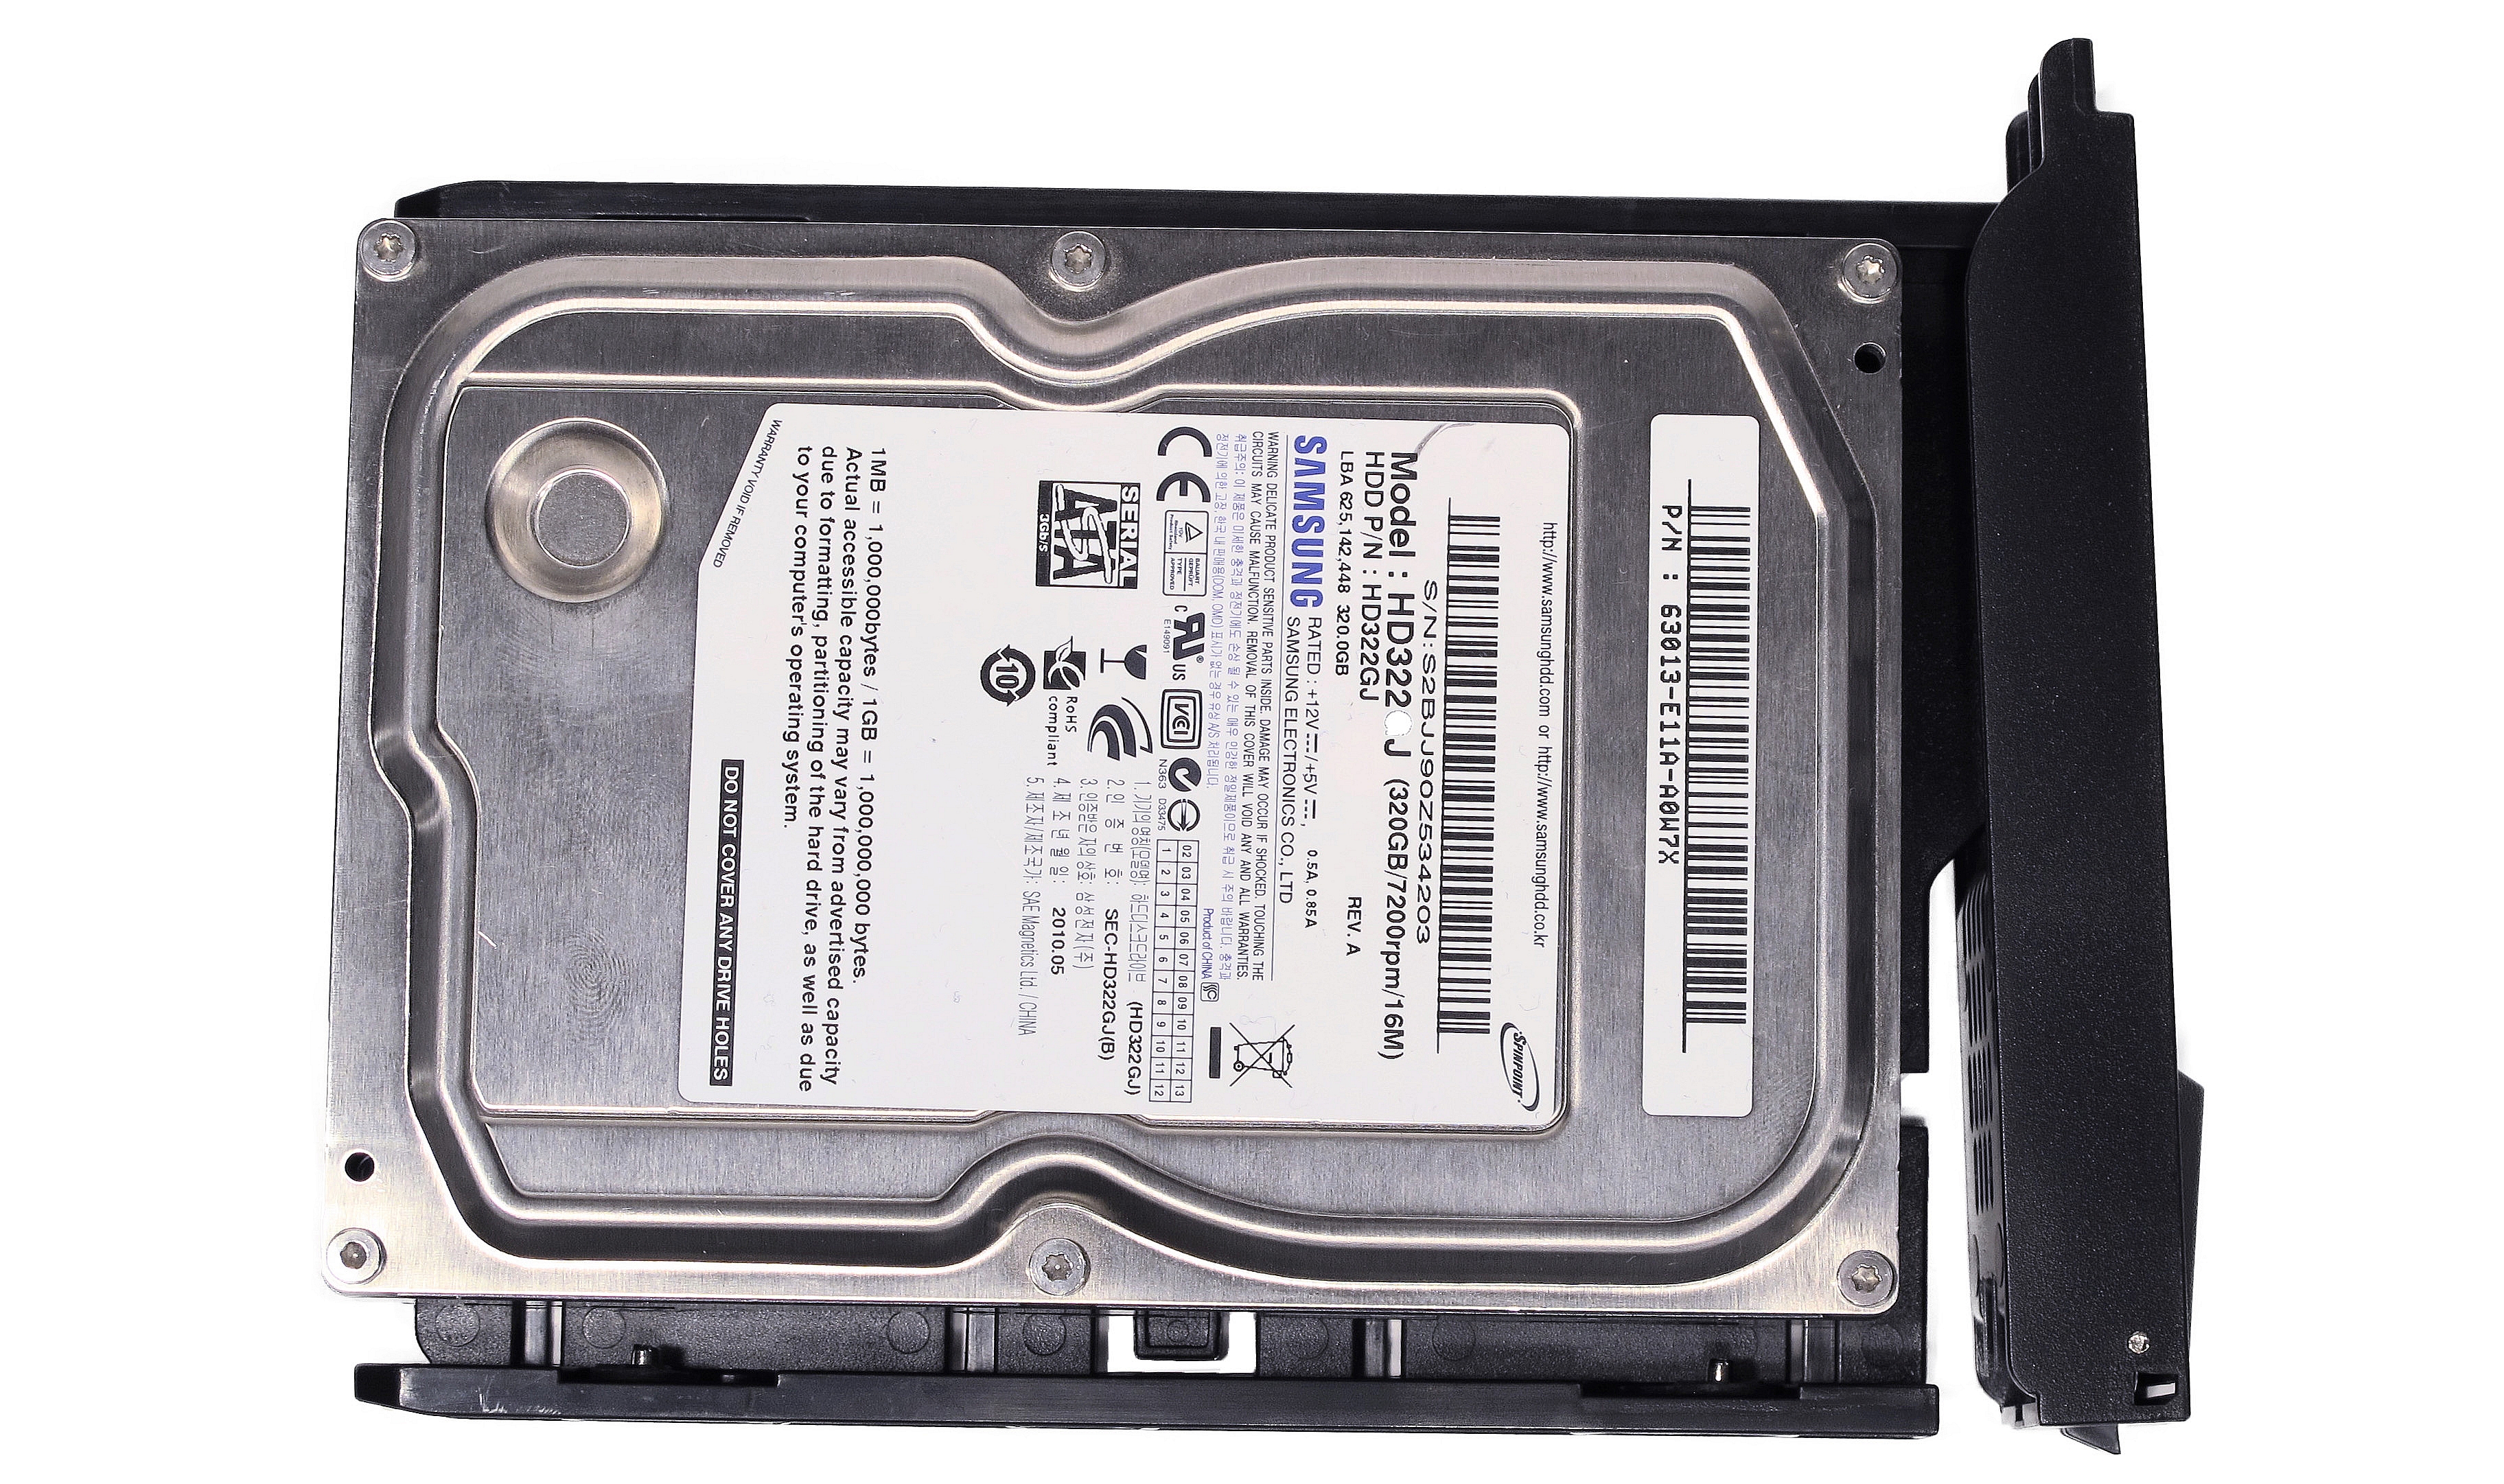
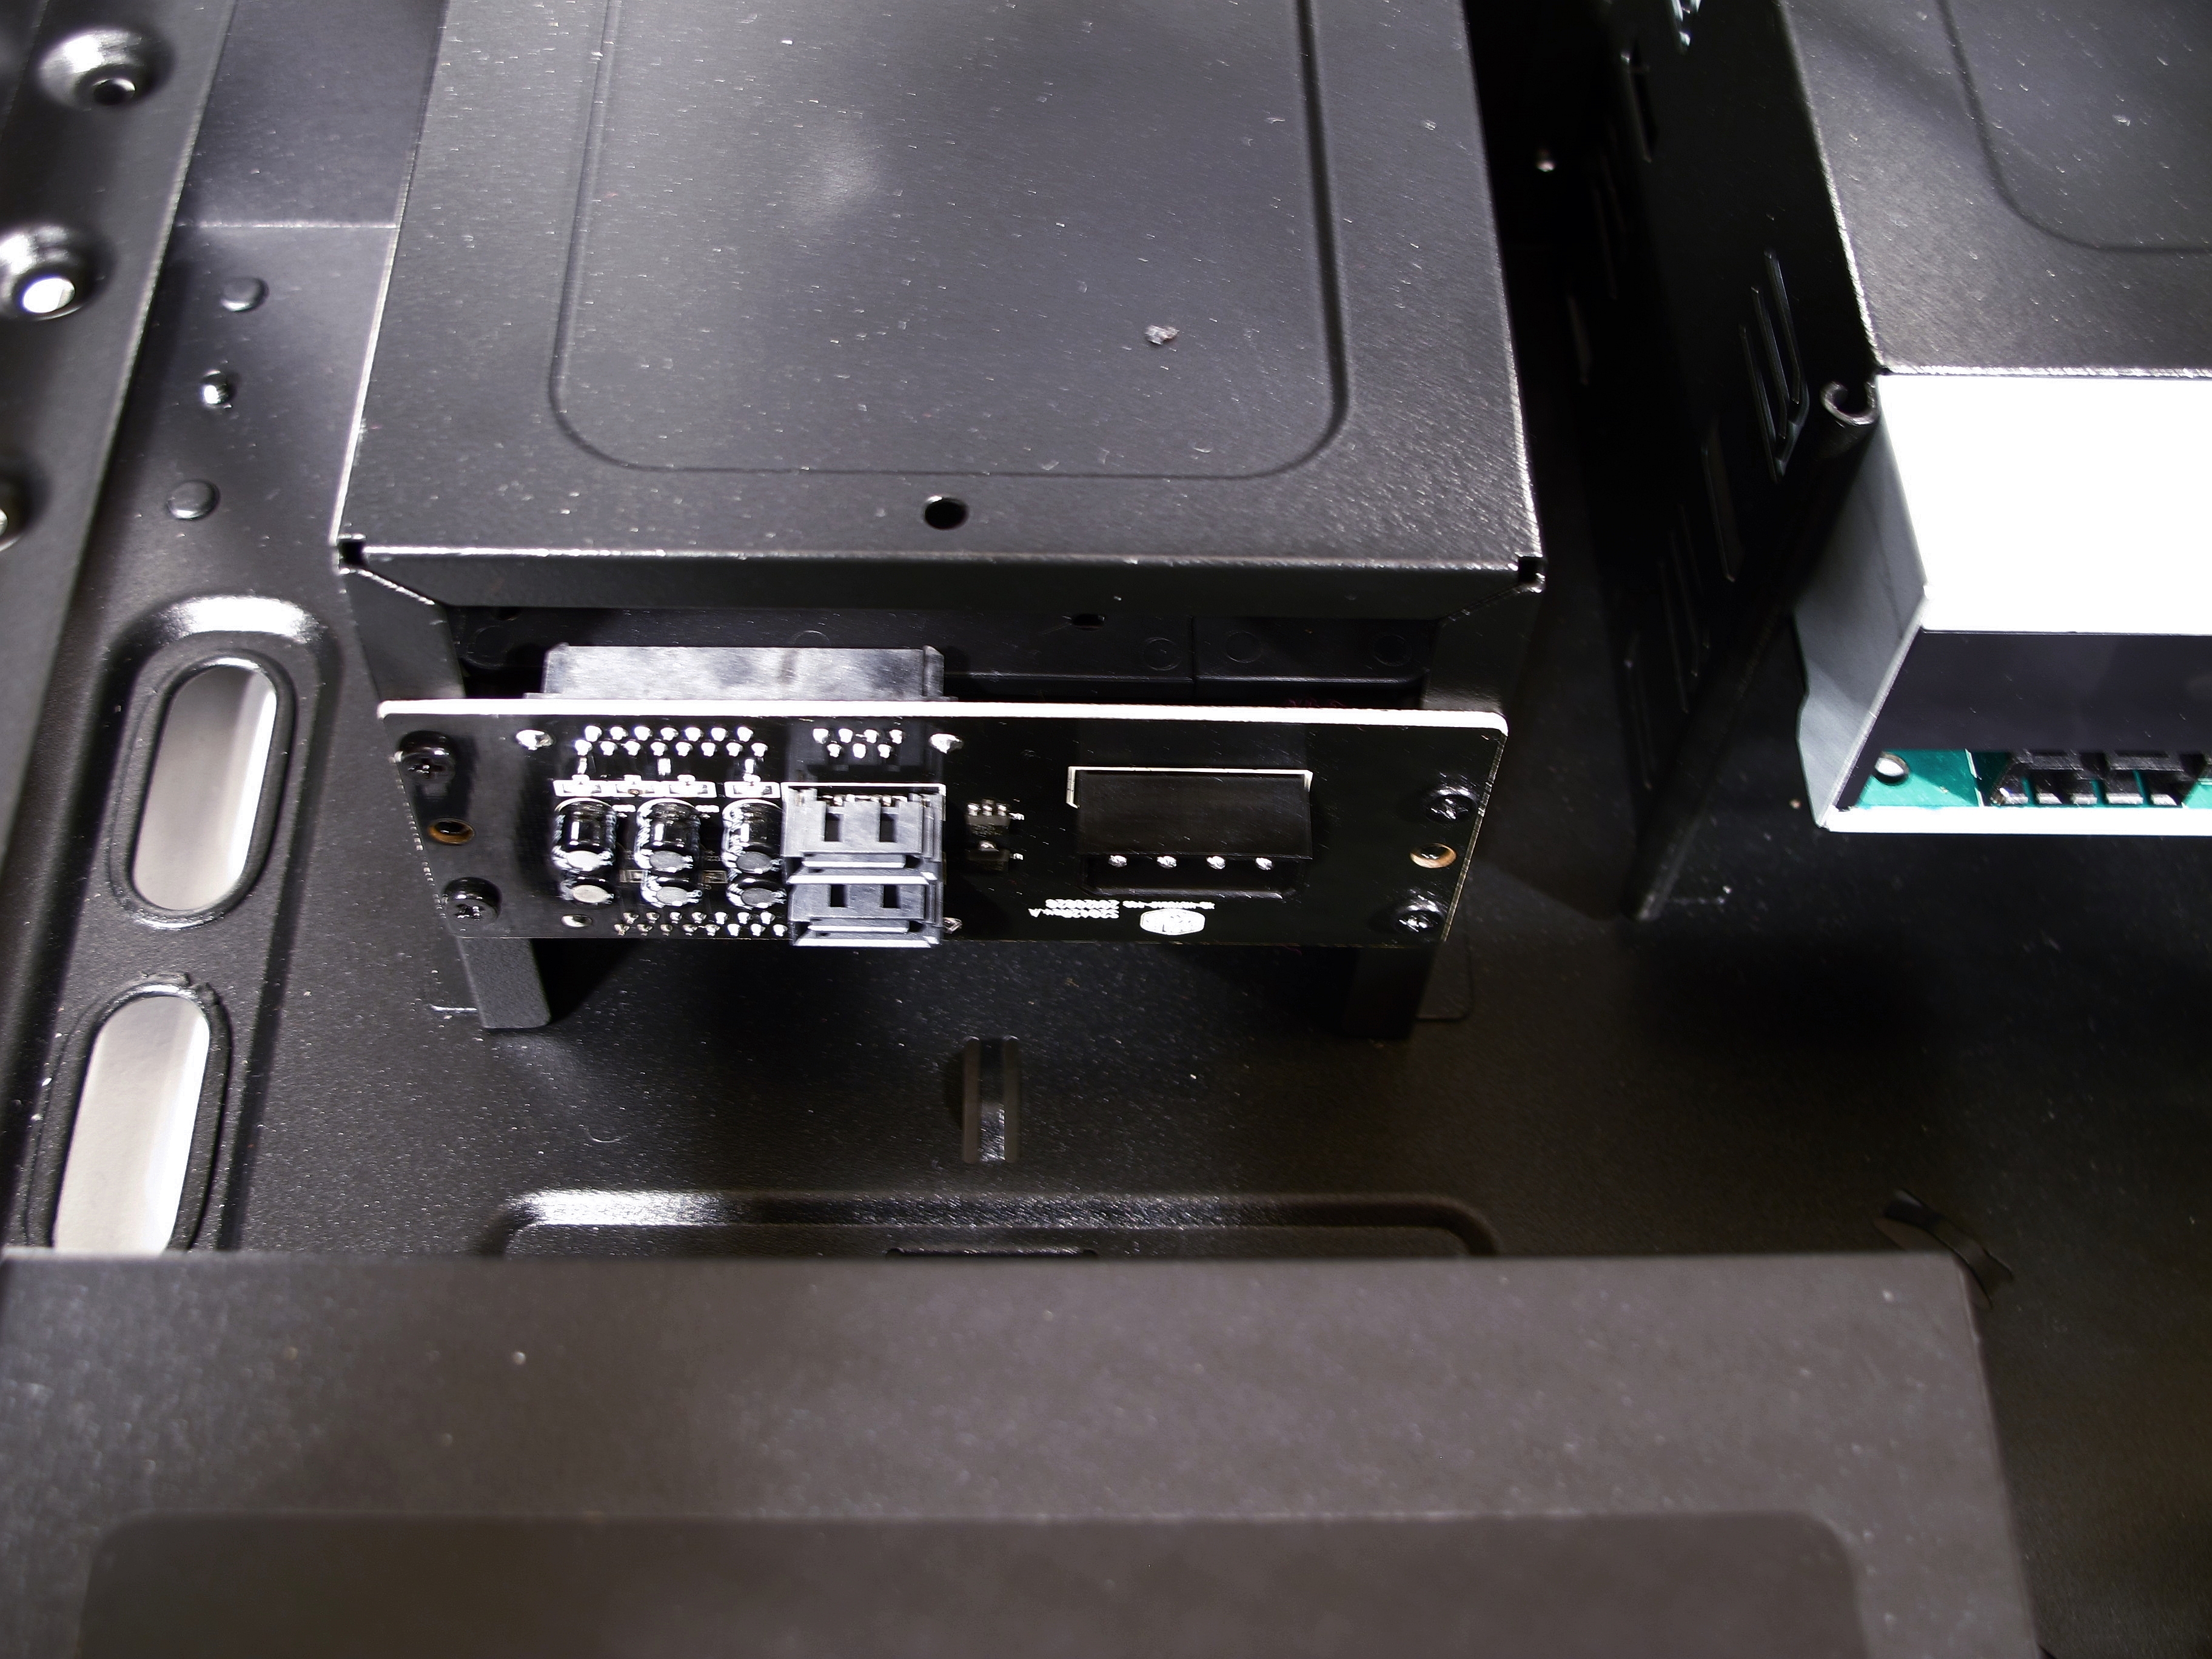
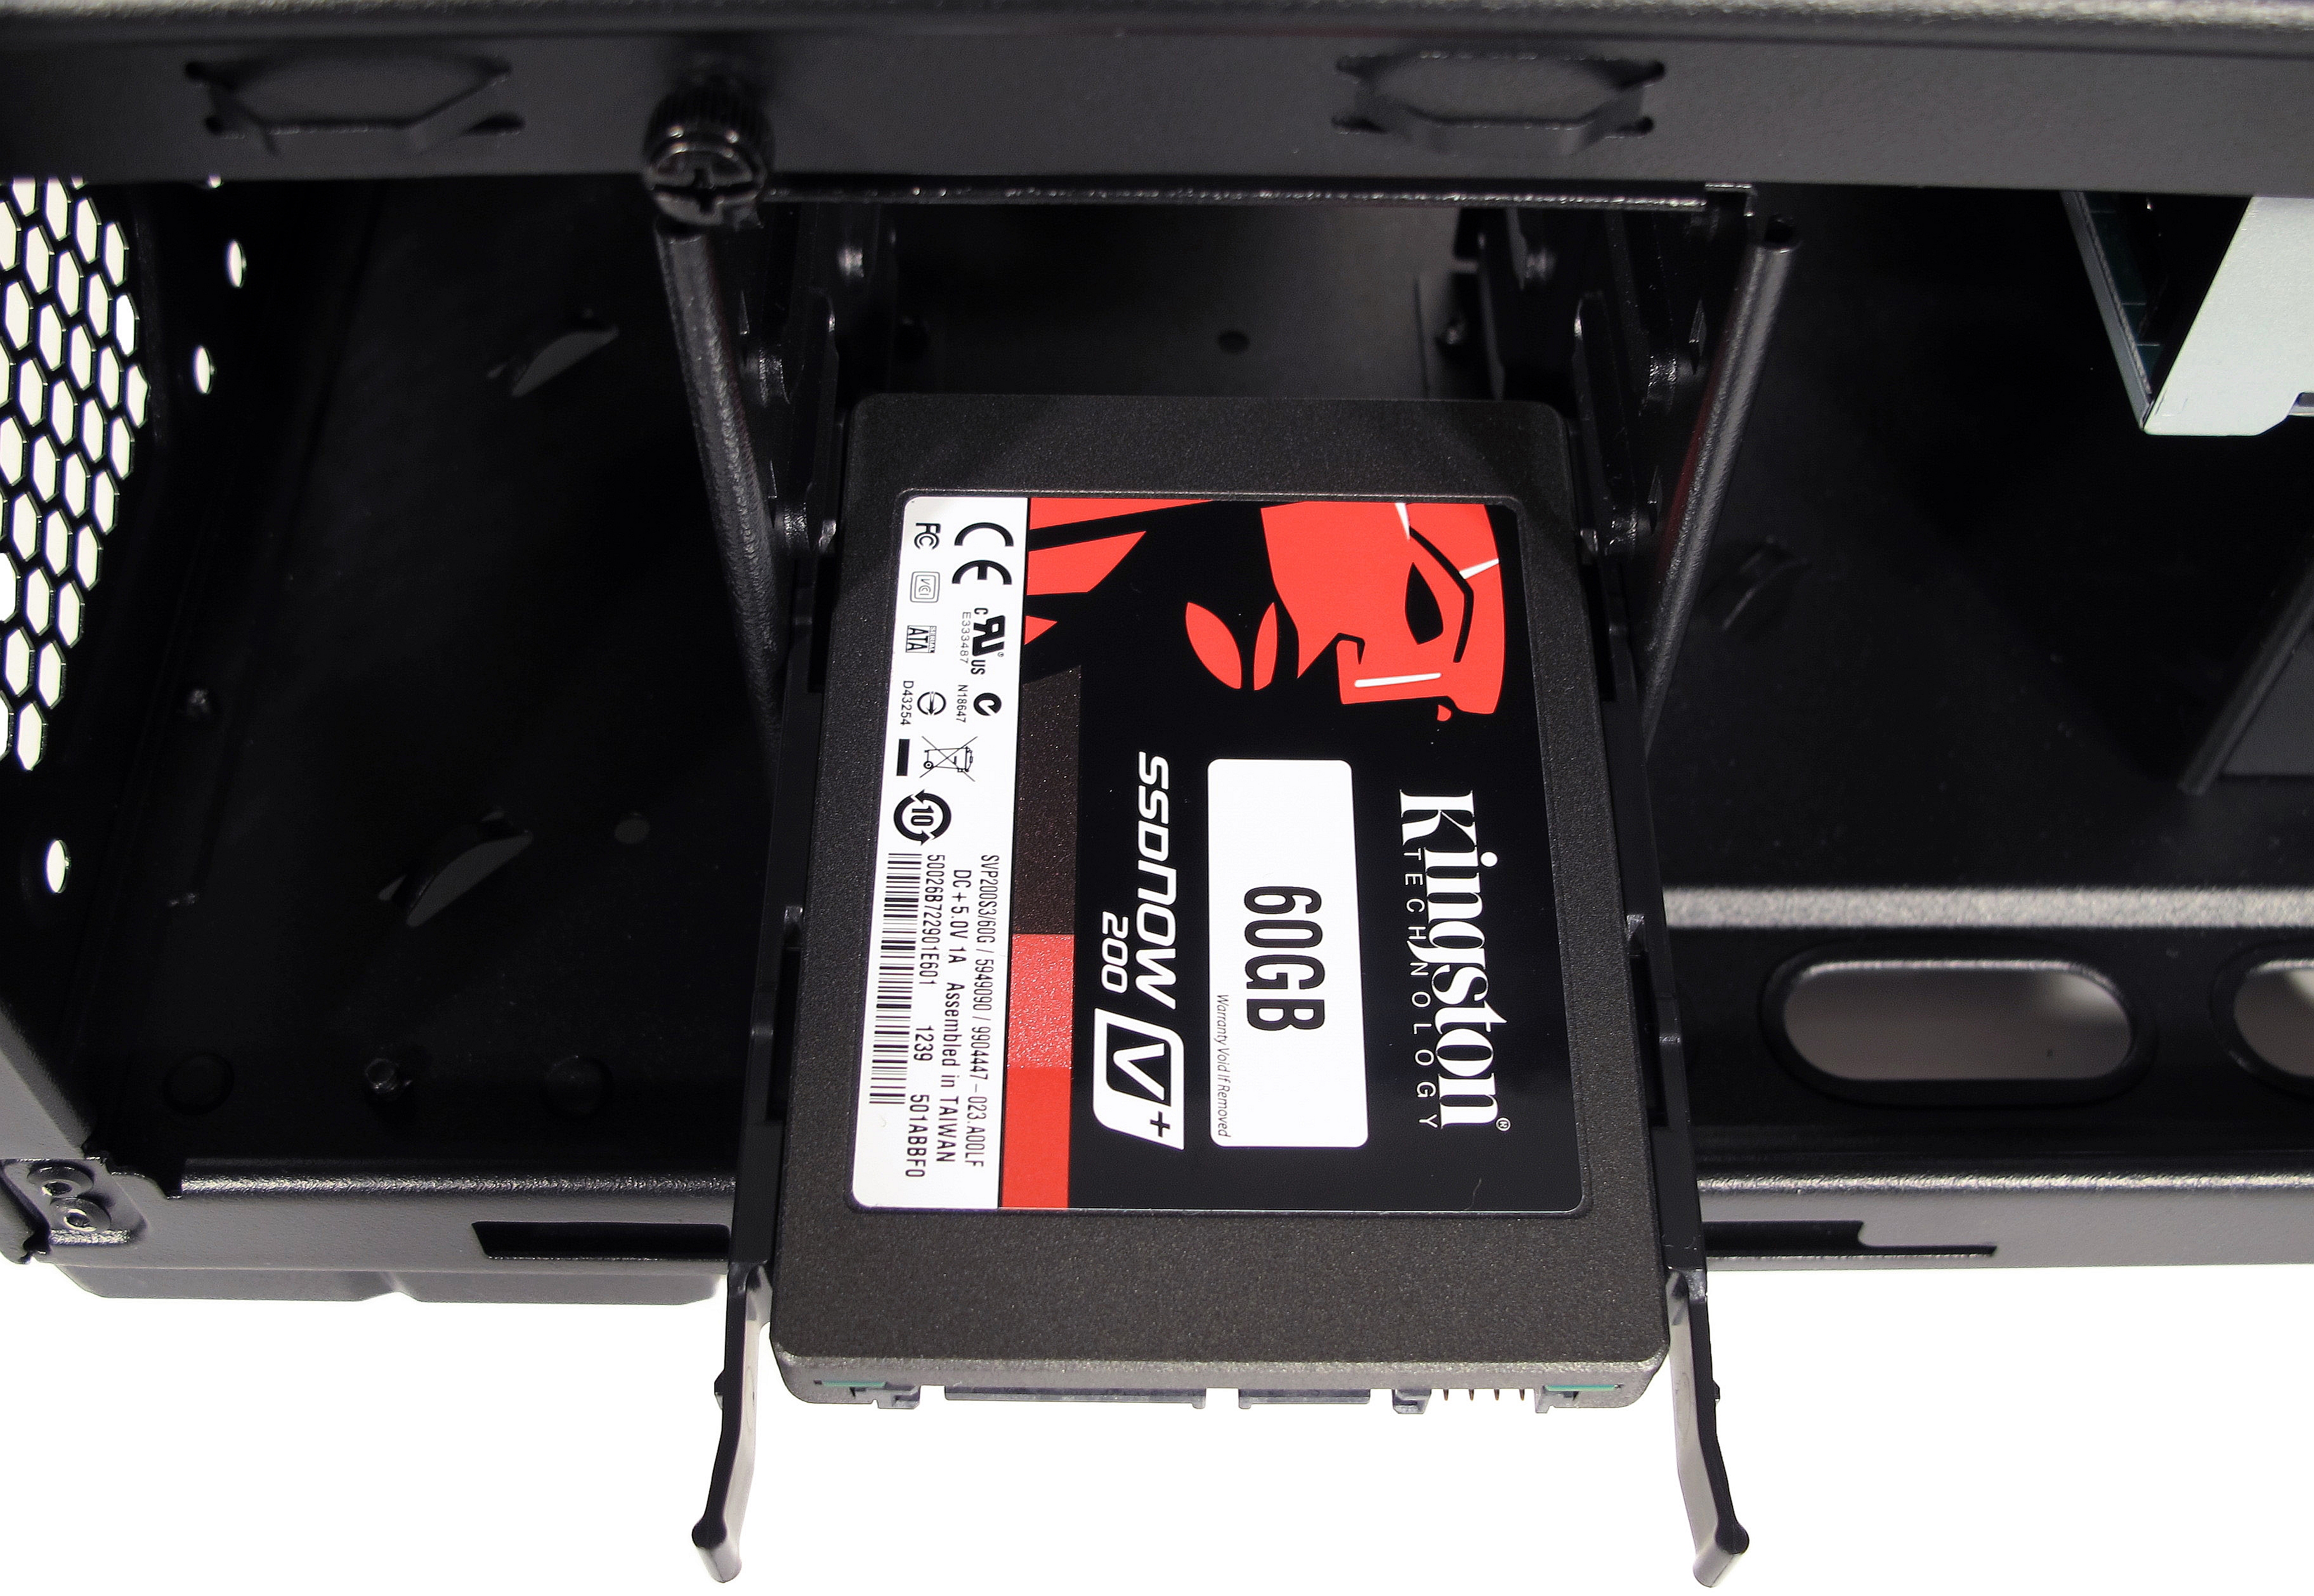
Two 3.5” or 2.5” drives can be connected to the HAF XB’s hot-swap connectors, which Cooler Master calls X-dock. Moving a lever on the bay’s front cover exposes a removable plastic drive caddy.
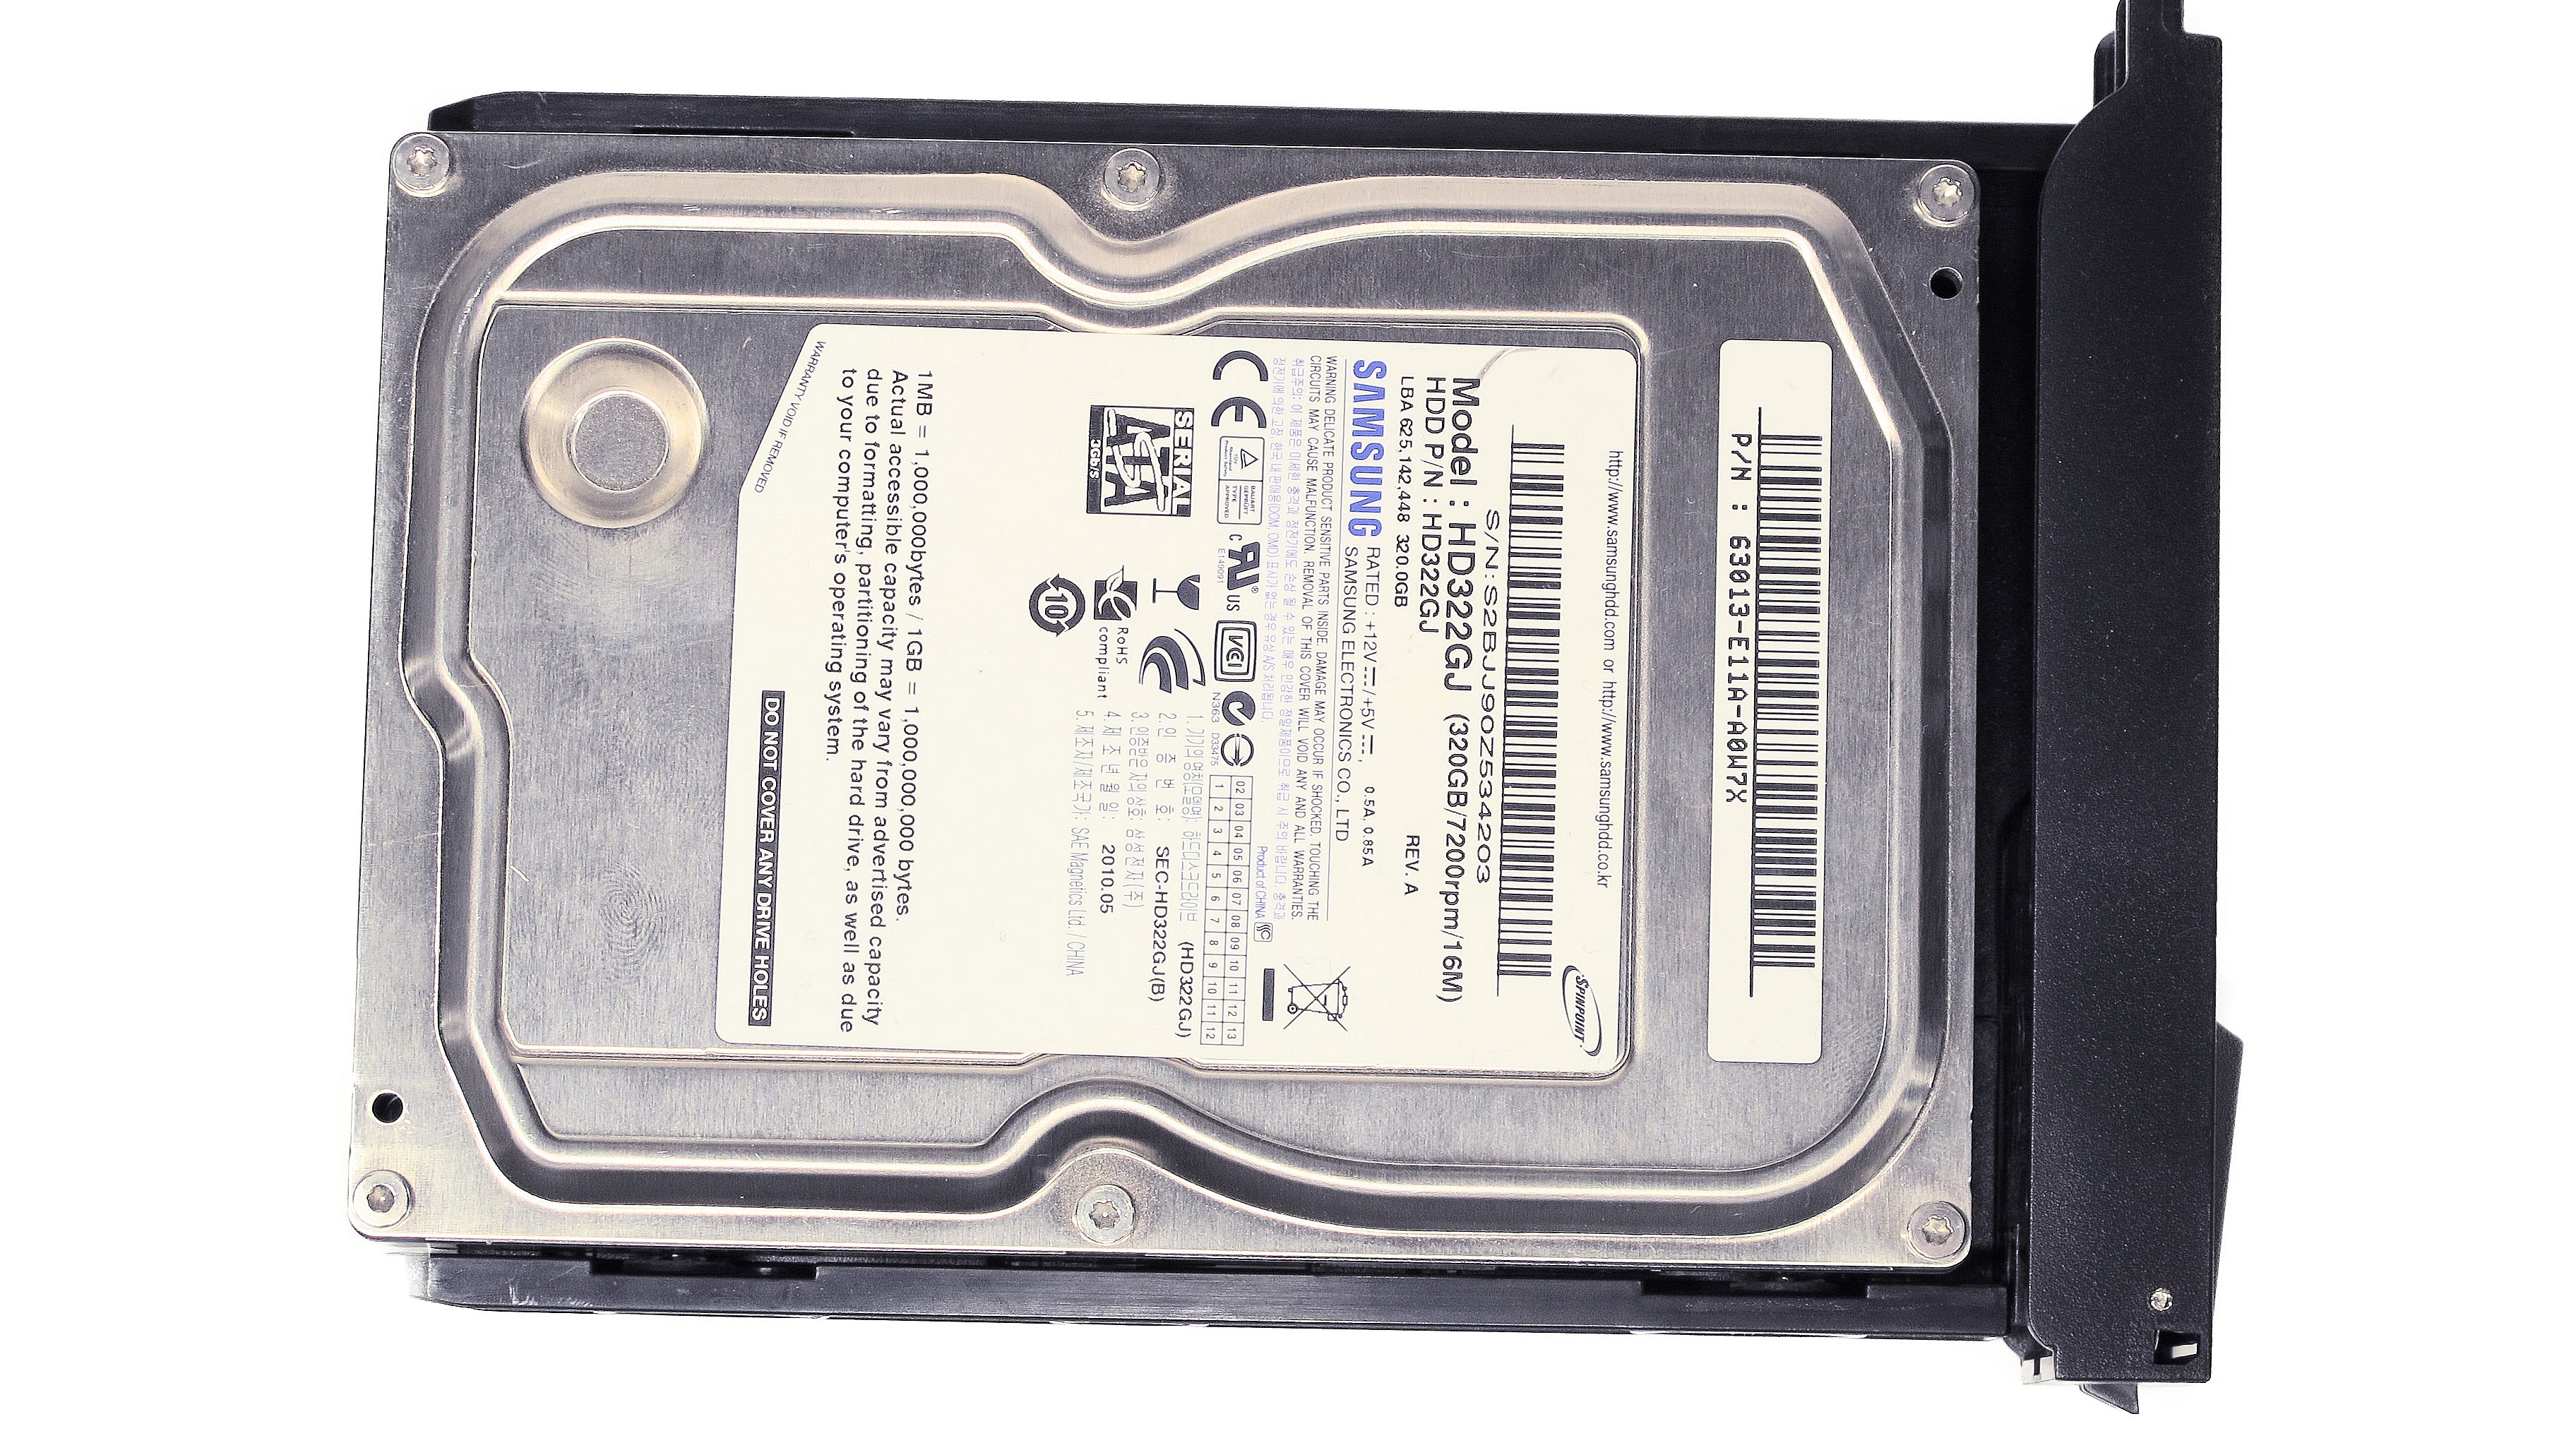
To allow for tool-less operation, the sides of the caddy can be pushed apart. Once a 3.5” drive is in place, the sides can be pushed together again. Small metal pins attached to the decoupling rubber on the sides slide into the disk's screw holes. This solution works surprisingly well; it turns out to be quick and secure. And if you just don't trust a tool-free solution like this, feel free to use one screw per side. It's just not necessary.
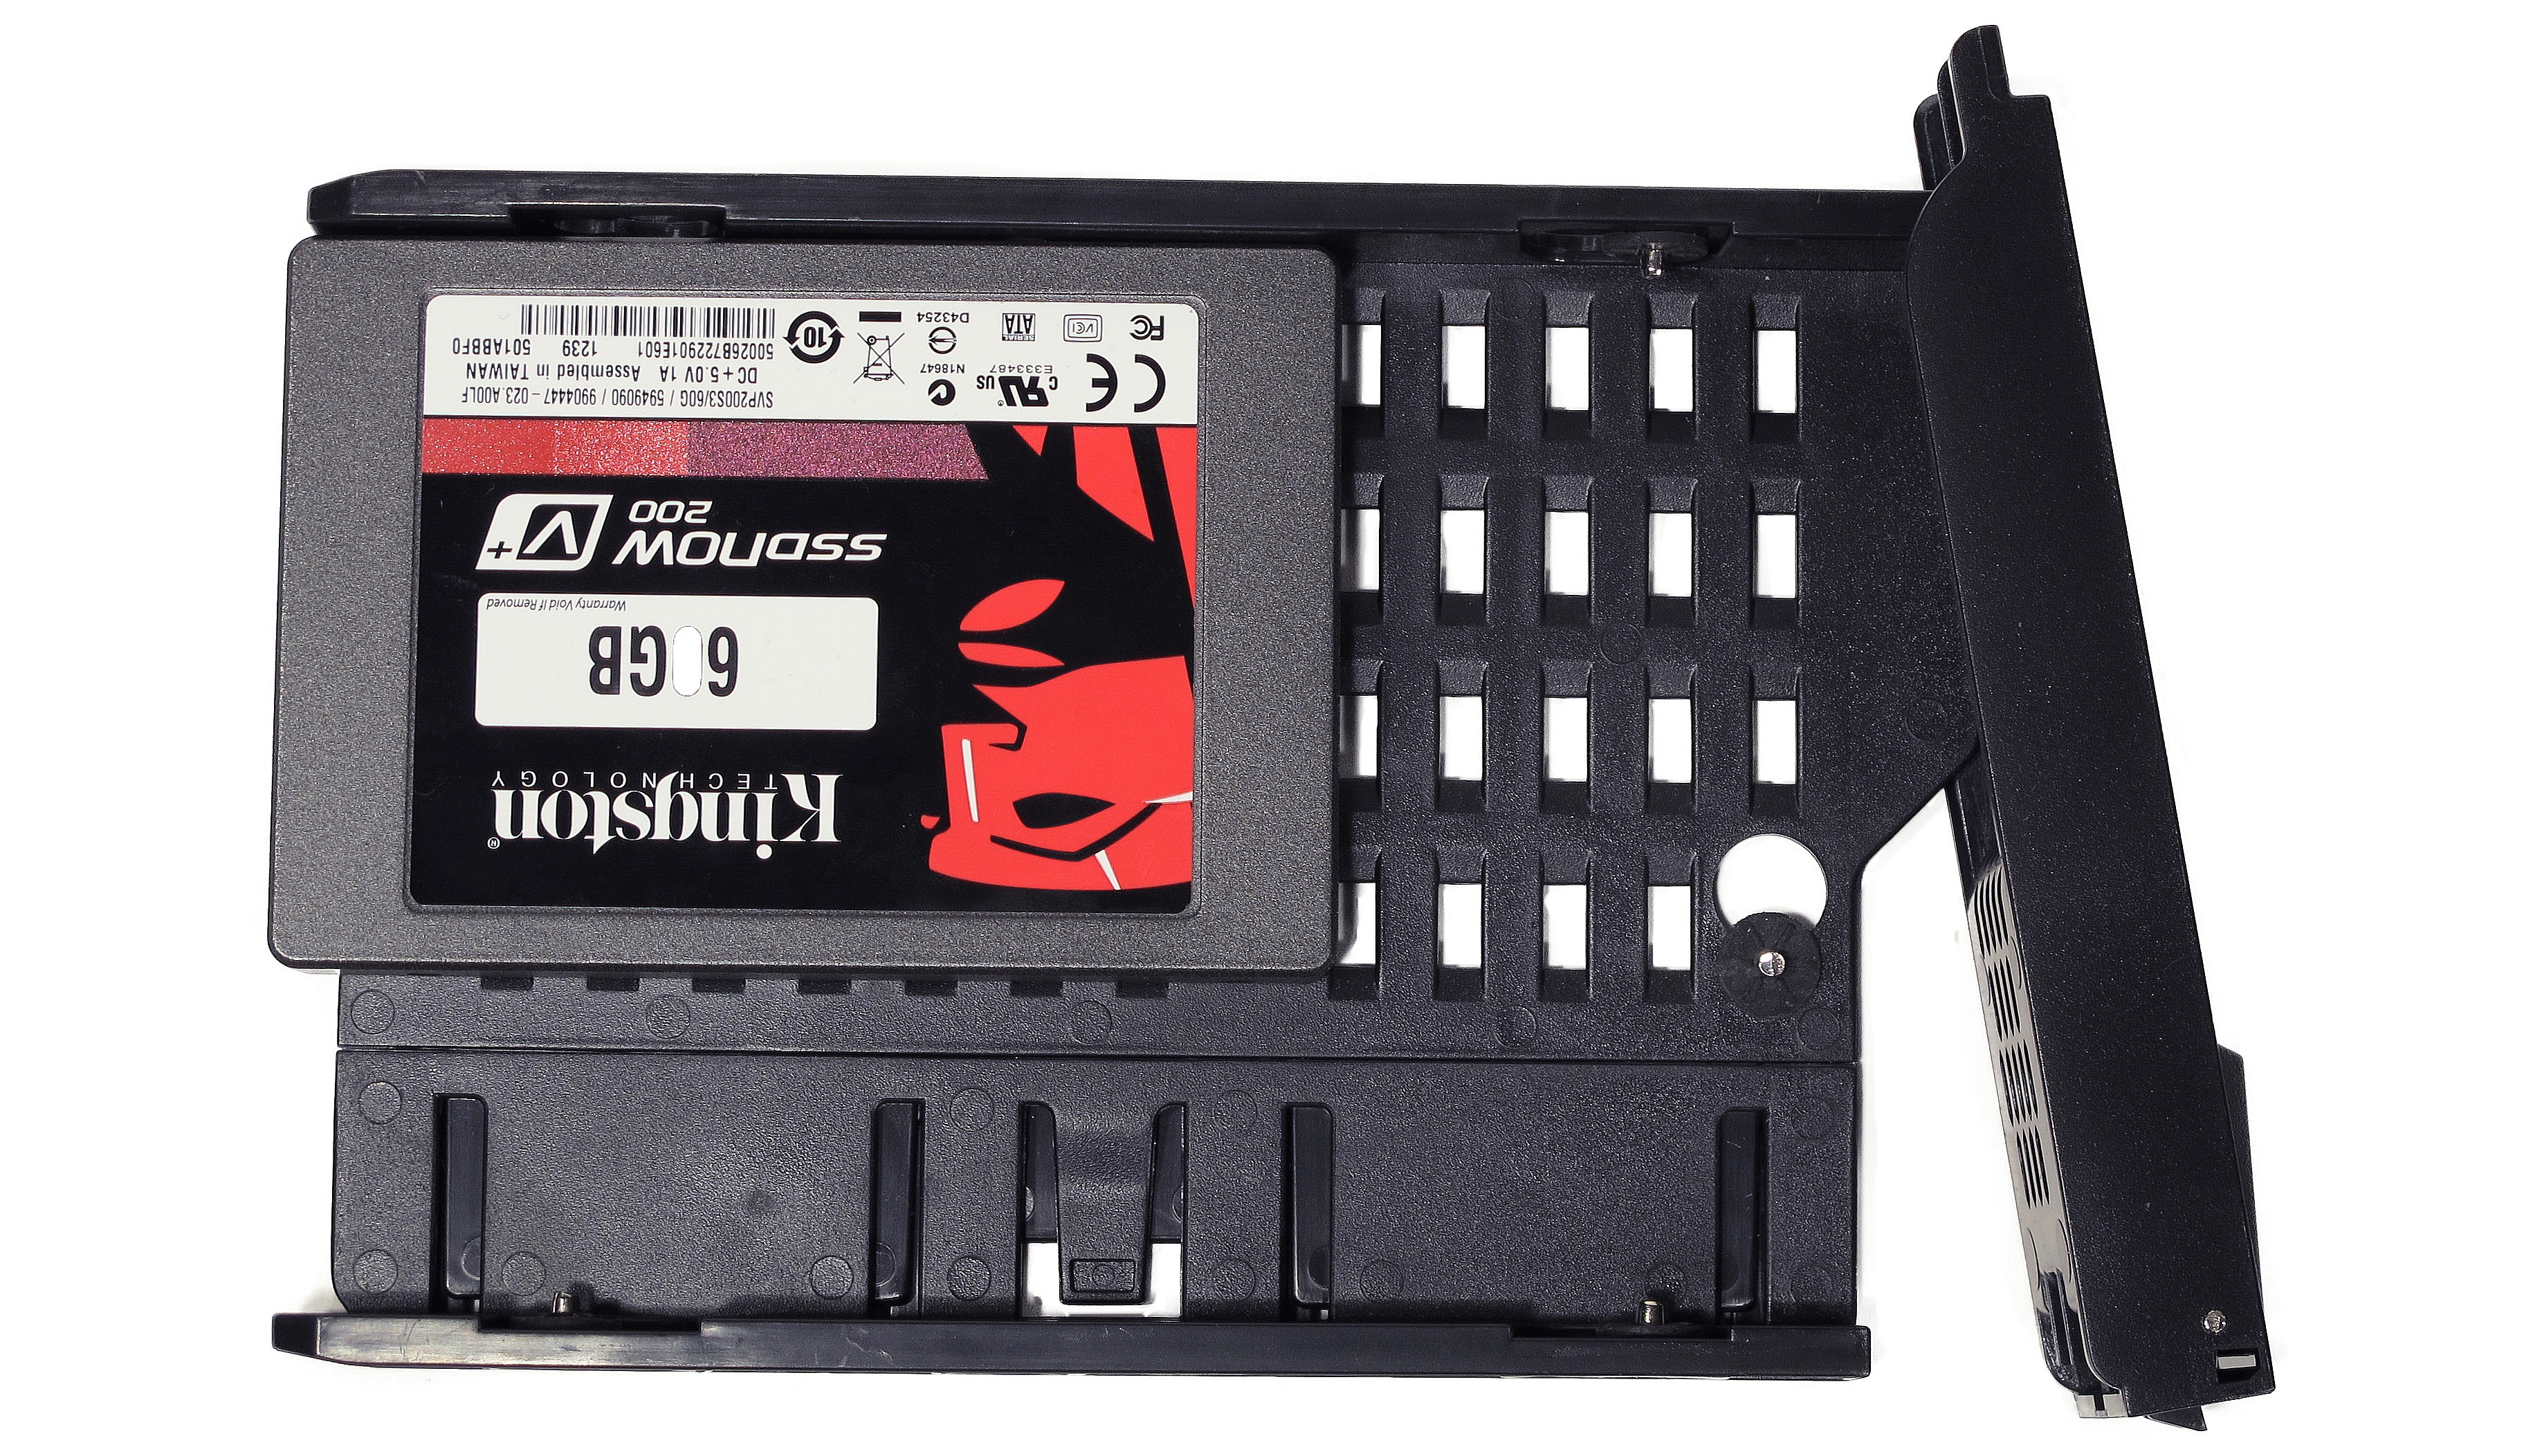
If you're installing a 2.5” drive or SSD, a metal pin from one side of the caddy needs to be removed. It can be showed away by pushing it into place on the other side of the caddy, which isn’t used with a 2.5” drive sitting in the bay (that way you won't lose the tiny part). The 2.5” drive is secured into place by screwing it to the caddy from the bottom.
The hot-swap board is internally connected to the motherboard and PSU via SATA and power cables, respectively.
In addition to the hot-swap bays, Cooler Master's HAF XB has a 2.5” drive cage positioned in front of the space for the two 80 mm fans around back. These also support tool-less installation, via a different mechanism. Two included side rails are fastened onto each side of the drive by pushing their plastic pins into the hard drive’s or SSD’s screw holes. Cooler Master leaves enough space to facilitate non-angled data and power cables.
Get Tom's Hardware's best news and in-depth reviews, straight to your inbox.
Current page: Hard Drive And SSD Installation
Prev Page Optical Drive Installation Next Page Motherboard And Graphics Card Installation-
ohyouknow Absolutely love this case. Only thing I don't like is motherboard removal is a pita if you have a water cooler and want to add drives to the bottom compartments. Nice and clean up top.Reply -
panderaamon i've been using this case for the last 2.5 months. my only problem is that my H100i cant work in 4 fan mod cause my GTX 570 DIICU is 3mm's longer than i calculated. oh well, 3 fan mod is working nice. also whatever you do get the upper case fan aswell. use it as an exhaust. you'll be suprised what a difference it makes.Reply -
midnightgun The only change I would like made to this case is the ability to mount rads to the top where the 200mm face spot is. I am really interested in this case for my build early next year. Will you also be reviewing the Corsair Carbide Air 540?Reply -
Vlad Razvan I fell in love with the HAF XB first time I saw it. Have been using one for three months now - lots of space, extremely well ventilated, easy to work with, and a great looker too.Reply
Initially I wanted to go for an expensive 250$ case so my crossfire configuration could fit and have enough ventilation, but then I saw this thing for 125$, bought it and we have been happy ever since.
PROTIP - buy the quietest 120 and 140mm fans you can find or get a fan controller. If you keep the stock frontal fans, you're gonna have a noisy time. -
Vlad Razvan Reply11393992 said:bitfenix prodigy > HAF XB
Review the prodigy.
Good review, though.
For a lanparty, yes, the prodigy es better because it's smaller. As a high-end PC enclosure / testbench - HAF XB is way better. My sister used to keep a pair of GTX 480s in SLi in her HAF XB - it's one of the few cases with good enough ventilation for such hot hardware. -
cscott_it Kai,Reply
Given your experience with this case (and any previous case testing), do you think the HAF XB would cool well with better fans? You wouldn't happen to have the time and a couple of decent Noctua or Thermaltake (the models with the fluid bearing) to test with, would you?
Also, any thoughts on the stock fans rated CFM vs. actual amount of heat dispersed and any impressions with them? My experience with Coolermaster's case fans has been unfavorable over the years. -
dgingeri I absolutely love my HAF XB. I don't use the internal 2.5" drive bays, though. I used a Vantec 5.25" to 4X2.5" hot swap drive bay adapter, for a total of 6 hotswap drive bays. I have 4 SSDs installed, with no mechanical storage. I use a HAF 932 for my storage server, keeping my personal data stored elsewhere so it can be independently virus scanned and backed up. This way I can take my main system places without risking my personal data. I mess around with the insides of my main system enough that this saves me a ton of frustration. It's just awesome.Reply
For the guy who suggested the Bitfenix Prodigy as an alternative to this: what are you, crazy? That thing is a mini-ITX case. It could never pull the duty of this case. It's worthless to any of my needs. Go play with your toys and leave the big boys to talk here.
