System Builder Marathon, March 2012: $2600 Performance PC
Hardware Installation
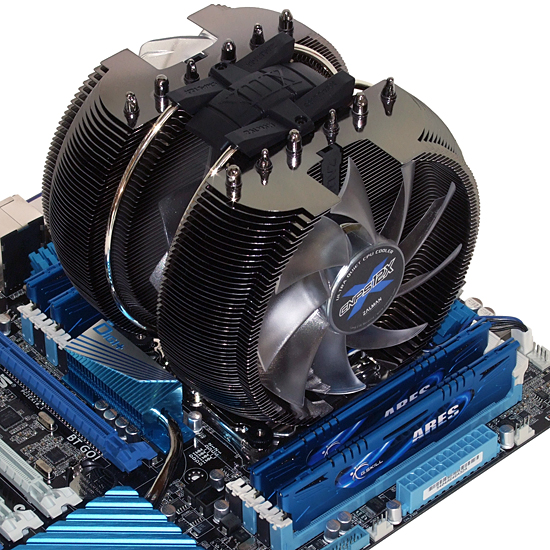
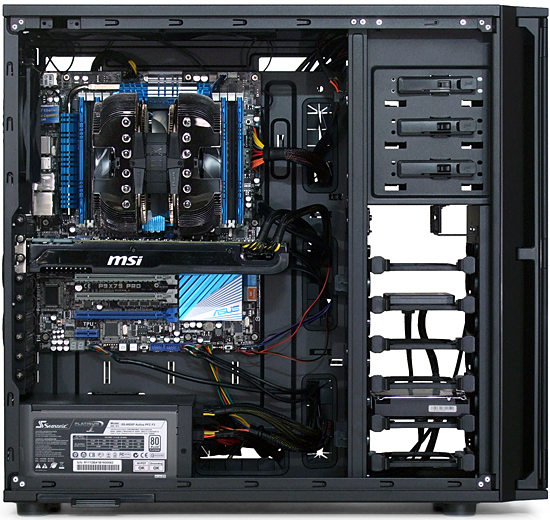
CPU cooler installation follows the same process outlined in our big cooler round-up with one major exception: the CNPS12X actually fits this motherboard and RAM in the correct orientation for our intended case fan configuration. Those big improvements come from shorter memory heat spreaders and a motherboard with extra space between its top PCIe slot and CPU interface.
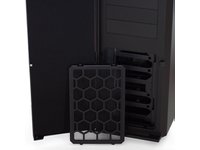
Front fans screw into place after unsnapping the Antec P280’s filtered intake grille.
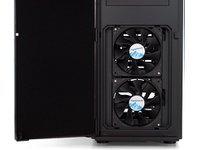
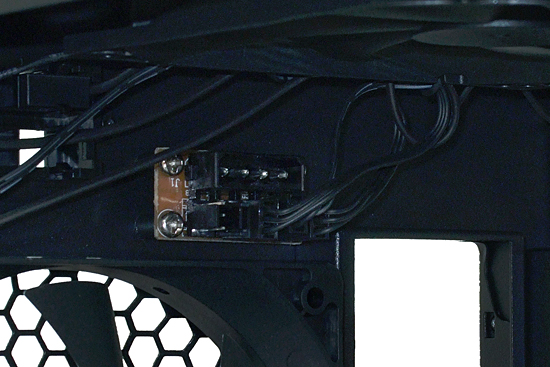
Antec connects its included exhaust fans to a four-fan, three-pin power bridge. We wanted our motherboard to control fan speed dynamically in response to heat, so the fans were re-oriented to allow their power cables to reach corresponding motherboard headers.
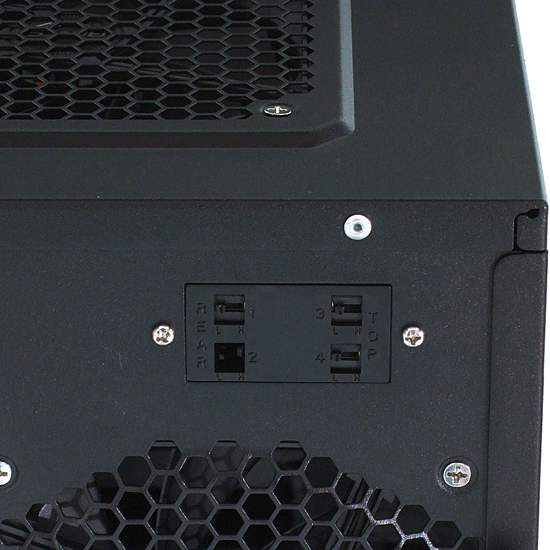
Antec’s speed controls are hard-wired onto its fans, with switches clipped into a convenient bracket on the P280’s back panel. Re-orienting the top fans to use motherboard power requires that their switches be unclipped from this bracket. All three fans are mechanically set to full-speed mode, giving the motherboard the widest possible range of electronic speed control.
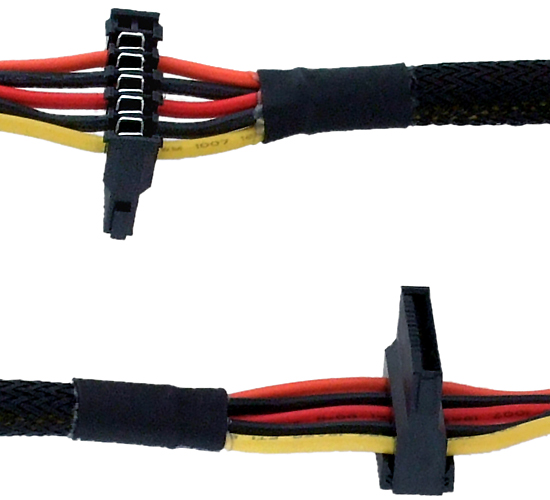
Like most Seasonic power supplies, the SS-860XP’s drive power cables are oriented for top-mounted power supplies. The connectors can be removed by simply unclipping the back and sliding the cable out of the connector’s blades. Reversing the process allows the connectors to be re-installed facing in the opposite direction.
Note that the connector’s outer key is next to the yellow (12 V) wire in both photos, and beware that arranging wires in the wrong order will certainly damage components.
A huge black chrome-looking CPU cooler adds big visual highlights to the inside of a system that most people will never see, since its side panel has no window. On the other hand, our lack of graphics cards in a CrossFire arrangement could make empty space this system’s most noticeable feature.
Current page: Hardware Installation
Prev Page Case And Case Cooling Next Page Overclocking A Truly Overclockable PlatformGet Tom's Hardware's best news and in-depth reviews, straight to your inbox.
-
llguitargr8 Just curious, did you guys purchase all these parts and right these articles before the GTX 680 was released? I really thought you guys would have gone with that, and if it wasn't because they weren't available at the time, then what makes the 7970 better in your opinion?Reply -
g-unit1111 Not sure if I agree with that choice of cooler but I definitely like the rest of the setup!Reply -
bystander llguitargr8Just curious, did you guys purchase all these parts and right these articles before the GTX 680 was released? I really thought you guys would have gone with that, and if it wasn't because they weren't available at the time, then what makes the 7970 better in your opinion?Almost all these build articles are based on purchases that took place 2 months ago. Even if they were to have bought these parts today, it would be hard to purchase a 680, as stock is a major issue.Reply -
esrever I like the build except the x79 adds like $500 extra that I see very little benefit from.Reply -
e56imfg Dang I need to win this one!! I'm so happy they balanced the CPU with the GPU this time around.Reply -
hmp_goose Good job: Working through the details of the CPU cooler like that is half the fun of this hobby. Great build.Reply -
theuniquegamer Good build . But there could be more improvement by replacing a $600 cpu and $320 mother board with a i7 2600k and a $200 z68 mother board . And also replacing the 7970($590) with 2x680 at 2x$500(from the money saved from cpu and motherboard and 7970). It may give better gaming result than this build.Reply

