
Why you can trust Tom's Hardware Our expert reviewers spend hours testing and comparing products and services so you can choose the best for you. Find out more about how we test.

Gigabyte’s packaging includes the card and a support bracket, aka “anti-sag bracket,” should you want something to prop up the end of the card that’s opposite the video ports. It’s a bit more involved getting the support stand assembled and connected to the back of the card, but it does have the benefit of screwing into the card so that it won’t slide around if you happen to move your PC on occasion.
Beyond that, you get the standard (at least in our experience) 4x 8-pin to 16-pin ‘quadropus’ adapter. It’s been in the news a lot with regards to melting connectors, but as of this writing Nvidia hasn’t released any official statement on the matter other than that it’s “investigating” the situation. The adapter that came with our Gigabyte sample does use AWG14 wires rated for 300V and appears identical to the other adapters we’ve received with RTX 4090 cards.
Gigabyte’s card is physically slightly larger than the RTX 4090 Founders Edition, measuring 340 x 143 x 74mm (our measurements). It’s a 3.5-slot design, though the IO bracket is only two slots wide — which makes the included support bracket potentially more useful. This isn’t the biggest RTX 4090 we’ve tested so far — that honor goes to the Asus ROG Strix — but this is still a very large graphics card.
At the same time, Gigabyte’s card also happens to be the lightest of the four RTX 4090 models we’ve looked at so far (at least if you include the weight of the MSI card’s radiator and fans) weighing 1990g (4.38 pounds). So 2kg is the “lightest” 4090 card? Yes, and you can thank the 450W TBP and the affiliated cooling for that. But if you’d prefer something a bit larger, by all means, go check out the Gigabyte RTX 4090 Aorus Master.


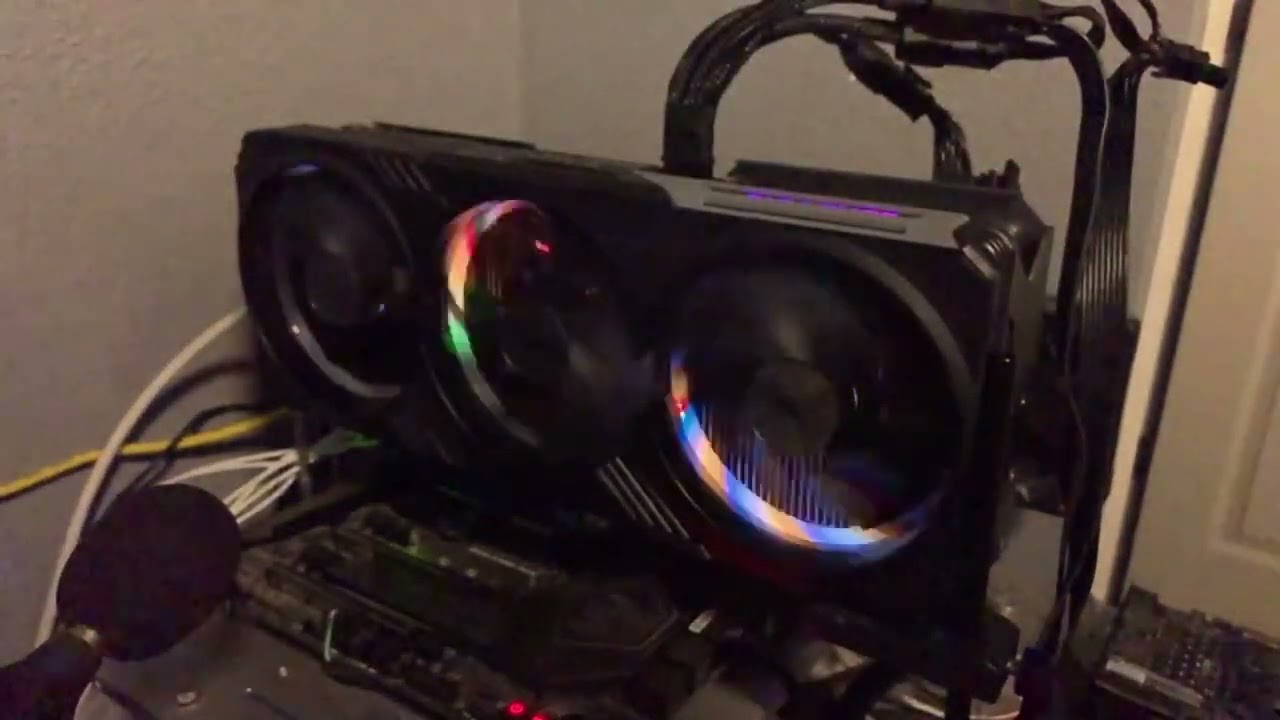
The Gigabyte fans lack the integrated rim that’s become common on higher-end graphics cards in the past couple of years, though its fans are quite large at 105mm in diameter. Airflow and cooling prove sufficient, with the Gigabyte card seeming to favor slightly higher fan speeds and lower temperatures.
Below each of the fans sits a plastic diffuser ring for the RGB lighting. The default lighting mode, at least on our sample, appears to be a strobe rainbow effect that’s quite distracting. The RGB lights also turn off when the fans aren’t spinning. We’re not certain that this is supposed to be the default lighting mode (it seems to be based on the Gigabyte images we’ve seen), but you’ll need to download and install Gigabyte’s RGB Fusion software or Control Center to change it. Do that before you install the card if you want to save yourself a potential headache.
As we’ve said, Gigabyte’s card doesn’t break any of the traditional rules. It’s larger than some cards, but all the basic features are par for the course. That goes for the video connectivity as well, which uses the standard three DisplayPort 1.4a outputs and a single HDMI 2.1 port. Power as usual also comes via a 16-pin 12VHPWR connector, the current root of all evils for Nvidia’s RTX 4090 cards.
Gigabyte RTX 4090 Gaming OC Teardown


Disassembly of the Gigabyte 4090 Gaming proves about as easy as you’re likely to find for a high-end graphics card. There are ten Philips screws — six for the backplate and four for the main GPU area — securing the heatsink to the PCB. Remove those and apply a bit of pressure and you can pop the cooler off.
There are three cables for fans and lighting that connect the cooler and shroud to the PCB. Disconnect those and you can fully separate the cooler from the PCB and backplate. If you want to get at the other side of the PCB, there are five more Philips screws plus another six Philips screws that secure the IO bracket. All of these need to be removed before you can pry the PCB from the metal backplate, which sticks to the board via four more thermal pads.
Like all the other 4090 cards we’ve looked at, Gigabyte uses plenty of power phases — 20 for the GPU and four more for the GDDR6X. You can also see the four “missing” power phases that are only used on Gigabyte’s higher-end cards, the Aorus Master and the Aorus Xtreme Waterforce.
The GDDR6X memory has the same "Micron DB8ZC" label as we’ve seen on other 4090 cards. Our overclocking (below) indicates that these are definitely 21 Gbps chips, while we’ve tested two other 4090 cards that appear to have 24 Gbps memory labeled as 21 Gbps.
Gigabyte RTX 4090 Gaming OC Manual Overclocking

This is the fourth RTX 4090 card we’ve tested and reviewed, all of which seem to hit similar limits on the GPU core clocks, at least without the ability to directly modify the voltage.
We started by maxing out the power limit at 133% — Gigabyte has a wider range than we’ve seen on some of the other cards, presumably due to its lower default clock. Then we set the GPU clock to +200 MHz and ran some tests. It was almost stable but crashed after a few minutes, so we dropped the overclock to +180 MHz — which is where all of the other cards have landed as well.
Next, we set the memory to +1000 MHz and restarted stress testing. That seemed to run without issue so we bumped it up another 250 MHz and were still able to keep running our stress test (Metro Exodus Enhanced, at extreme settings). That appeared stable as well so we tried for +1500 MHz… and immediately crashed. Extended testing at 1250 also proved unstable in a few games, so we backed off to a final +1150 MHz on the memory (23.3 Gbps effective speed).
As you might expect, the large increase in power limit meant that under load, we saw much higher power draw. Given the melting 16-pin adapter problems others have experienced, we would not recommend manual overclocking on RTX 4090 cards. In fact, you might want to go the opposite direction and power limit the cards to 70%–80%, which will still generally give you over 90% of the base performance and might just be enough to keep your adapter from melting. No guarantees, naturally, but it will also boost power efficiency. Check our RTX 4090 Founders Edition efficiency testing for further details.
- MORE: Best Graphics Cards
- MORE: GPU Benchmarks and Hierarchy
- MORE: All Graphics Content
