Processors On The Rocks VOL. 2
The Mounting Process, Continued
First of all you need to loosen the screws that hold the clamps at the retention clip as much as possible, ensuring that the clamps come down as far as possible. Then you need to align the retention clip according to the processor socket.
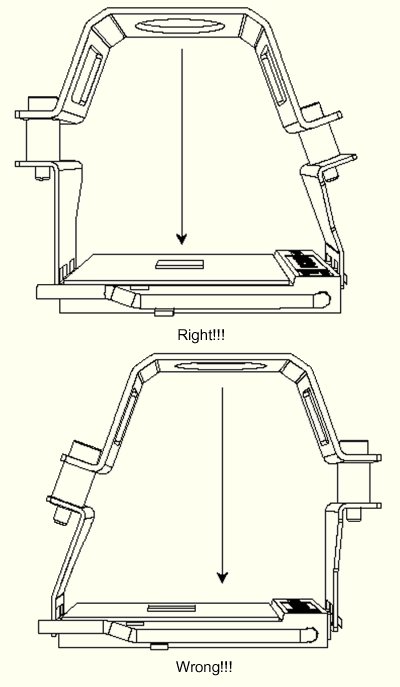
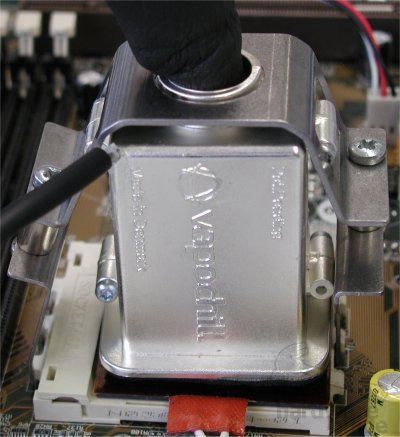
After putting some thermal compound onto the processor die or the evaporator, you place the evaporator kit onto the CPU, paying UTMOST attention to holding the evaporator perpendicular to the processor. In case of Celeron and Pentium III processors it is pretty easy, but with Durons and Athlons you should be extremely careful. Try to attach the clamps to the notches of the socket. Do this by gently applying pressure to the evaporator, still ensuring it is positioned perpendicular, because otherwise you will hear some lovely grinding noises from the die of your processor as the evaporator breaks off parts of its edges. Once the clamps are attached to the notches, you've deserved to take a deep breath, because the hardest part is over. You should see something like this now:
The evaporator sits on the CPU-die, which you unfortunately cannot see. The clamshell is still 'hovering' a quarter of an inch above the heating element. Make sure the clamshell is positioned properly, so that it only needs to move down towards the CPU, without the need of shifting it in any direction, as that will slide the evaporator along the processor-die, possible misaligning or damaging the die.
Get Tom's Hardware's best news and in-depth reviews, straight to your inbox.
Current page: The Mounting Process, Continued
Prev Page The Mounting Process, Continued Next Page The Mounting Process, Continued
